Vulcan 1968 SOHC 427 Mustang

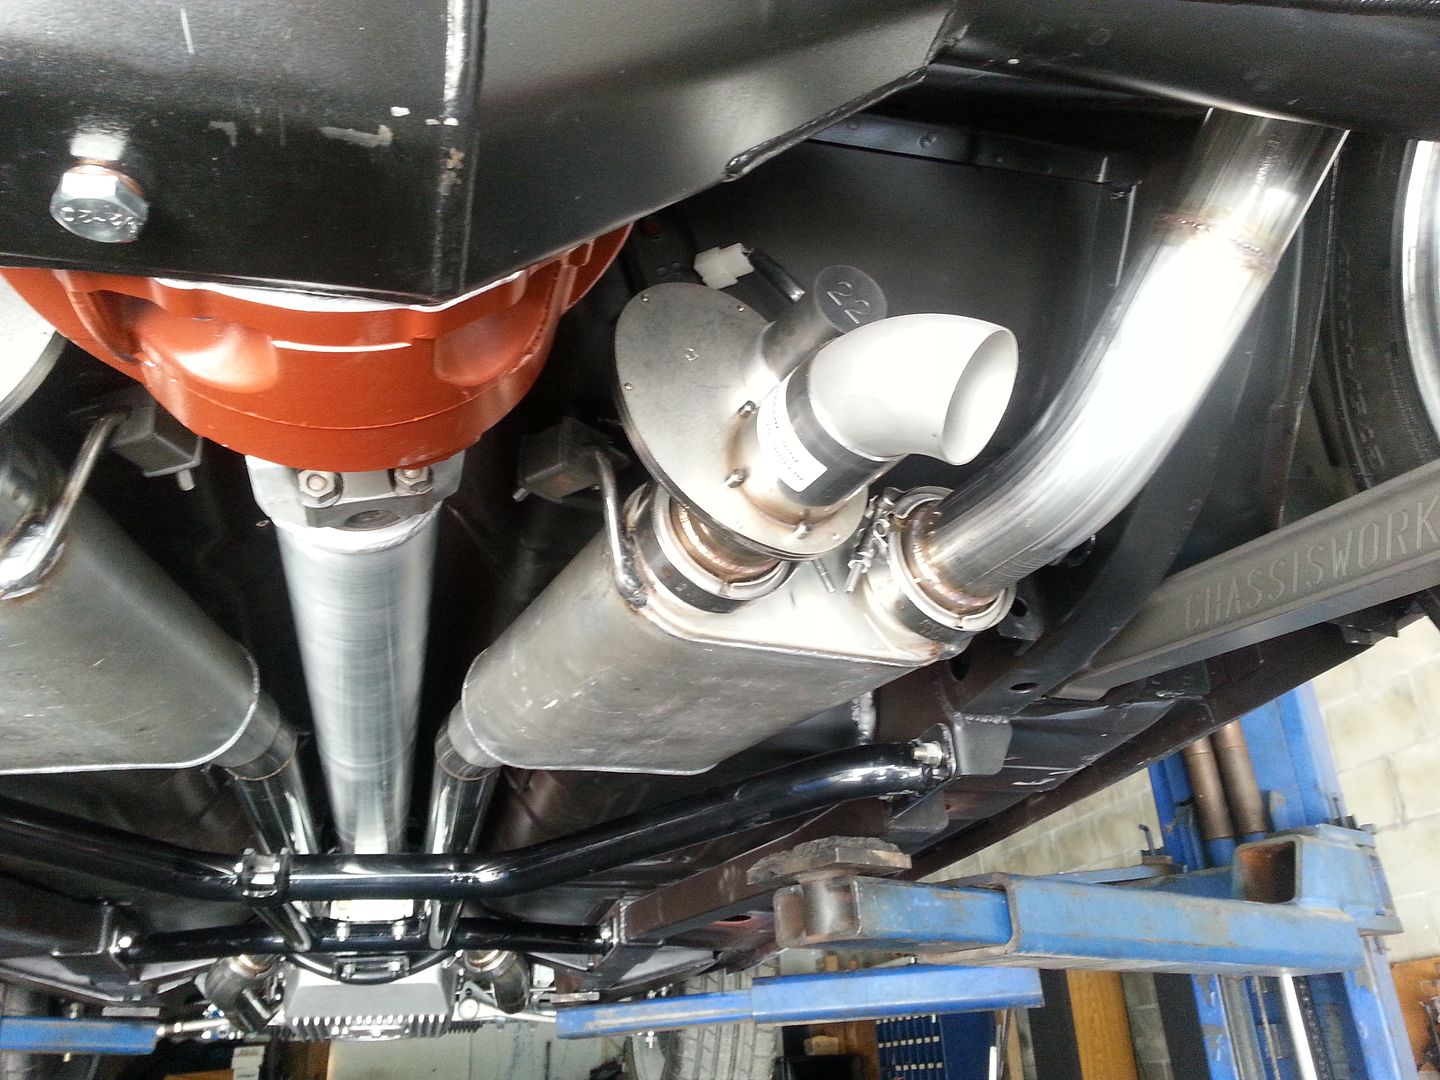
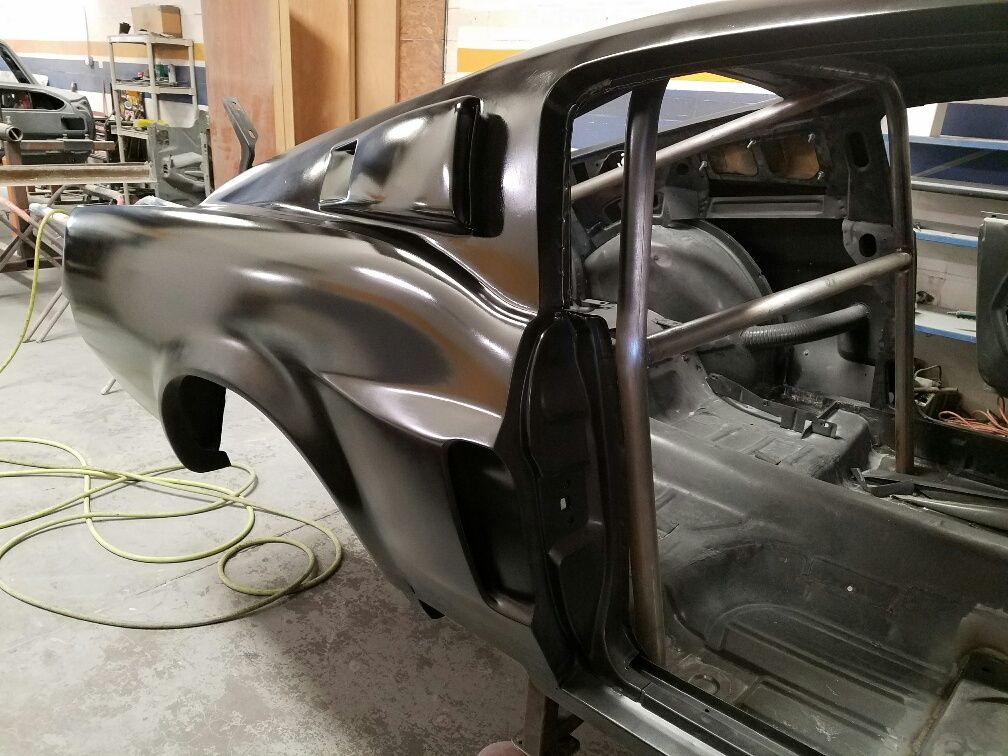
Hi Rusty, I am exploring options for subframe/body strengthening on my 69 Mustang and I knew I had seen some done by you before. I'm curious though what do you do with the exhaust on this set-up with the X-centre section?

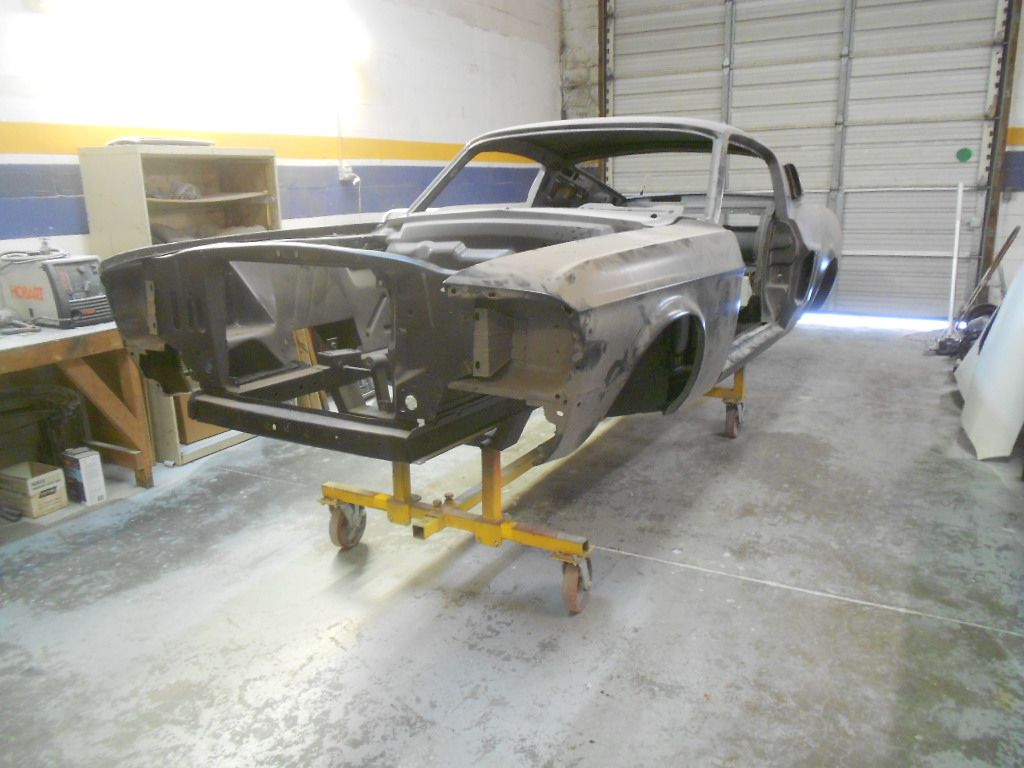
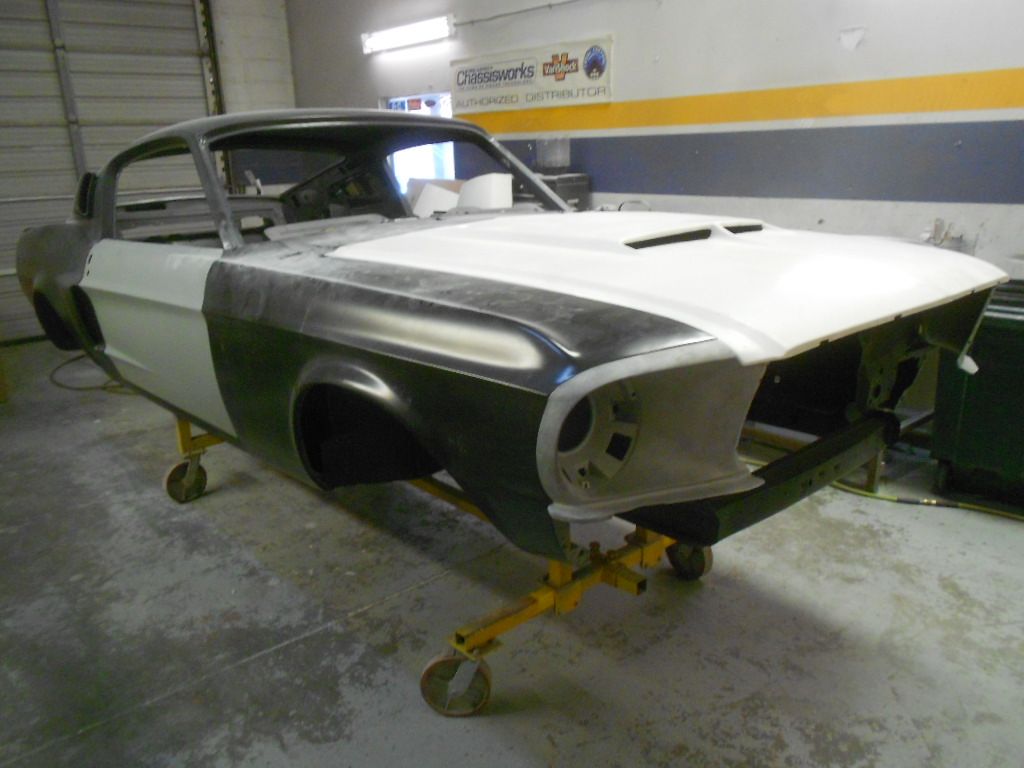
I think off the top of my head you have also put in convertible inner rockers on fastback/coupe bodies, is that correct? If so, what is involved and would you recommend it? At this point I have no floor pan in my car but am getting close to the point of welding in the new one piece replacement part. So now is the time to make any changes which I feel is necessary as I'm putting in an EFI 462CJ stroker engine.

Cheers,
Ash

rusty428cj;n39457 said:
24_zps06b03be5.jpg
 
We have this on a 1967 Mustang with a 427 Windsor and the owner sent it to a custom exhaust shop, it was expensive but he has stainless all the way to the gt rear valance. If you are going to install the convertible inner rockers you would be better off with a convertible floor.

We also did this with 2 x 2 box tubing


112.jpg


130.jpg
 
Thanks, Rusty.

I plan to build a stainless exhuast myself. I didn't want it to hang low though as our local roads will damage or rip it out it very quickly.

I couldn't find any convertivble inner rockers here in Aus so I have asked my local fab shop to fold me a set.

I thought about using some box tubing as well but wanted to keep it along the lines of factory components for the sake our or vehicle registration requirements.
 
Oh wow, that is a tight fit. Thanks, Rusty.

They are great examples and help a lot.
 
This project was on hold for a few years and the owner has decided on a few changes. I'm sorry to say he has decided not to go with the SOHC but is going with an aluminum FE just not sure how big it will be yet. We will also be doing a few modifications to the body.

It is out of storage and back in the fab shop.

DSCN3548_zpsfvmv961j.jpg


The first thing Brian did was finish lining up the sheetmetal

DSCN3569_zps8frpr6hf.jpg


Starting to install the Mustang to Fear gas filler kit.

DSCN3603_zpsjytmq8ah.jpg


DSCN3607_zpsvnvprfmz.jpg


DSCN3610_zps6zvywiyb.jpg


Welded in place and the welds ground

DSCN3612_zpsd9qx0nws.jpg


DSCN3614_zpsimnzcmvn.jpg
 
The owner decided he didn't what the Shelby/Eleanor taillight panel that was installed before he bought the car. Brian had the fun job of cutting off the fiberglass taillight panel and end caps.

DSCN3827_zpsnlwmsr2r.jpg


We bought another taillight panel to cut out the stock taillights.

DSCN3860_zpskddorxzq.jpg


DSCN3863_zps9bcm407y.jpg


After a lot of measuring and Brian standing back looking at them to make sure they were straight he welded them in place.

DSCN3880_zpsfql91oon.jpg


DSCN3883_zpsn3crwydn.jpg


Since we have a side gas filler we decided to do away with the original one.

DSCN3889_zpszmyryzbs.jpg


Brian cut out a section of the new taillight panel and welded it in place.

DSCN3892_zpscni51fba.jpg


DSCN3895_zps0aykpzev.jpg


After a little grinding

DSCN3903_zpshwwcimbv.jpg


DSCN3906_zpsjuf3btb6.jpg


Stay tuned for more modifications to the rear in the future.
 
Brian finished grinding the right side.

DSCN3913_zpslwsjjyv1.jpg


Carriage bolts were welded to the taillight panel and ground down to hold the taillights

DSCN3915_zpsmhnkqgby.jpg


DSCN3917_zpsvl9adzfq.jpg


He still has to finish the right side. He bolted it together and tack welded the carriage bolts removed the taillights and finished welding both sides. This is how they look before he grinds them down and weld them one more time before the final grinding.


DSCN3921_zpsmfbkfgx4.jpg
 
We decided to install a roll bar and I bought a kit from S & W for a 1968 Mustang

DSCN4063_zpsav7lnxfd.jpg


DSCN4067_zpskvwjdxfi.jpg


DSCN4070_zpsbjh1gfnx.jpg


DSCN4090_zpsq5vup5xp.jpg


We wanted to do something different so we cut about 1" off the end caps and spoiler.

DSCN4407_zps9kz2wez7.jpg


DSCN4411_zps7fxxzuv2.jpg


As you can see in this photo the bumper needs to be narrowed

DSCN4477_zpsawusmd3p.jpg


I cut the center out of the bumper and lined up both ends with the end caps.

DSCN4484_zpsx37ufnnu.jpg


I will have to add fiberglass to get a tight gap

DSCN4486_zpsj1wdzeqv.jpg


Bumper fits better now but still needs a lot of work to look right

DSCN4519_zps15jqrf13.jpg


The gap was larger in the middle so I added fiberglass

DSCN4531_zpssv0gohqa.jpg


We also added fiberglass to the bottom of the bumper

DSCN4572_zpsfhhlcf8v.jpg


DSCN4574_zpsqwesm1vm.jpg


DSCN4580_zpsy11k46ml.jpg


DSCN4582_zpsgsbzssxk.jpg
 
The end caps were bolted and bonded to the quarter panel

DSCN4535_zps467kgn1k.jpg


I also added a little fiberglass

DSCN4537_zpsrzp6n9ov.jpg


Bodywork ruffed in

DSCN4544_zpsmceacmil.jpg


We now have a nice tight gap around the rear bumper

20170224_090930_resized_zps2fxhtk0h.jpg


Epoxy primed

20170225_141855_resized_zpswis9ry4v.jpg


20170225_141800_resized_zpsprfcqdlb.jpg


Next step is to finish the bodywork on the taillight panel and rear valance

20170225_141826_resized_zpsbyo8qwq8.jpg
 
Quarter scoops were bolted and bonded with 3m8115 panel adhesive.

20170308_152823_resized_zpsg7uddcqp.jpg


Major bodywork finished on the rear of the body yesterday

20170311_083238_resized_zpstbsvuxvk.jpg


20170311_083216_resized_zps5xxegoph.jpg


Today I sprayed two coats of SPI epoxy primer

20170311_121936_resized_zpswfjuzjgr.jpg


20170311_121949_resized_zps6lpets3p.jpg


20170311_122001_resized_zpshc3hulnh.jpg


20170311_122019_resized_zps1c3ntylc.jpg
 
We had to add fiberglass to the side exhaust skirts to give us something to bond to the pinch weld.

20170313_144300_resized_zpshfgeol9p.jpg


20170314_142000_resized_zpsglrrfoad.jpg


Bonded to the rockers

20170314_145414_resized_zpsf0hflslz.jpg


Started the bodywork

20170316_152927_resized_zpshpbr96e1.jpg


Headlight bucket was bolted, bonded and fiberglassed to the fender

20170315_081926_resized_zpsqsuepift.jpg


Front fender flares installed

20170321_071544_resized_zpslpmk966z.jpg


Bodywork getting everything to line up

20170322_064959_resized_zpsirftop3b.jpg


20170327_122525_resized_zps3dpibtlb.jpg


Ready for a couple coats of SPI epoxy primer

20170401_114126_resized_zpsw0iunyck.jpg


20170401_114052_resized_zpsswxzxeqb.jpg


20170401_151316_resized_zpsehio9x0s.jpg


20170401_153117_resized_zpskhq6kv7y.jpg
 
Not sure if it's something on my end, but I can't see the pictures in the last two posts,says "Photos not found".
 
Starting to fit the front apron

4600_zpslg3eatu3.jpg


4601_zps3fsz7pdu.jpg


The shape was wrong under the headlight buckets so we cut it apart and glassed it back together

4604_zpskukxcdqs.jpg


4605_zpsweulcovq.jpg


The spoiler was cut down and the front lip bonded back on.

4608_zpsmnjxb4jp.jpg


After sanding

4610_zpsetgnclo0.jpg


4612_zpsgvq9mtps.jpg


Bodywork to match the fender to the front apron

4614_zps9c9cqwrm.jpg


After a lot of sanding and priming

4624_zpswjf6d9v9.jpg


SPI black epoxy to seal the bodywork

4629_zpsg8mlb9km.jpg


Two coats of SPI Turbo primer

4631_zpstu7sha5e.jpg


4633_zpstt6gmcod.jpg


4635_zpsixkduclt.jpg
 
In the past I remember you using Slick Sand or some other polyester primer, and here you chose Turbo. Is there a reason or do you just use each for their own reasons?
 
Th
In the past I remember you using Slick Sand or some other polyester primer, and here you chose Turbo. Is there a reason or do you just use each for their own reasons?
The price of Slick Sand has gone up a lot and is hard to sand and I like the Turbo.
 
Back
Top