1965 Mustang rust repair

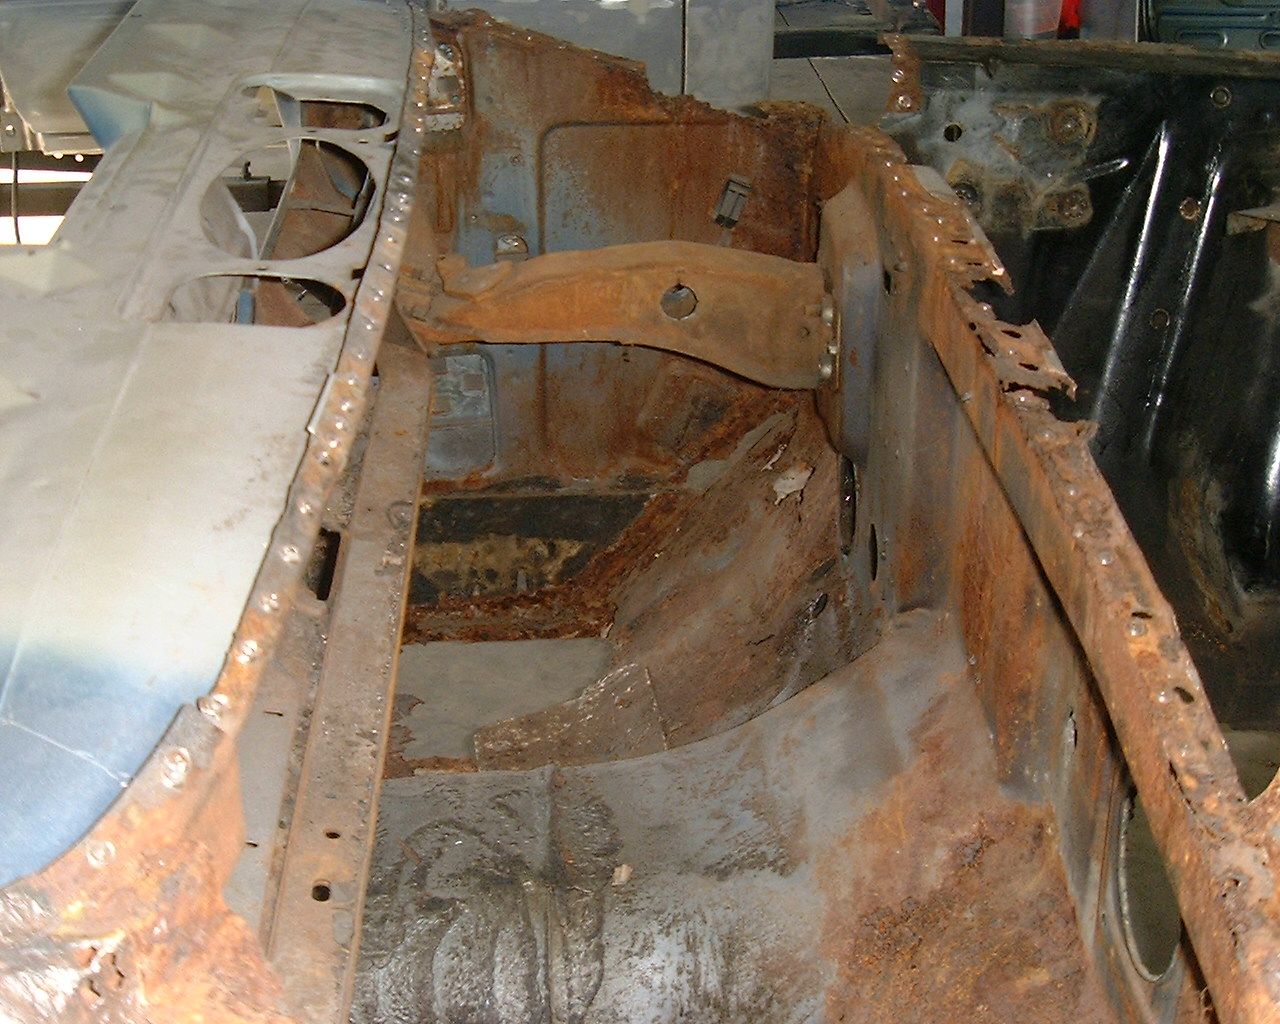
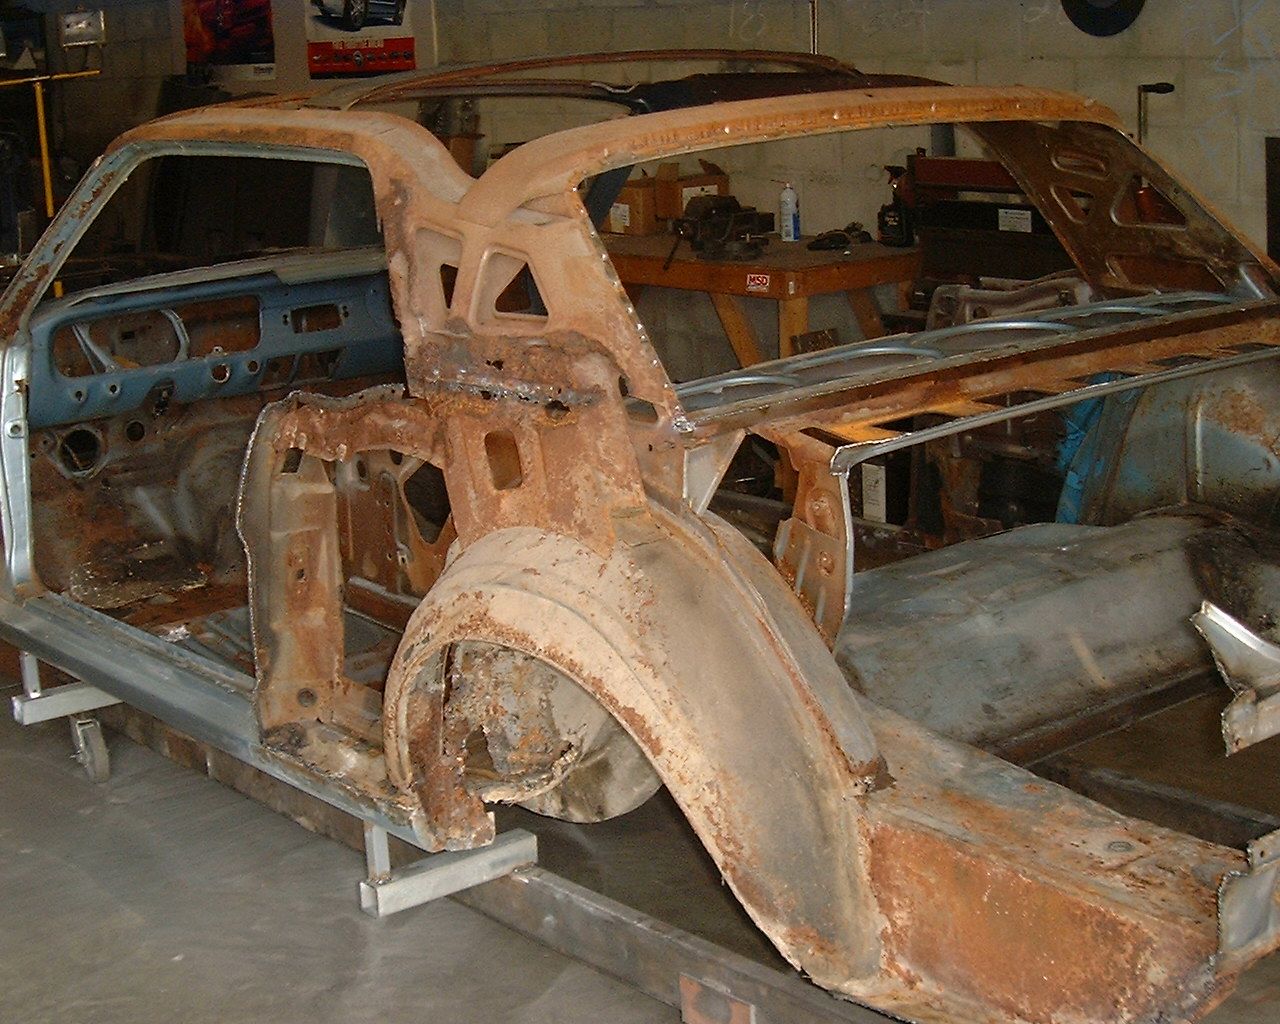
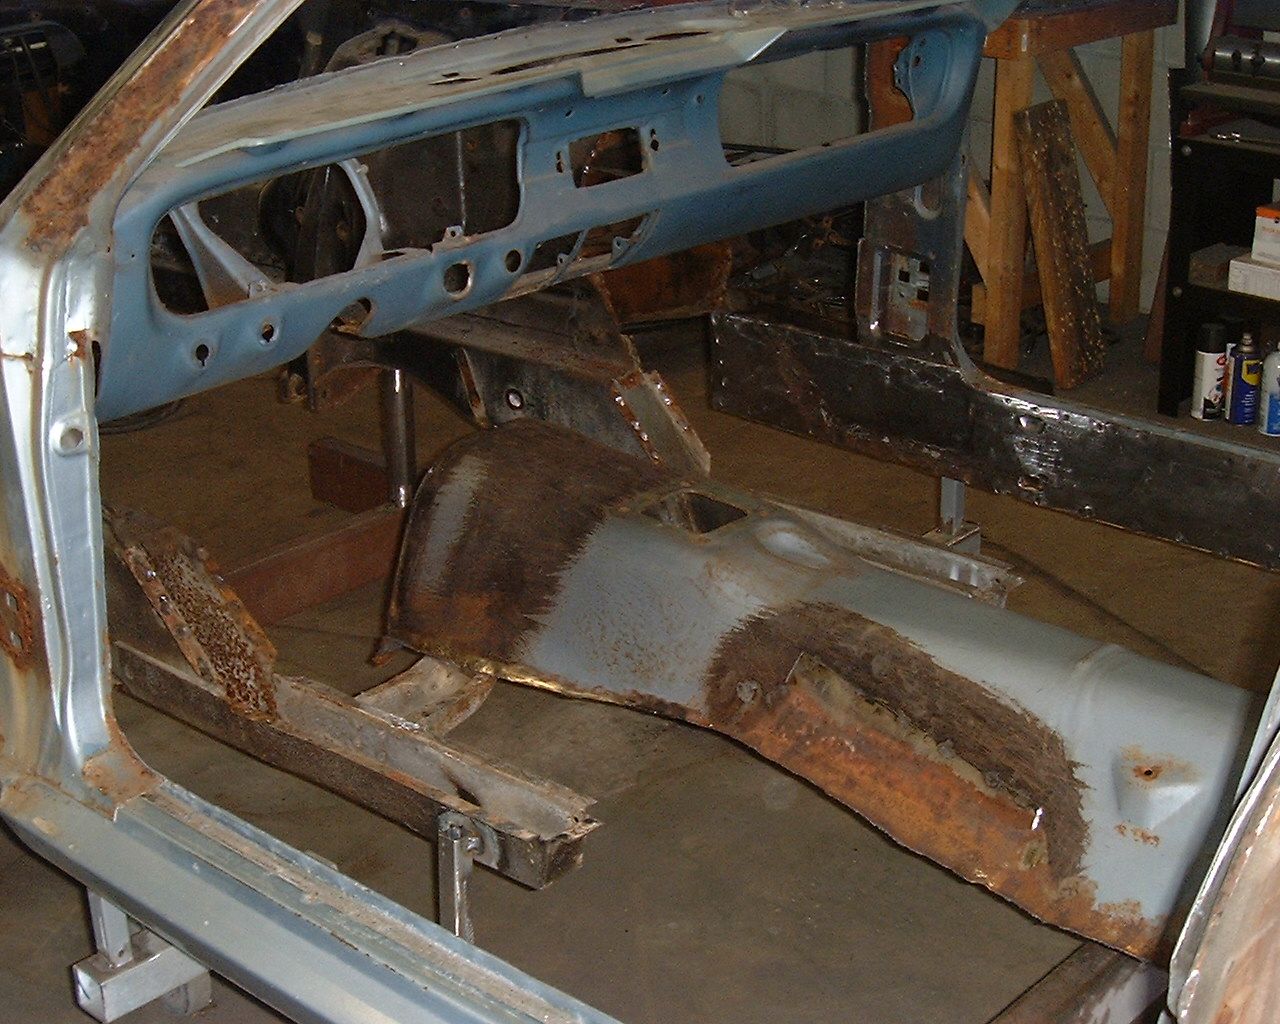
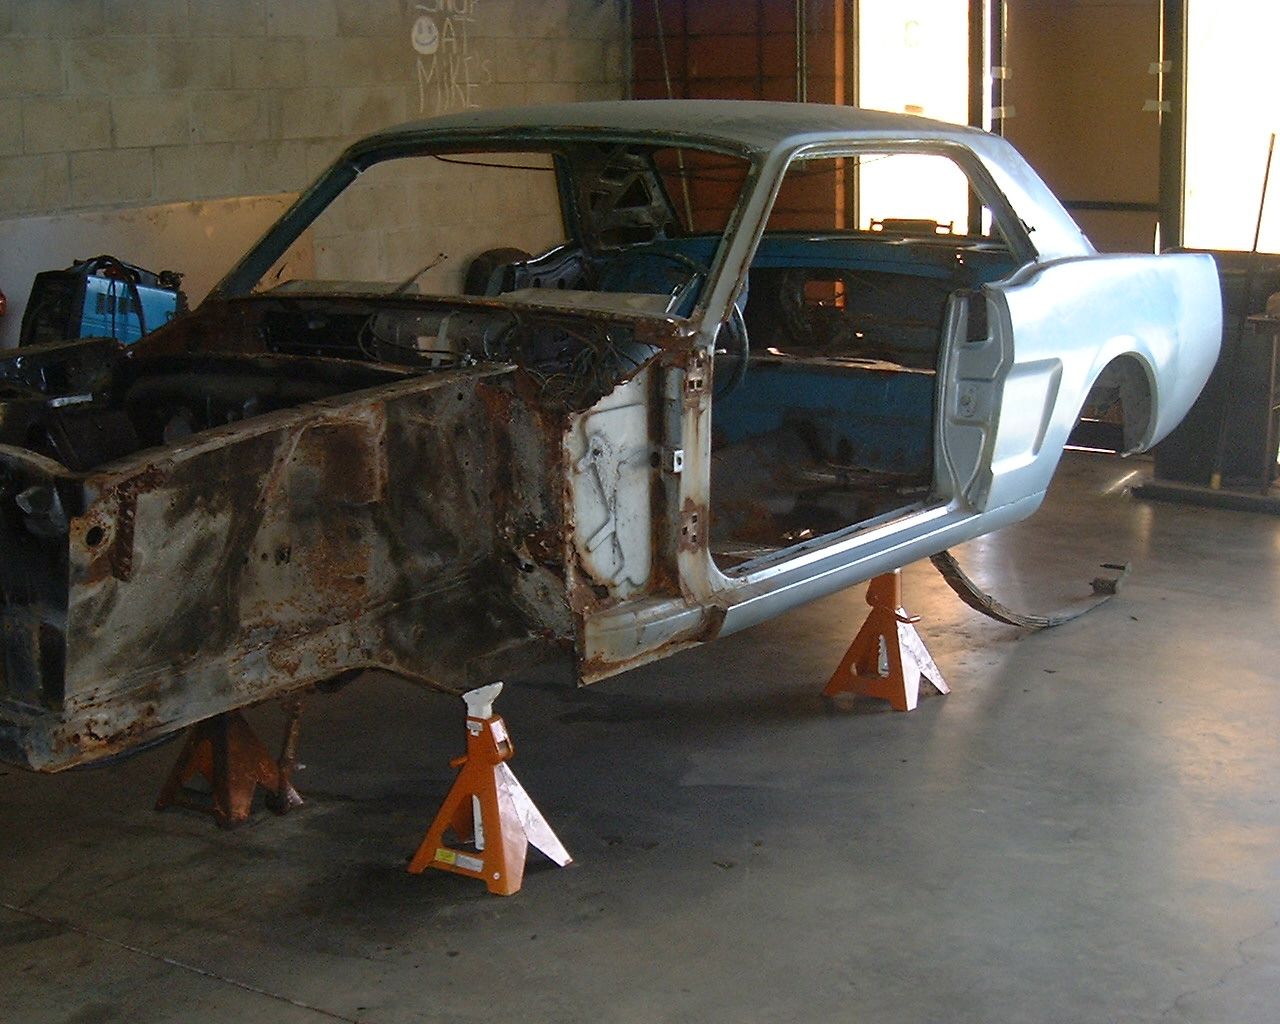
Yesterday we removed the engine and transmission and set it up on jack stands.

26.jpg


27.jpg


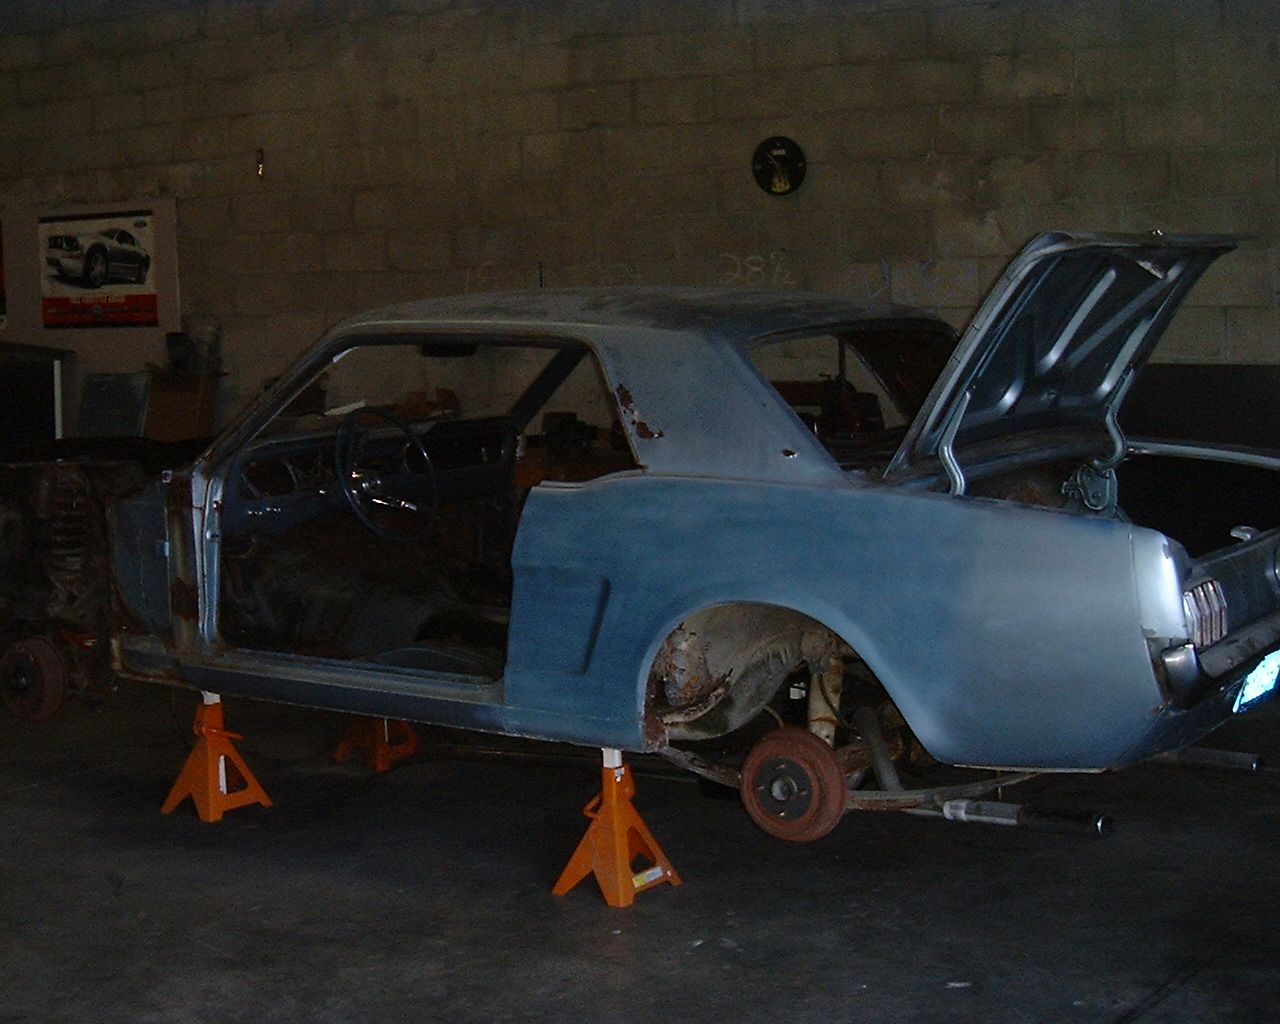
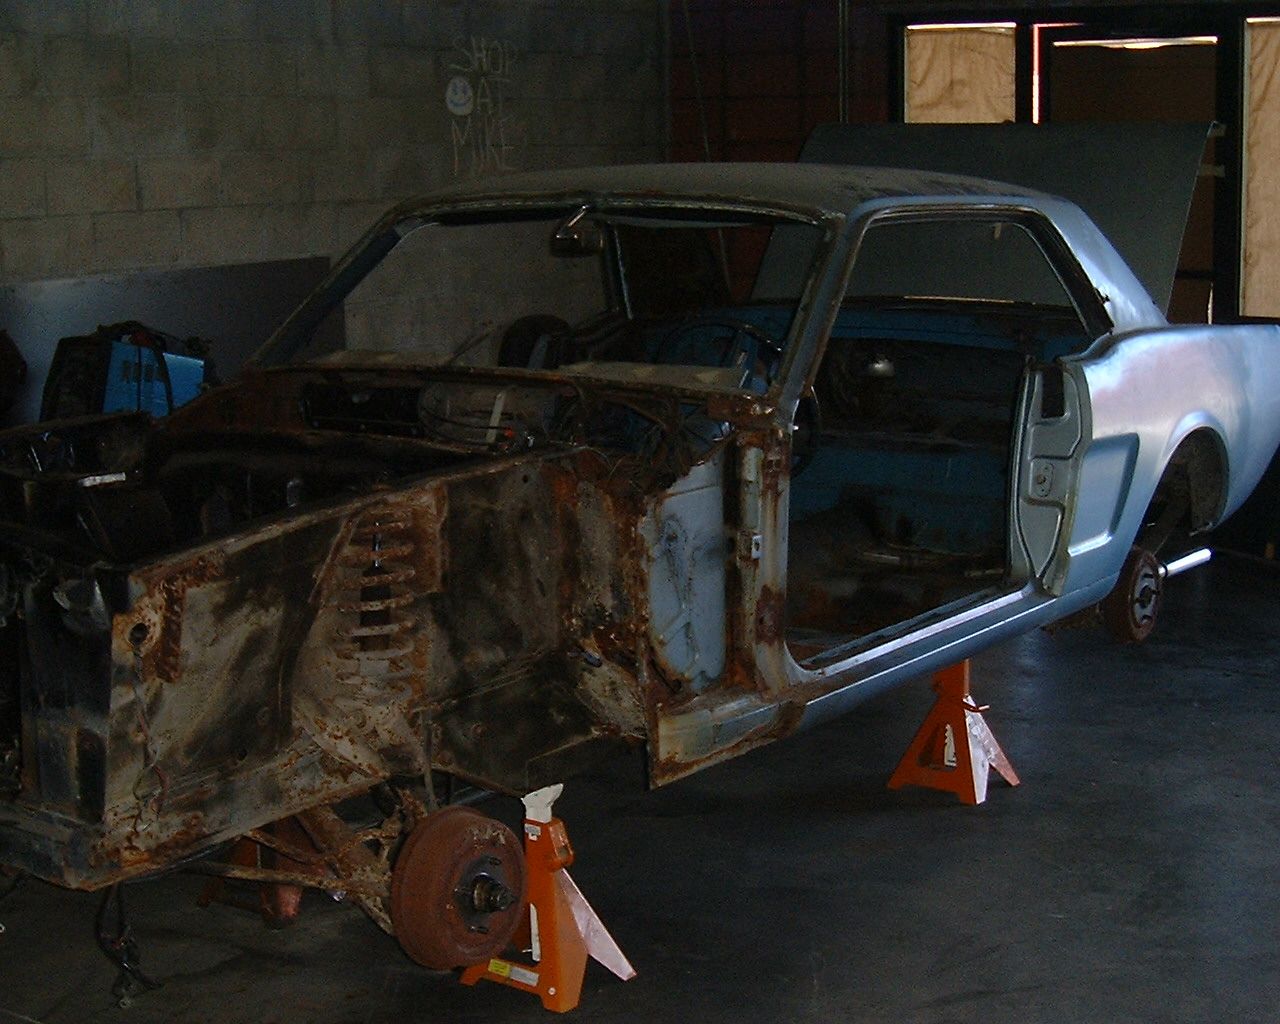
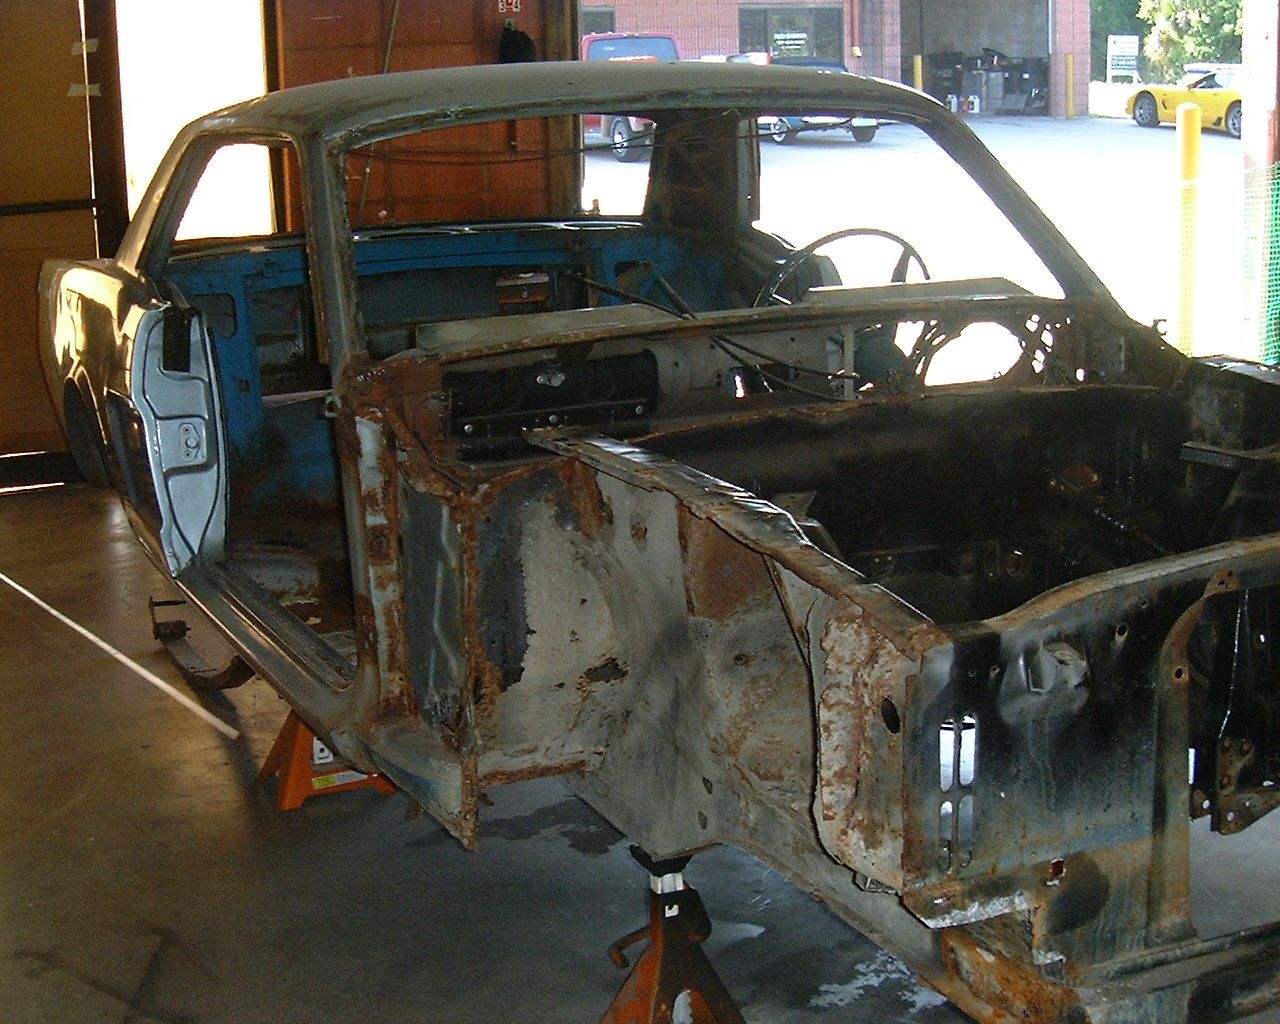
Today the suspension was removed along with a lot of other parts. We need to start out fresh to get the bolt out of the front of the leaf springs.

32.jpg


34.jpg
 
Brian finished stripping the wiring, steering column, gas tank, and other parts today

37.jpg


38.jpg


40.jpg


Brian cut off the drip rail on the right side today.

The first thing he did was cut it off with a cutoff wheel.

41.jpg


42.jpg


Next step is to grind the spot welds and remove that piece from the windshield post.

43.jpg


44.jpg


That's all for today
 
I just went back to the first pictures on this thread and man what a rust filled surprise this car turned out to be. Thanks for posting the pictures Rusty I love to watch your progress and methods on these restorations.
 
Rusty has definitely found his calling in life... (sorry, bad pun).

Amazing to see what is hidden inside those layers...
 
Wow, I think that makes the 65 fastback look like a minor job. How do you determine when and where to add extra bracing when you take one apart like this? I'm curious because I need to do torque boxes and some work on the firewall, and I was considering doing something. Is it really required?
 
Thats incredidble that you can rebuild something like that. I hope you post lots of pictures of this one going back together. I really like seeing your work, thanks for sharing.
 
cjetmech;7431 said:
Thats incredidble that you can rebuild something like that. I hope you post lots of pictures of this one going back together. I really like seeing your work, thanks for sharing.

I second that.
 
Ill 3rd that lol.. Awesome threads Rusty puts up for everyone to learn from!!
 
Today Brian started working on the left sail panel.

This is what he started with

60.jpg


He removed the rusted out section

66.jpg


Cleaned it with a wire wheel

67.jpg


Brushed a thick coat of SPI epoxy

68.jpg
 
Brian removed the outer A pillar sheetmetal than sanded and epoxy primed

69.jpg


70.jpg


71.jpg


The first new metal welded to the A pillar

72.jpg
 
[QUOTE='68 Coronet R/T;7967]Truly fantastic work. Does Brian fabricate all the patches in shop?[/QUOTE]

The inner A pillar where the hinges are is a replacement but he had to make the outer piece that covers the hinge area and the windshield pillar patches.
 
Back
Top