A woman's project: 1968 Mustang Fastback Eleanor

Haha how did I know you would say that! Yes, I'd like pepper grey with black stripes but I won't be surprised when I pick it up and it's either SPI RED or SPI BLACK!!!!

Lauren
 
I started block sanding and found a low spot in both quarters and added a little filler. They did a great job blending the flares and scoops.

06.jpg


08.jpg
 
I did a little bodywork on the rear valance and block sanded the doors getting ready for epoxy

46.jpg


47.jpg


48.jpg


After 2 coats of SPI epoxy

49.jpg


50.jpg


51.jpg
 
I filled in the keyhole on the taillight panel and block sanded the rear valance and doors

63.jpg


64.jpg


65.jpg


Two more coats of SPI epoxy

66.jpg


67.jpg


68.jpg
 
As you can see there is a low spot on the top of the right side of the nose

69.jpg


I added a little filler and blocked it out.

70.jpg


Lauren and Aaron did not like the small headlights so we will install 7"

First step is to cut out the old headlight bucket

72.jpg


74.jpg


Next I enlarged the opening. This is close to the shape it will be in when I'm finished

76.jpg


77.jpg
 
We decided it would be easier to tape without the rear end and is now ready for a coat of SPI epoxy.

94.jpg


95.jpg


96.jpg


97.jpg


I block sanded the taillight panel and sprayed more epoxy

98.jpg


I sprayed a coat of epoxy to seal everything and will spray 2 coats of Slick Sand later today

99.jpg


100.jpg
 
We had the seat frames blasted by a good friend, and then Lauren sprayed them with epoxy. They turned out great.

DSCN0740.jpg


DSCN0781.jpg


Before assembling them, we need to figure out the best way to paint these original Shelby seat backs, black. Any suggestions?

seatbacks.jpg
 
I recovered my daughters Mustang seats and replaced the bottom springs. There are no bends in them so its very easy to do, inexpensive, and the springs are available from your local furniture upholsterer, one name for them is zig zag spring. They have it in a big roll and will cut off how much you need. You can use a hack saw and cut the individual lengths you need. It will surprise you how weak your old springs were and how good the covers fit and look.


View attachment 932
 
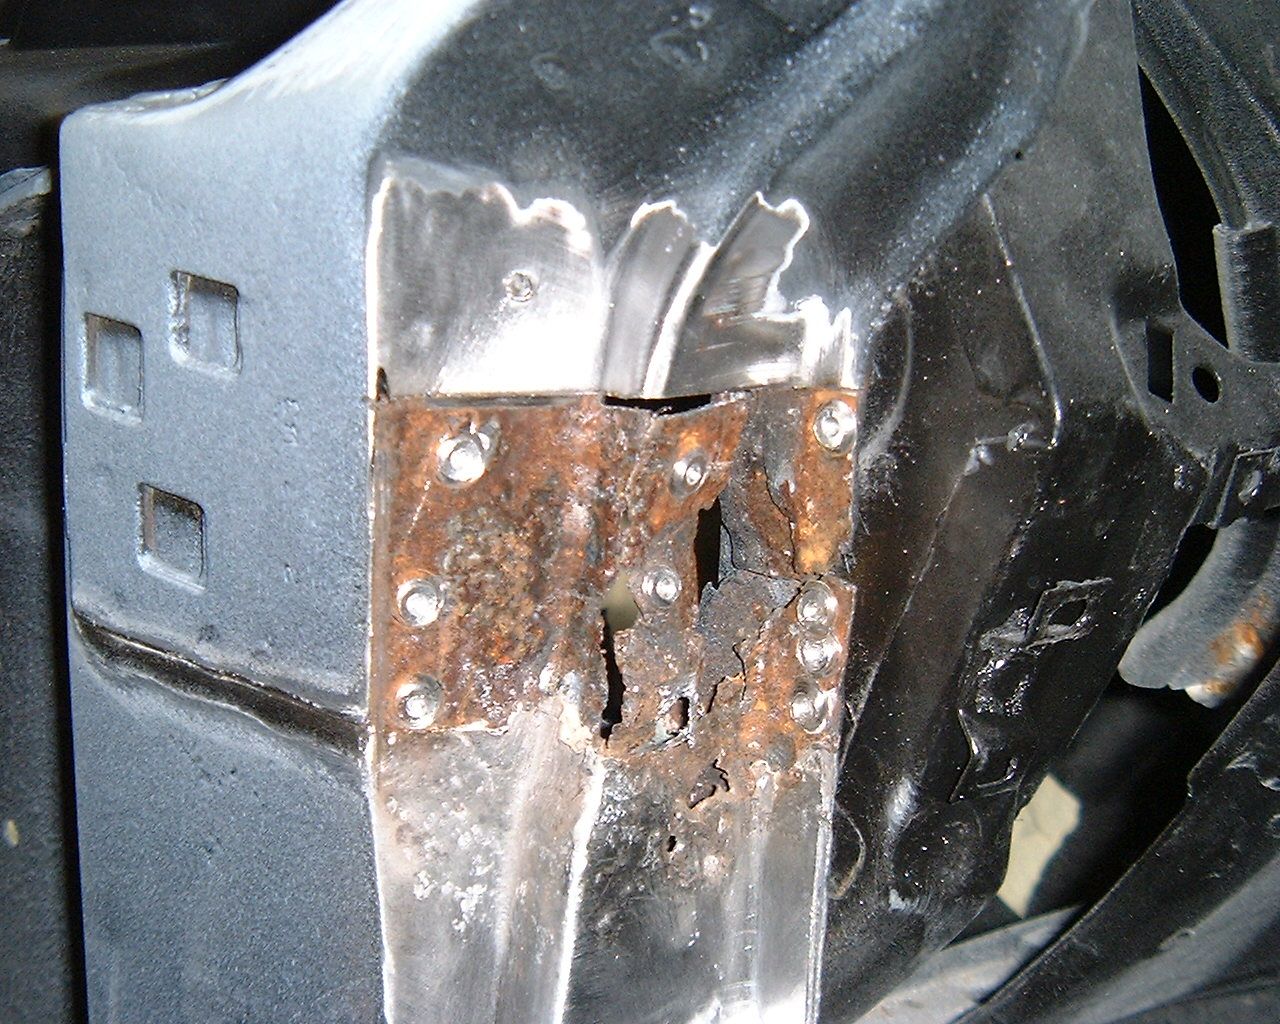
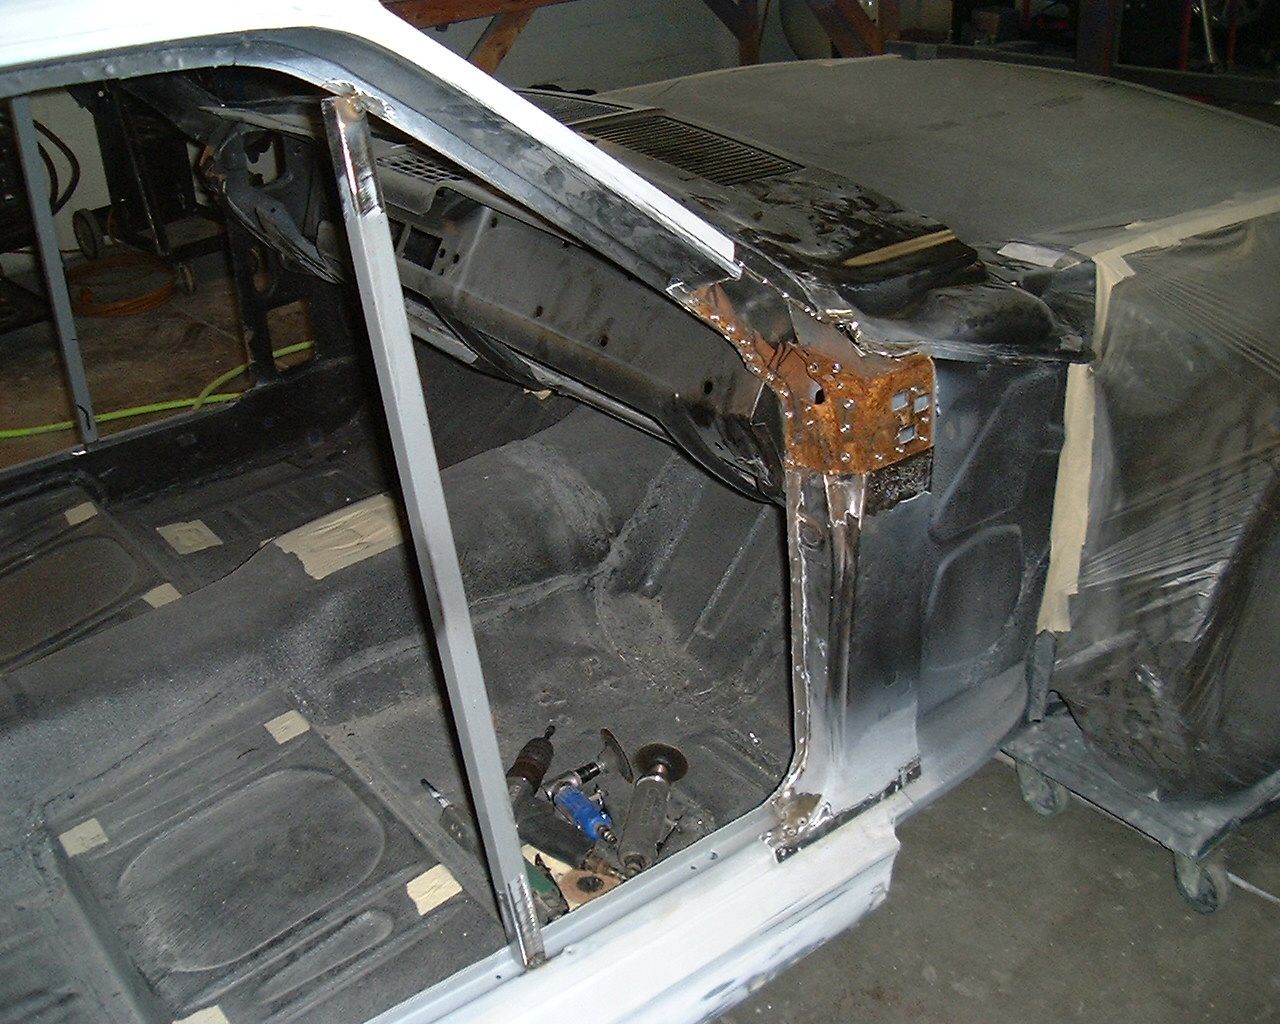
I started sanding the door jamb and found a few small areas that was either seam sealer or rust bubbles around the left hinge area on the A pillar. Once I started grinding I could see that it was rust. This is one area that you want to look at before your car is painted because Brian has had to repair a few. This is what it looked like after I ground it and poked around with an awl.

141.jpg


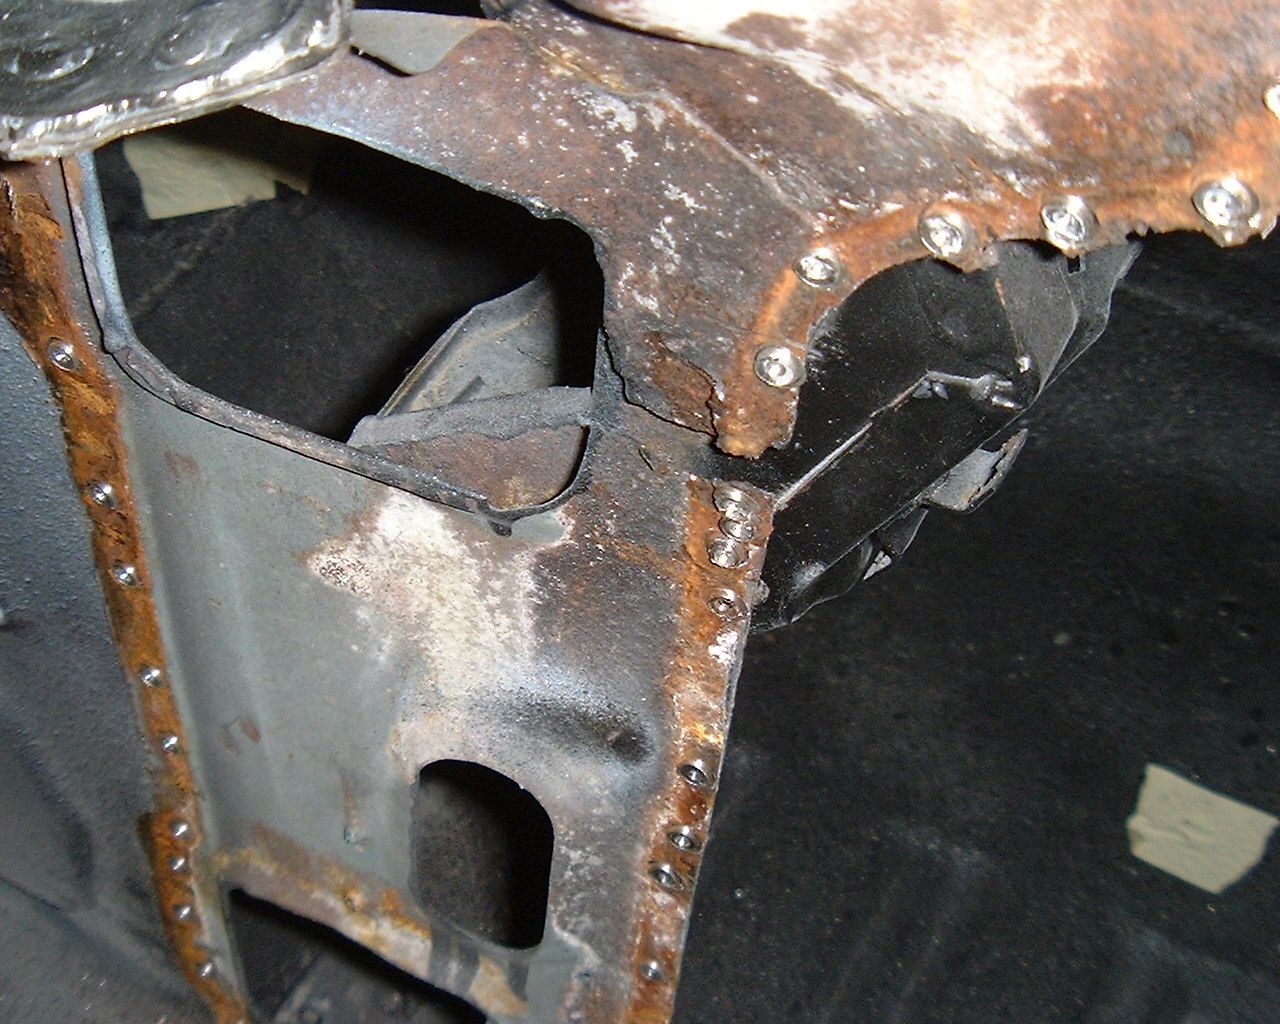
There is multiple layers of metal and you have to cut each one off until you find good metal. We started out thinking we could patch it.

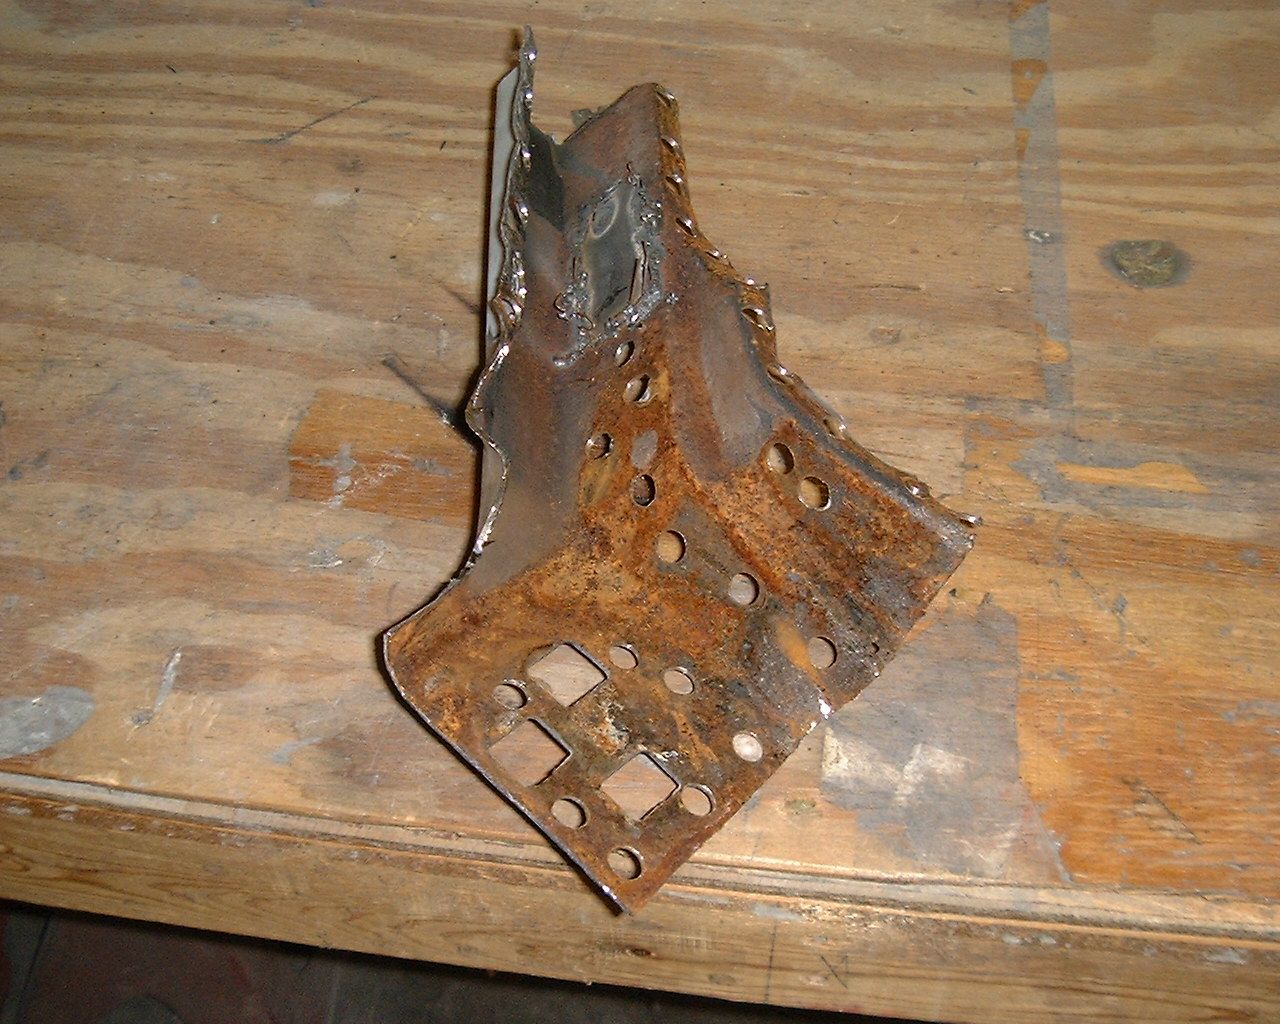
Brian cut out one layer and this was under it

143.jpg


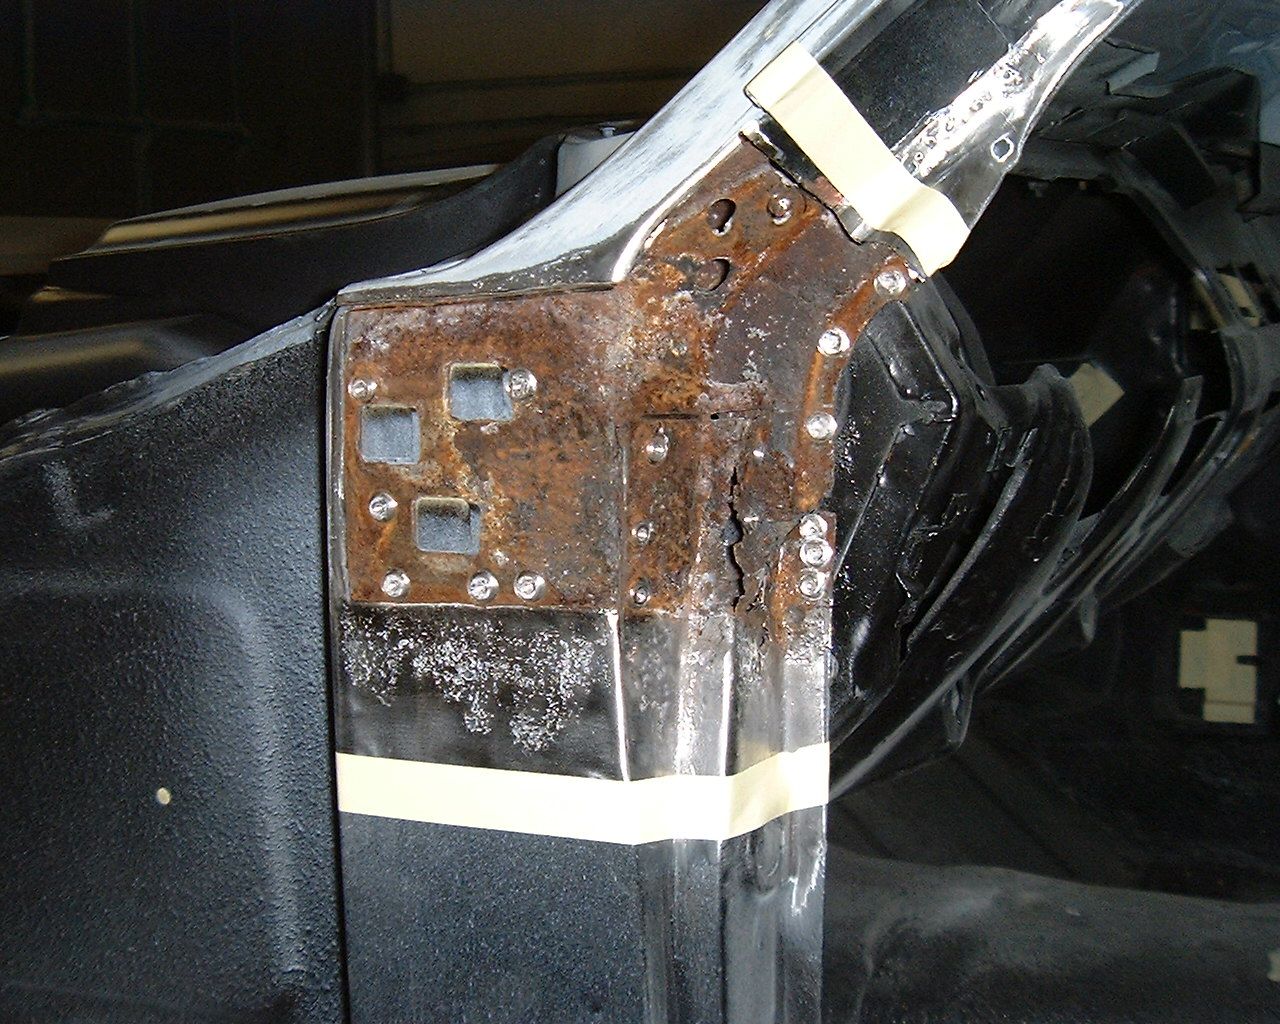
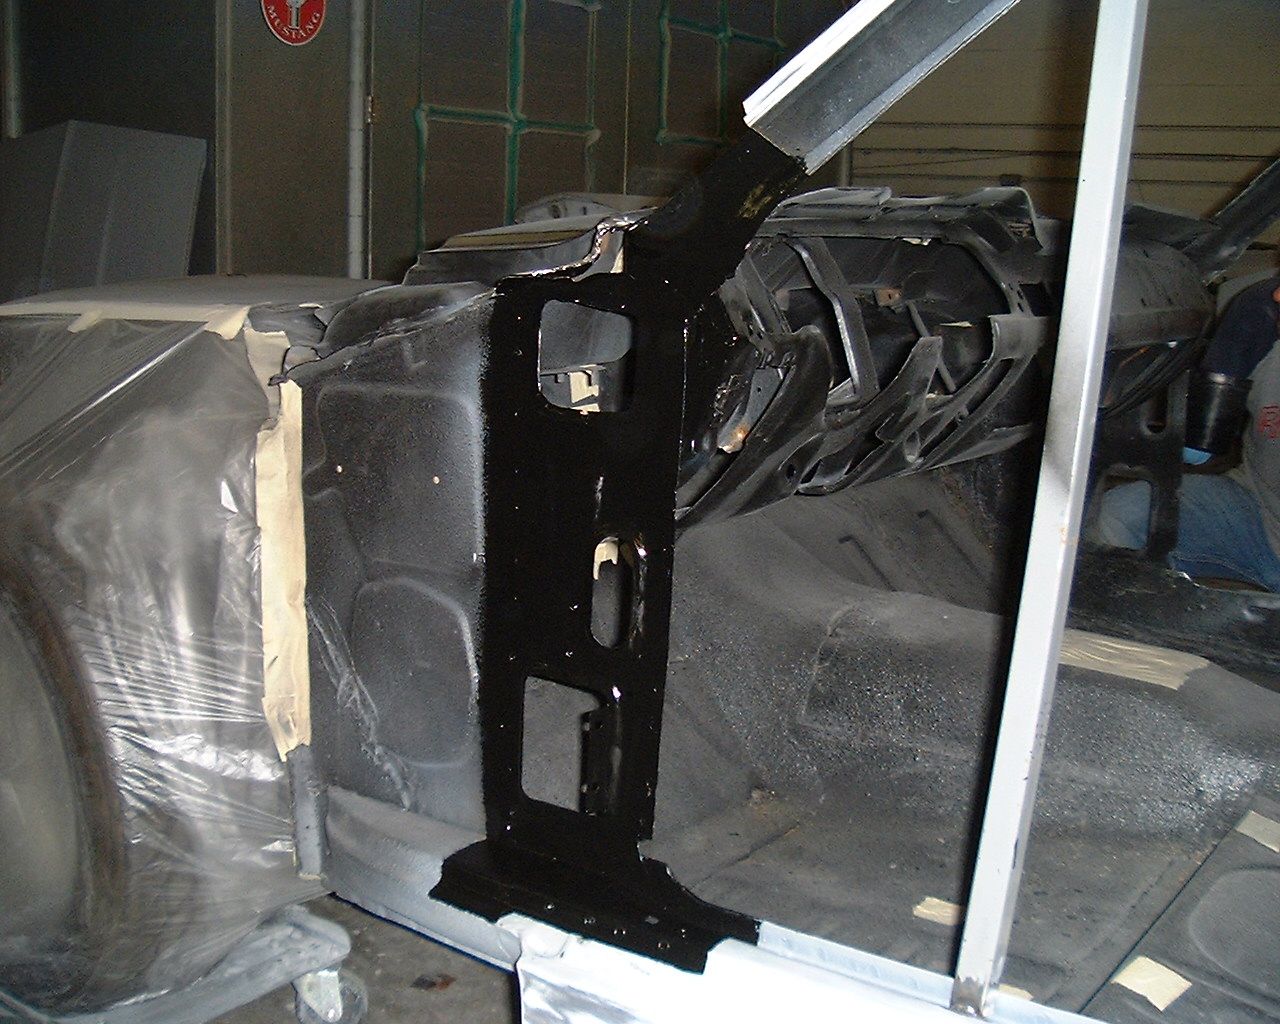
He decided he needed to cut out around the hinge area

144.jpg


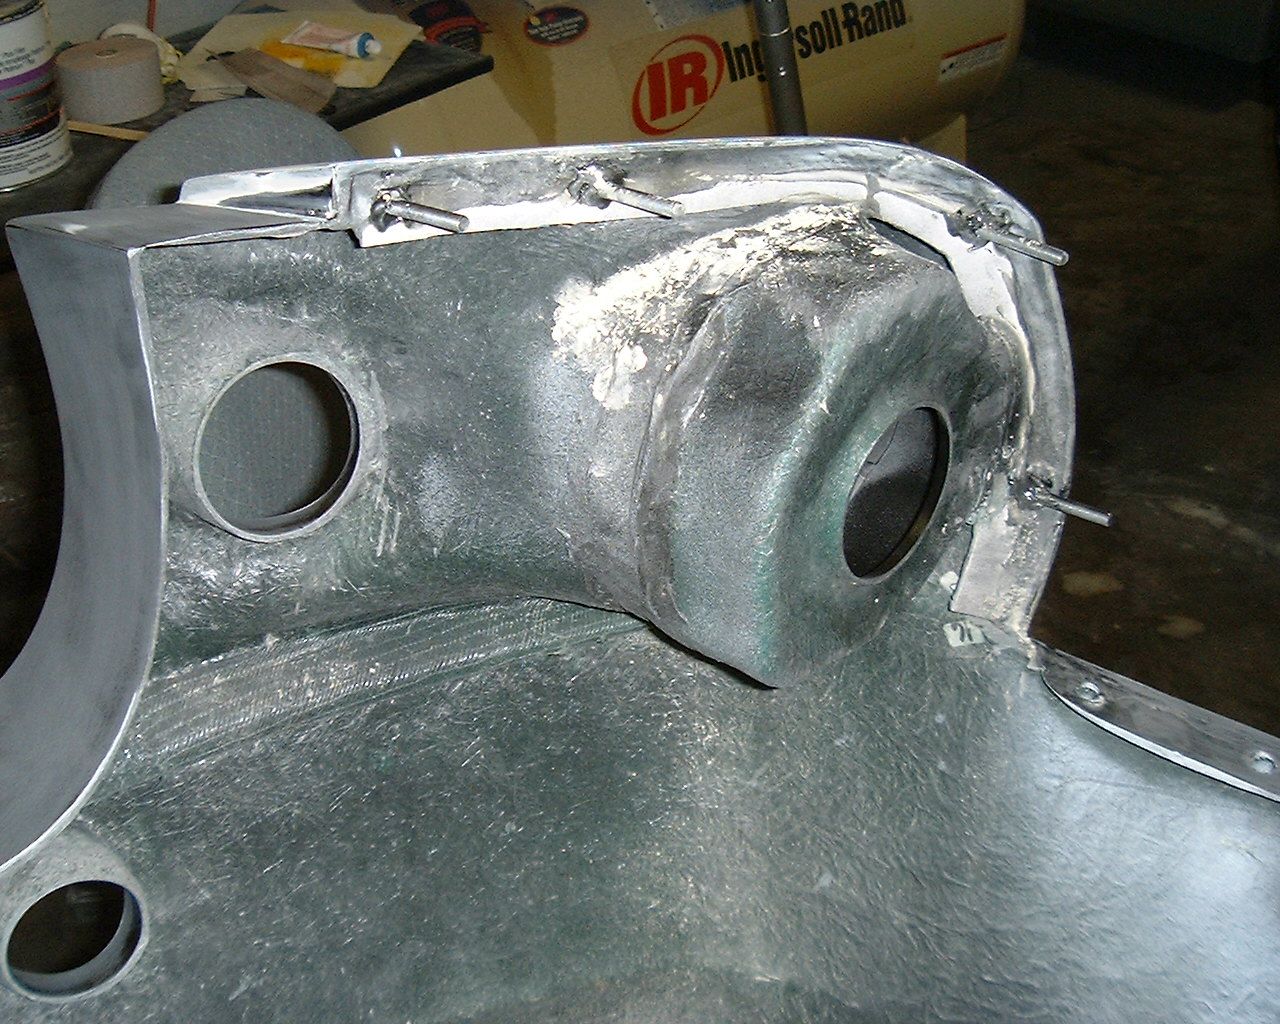
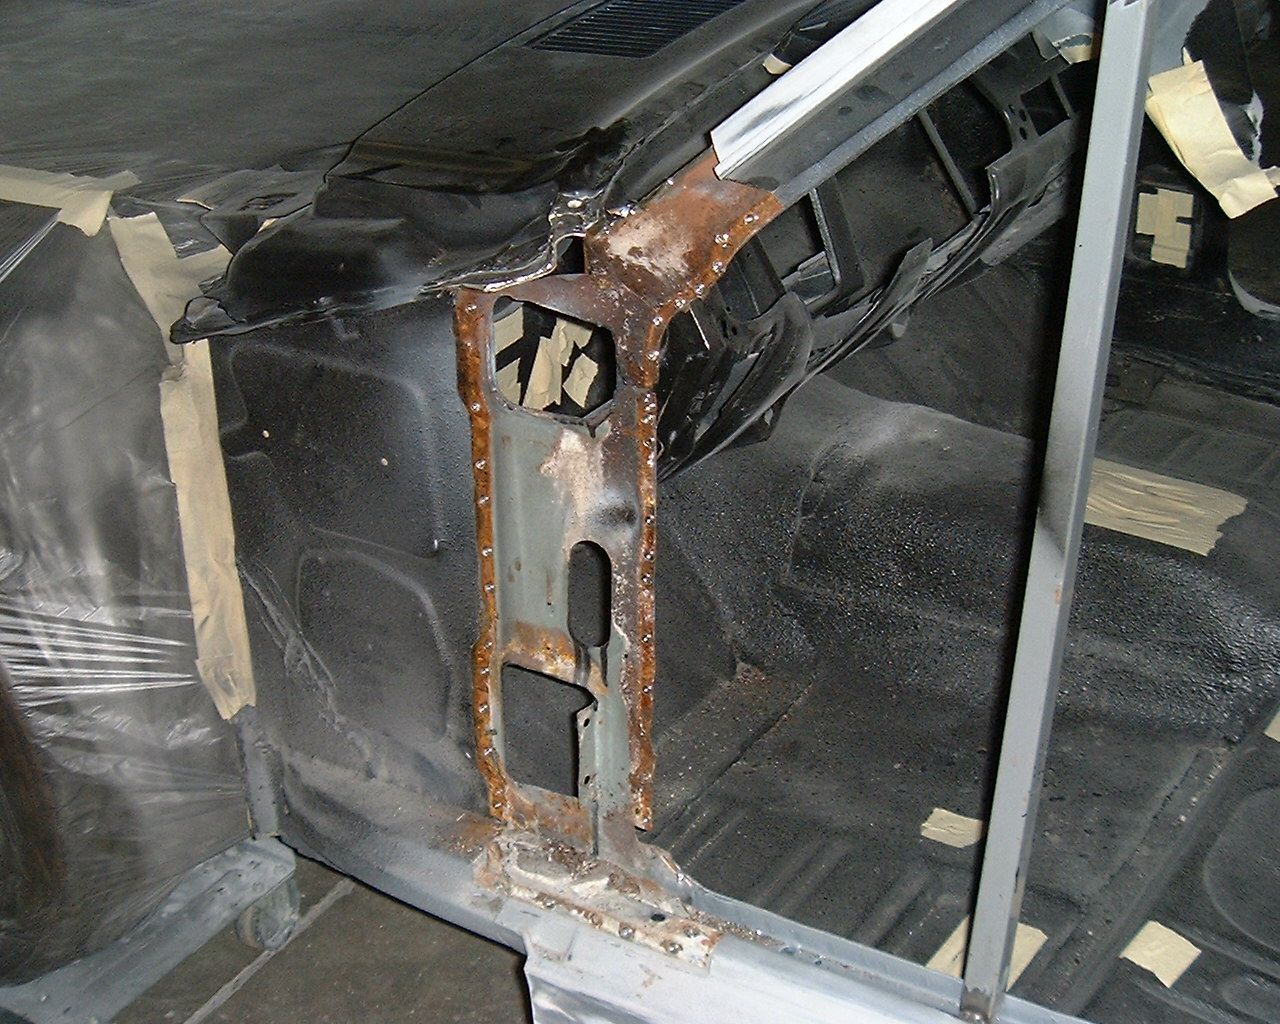
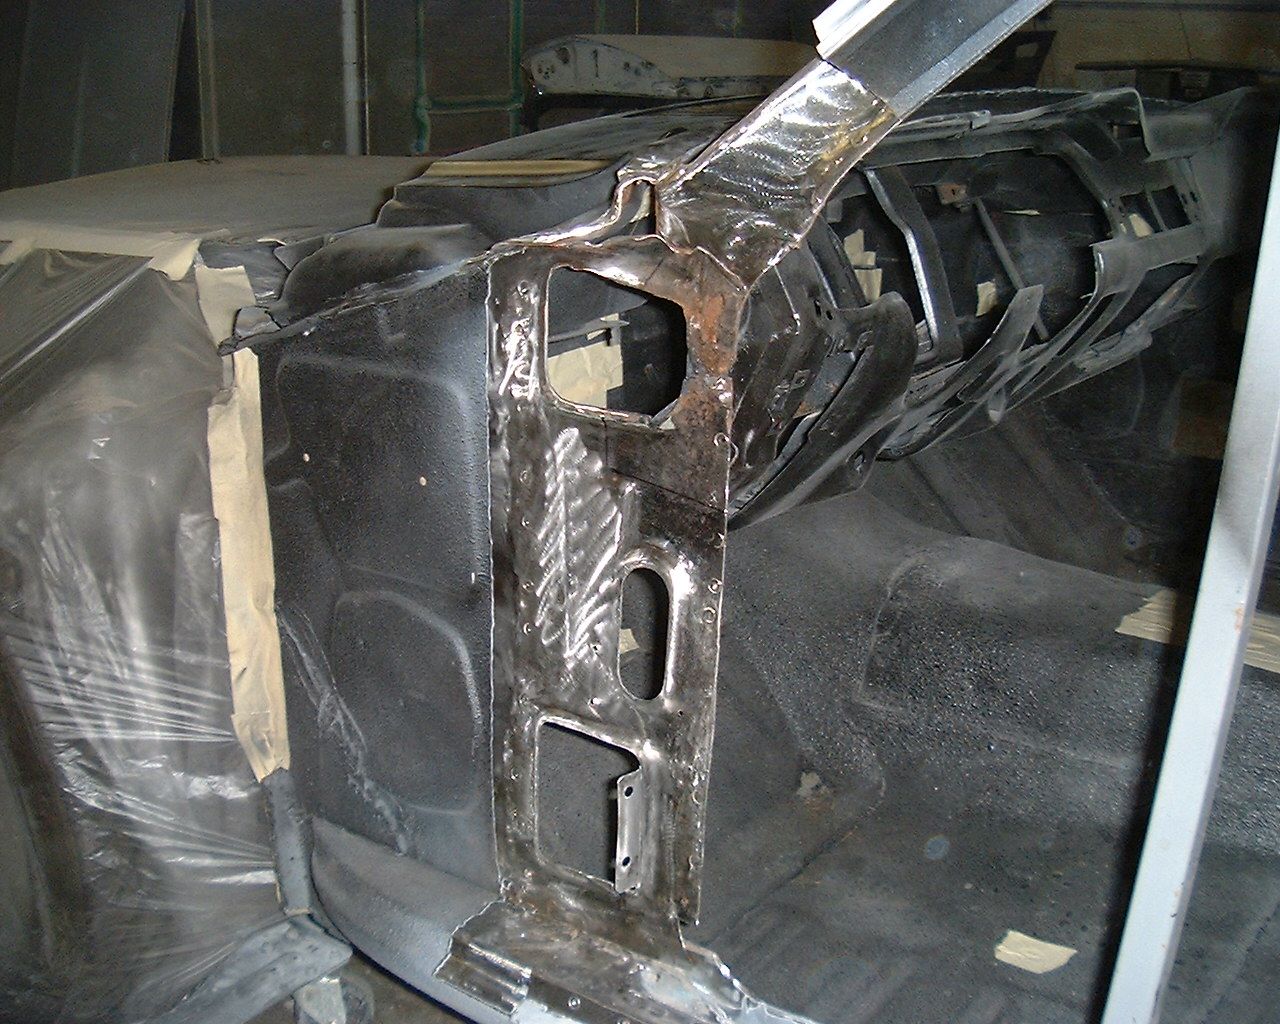
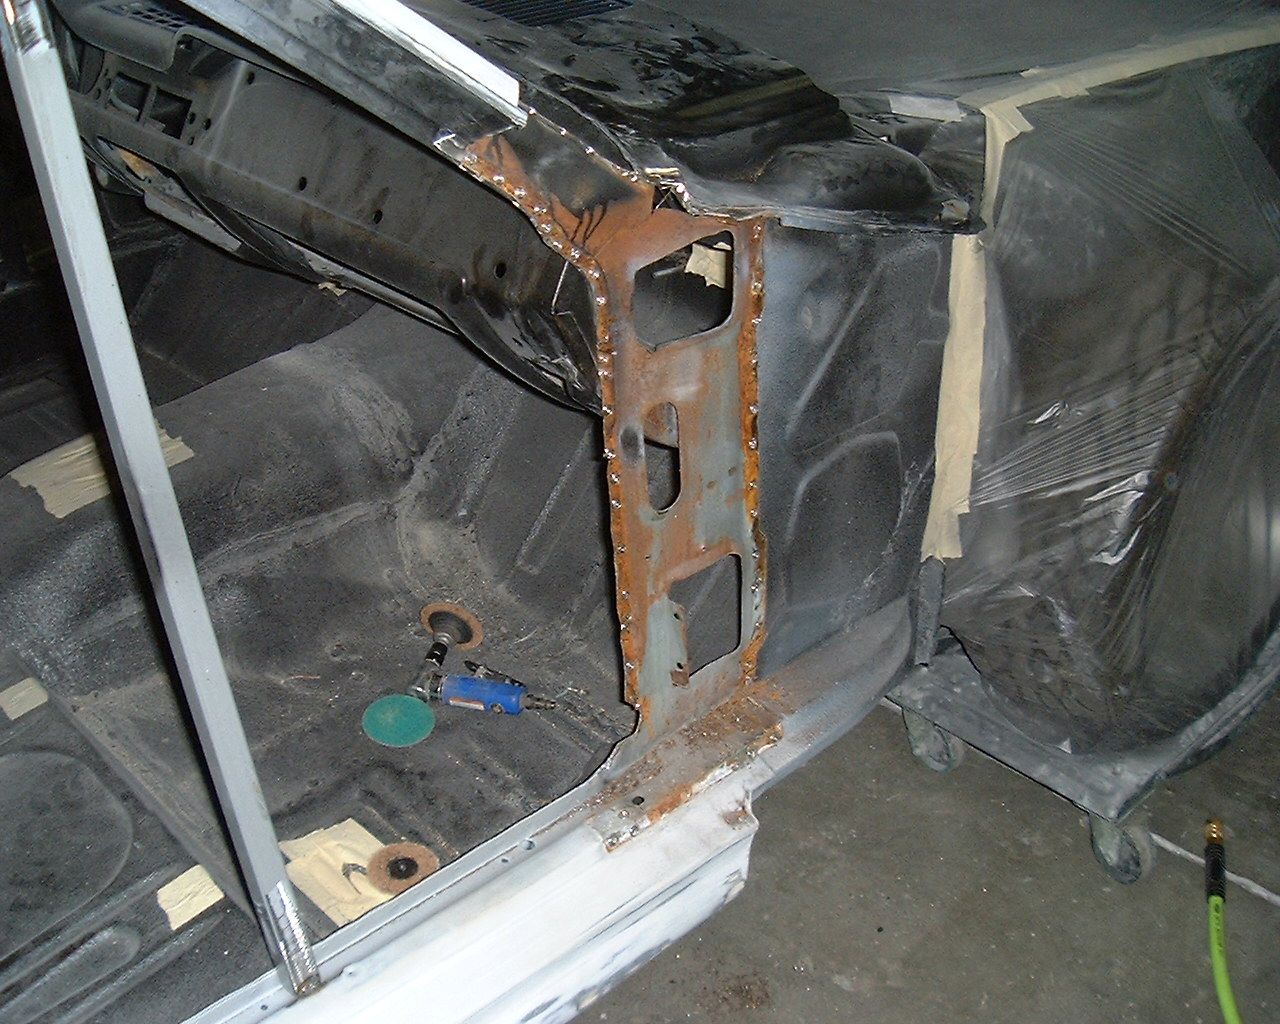
This is how it looked on the back side and we decided that it would be more cost affective to replace the A pillar since I also found rust in the bottom. So I hated to tell Lauren the bad news on Thursday so Aaron ordered a new set (you can't buy just one side) and we had it Friday around lunch time.

145.jpg


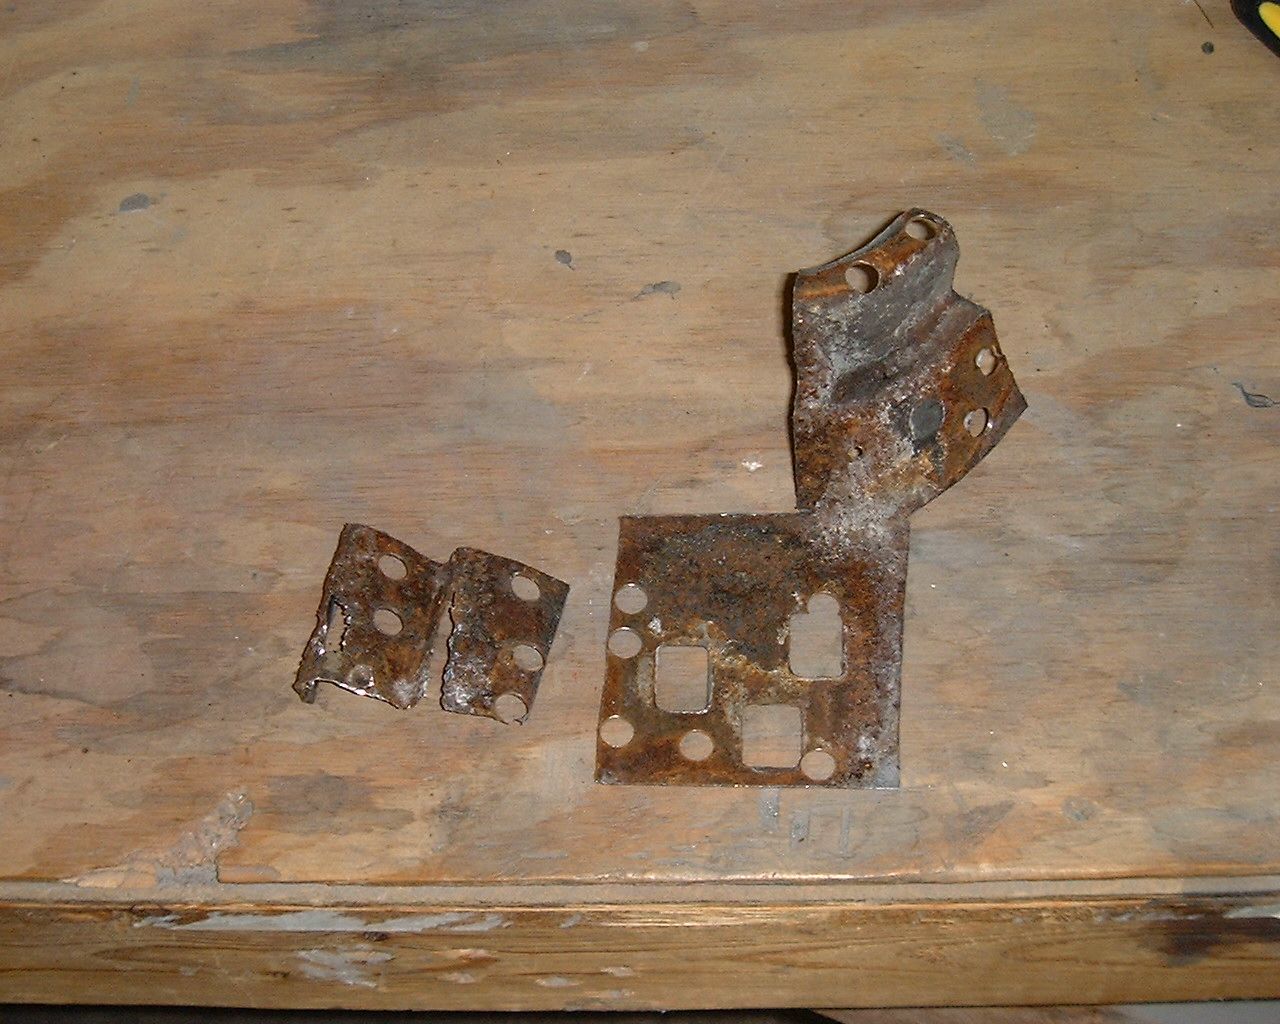
Brian had to cut up into the windshield post to find good metal

147.jpg


Brian drilled out all the spot welds and removed the A pillar

150.jpg


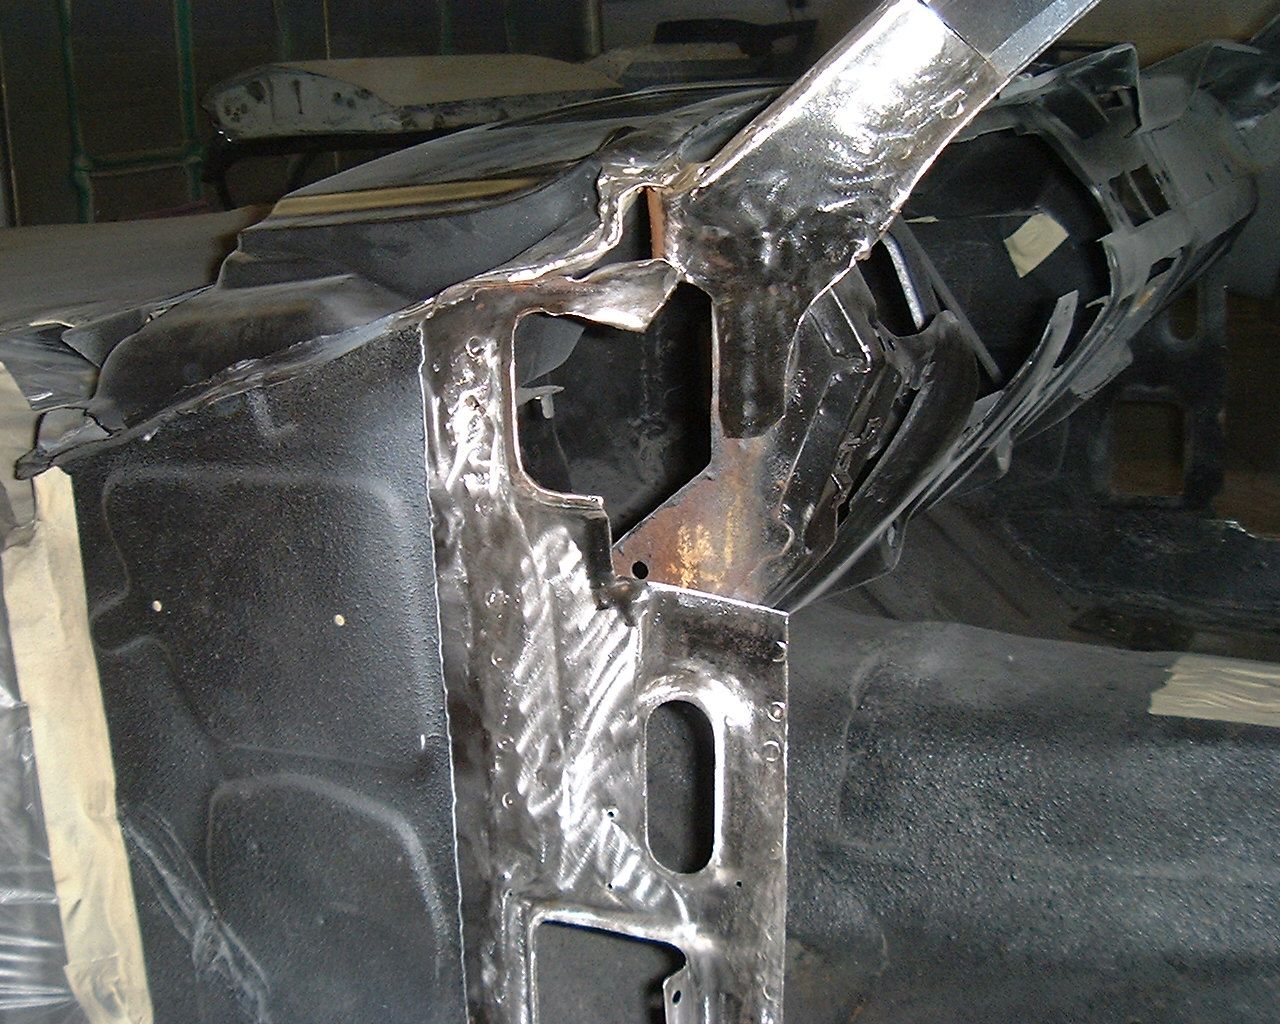
He also found more rust

153.jpg


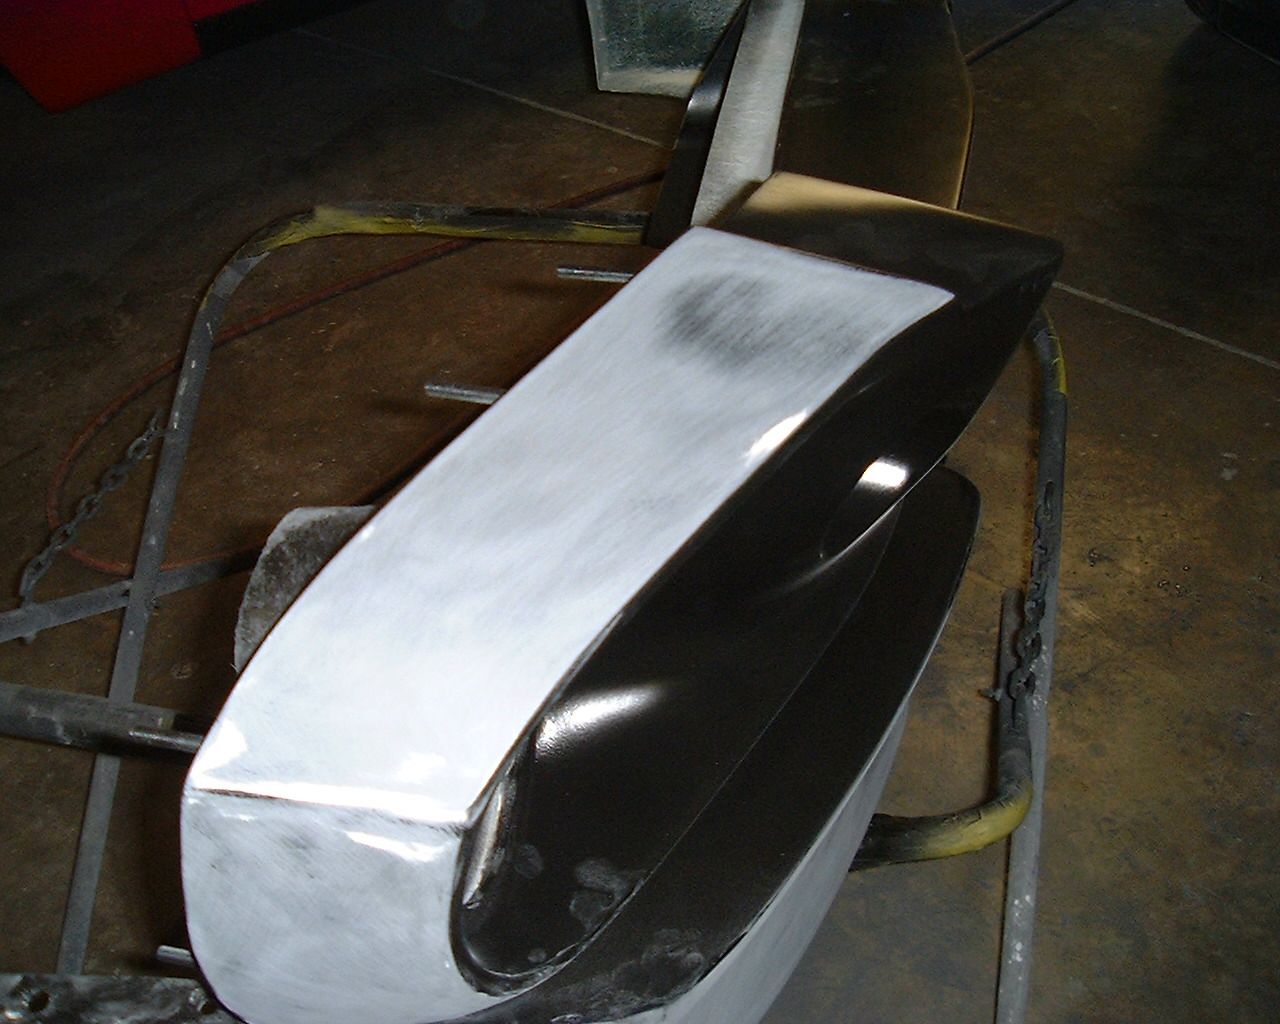
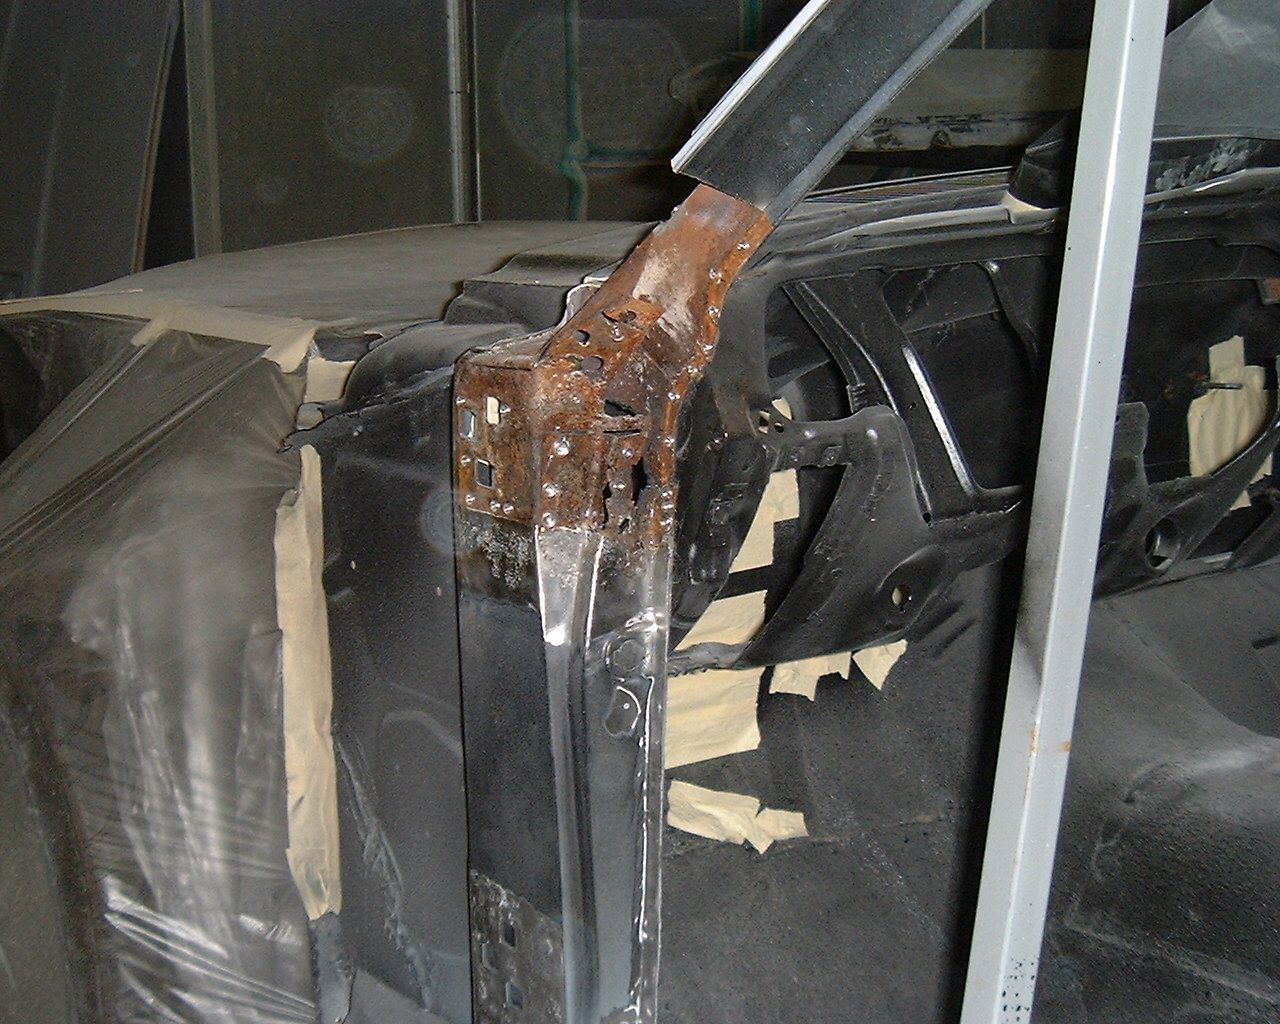
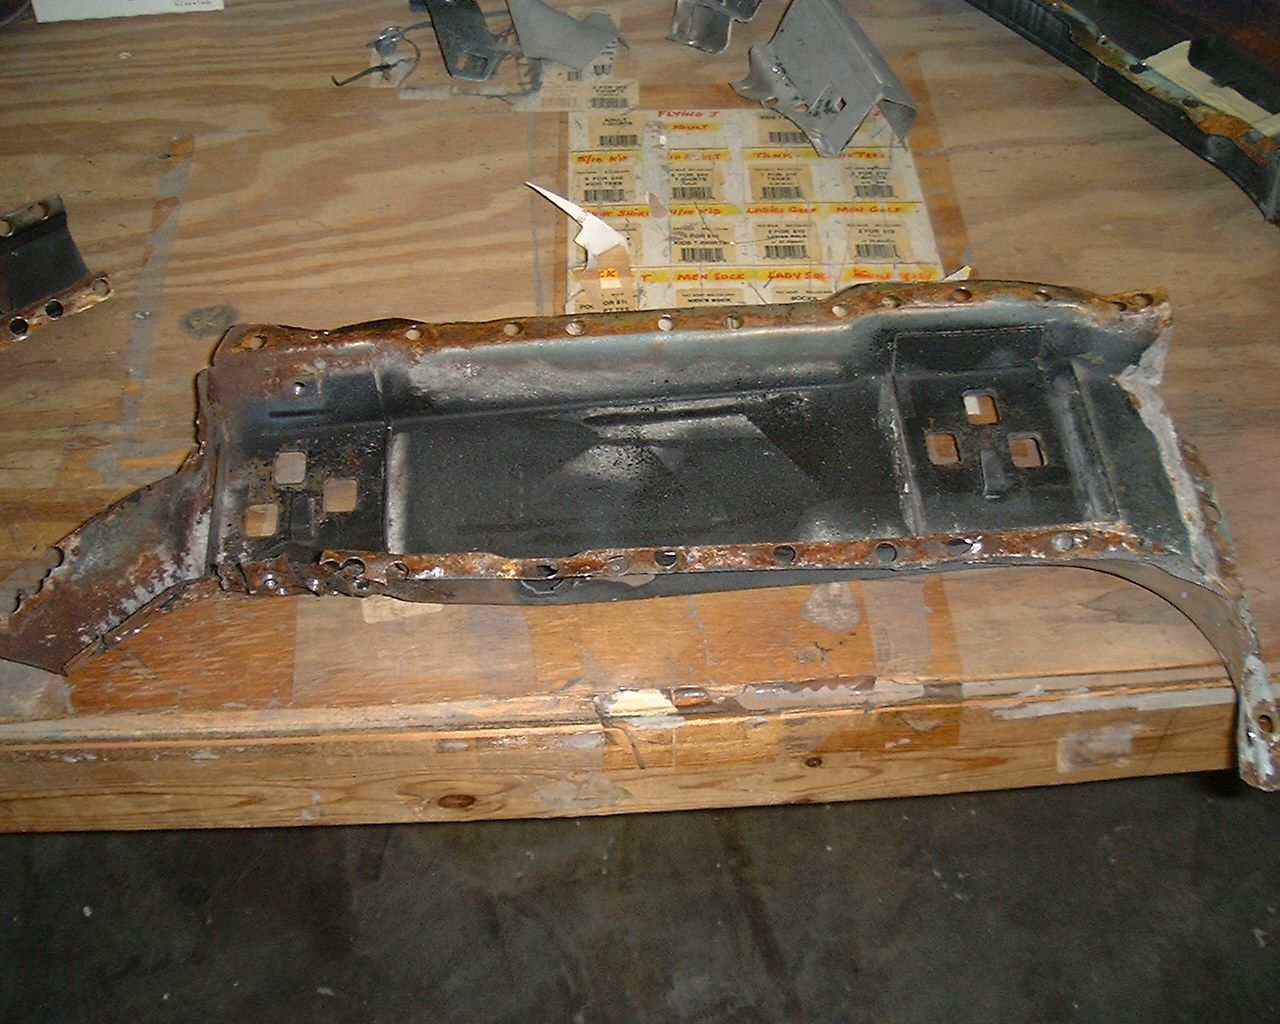
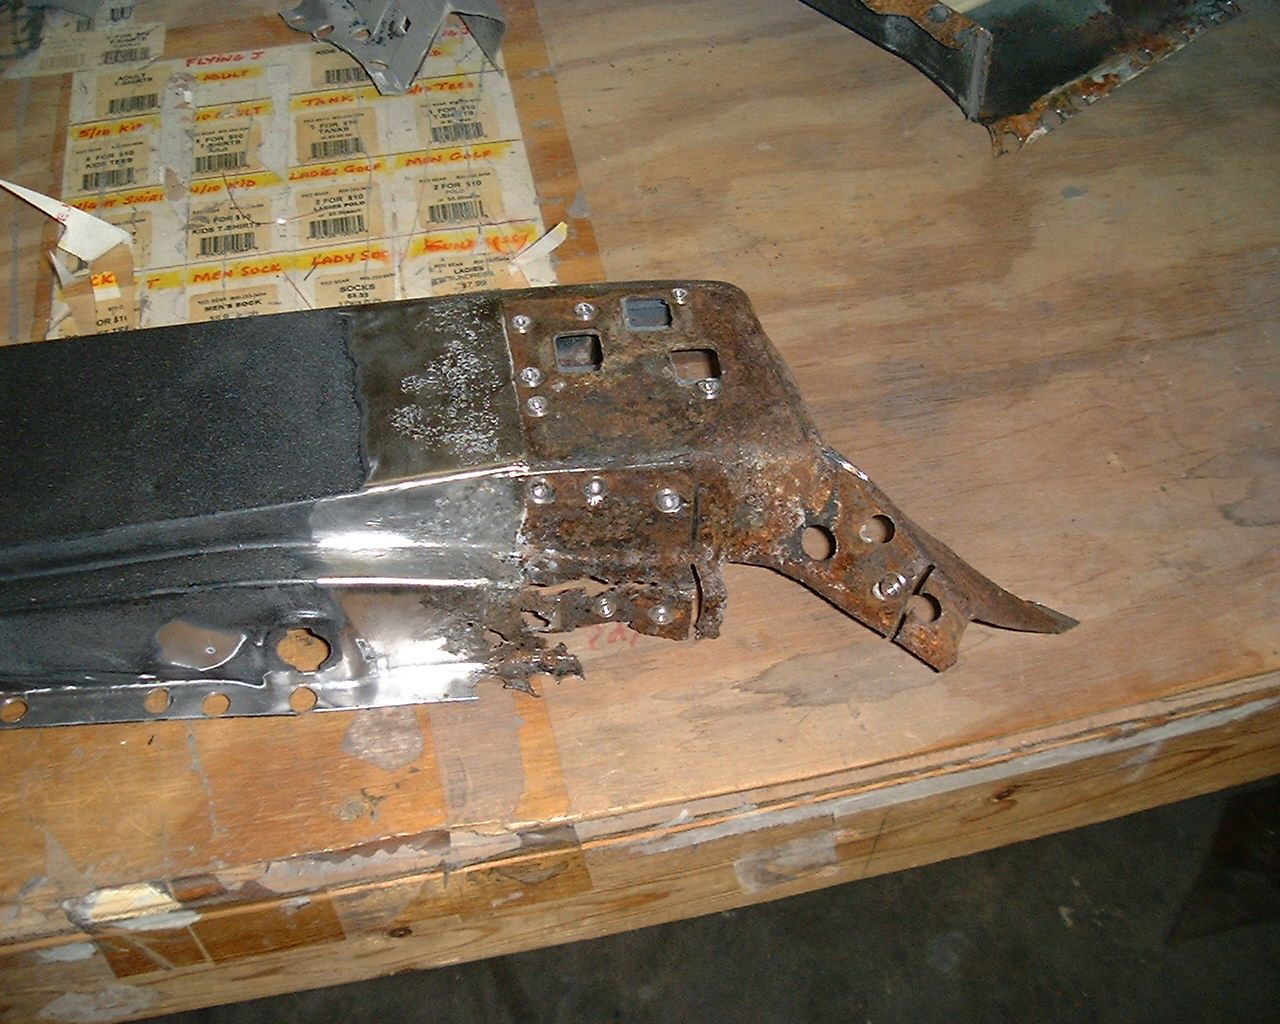
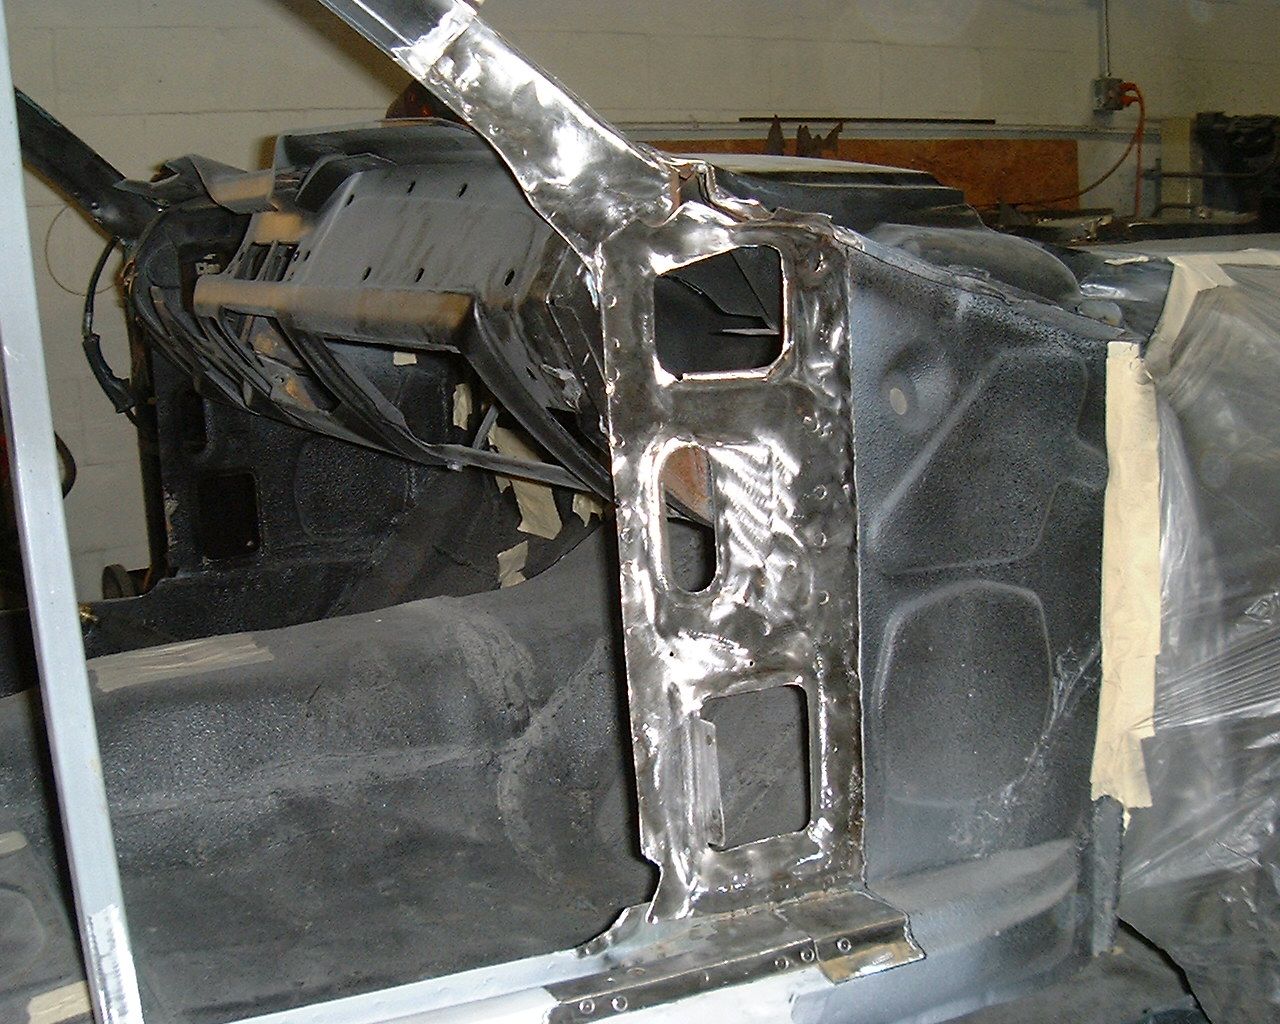
This is how the A pillar looked

163.jpg


164.jpg


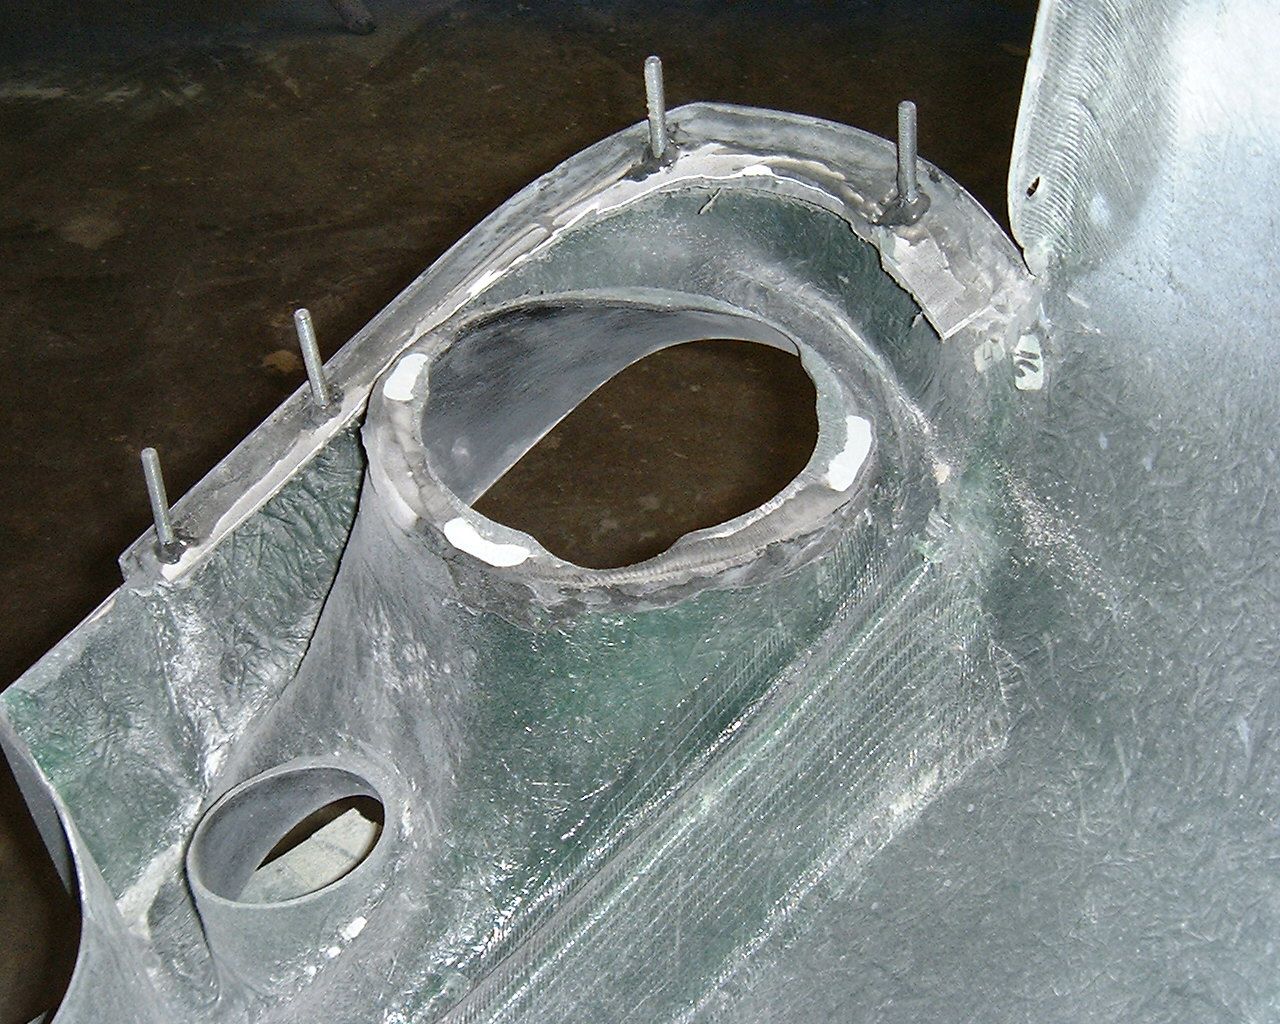
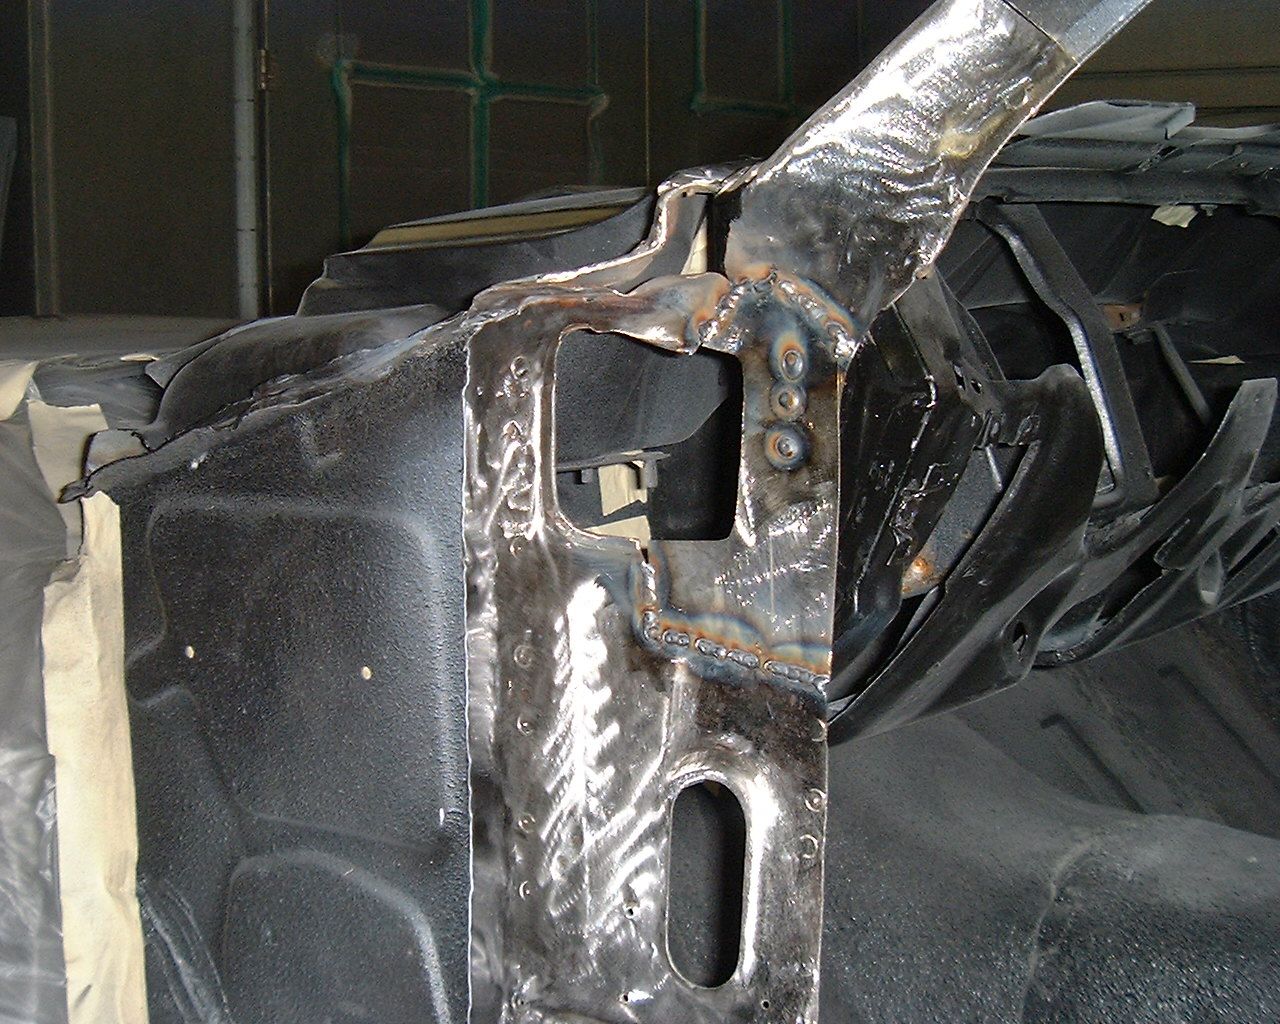
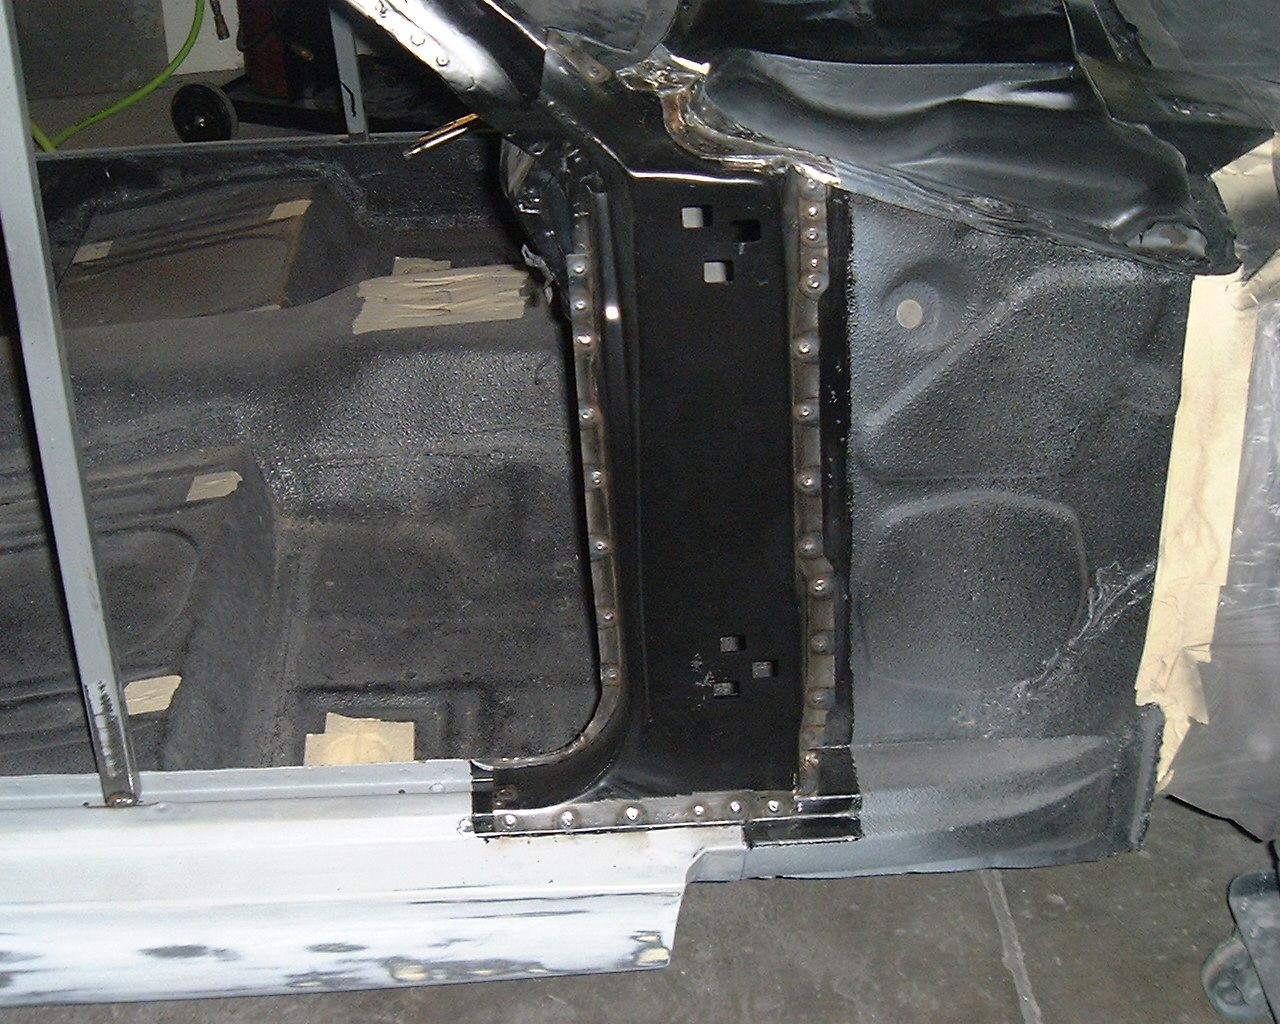
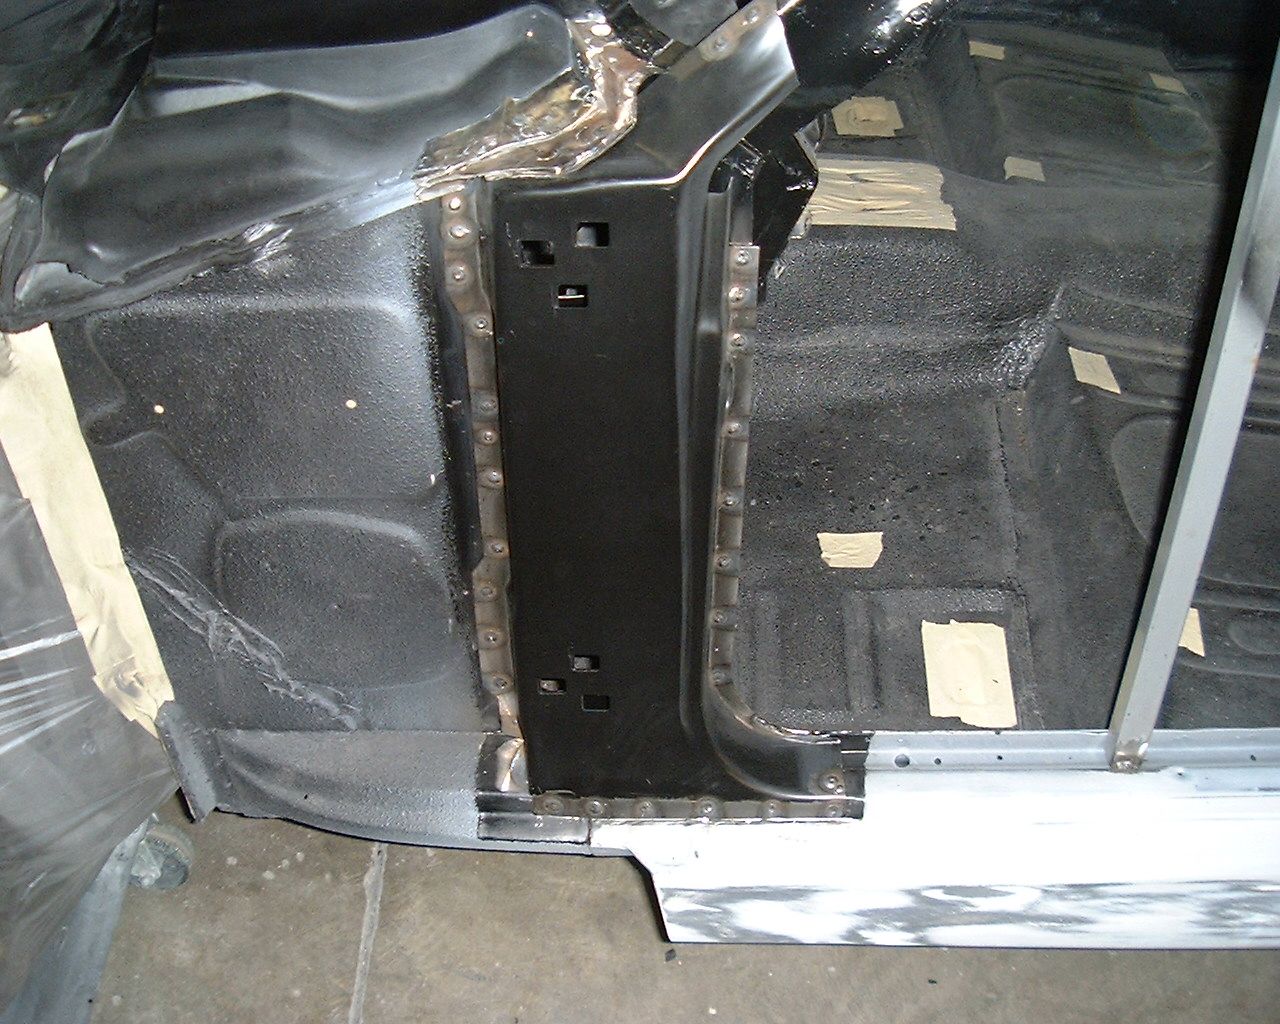
Brian marked off the area he wanted to replace and made a new patch

167.jpg


168.jpg


169.jpg


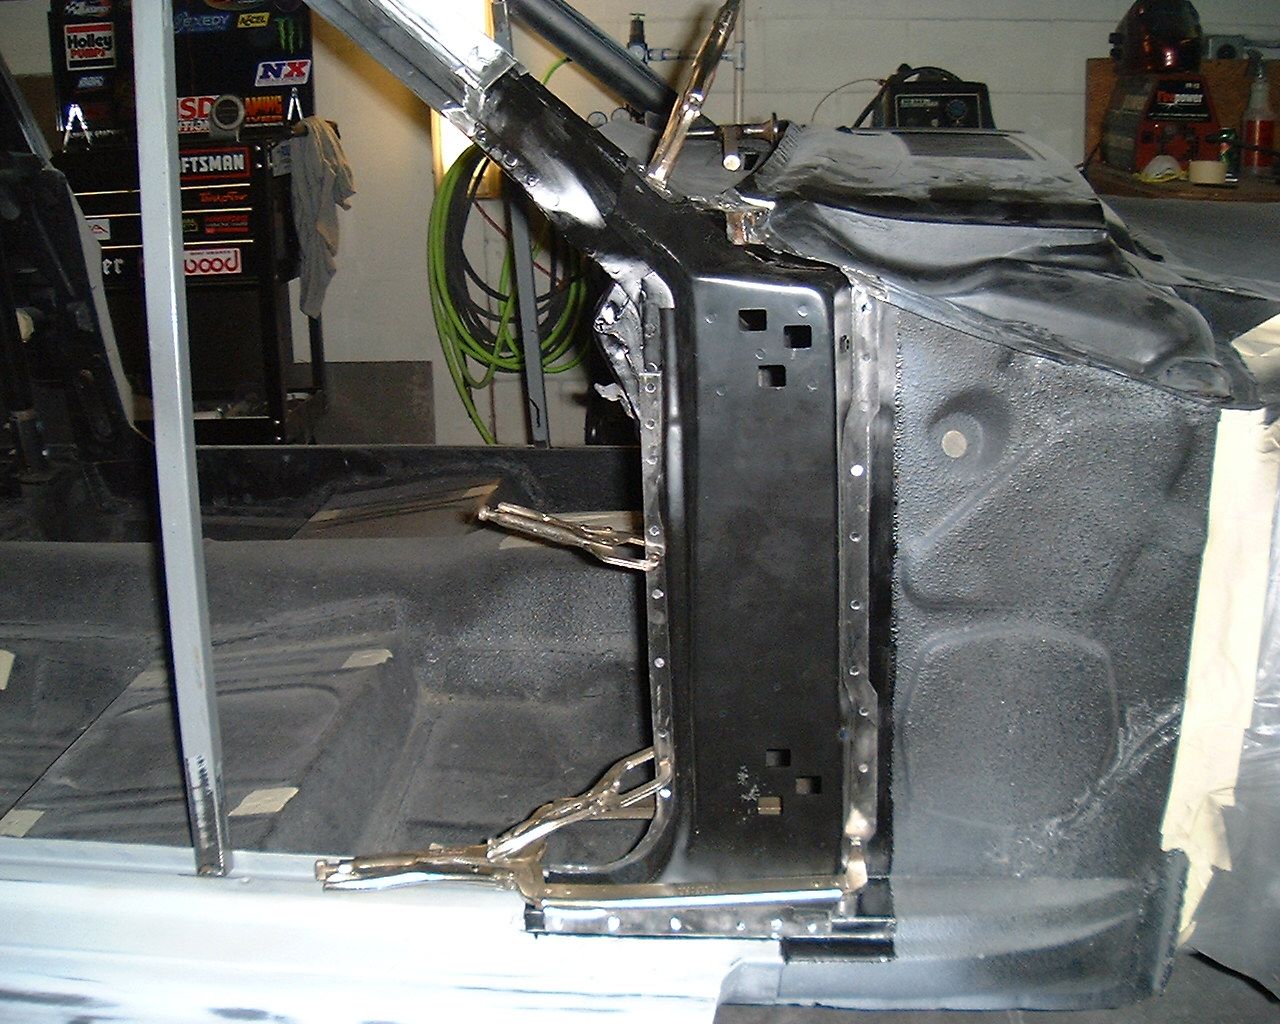
He than cleaned up the welds and applied SPI epoxy with a brush

174.jpg


175.jpg


176.jpg


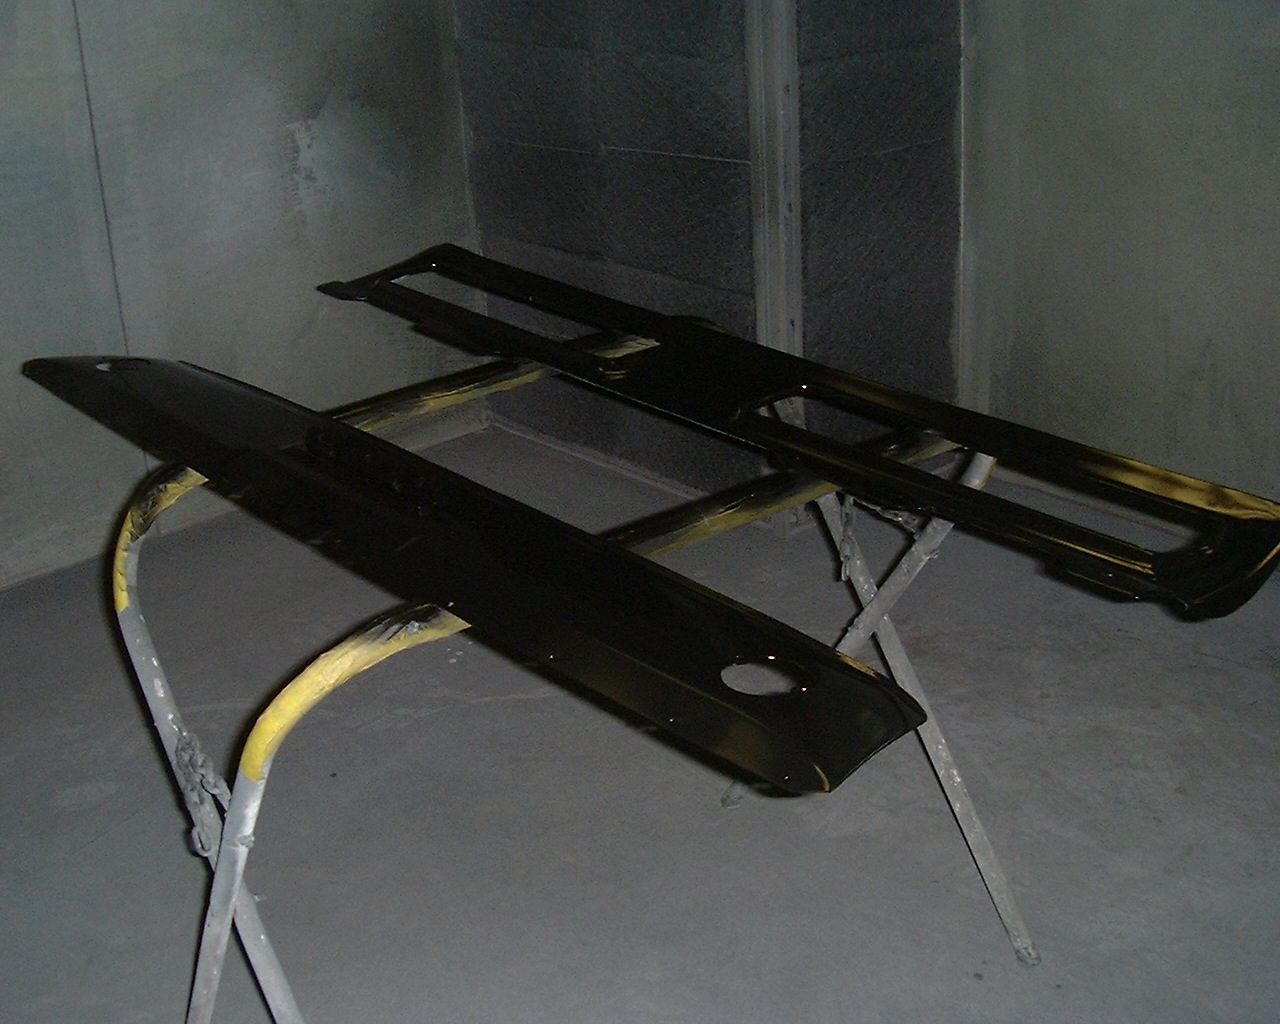
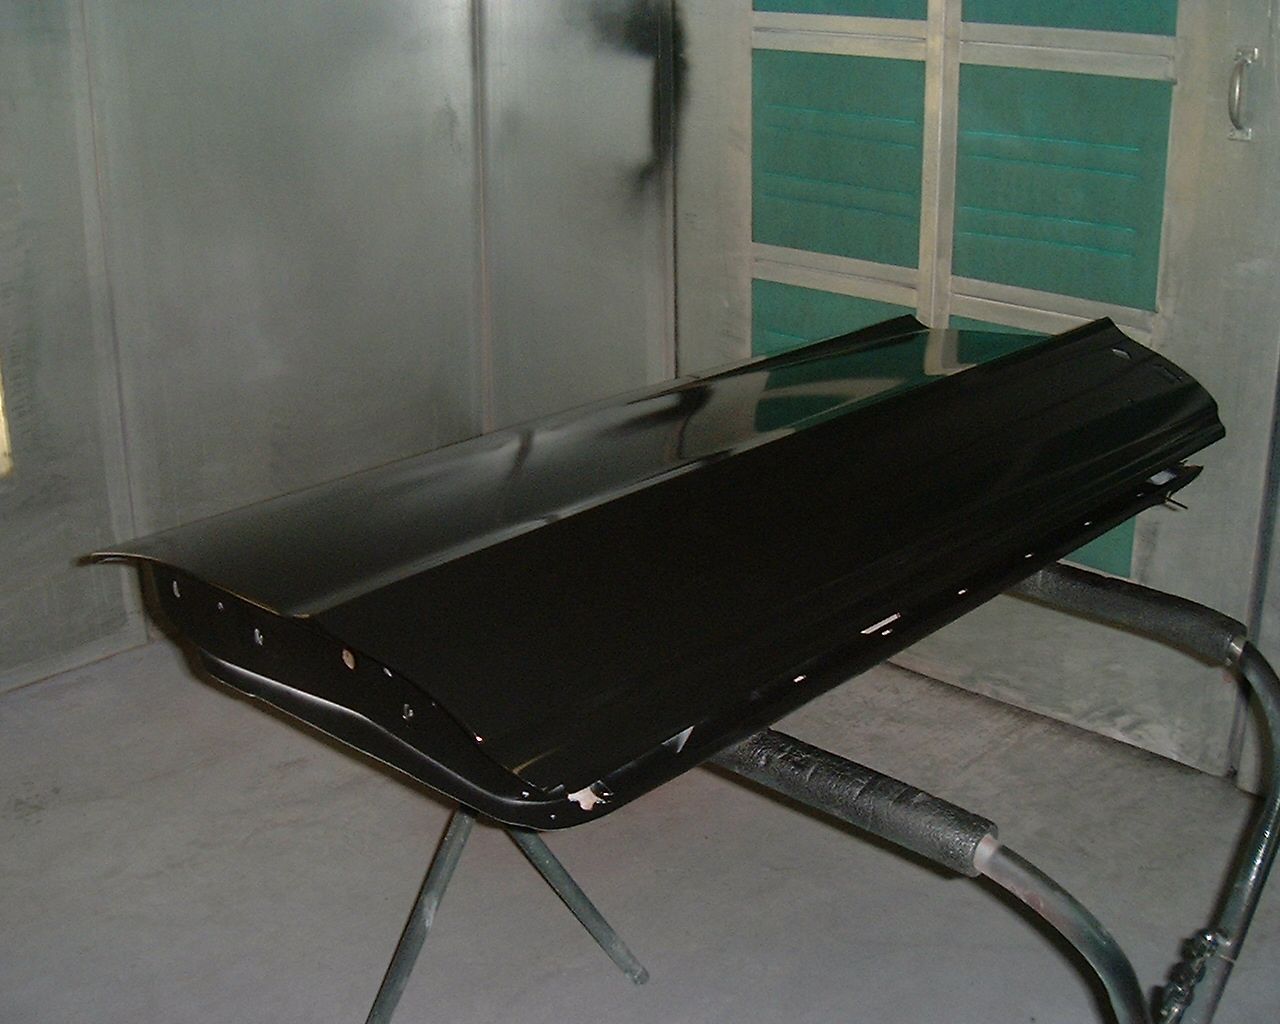
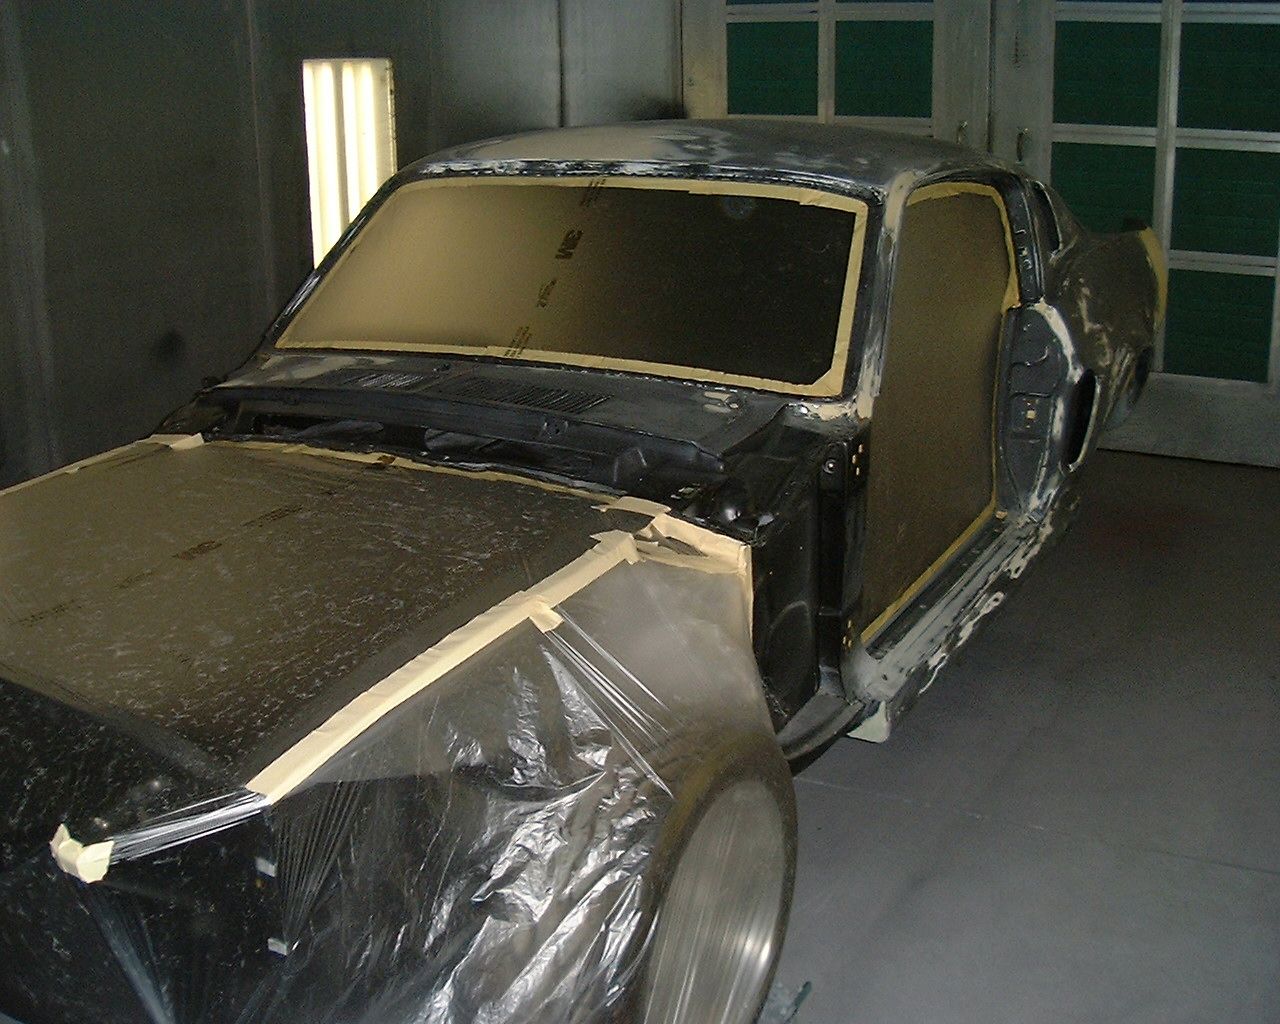
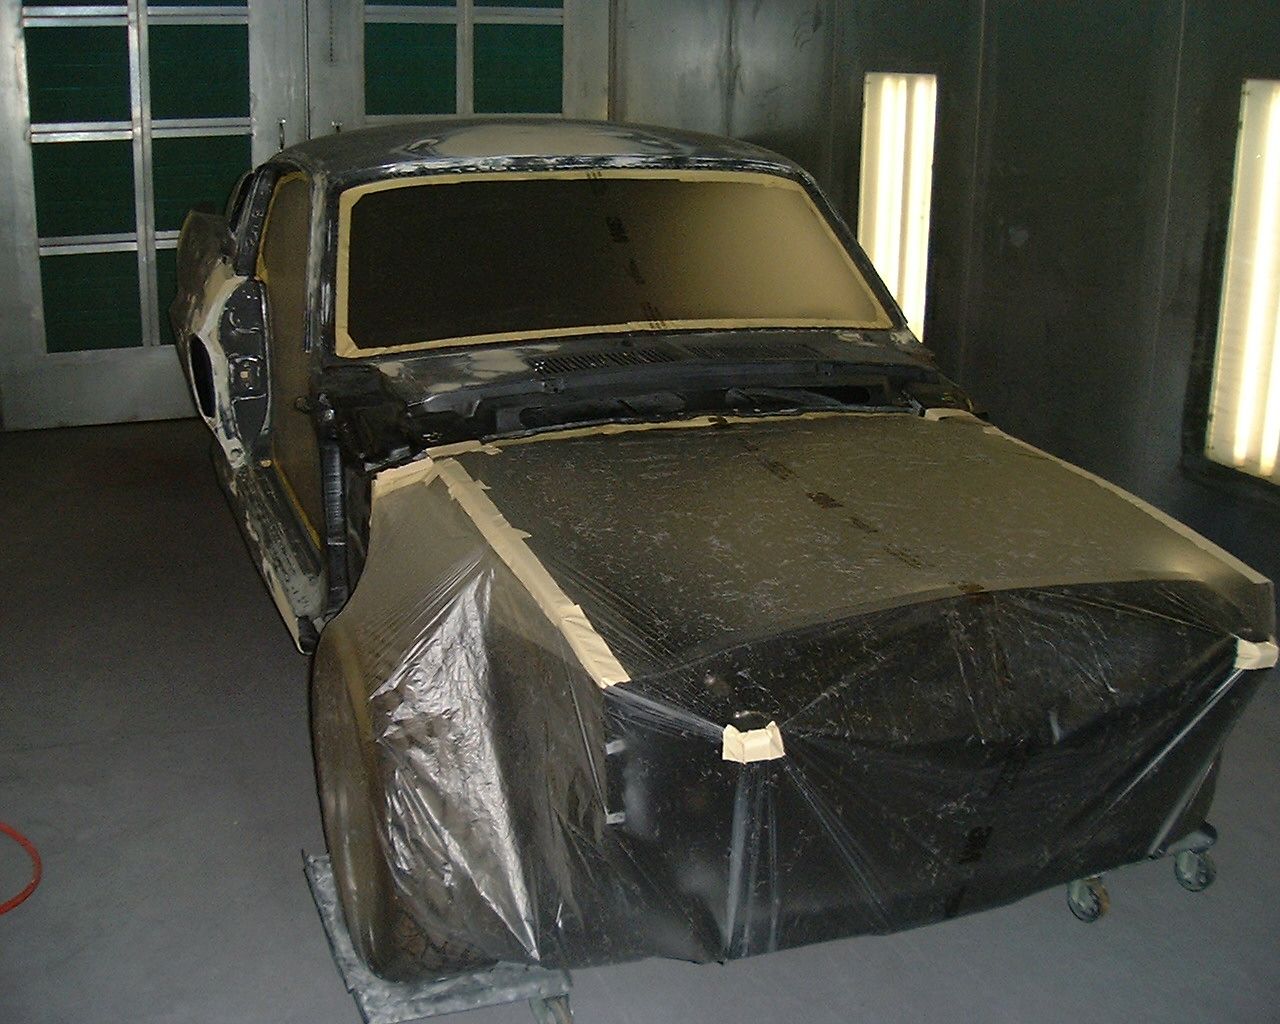
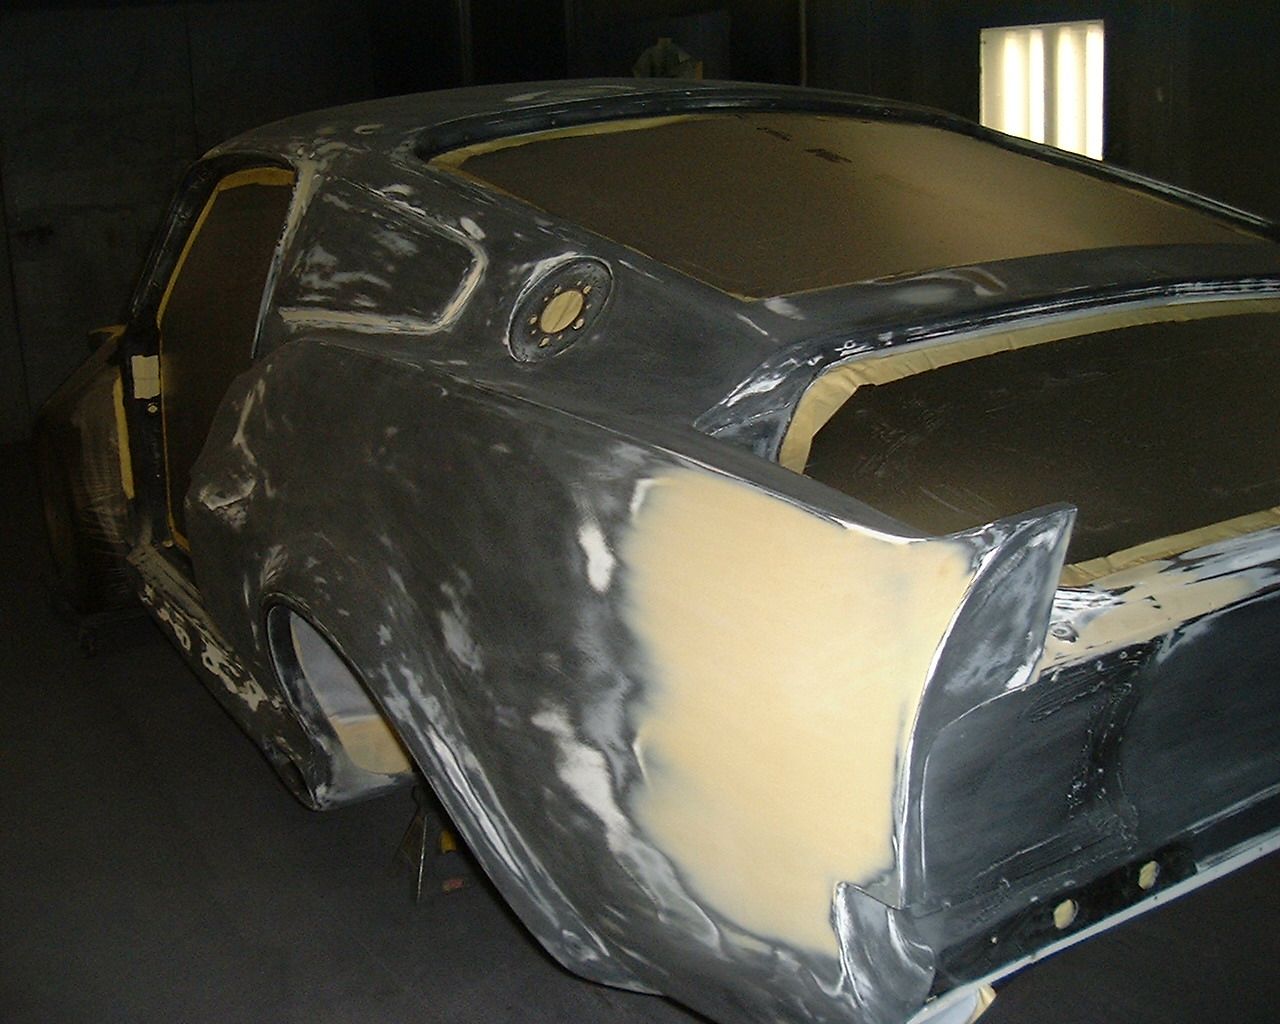
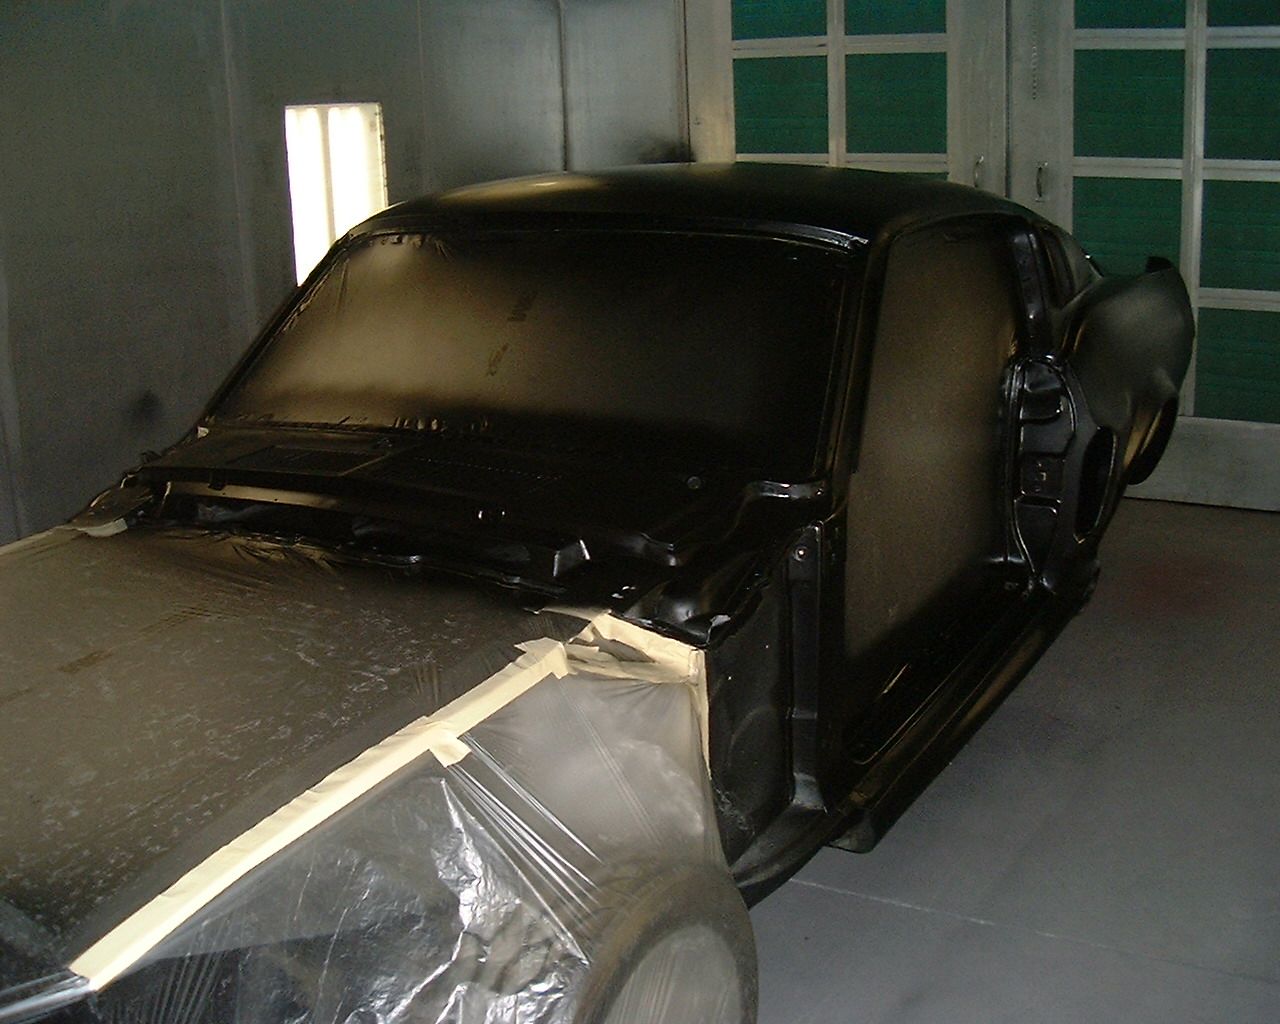
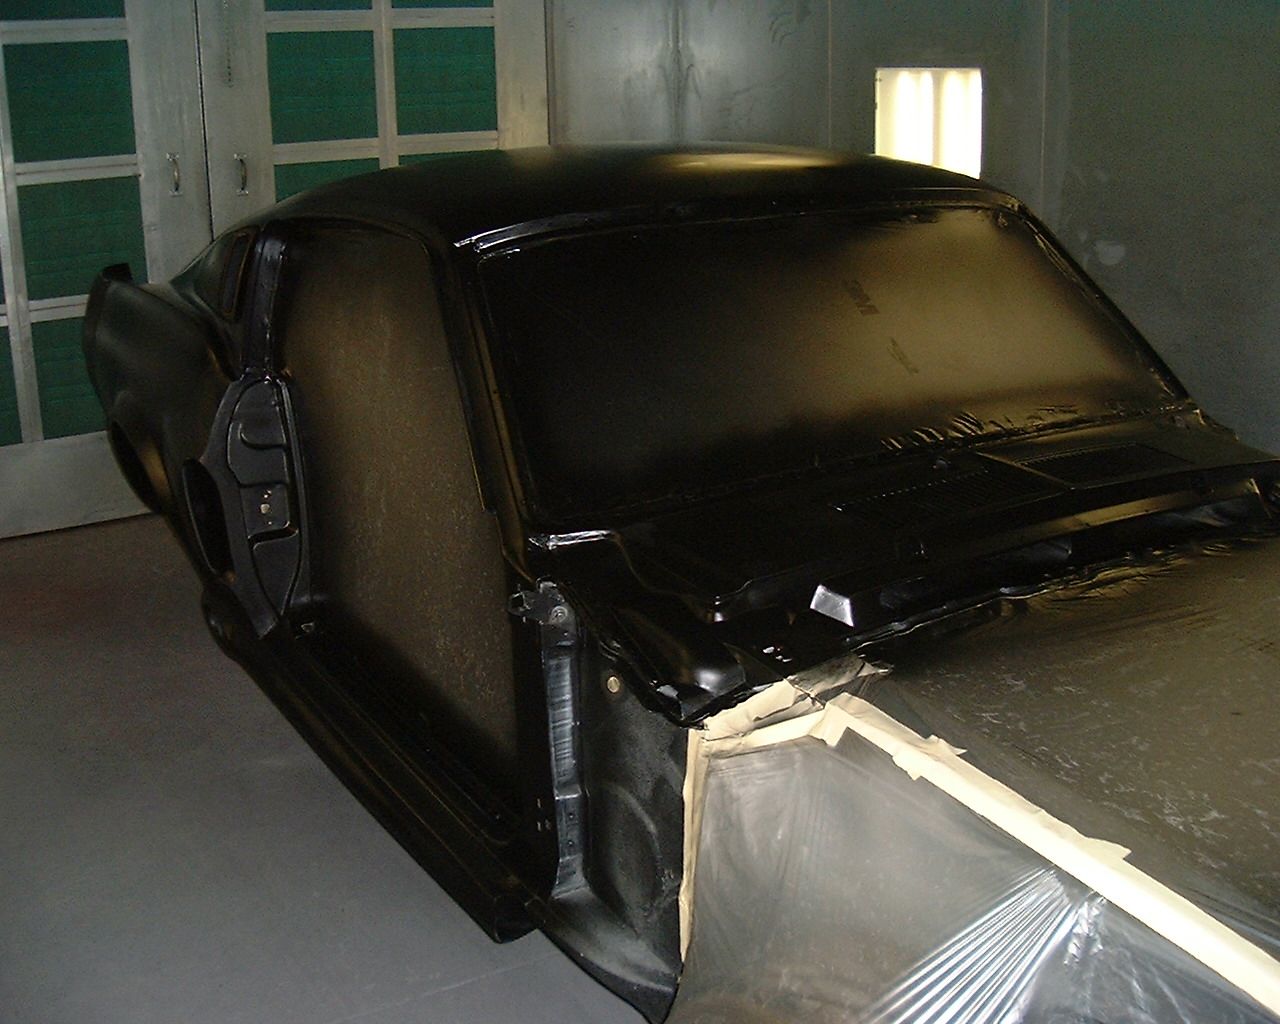
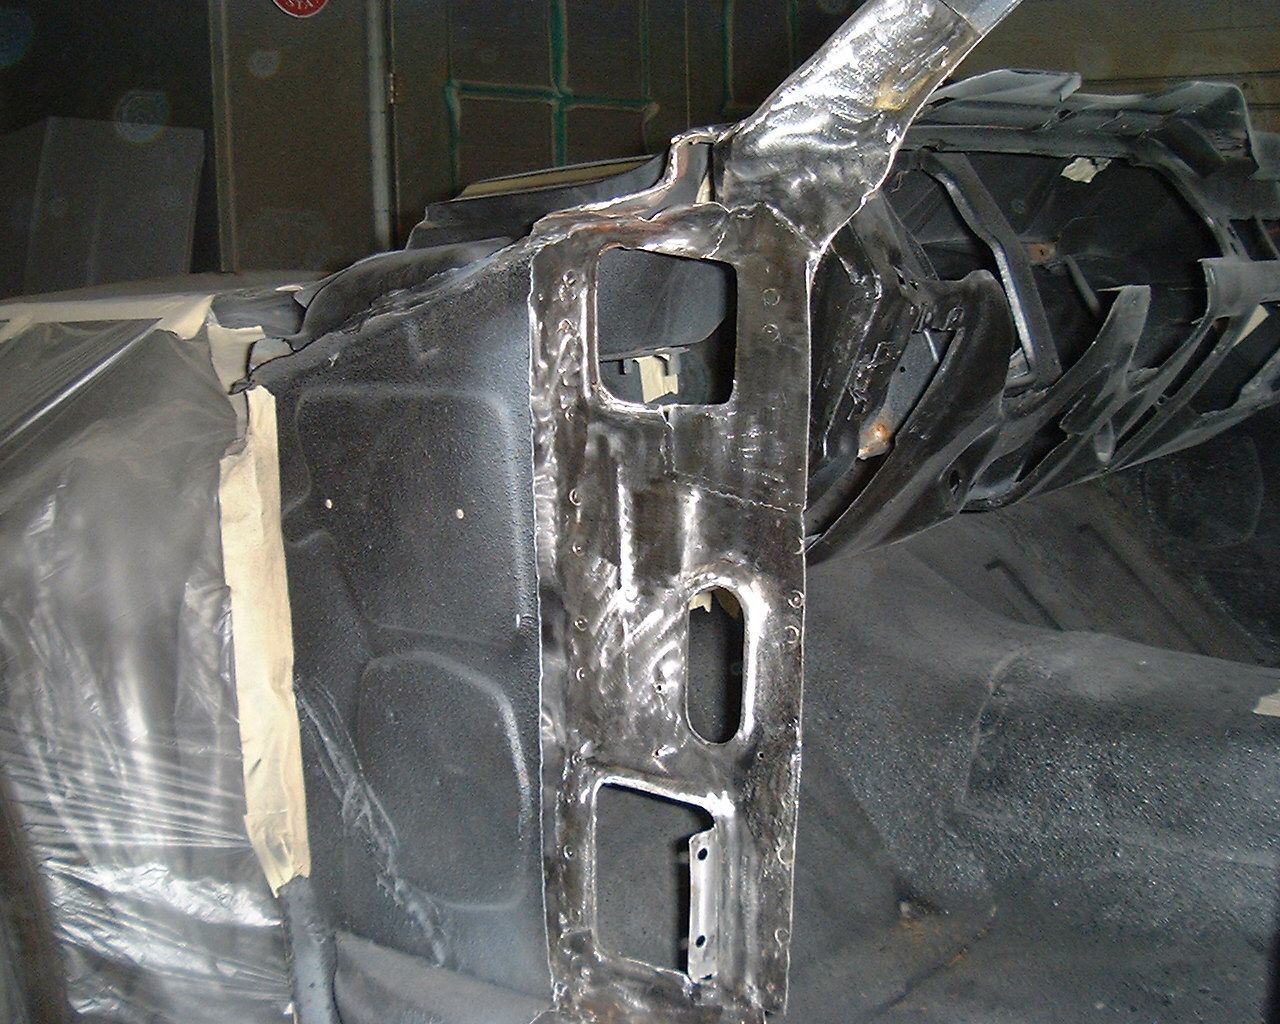
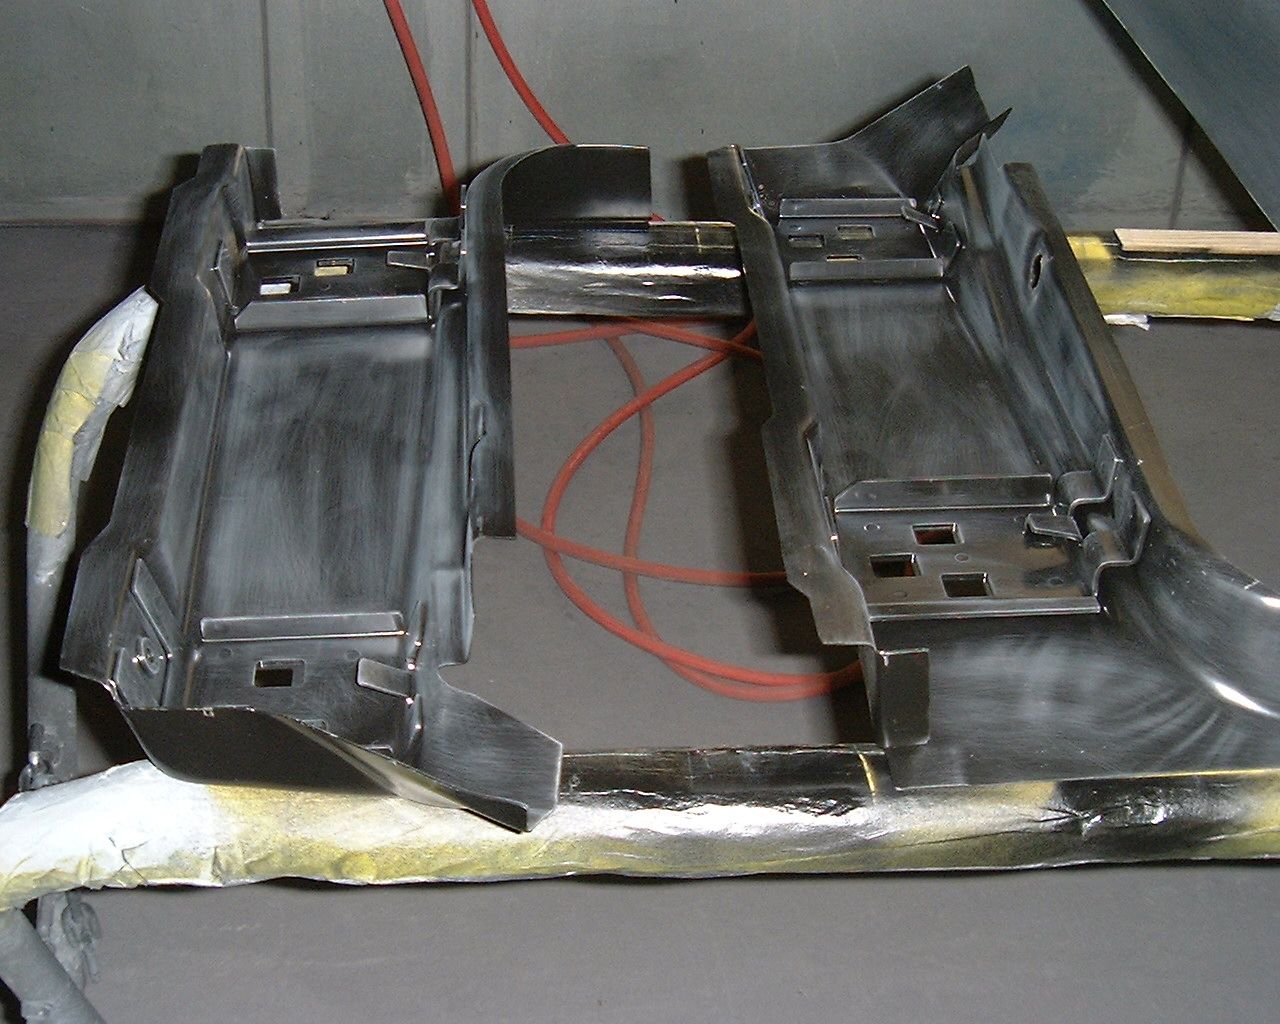
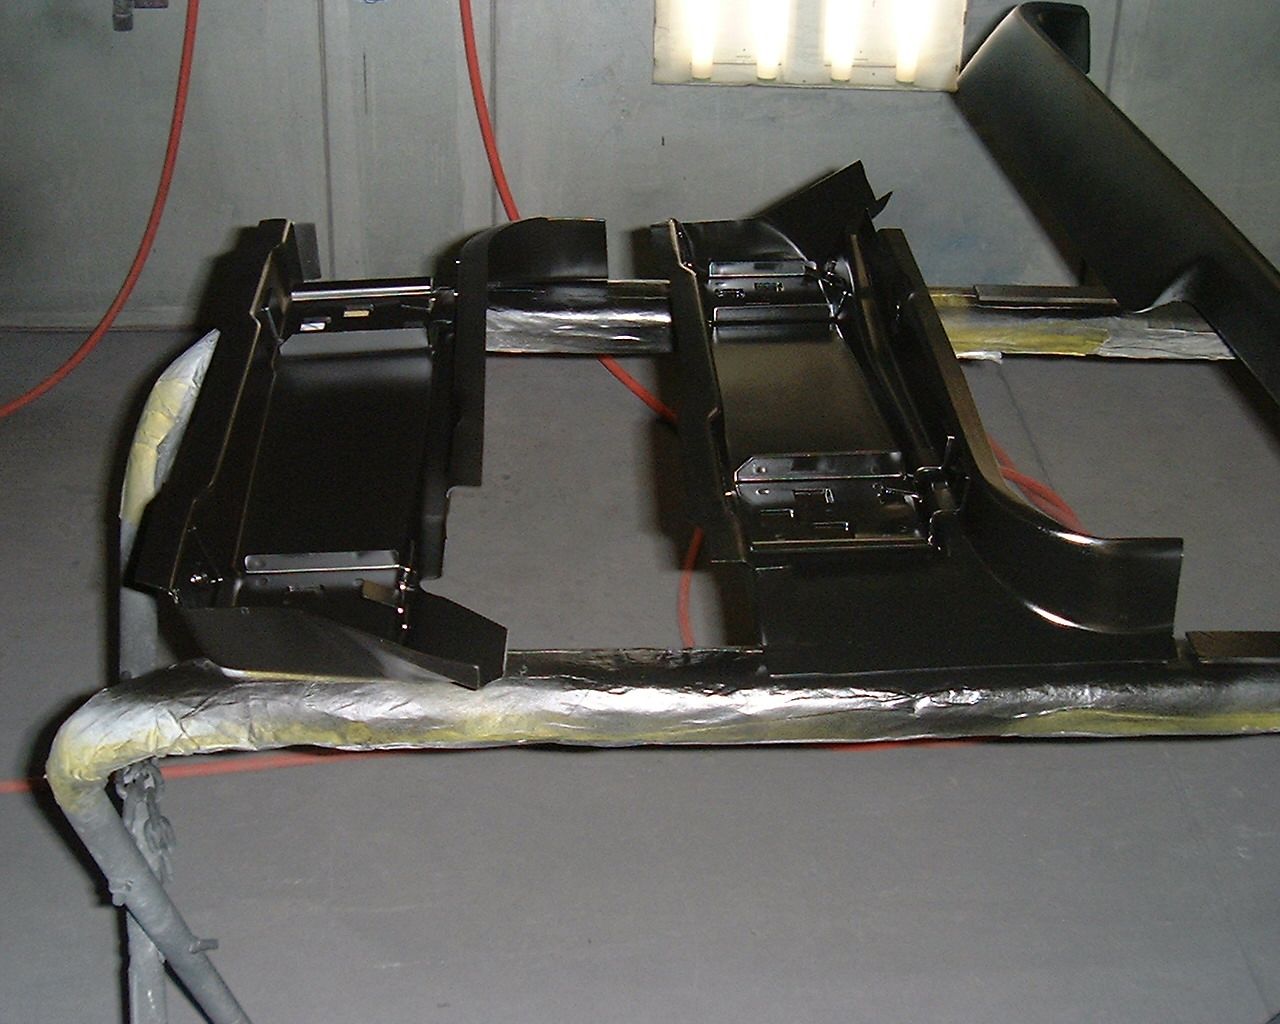
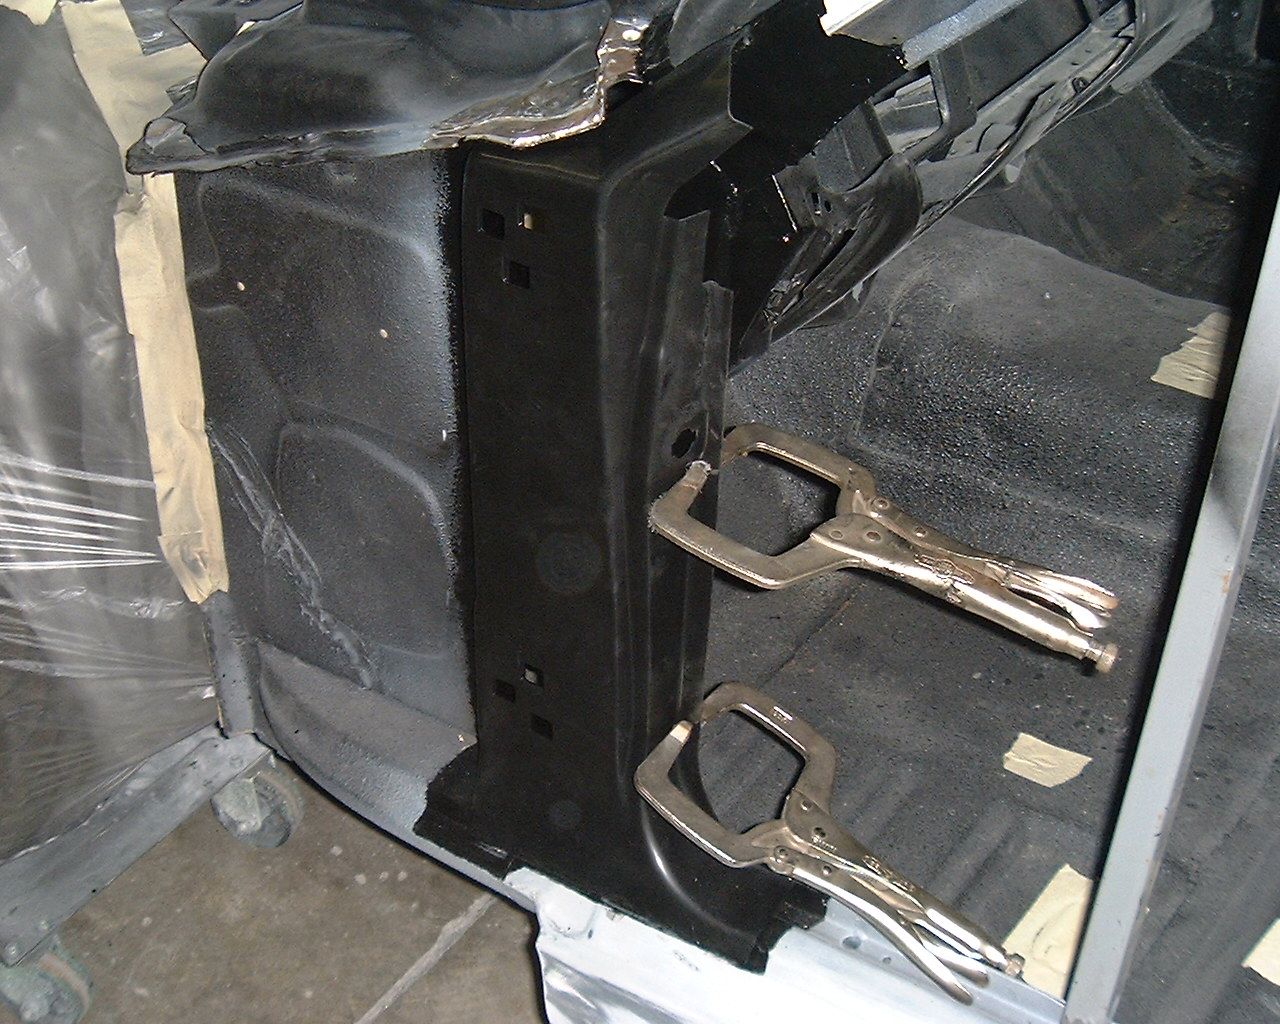
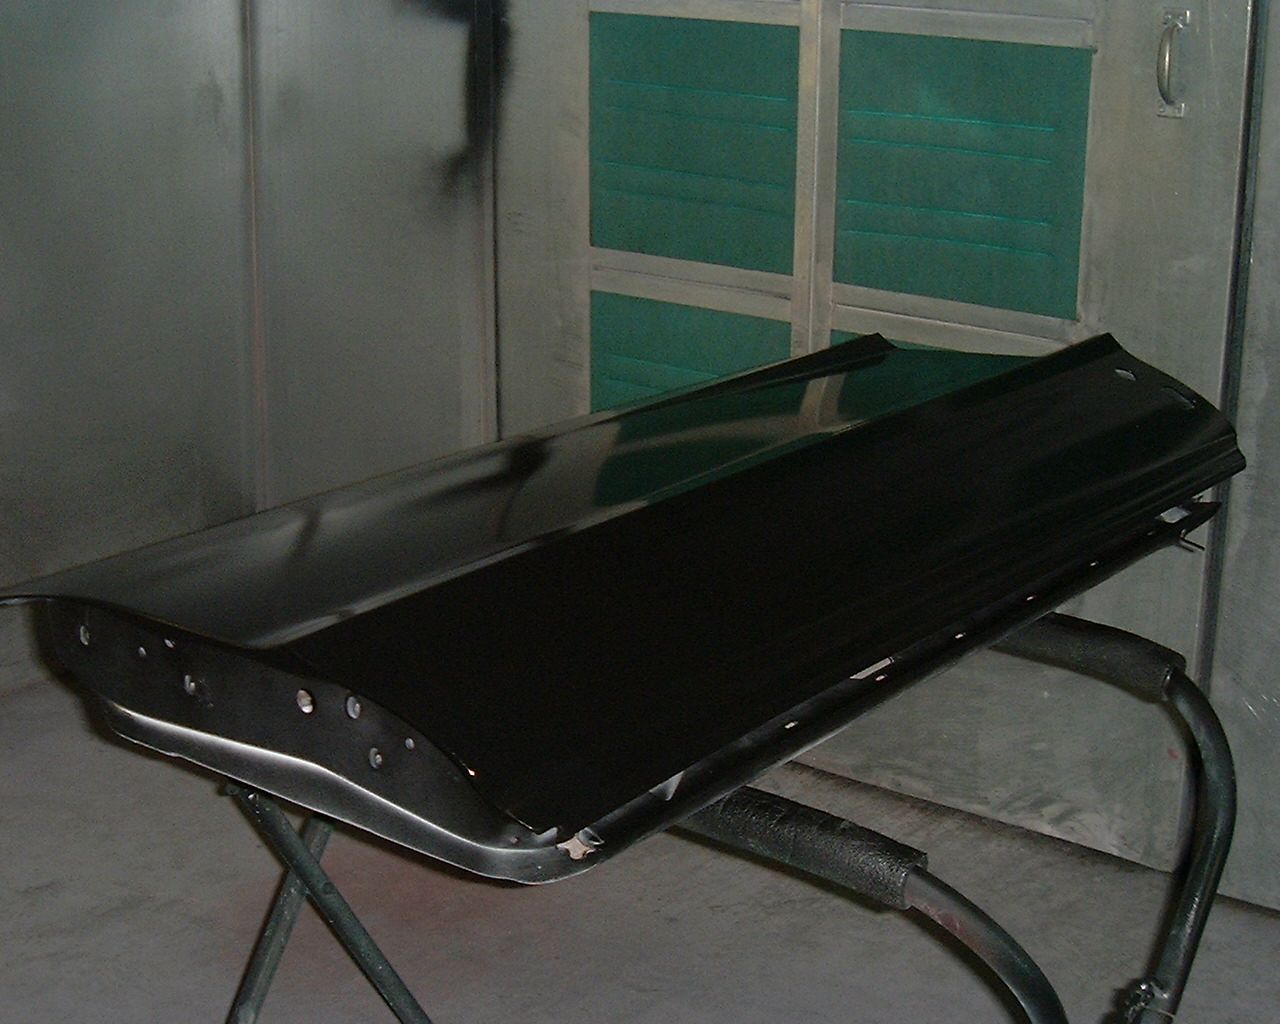
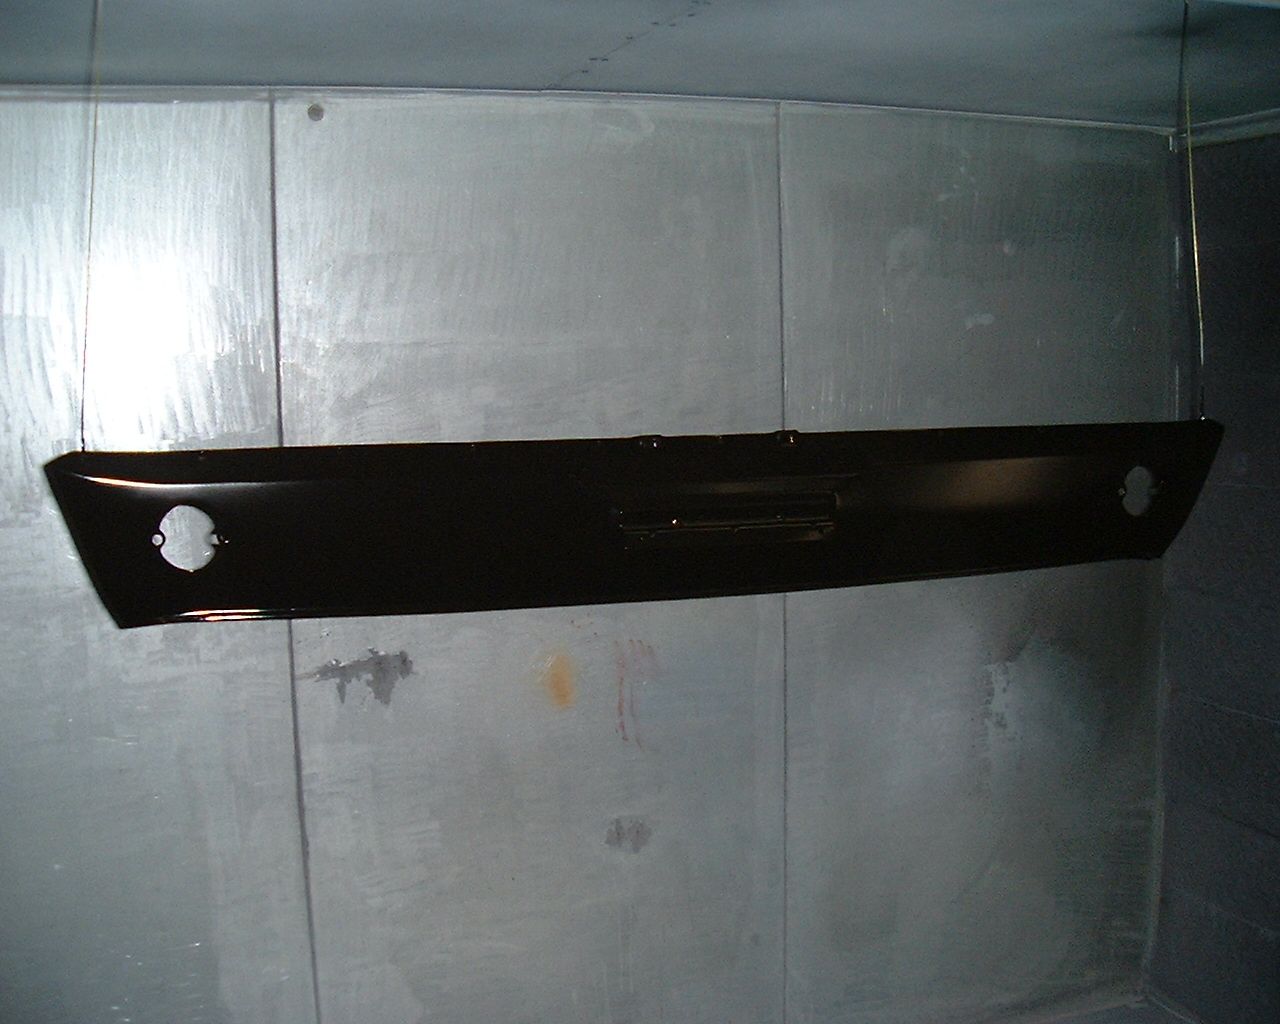
Since we had both sides and there was so much hidden rust we decided to change the other side also. I sanded and sprayed them with SPI black epoxy

170.jpg


179.jpg
 
This is how the right side looked and there was no sign of rust on the outside yet other than a few pits.


158.jpg


157.jpg


159.jpg


160.jpg


161.jpg
 
Back
Top