Stranded Fiberglass Filler

Yes, but it is not yet a fan of me..... ;)

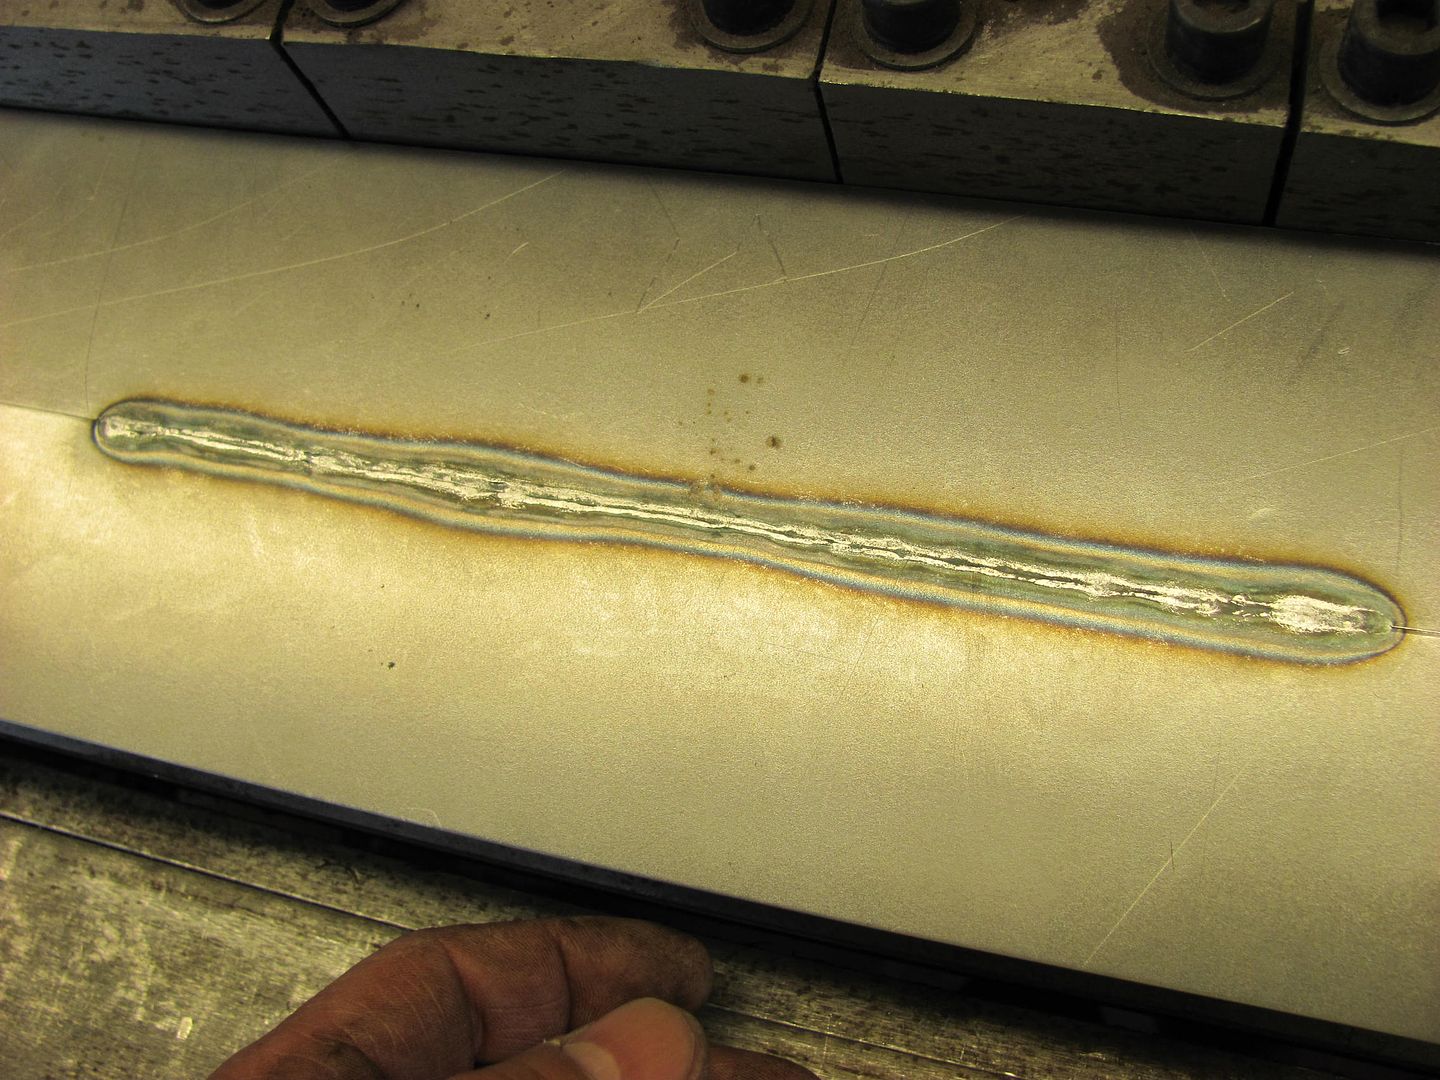
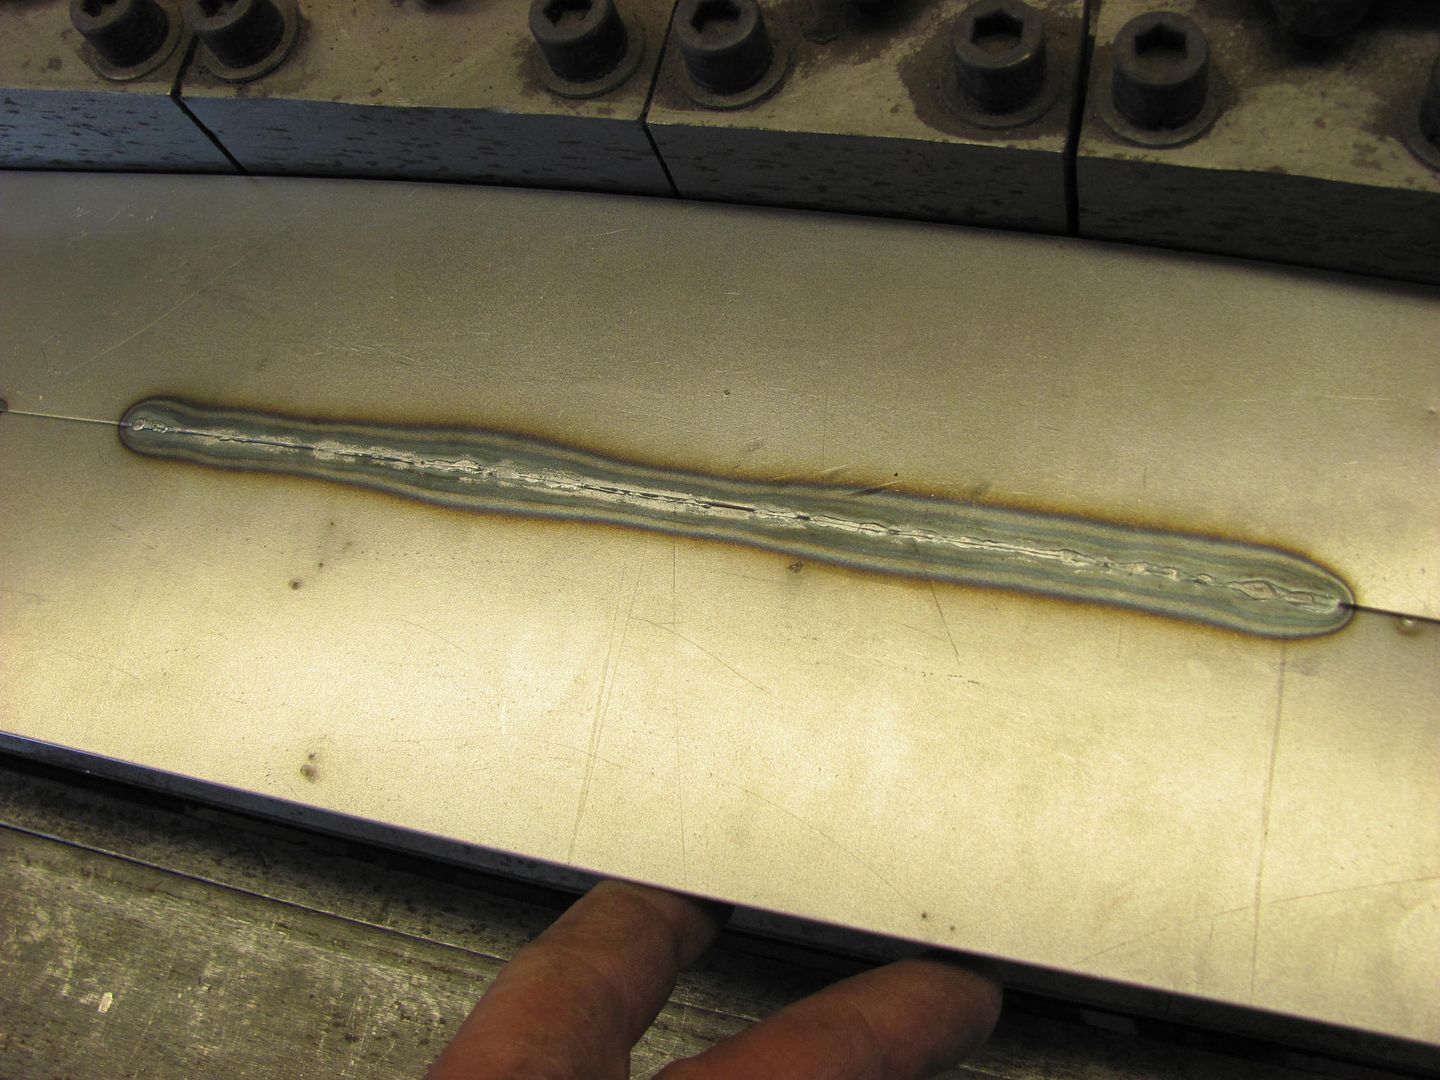
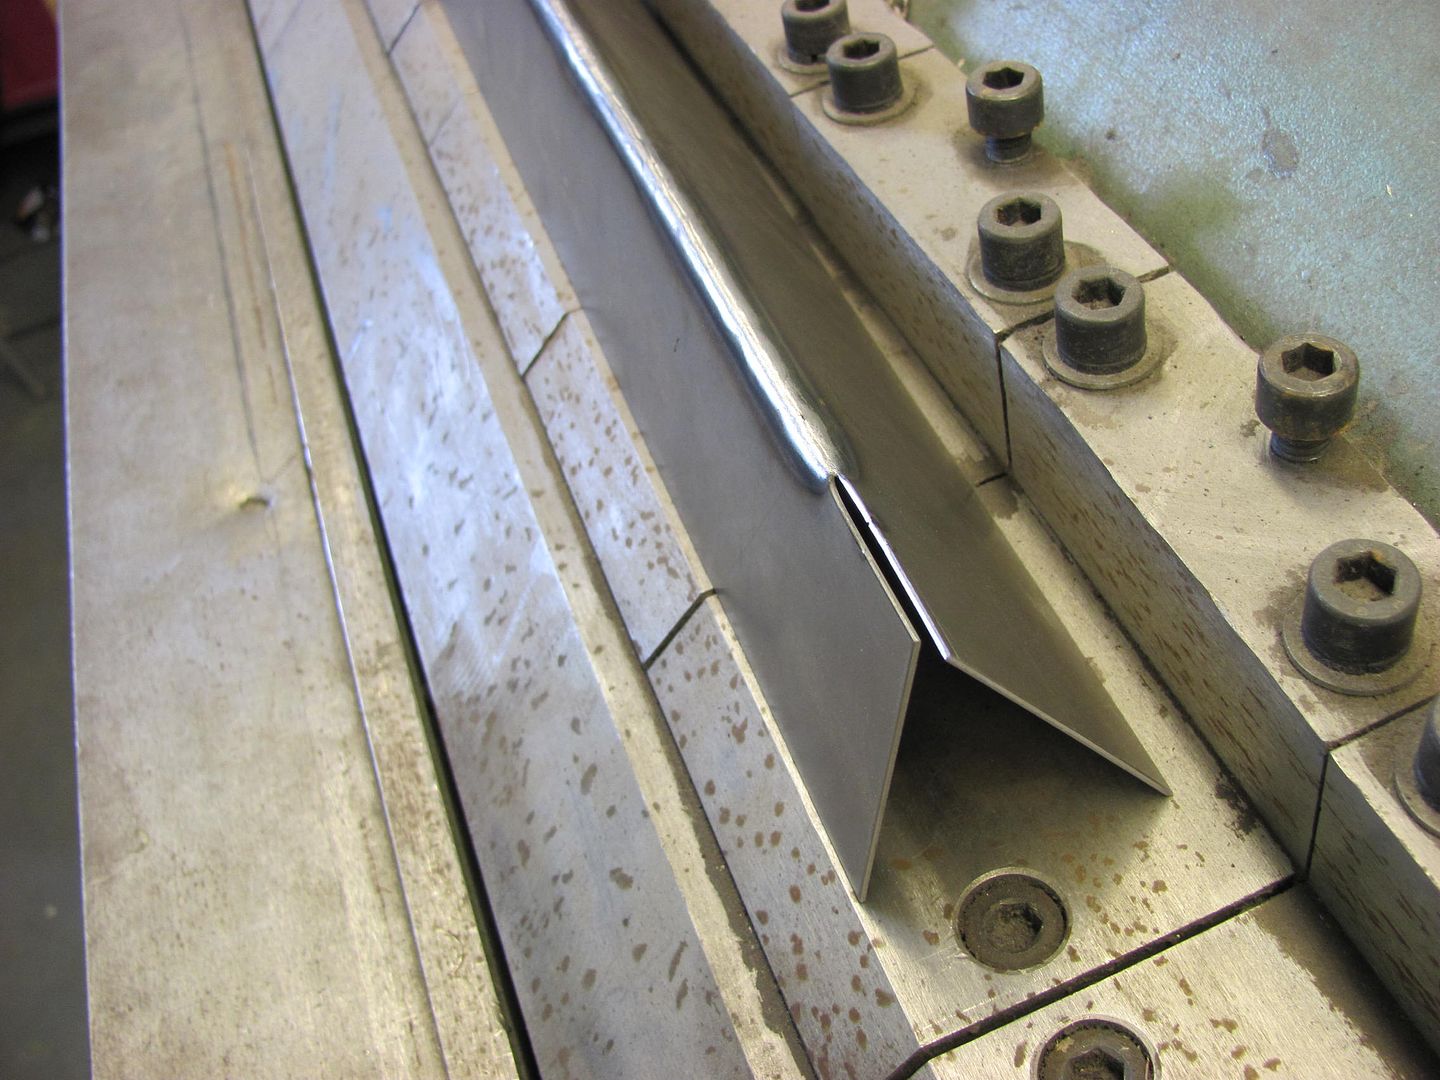
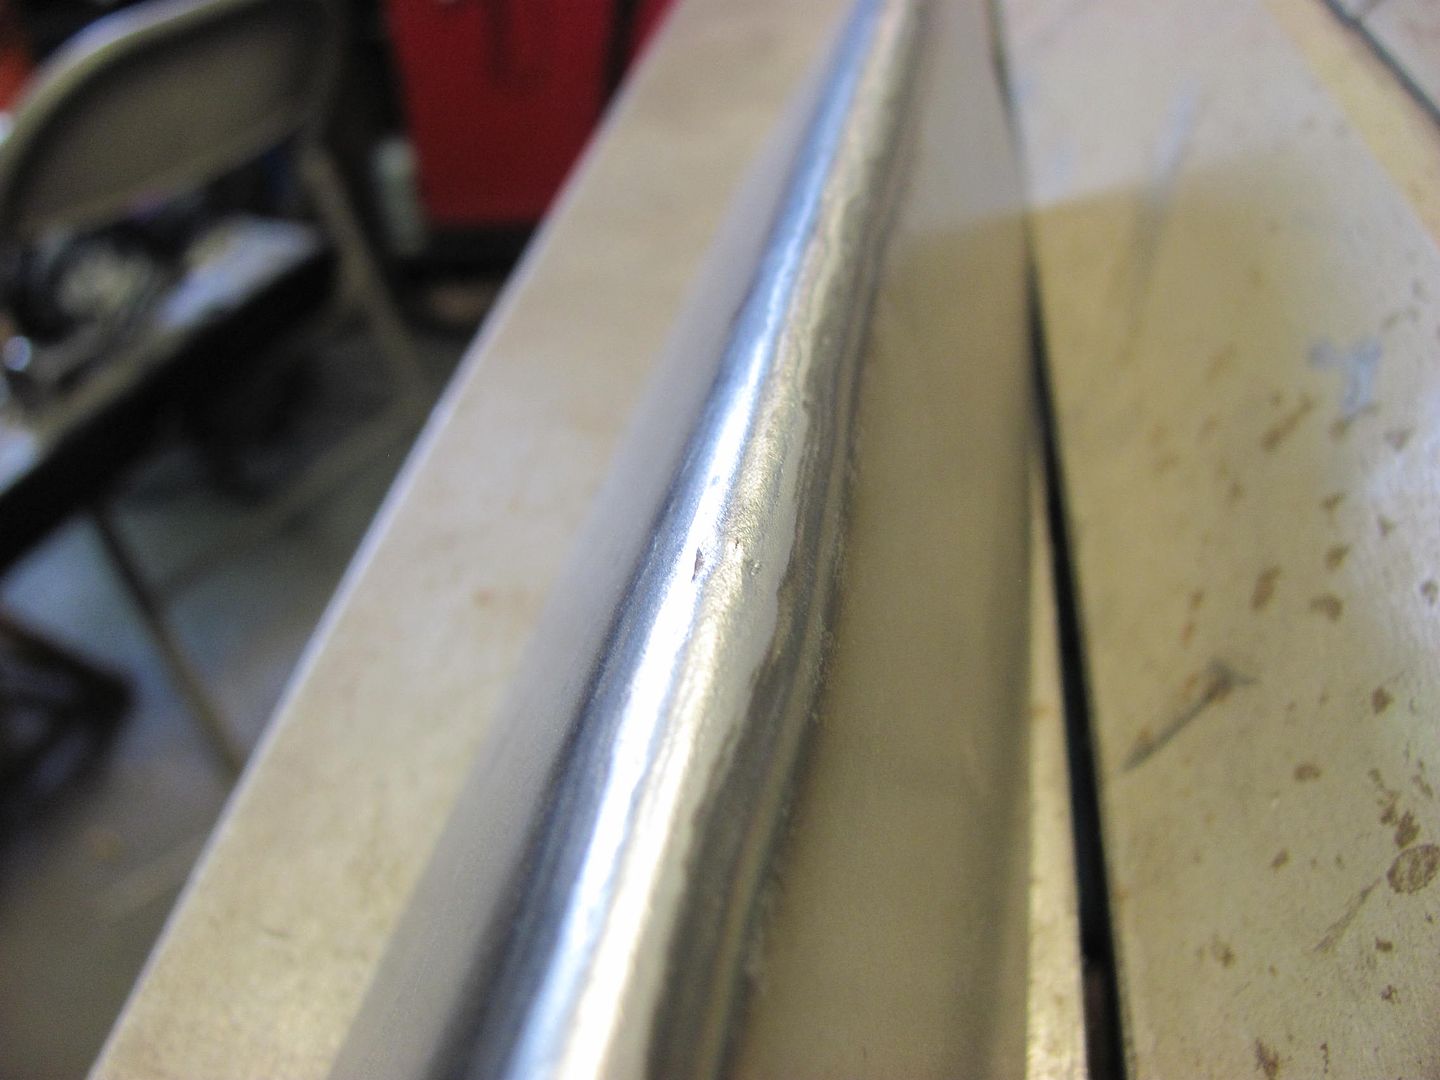
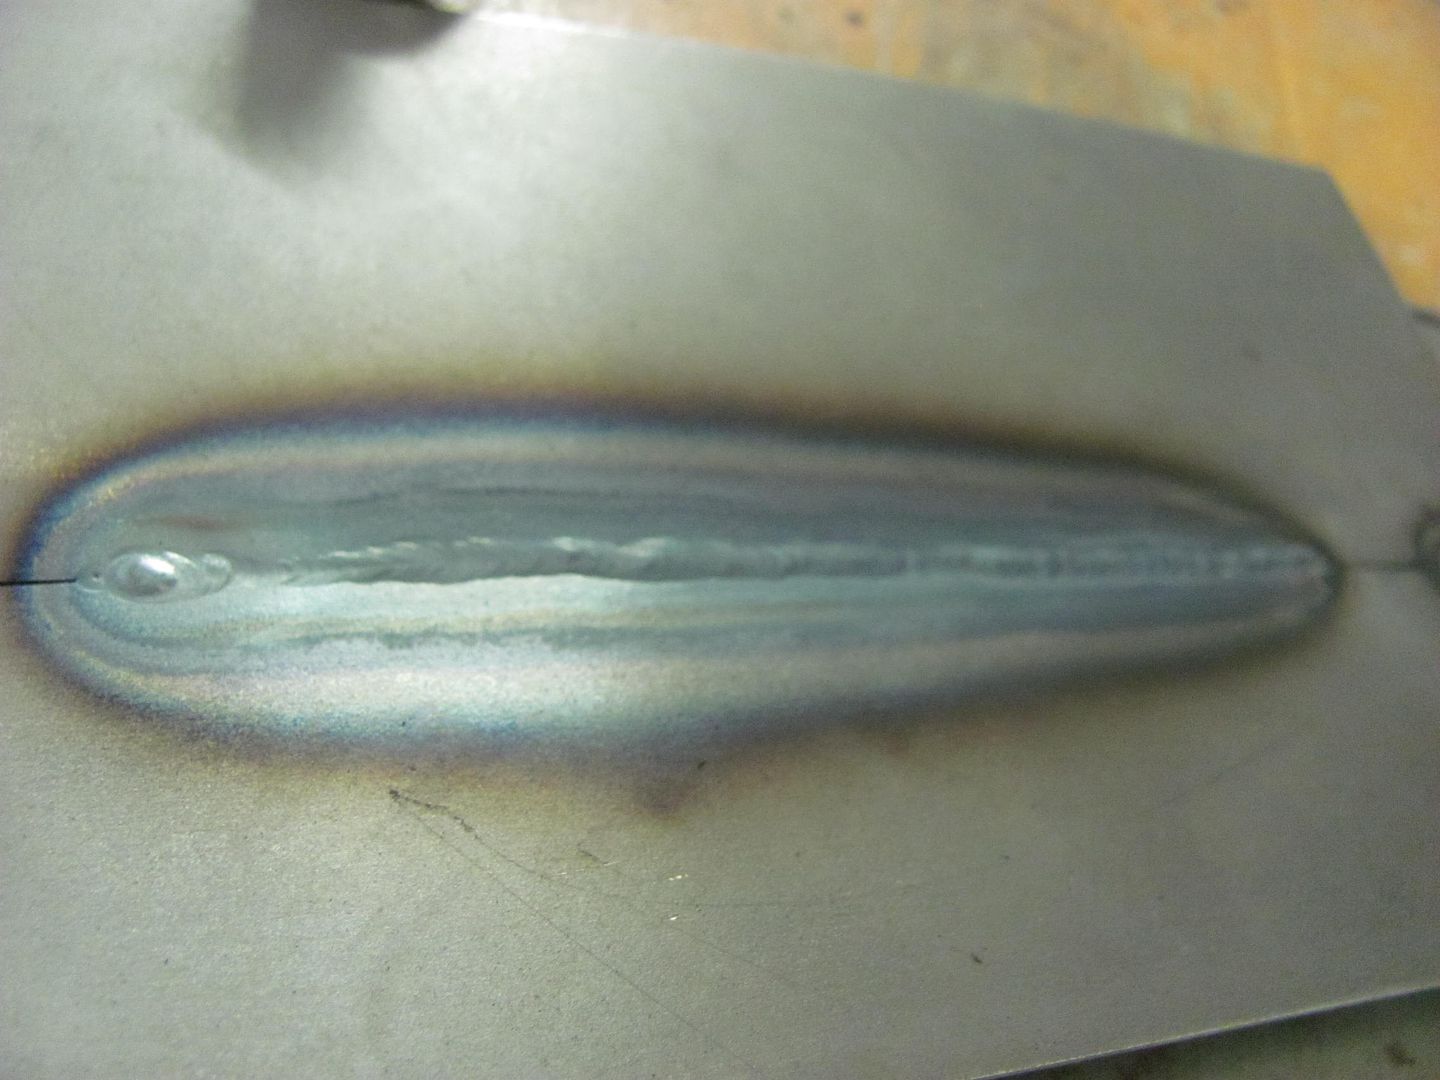
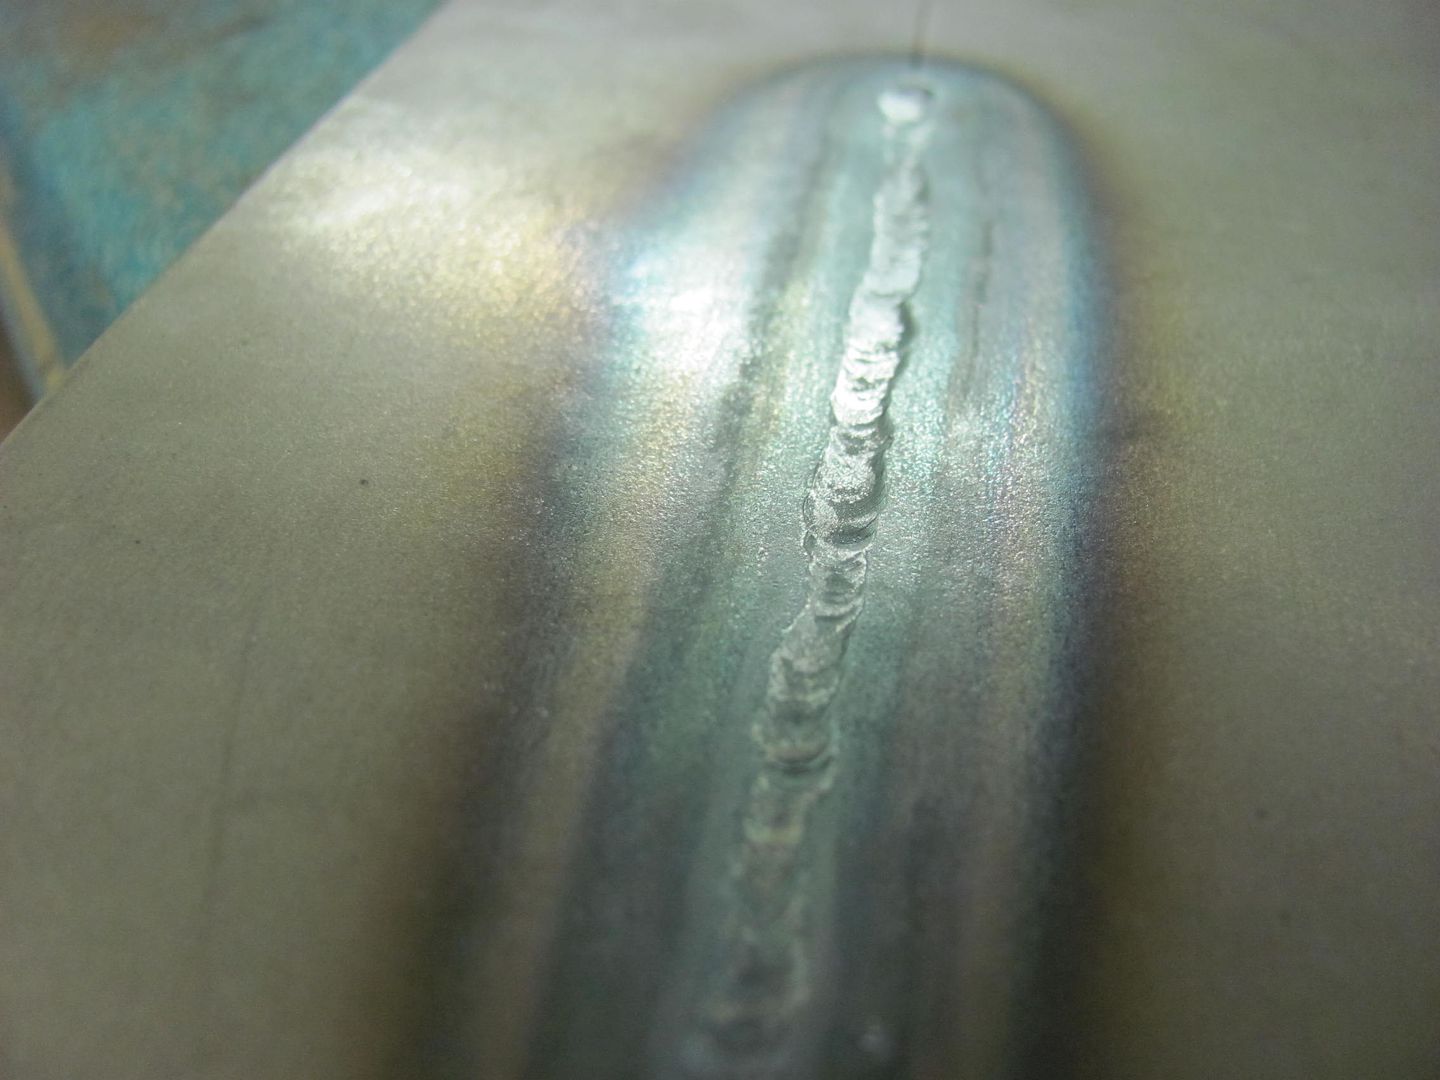
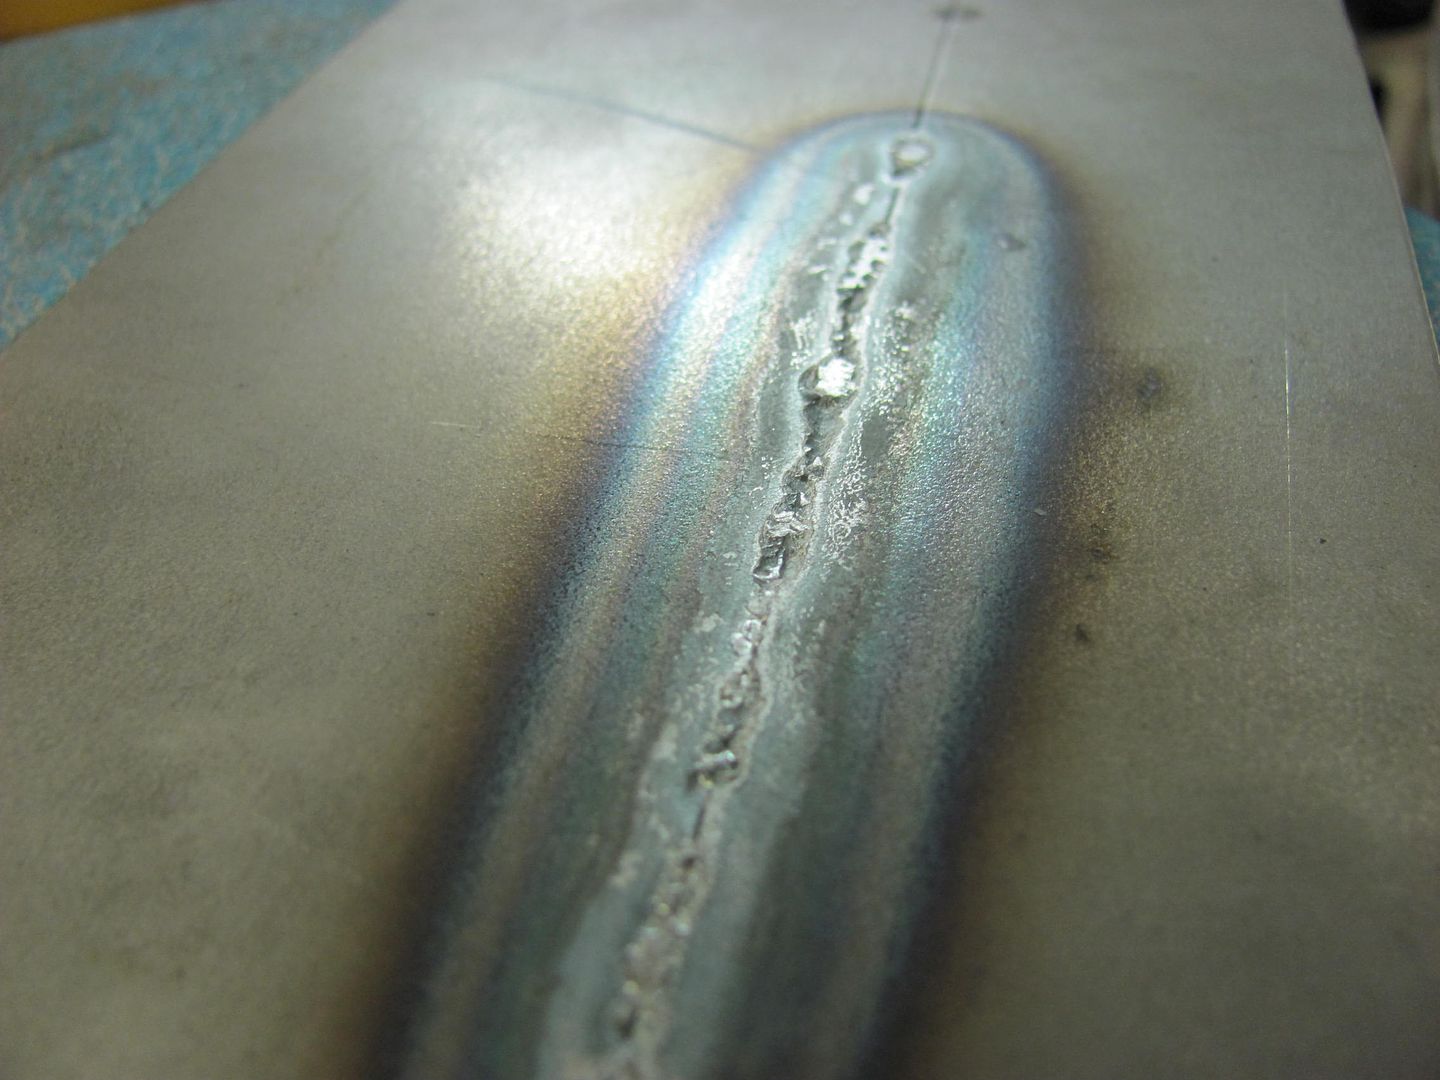
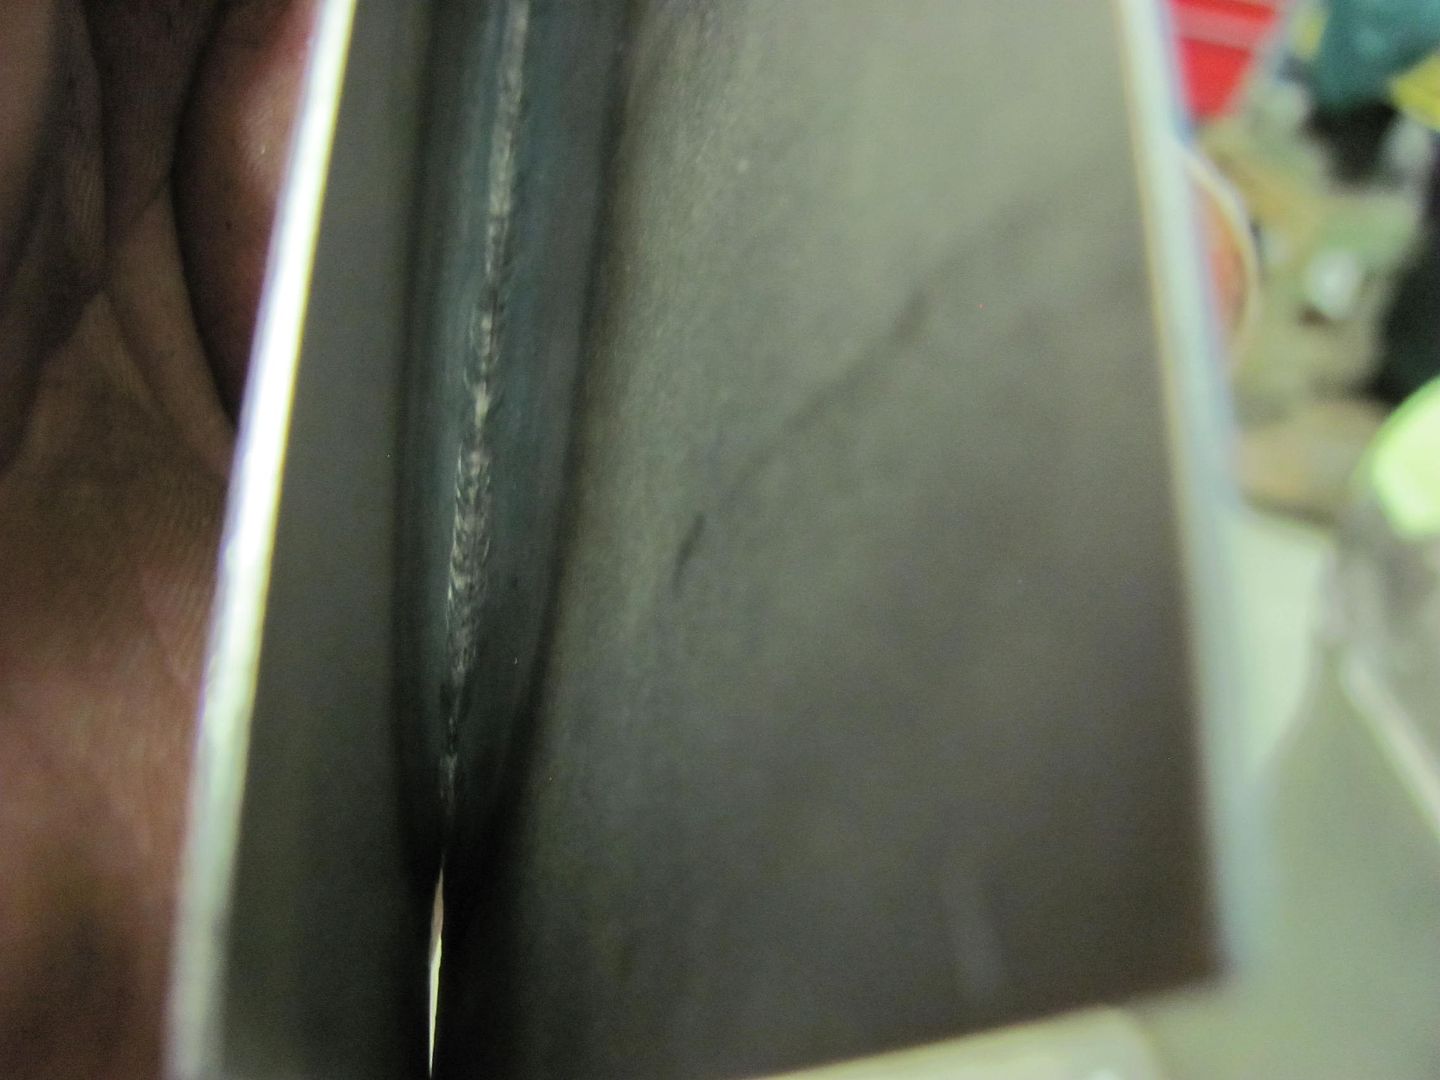
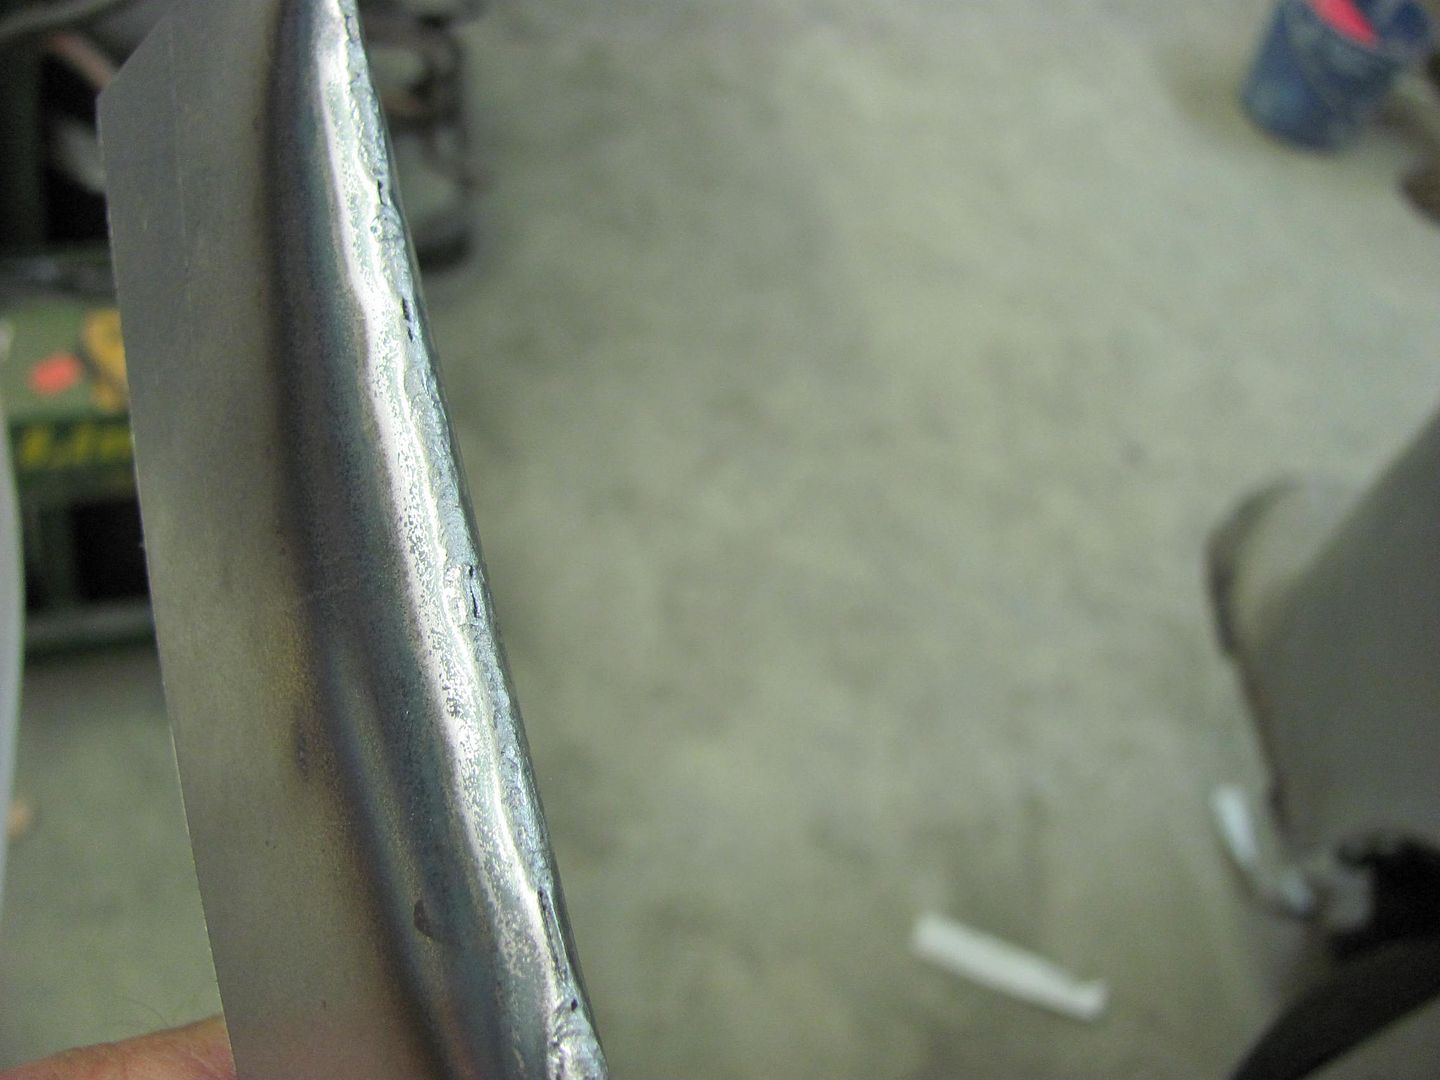
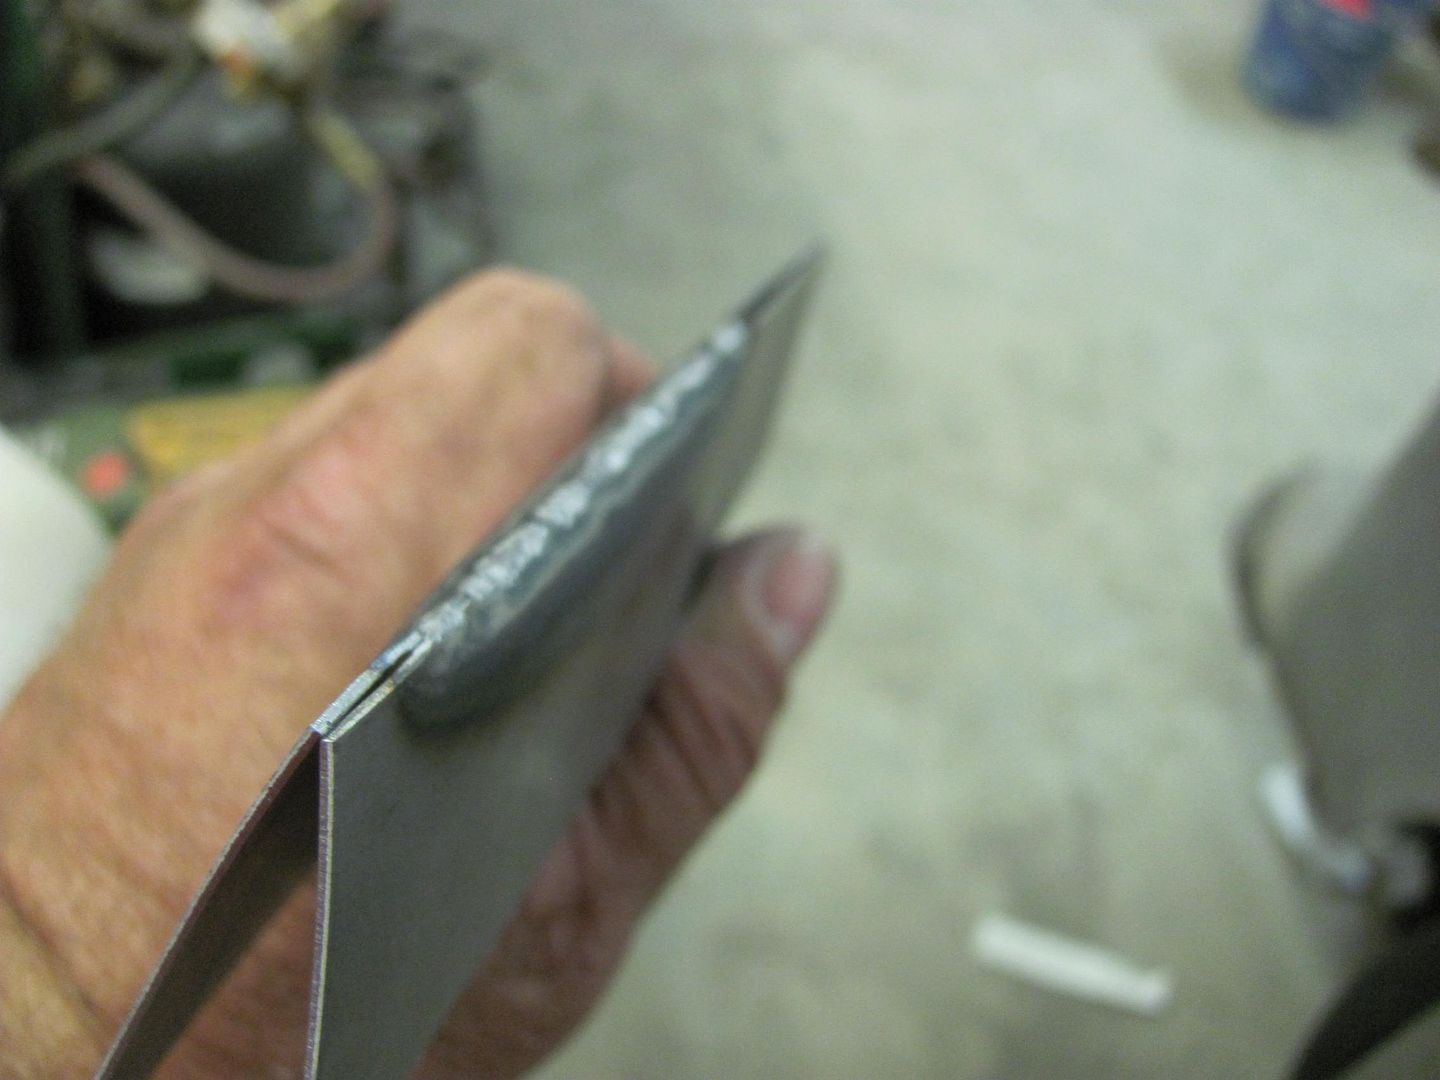
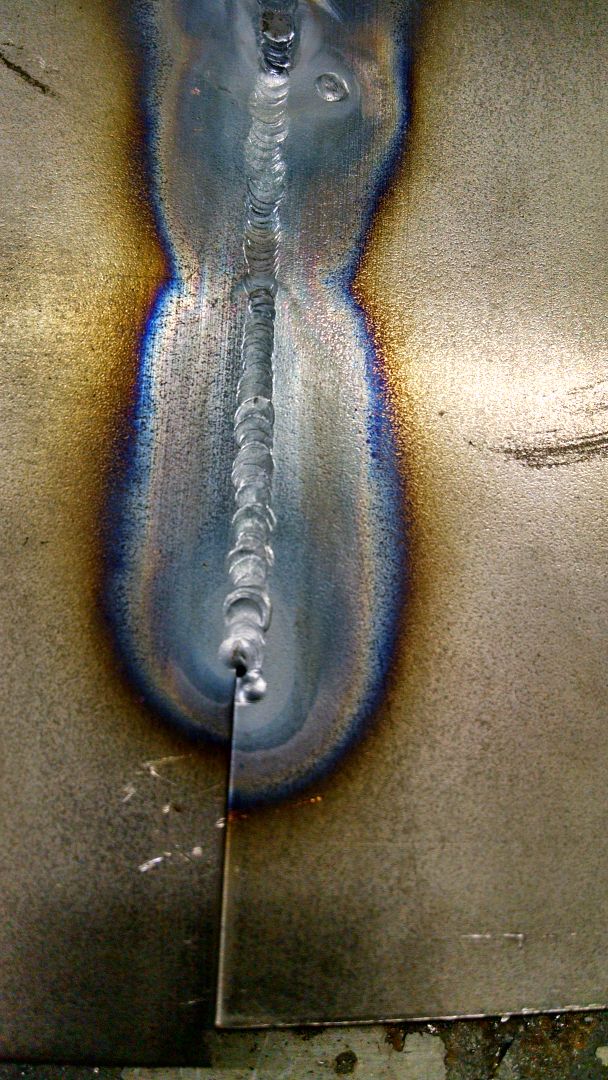
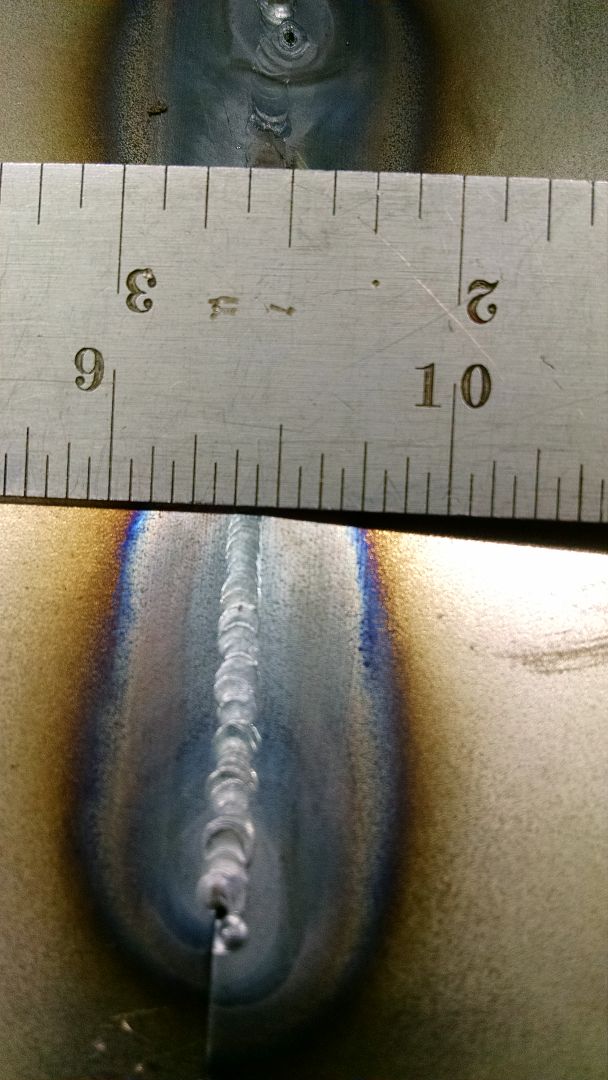
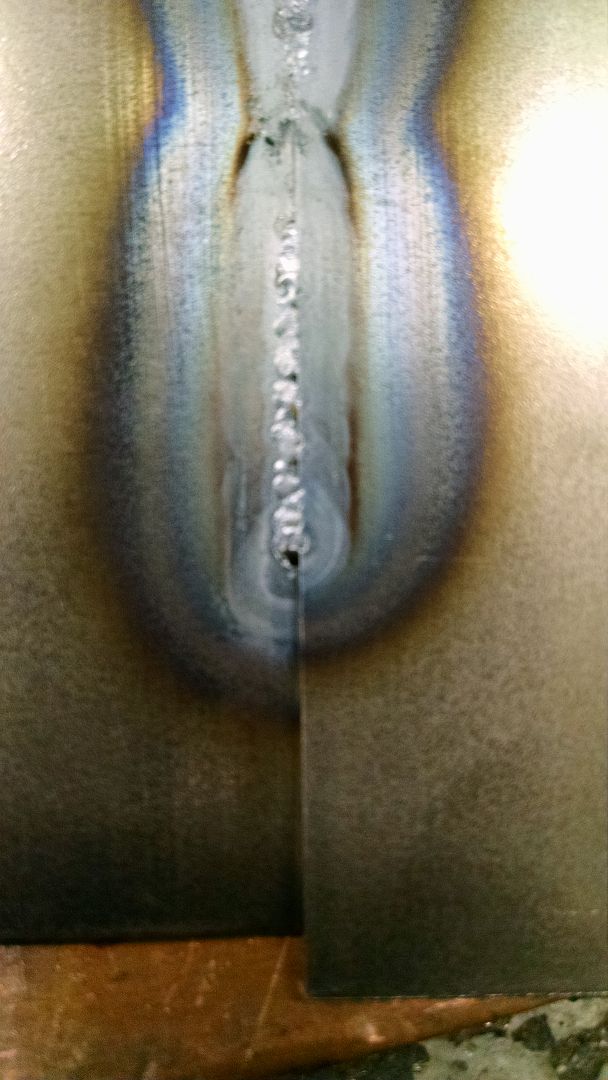
Either TIG or O/A can give you a better, softer weld, with less HAZ and more consistent HAZ than MIG. CAN, not will. Much has to do with capabilities in trimming and fitup, as the best weld going would be either the TIG or O/A in a no-filler fusion weld. This gives you a softer weld that is easier to planish, and clean up is minimal, and a more consistent HAZ for less distortion. However, if one's skills are not that fluent in these two processes (me), then additional weld times may be realized that negate the benefits of minimal heat/HAZ seen in the no-filler fusion weld.. Time spent in fitup and trimming is much longer, but that is offset by the time you are now spending in cleanup with the MIG...
 
Here's some practice at fusion welding using the Tig, here's the front showing some slight undercutting..


Picture892.jpg


The rear side shows some good weld penetration in some areas and needs more practice in others.. Take note of the fairly consistent HAZ width, and that the panel halves are just about dead flat, minimal distortion.


Picture891.jpg


Just to test if the slight undercutting on fusion welding is an issue in the joint's strength, the seam was clamped in the apron brake and bent to 135 degrees, with no detriment to the weld..


Picture895.jpg


Picture901.jpg


When using the Tig torch on the above pass, I had set the amperage higher than normal for that gauge of metal, mashed the pedal, and used the speed of the pass to control the heat. The slight undercut in the center is likely due to the fact that I made a straight run from one end to the other. I wanted to try this again, giving the torch a circular motion to see if it helped. Now anytime I try a new process, I also look to see what can be done to increase "repeatability" to better isolate any issues. Basically what can we do to keep the process almost identical that would allow us to make minor tweaks, monitor results, and go back if needed as the results dictate.

So in order to maintain consistency for the test, the cup is modified so as to use it as a "glide" (think plasma cutter guide) This should hold our electrode height exactly the same, to limit one of the walking, talking, chewing gum factors.


Picture1009.jpg


Picture1011.jpg


Picture1003.jpg


For tacking purposes, I set the electrode depth so it was just sticking out past the cup. The electrode is fairly easy to position using this method, drag it side to side and it will find the exact joint between the two pieces. Then rotate the torch backwards just enough for the cup to pick up the electrode off the metal, and give the pedal a quick push. These "tacks" were about 1/2 second in duration, amps set at 82. This shows the front:


Picture1004.jpg


Picture1005.jpg


And the rear side weld penetration:


Picture1006.jpg


Picture1007.jpg


For the weld pass, the sample is raised above the "table" to simulate welding the panels on a car in free air...


Picture1008.jpg


....and the electrode is moved up to just inside the low point on the cup. Now in "glide mode", my distance to the panel doesn't change, and all I SHOULD have to worry about is speed of travel to control the heat. This was welded using a circular motion with the torch while making the pass:


Picture1012.jpg


Rear shows some undercutting


Picture1013.jpg


Planishing to bring the weld proud down flush with the front surface

Front:


Picture1015.jpg


Rear:


Picture1014.jpg


Now to test the weld to see how structurally sound it is with the undercut....


Here's the front side with the weld pass...


Picture1017.jpg


This is the rear side with the undercut..


Picture1019.jpg


This was bent approx. 150 to 160 degrees and the weld held..


Picture1020.jpg


For my scrutiny, I have yet to produce something that I would be happy with on a customer product. I definitely need more practice to build up my "comfort level" with using this process, but sure beats all that grinding!
 
metal 2 metal type product, just do not let it set overnight, knock it down as soon as its hard or its really tough to sand. Pep poys carries a Fuzion product, same basic material, only 20 bucks. Went to metal2metal since I was able to find hardener sold separately.
 
Awesome MPC. I can do the fusion welds with no filler metal with my Henrob welder, I just cant control the heat. Then if I could master the heat, I cant get 100 % fitment.
 
anotheridiot;n81147 said:
metal 2 metal type product, just do not let it set overnight, knock it down as soon as its hard or its really tough to sand. Pep poys carries a Fuzion product, same basic material, only 20 bucks. Went to metal2metal since I was able to find hardener sold separately.


I have a couple places I can give the metal to metal a good try on my floor boards to see how to applies compared to the fiber tech.
 
I love using the tig on nice clean new sheet metal laying on the bench. Welds are beautiful and I enjoy the process. Moving that to an old car with a vertical weld on metal that isn't always uniform and its a whole new ballgame. Can be difficult! Also hard to get good visibility sometimes. The workability of the metal afterwards is the reward though.
 
Not a bad idea to have the talent and option to use either I guess. With three trucks, its hard to juggle the truck money for another welder when I dont have any of them done yet.
 
jlcustomz;n81160 said:
Pretty interesting on the modified cup tip.

I used a roloc sanding disc on that. Actually, a few of them as the grit disappears pretty quickly. Don't try a grinding wheel, as soon as the cup heats up the nose will crack off. Light pressure with the sander to minimize heat, change out the disc when needed rather than applying too much pressure. Electrode should be the smallest diameter you can get away with.. I think that one was a .040 and next time I'm at the local welding supply I'm going to find one smaller to test out..
 
I wonder how a modified tip on a Mig Welder would do like the one you show for your TIG. They make a modified tip for MIG Spot welding that is kinda like that but I have never used it. Im surprised somebody dont make a high rise TIG tip with legs to walk the tip and hold it correct distance from weld seam.
 
I had made it as a "crutch" so I could better focus on travel speed and the weld puddle. I don't use it in normal TIG operations just fusion welding on sheet metal.
 
yeah, we went to gas lenses so we can stick the tungsten out farther,, but cutting the cap looks like a much better idea.

I just guess after being a mud slinger before, to more experienced and actually cutting and welding new metal in place, I have gotten away from the stranded fillers, figuring, If I am just using 1/8th inch coats, does it really need the strands?
 
The big difference I see from an non professional perspective is the stranded Im looking at is water proof and the non stranded (with exception of metal to metal and some equal to it), are not. I only plan on using it or metal to metal in areas where moisture may penetrate any pinholes that may get by me in the final inspection.
 
Stopped and picked up some .020 TIG electrodes today, 2% thoriated. Did some practice on some 19 gauge AKDQ. Found that the electrode would blow out at just over 30 amps, so you had to sit there a bit longer, which gives us a wider HAZ.


IMG_20160218_164051502_HDR.jpg


IMG_20160218_164143734.jpg


....and the back side...


IMG_20160218_164214813.jpg


About 15 seconds with a body hammer and dolly this was about dead flat. So I think this shows the ideal benefit to the TIG, virtually zero cleanup with minimal distortion. Realize that me cutting two coupons on a shear gives a perfect seam. For someone to perform similar welds on a car will take considerably more time in fit up, trimming, filing, etc to get that seam just as tight for a no-filler fusion weld.. But look at the time saved in cleanup and metal bumping to remove distortion. I'm not there yet, but with a bit more practice, even old dogs......
 
I use primarily 1/8 tungsten because I can flatfoot it at higher amps for quick tacking, SiBr, heavier stuff and the like, and still welds 19 ga very nicely. Cheaper on consumables too, only one size collet and tungsten to carry.
 
Outlaw;n81185 said:
The big difference I see from an non professional perspective is the stranded Im looking at is water proof and the non stranded (with exception of metal to metal and some equal to it), are not. I only plan on using it or metal to metal in areas where moisture may penetrate any pinholes that may get by me in the final inspection.

theres always paintable seam sealer for the bottom.
 
That looks pretty awesome MP, between you and Chad Im going to have to make the jump to TIG. Love those flat welds. Fitment is going to be really critical on getting it TIG ready. Im not sure why you could not MIG with any gaps and TIG with the perfect fitment in a patch panel that was not 100% good fitment.
 
What they say about softer is true too. Actually, a way we found that works on gaps is migtig. having a tig weld in your off hand while mig welding to dab a little extra.
 
Back
Top