You are using an out of date browser. It may not display this or other websites correctly.
You should upgrade or use an alternative browser.
You should upgrade or use an alternative browser.
Wagon Progress
- Thread starter MP&C
- Start date
MP&C
Member
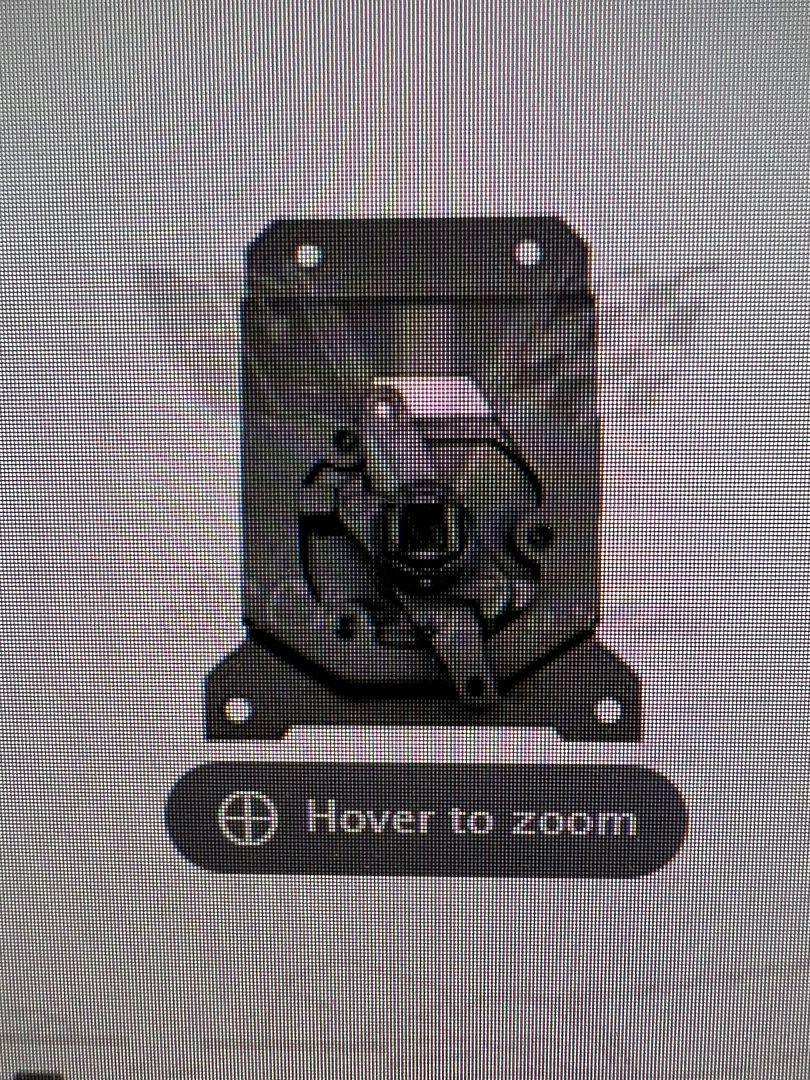
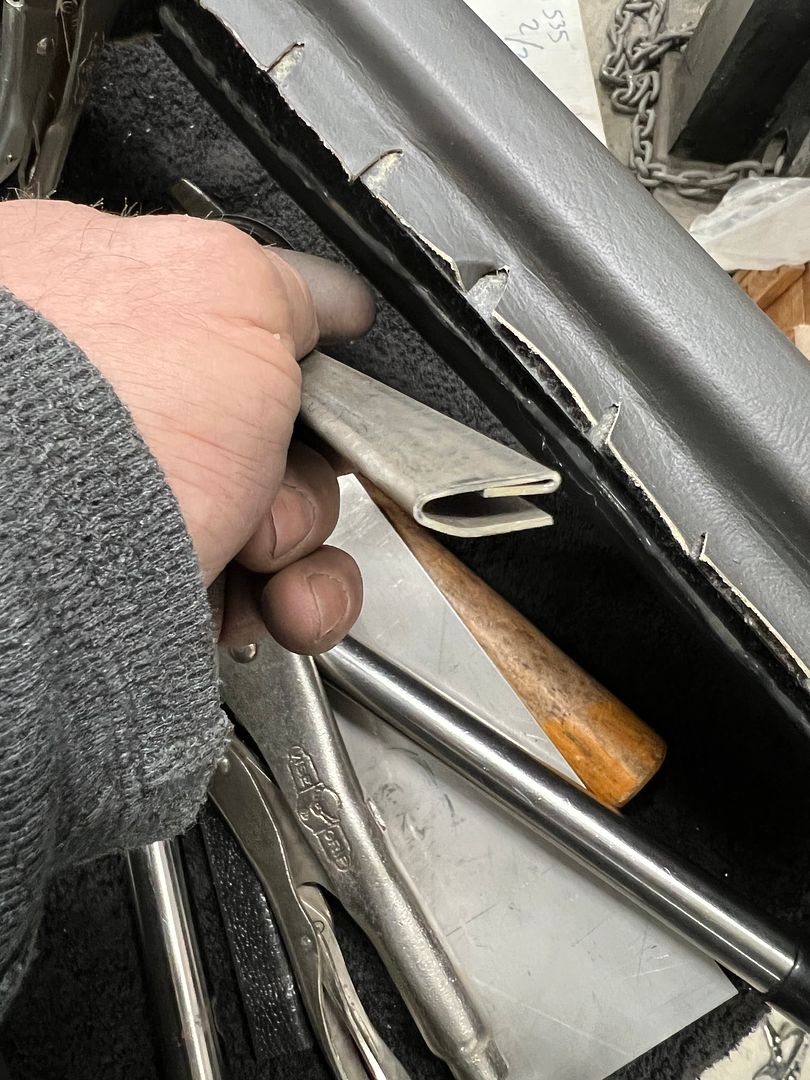
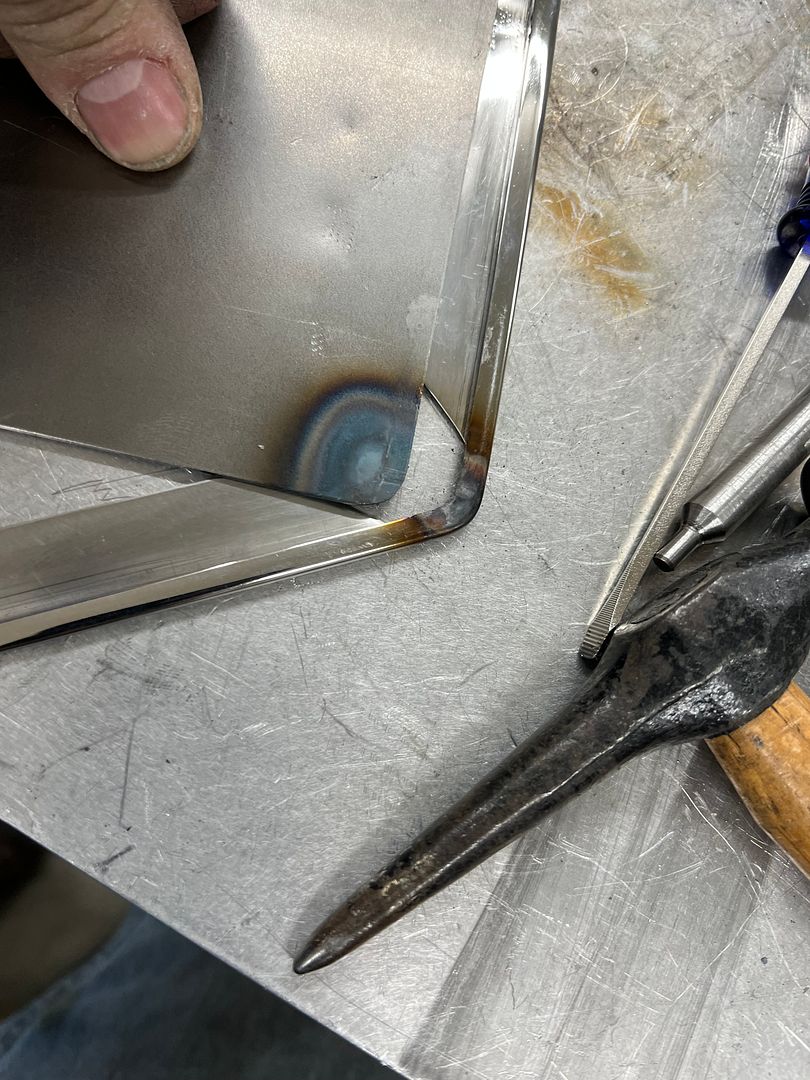
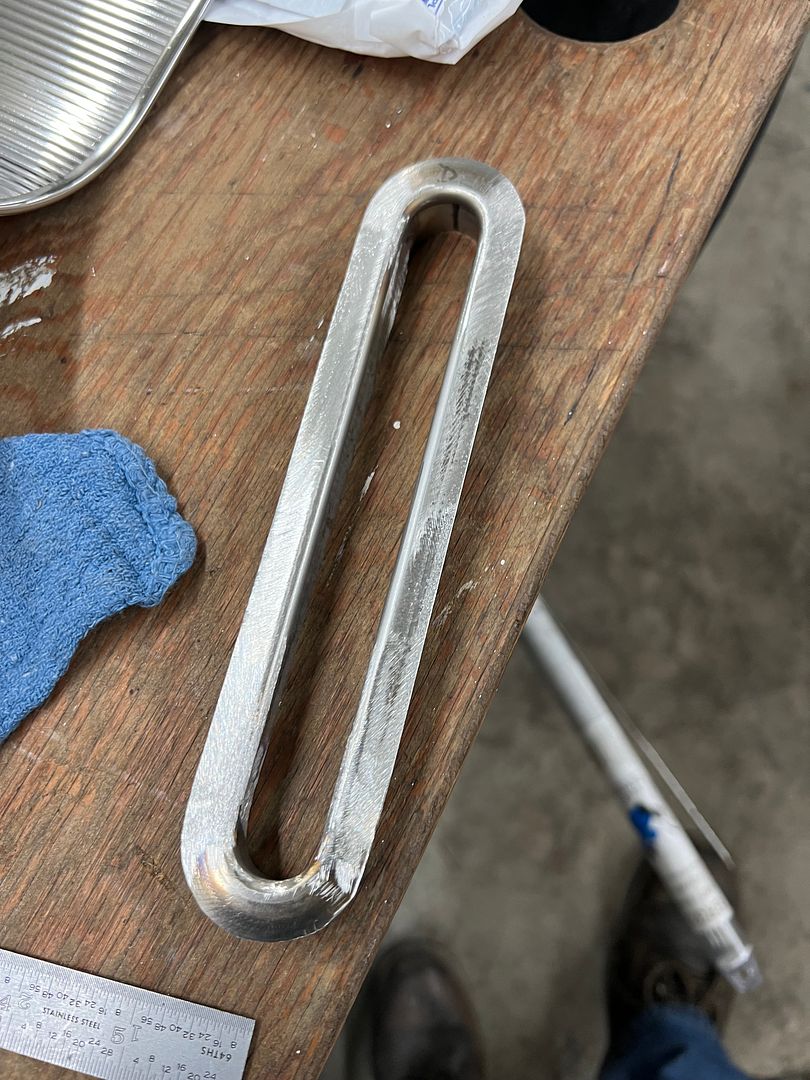
Trying to assemble the tailgate so we can put it on, but our latch actuator is absolutely worn out in the square hole, the handle just about rotates inside of it. They don't make repop's (that I'm aware of) and someone just offered a rebuilding service at over $300. So I reached out to my go to used parts outlet and a good used one is on the way, mailed the same day.. Reference photo:
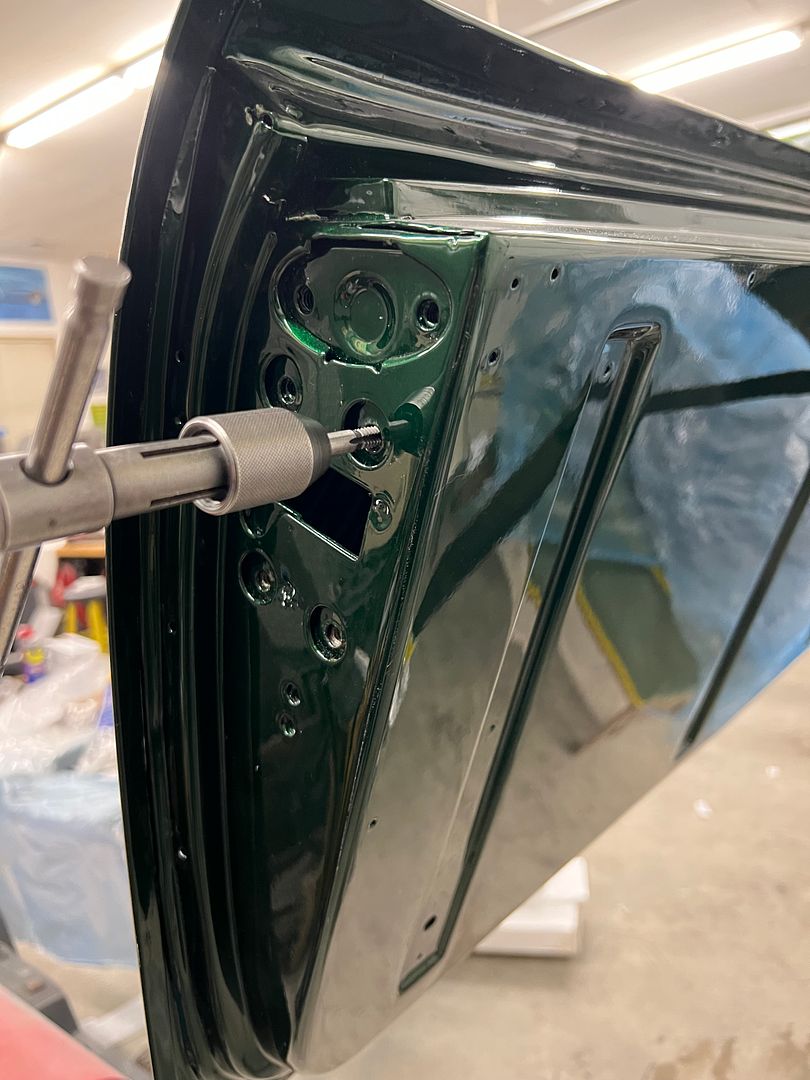
So while we're waiting on parts to load up the rest of the bits on the tailgate, lets chase the threaded holes....
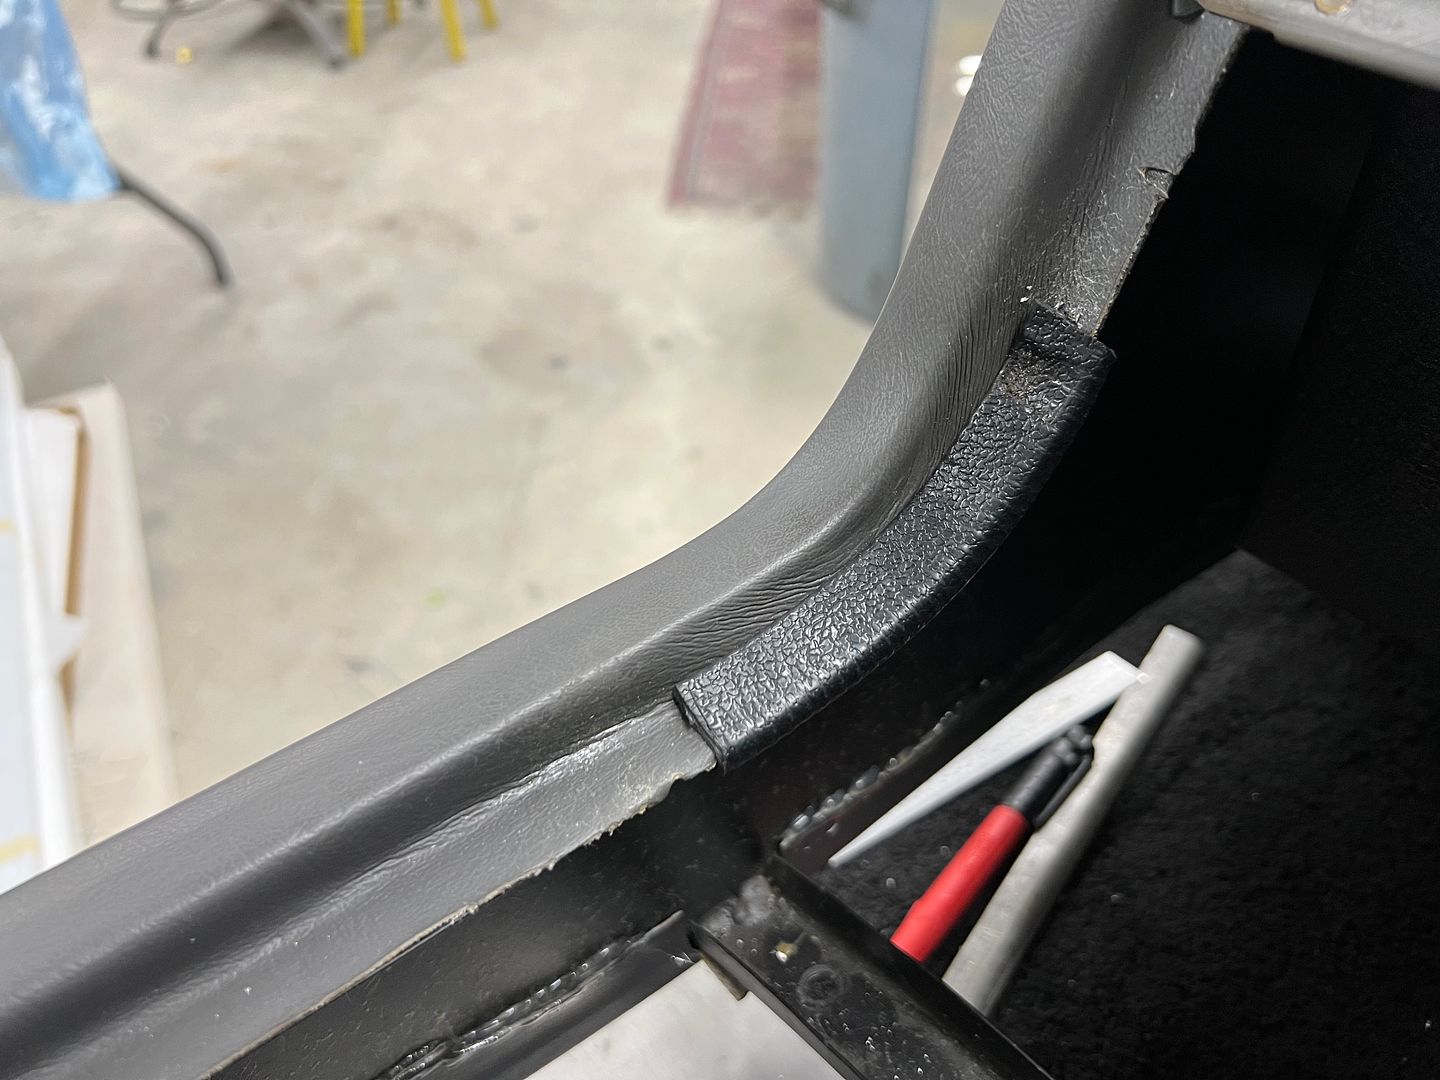
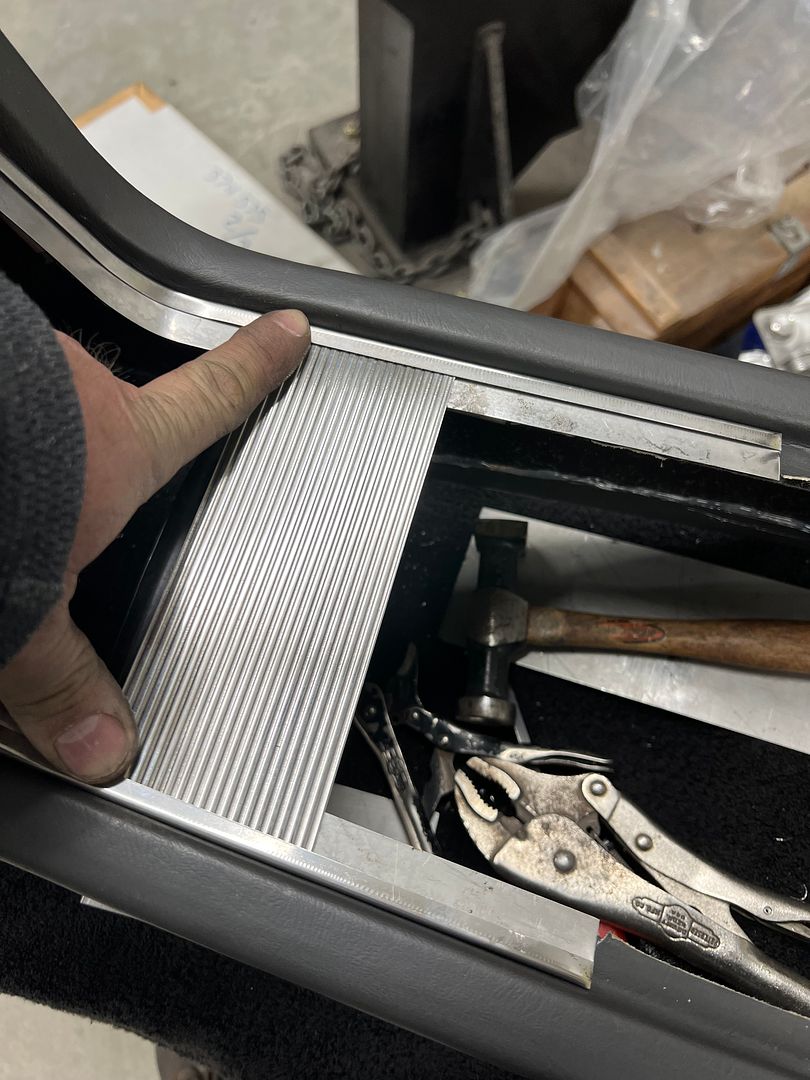
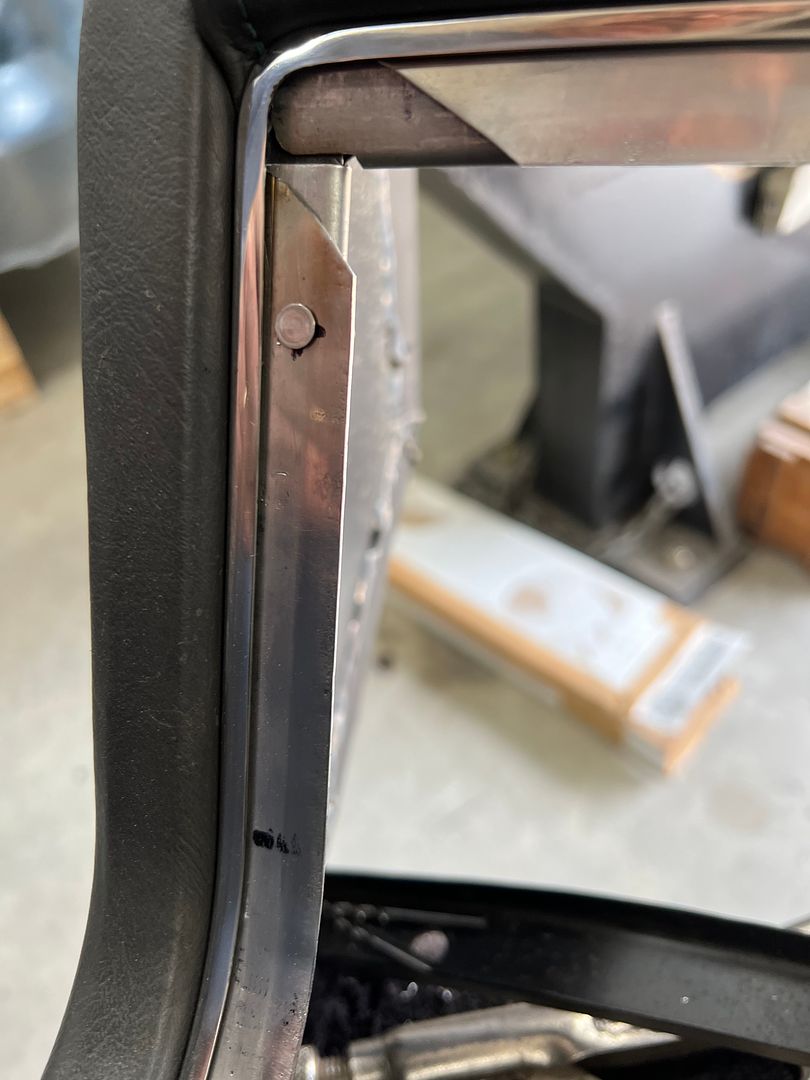
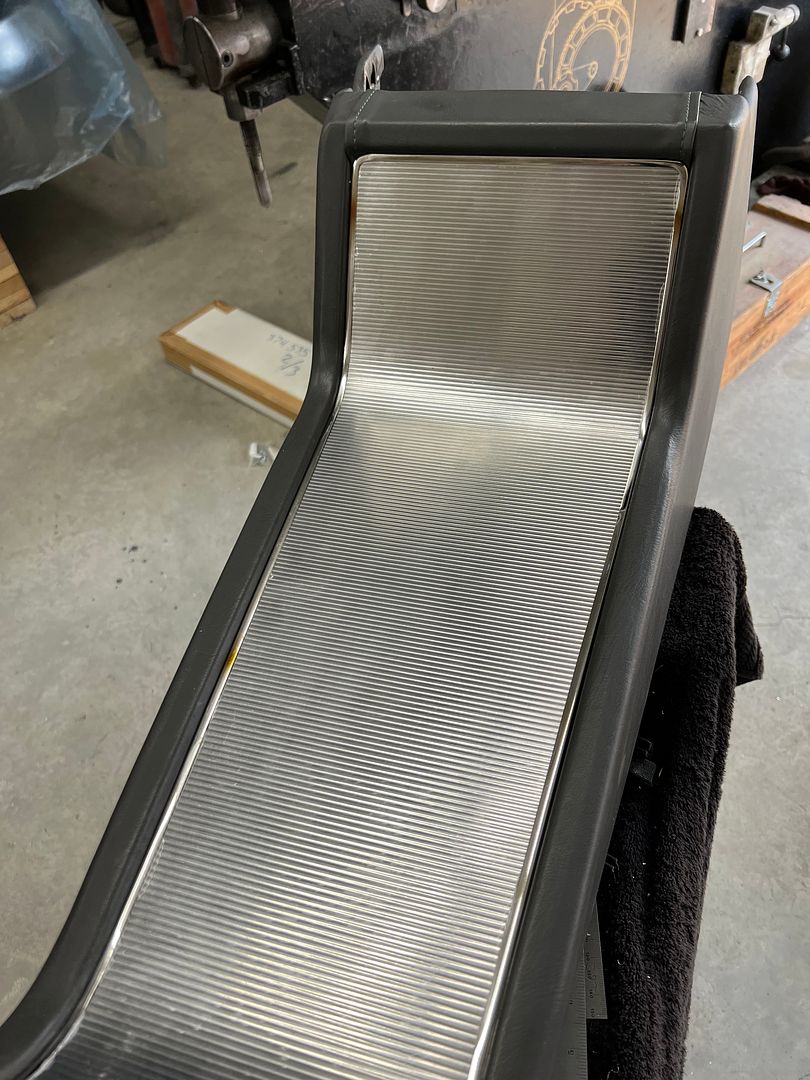
The console just got dropped off, we had some material in the corners that was pulling due to all the stretching that had taken place. In order to keep things more permanent, I came up with some 19 gauge stainless "trim lock". A hemmed edge helps keep from cutting into the upholstery. It gets clipped in place, shoved into the corner snugly, and through drilled for installing solid rivets.
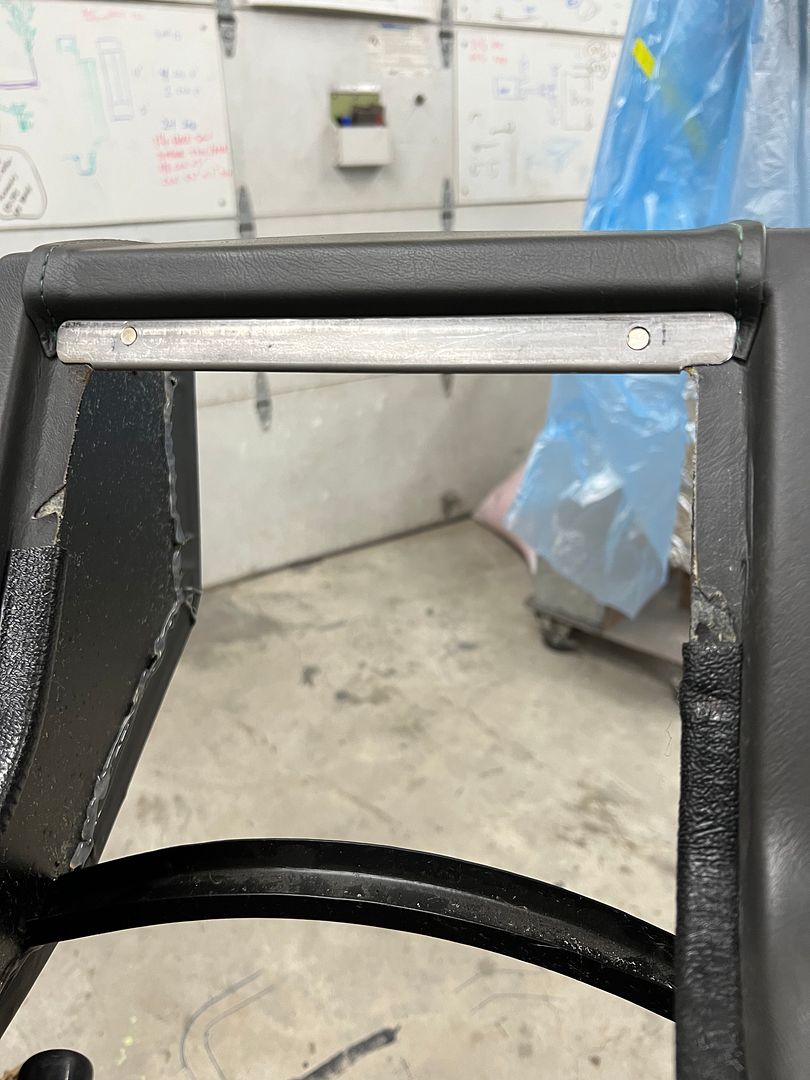

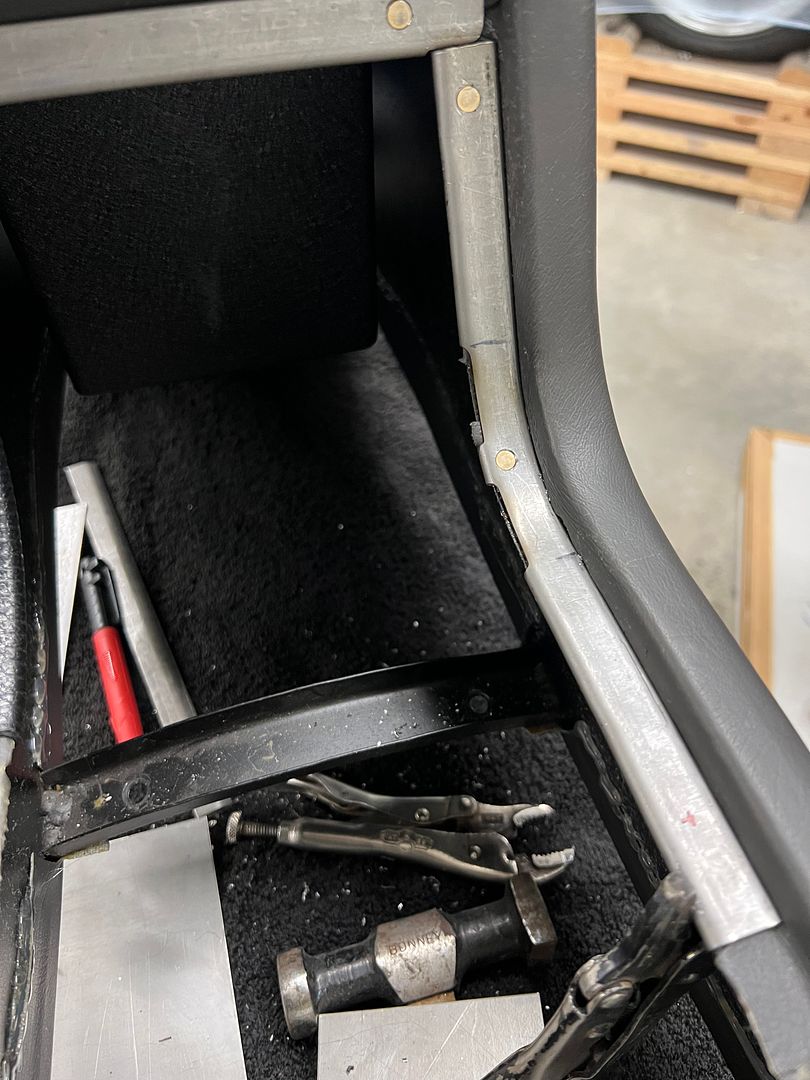
In order to match our dash insert, the console insert will also be oriented horizontally (lines left to right)
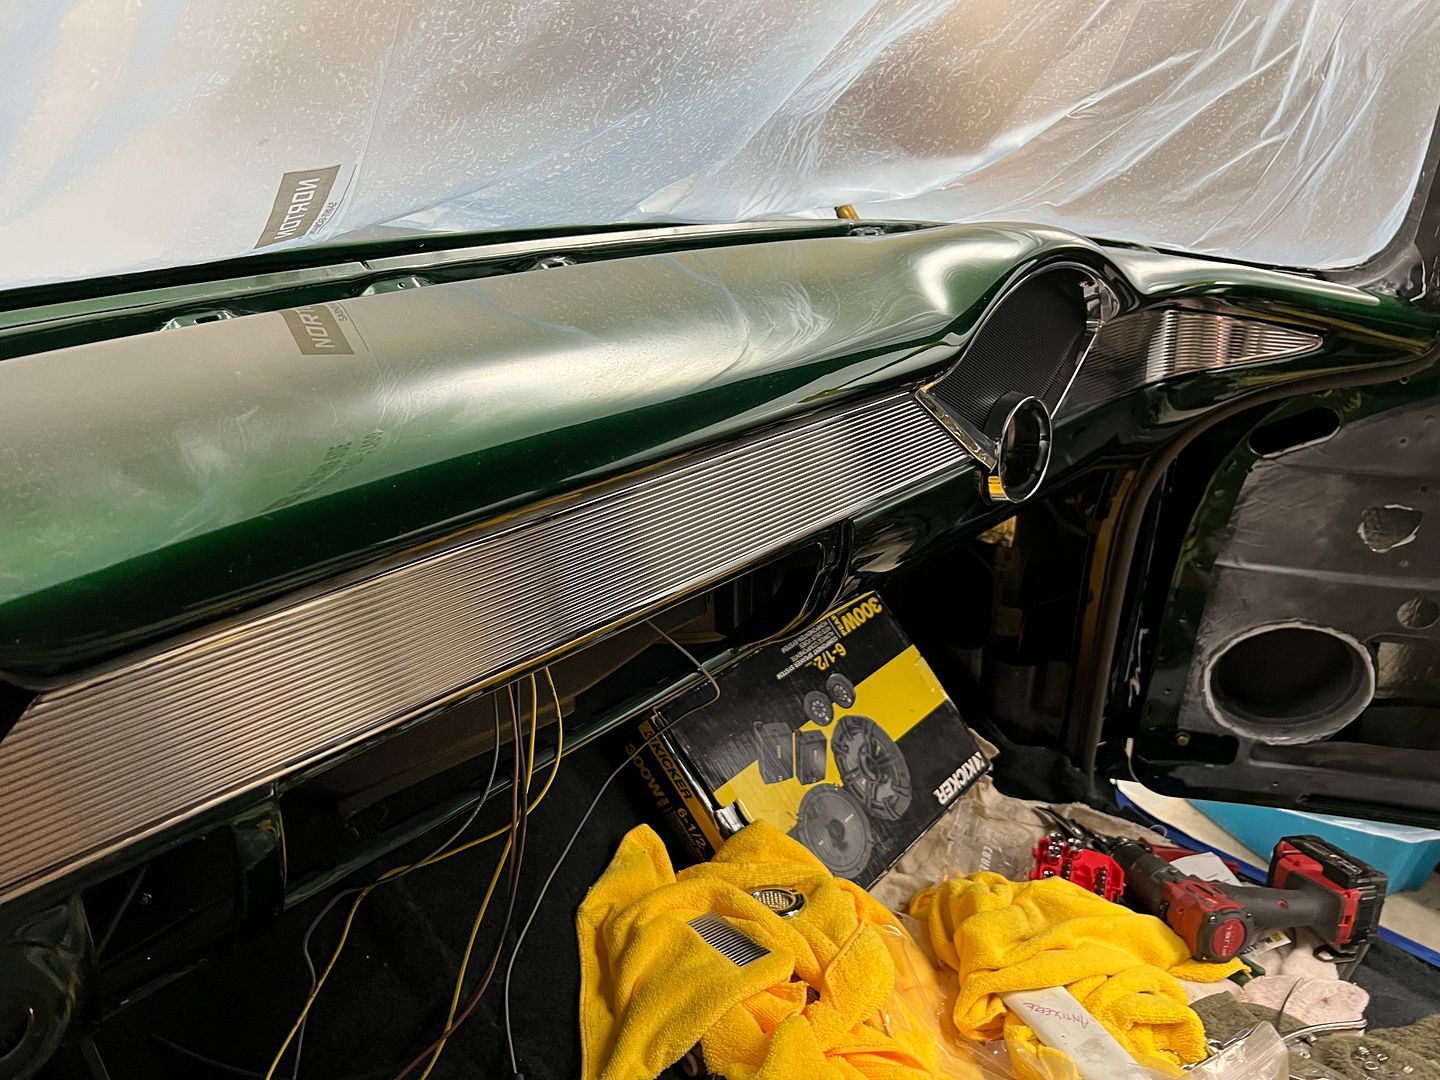
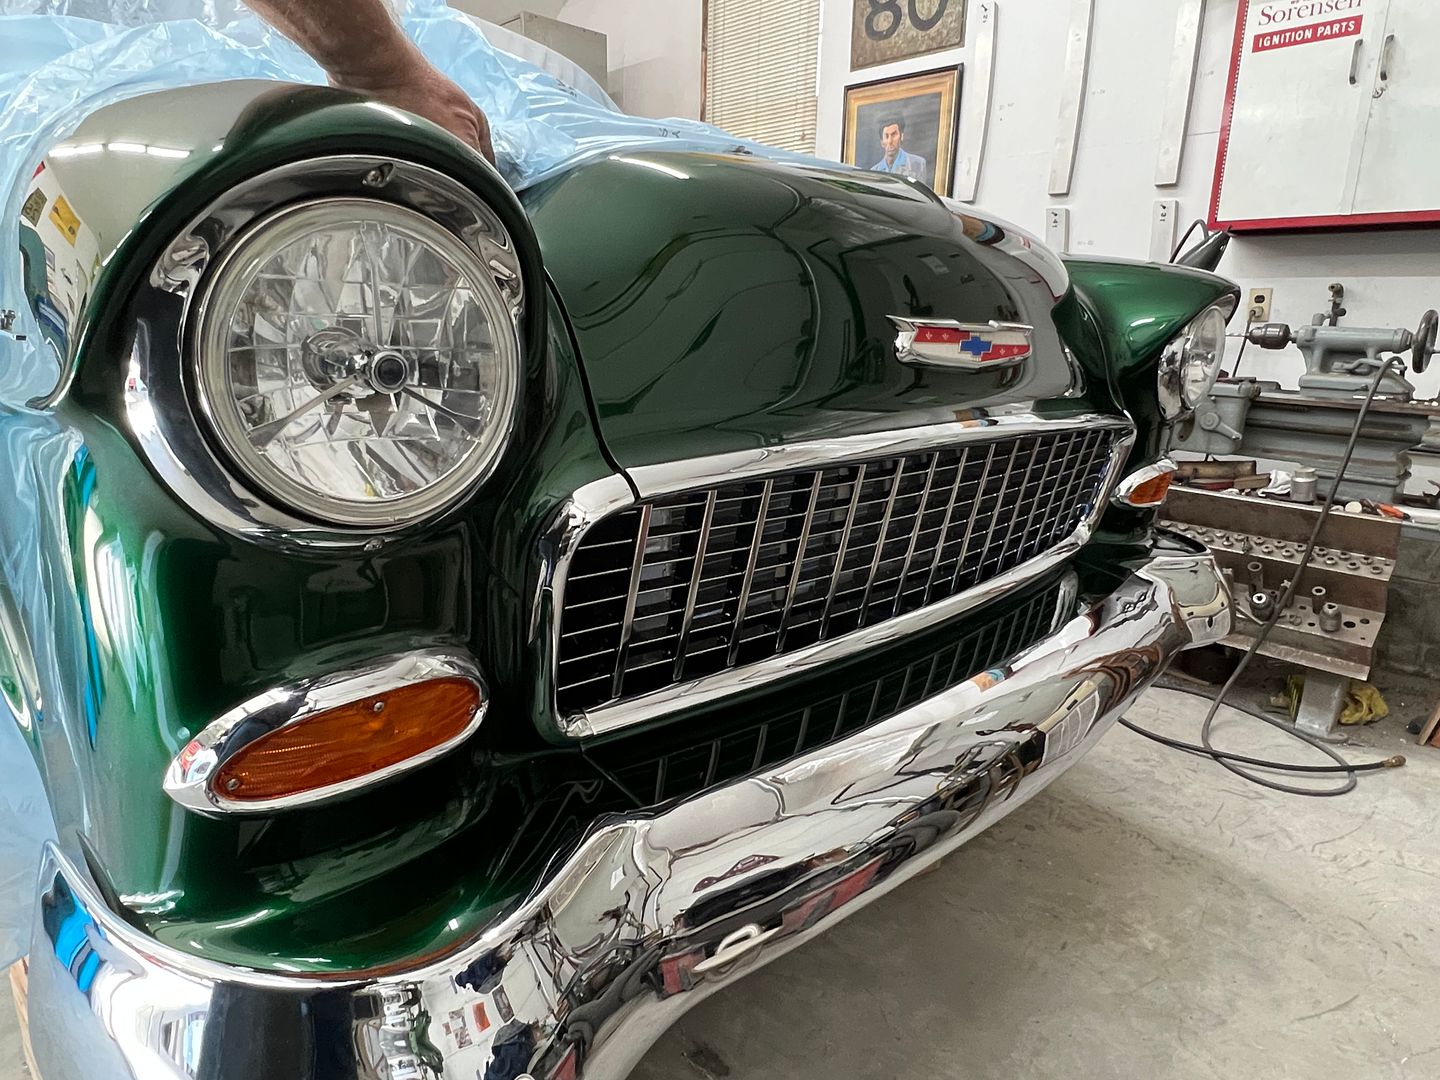
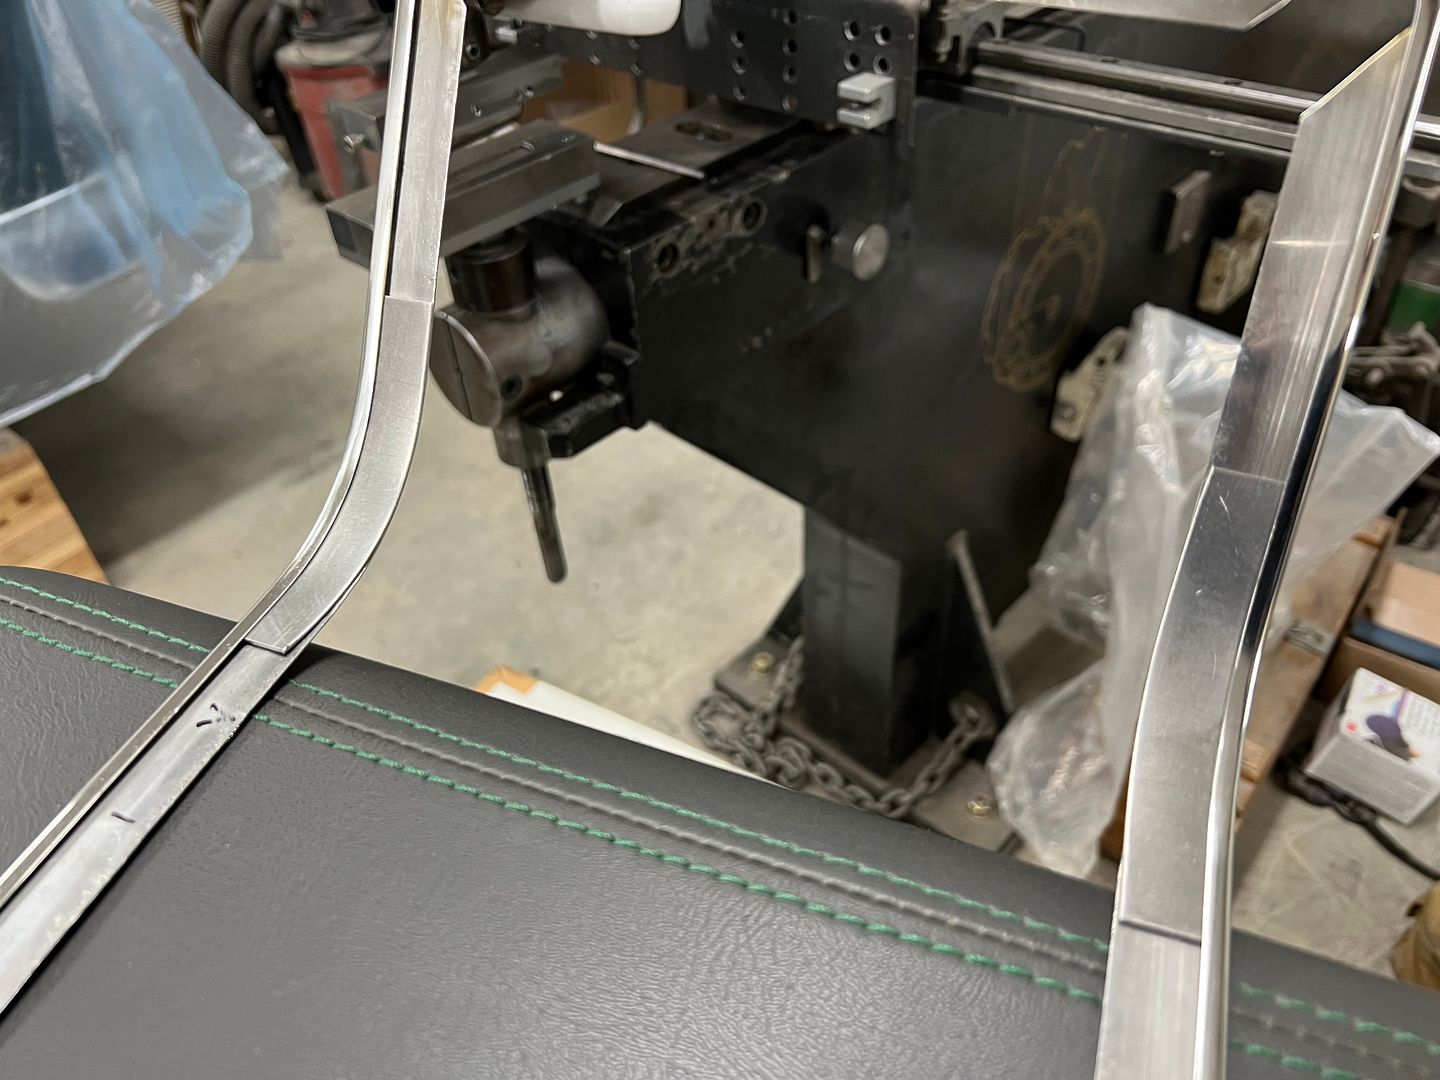
We also got some of the stainless added to the front end. What an alignment pita. Still have some tweaks to do..
So while we're waiting on parts to load up the rest of the bits on the tailgate, lets chase the threaded holes....
The console just got dropped off, we had some material in the corners that was pulling due to all the stretching that had taken place. In order to keep things more permanent, I came up with some 19 gauge stainless "trim lock". A hemmed edge helps keep from cutting into the upholstery. It gets clipped in place, shoved into the corner snugly, and through drilled for installing solid rivets.
In order to match our dash insert, the console insert will also be oriented horizontally (lines left to right)
We also got some of the stainless added to the front end. What an alignment pita. Still have some tweaks to do..
'68 Coronet R/T
Oldtimer
Fantastic work as always.
How long have you been working on this project? I realize it's not full time work but many interruptions with other projects.
How long have you been working on this project? I realize it's not full time work but many interruptions with other projects.
'68 Coronet R/T
Oldtimer
That doesn't surprise me, as the attention to detail and the amount of custom fabrication this vehicle has required is overwhelming.Embarrassed to say. Well over a decade.
The list of items that need fixing on my GTX grows every day, most will never see them but they drive me crazy. I just don't have the desire to go back and perform all the work necessary to get it perfect. I bow to your ability to do so.
harbordude
Promoted Users
Absolutely brilliant innovative work on that '55 !!!
MP&C
Member
Thanks for the comments fellas..
More console work, time to fabricate the hemmed surround for the insert. In order for the surround to be seamless, we need to do some welding.
For our corners we relieve the flange and trim the back side to about half the hem width. This gives us less material in the tucks for shrinking in the corners.

We cut a fake insert out of 18 gauge CRS with rounded corners to use as a hammer form, gives us something to hammer against when we heat up the corners.
_IMG_8985.png)
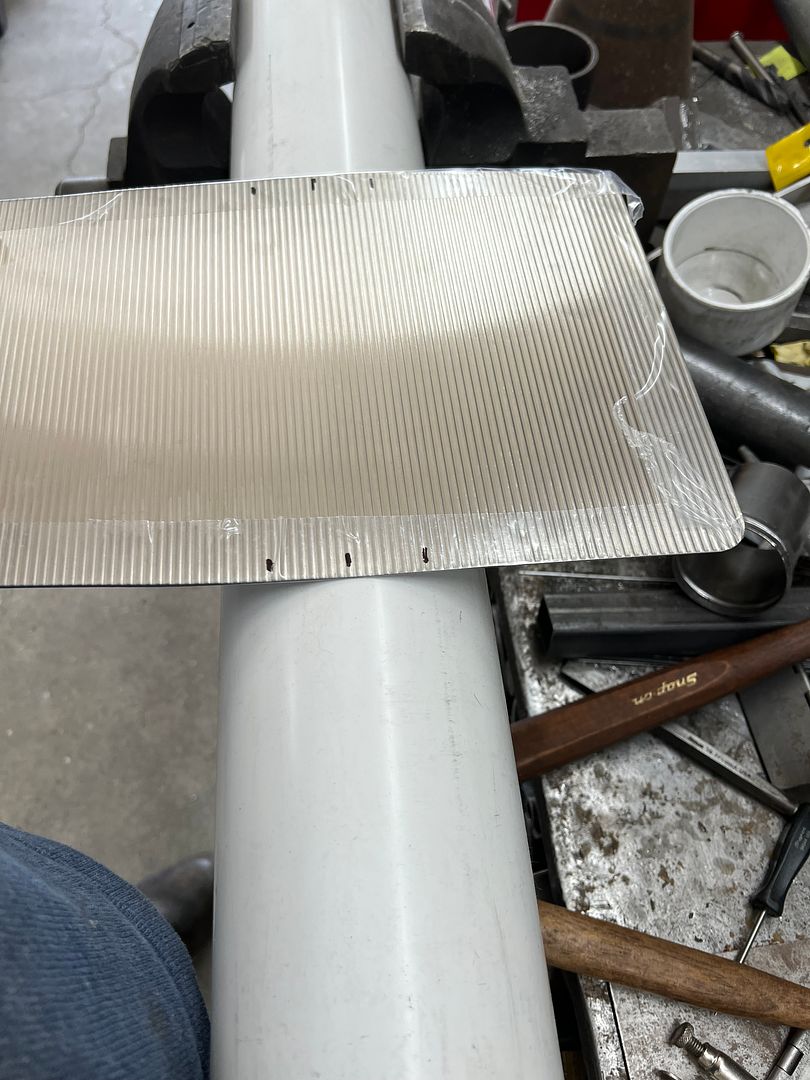
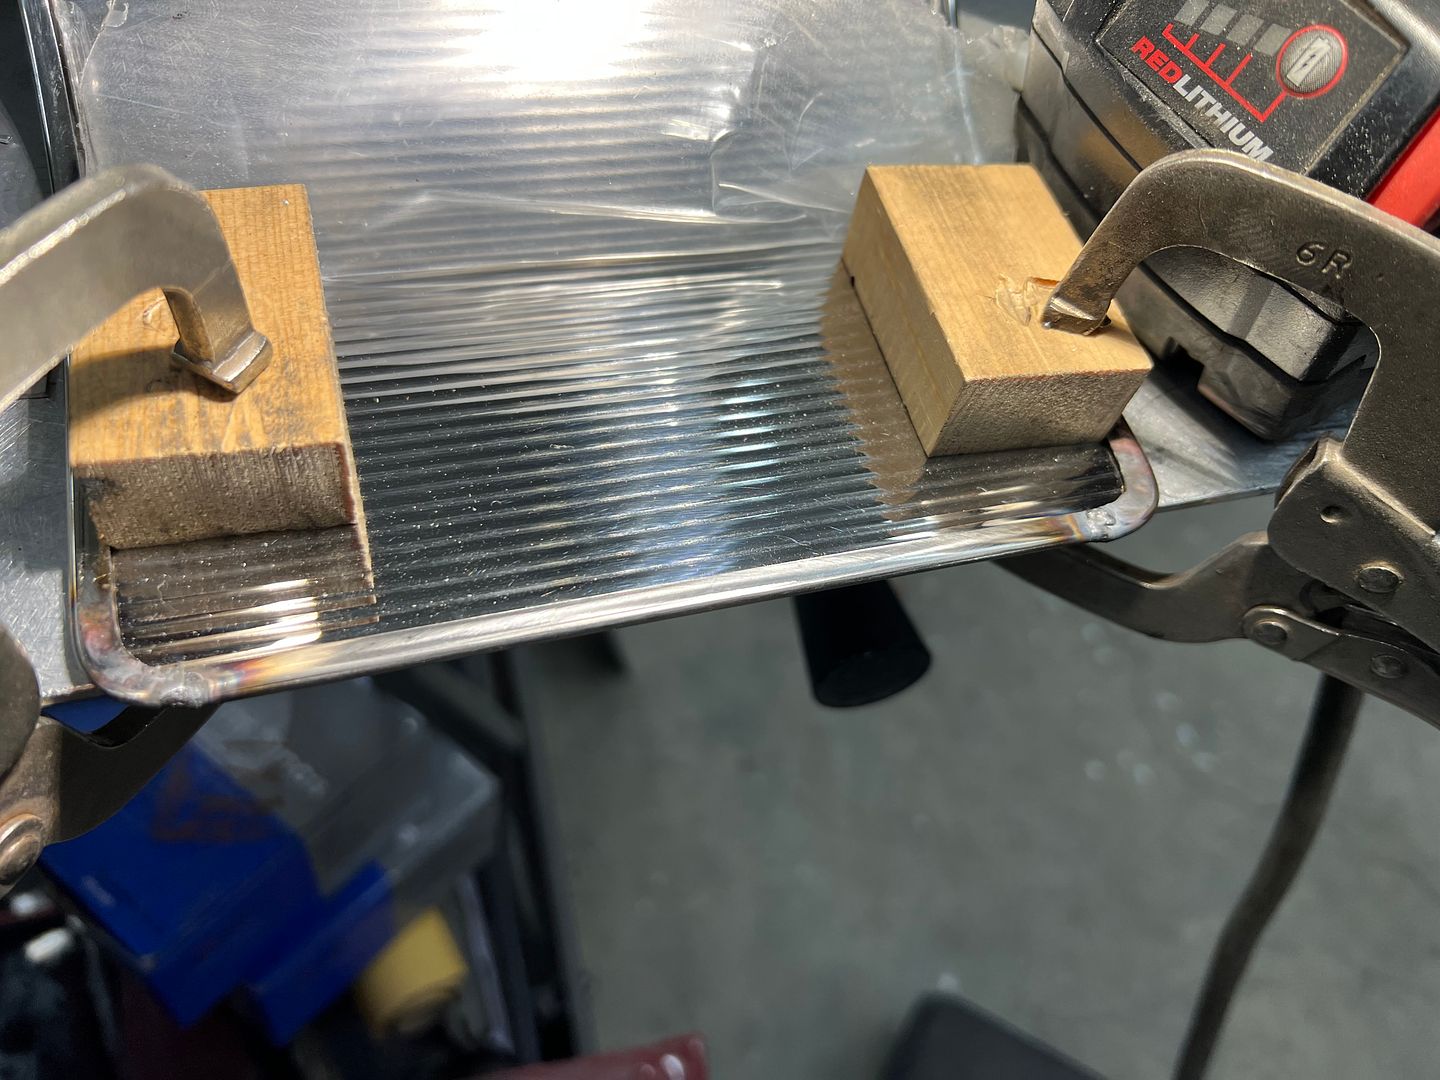
Everything's a tool, and when the PVC pipe is the only thing in the shop that matches our needed radius, it's what we use for a radius bender.
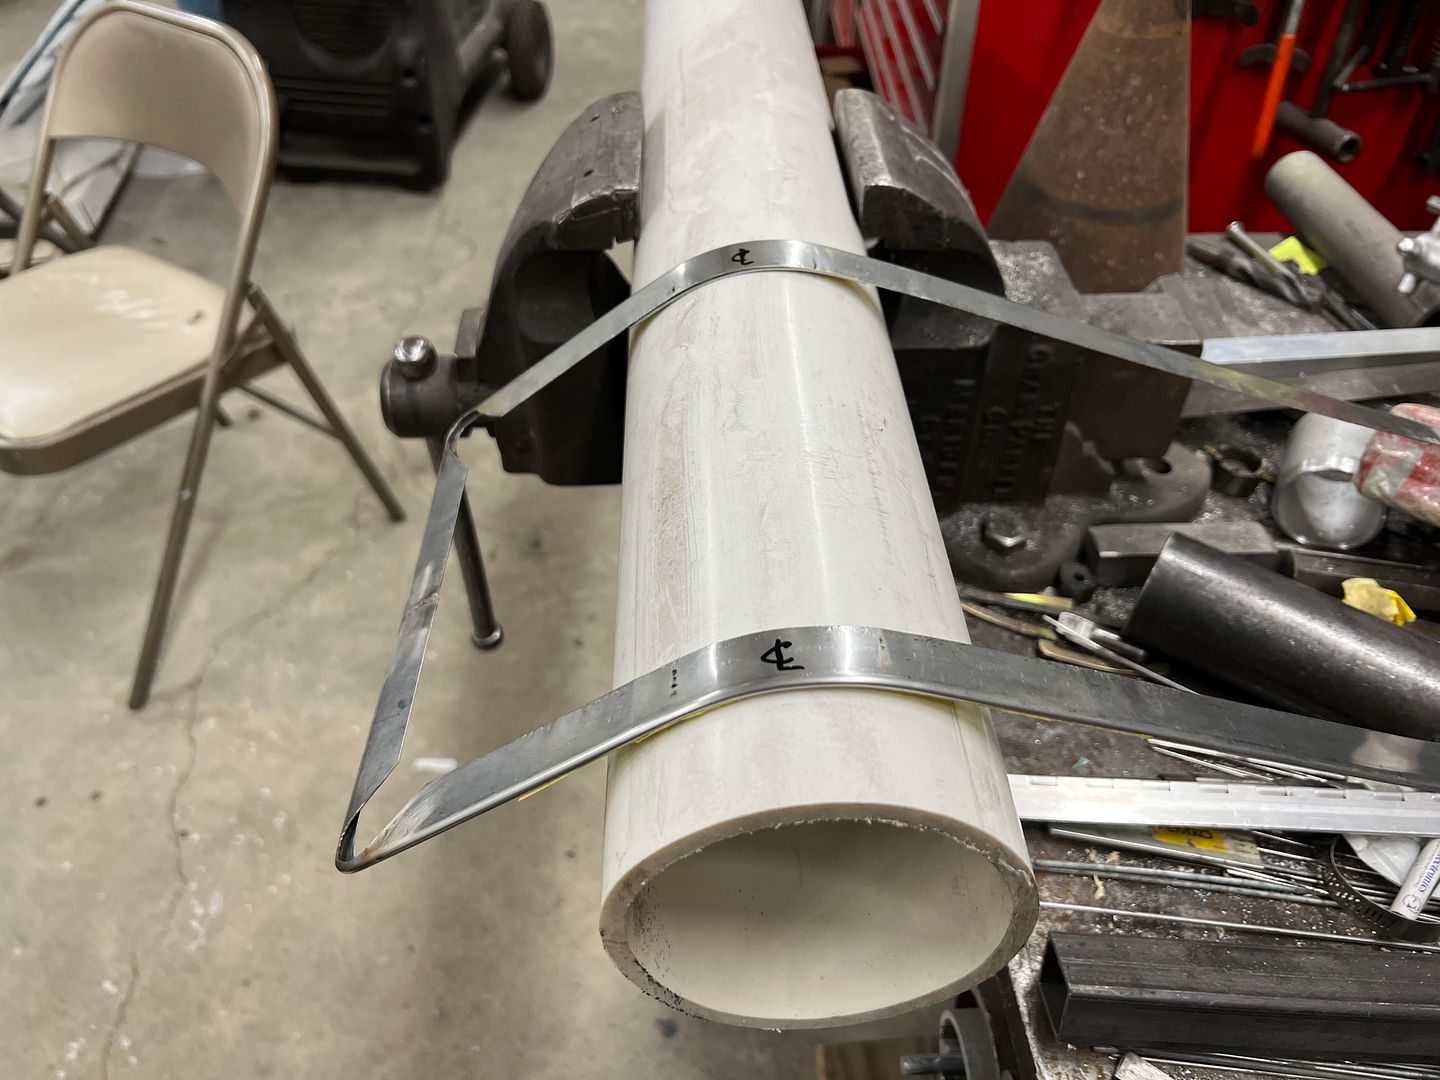
To prevent our hem from closing during the radius forming, some 18 gauge strips were placed in the hem.
Press studs used to attach to the console and will be hidden underneath the center panel.
Insert cut out to match our poster board sample, then it gets 800 grit, then 1000 through 5000 foam pads, then buffed..
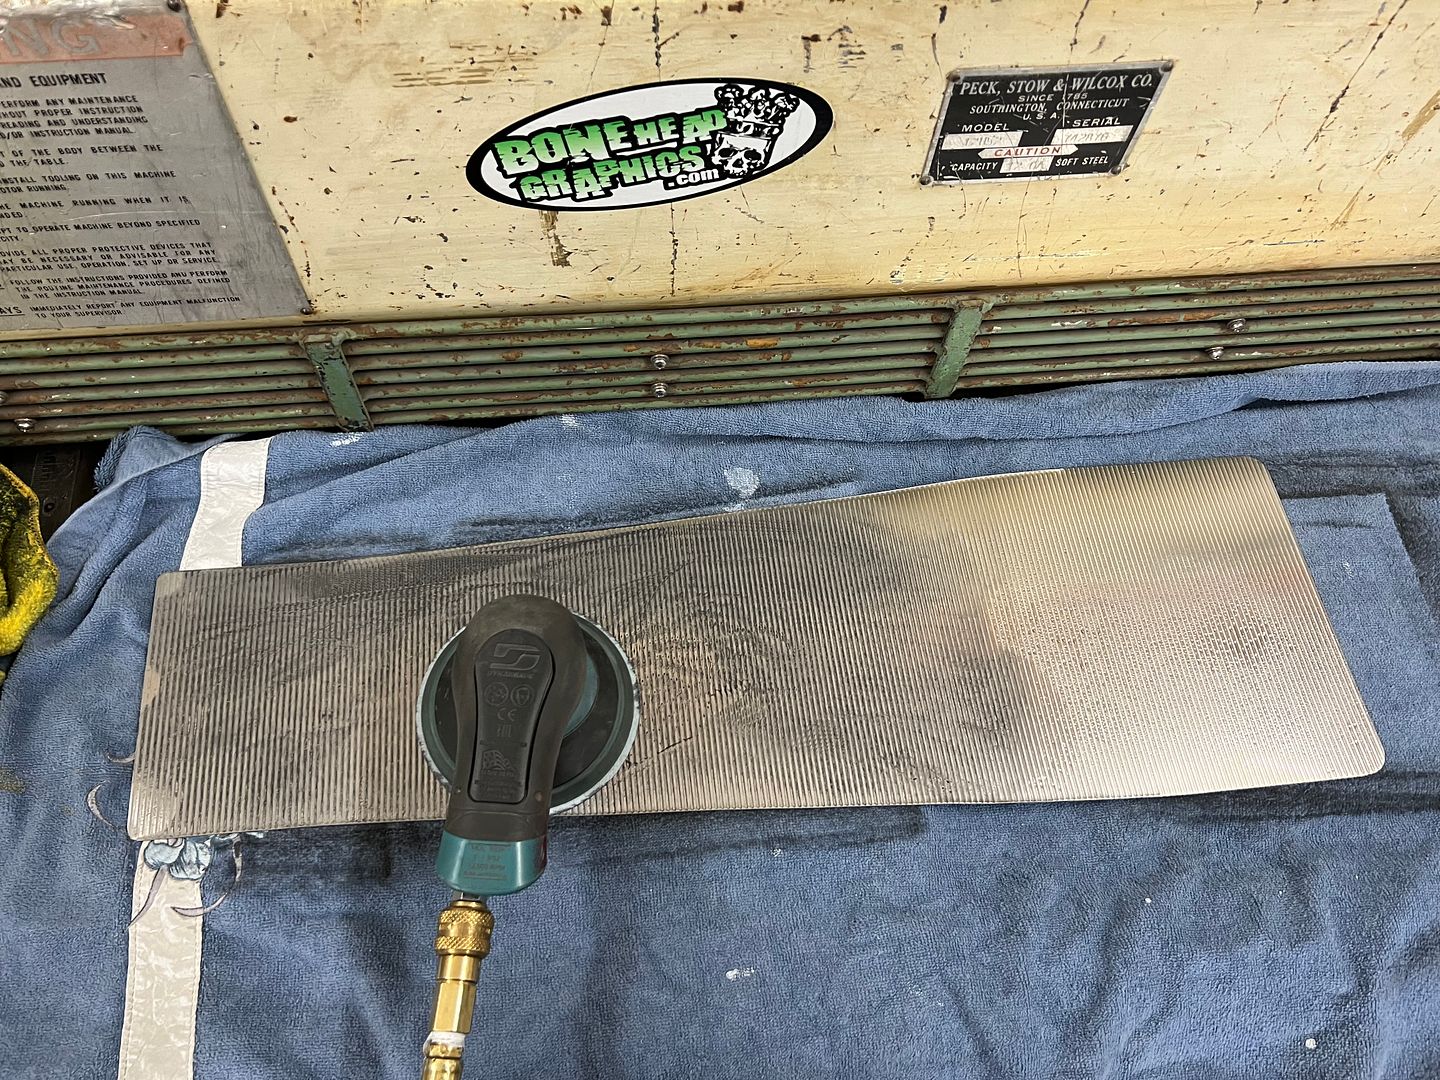
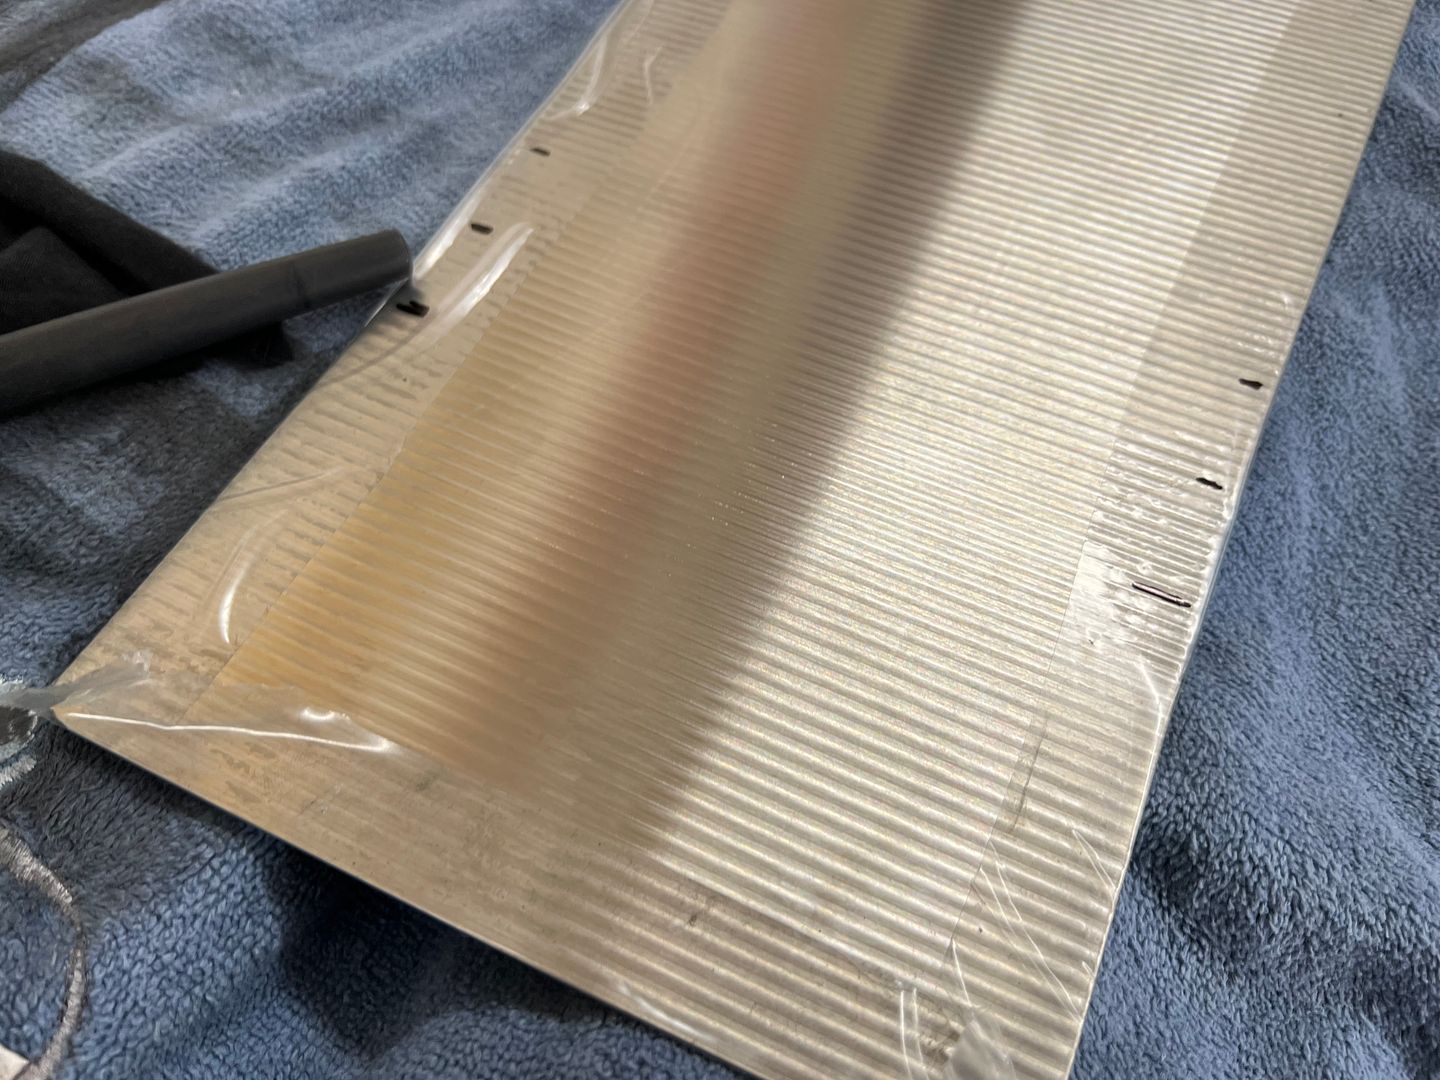
Then we cover it with frisk film to protect our buffed surface.
Test fit...

Installing the surround to the filler panel
Still have to touch up some areas with the buffer (heat from tacking the press studs) but here's the test fit.
More console work, time to fabricate the hemmed surround for the insert. In order for the surround to be seamless, we need to do some welding.
For our corners we relieve the flange and trim the back side to about half the hem width. This gives us less material in the tucks for shrinking in the corners.
We cut a fake insert out of 18 gauge CRS with rounded corners to use as a hammer form, gives us something to hammer against when we heat up the corners.
Everything's a tool, and when the PVC pipe is the only thing in the shop that matches our needed radius, it's what we use for a radius bender.
To prevent our hem from closing during the radius forming, some 18 gauge strips were placed in the hem.
Press studs used to attach to the console and will be hidden underneath the center panel.
Insert cut out to match our poster board sample, then it gets 800 grit, then 1000 through 5000 foam pads, then buffed..
Then we cover it with frisk film to protect our buffed surface.
Test fit...
Installing the surround to the filler panel
Still have to touch up some areas with the buffer (heat from tacking the press studs) but here's the test fit.
MP&C
Member
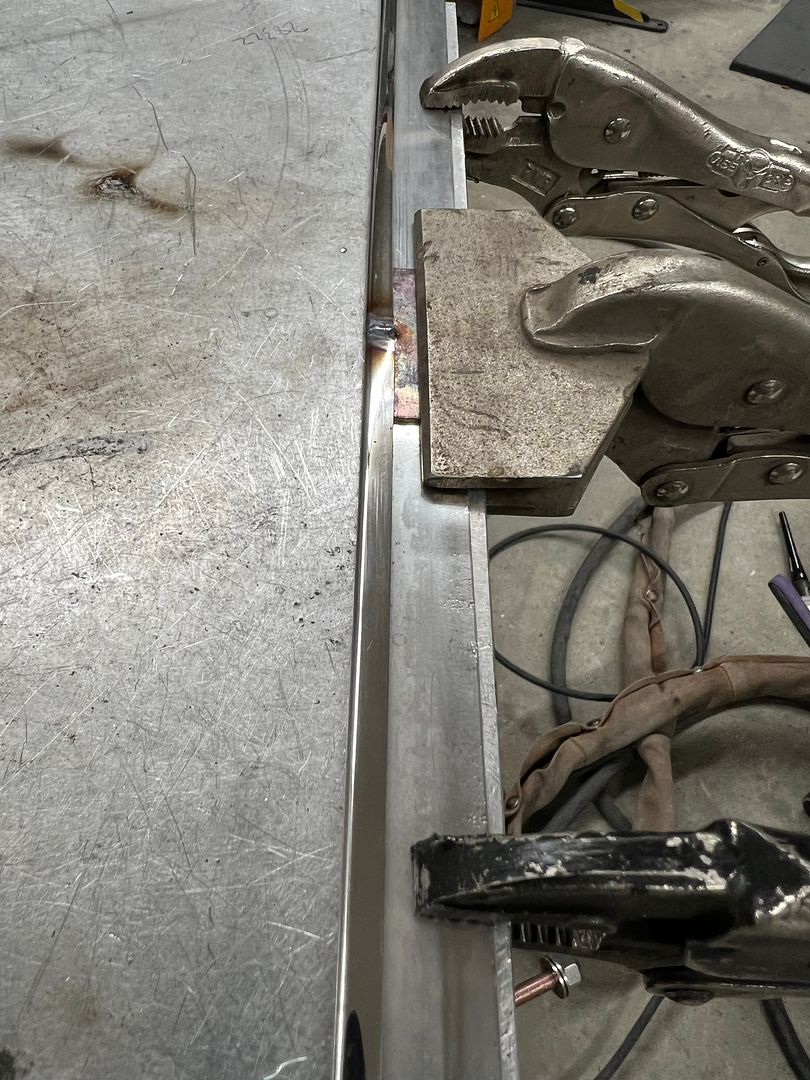
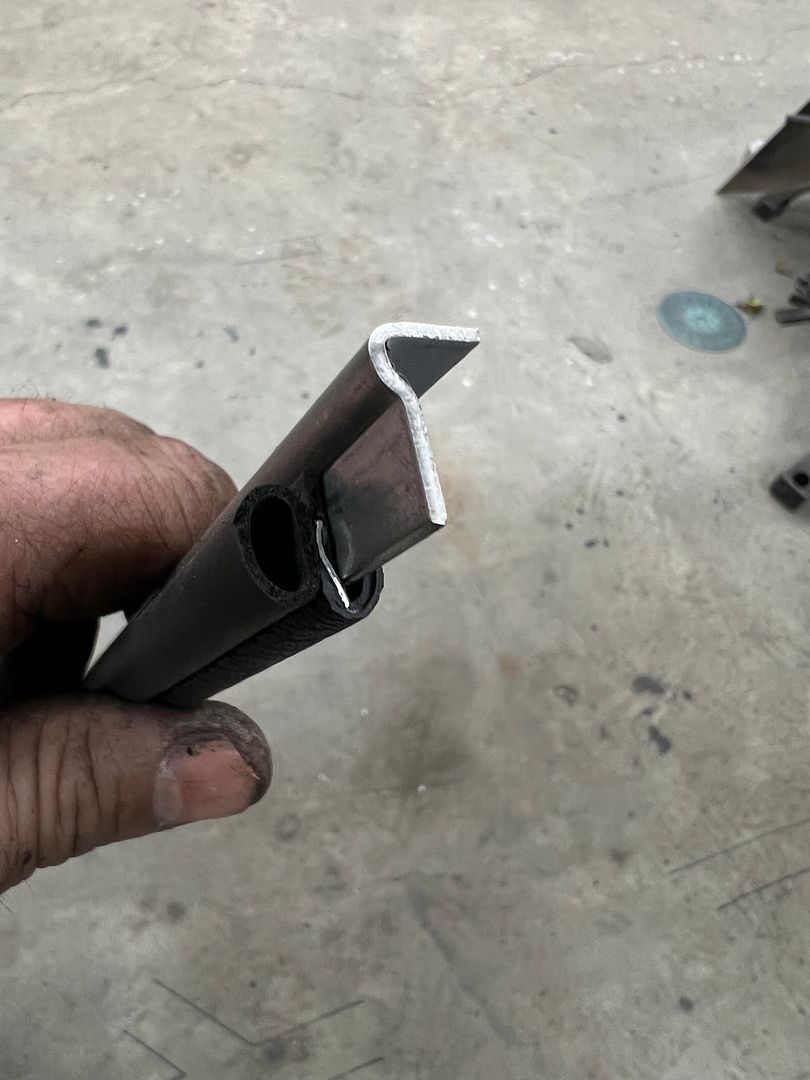
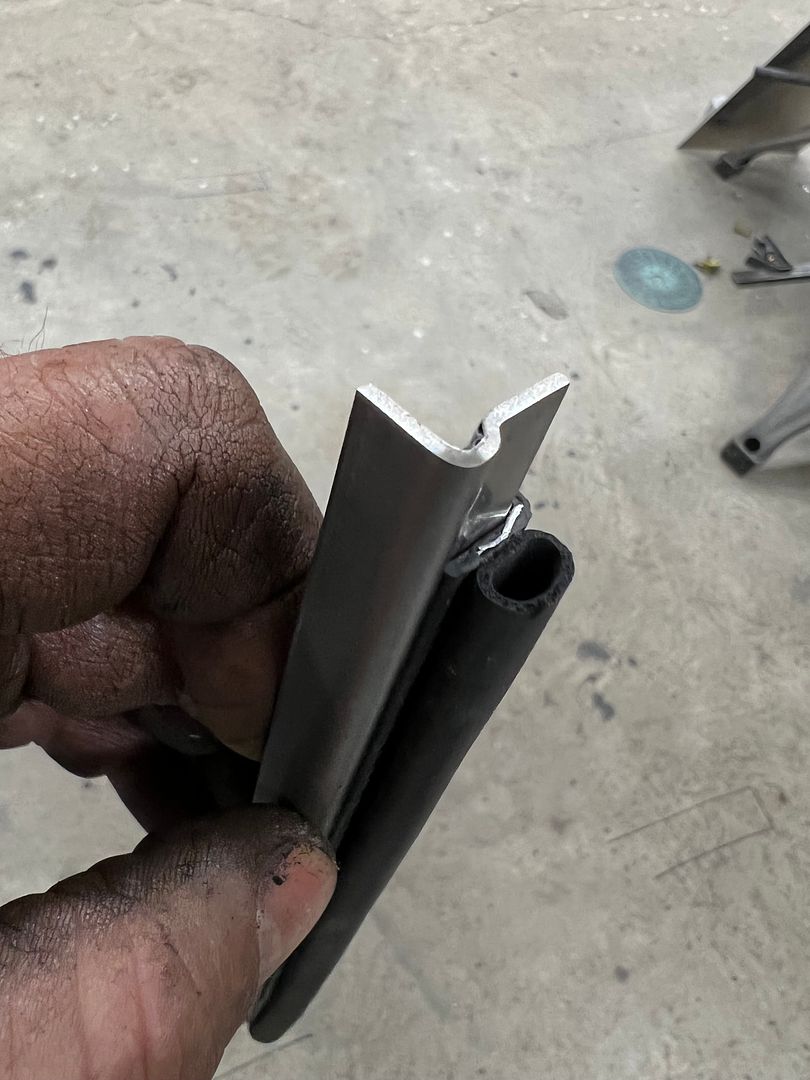
Next step for the console, we need to cut some holes for the shifter. Using the Chevelle style horseshoe shifter, we don't have the factory style brush seals or trim bezel for the center plexi indicator. So lets see what we can come up with first to seal the shifters side arms. I didn't have any brush stock left over from the splice trailer, and window felt wasn't thick enough. But I did have some bulb seal that looked promising. To make a surround to hold the bulb seal, we used a folded piece of 16 gauge stainless, and put an offset to hide as much of the edge trim that holds the seal as possible.
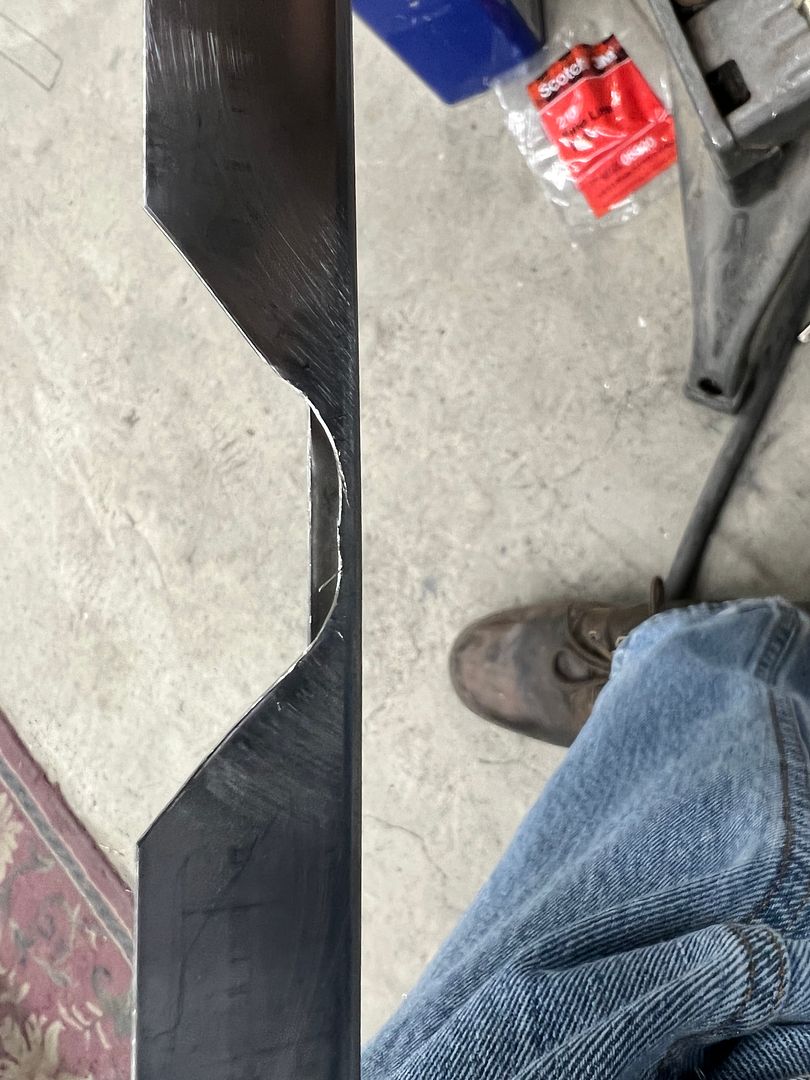
To close off the ends, we used the linear stretch dies in the Lennox...
After welding the one end in place, the console was mocked up to get the overall length needed on the shifter seal.
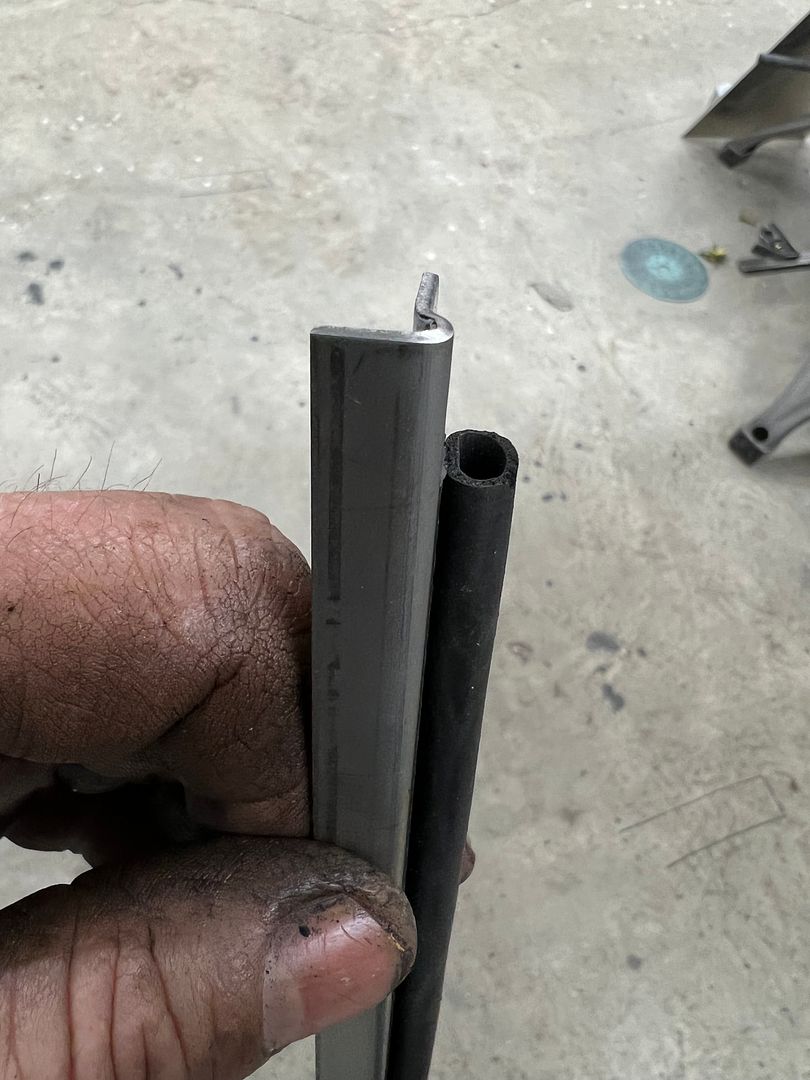
The top flanges will be trimmed to the same width as our polished stainless edge trim surround on the console insert. This one will be used for the passenger side arm, the drivers side will have a wider flange toward the driver to accommodate the shift selector position marking.
To close off the ends, we used the linear stretch dies in the Lennox...
After welding the one end in place, the console was mocked up to get the overall length needed on the shifter seal.
The top flanges will be trimmed to the same width as our polished stainless edge trim surround on the console insert. This one will be used for the passenger side arm, the drivers side will have a wider flange toward the driver to accommodate the shift selector position marking.
'68 Coronet R/T
Oldtimer
The owner must have some pretty deep pockets. The labor alone on this project is immense.
Love following the progress and seeing the amazing talent y'all have.
Love following the progress and seeing the amazing talent y'all have.
MP&C
Member
The owner must have some pretty deep pockets. The labor alone on this project is immense.
Love following the progress and seeing the amazing talent y'all have.
...or Robert is working for peanuts....

Last edited: