Wagon Progress

Thanks guys! The sheathing comes from McMaster Carr, they are my go to for most consumable type items in the shop. I can order today before 4pm and have it delivered tomorrow at noon.

sheathing link:

They have different sizes and also colors. This is also where I picked up the 5" Dynabrade. They weren't the cheapest, weren't the most expensive, but I had it the next day.
 
  • Like
Reactions: MJM
If you don't mind me asking... where did you find the molding clips?
I'm going to be starting a restore on my wife's old car (55 2 door wagon) this winter if all goes to plan...LOL and starting to make a very long list.

John


1657818590069.png
 
Thanks guys! The sheathing comes from McMaster Carr, they are my go to for most consumable type items in the shop. I can order today before 4pm and have it delivered tomorrow at noon.

sheathing link:

They have different sizes and also colors. This is also where I picked up the 5" Dynabrade. They weren't the cheapest, weren't the most expensive, but I had it the next day.

Thank you. Price for a 25' roll is $20 dollars and change. Seems like a good price to me.
 
More progress on the wagon, we're getting some of our wiring run to the back of the car...


IMG_3821.JPG


In cutting out door panels our upholsterer cut out the speakers a bit too large for how we were mounting them. I don't think I had conveyed those details as I had planned on doing the speaker cutouts portion.. So to keep him from having to do that work over again, we offered to cut them out this time around.


IMG_3894.JPG


6-32 Riv-nuts used to hold the tweeter grill in place...


IMG_3897.JPG


IMG_3905.JPG


IMG_3906.JPG


8-32 machine screws were sharpened to transfer the hole pattern onto the panel, then our speaker spacers matched to those for cutting out the center hole.


IMG_3975.JPG


IMG_3974.JPG


IMG_3969.JPG


IMG_3972.JPG


Next, holes drilled for our stainless trim that we had welded the impaling pins on prior....


IMG_4017.JPG


IMG_4008.JPG


The stainless trim would be needed for upholstery, so we got to polishing.. A board was drilled to accept the impaling pins and better hold the trim piece for our prep stage of removing 67 years worth of scratches. Also worked well in holding things steady at the buffer..


IMG_4055.JPG


IMG_4056.JPG


We used 3M Trizact on the DA, starting with 1500 grit and finishing with 8000 grit. This process cuts out the first two buffing stages, and seems to polish out nicer. Buffing process was using green rouge on sewn wheel and final was grey rouge on loose wheel.


This is after 3000 Trizact:

(edited)_IMG_4062.JPG


This is after 8000 Trizact:

(edited)_IMG_4064.JPG


This is after buffing:

(edited)_IMG_4068(1).JPG


That'll do pig, that'll do.
 
I know it's a mirror finish since I can see my reflection in the picture :)

Great idea using nails to hold the trim in place while working on it.
 
I know it's a mirror finish since I can see my reflection in the picture :)

Great idea using nails to hold the trim in place while working on it.


They are actually a “welded stud” that we had put on since most of the factory pins had broken off. They push through the door panel and bend at 90 to hold the trim in place
 
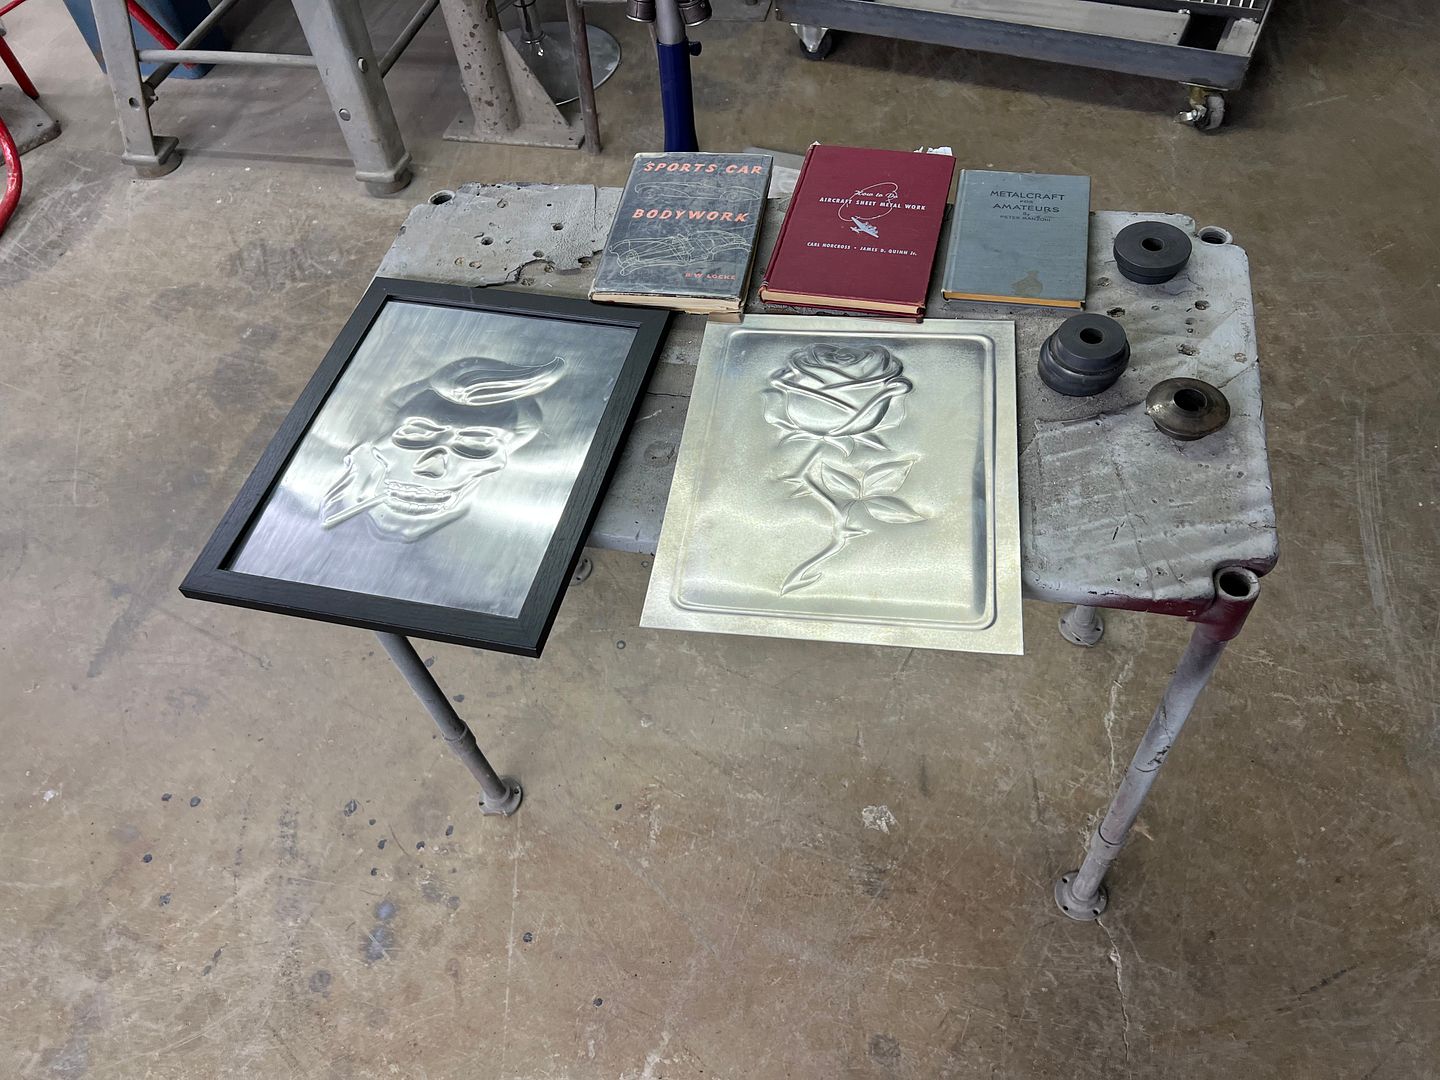
I spent a week in Tennessee just south of Nashville, attending a metalshaping workshop and delivering the Pullmax there for Mike Abbott of Steel Rose Metal Co in Memphis TN. We had a good time learning tips and tricks, meeting old friends and making new ones.


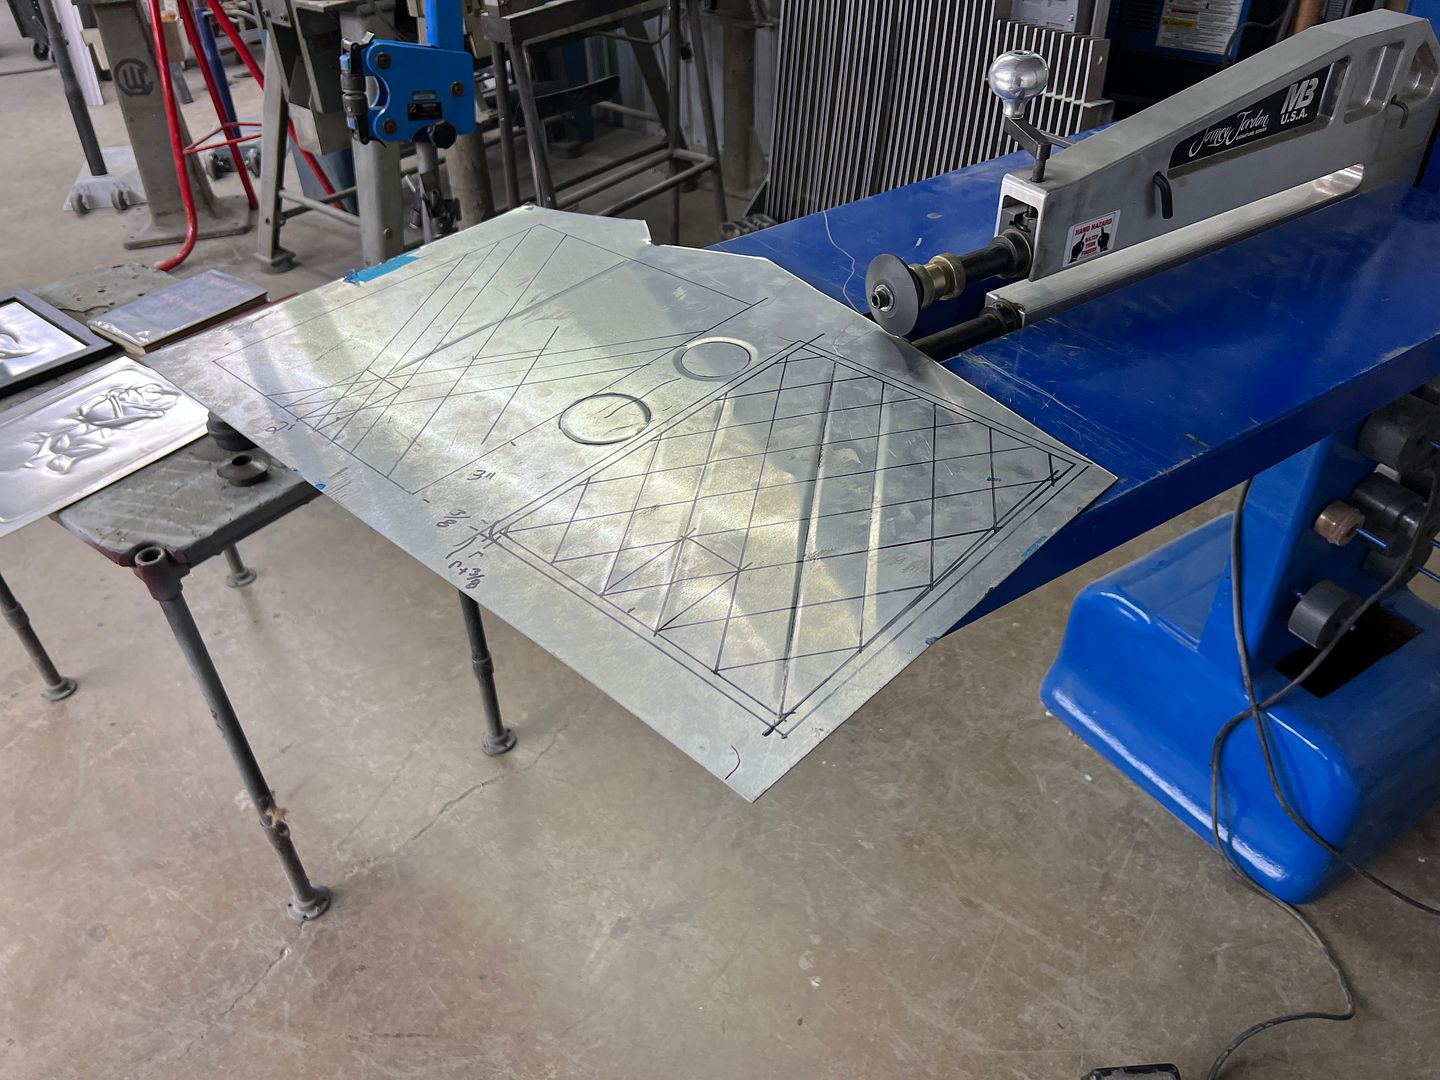
Jesse Harris, who lives about 15 minutes from me, travelled out as well, and gave an awesome demo on using the bead roller with a focus on artwork.


IMG_4212.JPG


IMG_4213.JPG


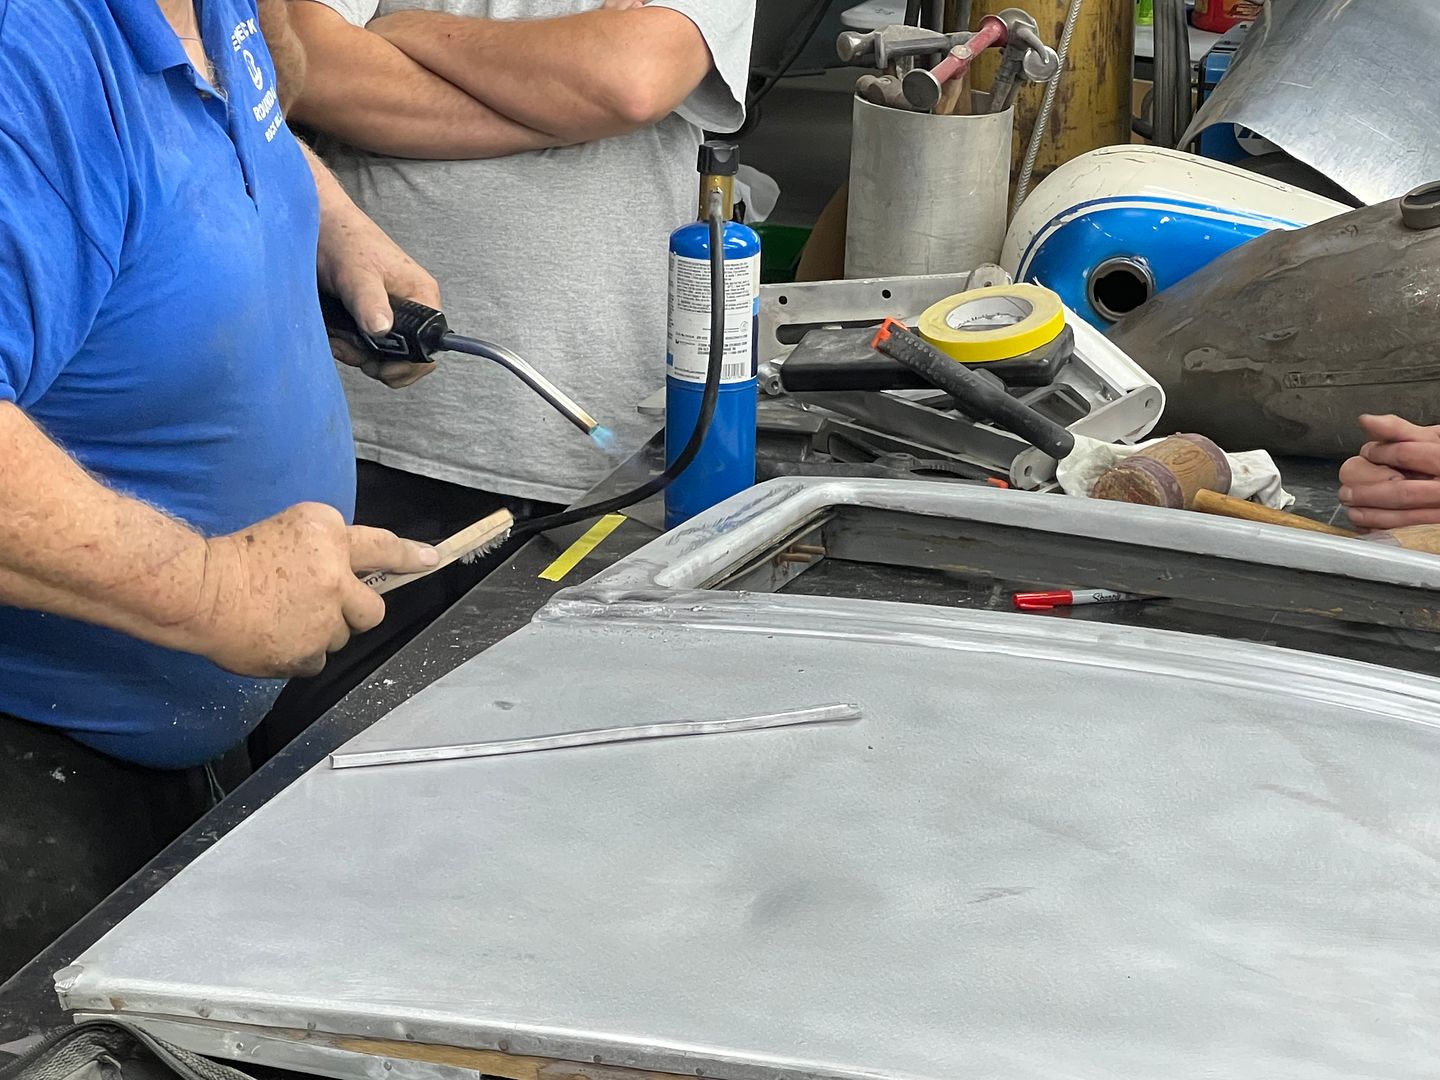
A leading demo on an aluminum Rolls Royce door...


IMG_4230.JPG


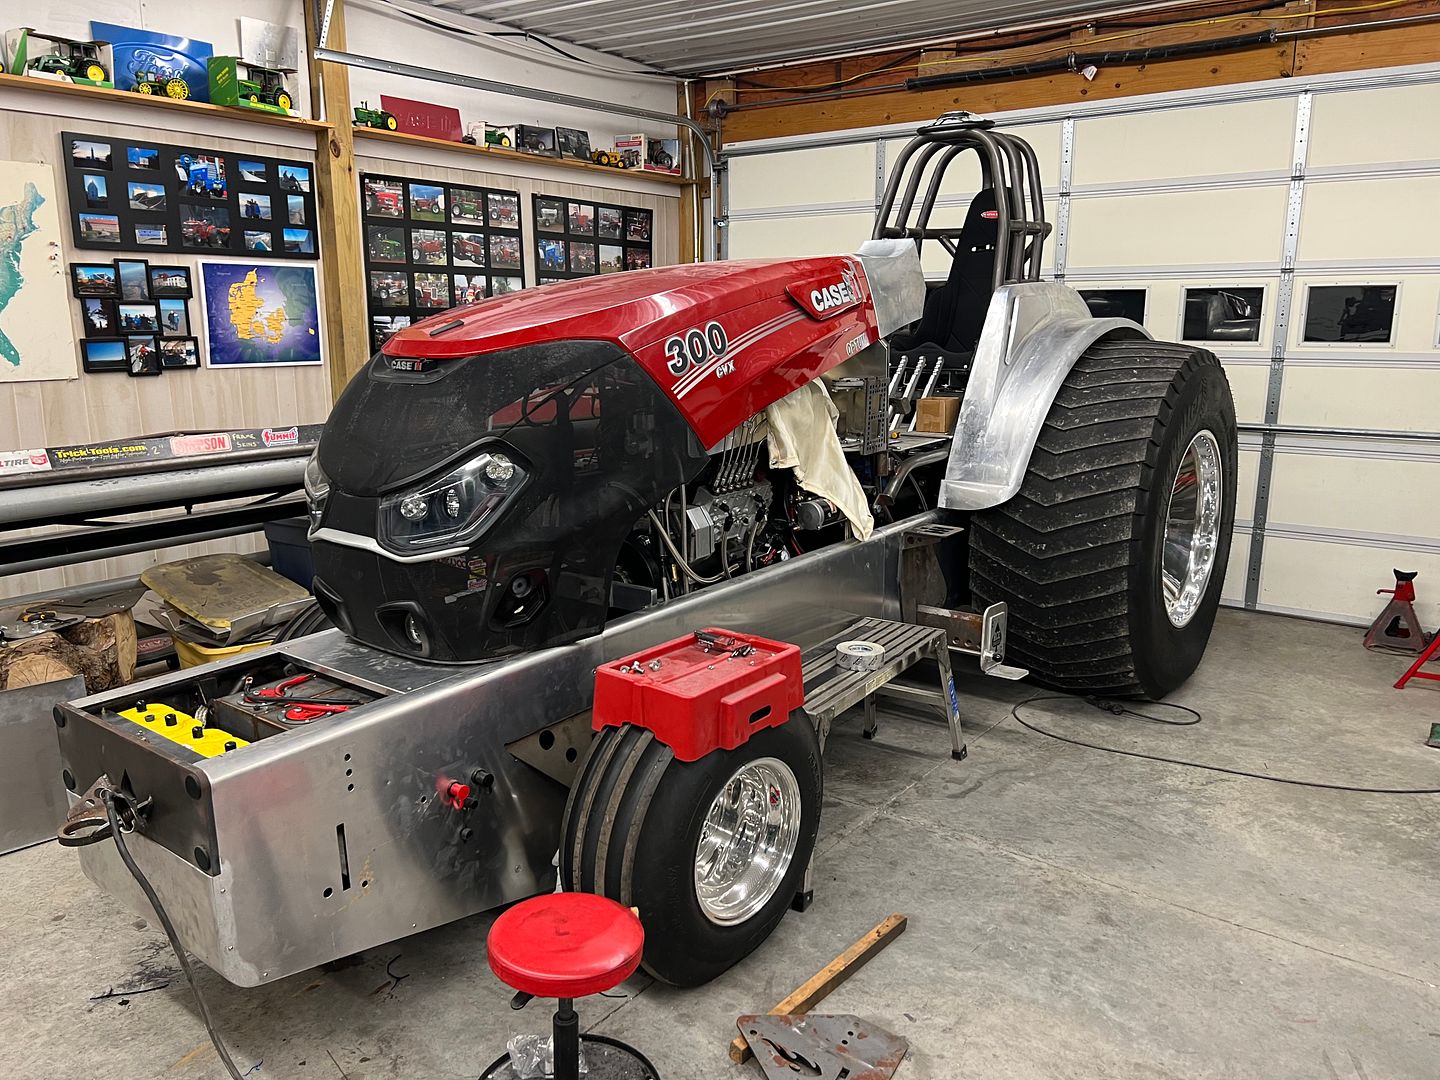
One of the attendees lives just north of Nashville, and a few of us travelled one evening to check out his shop, Ace Chassis. He has been building pulling tractors for about 20 years now and has quite the setup for machining, welding, and sheet metal fabrication.


IMG_4223.JPG


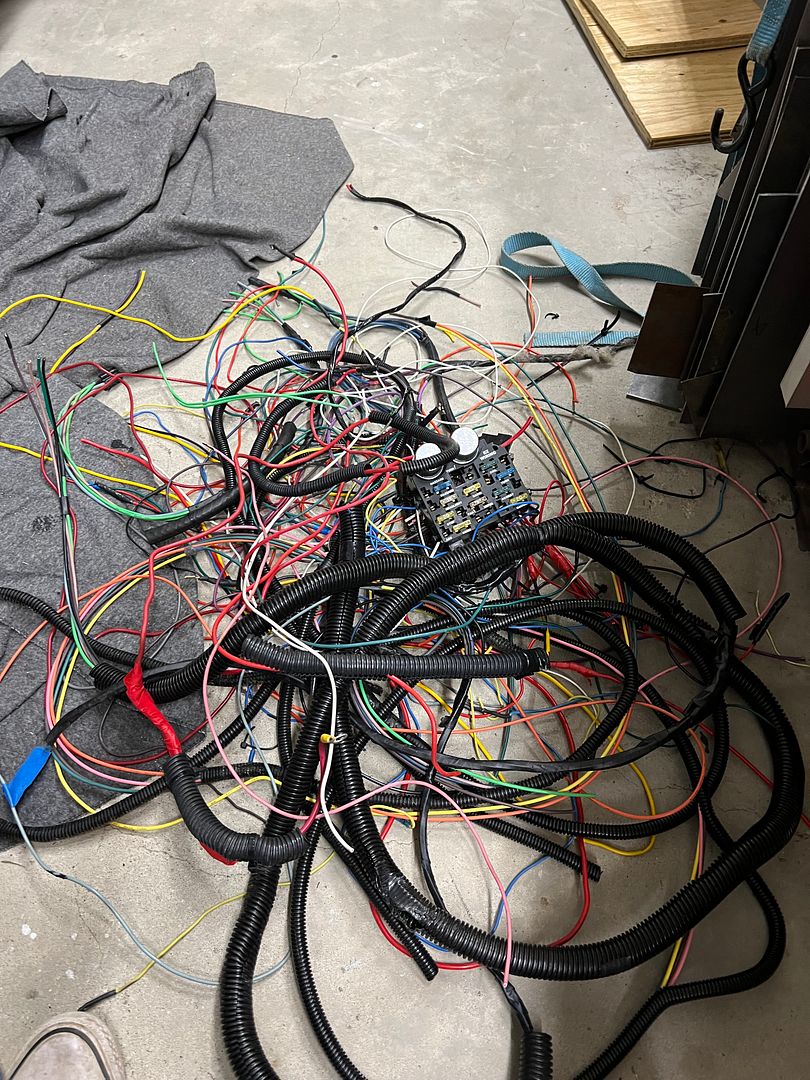
Upon return from TN, Jared brought over his 39 Ford so we could install a new wiring harness in place of the convoluted mess that was there.


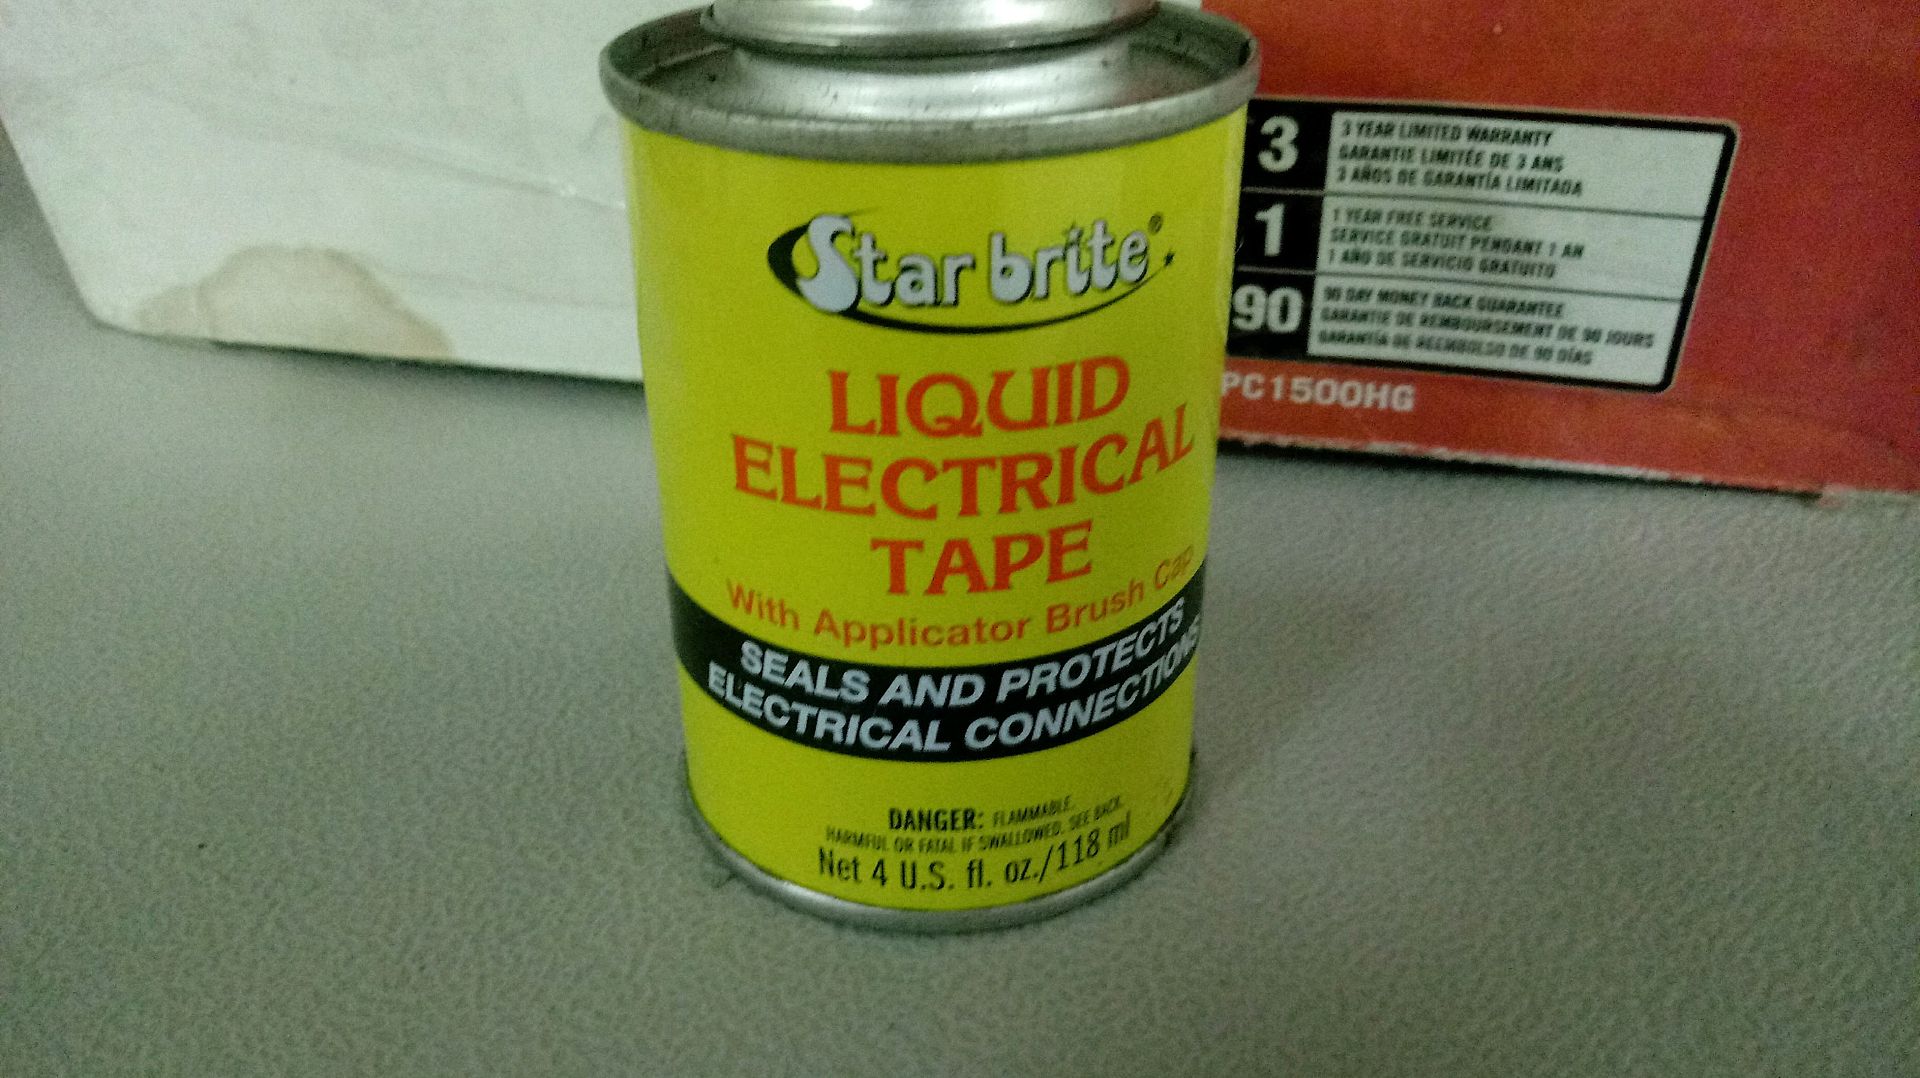
He had some issues and a local fella that wires boats or something had made some repairs. This is his mainstay, I'd never seen the stuff and now having seen his work, I have my doubts about anyone who would use it on a regular basis.


ESCD4280.JPG


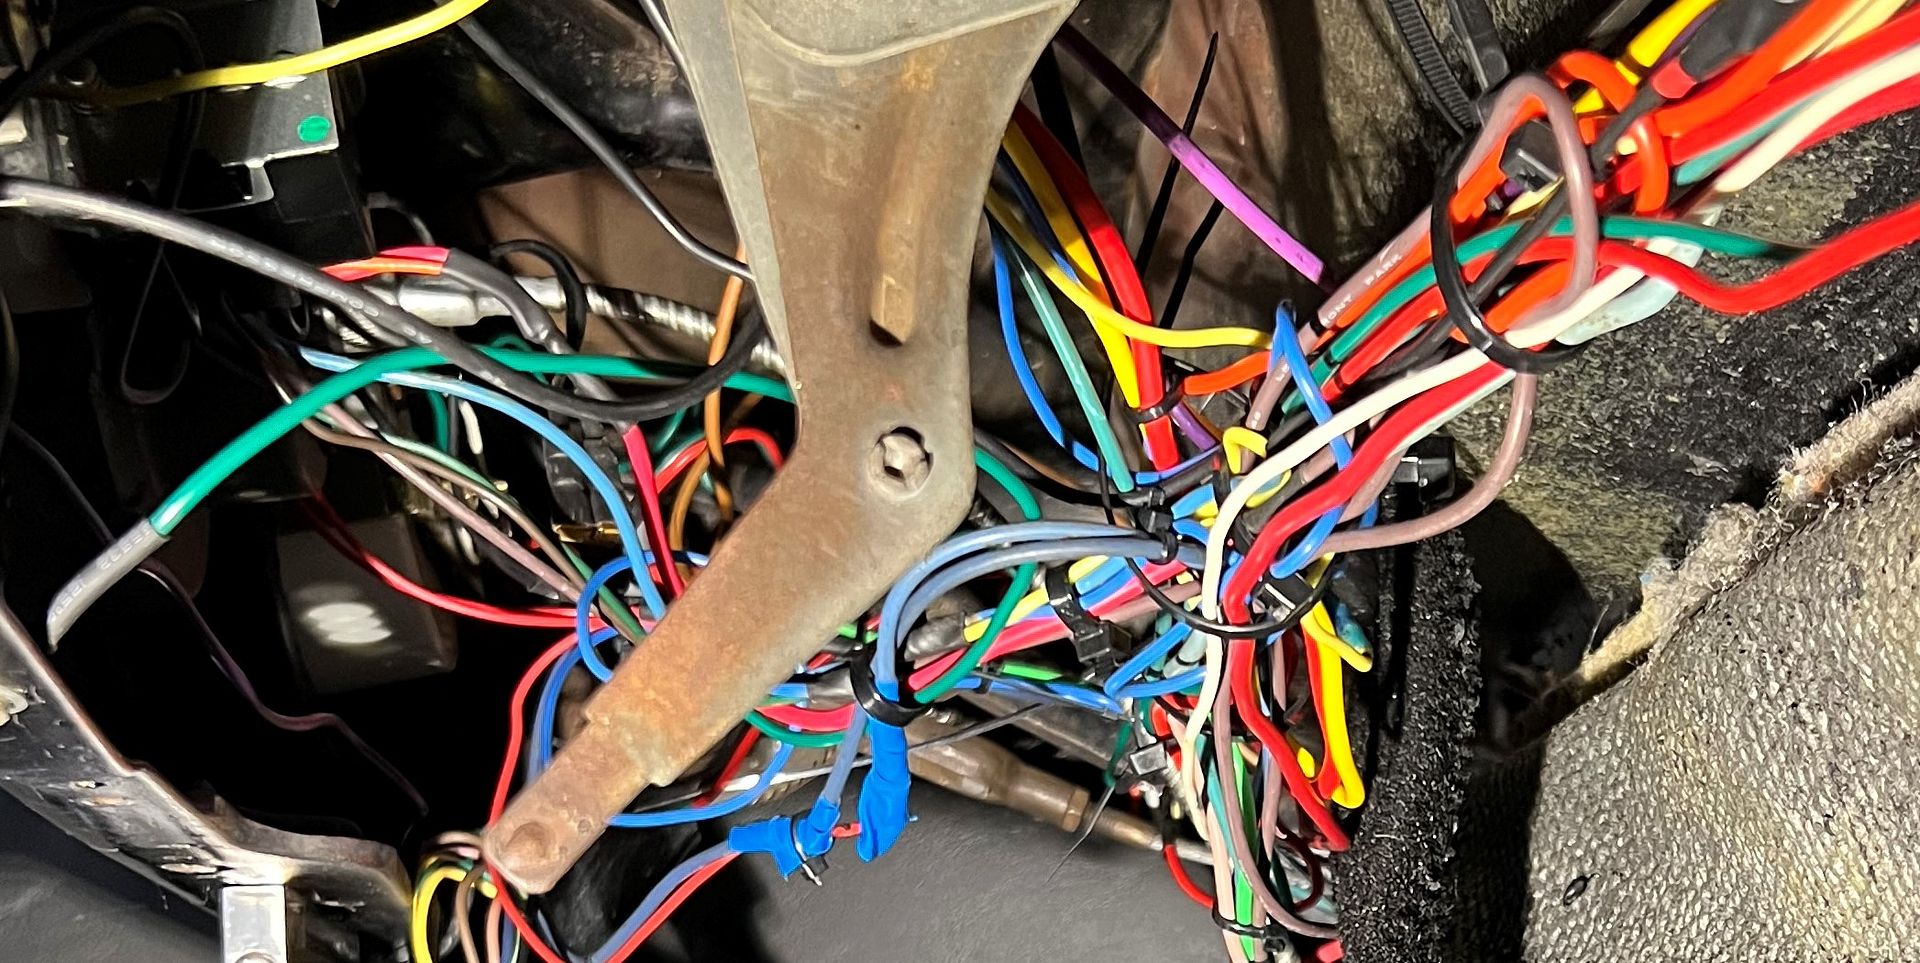
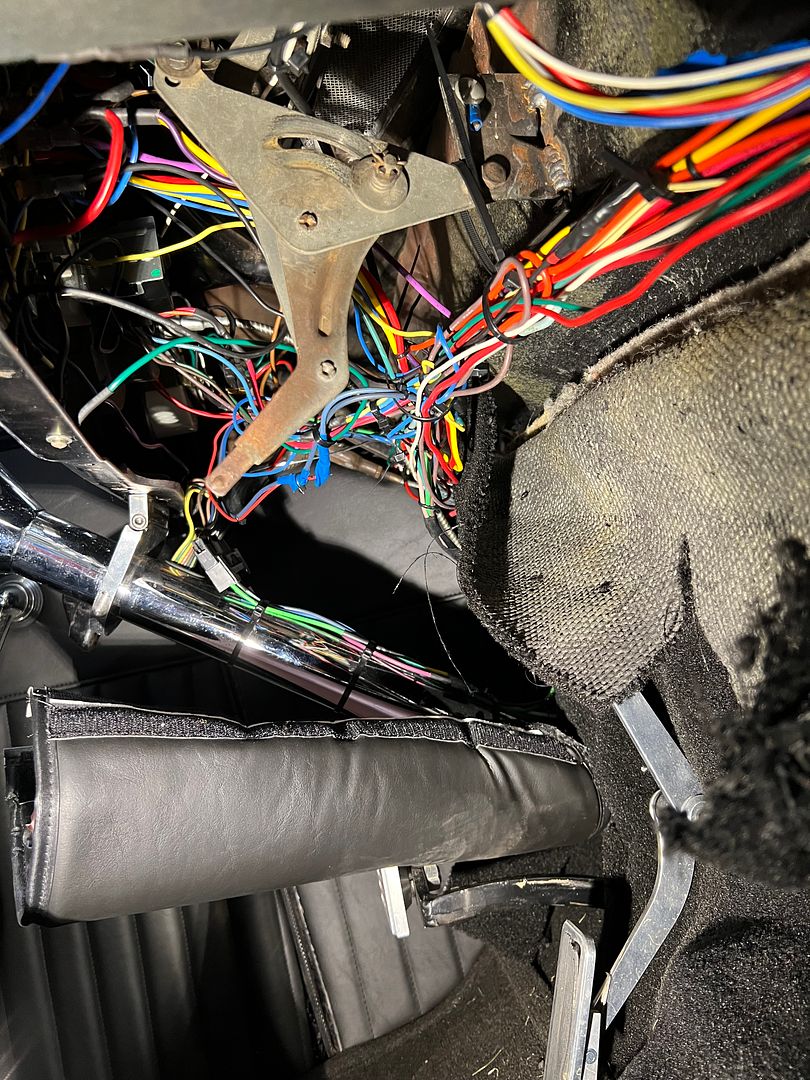
Here's some before pictures to highlight both his repairs and what was done before he got there. For some reason he decided that two separate runs of 12V power from the same source needed a resettable circuit breaker between them.


JMXX9067.JPG


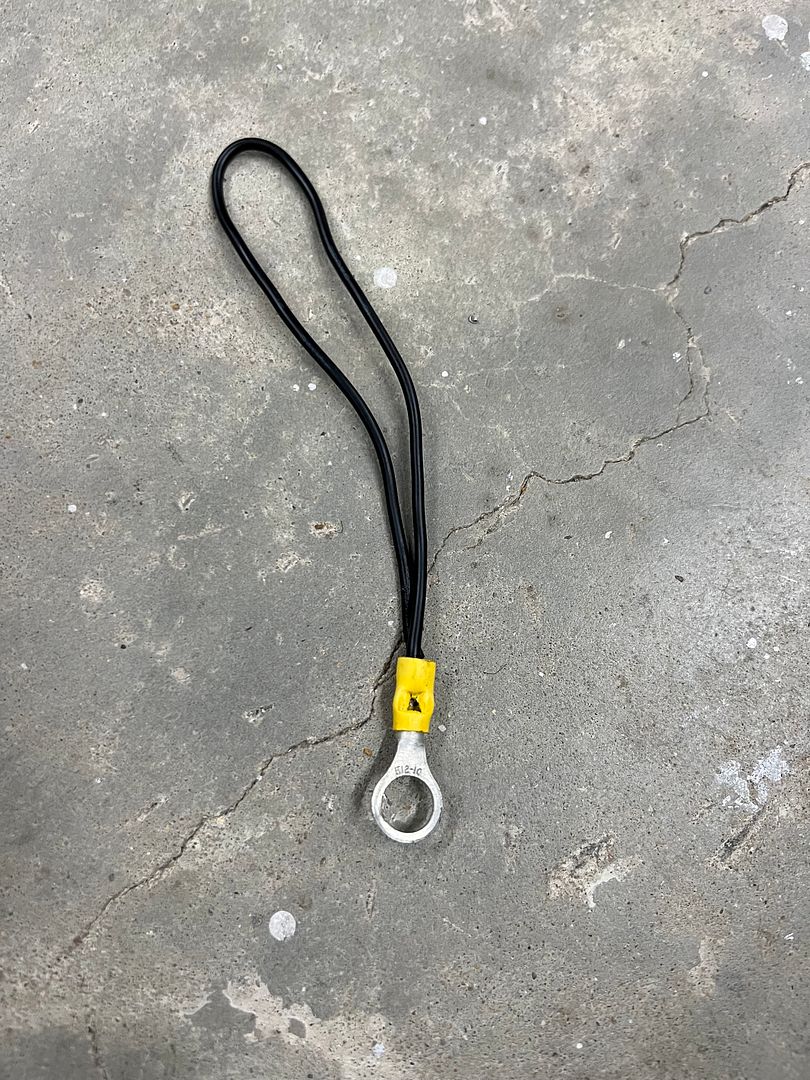
Personally, I'm confused. But that's not the half of it. This is a "ground" cable that was attached to the frame.


IMG_4305.JPG


under the dash...


IMG_4294A.jpg


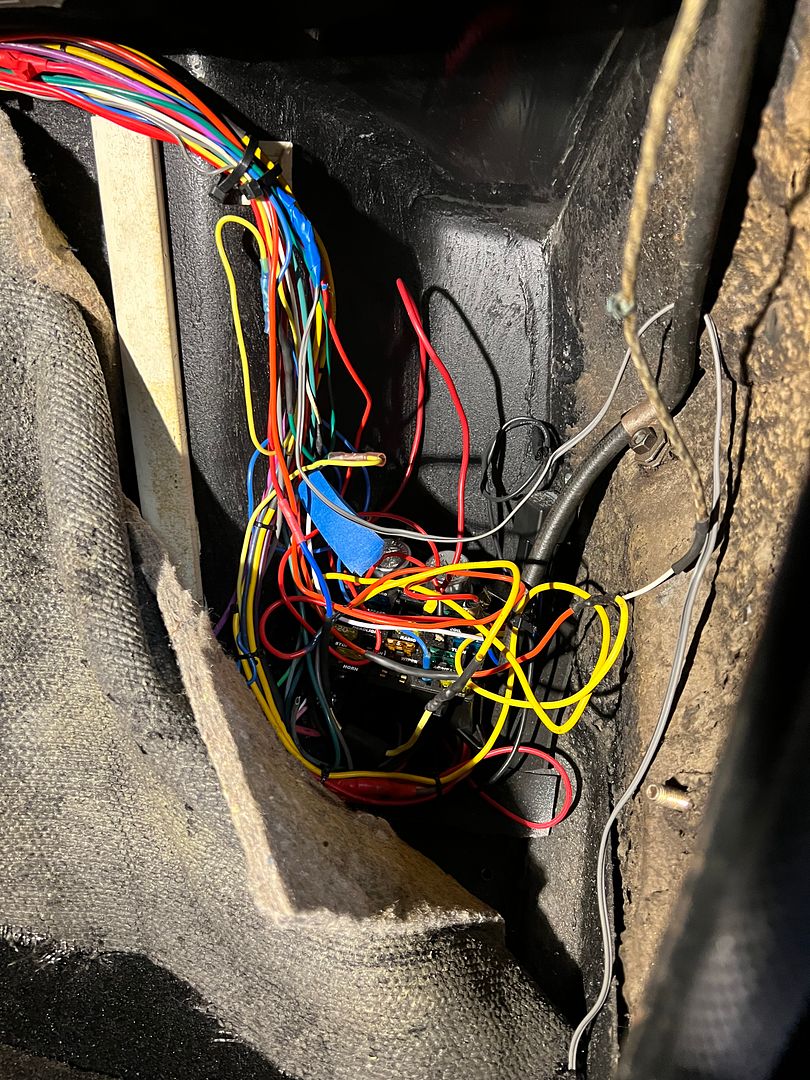
This is in the passenger front floor area, there is a fusebox in there somewhere..


IMG_4293.JPG


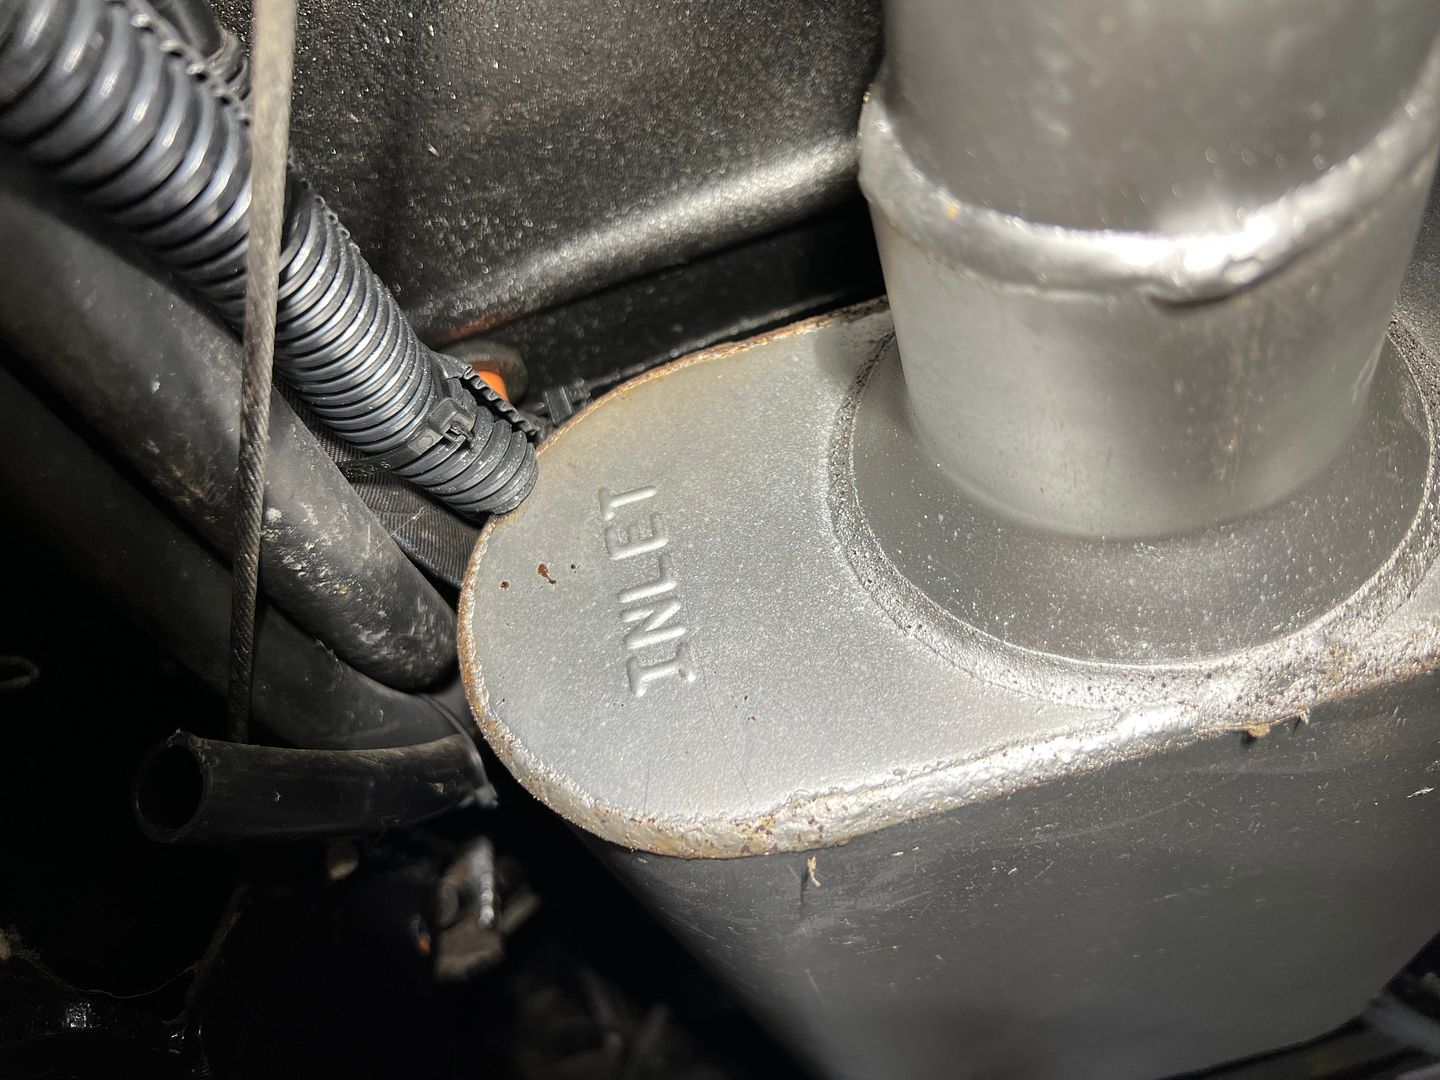
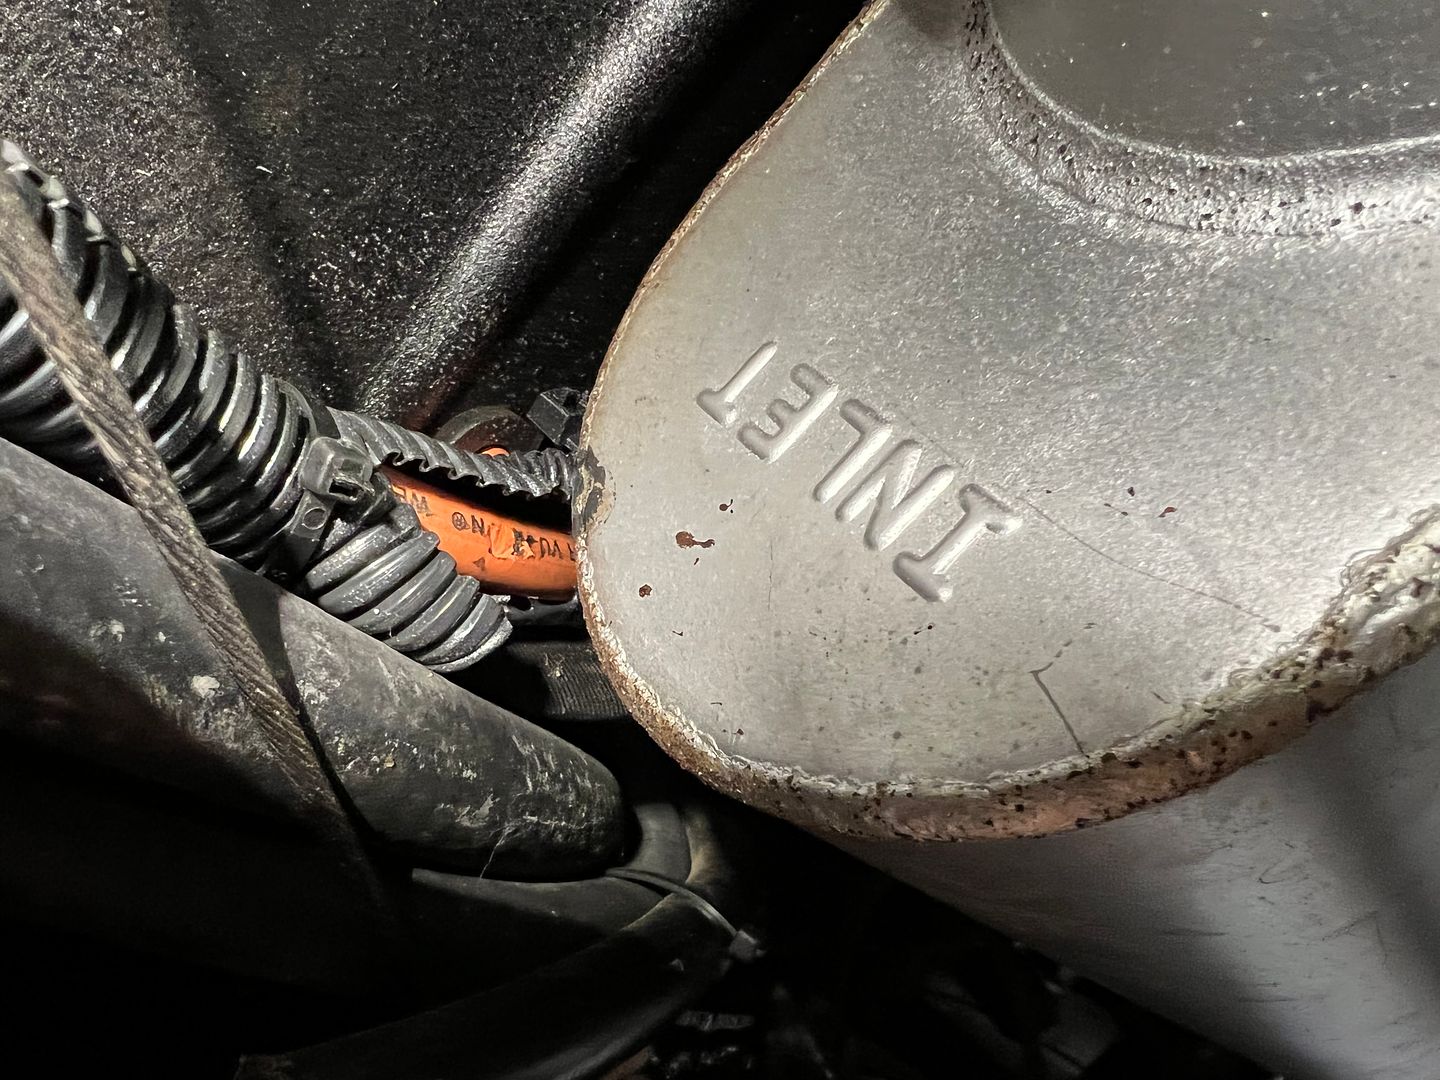
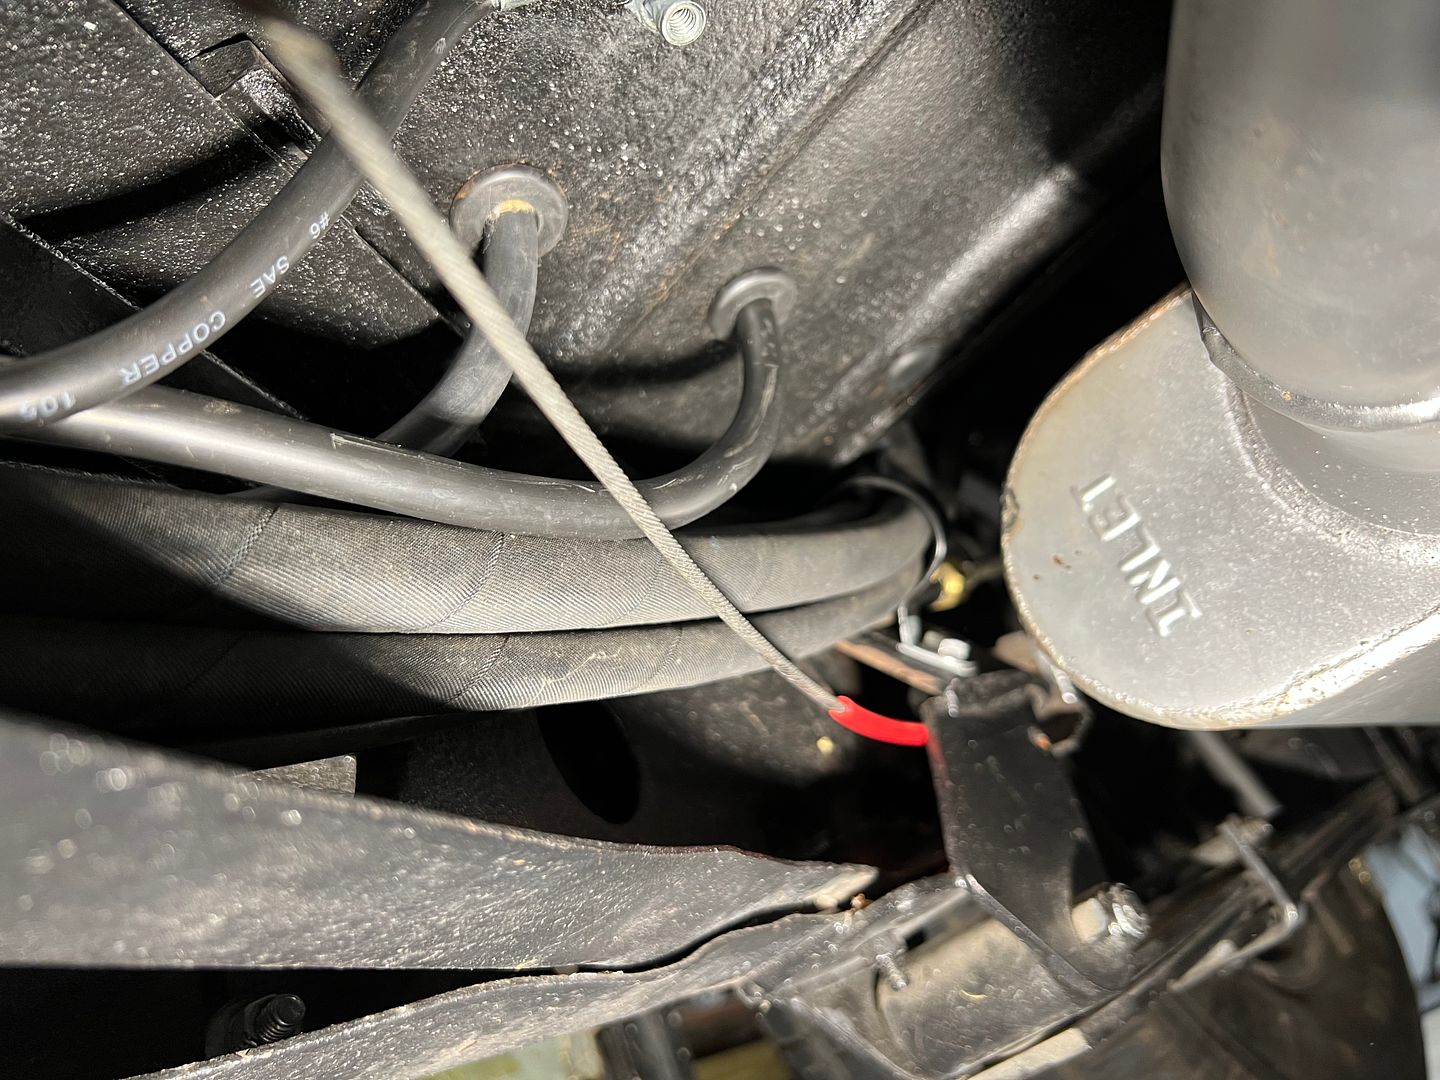
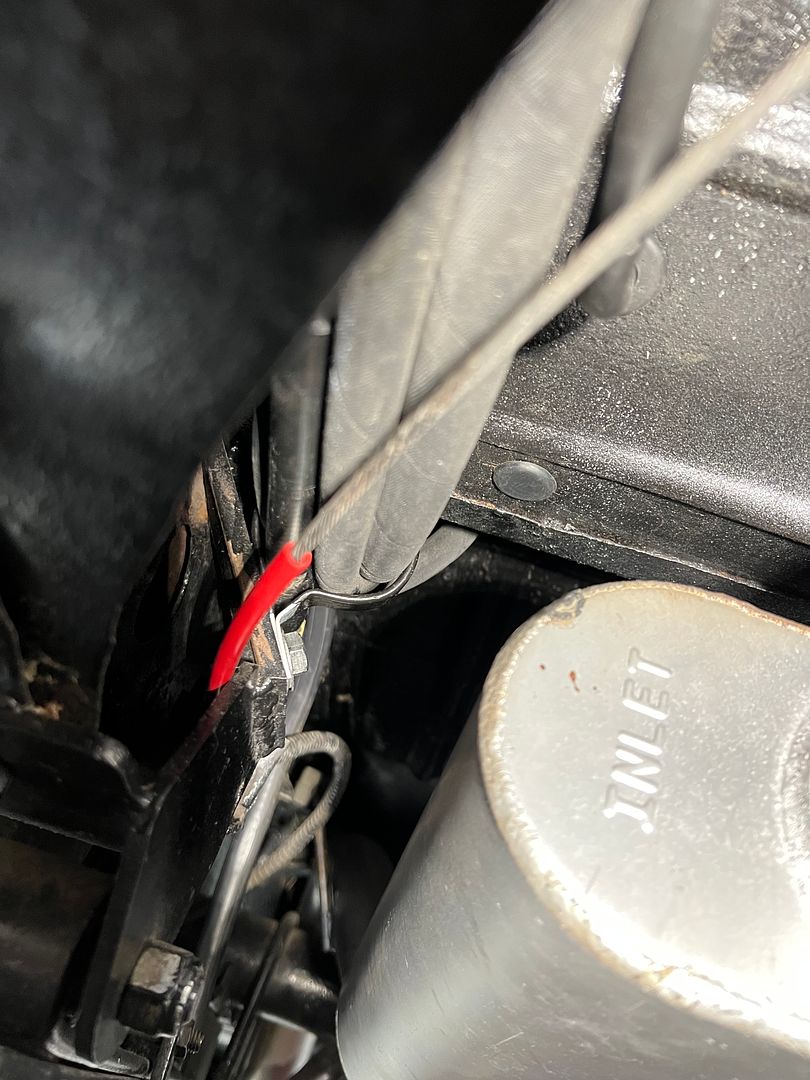
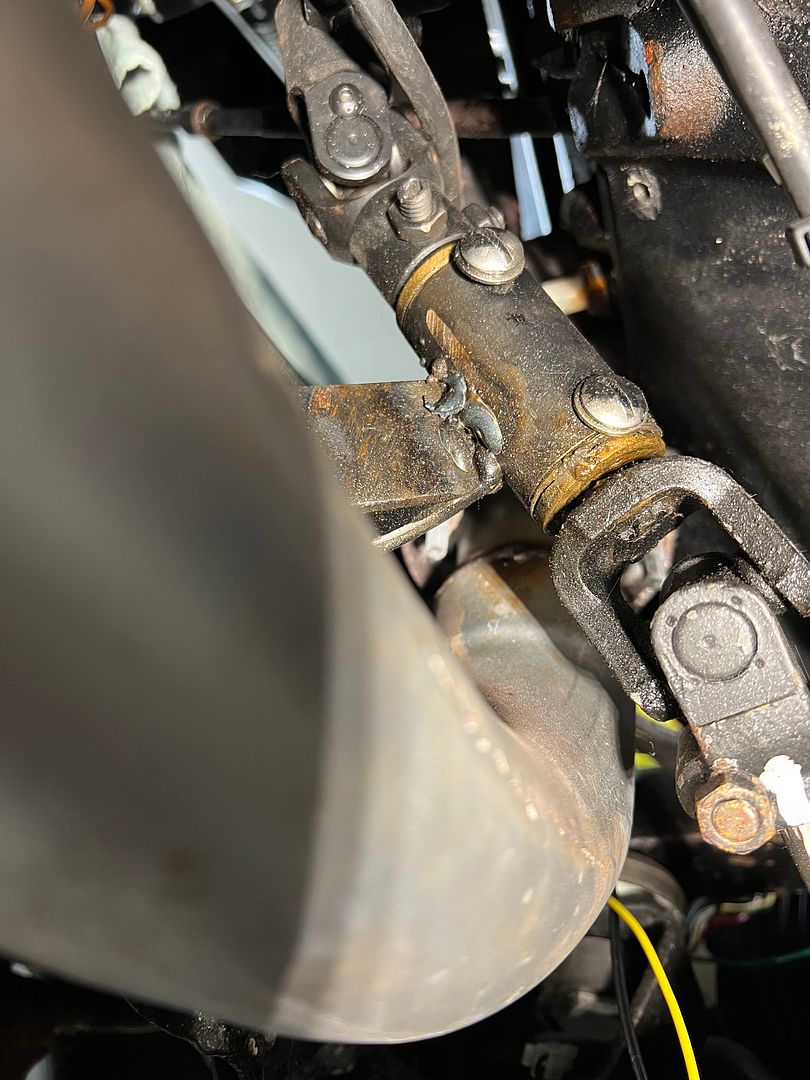
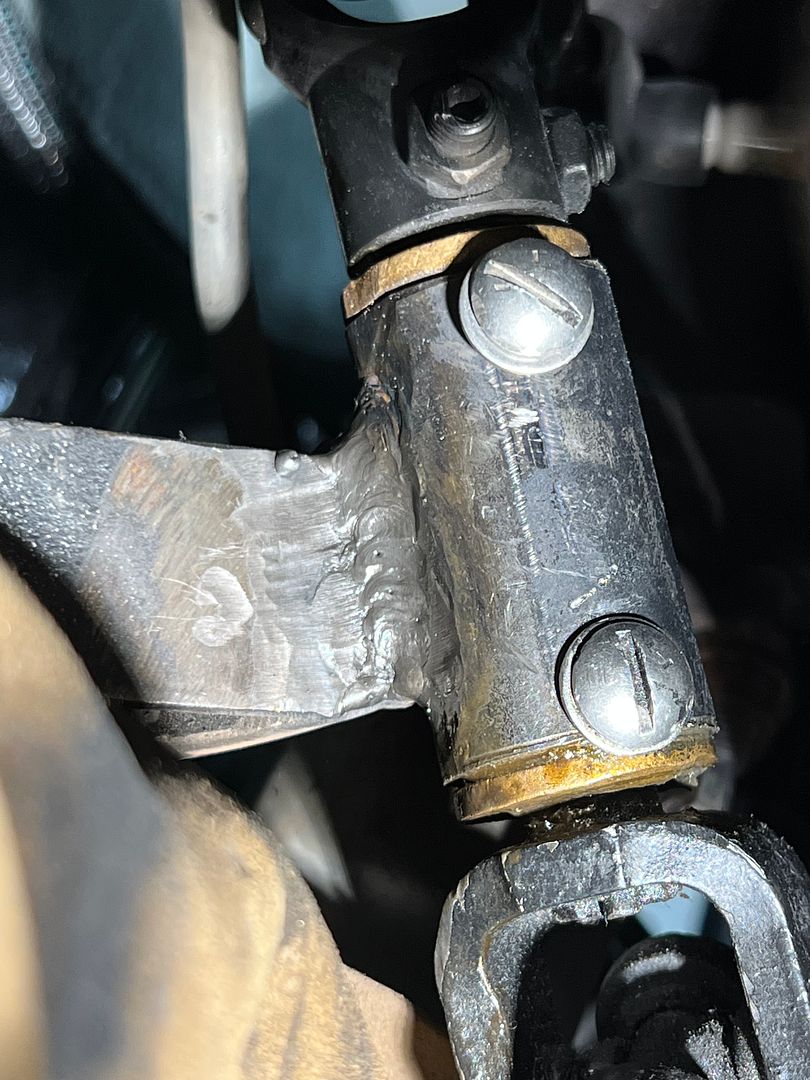
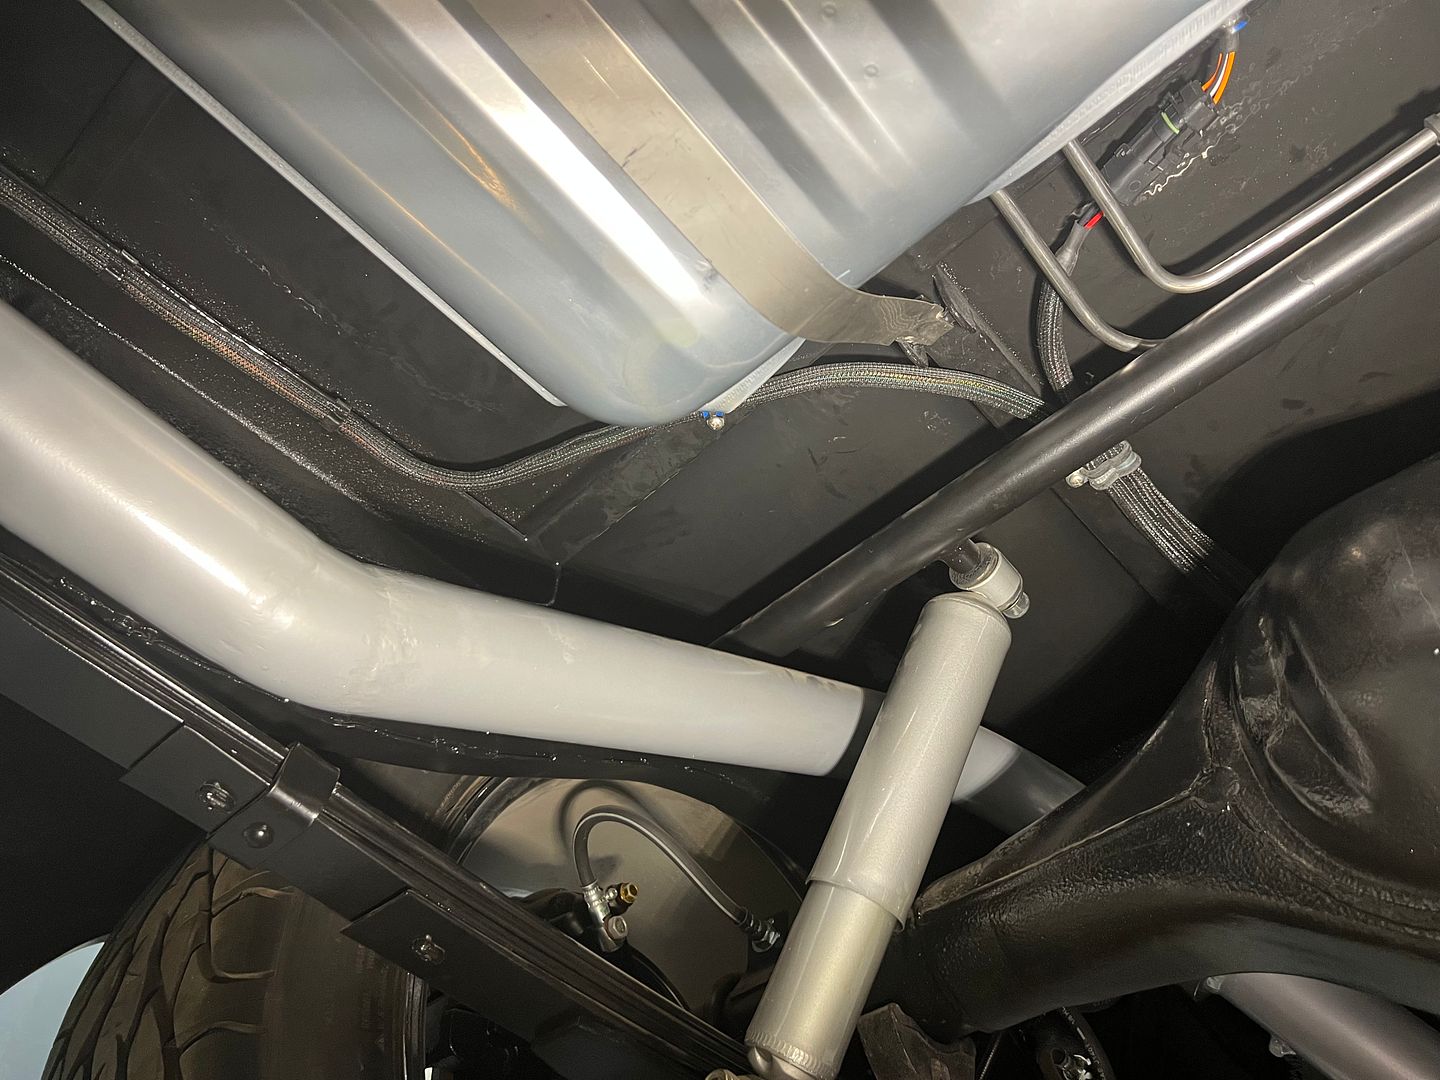
The battery was located behind the passenger seat, and here is the cable routing beneath the car...


IMG_4291.JPG


Yes, that's the positive battery cable against the muffler.....


IMG_4292.JPG


With all this we found our best option was to remove the battery and start cutting out ALL the wiring.


IMG_4306.JPG


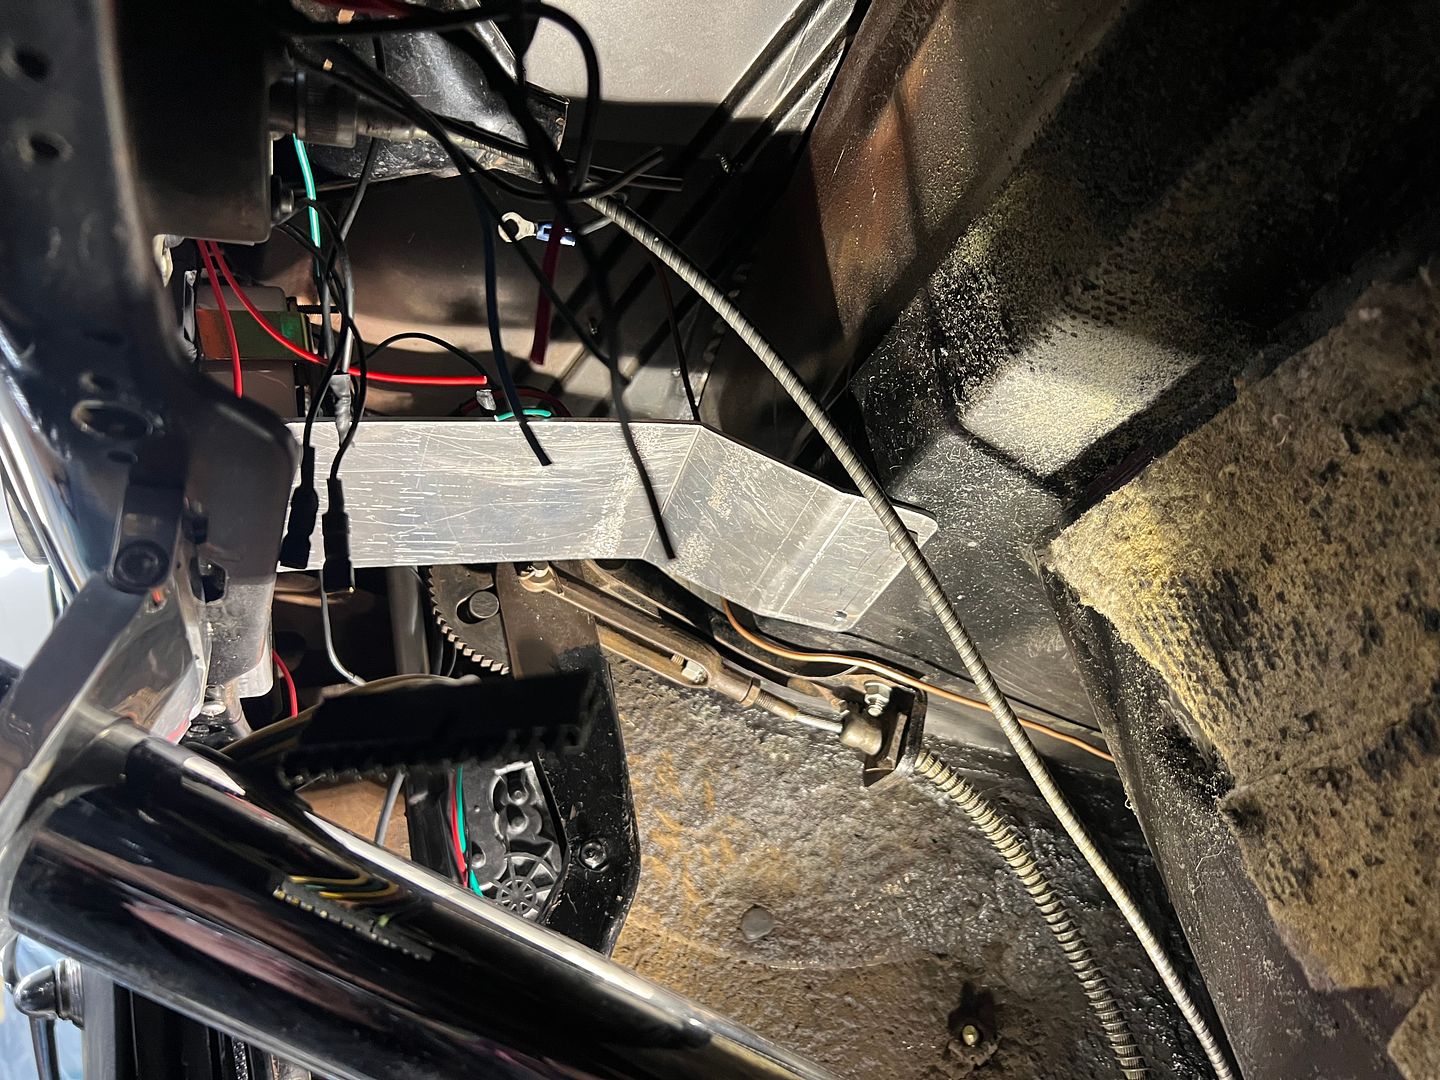
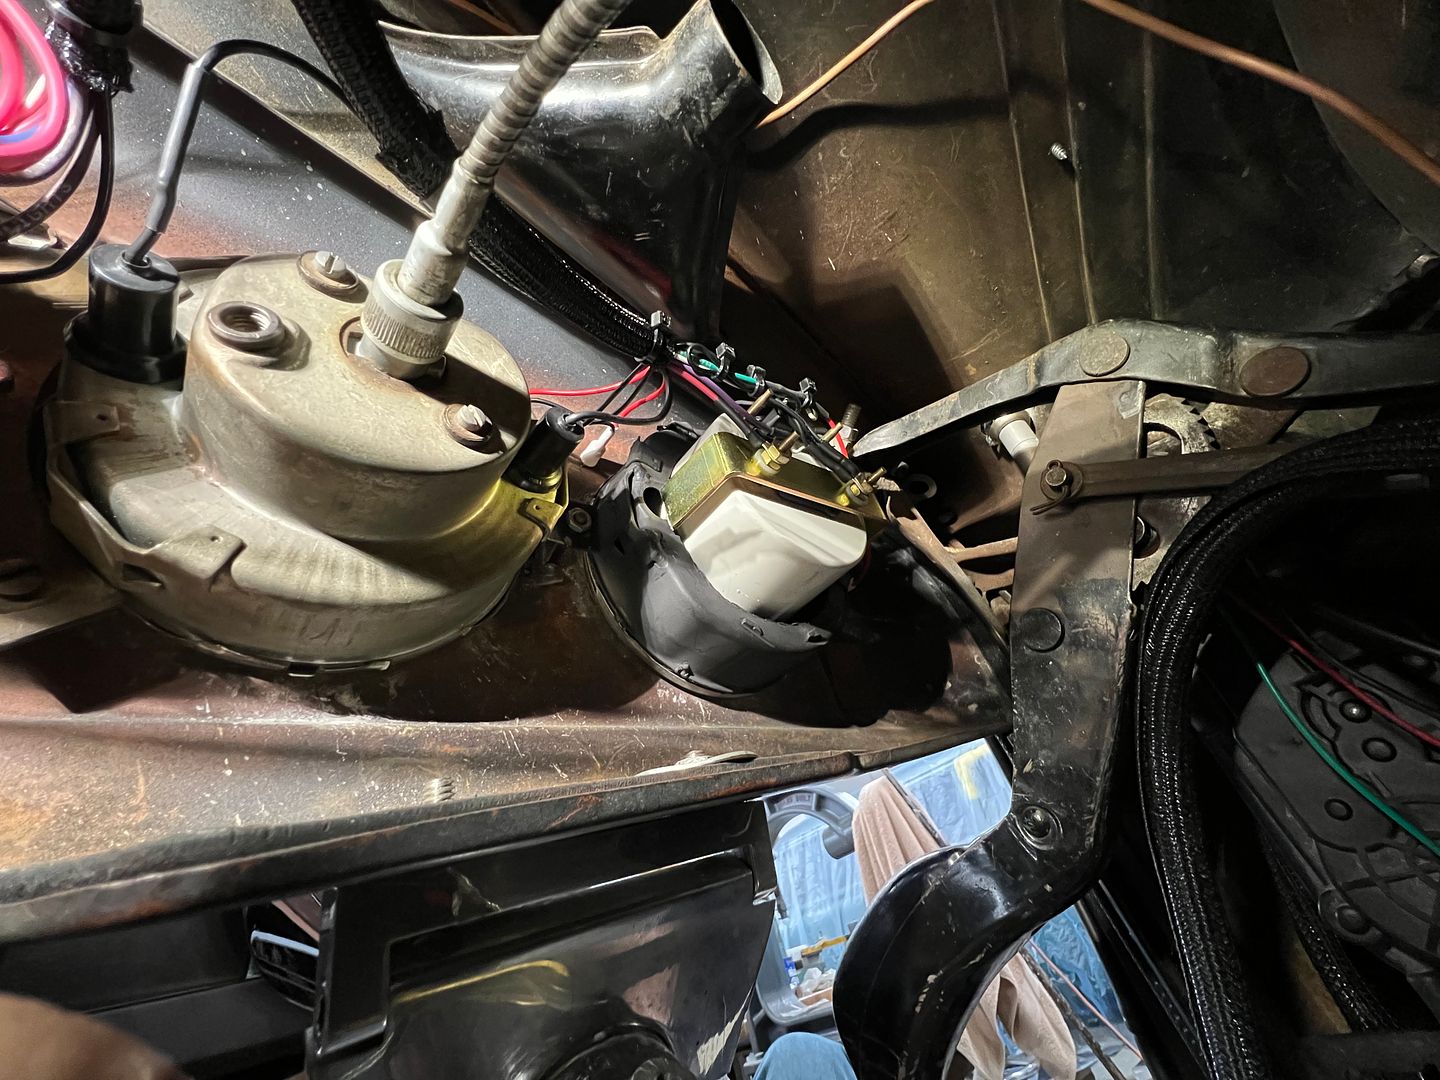
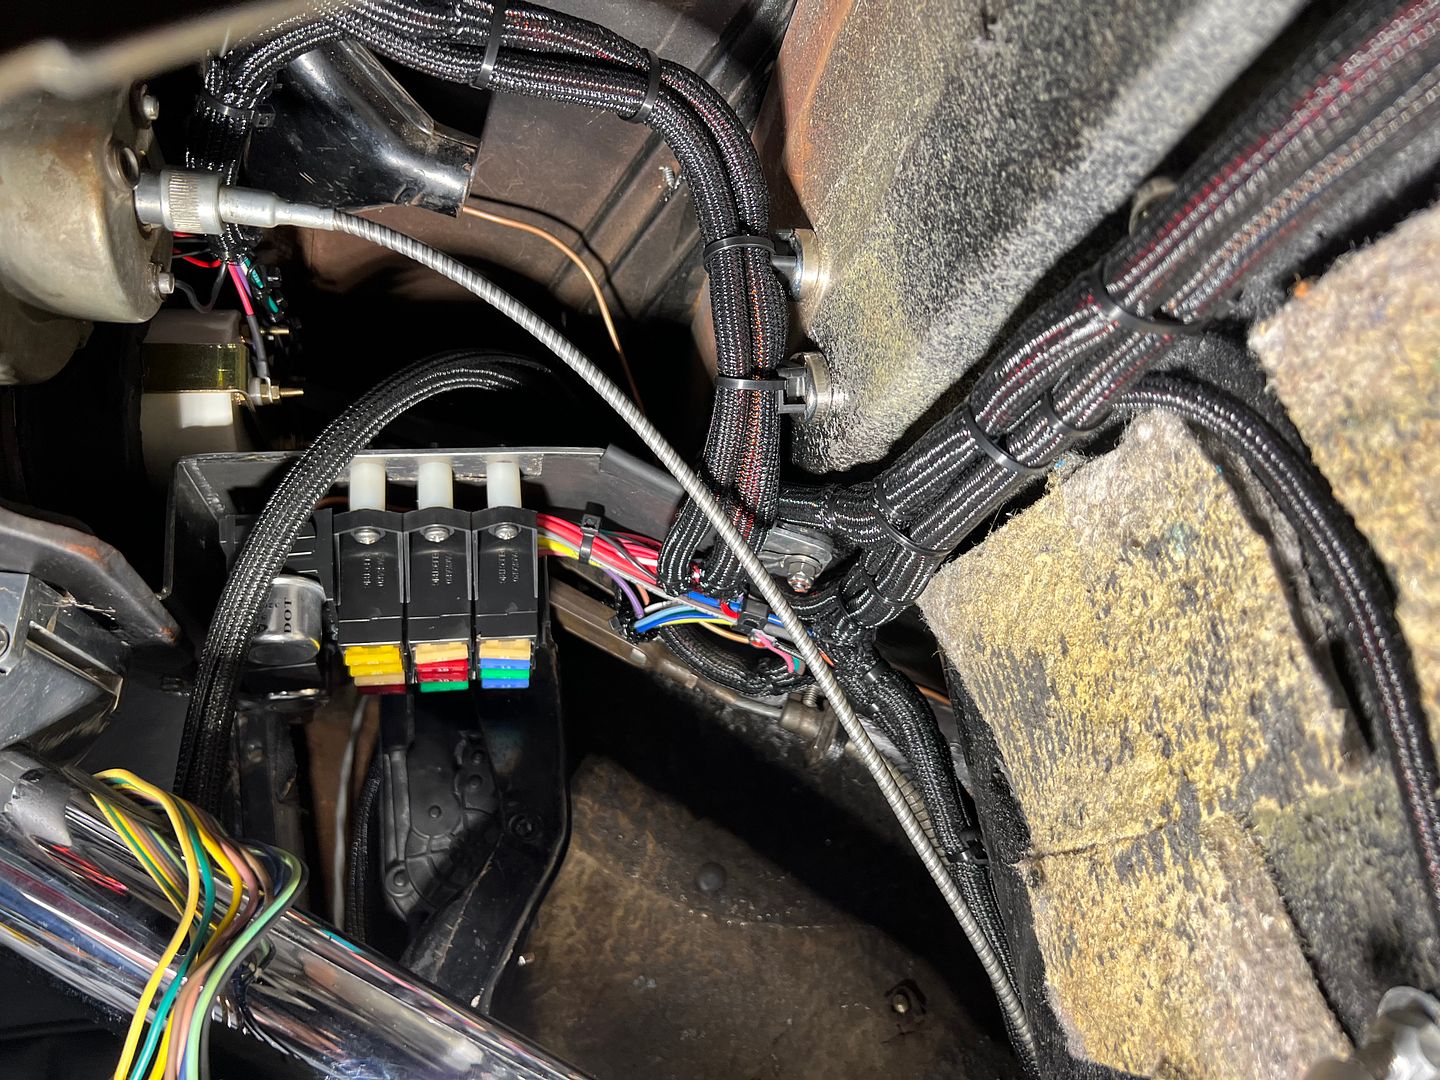
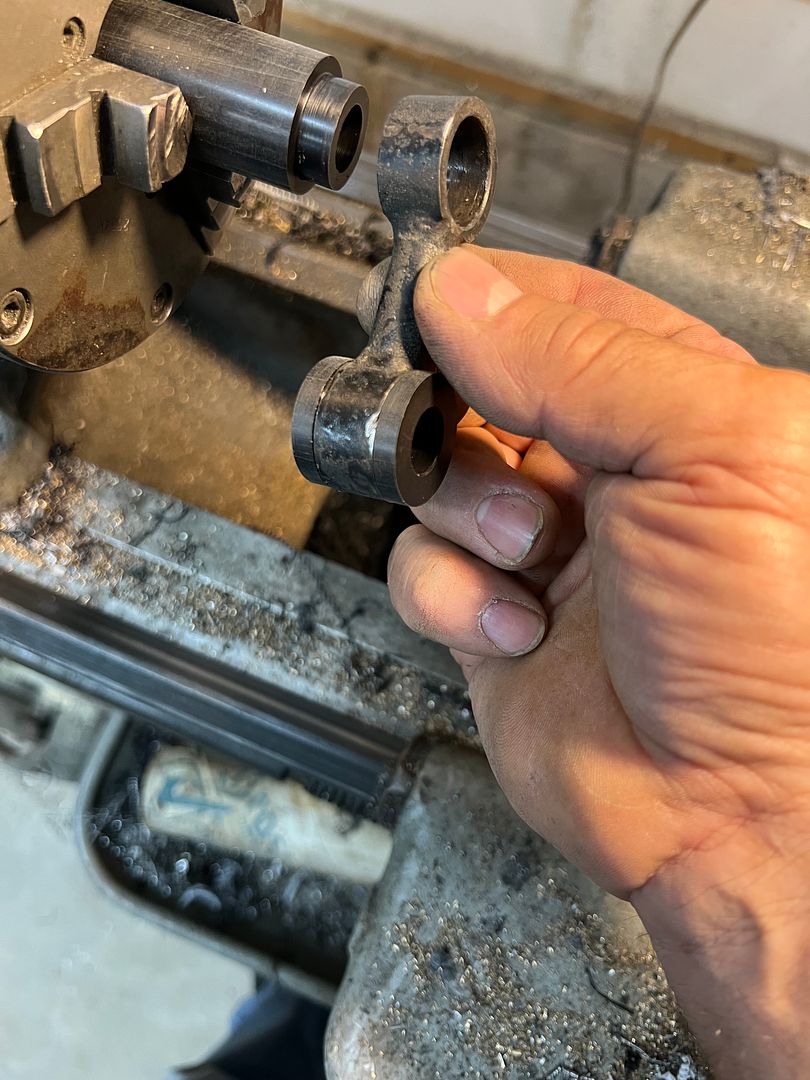
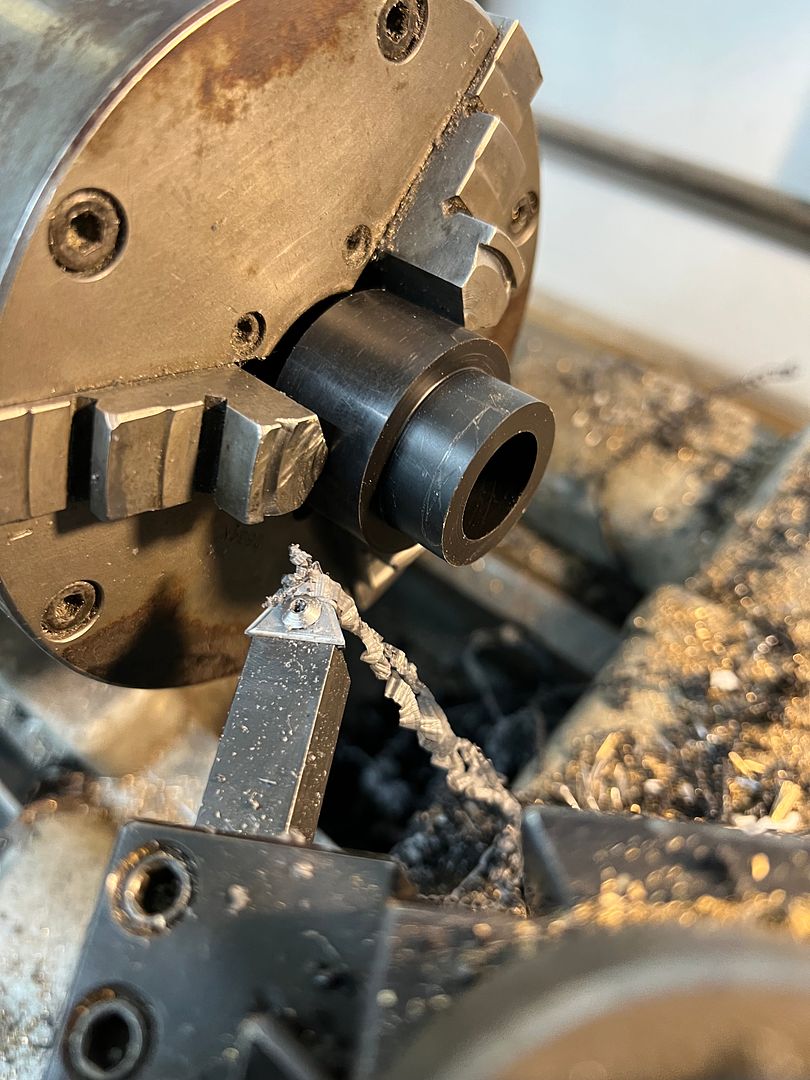
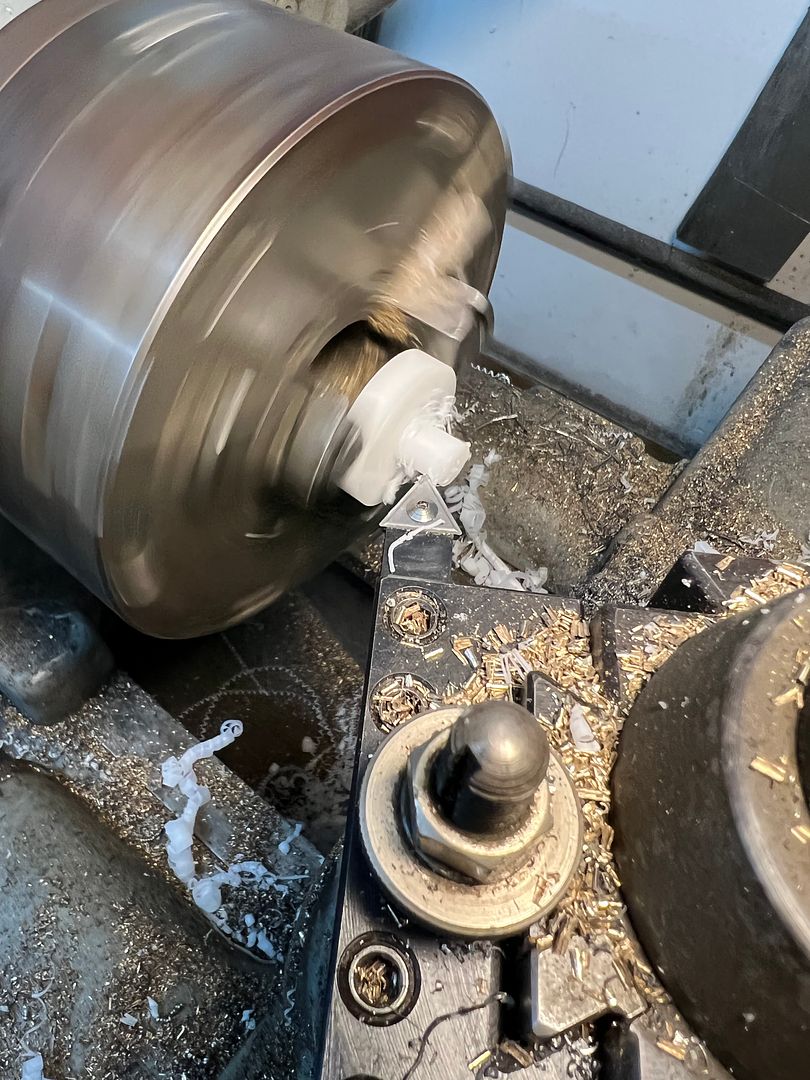
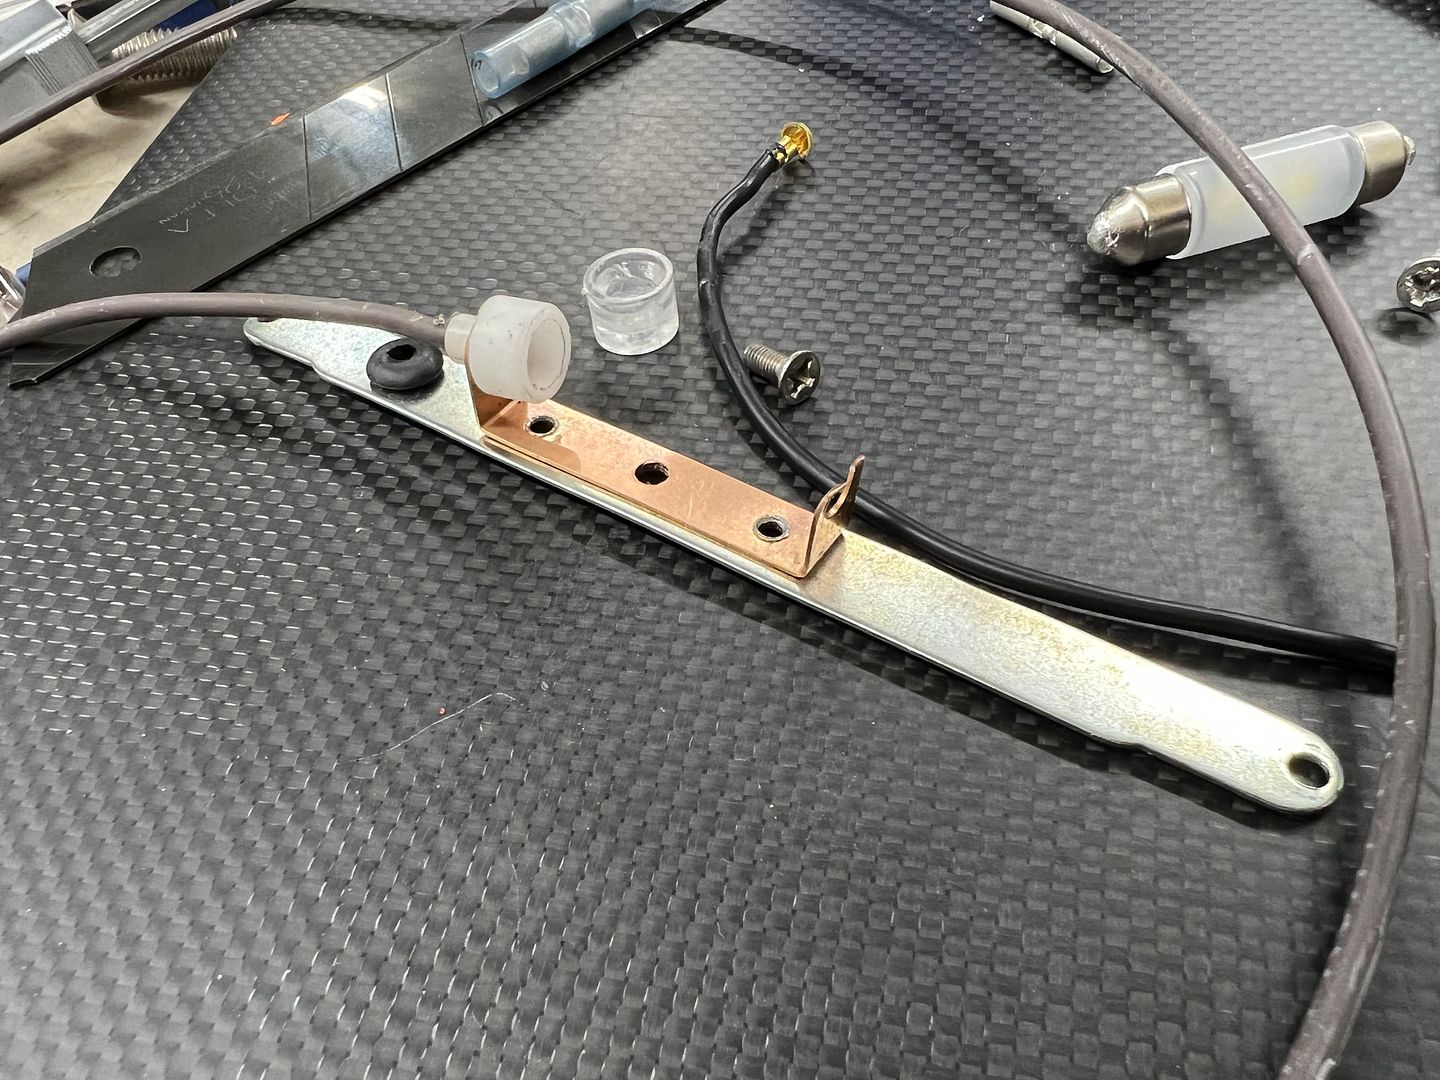
First order of business was to fabricate a mounting plate for the new fuse panel to get it out of the floor...


IMG_4311.JPG


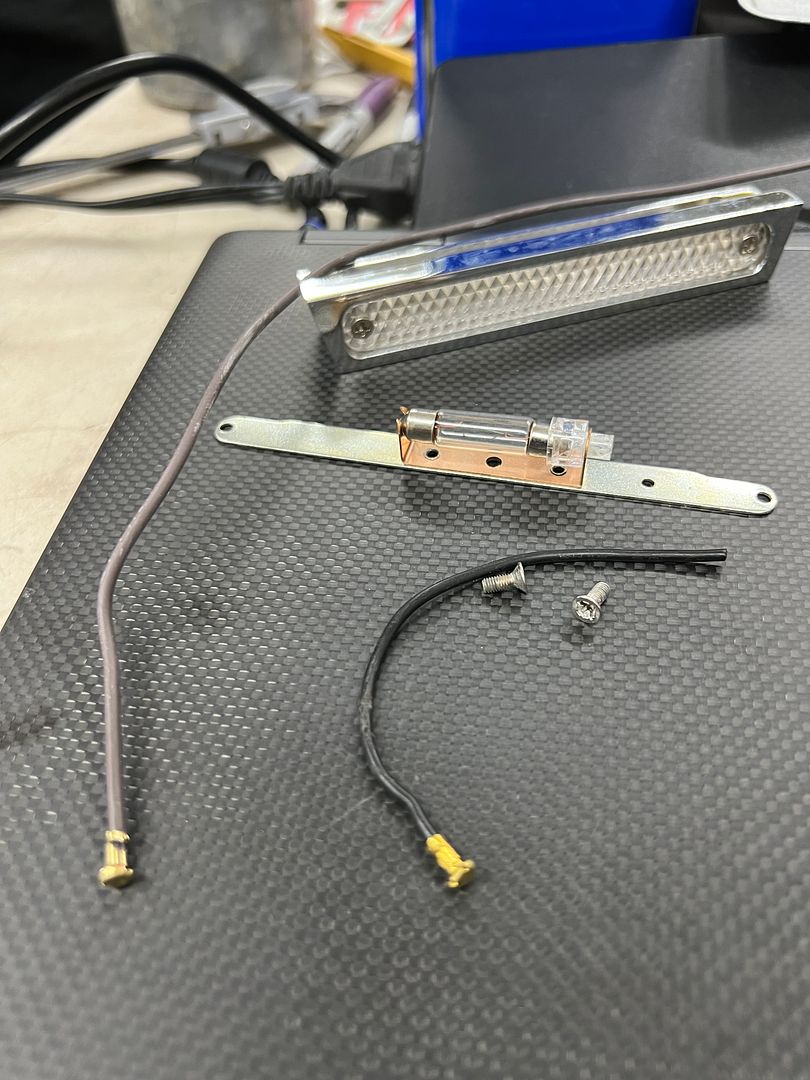
Having removed the most splices I have ever seen under a dash board, our goal was to have as few splices as possible, and make direct runs where we could. W crimps were used throughout, adding glue lined heat shrink in place of the previously favored liquid tape.. Tail light wiring was plenty long so new contact buttons eliminated the typical splicing of pigtails..


IMG_4316.JPG


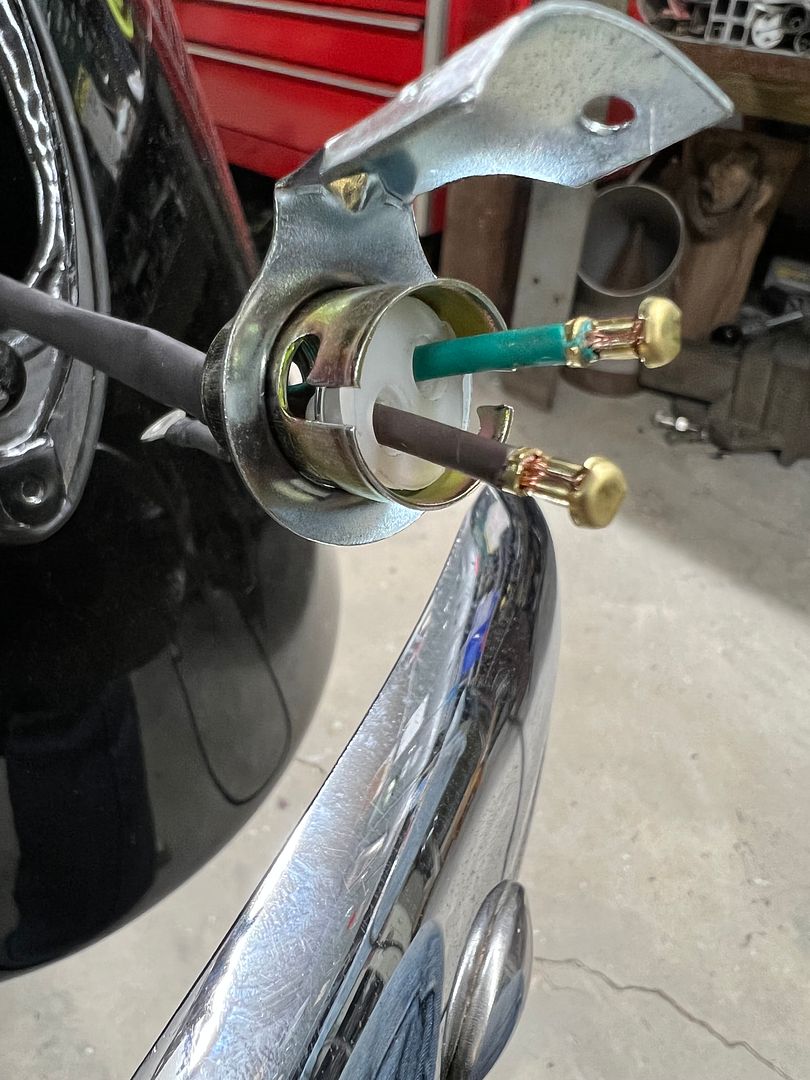
Tach and Speedometer connected...


IMG_4345.JPG


Headlight switch...


IMG_4326.JPG


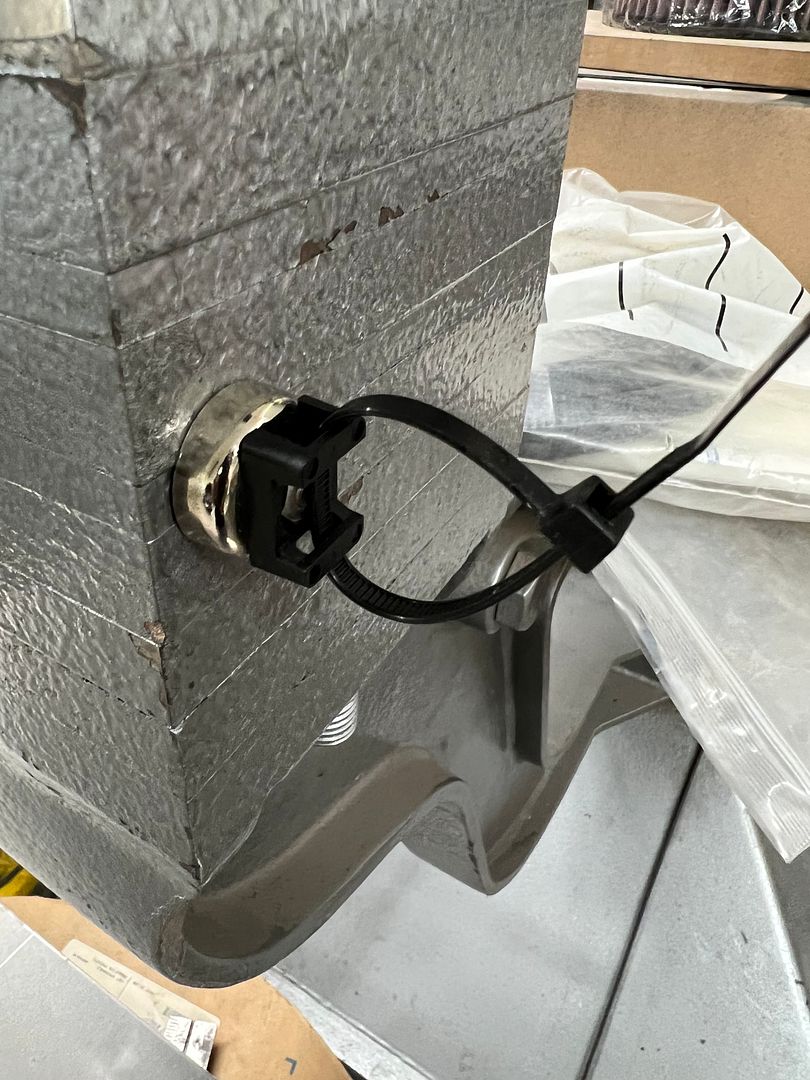
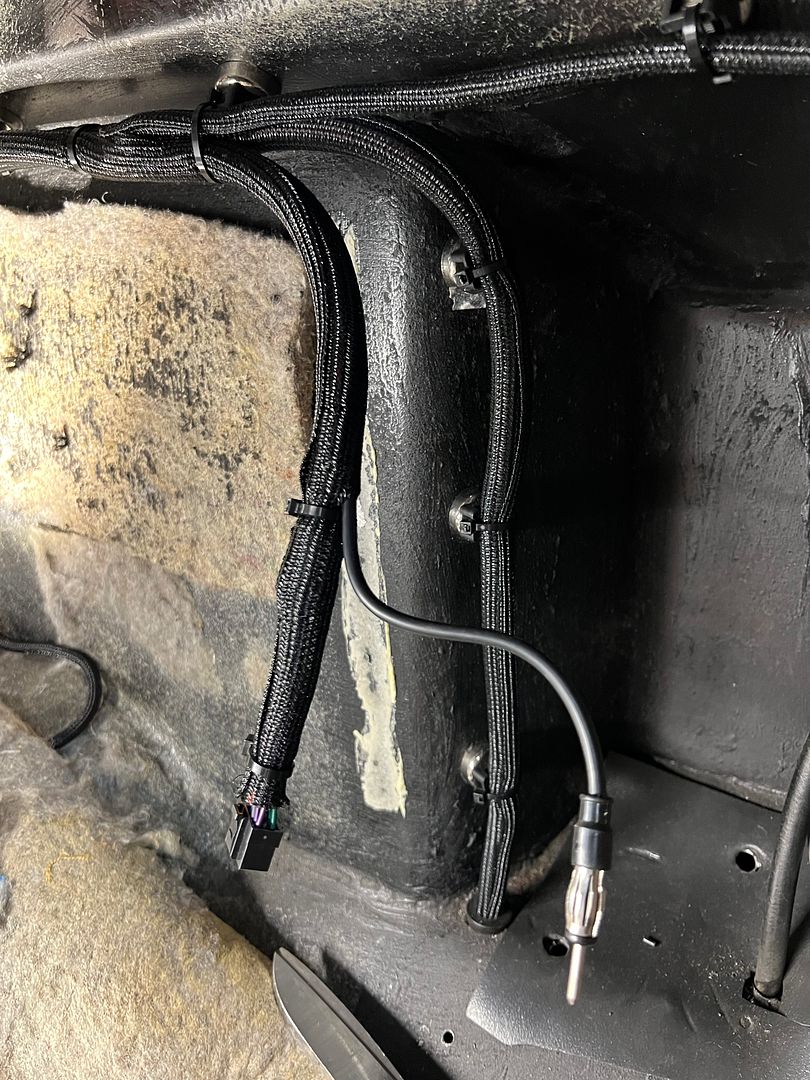
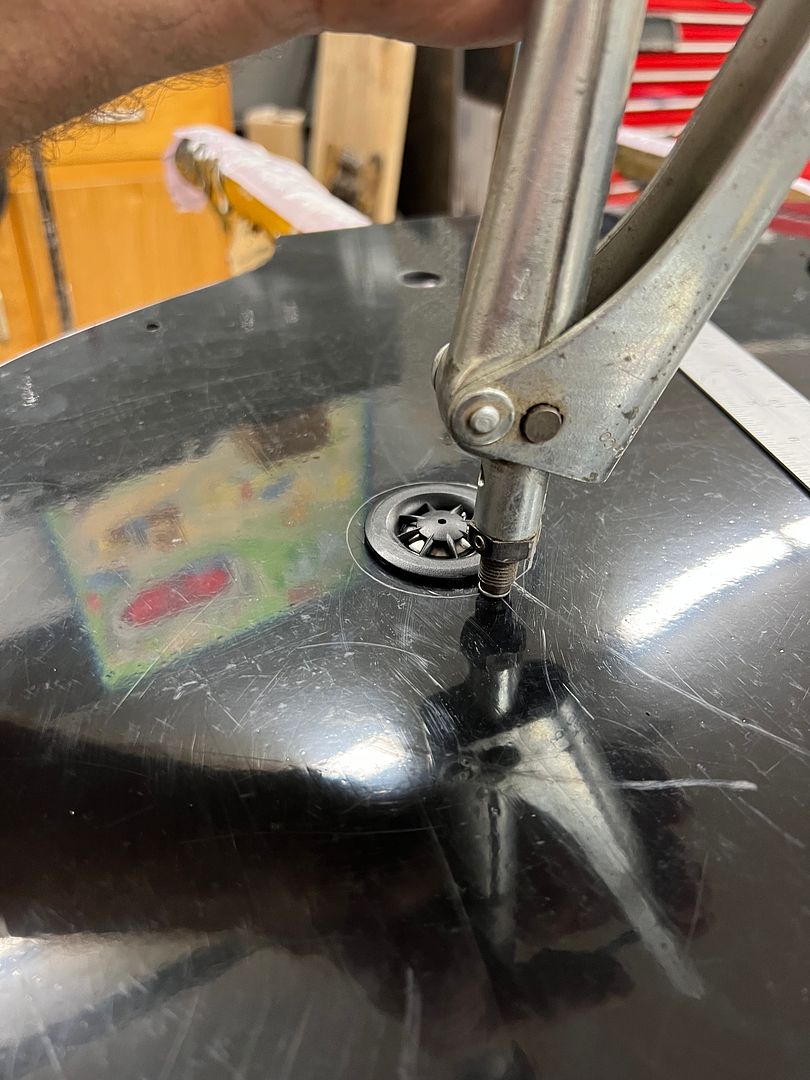
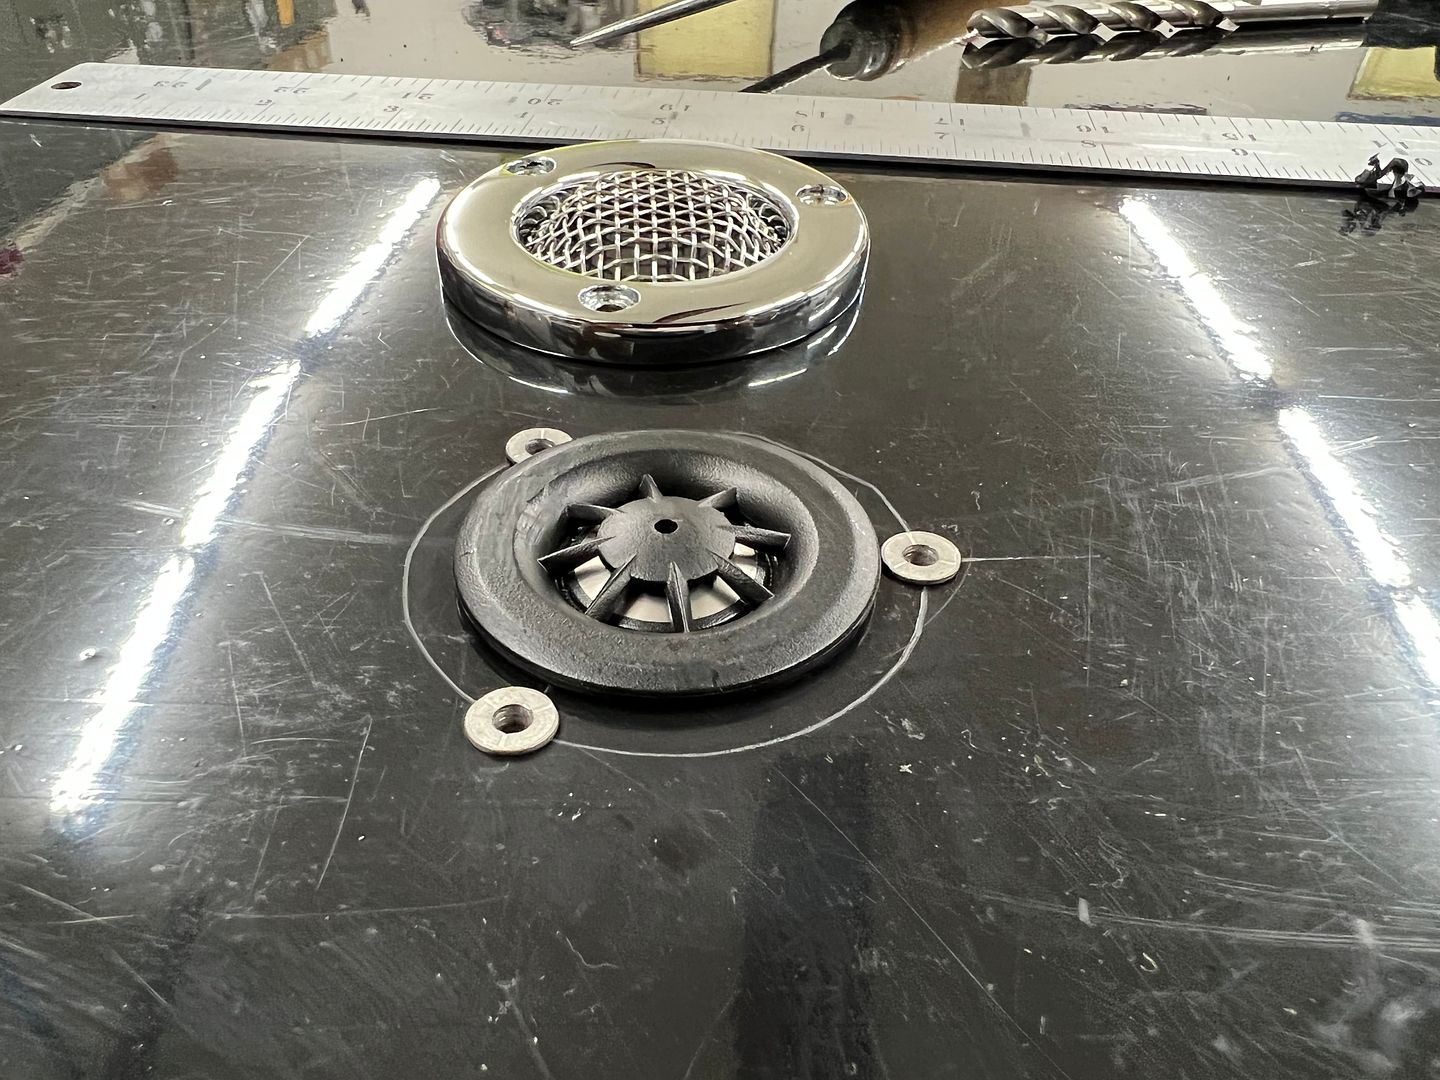
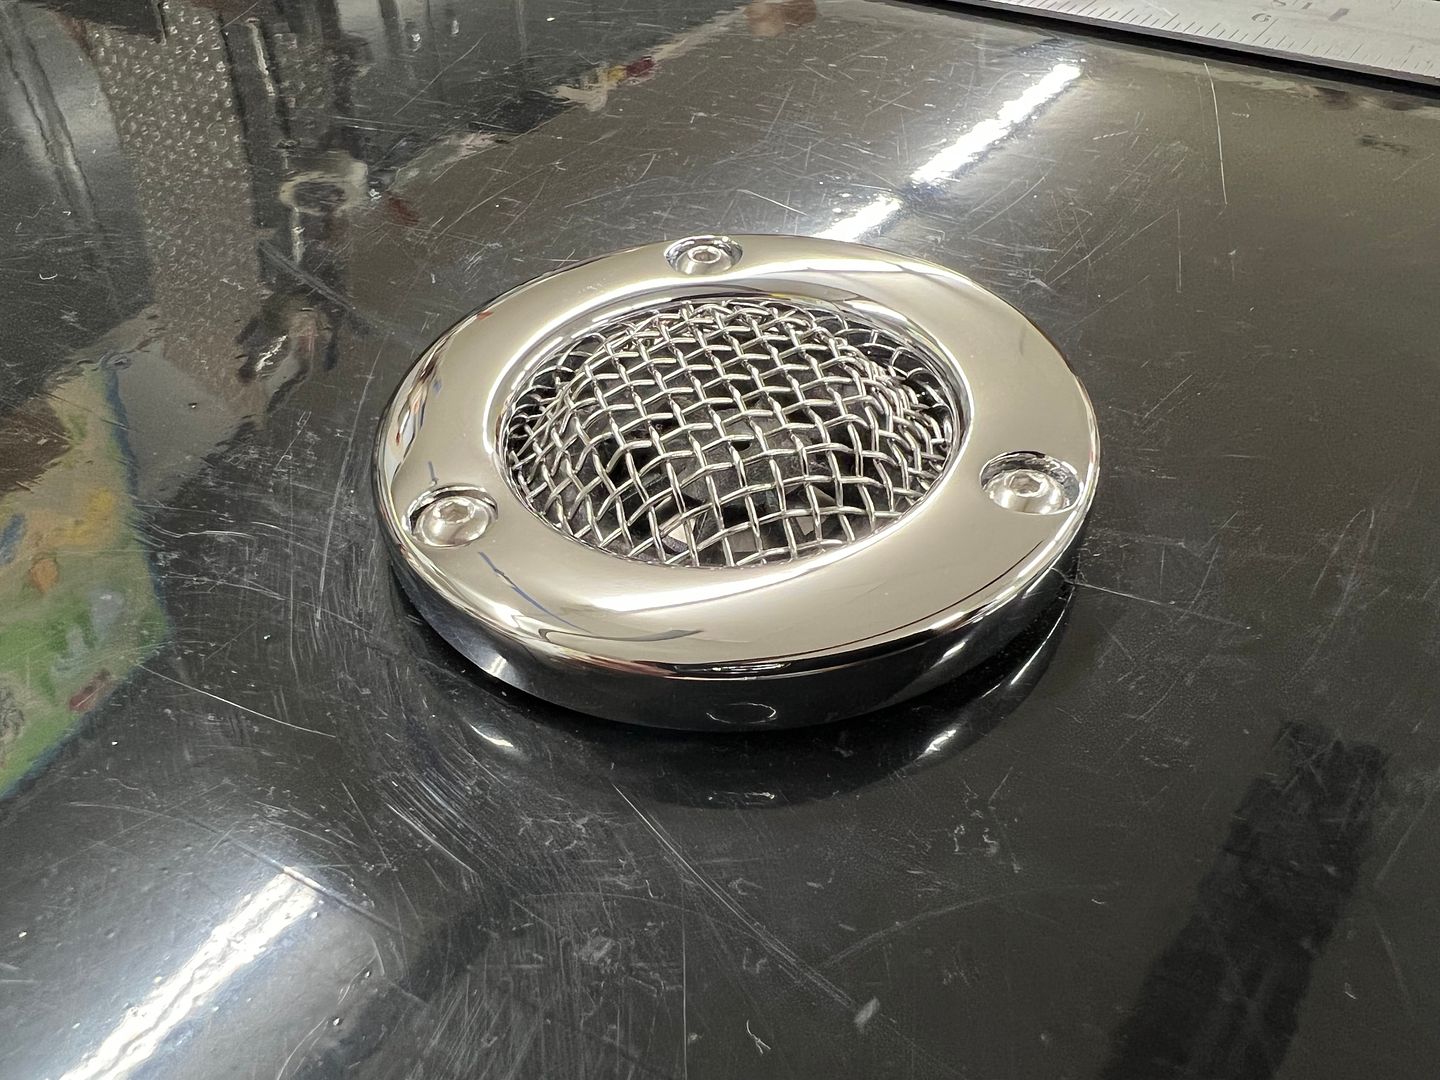
For routing purposes, and to keep from drilling the firewall, we made some cable management using rare earth magnets and cable saddles..


IMG_4297.JPG


IMG_4334.JPG


more to come......
 
MP&C has yet again by thinking outside of the box, came up with another very cool idea with the earth magnets for wire management. I'm digging that !!!

Where did you get the cable saddles, and do the earth magnets have the hole in them to mount the cable saddle?

Oh and check out my restoration thread. I want you to see how your advice helped me out, wink wink.
 
Progress on the 39's wiring, let's show this with a before and after sequence..


This car has the battery mounted behind the passenger seat, and the orange cable shown is the positive cable. (ground cable hidden above muffler) Both cables exit directly above muffler with not quite enough room for a good bend radius, as shown by the melted insulation.

IMG_4292.JPG


The other hoses shown are the heat and AC lines as that is also located behind the driver's seat. We relocated the battery cable entry points to in front of the muffler. The heat and AC lines were re-dressed and loop clamped to get them farther away from the muffler.. Rubber plugs were used to fill the old holes.


IMG_4442.JPG


IMG_4441.JPG


This is the previous location of the fuse box (it's in there someplace)


IMG_4293.JPG


With the fuse box relocated under the dash, the floor area is cleared up with less chance of stepping on wires. The radio and antenna cabling will be routed into the glove box, the radio location.


IMG_4428.JPG


Previous underdash:


IMG_4294.JPG


Fabricated plate for mounting fuse box up under the dash..


IMG_4311.JPG


IMG_4430.JPG


Steering knuckle sleeve weld...


IMG_4378.JPG


Despite grinding out the mud dauber's nest and wiping multiple times with acetone, we still got a pin hole in the weld. To limit damage (shrinking) from excessive heat we left it with the pin hole. Still much better than what was there prior.


IMG_4411.JPG


The links for the front sway bar as well as the radius arms had little left for bushings. The local auto parts store was not much help for replacement parts, so some delrin round stock was used to fabricate bushings.


IMG_4393.JPG


IMG_4408.JPG


IMG_4410.JPG


The tag light insulator was hard plastic and brittle, so our attempts to install a longer wire for the light resulted in a broken insulator. More delrin to the rescue..


IMG_4339.JPG


IMG_4340.JPG


IMG_4343.JPG


Left to do is the front end/engine compartment and re-assembly.
 
The existing steering sleeve weld is definitely a OMG, WTF? I didn't even feel safe looking at the picture, lol. Wiring looks 1000 times better than it was. The potential for an electrical issue or worse, a fire, had been eliminated.
 
A recent find of some metalshaping tools, finally found a stake plate and stake anvils... Along with some dolly's I didn't have..


The wiring harness installed, here's our first test start of the 39....


Lighting tests:


With that, the 39 has left the building... Here's the test drive taking it home. Also found out the easy way of opening the ash tray...


That thing sounds beautiful! I can't believe that it's actually rolling. What a long project but you really have a lot of skill and patience. Can we get a full view of it? Maybe a before/after?
 
A recent find of some metalshaping tools, finally found a stake plate and stake anvils... Along with some dolly's

You lucky dog....... I'll trade you a 800 plus pound of oak stump for those metalshaping tools :)

I like that lopy cam.
 
Back
Top