Heavy pitting

C

coupe

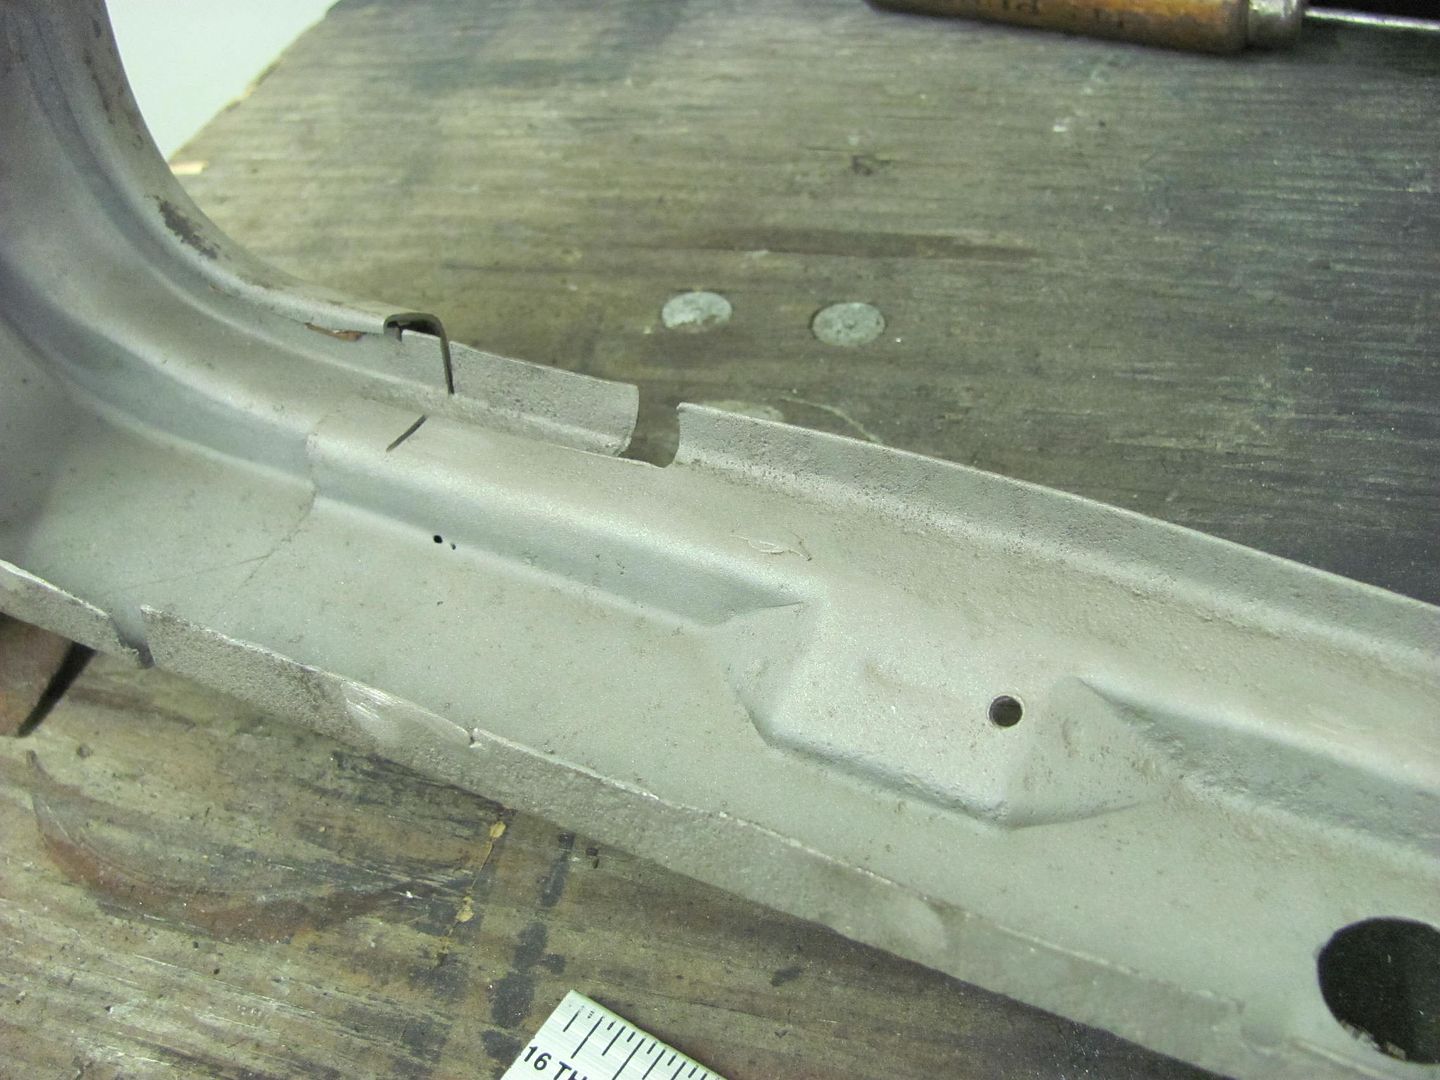
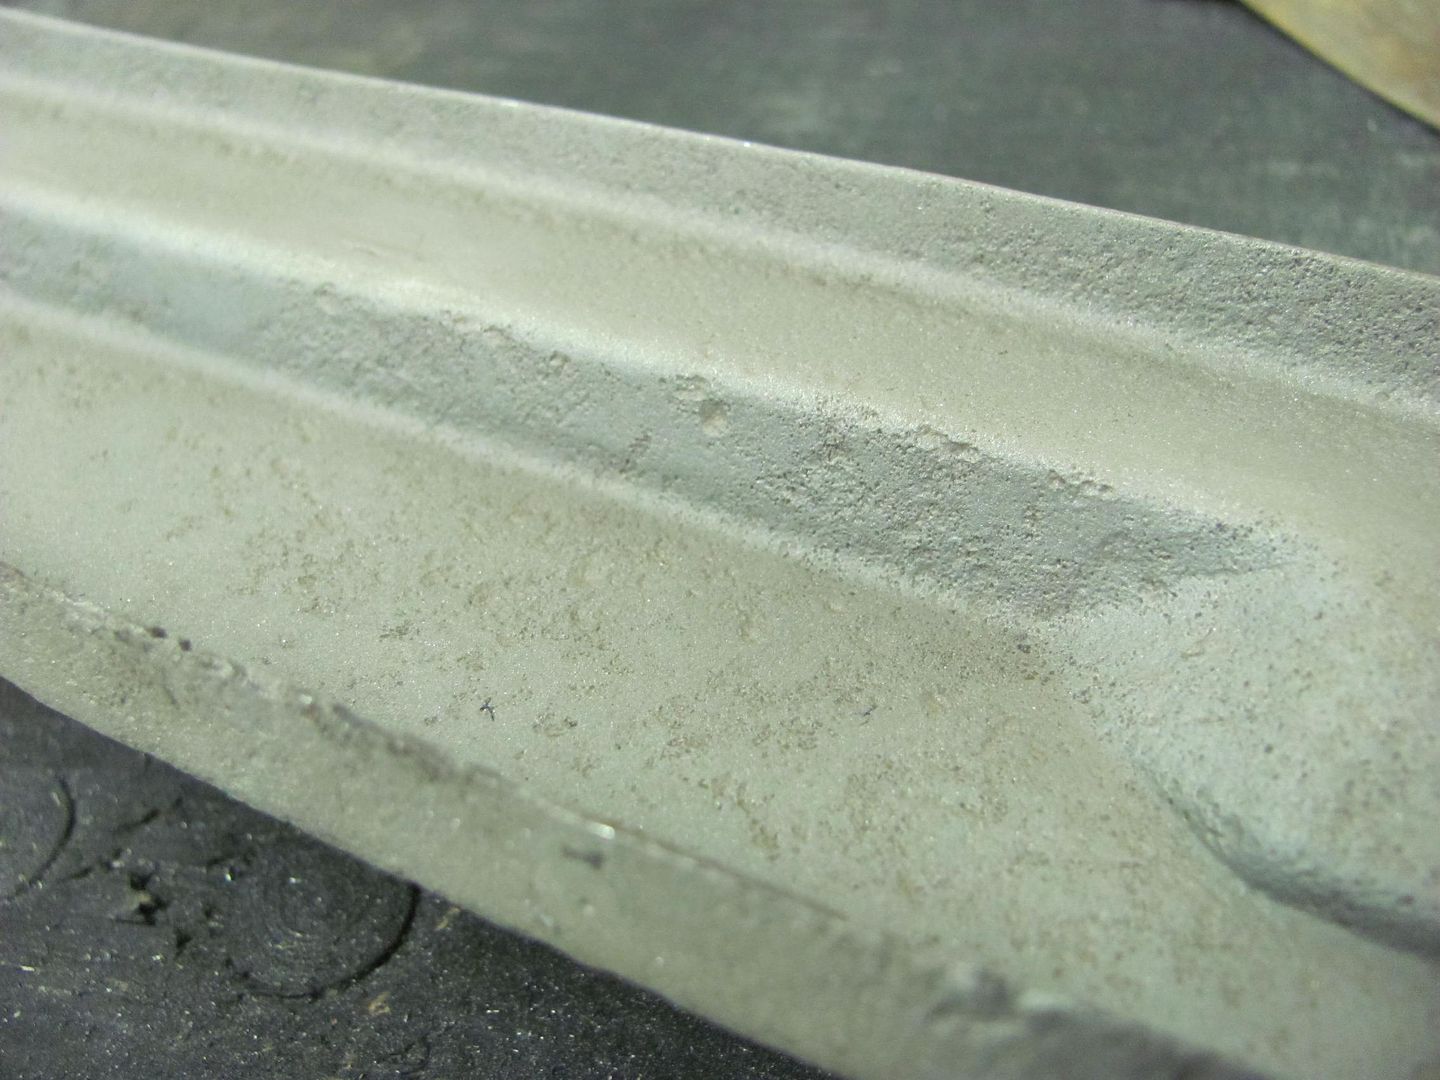
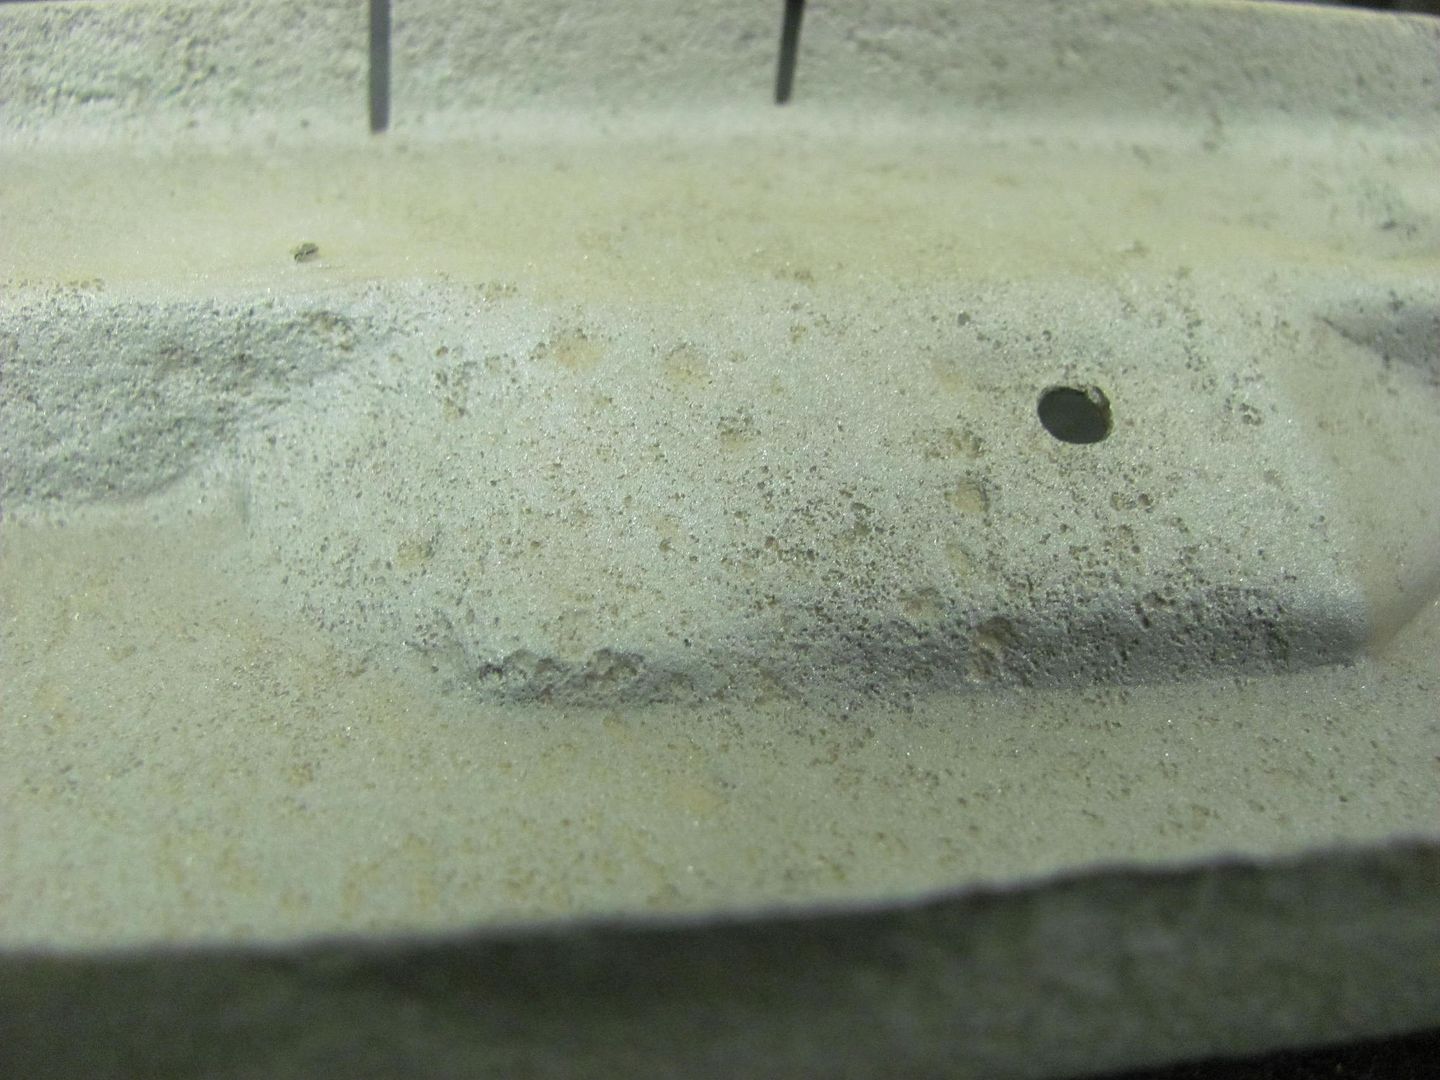
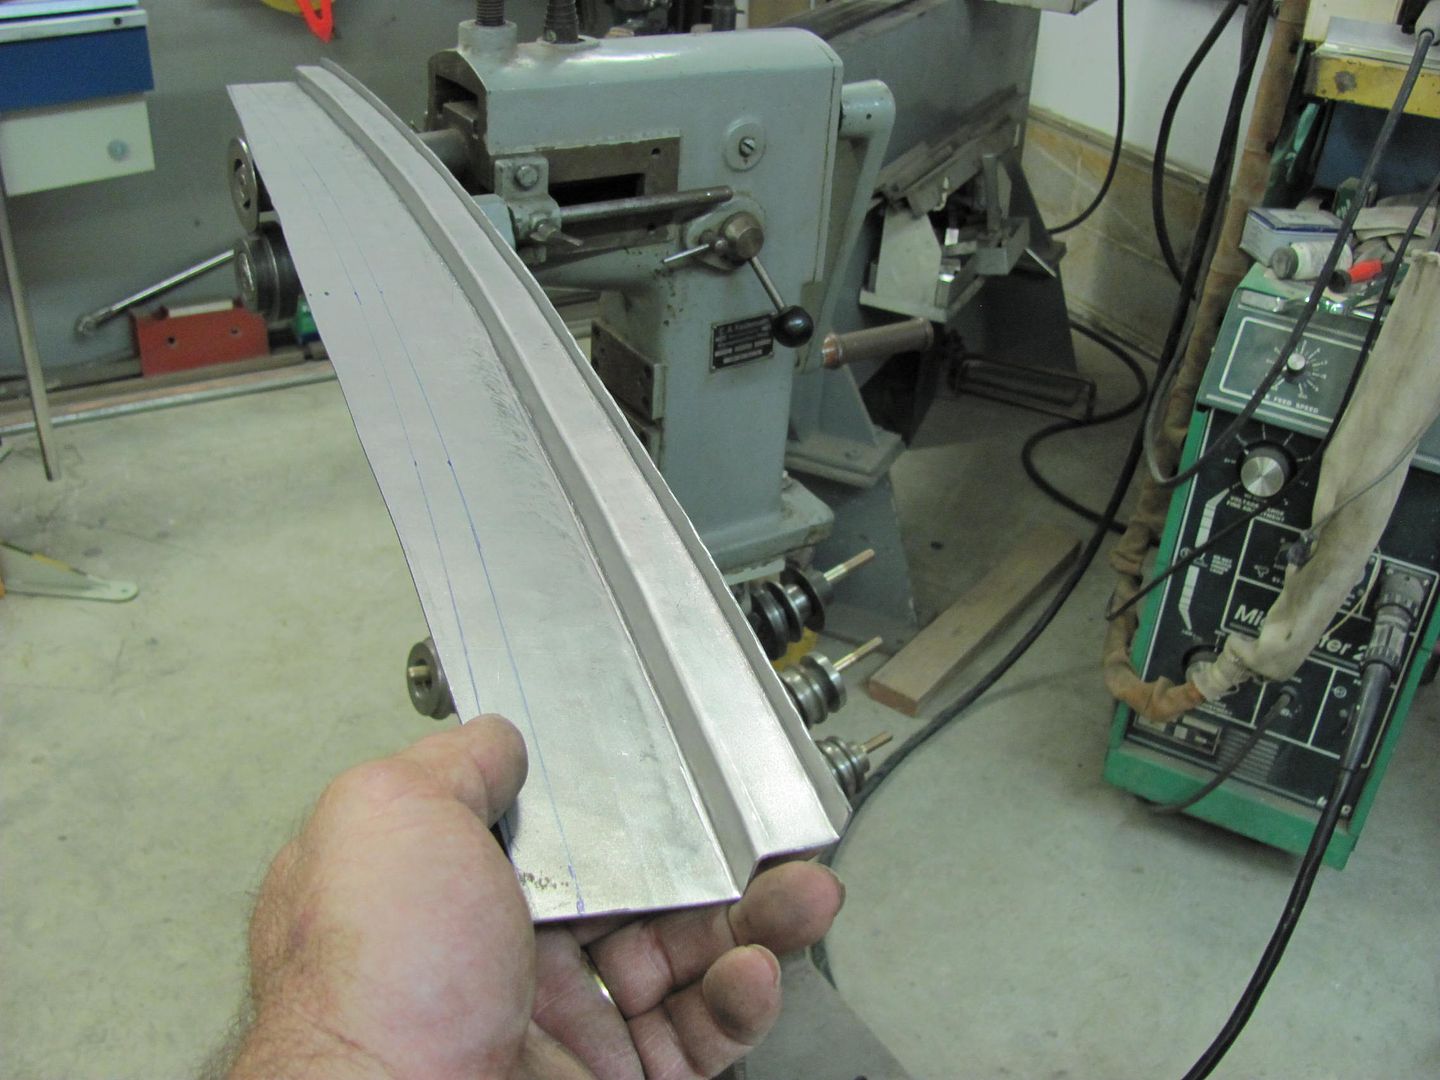
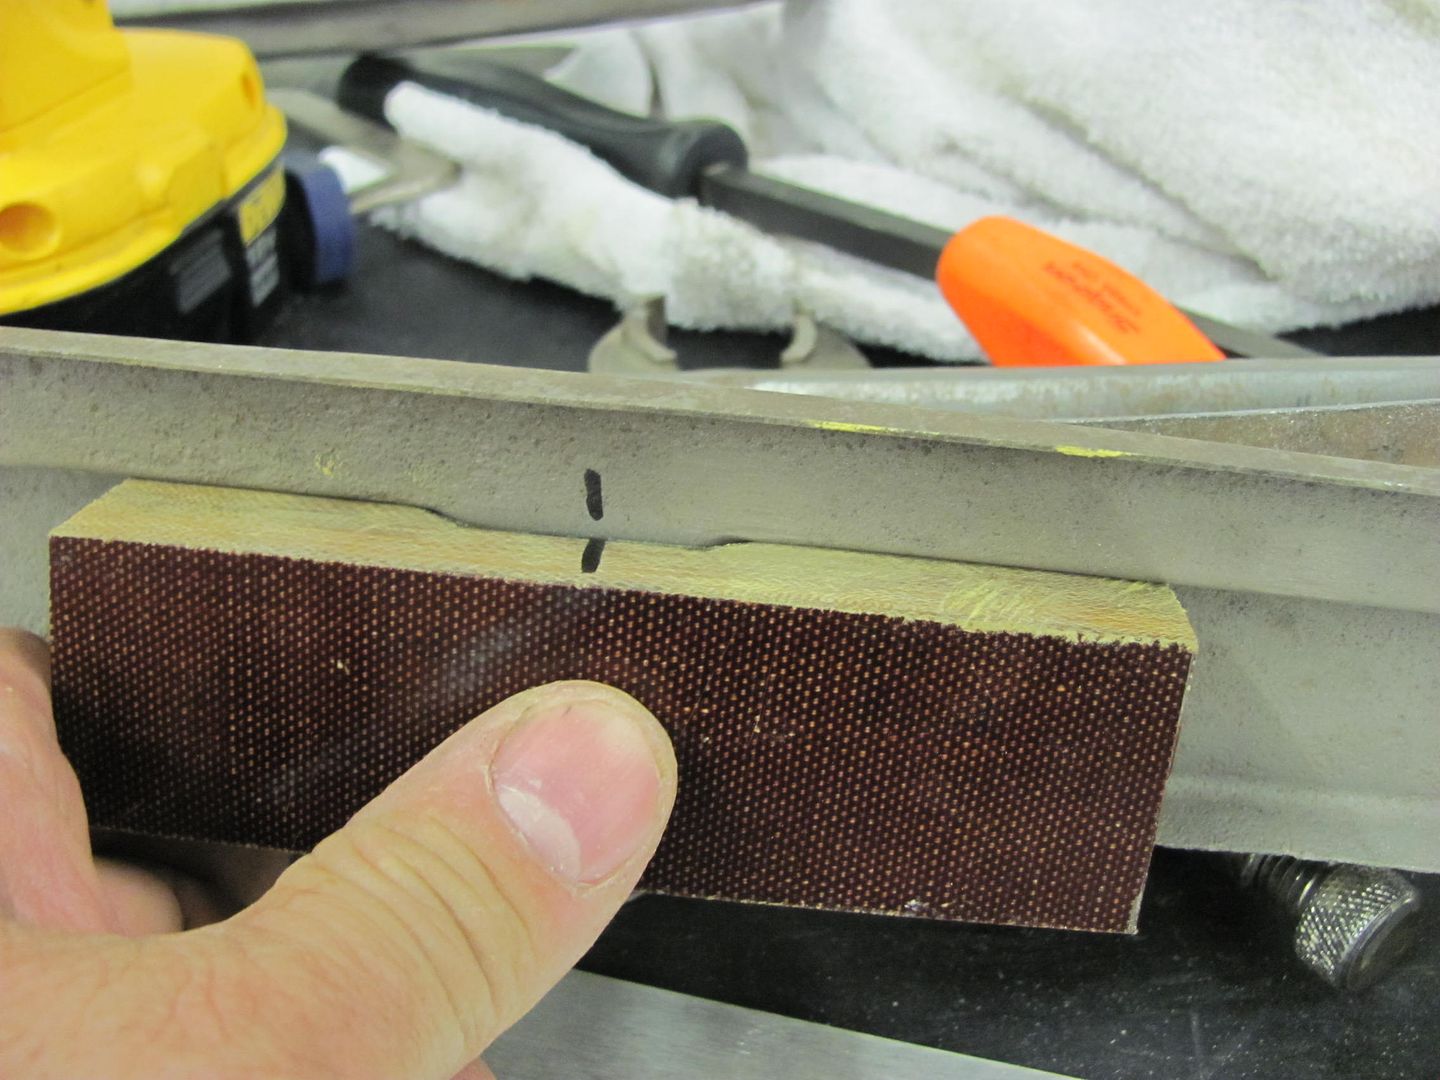
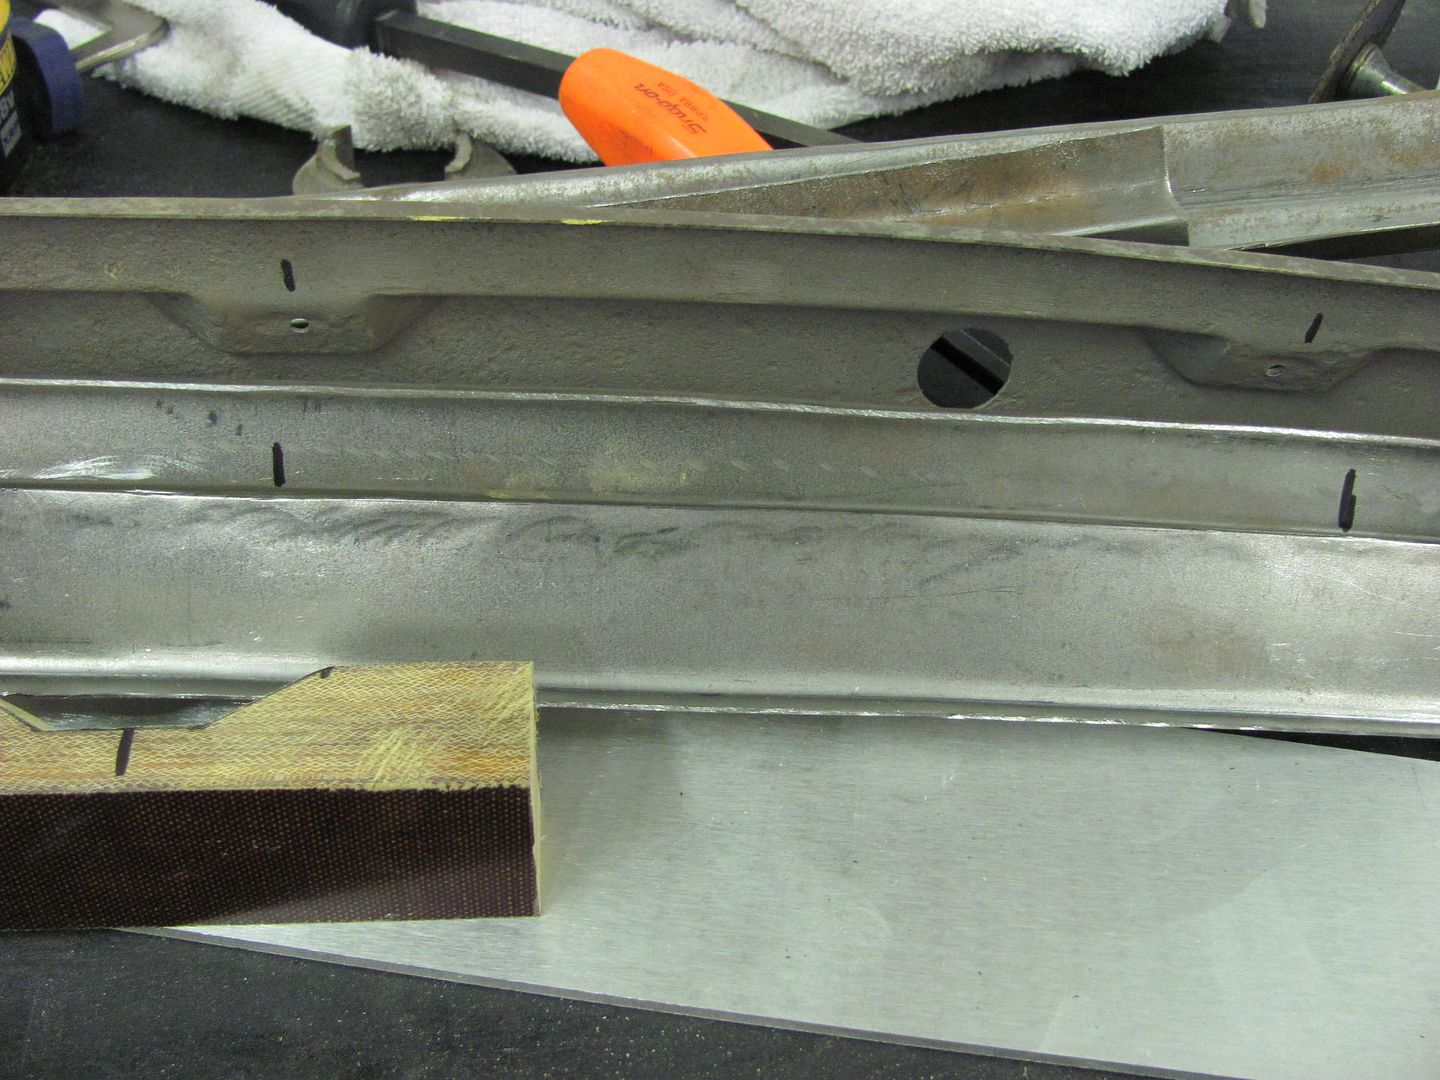
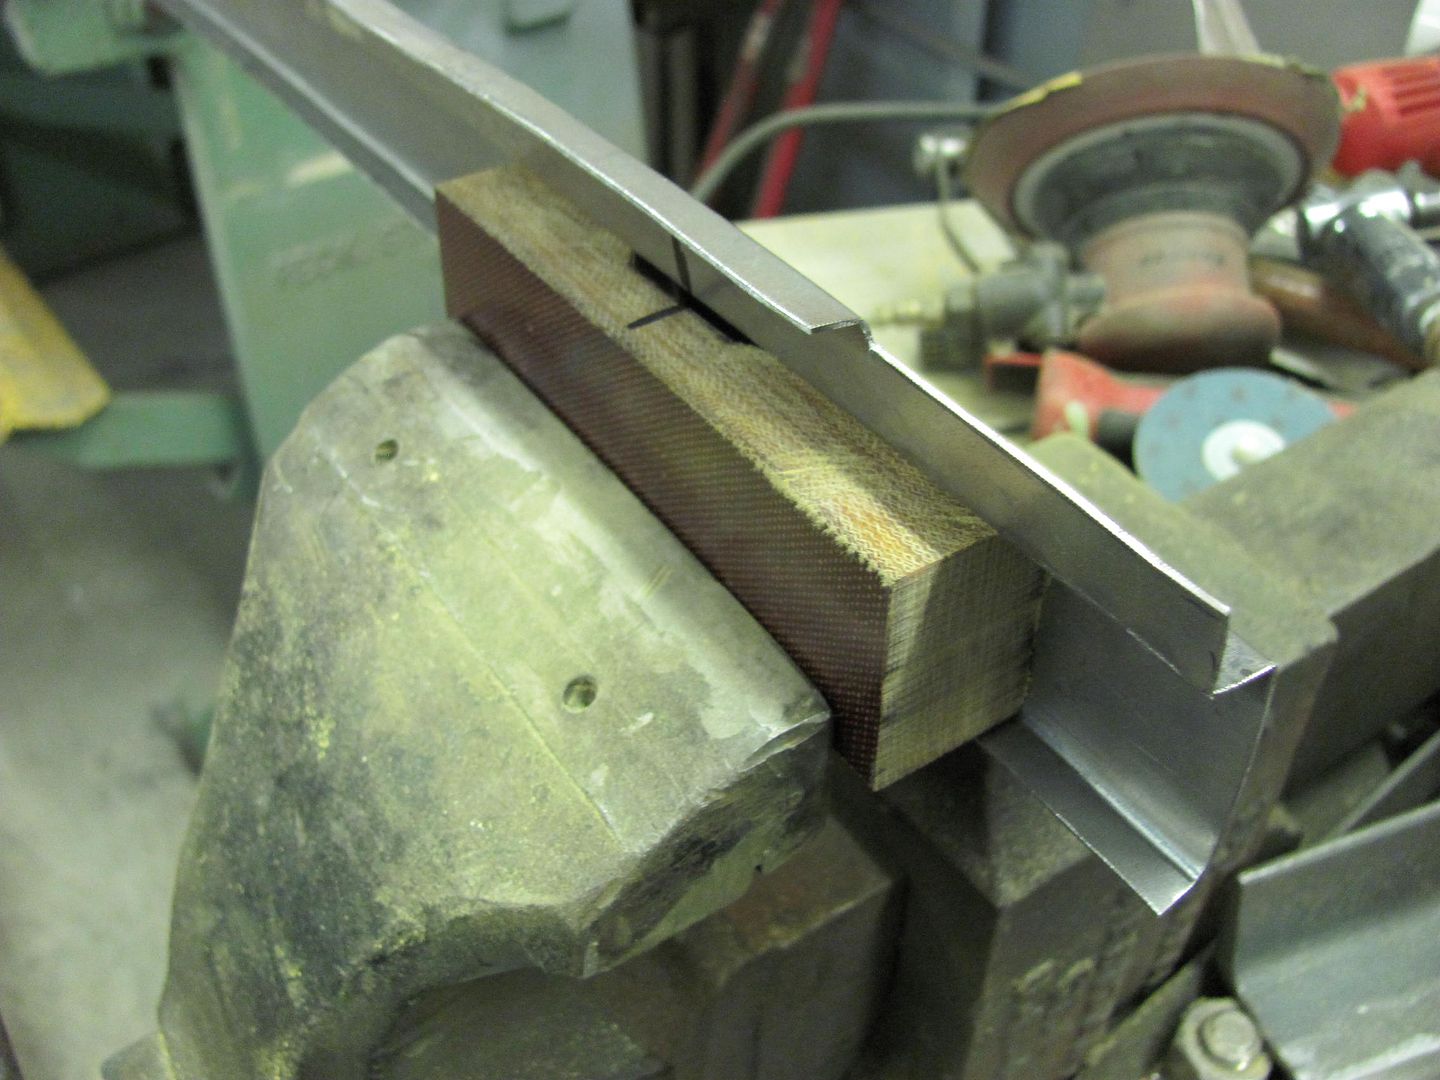
Ok so I have a set of 40 ford pickup running boards that are in less than desirable shape. Their is heavy pitting in the metal in many places between the ribs, for those of you who are familiar with forty's you know exactly what I'm referring to. Any way I am considering priming and blocking them say, three times and I feel that will eliminate 90 percent of the trouble pitting areas. I know the standard 2k will easily fill and take care of these areas but have heard a lot of people comment on epoxy being the more stable product and having better results with dry down or sand scratch swelling after a few turns in the summer heat. Would like to know if any one has had much success with using epoxy in a heavy build situation and the results you were able to obtain over the duration. every one knows restorations, street rods and the like never see the weather abuse that are daily drivers do but usually fit and finish is heavily scrutinized. thanks for your input.
 
I often do restoration on frames that have some deep pits, the frames get blasted with fine media, I shoot two coats of epoxy and let the left over's set for a couple days to thicken up then brush fill the pits and sand a few days later. Then final prime with epoxy and allow to fully cure. This works well on resto work where you need to save all the factory stretch marks, stampings, and details that would normally get buried when a person tries to spray build for fill.
 
For any pitting at all, I tend to check out how structurally sound the area is using an ice pick. If the ice pick goes through, it wouldn't have lasted long with paint on it either.. For something with widespread pitting, such as my liftgate repair below, sometimes it's better to make something in new metal than fighting all the pits. And given the cost of paint supplies nowadays, I prefer to replace with new metal over missing some rust scale that will return with a vengeance.


The media blasting revealed a few more holes, and numerous pits, many of them close to breaking through.


Picture185-2.jpg


Picture186-2.jpg


Picture188-2.jpg


With all the other new metal going in the bottom, there's only one thing to do. Using the tipping wheel..........


Picture189-2.jpg


Picture191-2.jpg


Picture194-1.jpg


Comparing to the pitted version.....


Picture202-1.jpg


Next we'll need to do some corking to add the window hardware pad details.


Here's the new "anvil", made from some phenolic sheet.....


Picture207-1.jpg


Picture208-1.jpg


Put an alignment mark on the anvil, fitted it to the originals, and added the mark there as well. Then transposed those marks to the new piece...


Picture209-1.jpg


Picture210-1.jpg


Anvil was located, and clamped in the vise to hold it's location


Picture213-1.jpg


Started with the barrel end hammer.....


Picture216-1.jpg


Picture217-1.jpg


Picture218-1.jpg


Picture219-1.jpg


For the ends, I used a rounded tip chisel....


Picture220-1.jpg


Picture221-1.jpg


....and then another "anvil" to clean up the hammer marks a bit...


Picture222-1.jpg


Picture223-1.jpg


Picture224-1.jpg


Here's all the tools used....


Picture225-1.jpg


Touched up a bit with a sanding disc, looks close enough.... One down, 4 to go...


Picture226-1.jpg


Picture228.jpg


Where this was done with a bead roller and hand tools, something along the lines of your running board would likely need a Pullmax to form the bead details. Here's a sample by Steve (oztinbasher on the HAMB)


P1090181.jpg


P1090180.jpg


Yours may not be that far gone to warrant replacing all the metal..
 
You need to start a website showing each of these "little builds". Awesome work that I can only imagine would take a lifetime to develop.
 
You have lot of talent and equipment to make metal look easy!

- - - Updated - - -

You have lot of talent and equipment to make metal look easy!
 
Bob Hollinshead;39916 said:
I often do restoration on frames that have some deep pits, the frames get blasted with fine media, I shoot two coats of epoxy and let the left over's set for a couple days to thicken up then brush fill the pits and sand a few days later. Then final prime with epoxy and allow to fully cure. This works well on resto work where you need to save all the factory stretch marks, stampings, and details that would normally get buried when a person tries to spray build for fill.

COOL! Just came onto to the site to look for an answer to this very same problem. Over the last two days I sandblasted the back half of the car. The frame rails had a lot of pits, just on the inside rails. Outside part of the rails look fine. Bob I am going to give this a try. I sprayed these rails tonight and I do have some left overs, so I will give it until Thursday evening then brush a coat in the pits. I will sand with 180 over the weekend and spray again. Thanks.


Robert that is some awesome metal work. Way over my head, but I do enjoy seeing the process.

Coupe, sorry about the Hijack.
 
Back
Top