1966 Mustang Convertible Restoration

rusty428cj

Rusty Gillis
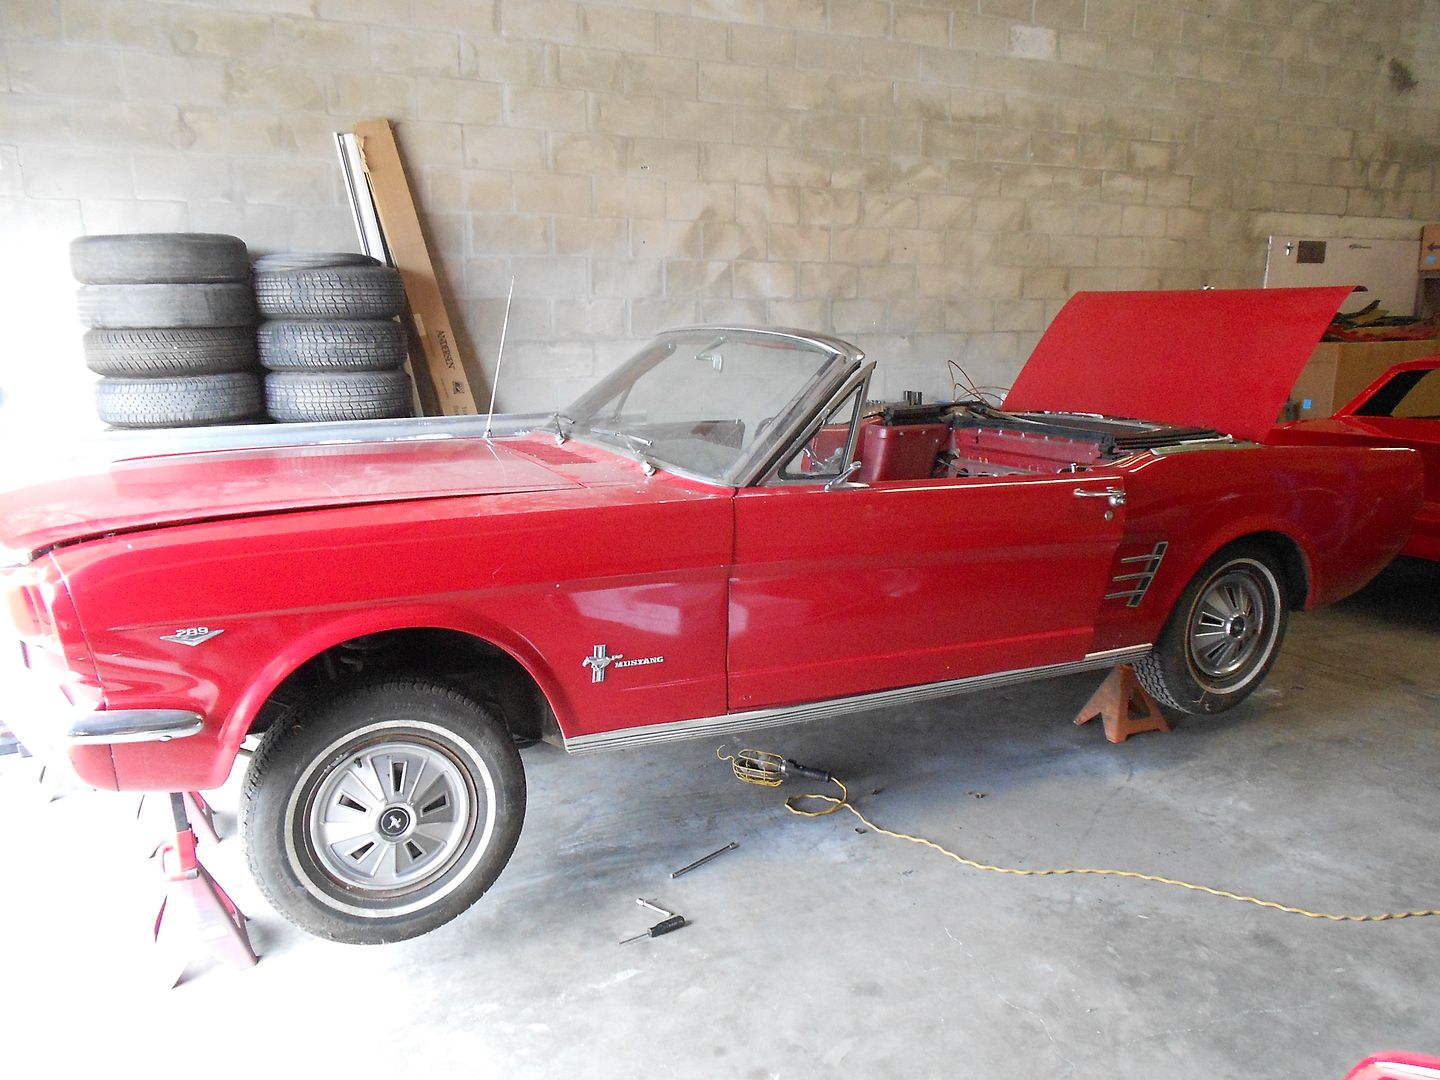
We started this project last year but I have not had the time to share the build. At first this looks like an easy project until you start looking a little closer. It has been sitting a long time and at one time outside.


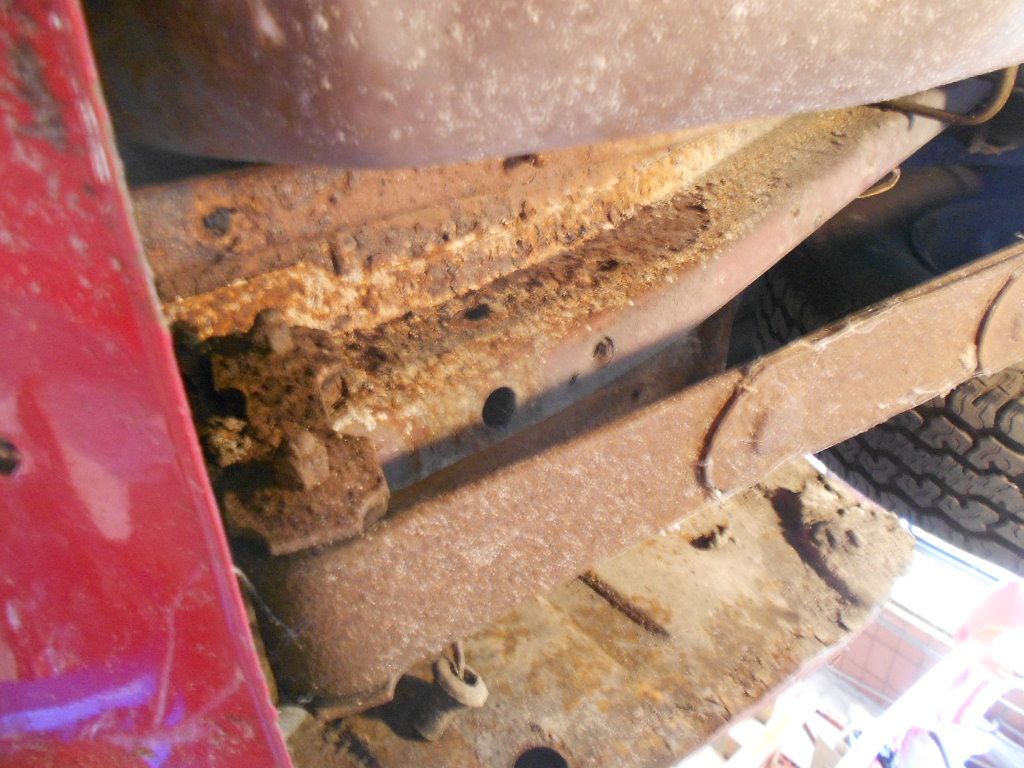
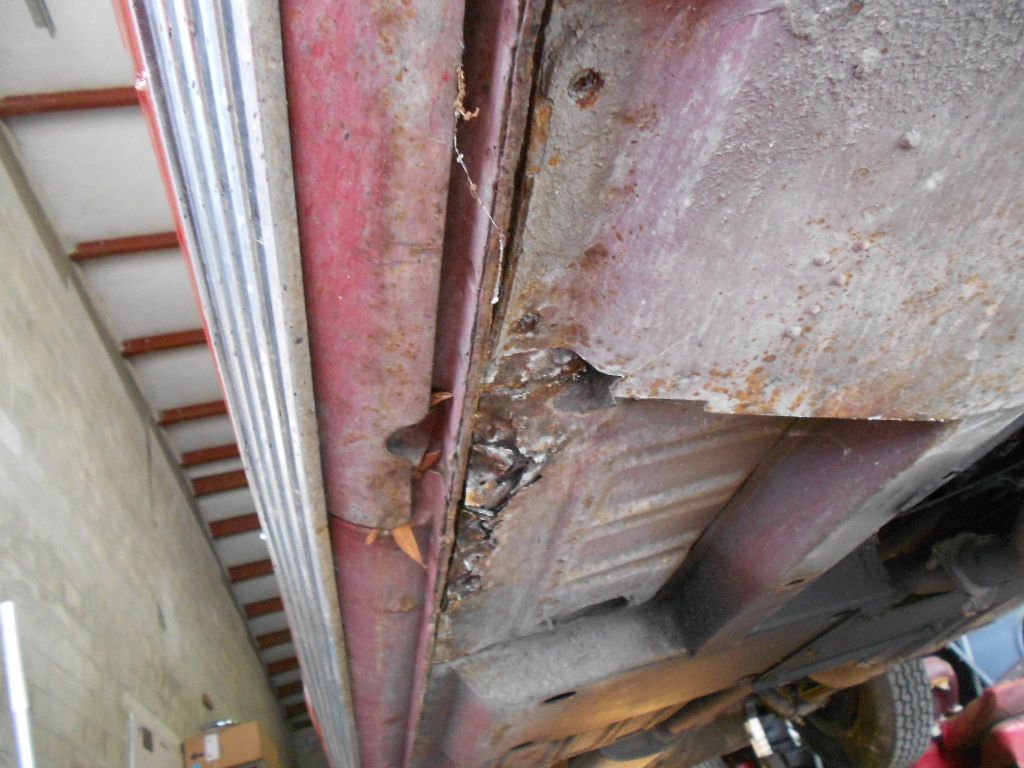
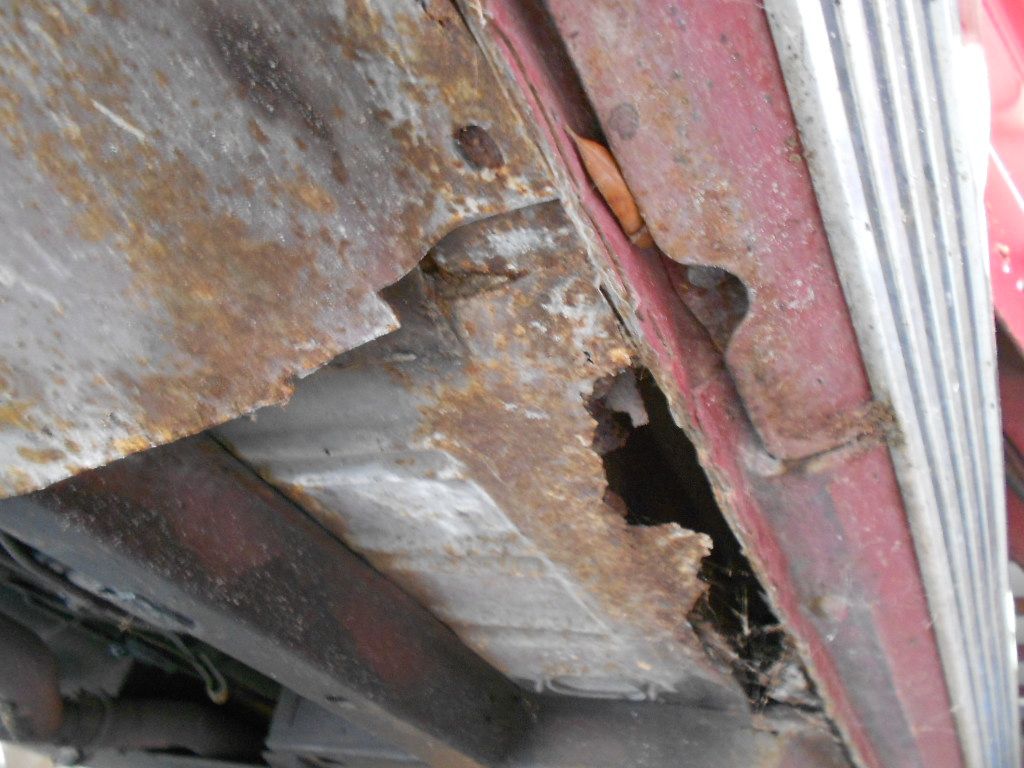
The rear of both frame rails need to be replaced


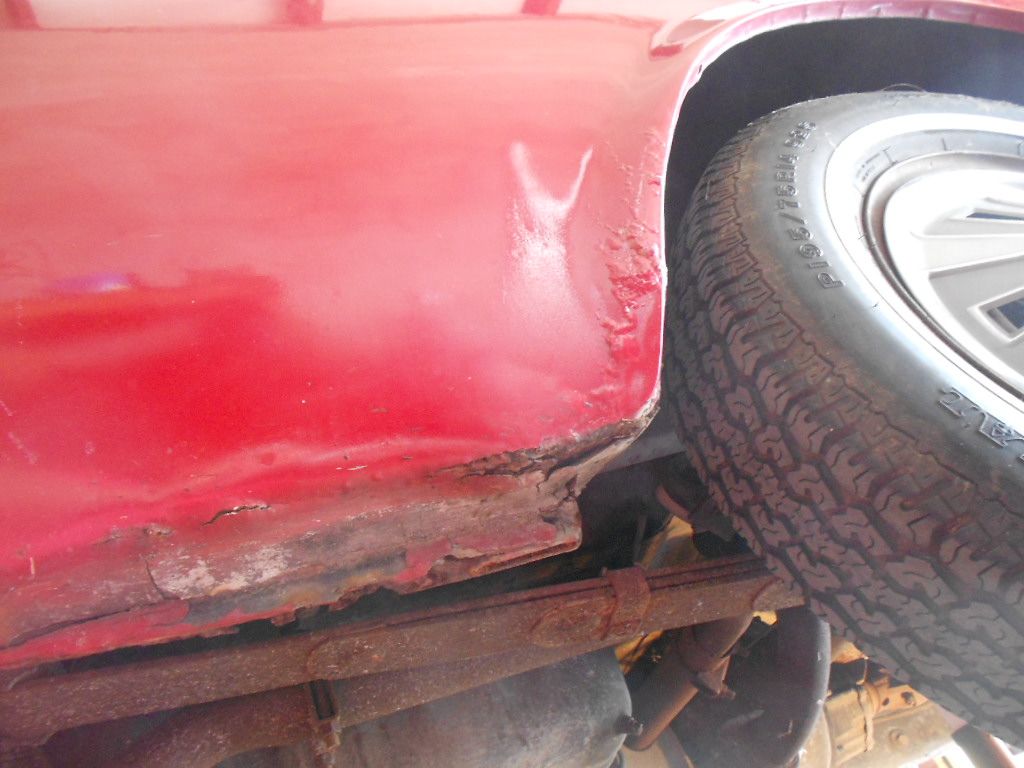
A little rust in the quarter panels


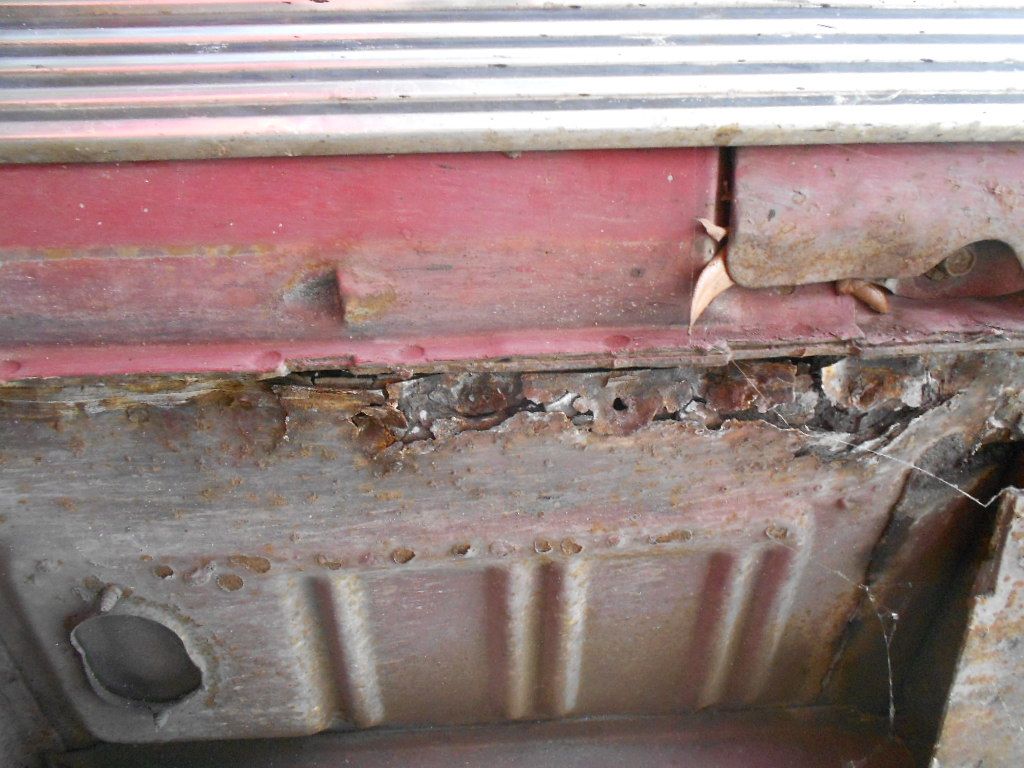
The convertible has an inner torque box and it was rusted under that


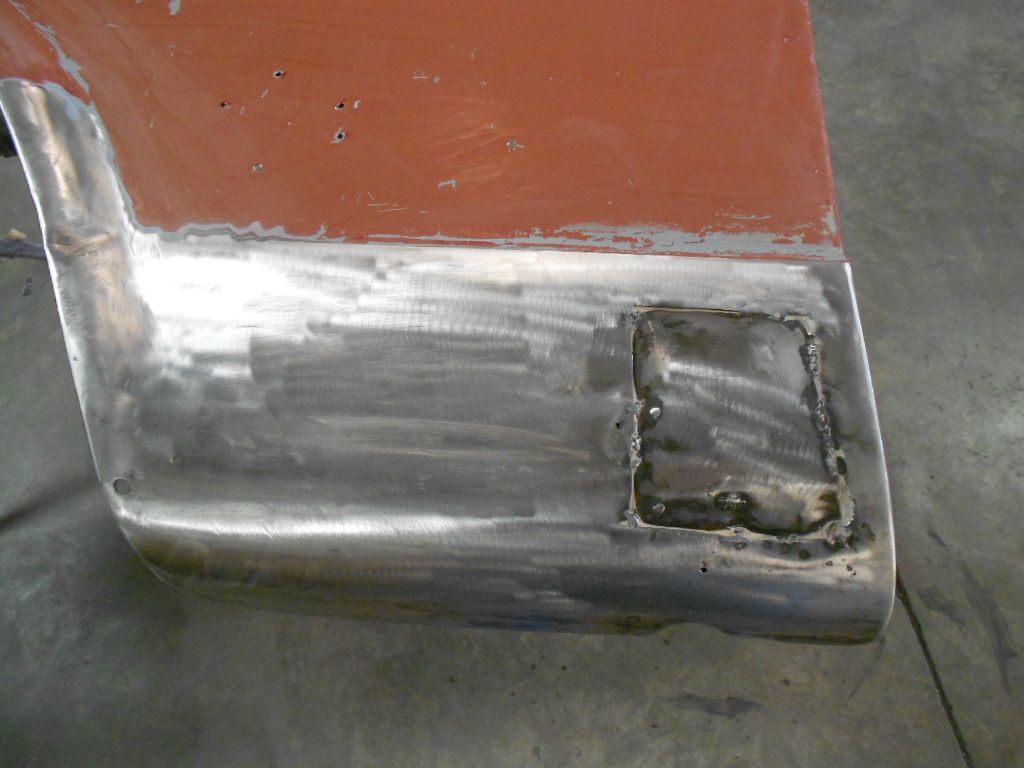
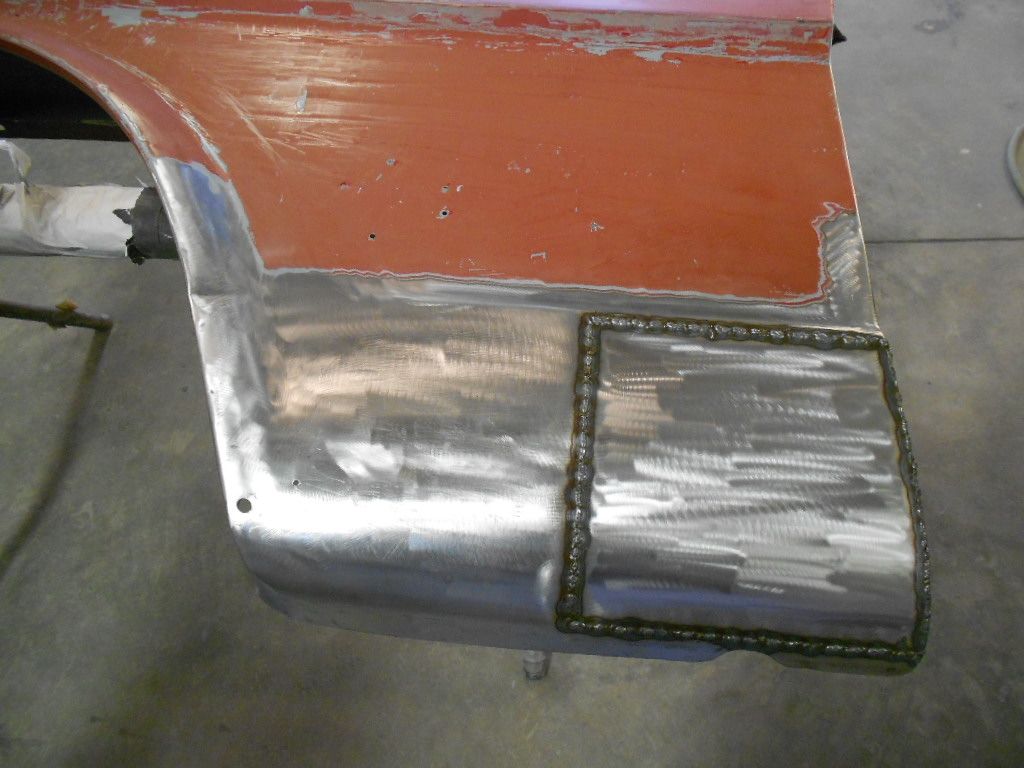
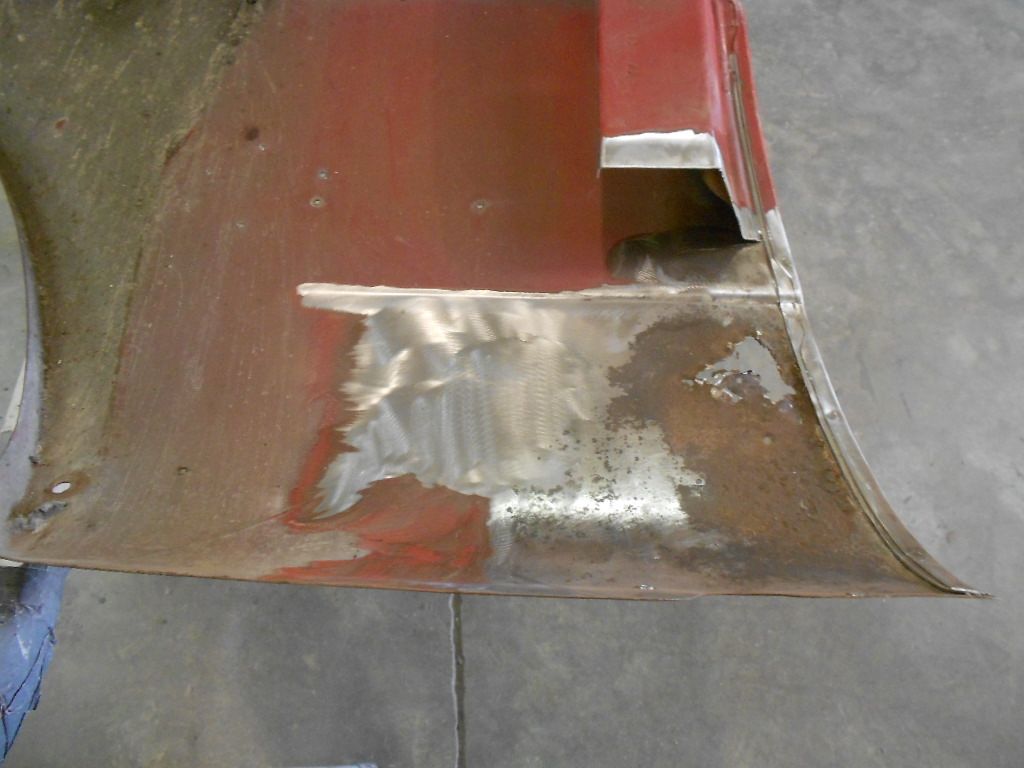
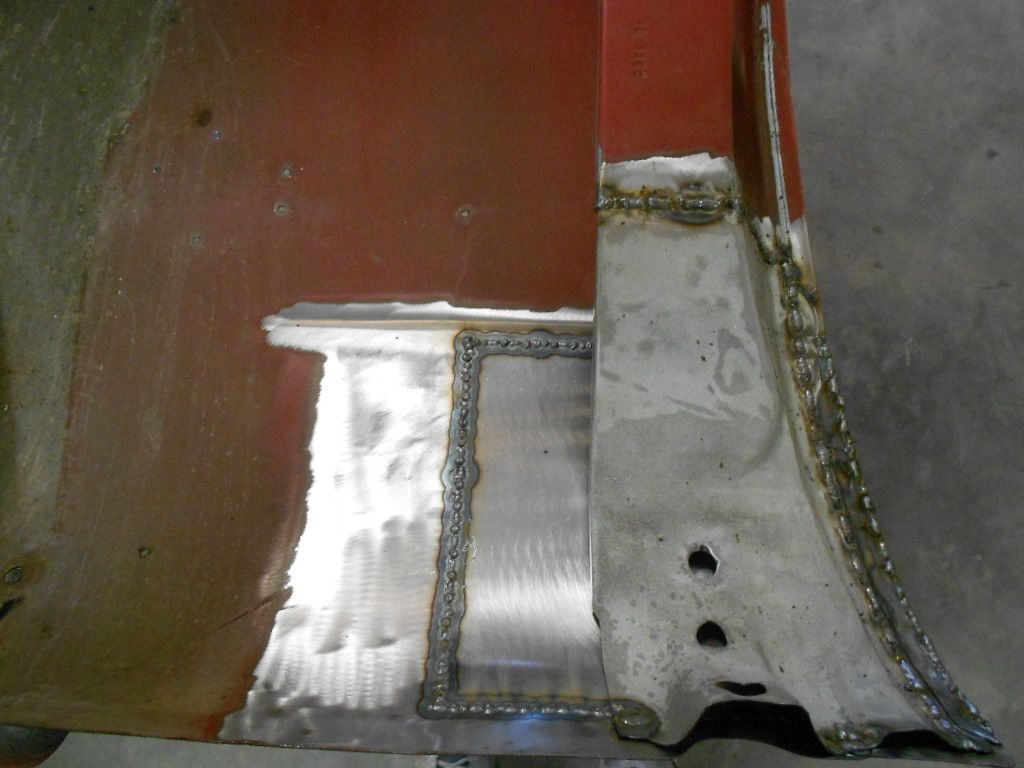
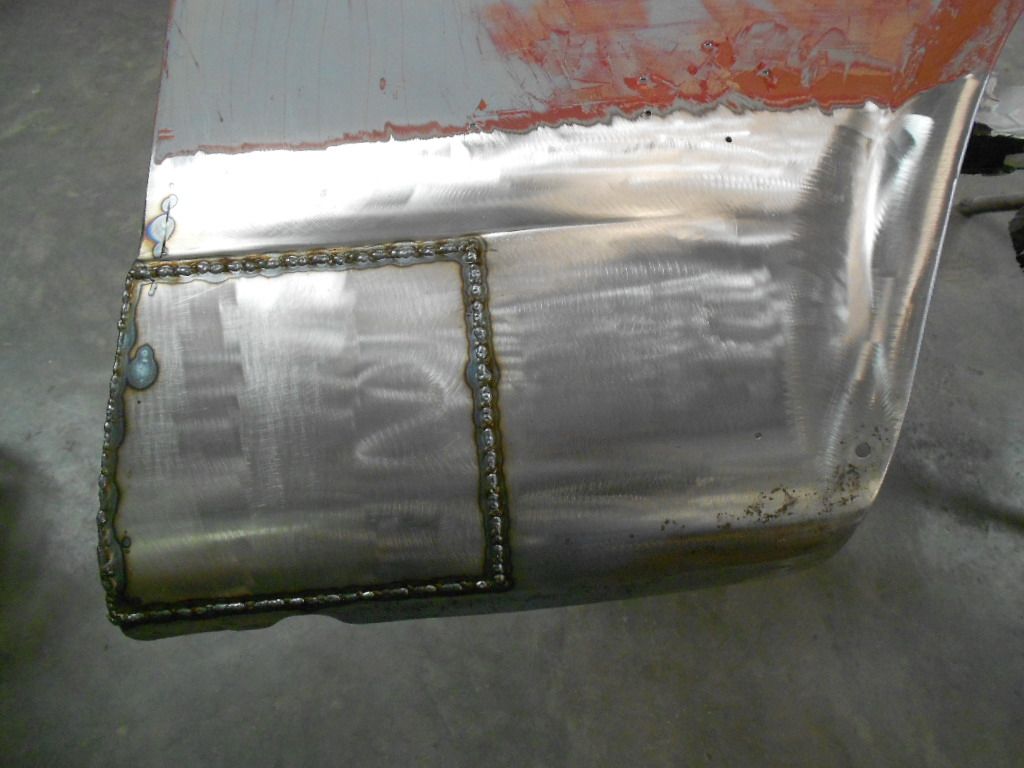
The fender had been patched a long time ago and needed to be fixed


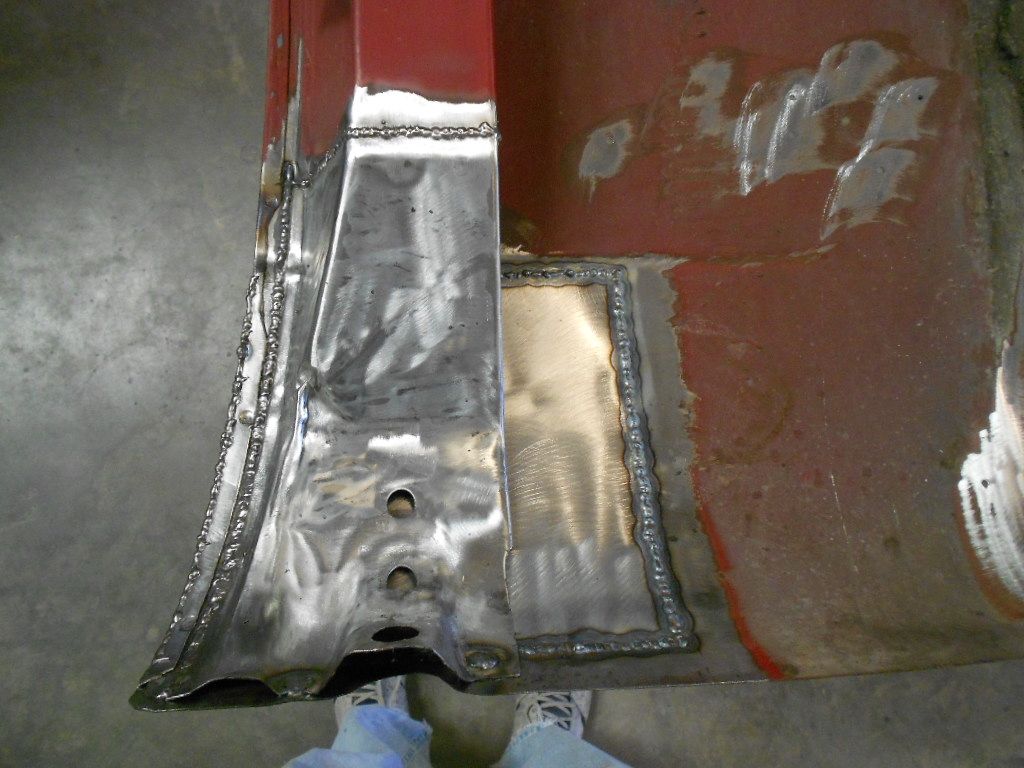
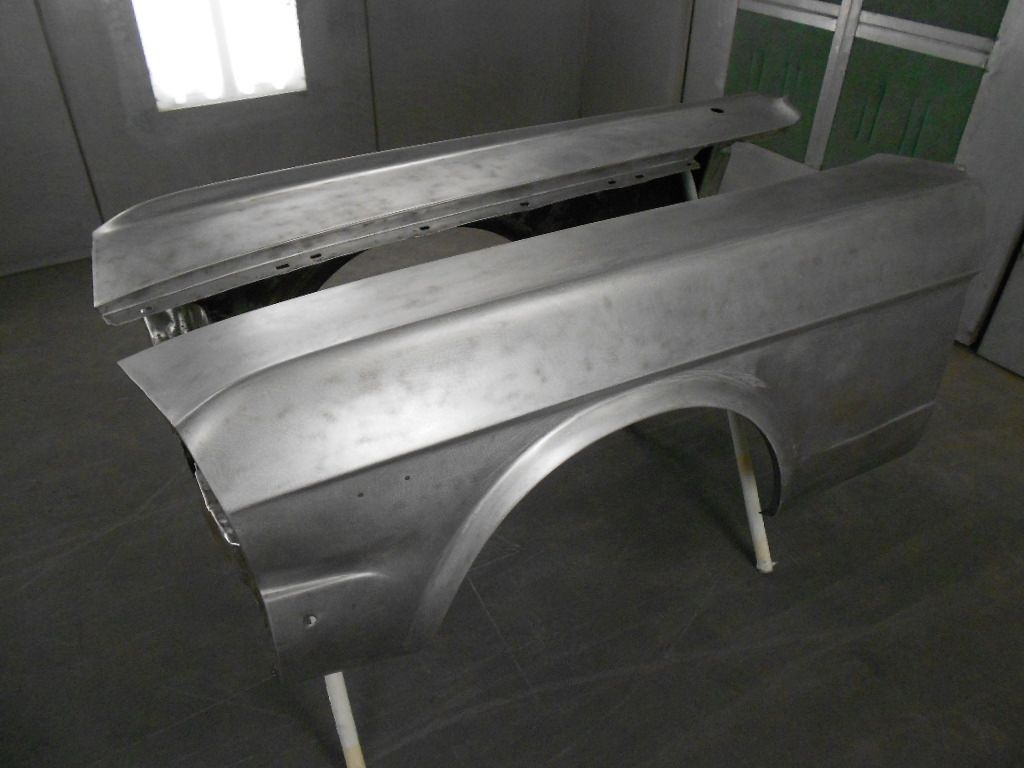
Brian removed the inner brace on both fenders


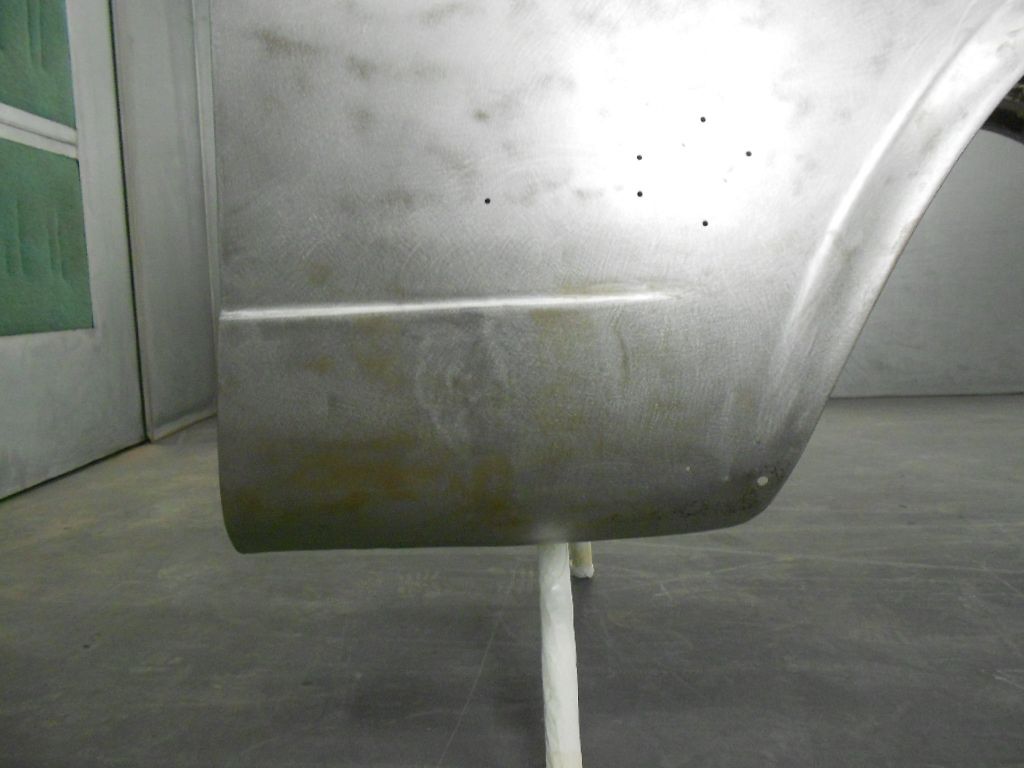
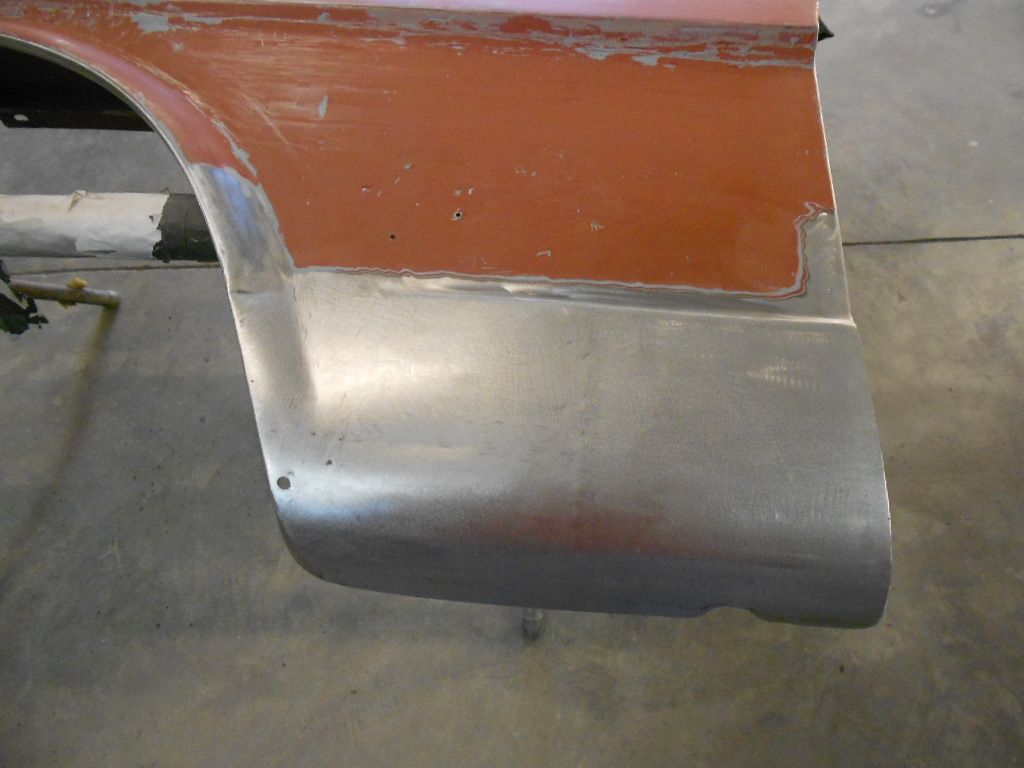
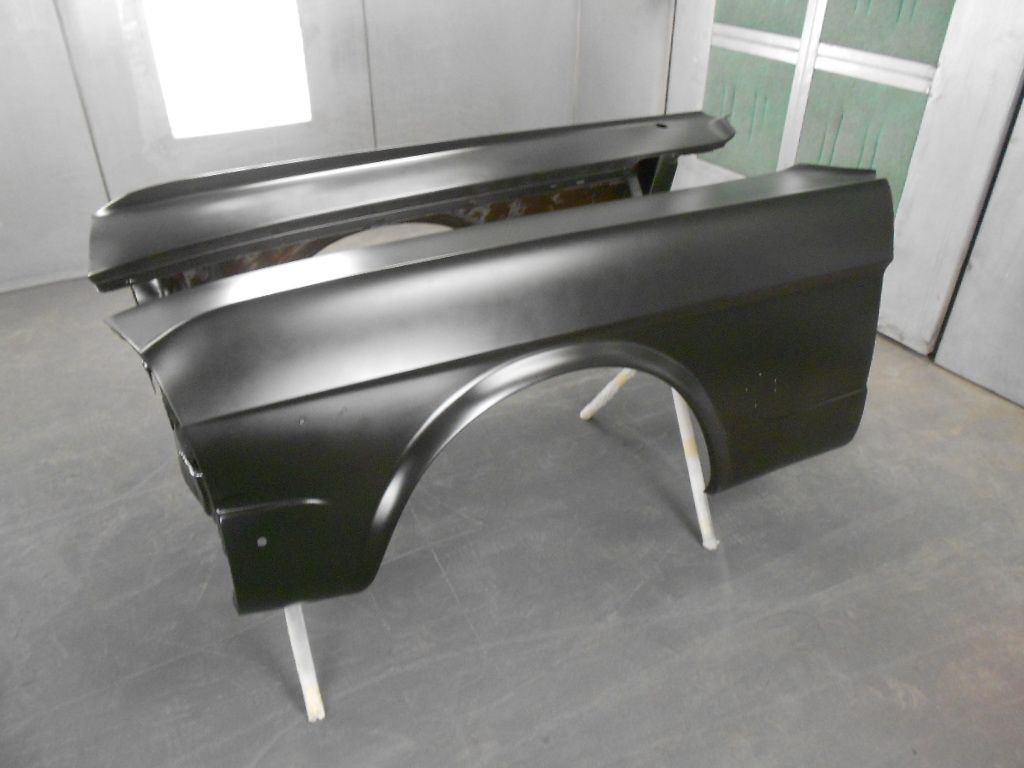
Sanded to bare metal and I sprayed a couple coats of SPI epoxy primer


Everything stripped off of the body and mounted on a cart.


Quarter panels and trunk floor removed


Normal problem with the cowl


New cowl sanded and epoxy primed


Engine compartment stripped to bare metal


I ordered a new battery apron from CJ's and it did not fit. We had installed one from NPD on Modified Mustangs & Fords project car that fit so I ordered one from them and got the same thing as CJ's. I sent an email with photos to Rick at NPD and he got right back to me and said he would look into it. Rick got with the manufacturer and it is being redesigned so it will fit and we are waiting for the new design.

We are using this convertible so we can make a jig for another wrecked 1966 convertible we are fixing in the future.


The floor had been repaired with fiberglass mat so it was cut out.


The torque boxes needed to be replaced


The rear section of both frame rails were replaced


Rusty,

You and Brian have earned a Masters and Phd in Mustang repair. I really love seeing your work because it has given me insight into the level of work needed to bring one of these cars back to life.
 
Rusty, I've been rendered speechless by your restorations (should that be resurrections?) and this is no exception. Simply amazing.
 
rusty428cj;31198 said:
The work you guys do is amazing! I was wondering how you take care of that pitting rust closer to the wheel opening, since you didn't cut it out. I have a slight bit of that on my project, and not sure what to do with it. Thanks, and keep posting pictures of your projects!
 
I think Brian should give a patch panel welding tutorial. How is the haz so small and uniform thru such long stretches of sheetmetal? I would love to look over his shoulder for a day or 2.
 
The inner rocker has rust


Brian wanted to finish the trunk floor before he fixed the rockers


This is what it looked like after Brian took the top of the torque box off


This is how it looked once the inner rocker was cut off


I epoxy primed the back side


Sanded and ready for epoxy


Brian had to make this it did not come with the Dynacorn convertible inner rocker


More epoxy and holes drilled on the inner rocker


Inner rocker installed

 
0919131326.jpg

0919131327.jpg

Spectra ( from CJ's) rockers for the '64-66 verts come with the panel already welded to it, problem is it is all bare steel, no coating at all on the inside of it.

Think you got the better deal not having that piece already attached.
 
Brian had the floor in then marked where he wanted to drill all the holes for the plug welds


Test fitting one more time and getting it to fit around the trans tunnel in the front than he marked where the subframe was.


Welded in place


- - - Updated - - -

Seat riser installed


Brackets for the rear seat welded in place


Test fitting the rear seat


Time to come off the jig


Sanded the floor pan


Epoxy primed


Brian wasn't finished welding the undercarriage but we wanted epoxy under the convertible brace before it was welded in place


Fitting the quarter and taillight panel


I have not been able to find a convertible trunk corner brace only fastbacks and the shape is wrong


After Brian modified it


.
 
I seriously wish i could watch Brian Clean up those welds! that is just amazing!
 
Killer work as usual Rusty.. I may be taking on one of these, may have to give you a ring some day.. I told him we need to finish his first car before we start another one.. lol.
 
I have forgotten to update this.

We thought we were finished with the repair and I walked by and saw this big dent in the A pillar. I'm thinking how did we do that and I went back through my photo's and found this one and it had been there all along. We have no idea how it got there because it looks like it had the original door that wasn't damaged.


Brian cut out and replaced part of the A pillar


Starting spraying Ford candy apple red awhile ago


I finished spraying the body a few days ago. Still needs to be wet sanded and buffed.

 
Starting to come together and looking great ! I tried looking through some of your other builds as I'm sure someone asked and you answered but what are you guys using to clean up your spot welds ?
 
Back
Top