You are using an out of date browser. It may not display this or other websites correctly.
You should upgrade or use an alternative browser.
You should upgrade or use an alternative browser.
Factory Five '33 hot Rod Build
- Thread starter Arrowhead
- Start date
K
kerristallax
I think Factory Five claims the body only needs 40 hrs of work to be ready for paint. They must have meant 40 hours per panel
Arrowhead
Oldtimer
ADTKART;9445 said:And I thought those bodies were ready for paint when you get them. LOL
Looking good!
Aaron
kerristallax;9465 said:I think Factory Five claims the body only needs 40 hrs of work to be ready for paint. They must have meant 40 hours per panel
I think every one has thier own standards and I'm not sure they are estimating for show quality work. You could probably sand and fill the seams, trim the panels to fit, sand prime and paint as is in a relative short time, but the panels are not show quality (not saying my work is perfect either). Every one of the display cars and "joint" venture cars has been done by a pro shop and been worked over.
I had all the panels hung and fitted and have spent well over 400 hours in the last three months to get to this point. (not bragging, a real shop wouldn't had taken any where near as long I'm sure - I spent a lot of time doing the hood hinge setup also)
This has been a good experiance for me though, I never did a glass car except a my first Tbucket and that was too easy.
B
Bob Hollinshead
Hours upon hours, nobody truly appreciates the work goes into these jobs untill they've done it. Nice work there! I bet that car will be a blast to drive!
orangejuiced86;9474 said:Very impressive! nice work!
I liked your t-bird build as well.[/QUOT
Seeing that T-bird sold me on an AFS block and an lph-400. Do you plan to sand this one with 320 and flow coat?
Arrowhead
Oldtimer
Got the loose ends finished up on the chassis and most of the body parts sanded and buffed so it was time to put the body shell on.

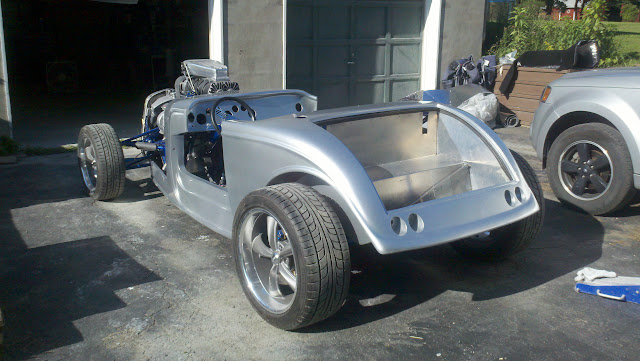

I broke the front suspension down to install the new suspension bolts and to cut he rear lower control arm so I could get less caster.

I took a different approach with the insulation and used the foil faced bubble wrap type insulation - I have my reasons and it's not all about price.
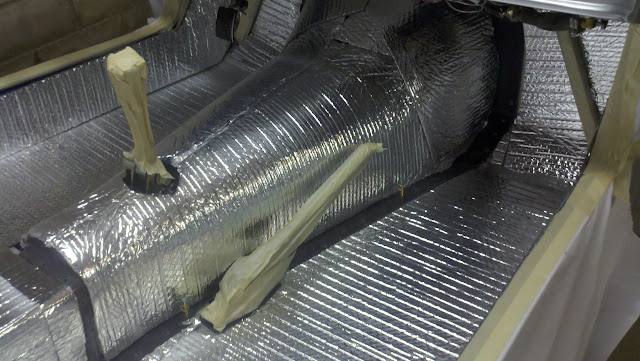

I broke the front suspension down to install the new suspension bolts and to cut he rear lower control arm so I could get less caster.
I took a different approach with the insulation and used the foil faced bubble wrap type insulation - I have my reasons and it's not all about price.
Arrowhead
Oldtimer
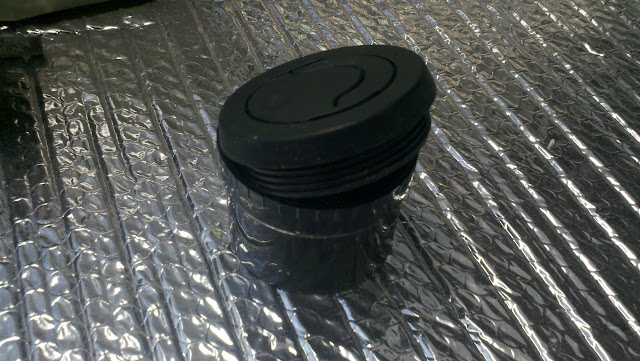
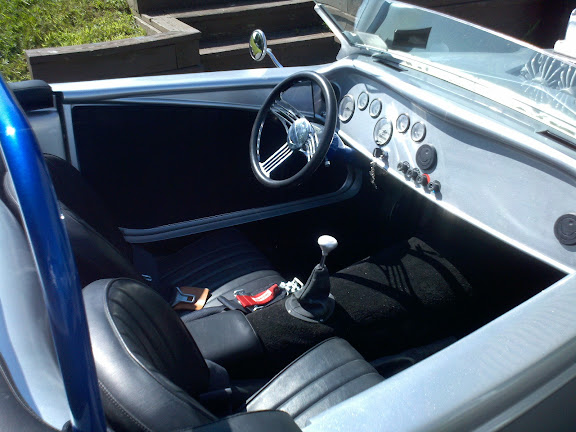
One cool thing I figured out was the A/C vents unscrew so you can attach the tubing to the vent and then stick it though the hole in the dash from he back and then screw the face plate on. Makes it a lot easier than trying to push the duct on with the vent already installed.

Installed the carpet and boots.
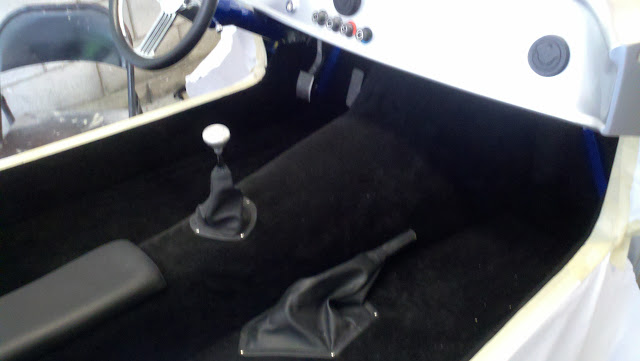
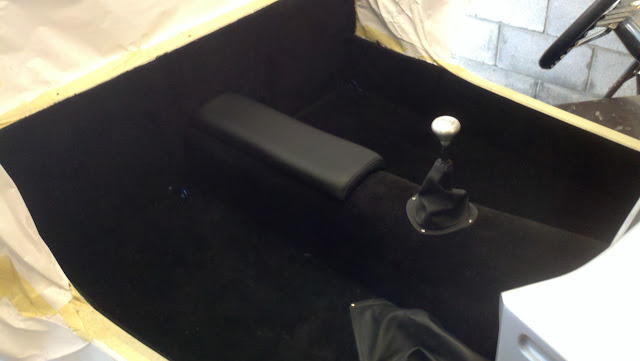

Installed the carpet and boots.
Arrowhead
Oldtimer
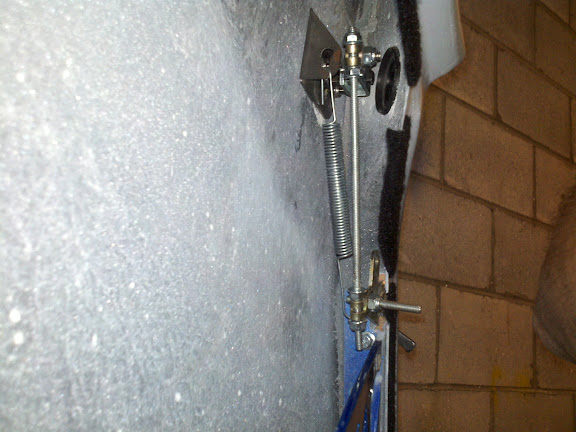
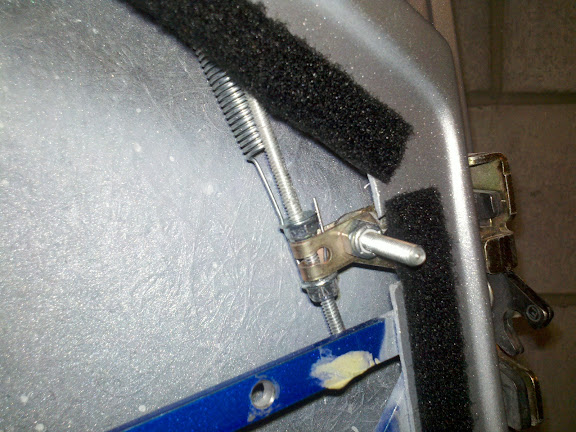
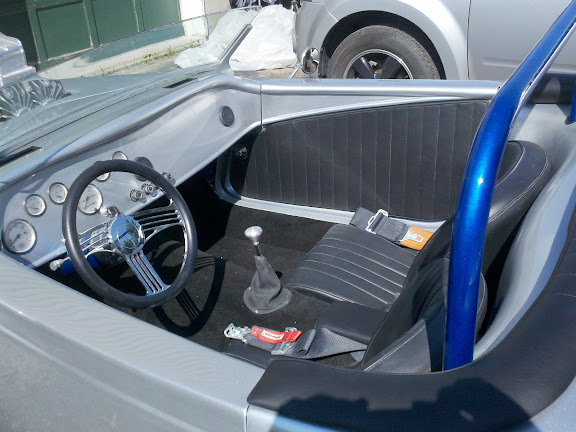
Installed the door panels and used "Neat Knobs" from Watson Street works for the interior latch. After messing with the cable setup, I came up with a rod setup that connects the exterior handle directly to the latch. It work pretty slick and is fully adjustable. The only issue now is I have to push down really hard on the interior knob to release the latch. I'm also not sure if the rod setup will clear the windows when I install them so I might have ot chage it around again.

My solution for the poor fitting water fall was to just cut it off and trim it with windlace.
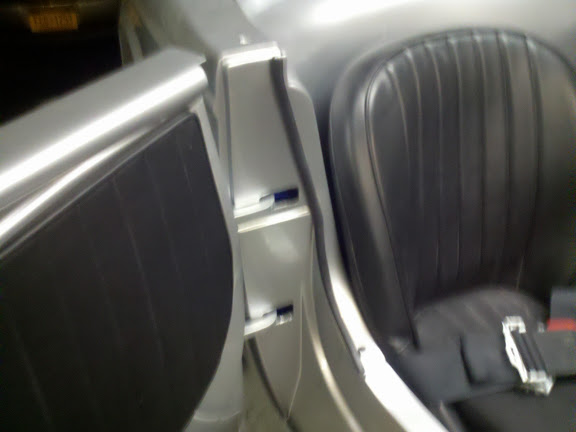
My solution for the poor fitting water fall was to just cut it off and trim it with windlace.
Arrowhead
Oldtimer
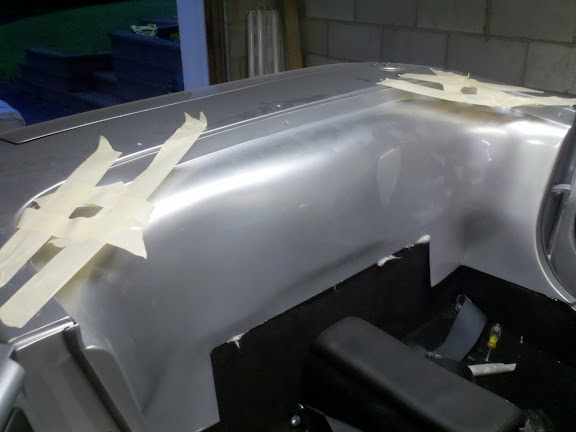
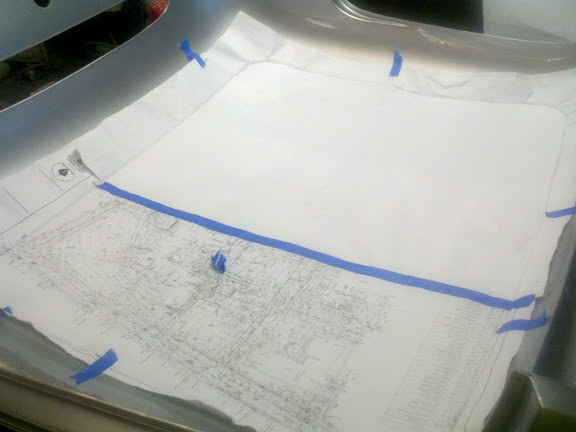
I wanted to install the roll bar but wasn't sure how to go about drilling the holes. I think towman posted something about taping around the outline of the rollbar and then using the hole in the tape as a template to locate the holes in the waterfall. I put the rollbar in place and taped around the holes. I removed the roll bar and then carefully slid the waterfall into place without disturbing the tape. Then I could sight down inside the tape and draw the hole locations on the water fall and cut them out. Worked pretty good.
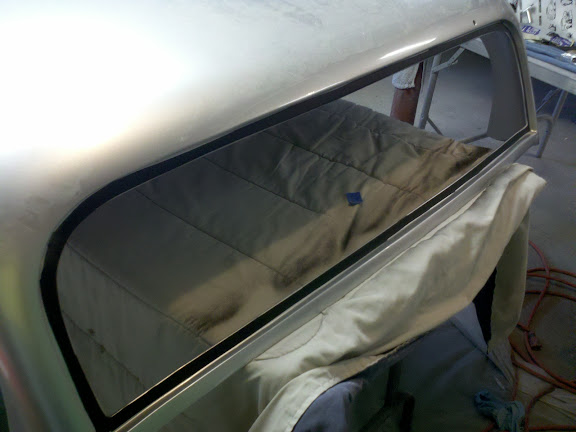
I remeber reading or hearing that you should paint the flange black where the glass sits or the body color will show through so I taped it off and did that.
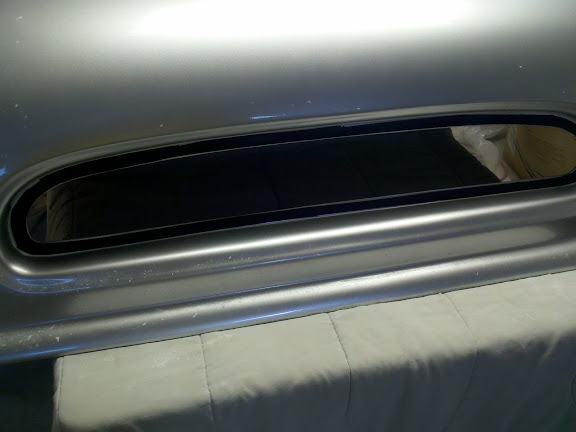
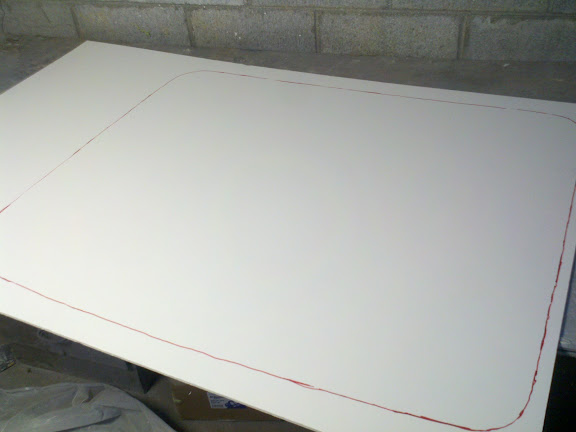
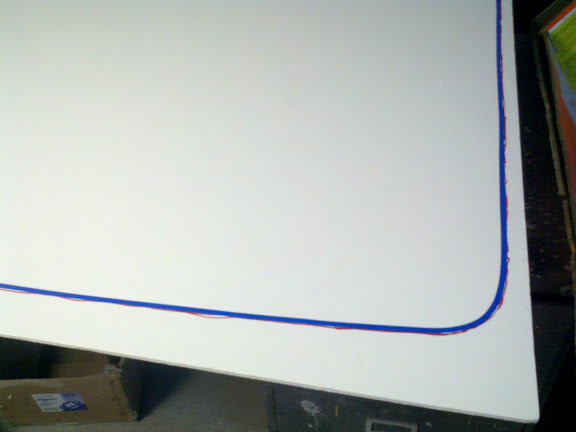
I also made a headliner out of regular auto headliner material and 1/4" poster board. I used velcro to hold it up and I think it came out pretty good. I make a pattern out of paper and then trnasferred it to the posterboard. Then I used 1/4" tape to make the outline smaller so there would be room for the headliner material to wrap around the board.
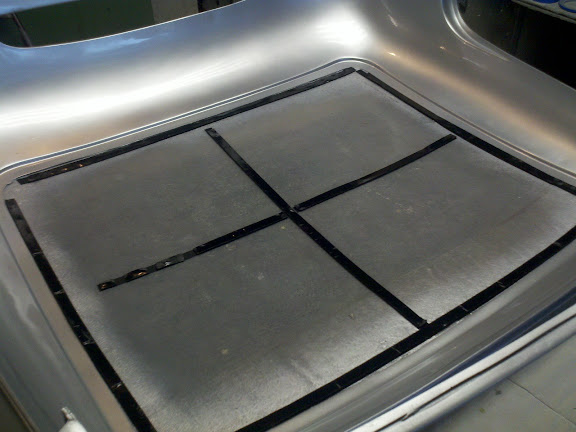

I remeber reading or hearing that you should paint the flange black where the glass sits or the body color will show through so I taped it off and did that.
I also made a headliner out of regular auto headliner material and 1/4" poster board. I used velcro to hold it up and I think it came out pretty good. I make a pattern out of paper and then trnasferred it to the posterboard. Then I used 1/4" tape to make the outline smaller so there would be room for the headliner material to wrap around the board.
Arrowhead
Oldtimer
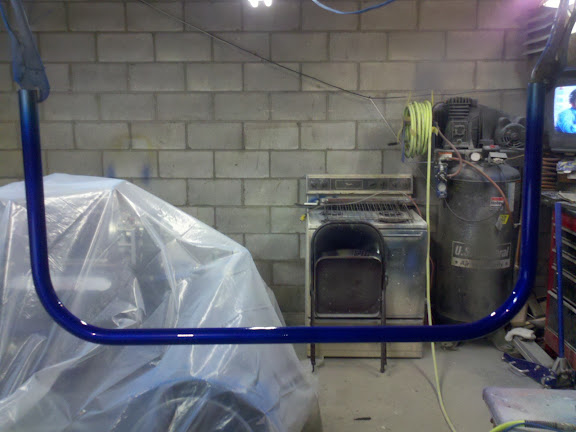
Redneck powder coating.
I had not sent the rollbar out for powder coating when I had the chassis done, can't remember why now. But now I had to either powder coat it, paint it or cover it with some thing. I tried covering it with the extra black vinyl that came with the kit, but that turned out horrible. I could have painted it, but that would be process of sanding, priming, blue base, blue candy and clear - it's a formula I had worked out that matches the powder coat color.
It was too big to fit in my oven so power coat at home was out - or was it? I know from powder coating a bunch of small parts that the powder actaully will melt at a pretty low temperature. So I had a redneck moment and got out my torches. Now the powdr is flamable so you can't have an open flame around - but if I can preheat the part, shut off the flame, than I can spray the powder.
So I took about 15 minutes with my torch and heated up the bar evenly to about 200 degrees. I shut the torch off and quick grabbed my powder gun loaded with silver, dusted it on and sure enough it melted right down. I then swapped the blue in quick and dusted that on and it melted just fine too. It didn't flow out nice and smooth, it has more orange peel texture than if it was in an oven, but it looks fine and I'm happy with it.
Arrowhead
Oldtimer
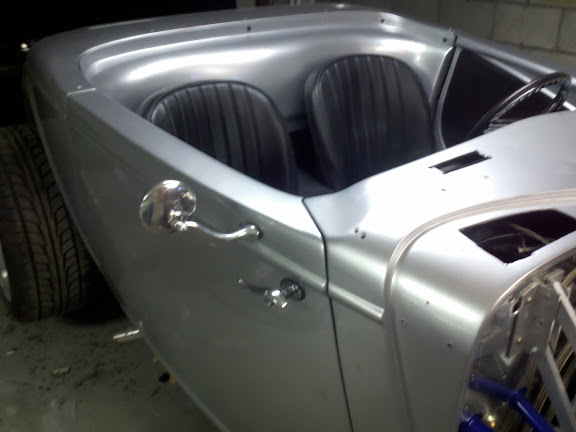
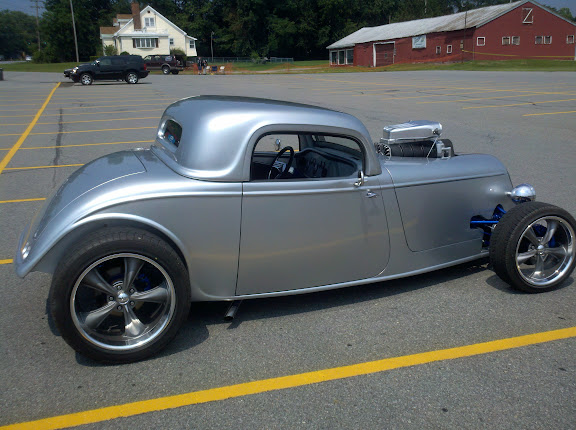
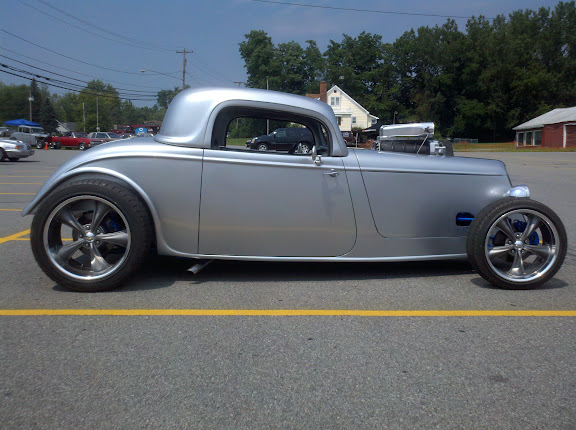
I got the hood and side panels mounted so I roleld it outside and stuck the roadster windshield on for a couple of pictures. I think the hard top will be let on most of the time so I figured I see what it looks like with out it.


Still had to sand and buff the hardtop, that was a lot of work.

Still had to sand and buff the hardtop, that was a lot of work.
Arrowhead
Oldtimer
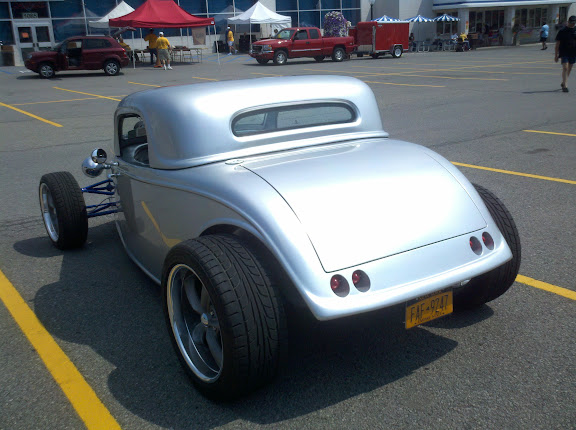
Got it done just in time to make a big local cruise in. Still have a few loose ends t owrap up. Need to install the side windows, final connect the A/C hose and charge and run the exhaust out the rear. Have a few paint blemishes to touch up also. I had a pretty elaborate flame job planned but now I'm not so sure.


W
Whiskyb
Man thats sweet
B
Bob Hollinshead
Very very Cool! And I bet it drives nice.
D
Deleted member 7
You built a really nice car my friend.. Awesome work!!! Car is beautiful I gotta wear shades.. 