Fiberglass Bed Cover

rustover

Member
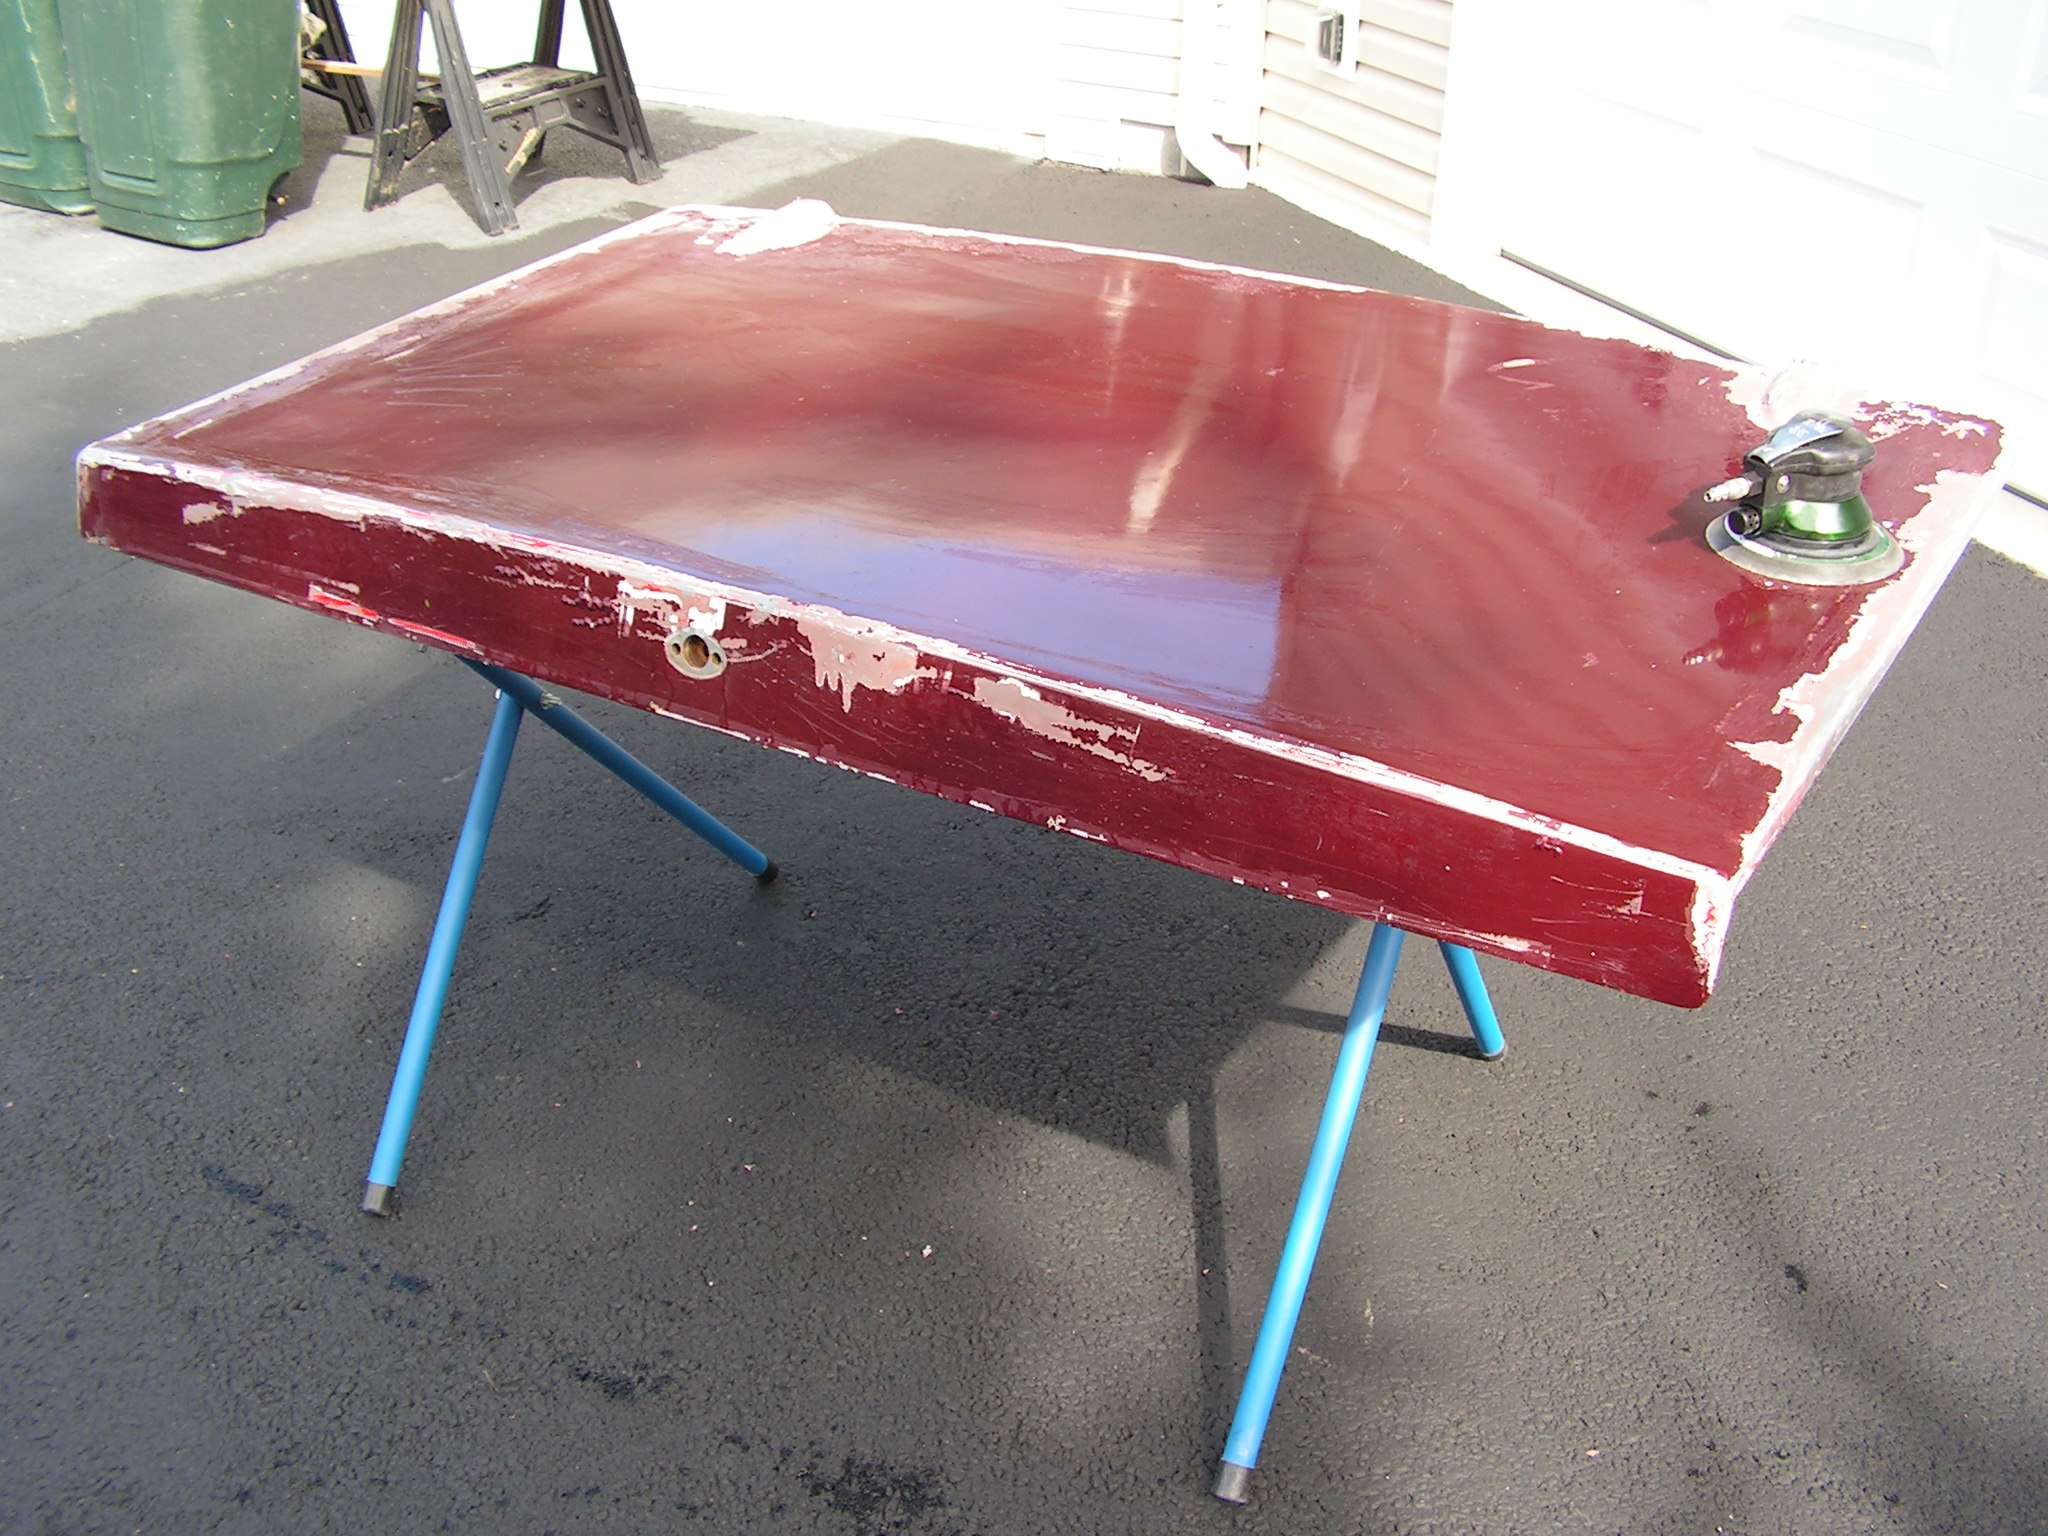
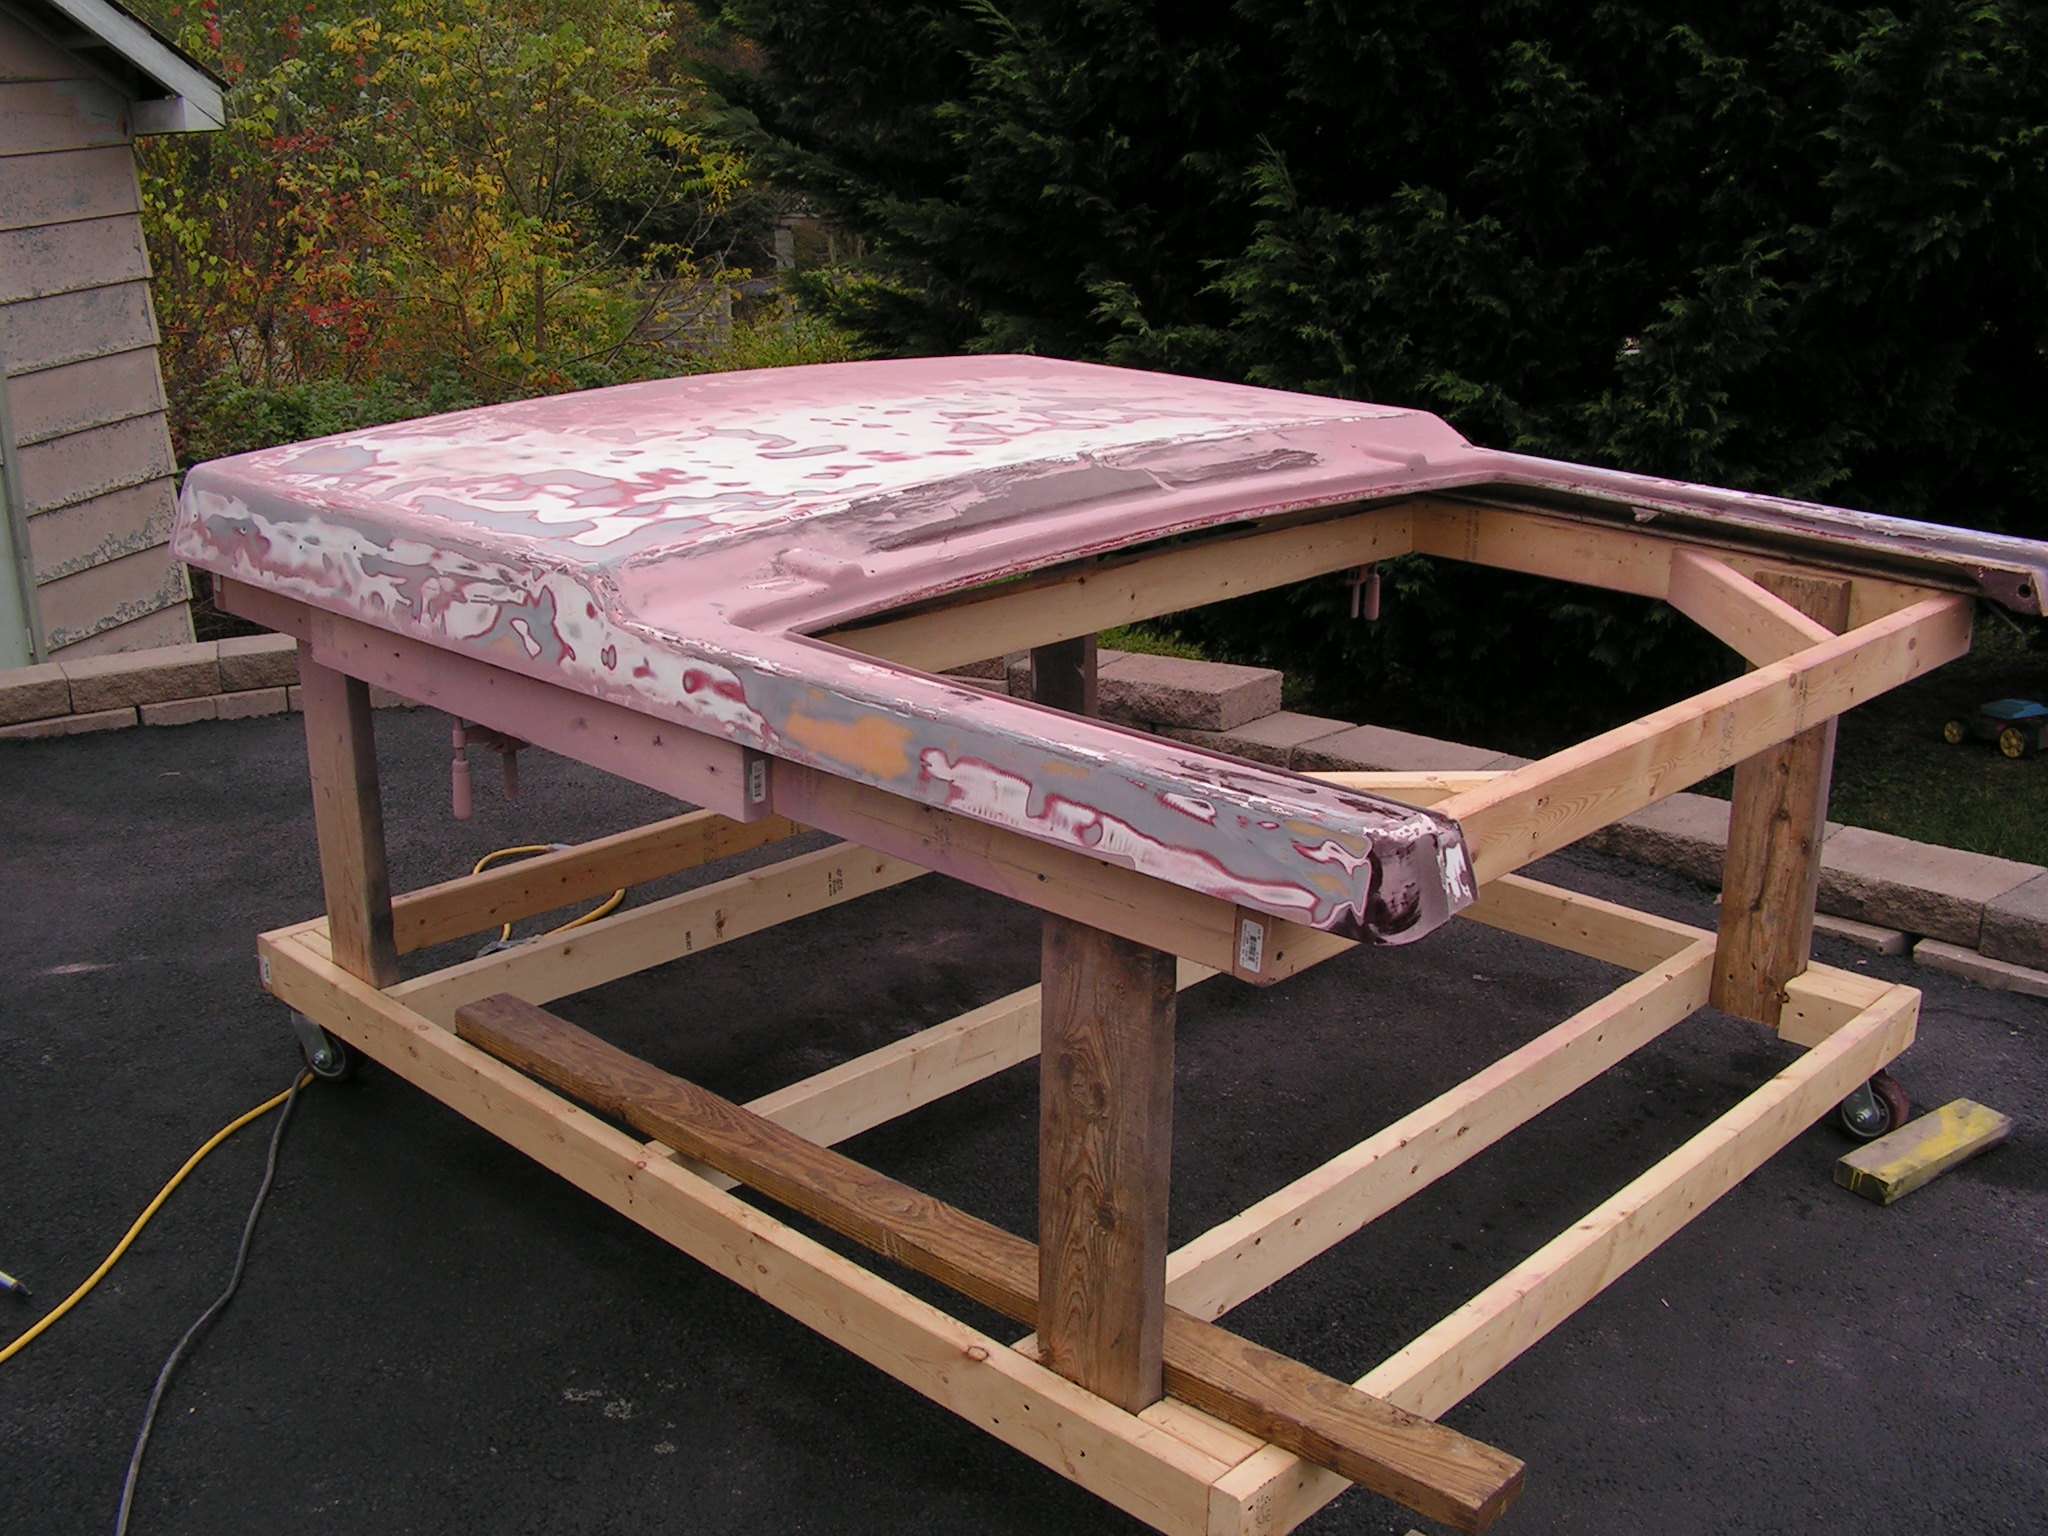
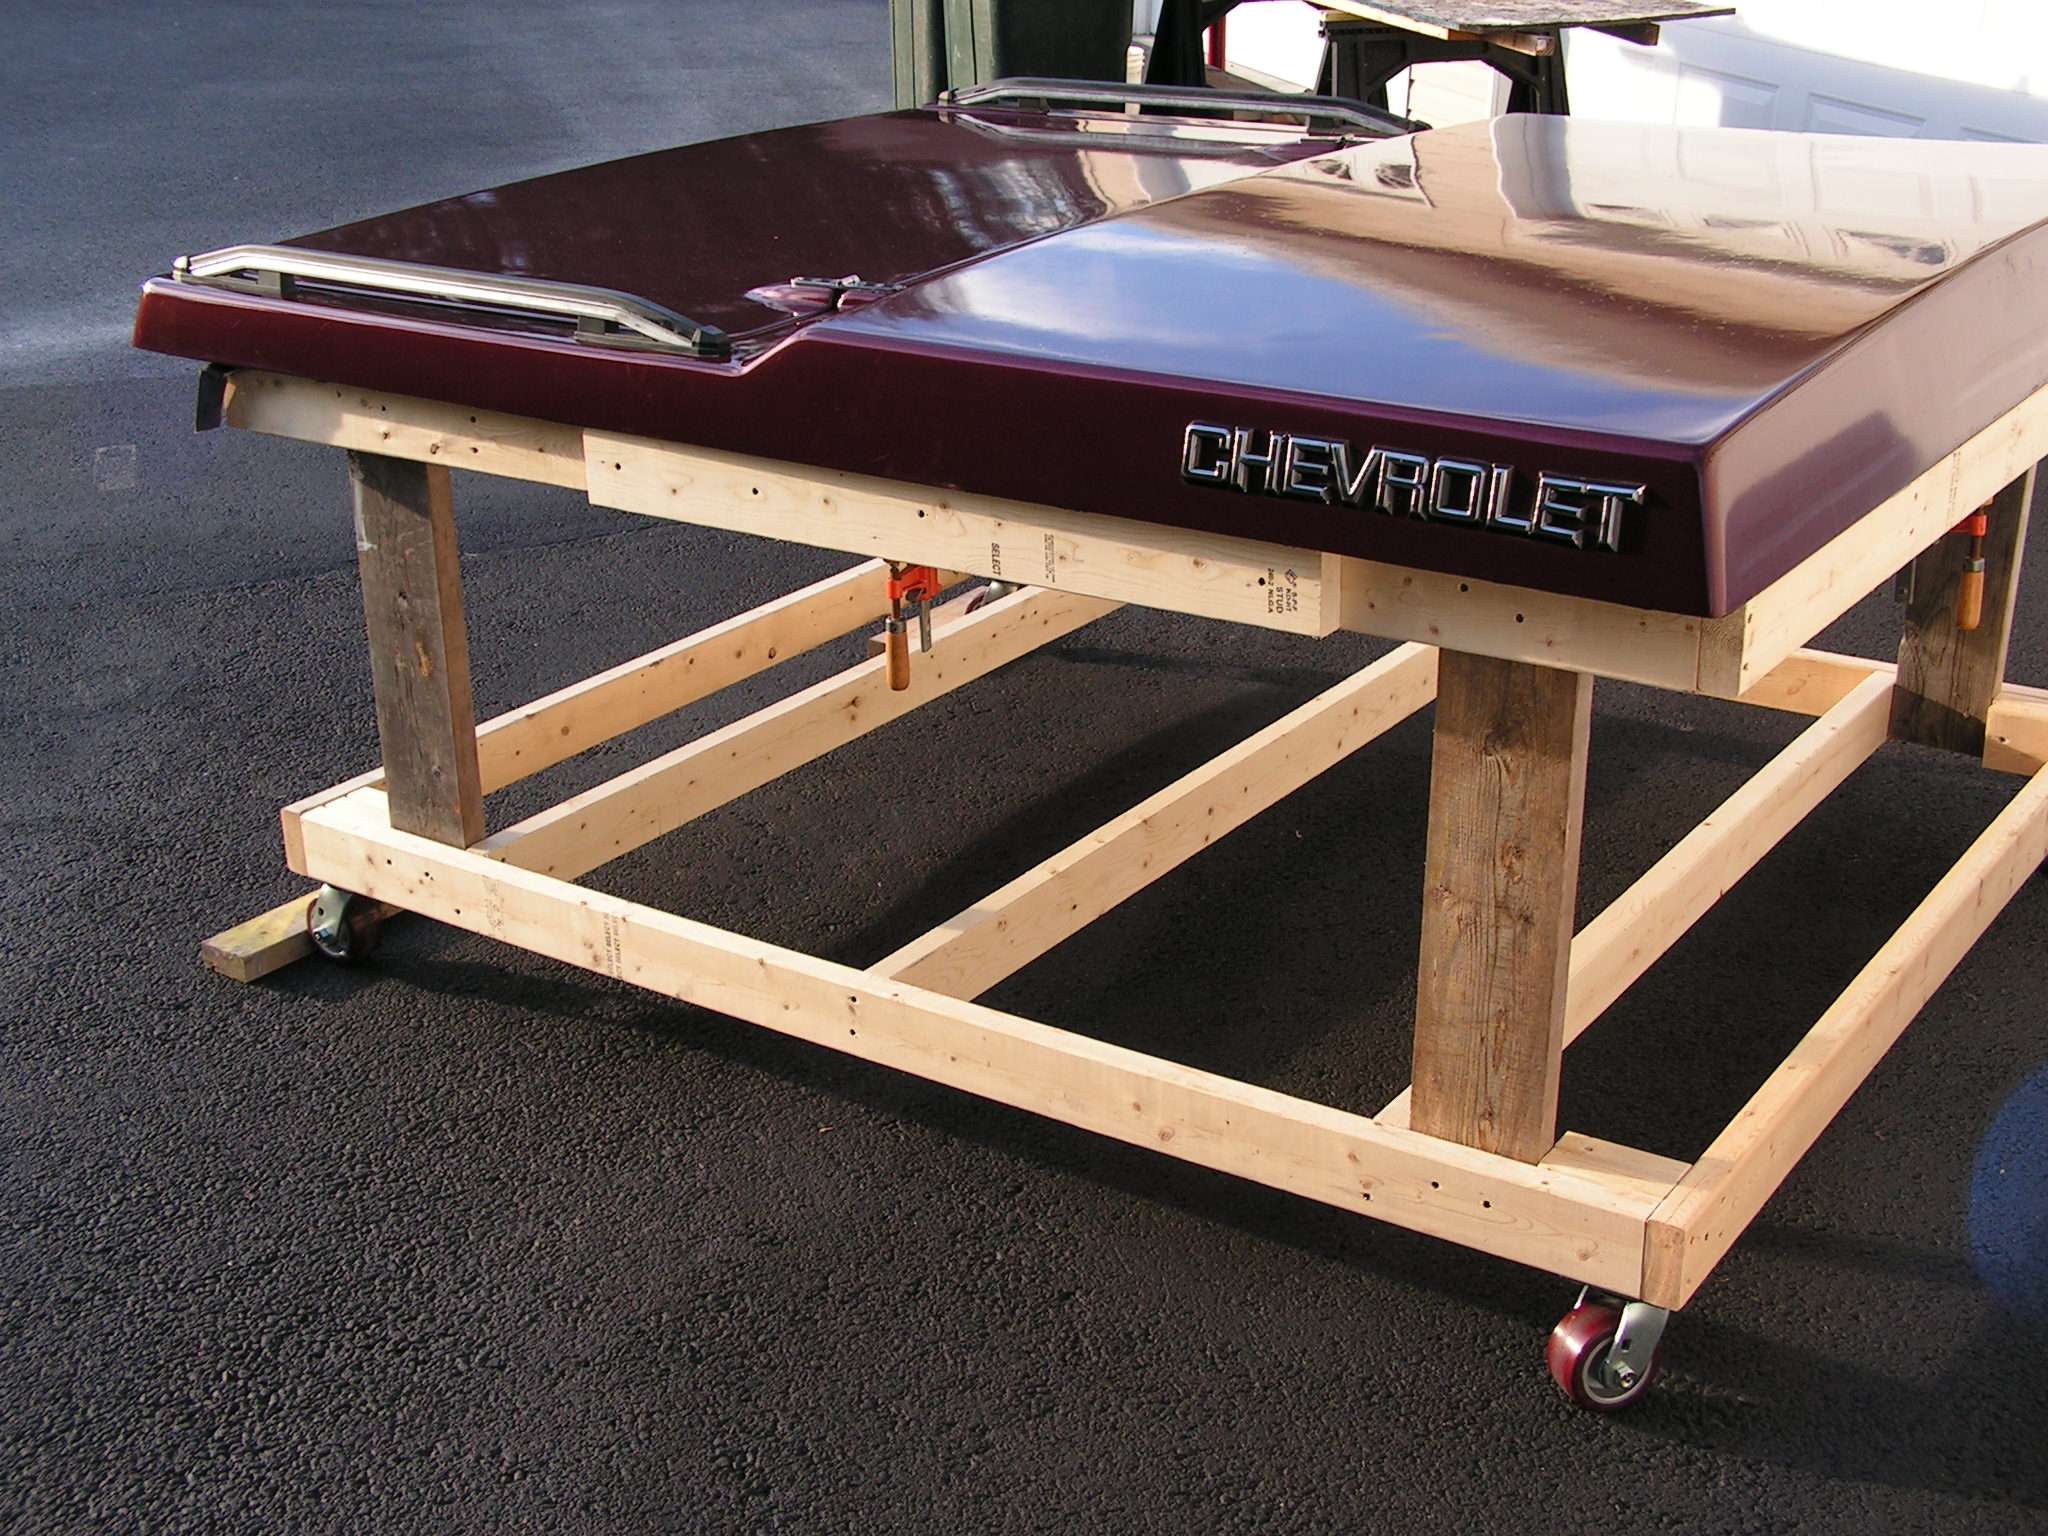
The clear is flaking on the bed cover of my Silverado. I have built a homemade dolly for it and I want to strip it and re-spray it.

bqzm.jpg


9npr.jpg


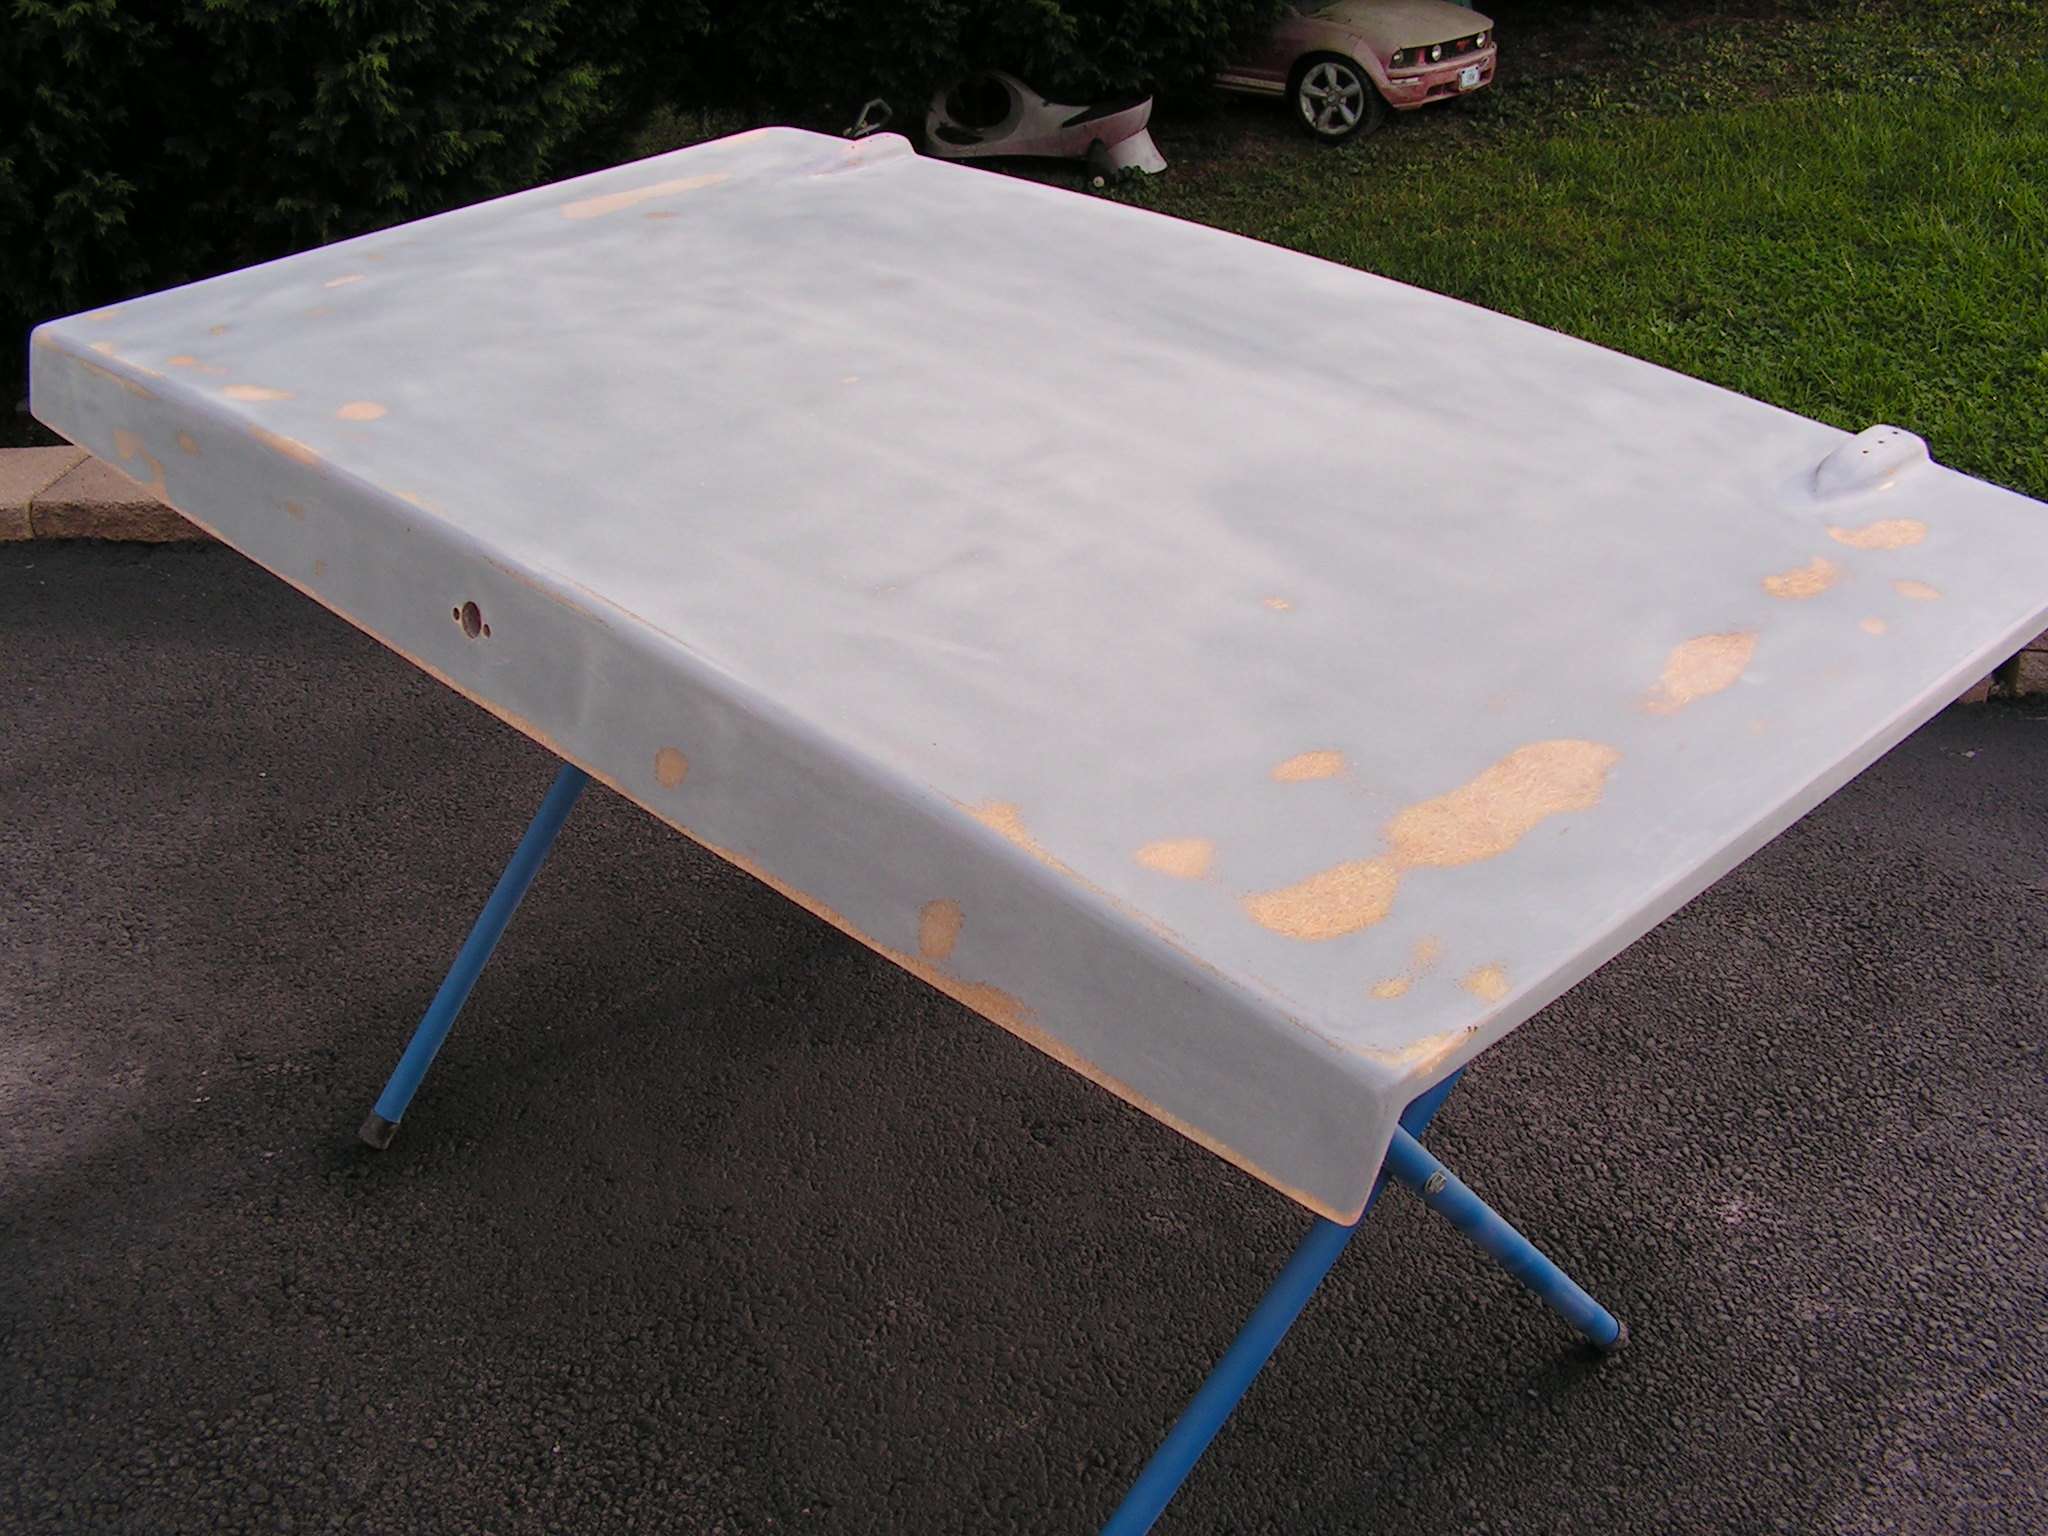
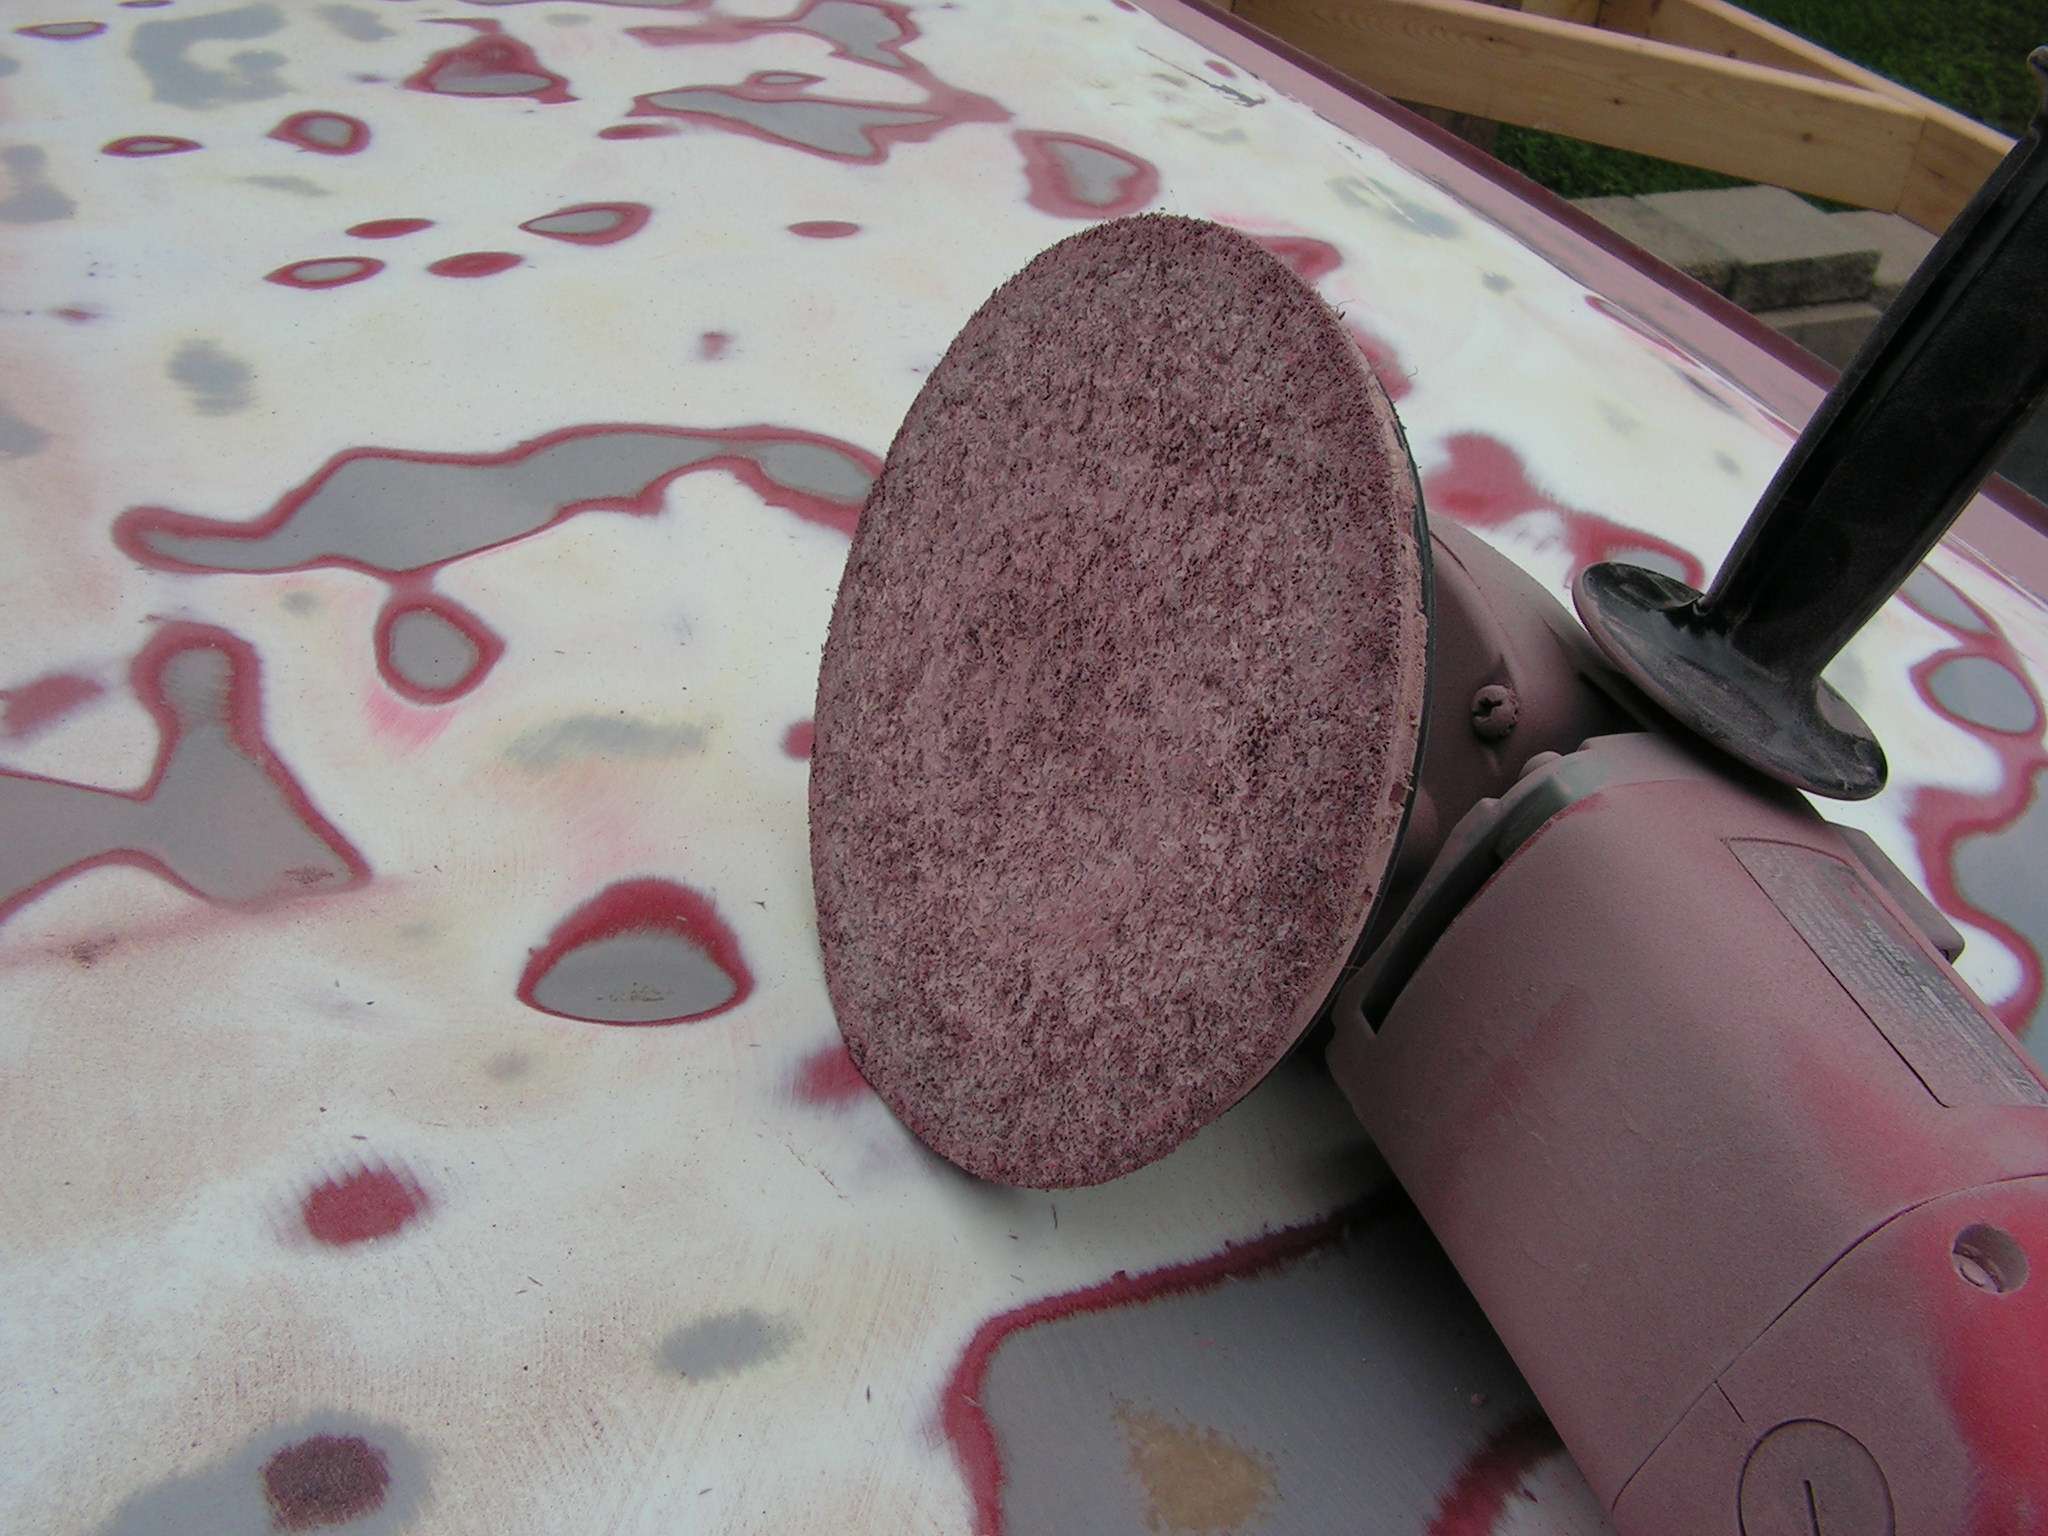
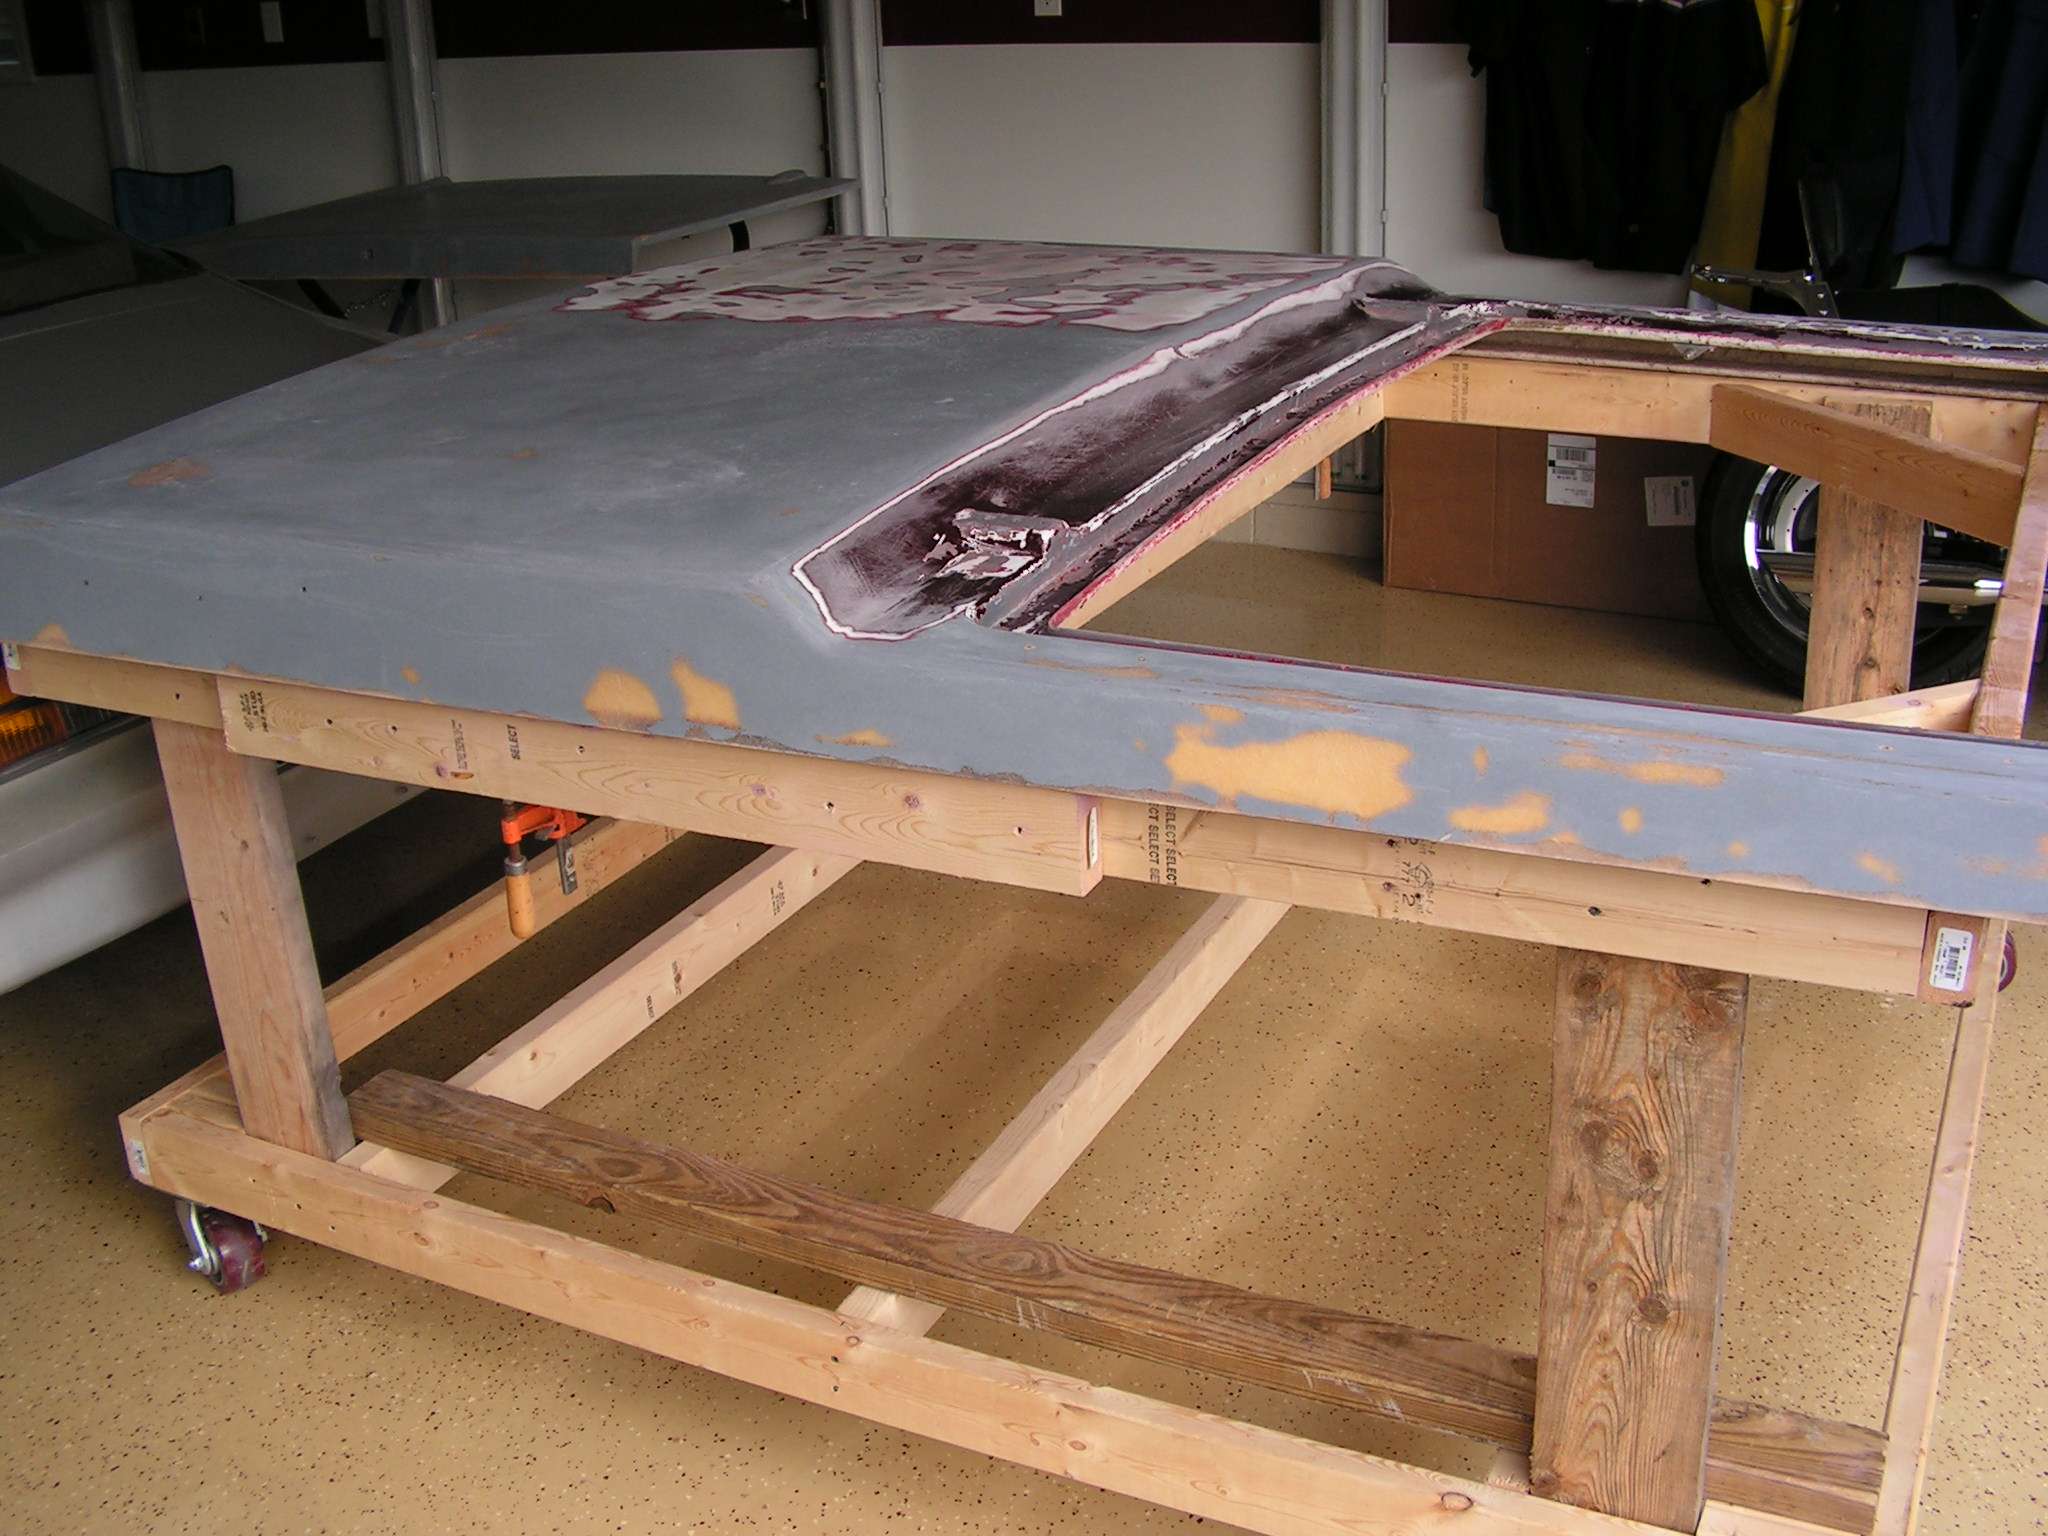
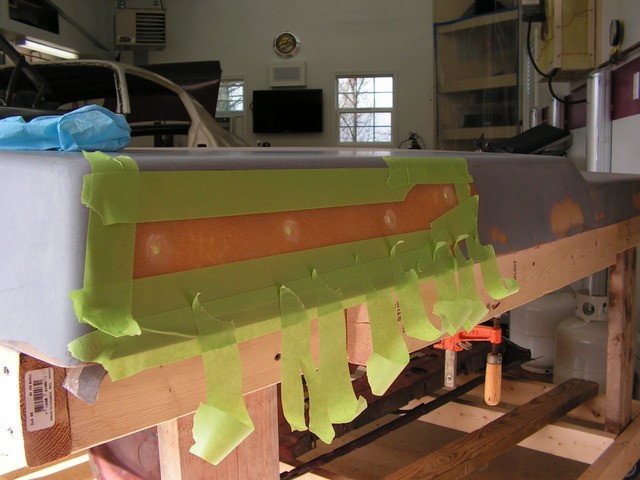
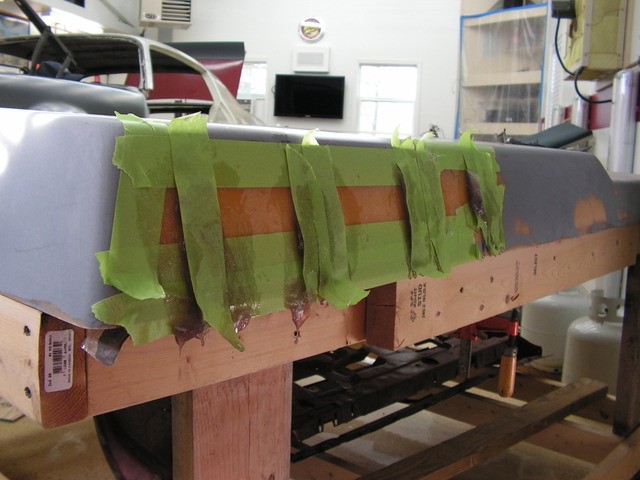
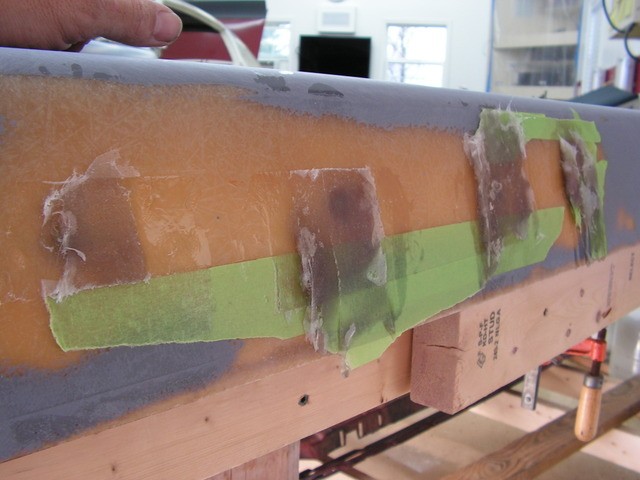
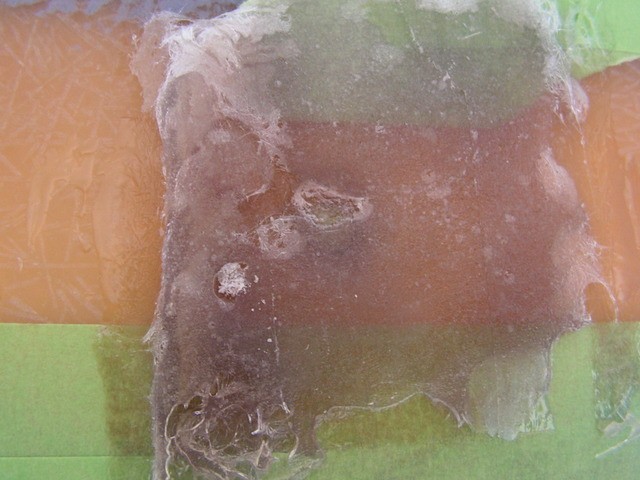
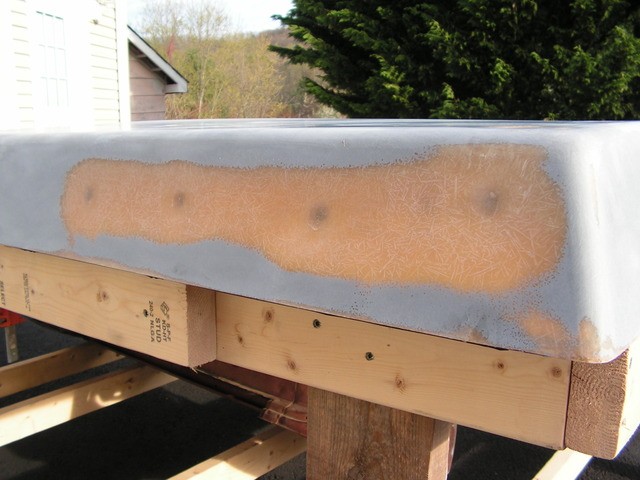
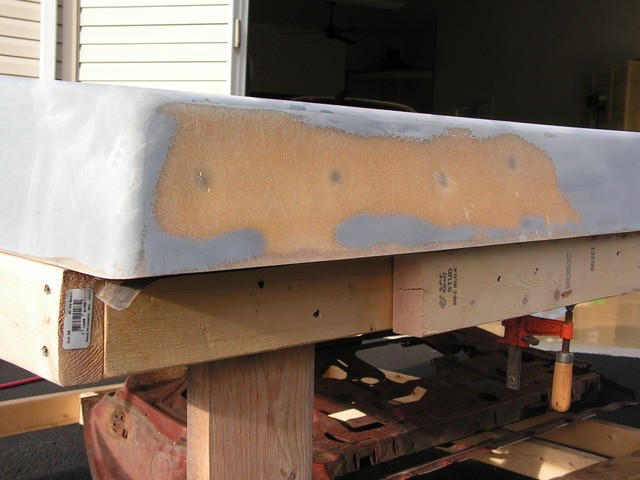
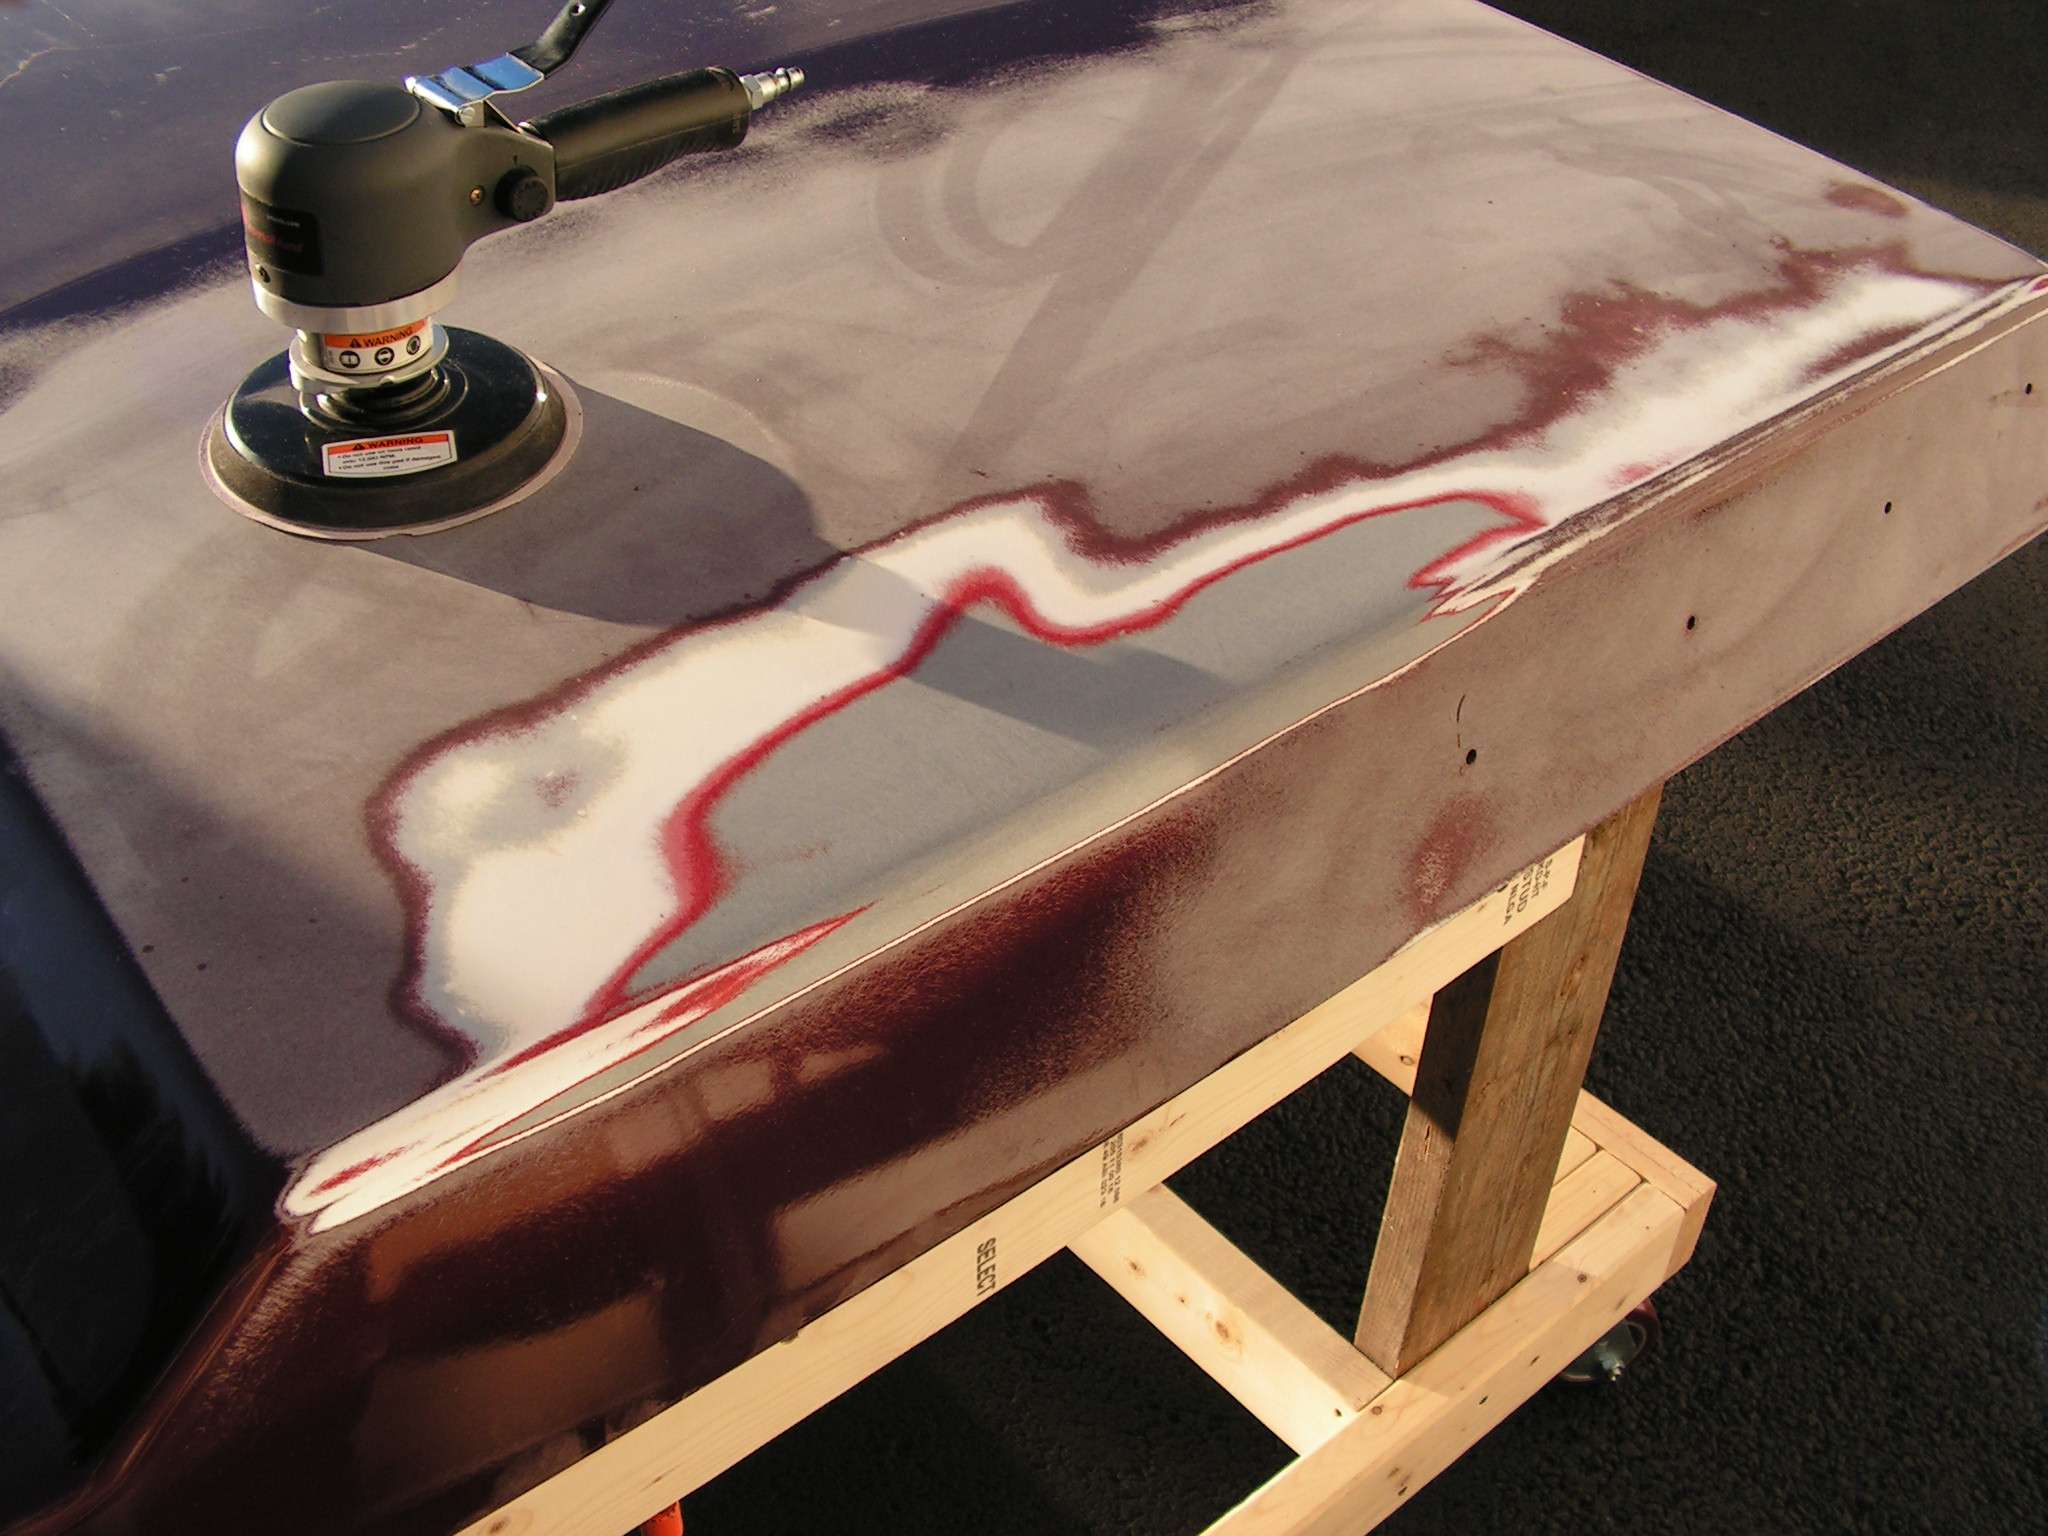
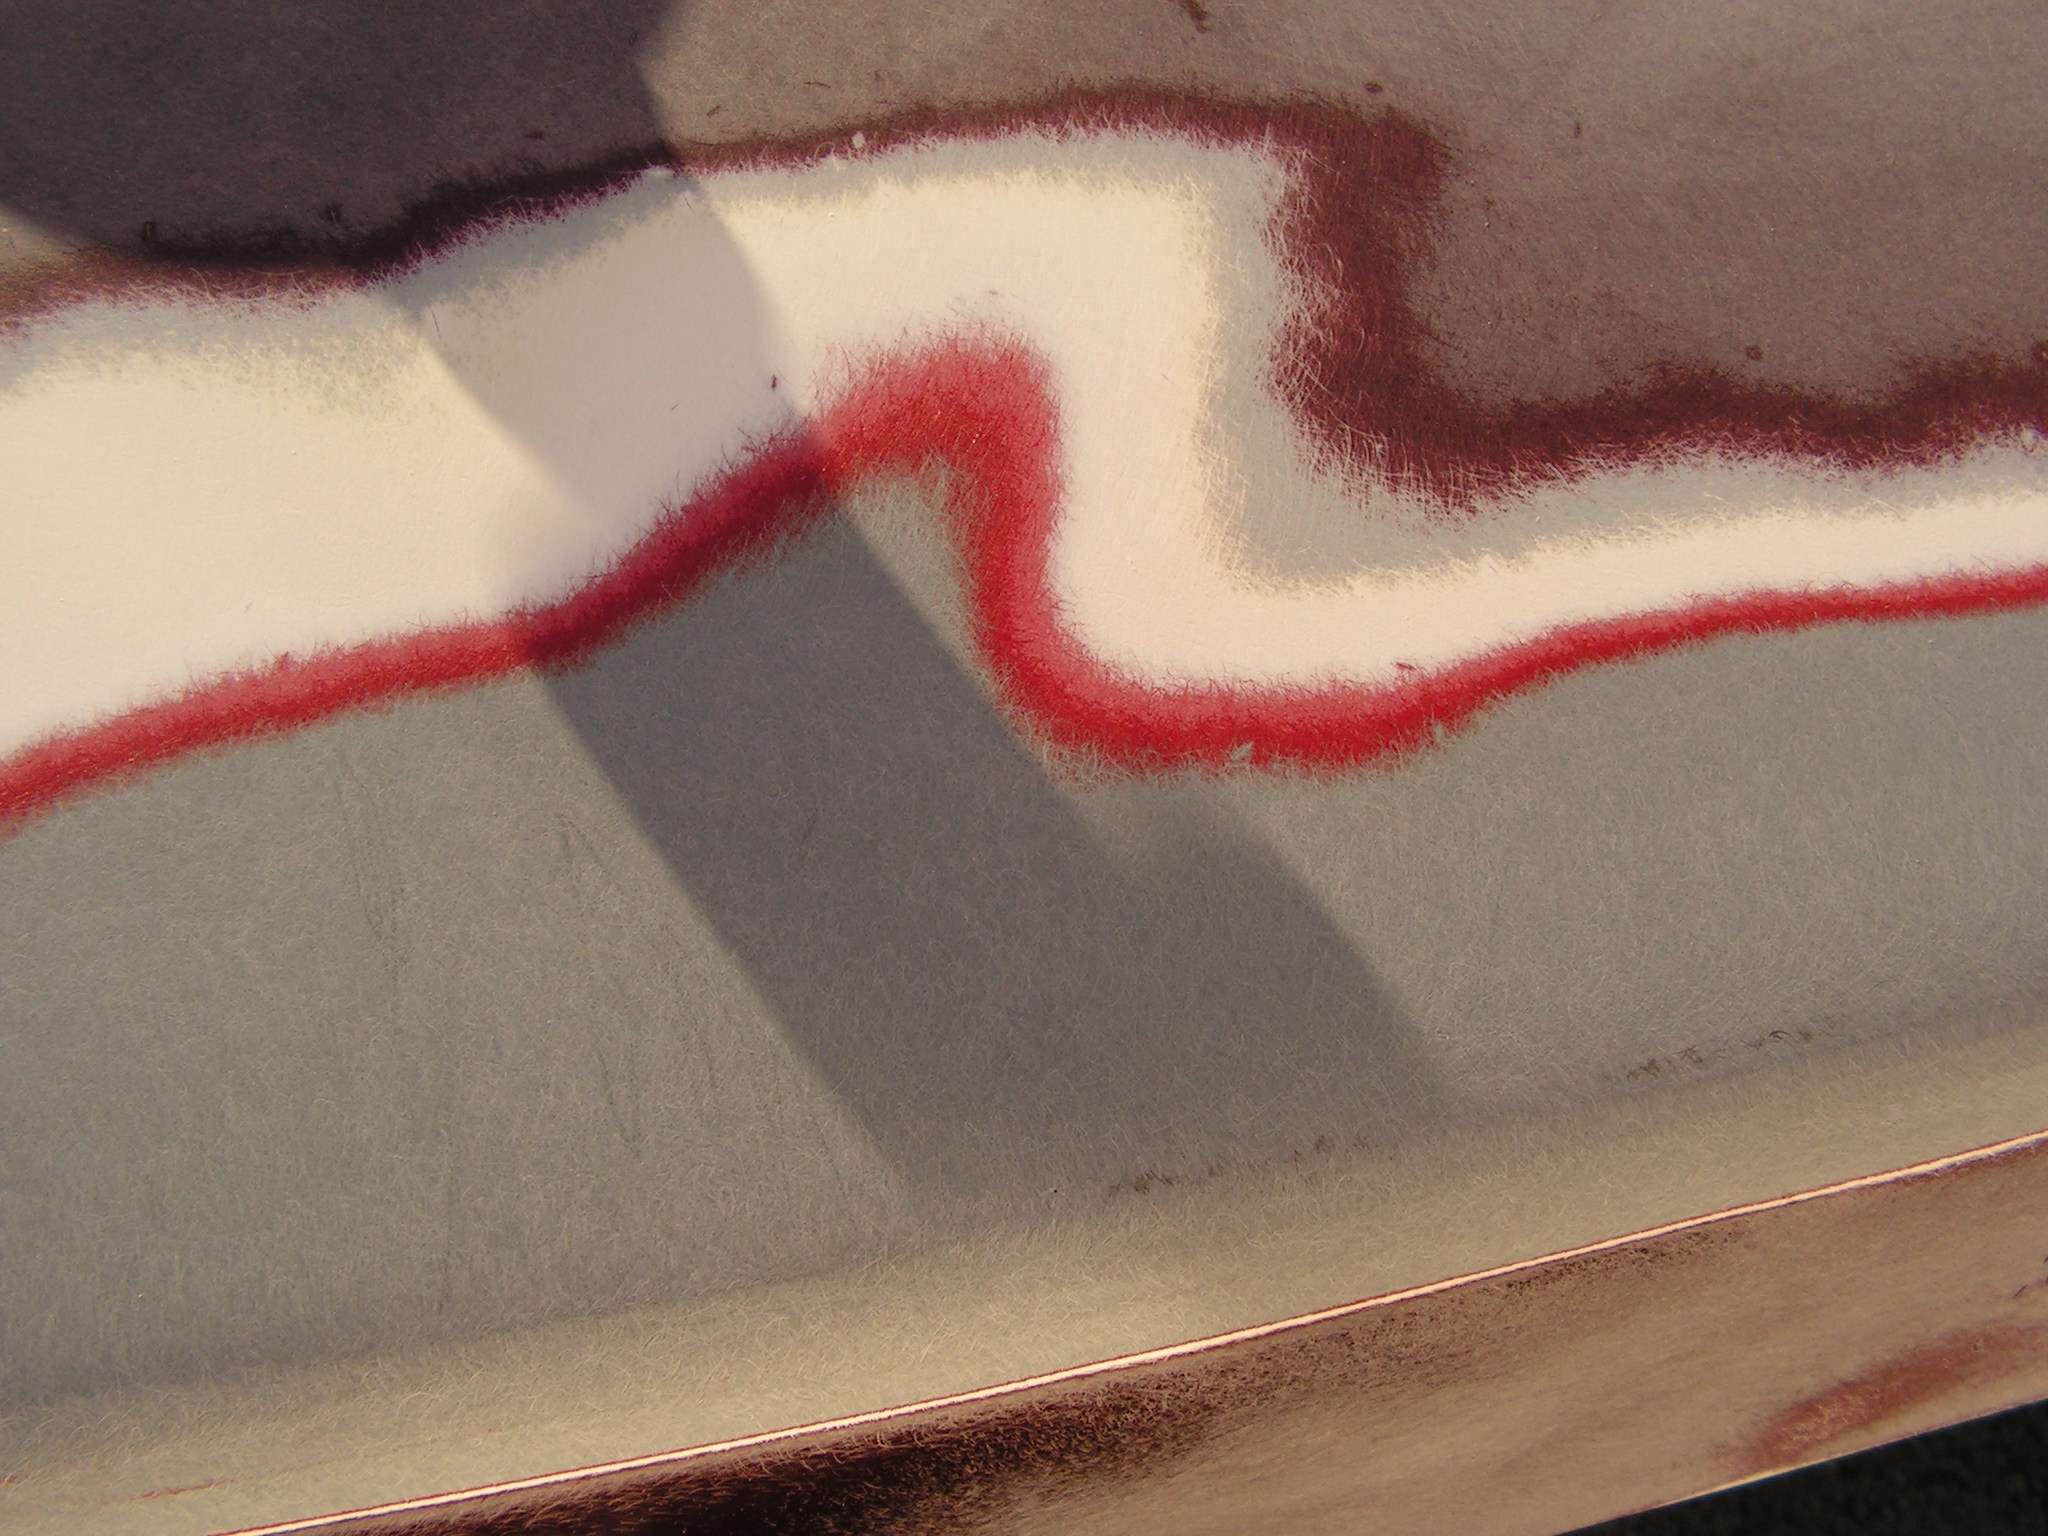
I took a da to one small section using 80 grit paper. Here is what I have, clear, base of my truck, grey primer (maybe a sealer), a white coating, and two red coatings, then I hit the grey fiberglass. When I removed the weather stripping it was red underneath. I'm guessing it was red at one time. I'm not sure what the white coating is. It seems to be thick. One thing I noticed is that I can't use the da on the rounded edges because I will groove the fiberglass.

f1nw.jpg


99ep.jpg


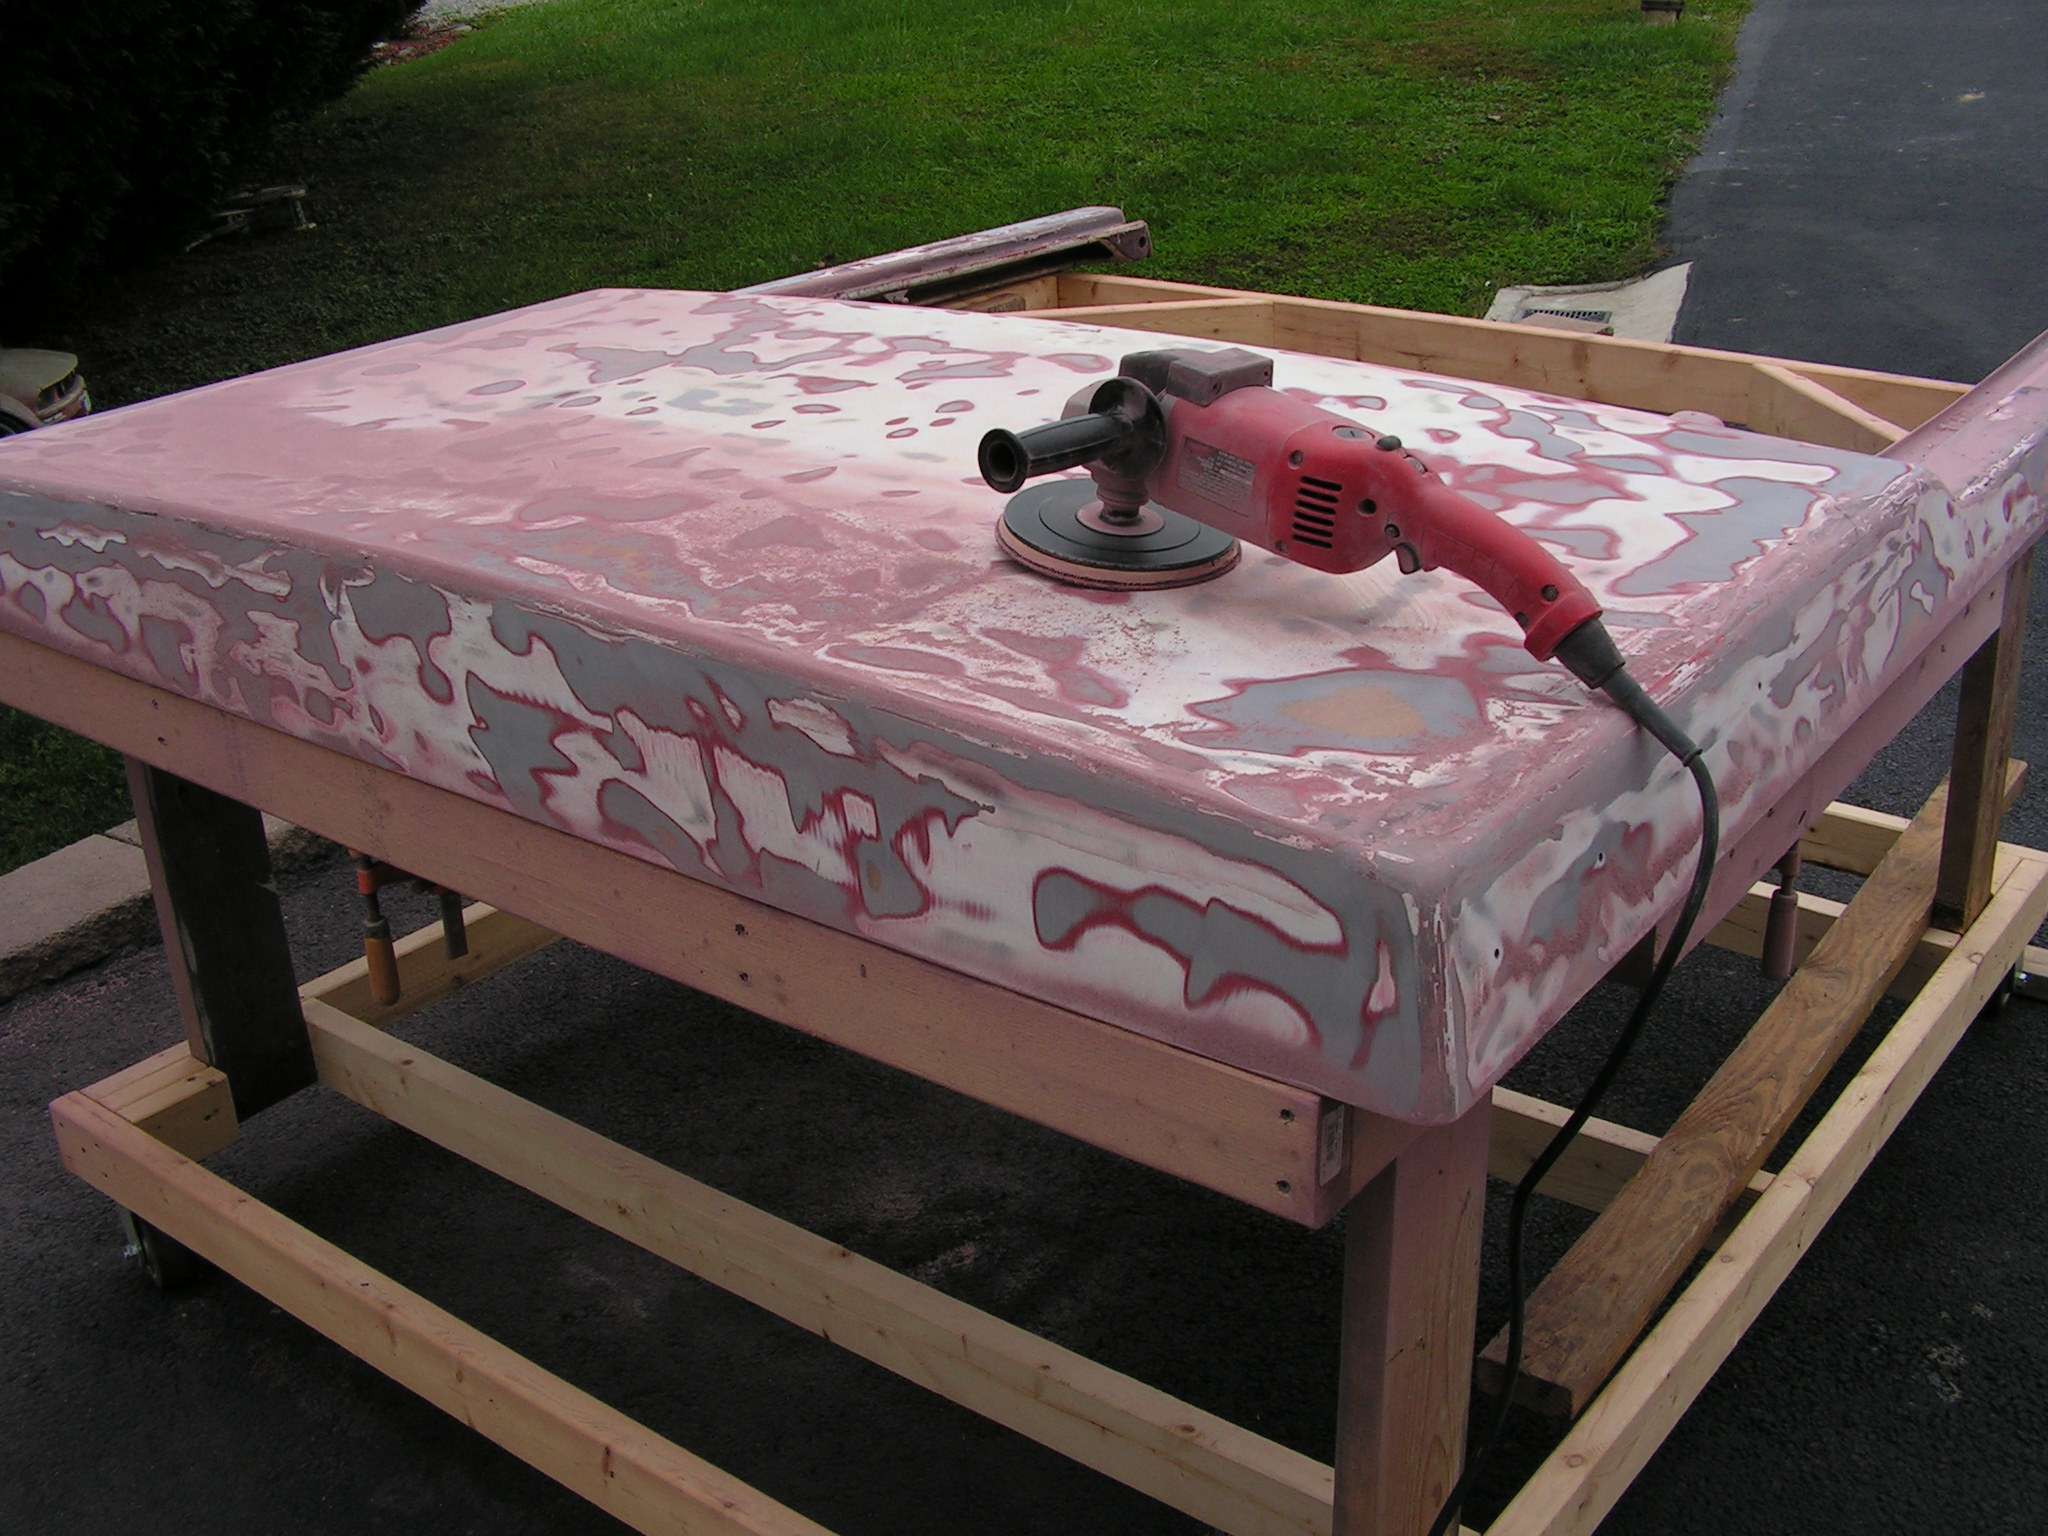
I want to strip this thing down, I'm thinking I should go all the way to the grey. On the rounded edges and around the hinge bosses I will have to use the fiberglass stripper. I will probably use the stripper first, then da the flat areas.

Once stripped, I will start with 2 coats of epoxy, followed by 2-3 coats of polyester primer (this thing waves at everybody), block sand then sealer, base/clear.

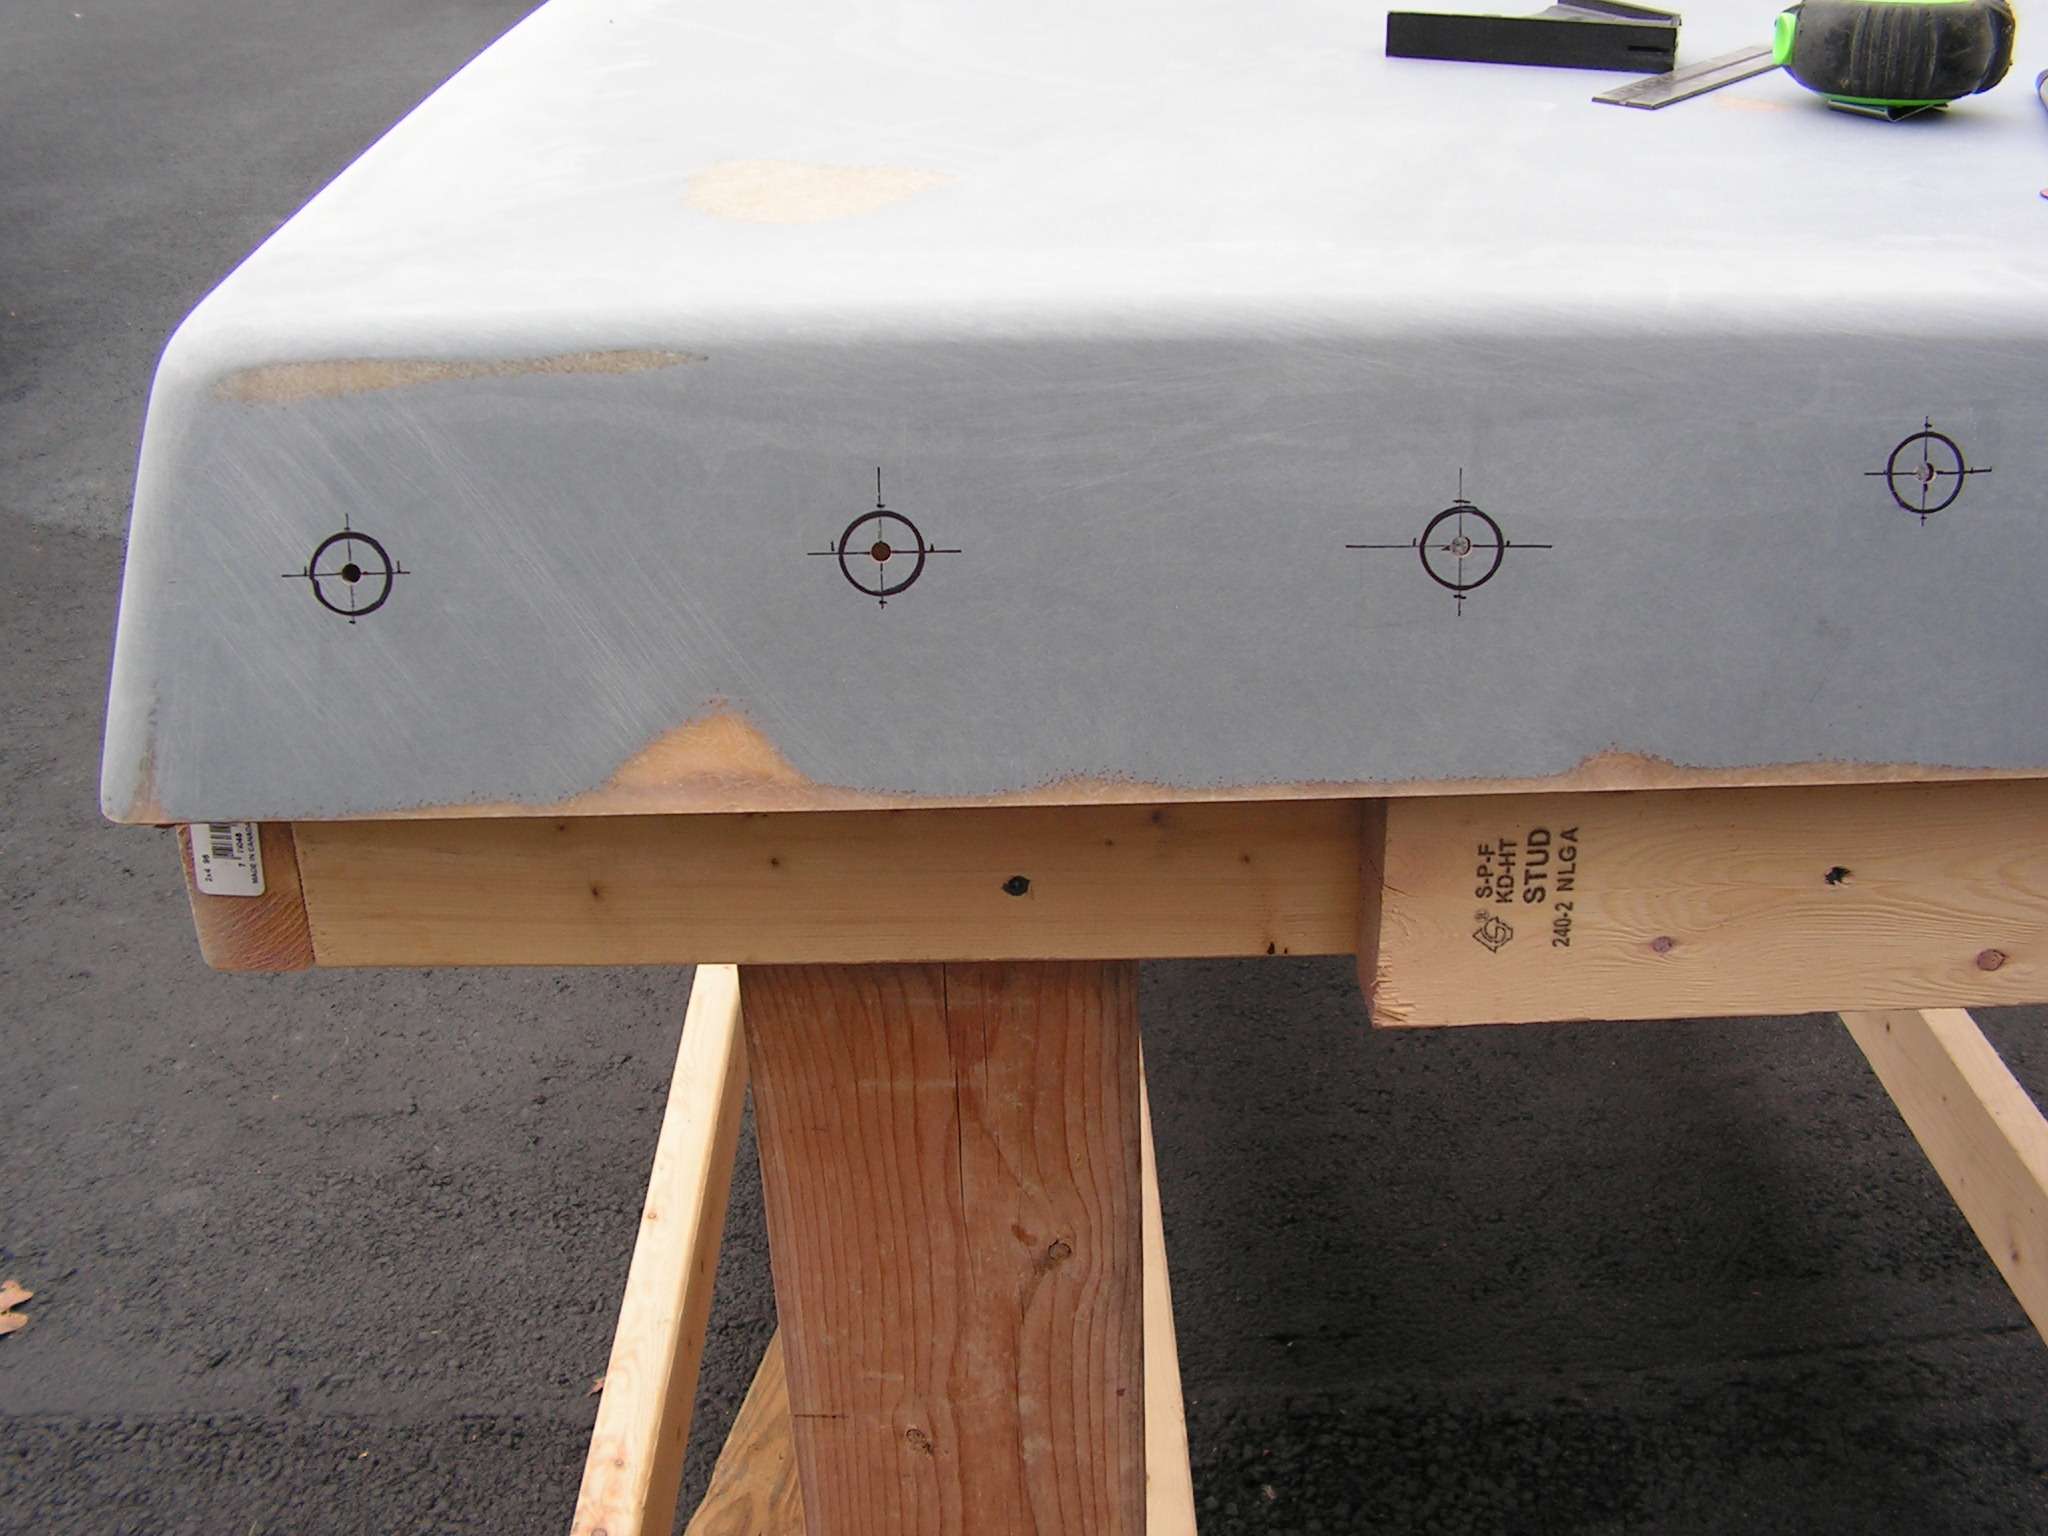
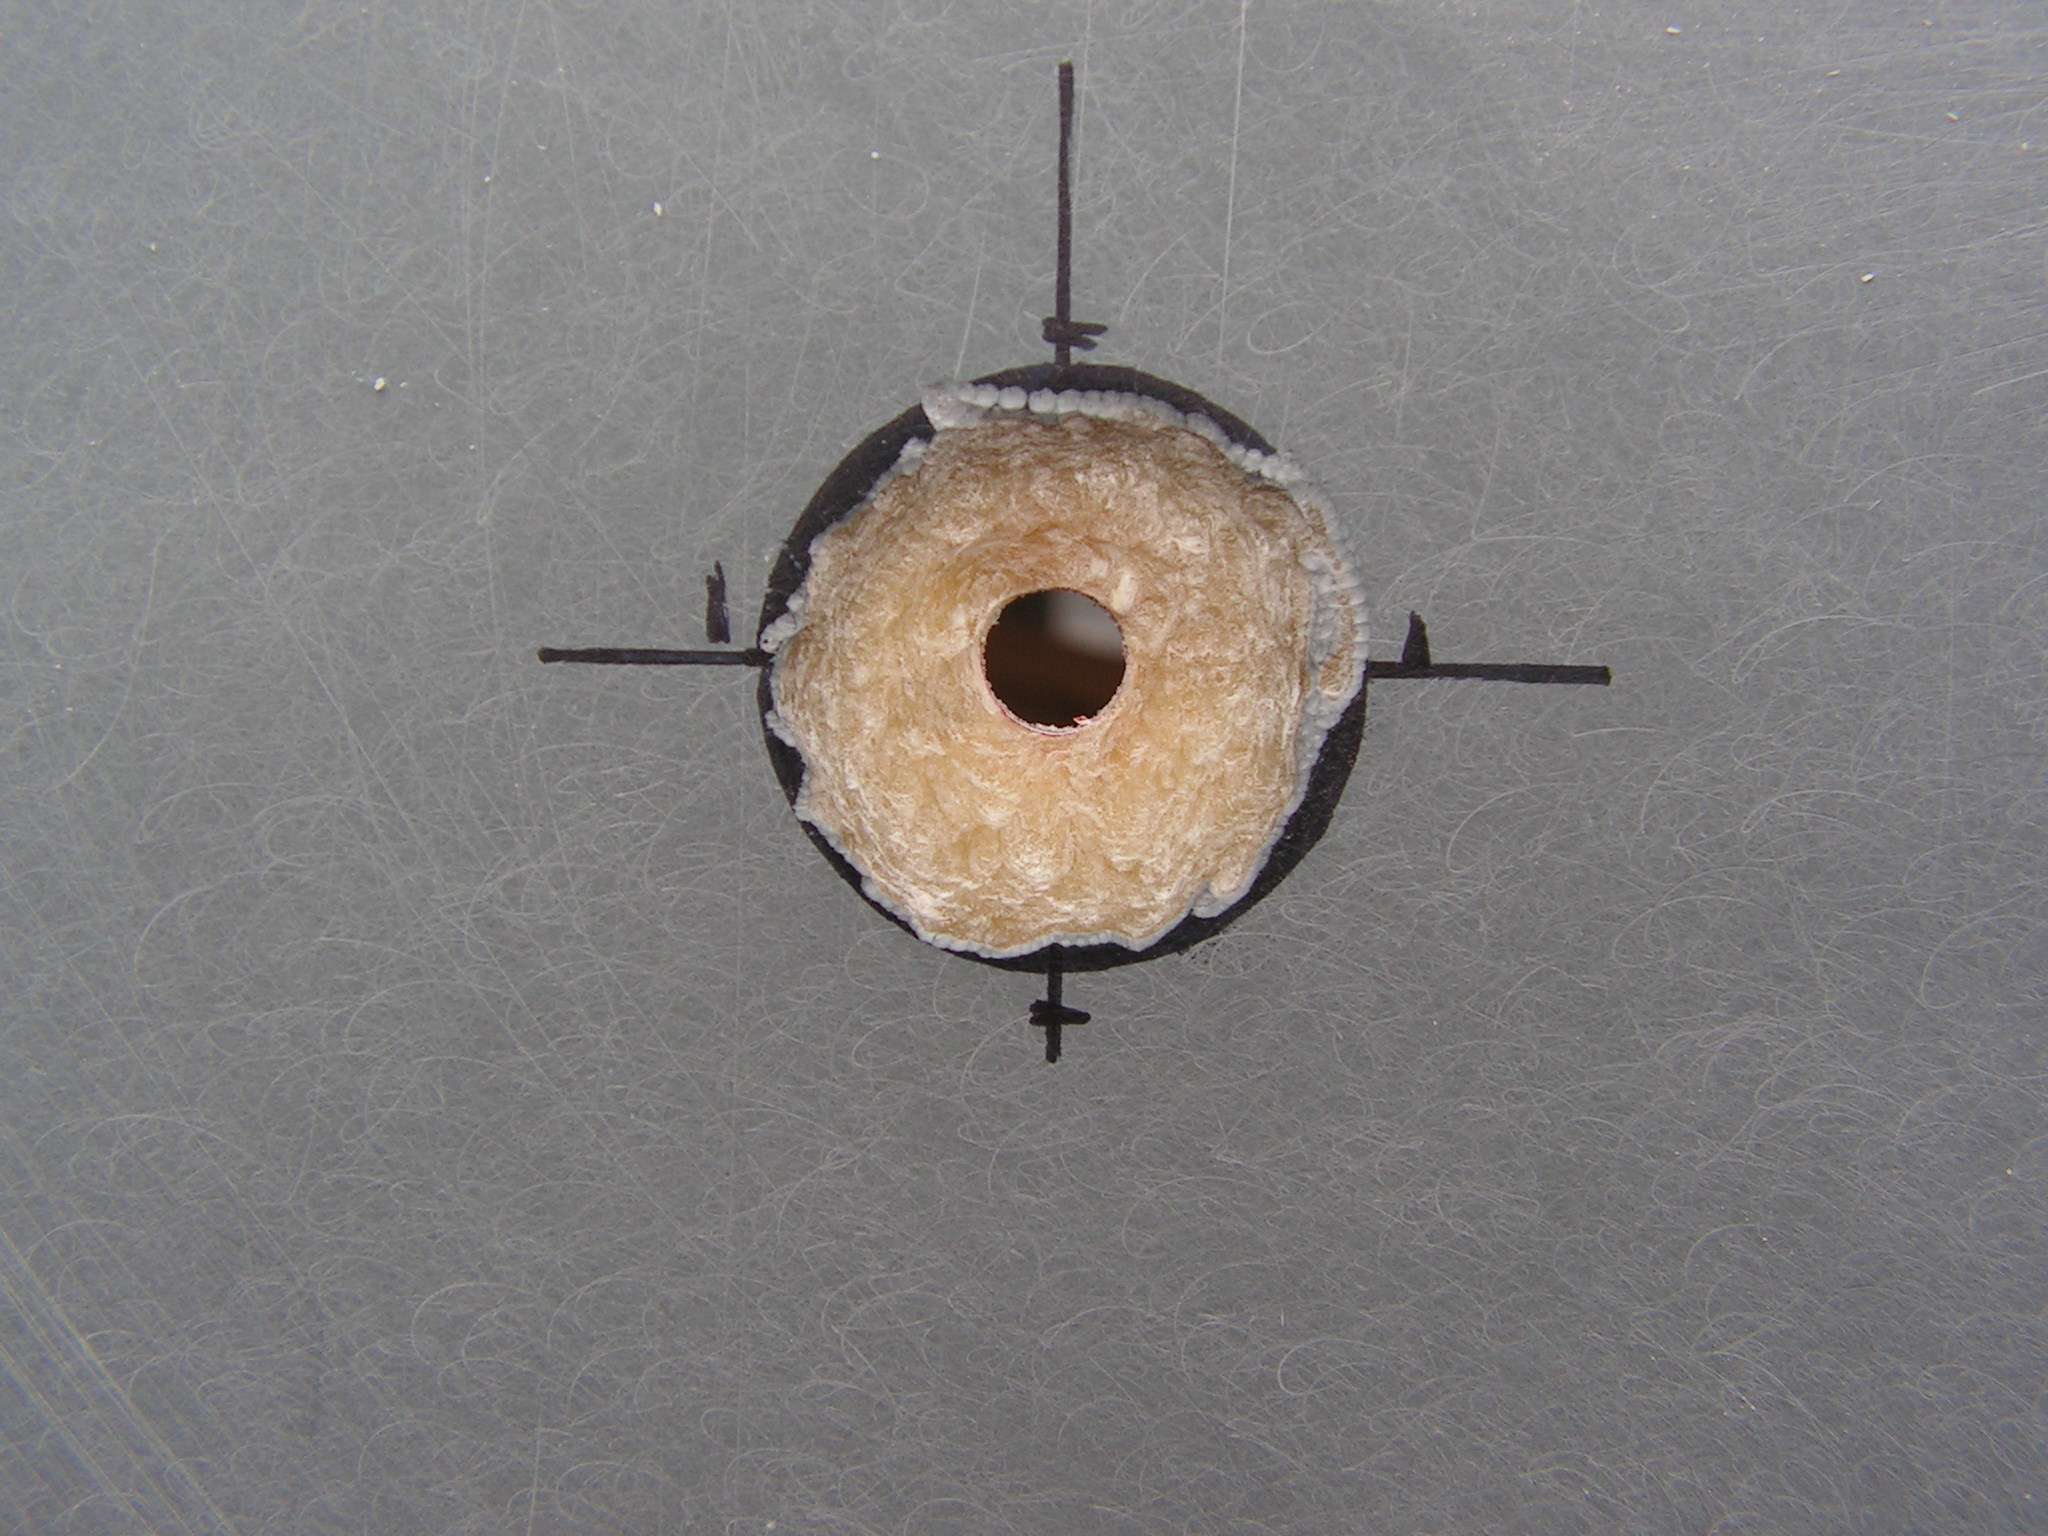
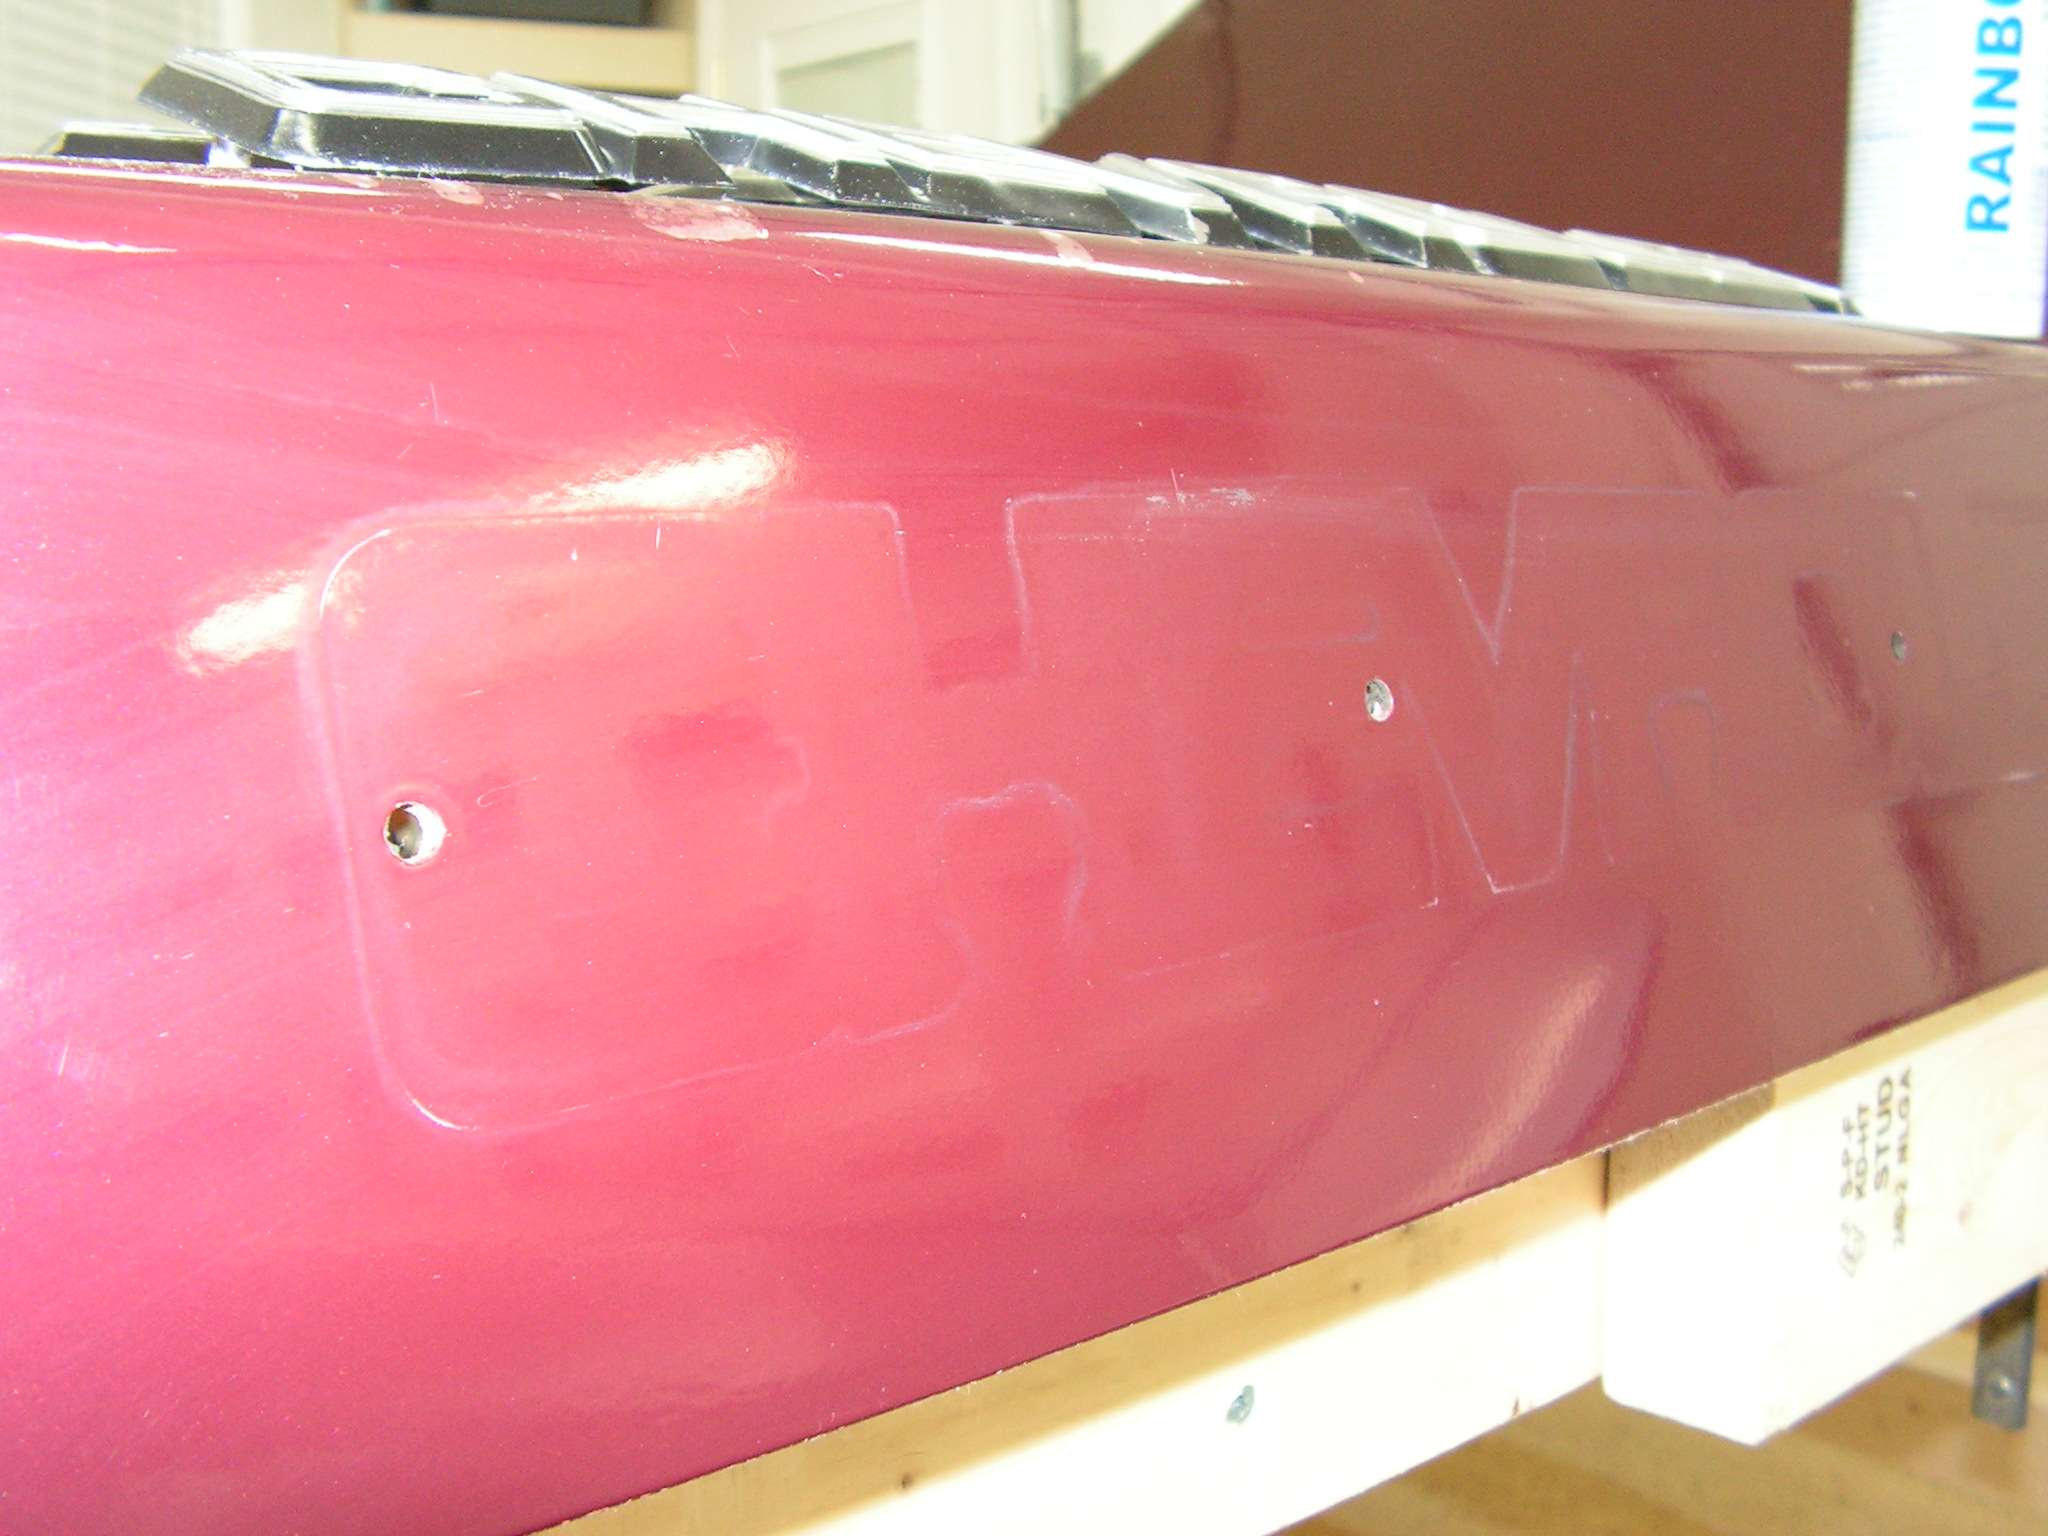
What do you guys think? Do you think 80 grit is too coarse? What the best way of neutralizing the stripper on fiberglass? There is also some holes that I want to fill because I'm going with a different set of emblems. What do you recommend to do this?

lbkn.jpg


gubm.jpg


Thanks for the help in advance. I know I will have more questions as I get started. This is going to be a great project for me to get my feet wet with a spray gun. Thanks, Russ
 
One more quick question. Where would the gel coat be located? I never seen any fibers in the grey area. Not sure if the gel coat is the white or below the grey. Thanks.
 
There is no gel coat on this and looking at the clear, the white spots would indicate the pigment is breaking down and that is causing the adhesion problem, also looking at the red the way it feathers, strikes me as lacquer, so it should be stripped to the gray Fiberglas as you have it in the one picture.
80 grit is not to course and on the edges perhaps you could sand down to first layer of paint and with 180 by hand finish stripping the edge, stripper would work but I personally would try to avoid it.
The rest of your plan sounds perfect.
 
I would bet the grey is the gelcoat, the red is the factory applied color, the white/grey sealer/maroon and clear is from the repaint. 80 grit is perfect. If the red paint appears to be in good shape you could stop at that level but the way it shows to be chunking off on the feather edge I'd probably sand that off as well.
 
Thanks for the replies. I appreciate it. I have all the parts off of it now and hopefully can start sanding my next day off. I really miss not having this on my truck. The truck also looks so different now. I just finished a full detail on the truck using Chemical Guys V series polish followed by two coats of wax for the winter. The bed cover looked so bad, I knew it was time for it to have some tlc.
 
That emblem looks like it's from an 82-87ish model, what year it the truck?
 
Bob, the truck is an 03. I found a tag on the cover that says its a 94 model. The previous owner put it on the truck. I purchased it in 04 with 15,000 miles. I used to see this bedcover style a lot, with the same emblems. My plan is to fill the holes and install the new style Silverado door emblems, like you would see on the new body style.
 
I've read to fill the holes that I need to grind the top surface out just a little. What product should I use to fill the holes? I guess I would tape the backside while doing this?
 
Taper the holes out to at least 4 times the panel thickness-you want surface area for bond strength and a mellow transition for less chance of if showing at temperature changes. I know there's a lot of people here that don't like Everglass but I've used it for that purpose many times and never had any problems. Some chopped mat and resin would also work good.
 
Everglass by Fibreglass Evercoat = OK

Duraglass by USC = NOT OK

That's my 2 cents on the chopped glass fillers
 
I finally got a chance to start stripping this old paint off. I've used every method I know of. There is - was a lot of paint on this thing. I tried fiberglass stripper on the edges, knocked a lot of the coats of this way, after a real good washing, I finished the edges up by hand. For the larger areas, I used my da with 80 grit. It was really taking forever. I decided to break out my 7 inch grinder with a scotch bright pad. I used this to bust thru the clear and base and to sand down the white primer. Even at this stage I could barely bust thru the white primer with the da /80 grit paper. I switch to 40 grit to get thru the white coating and then I could make progress with the 80 grit. Lots of sanding. I'm probably at 7 - 8 hrs already. I did break thru the factory primer in several areas.

c8p3.jpg


jqwt.jpg


139r.JPG


wzqu.jpg


mwmk.jpg


zijx.jpg


Still got a long way to go. Thanks for the help.
 
I just about have this thing ready for epoxy. I started working on the filling the emblem holes and here is what I have done so far.

ob05.JPG


I have only ground out one hole so far. I wanted to post a pic here before I did the next 7. I was planning on putting a piece of fiberglass mat/resin over the holes on the backside, prior to filling them with Evercoat.

f9vw.jpg


Does it look right or do I need to do something else? Thanks
 
Plug the hole on the back side with tape and, put the resin and glass on the front side, sand after curing, and use regular filler
 
looks fine, not good to use a permanent marker though-the ink will sometimes bleed up through the primer and paint. Once your holes are plugged sand it down enough to remove the marker and finish with a skim coat of regular filler.
 
I started working back on this thing today. I kinda gave up on it due to the cold temps over the winter. I got started back on it trying to fill the emblem holes. Not sure if I did it correctly or if I just made a big mess. I started by using the wb wax and grease remover to clean everything. I let it sit for an hour. I then taped the hole from the backside. I cut up some small pieces of matt and mixed it with some fiberglass resin, stirred really well, then used a paint stick to push it into the bevel area I had trimmed out. It was a pain working on a vertical surface. I used some tape to hold it in place. After a couple of hours I pulled what tape off I could . I'm going to let it set overnight and then trim it down with my die grinder. I do have an air bubble in one hole.


I guess I will get it trimmed down and see where I am. I appreciate any input you guys can give. Thanks, Russ
 
next time just put a I/2 inch circle of resin/matt to just fill the hole...no harm done, just sand down to level and finish from there
 
Thanks flynams. I sanded it down and it actually turned out better than I thought. I still have some highs and lows, but will fill them with filler after epoxy. I plan to clean everything again, sand everything one more time, spray two coats of epoxy. I'm thinking about going to slick sand from there.


Slicksand is a good move if it's as wavy as most of them covers are.
 
Back
Top