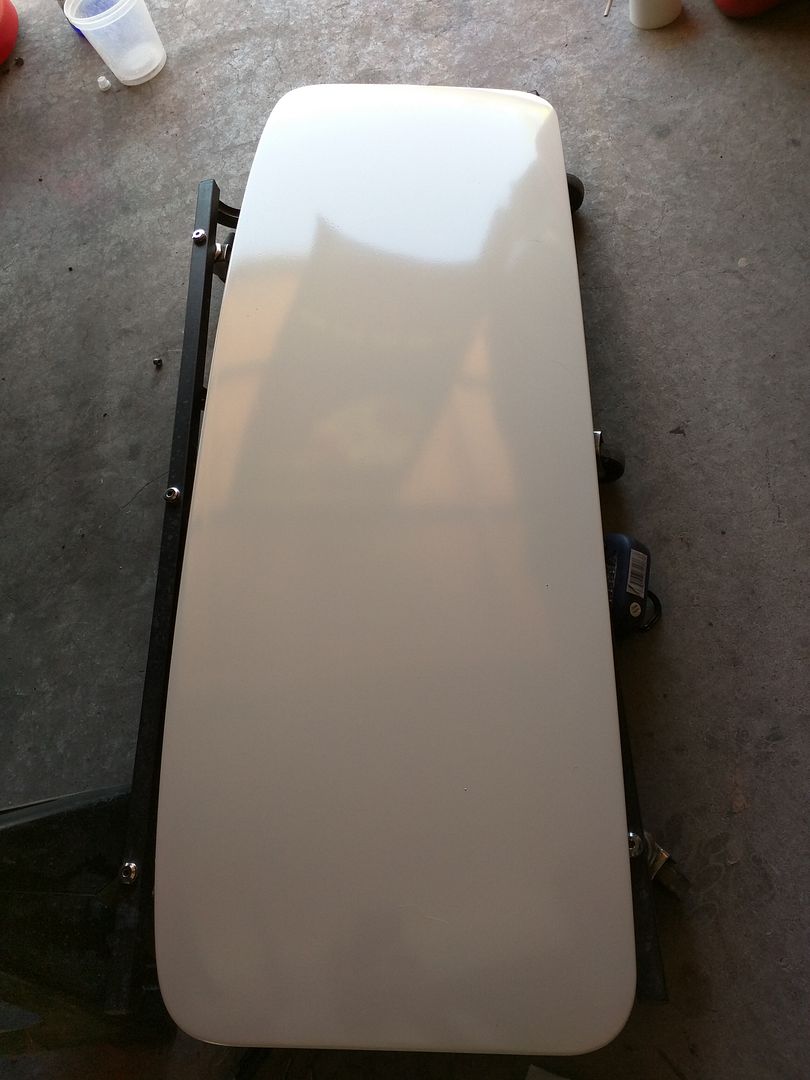
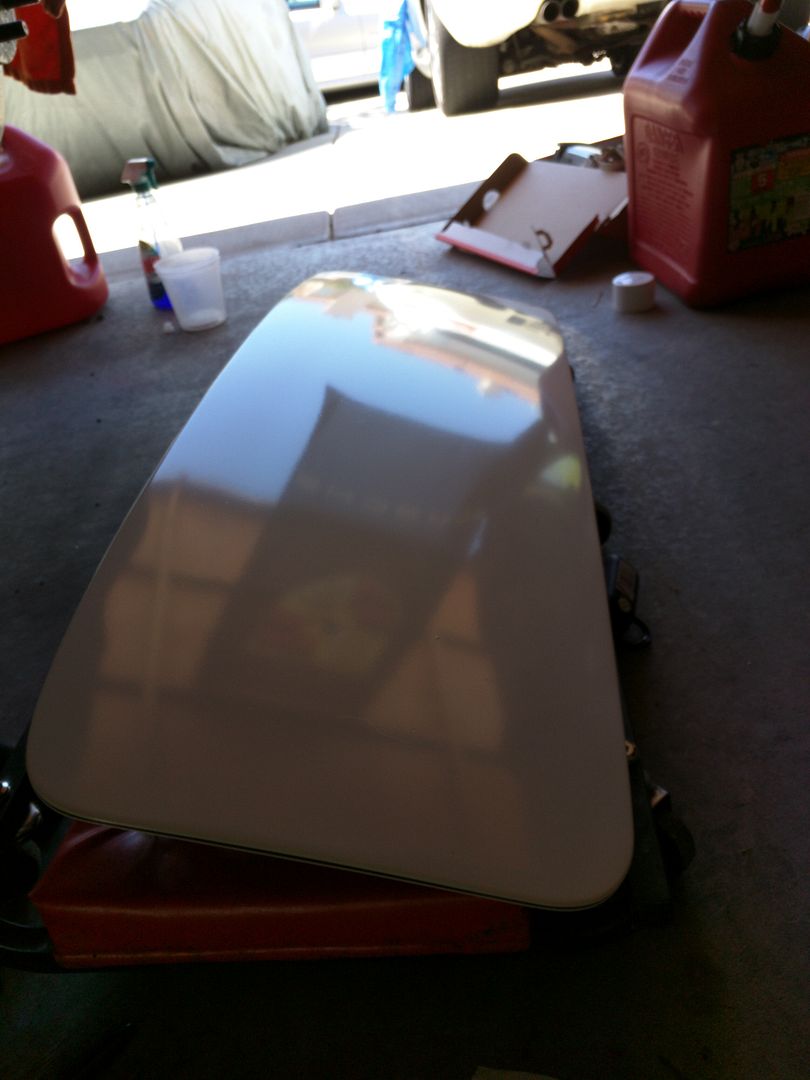
I think I get it now.

B

BC928

That is ALOT of material I just went through. At this point, I will say that I am still very firmly on the learning curve. My only previous experience was with the older version of DPLF.

Finishline Devilbliss, 1.5, air pressure (thats another issue - but this is the primer forum) is about 30ish-iffy. My second coat looked drier than the first, so I must have lost track of the knobs.

Super hot today, so I know there could be no issue with material or surface temps.


But - wow - these "wet coat" settings use a ton of material. I am concerned I am doing some of this wrong (I am sure I am somewhere).... I have now gone through a quart of the epoxy with a hood, a hatch, some mirror backing, and a sunroof panel. Does that seem like alot to use for those pieces?

The primer looks great in most areas, its still setting, but there are some areas where it feels like it did not lay as flat as it should. I will try and get some pics.

Having good air control on the gun is underrated in some ways. At least in my research outside these forums.

I think I will need to buy another gallon.
 
Its all gun! I get a lot of calls where people will have an old MBC, JGA or binks 7 wanting to know if they will work, yes they work great but I tell them to remember this, those guns were 22-28% transfer rate and the new guns are 65% and UP. ===more on car with new gun.
 
I'm also a first timer at this. My primer results were pretty nice. I ran about 28psi with the fluid tip wound all the way out and fan all the way out. On my crew cab project that I'm doing I went through a gallon mixed (half a gallon of each part) to do the two wet coats.
 
Barry - do you think this is Epoxy-Filler-Primer (I have a gallon of normal build), or do you think its okay for Filler-Primer?

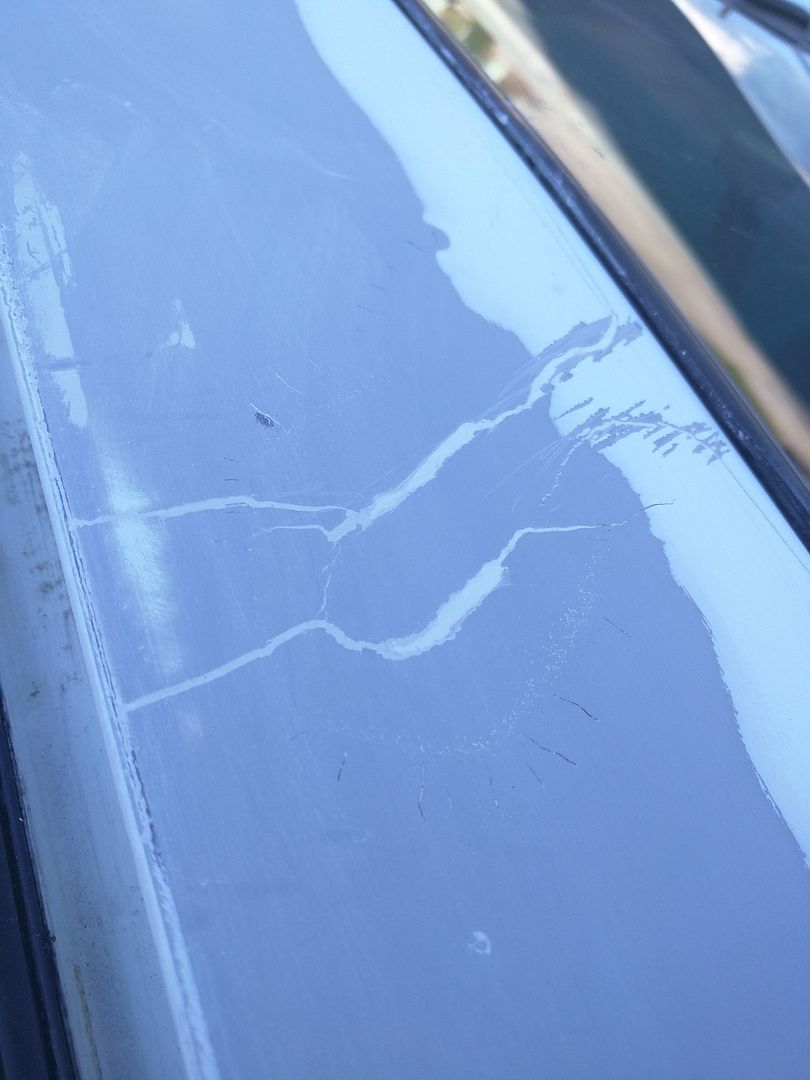
The bottom of these "cracks" have been scratched out by me. It was some form of previous paint job that either shrank after color, or... I really have no idea.


Thanks
 
You will never stop that from coming through the paint unless you take it off, like crash said.
Better odds buying a lottery ticket.
 
Well, it is what it is then. Experts have spoken. I will have to shave/sand/auger that off then somehow.
 
Let us know what you find under all that.
I saw a small crack on the lower front fender of the 55' Chevy Truck I'm working on. It was supposedly a "new" custom paint job and since the owner was there I pointed to this fine lined crack and said, "we should really look into this." He said to go ahead so I took a DA and 80 grit to it. Went through 1/4" of filler to find a very rusted and poorly welded patch. They did a quickie patch of rusted metal and then sculpted the lower fender contours with filler.

By the way, the guy who painted it left town a while back and didn't leave a forwarding address - go figure.
 
The previous paint job, as I mentioned, is of dubious quality. I am concerned this may uncover a kink.

The 928 will "kink" when hit at the front in a certain way. The roof sheet metal is structured in such a way that it ripples.

I will rough it down with 80 grit and take a pic. Its raining in SoCal today, so not until later in the week.

***** I do, however, have to get some pics of the other panels I primed, and will use some filler on before the 7 days are up. Ordered another gallon of the white epoxy so I don't get behind.
 
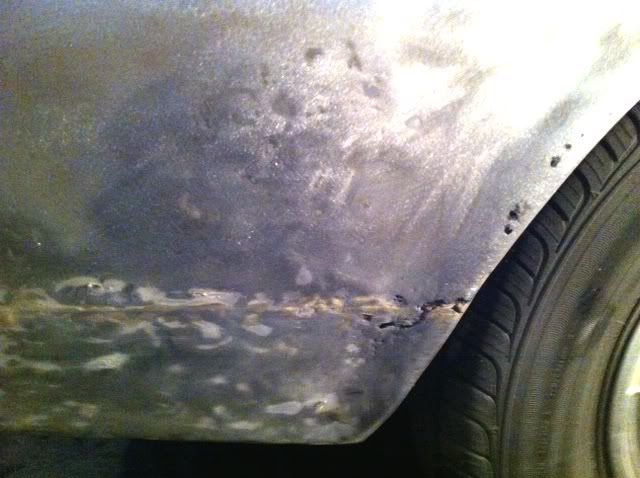
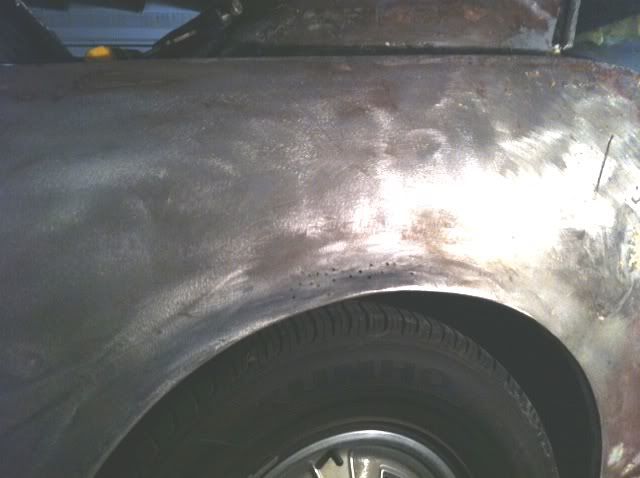
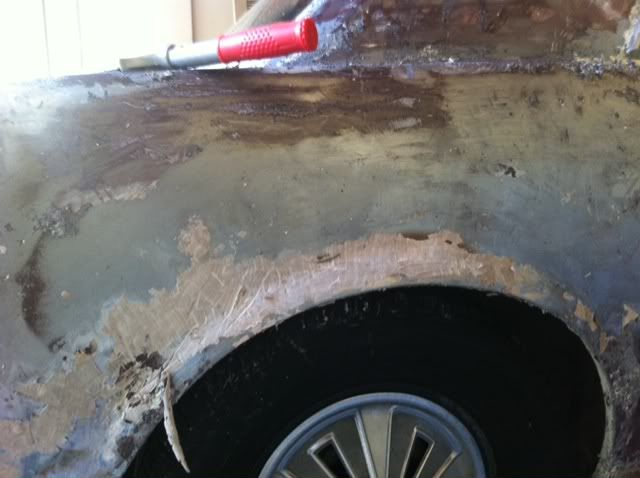
Get it all off of there, like you when I started to investigate the rear quarters on my 66 Mustang I was worried what I was going to find. And boy did I find it... These are after removing at least 1/4-1/2" of Bondo

RearQuarter11.jpg


RearQuarter10.jpg


RearQuarter12.jpg
 
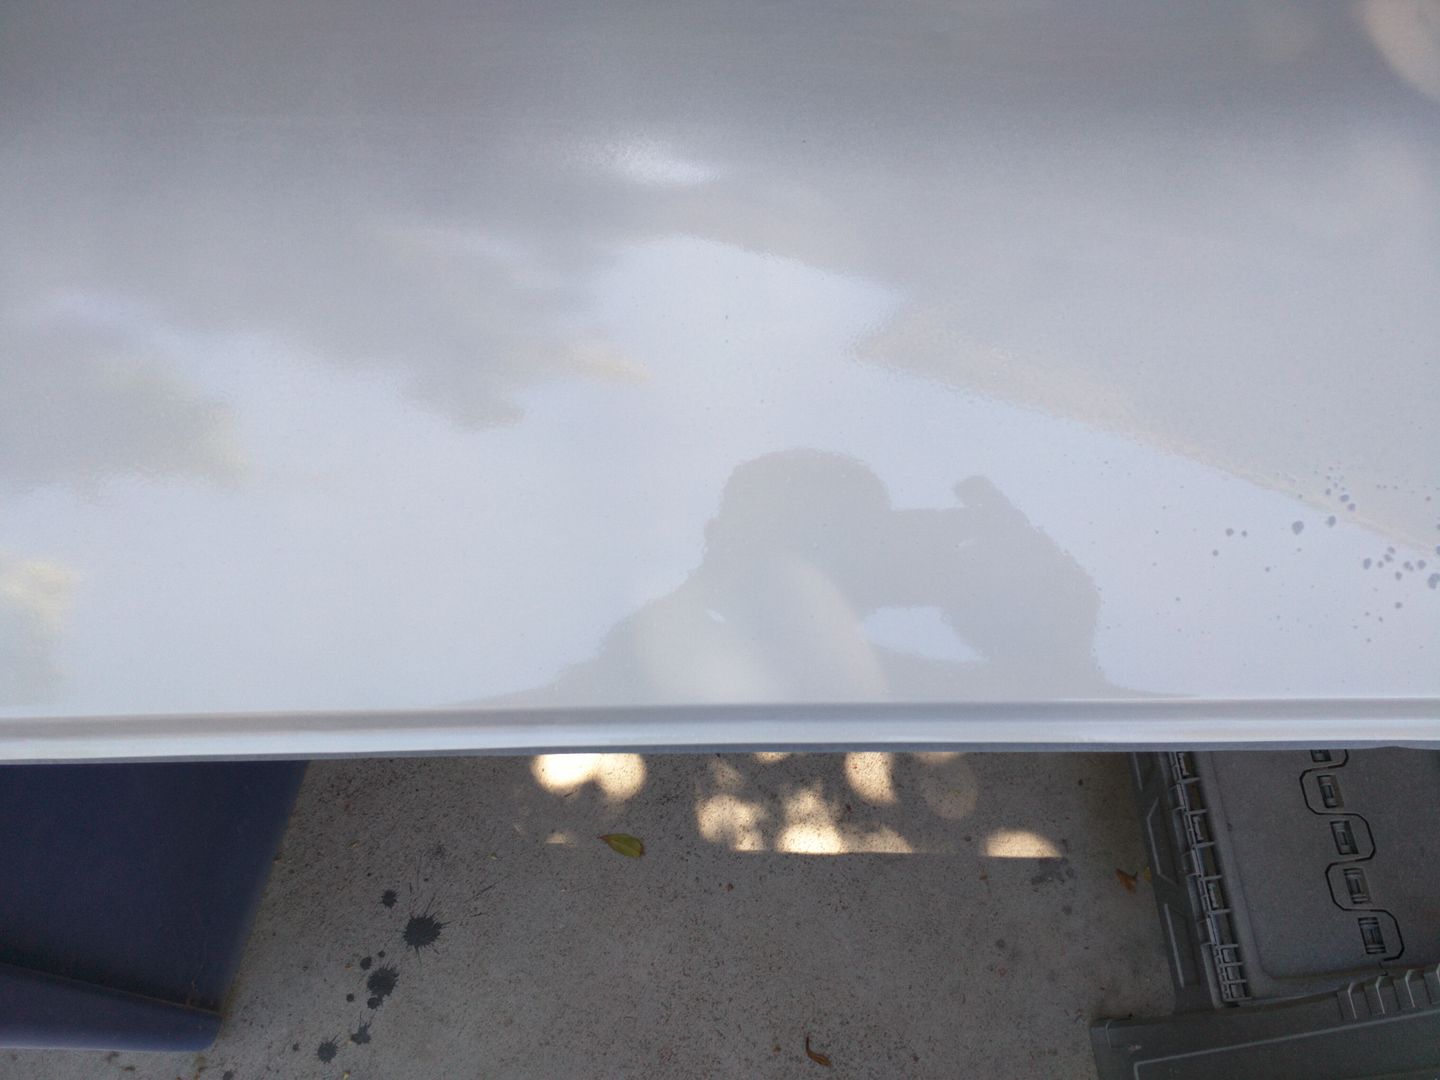
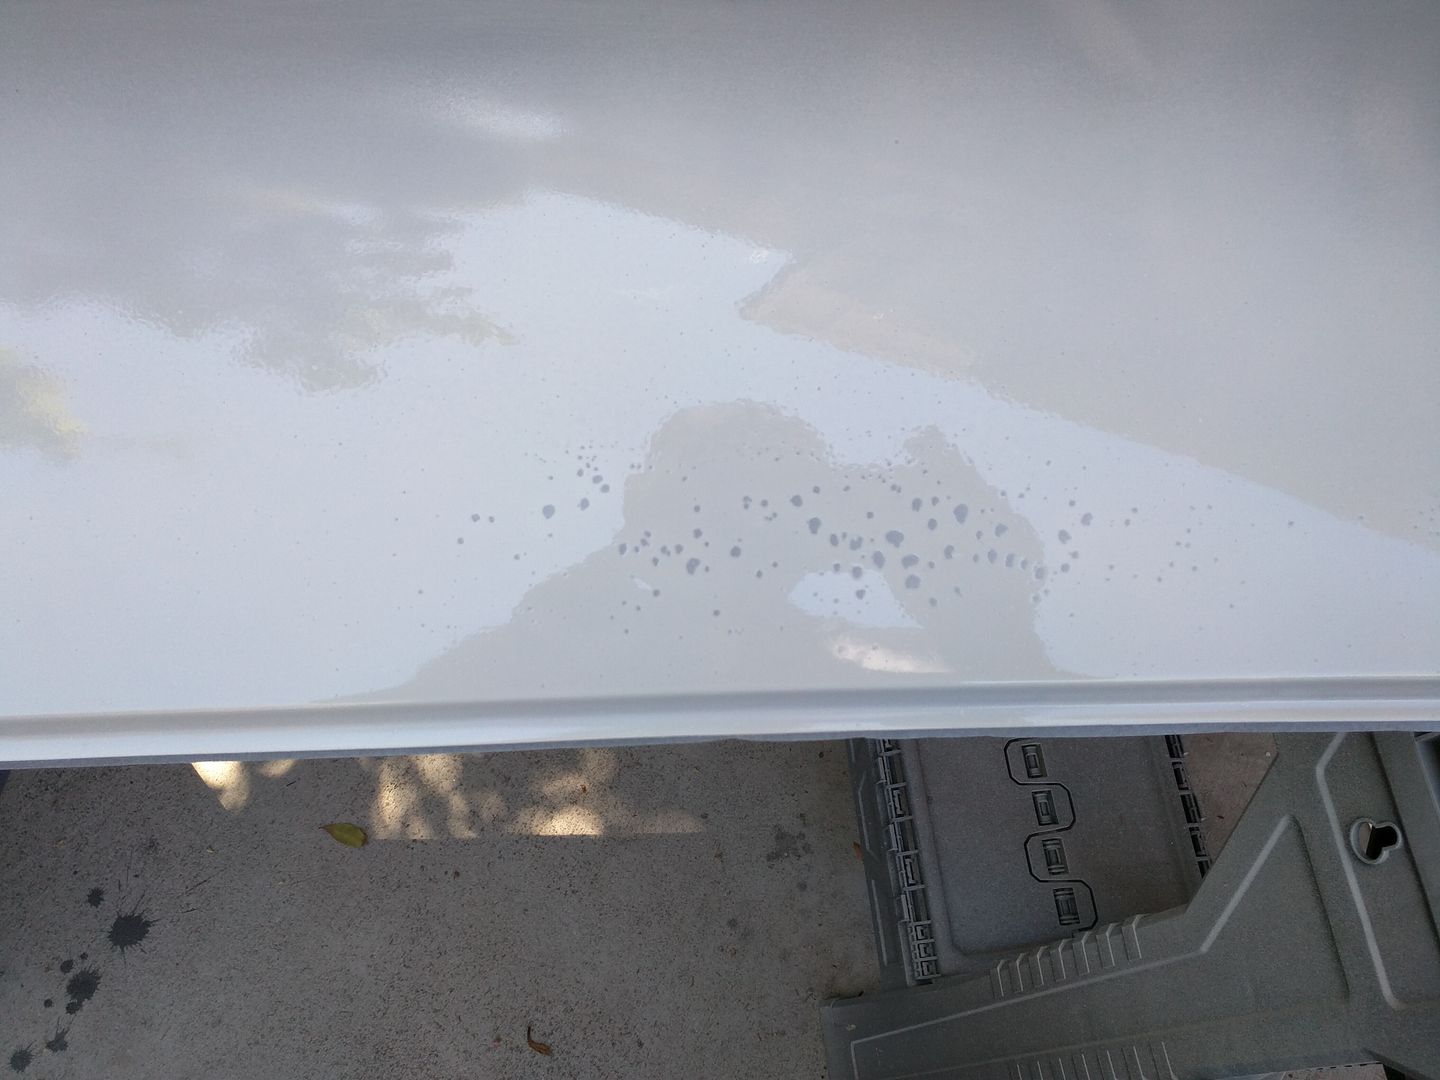
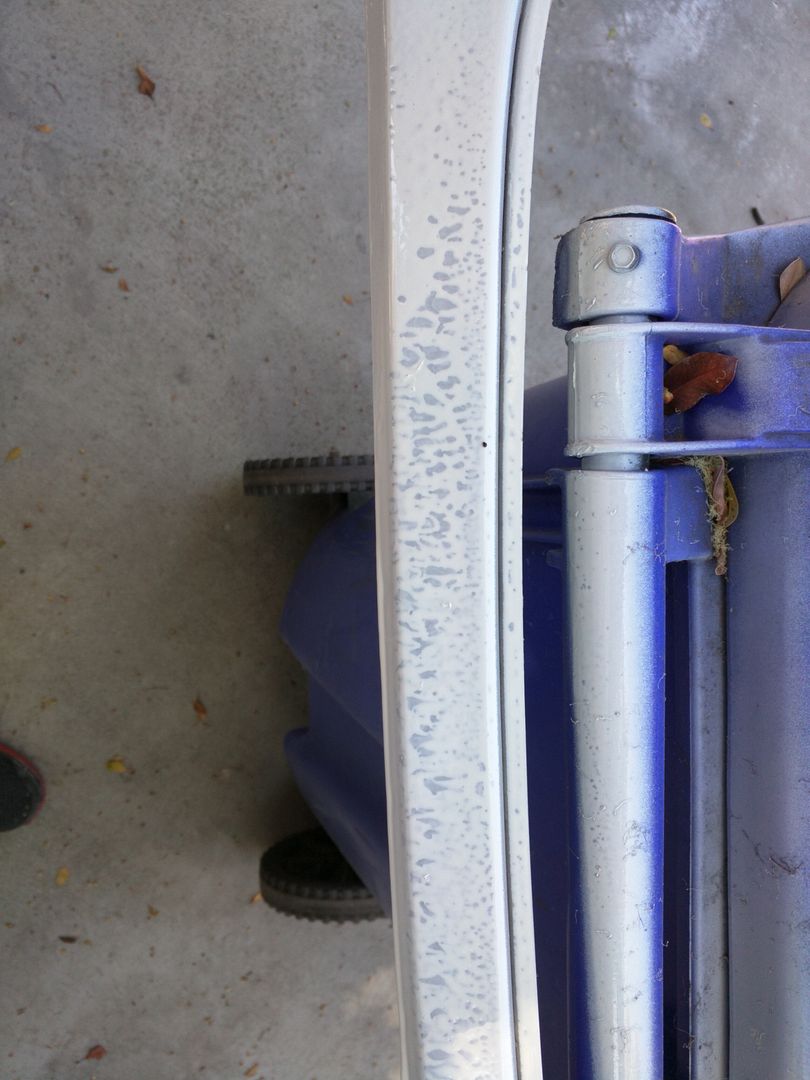
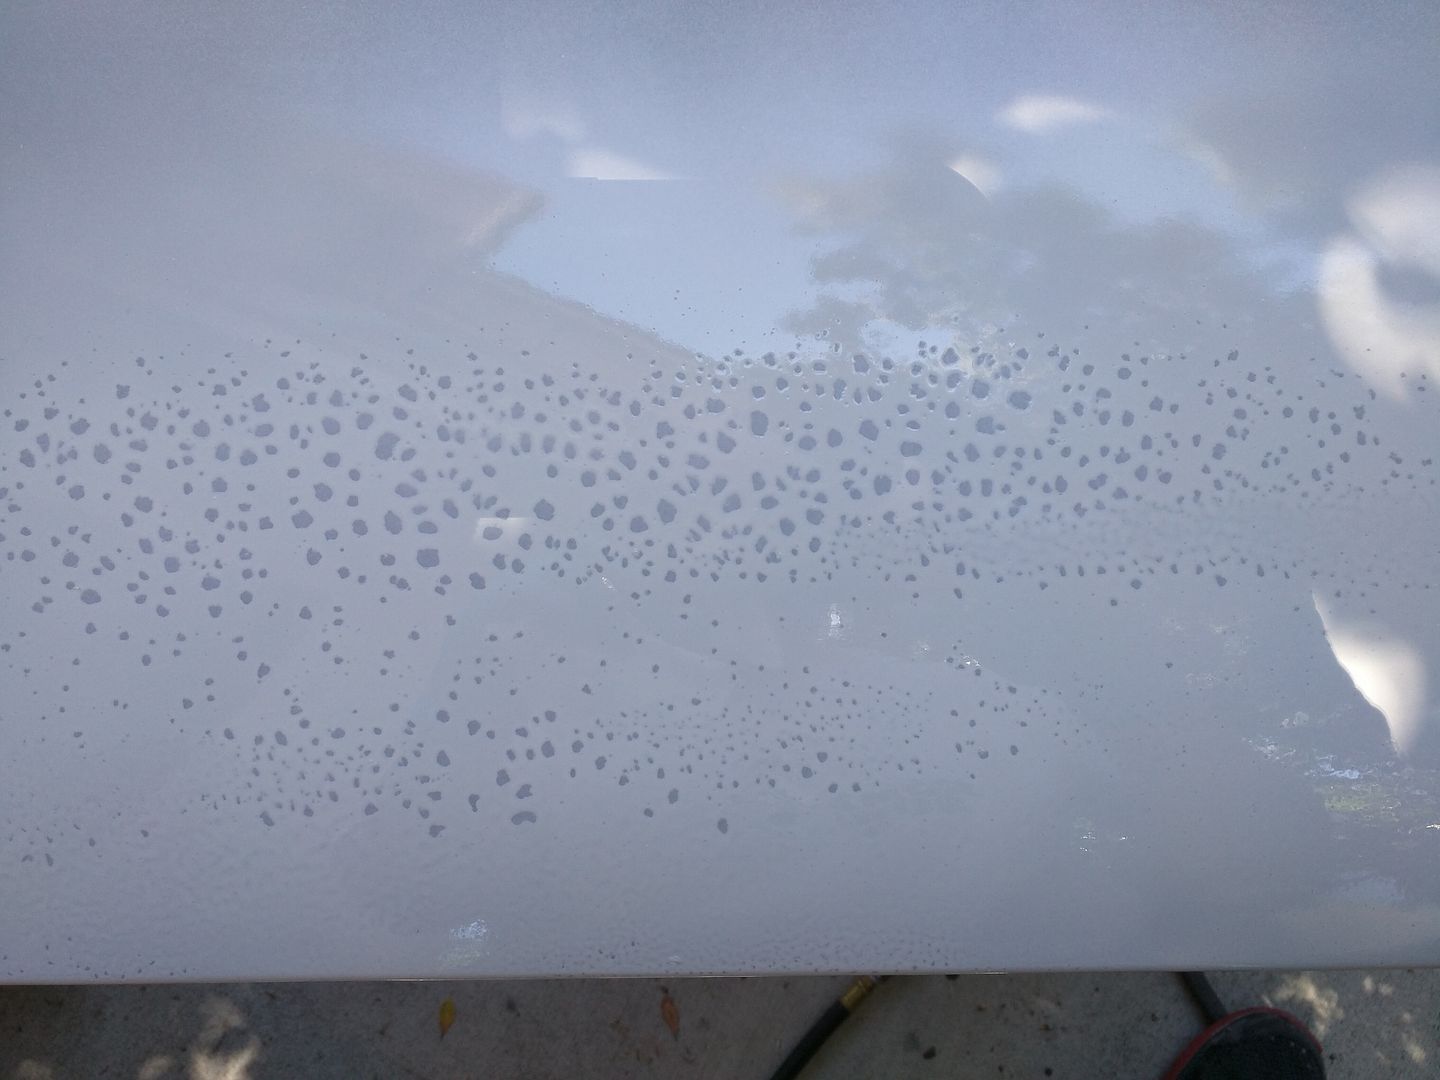
Am no longer feeling as intelligent as last weekend. I mixed up, let sit 45 min, and then sprayed the epoxy as I have been. The steel pieces have taken the material very well, but now I have a problem. Something looks like it is on the doors that I attempted to spray today.

The doors were sandblasted (they said they used some paint-remover) like the rest of these pieces, but they are acting differently.

I started on one door, it was fine at first, then went bad:


All other spraying looks like this:


Prep is - Sanding, Washing with Soap and Water, drying, let sit for a few weeks, did the same, then before painting (about 1 hr) wiped down with 700. Then tack cloth before paint twice.
 
Just so I don't look like a complete idiot, I can do t his and have it work: It worked quite well, actually.

 
BC928 said:
Just so I don't look like a complete idiot, I can do t his and have it work: It worked quite well, actually.

Looks like epoxy too thick in areas that look like fisheyes. It will sand out. Been there done that
 
I have and will continue to sand those bad areas out, but will then recoat. Some areas are not as bad, and I will put on the 2k regular build and move on. I have changed hoses. I think will change gun filter to be safe.
 
It can be several things, but usually some mix of two or more of: Too low pressure, too low temperature, too heavy spray pattern.
 
Back
Top