My first SPI project - 2007 Acura TL

95maxrider

Promoted Users
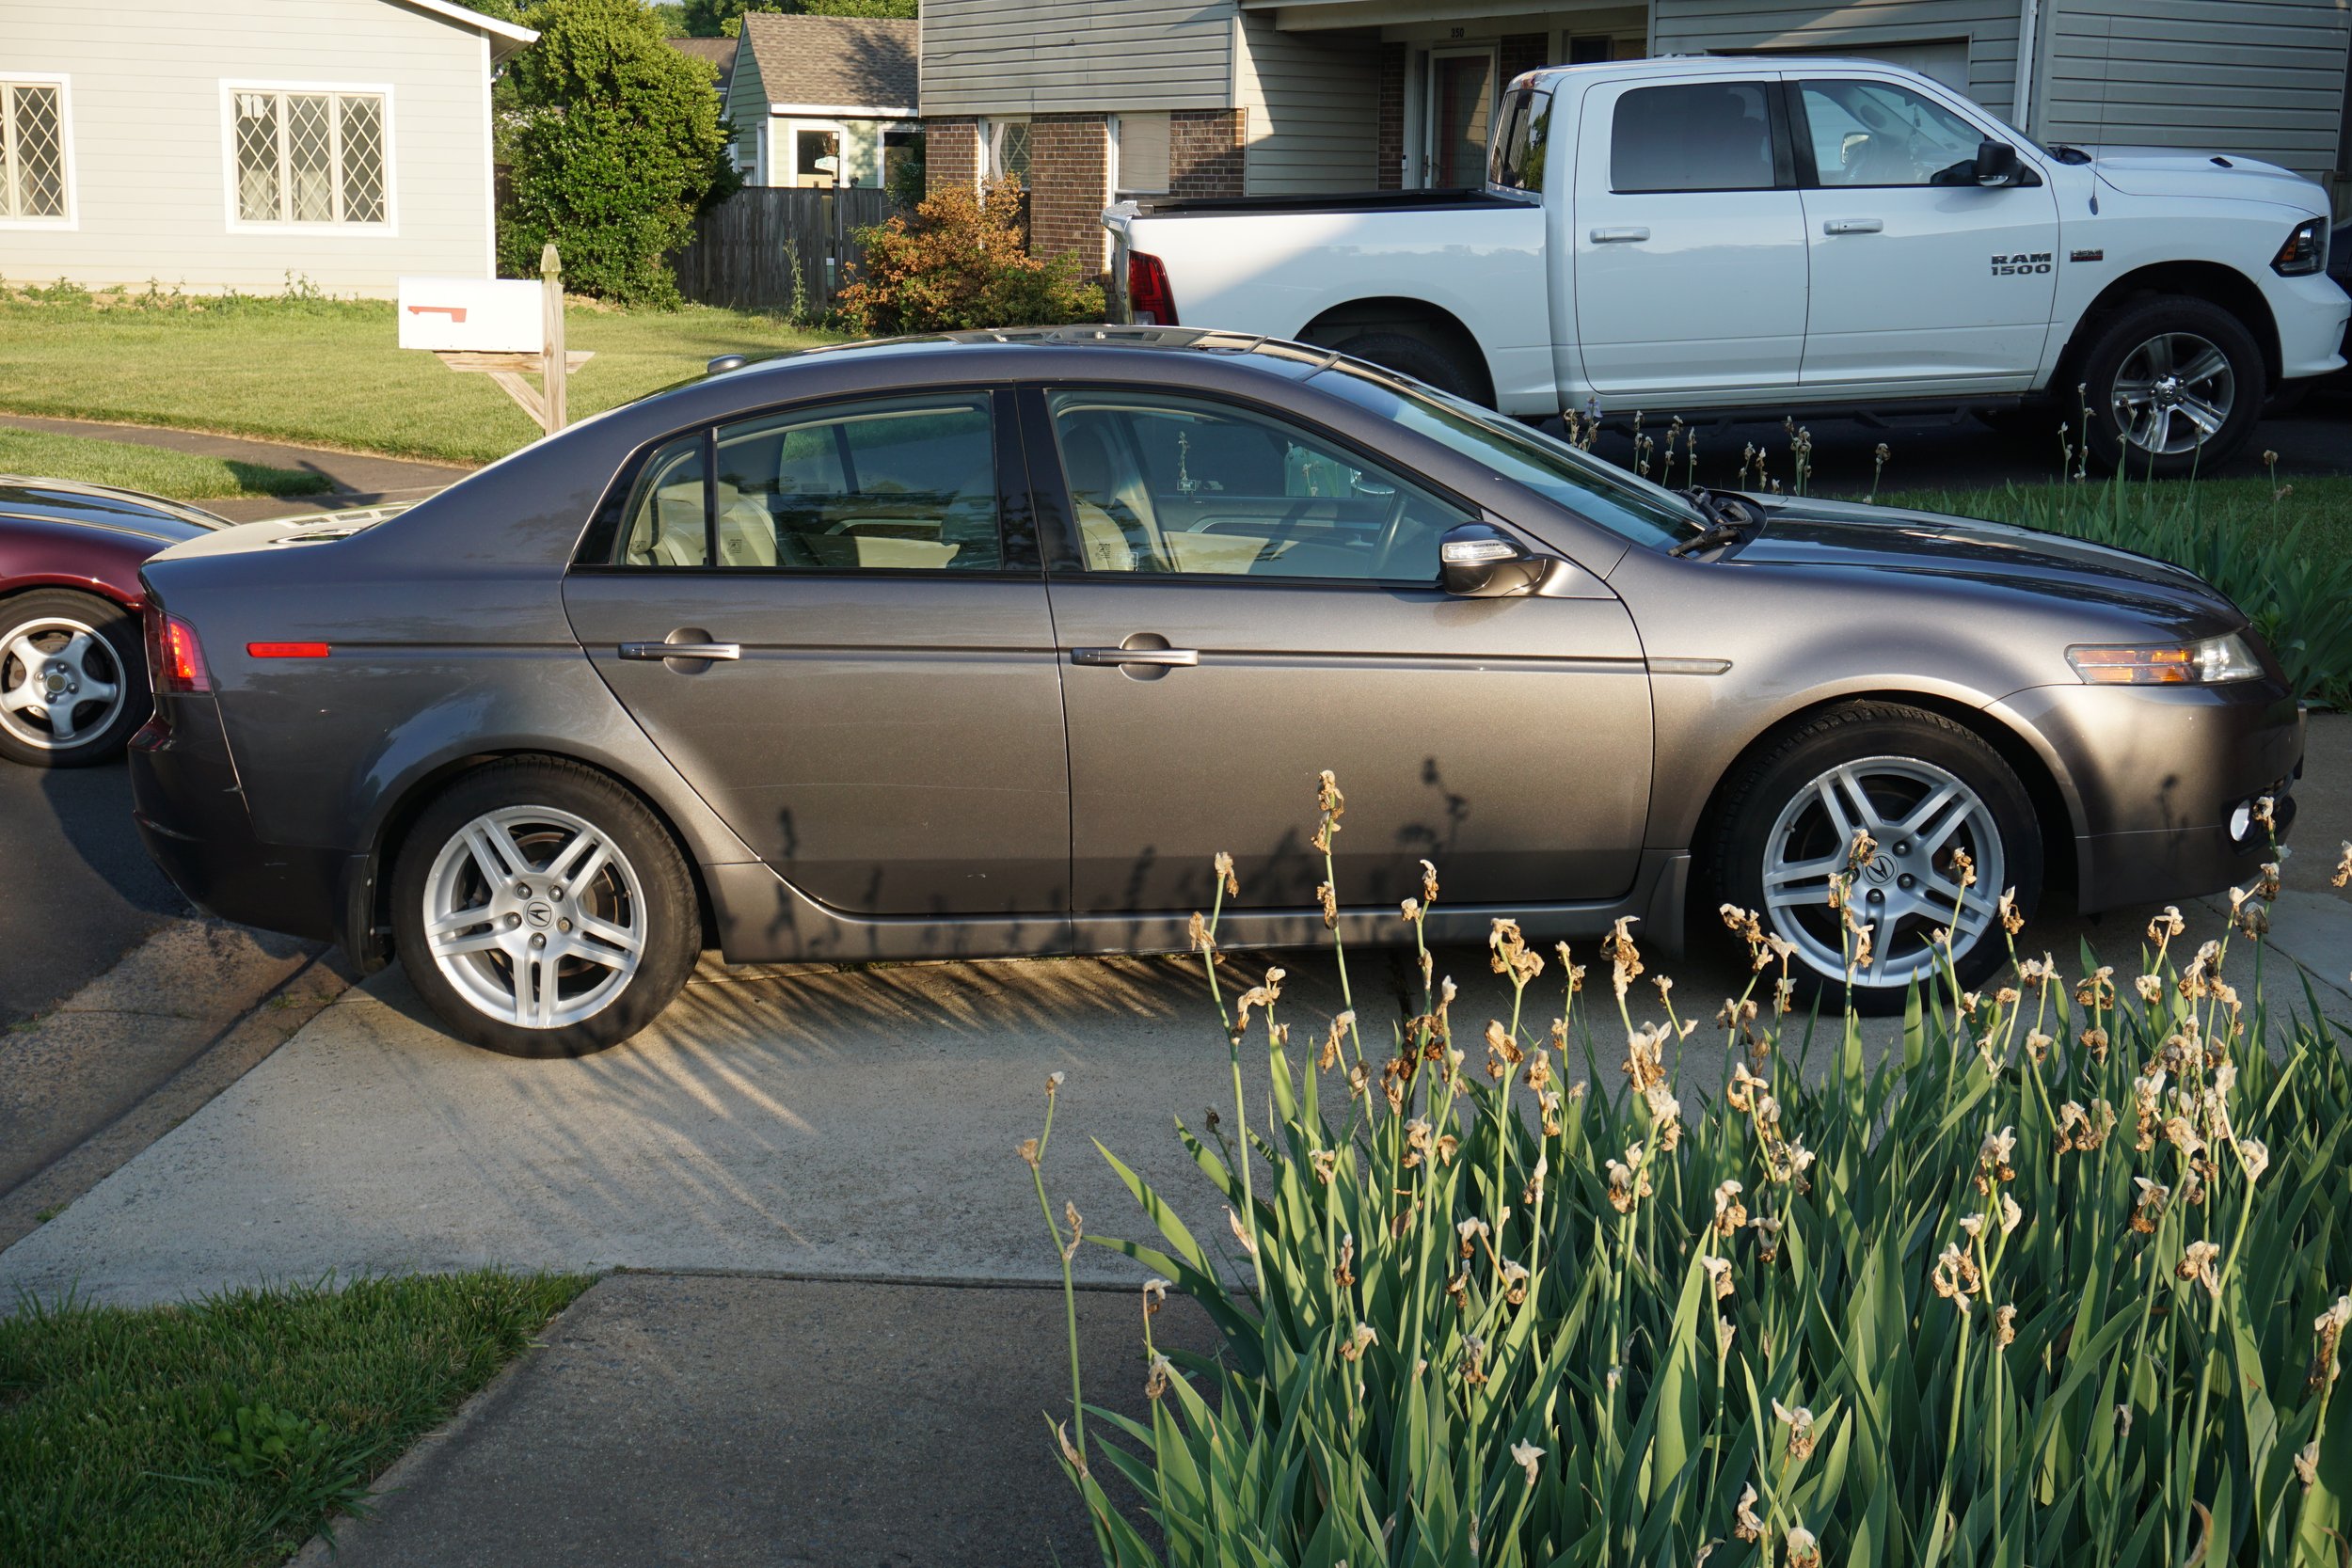
I've done two other repair jobs to my cars in the past, but that was with 2k rattle cans mixed up at the local paint supply store. This project was my first using my new air compressor and real paint gun setup in my home garage, so there was a lot of learning going on. Lots of mistakes too! This Acura TL is my mom's car, and since she doesn't exactly have an eye for paint perfection, I figured it would be a great project for me to get comfortable with all of my new tools and supplies.

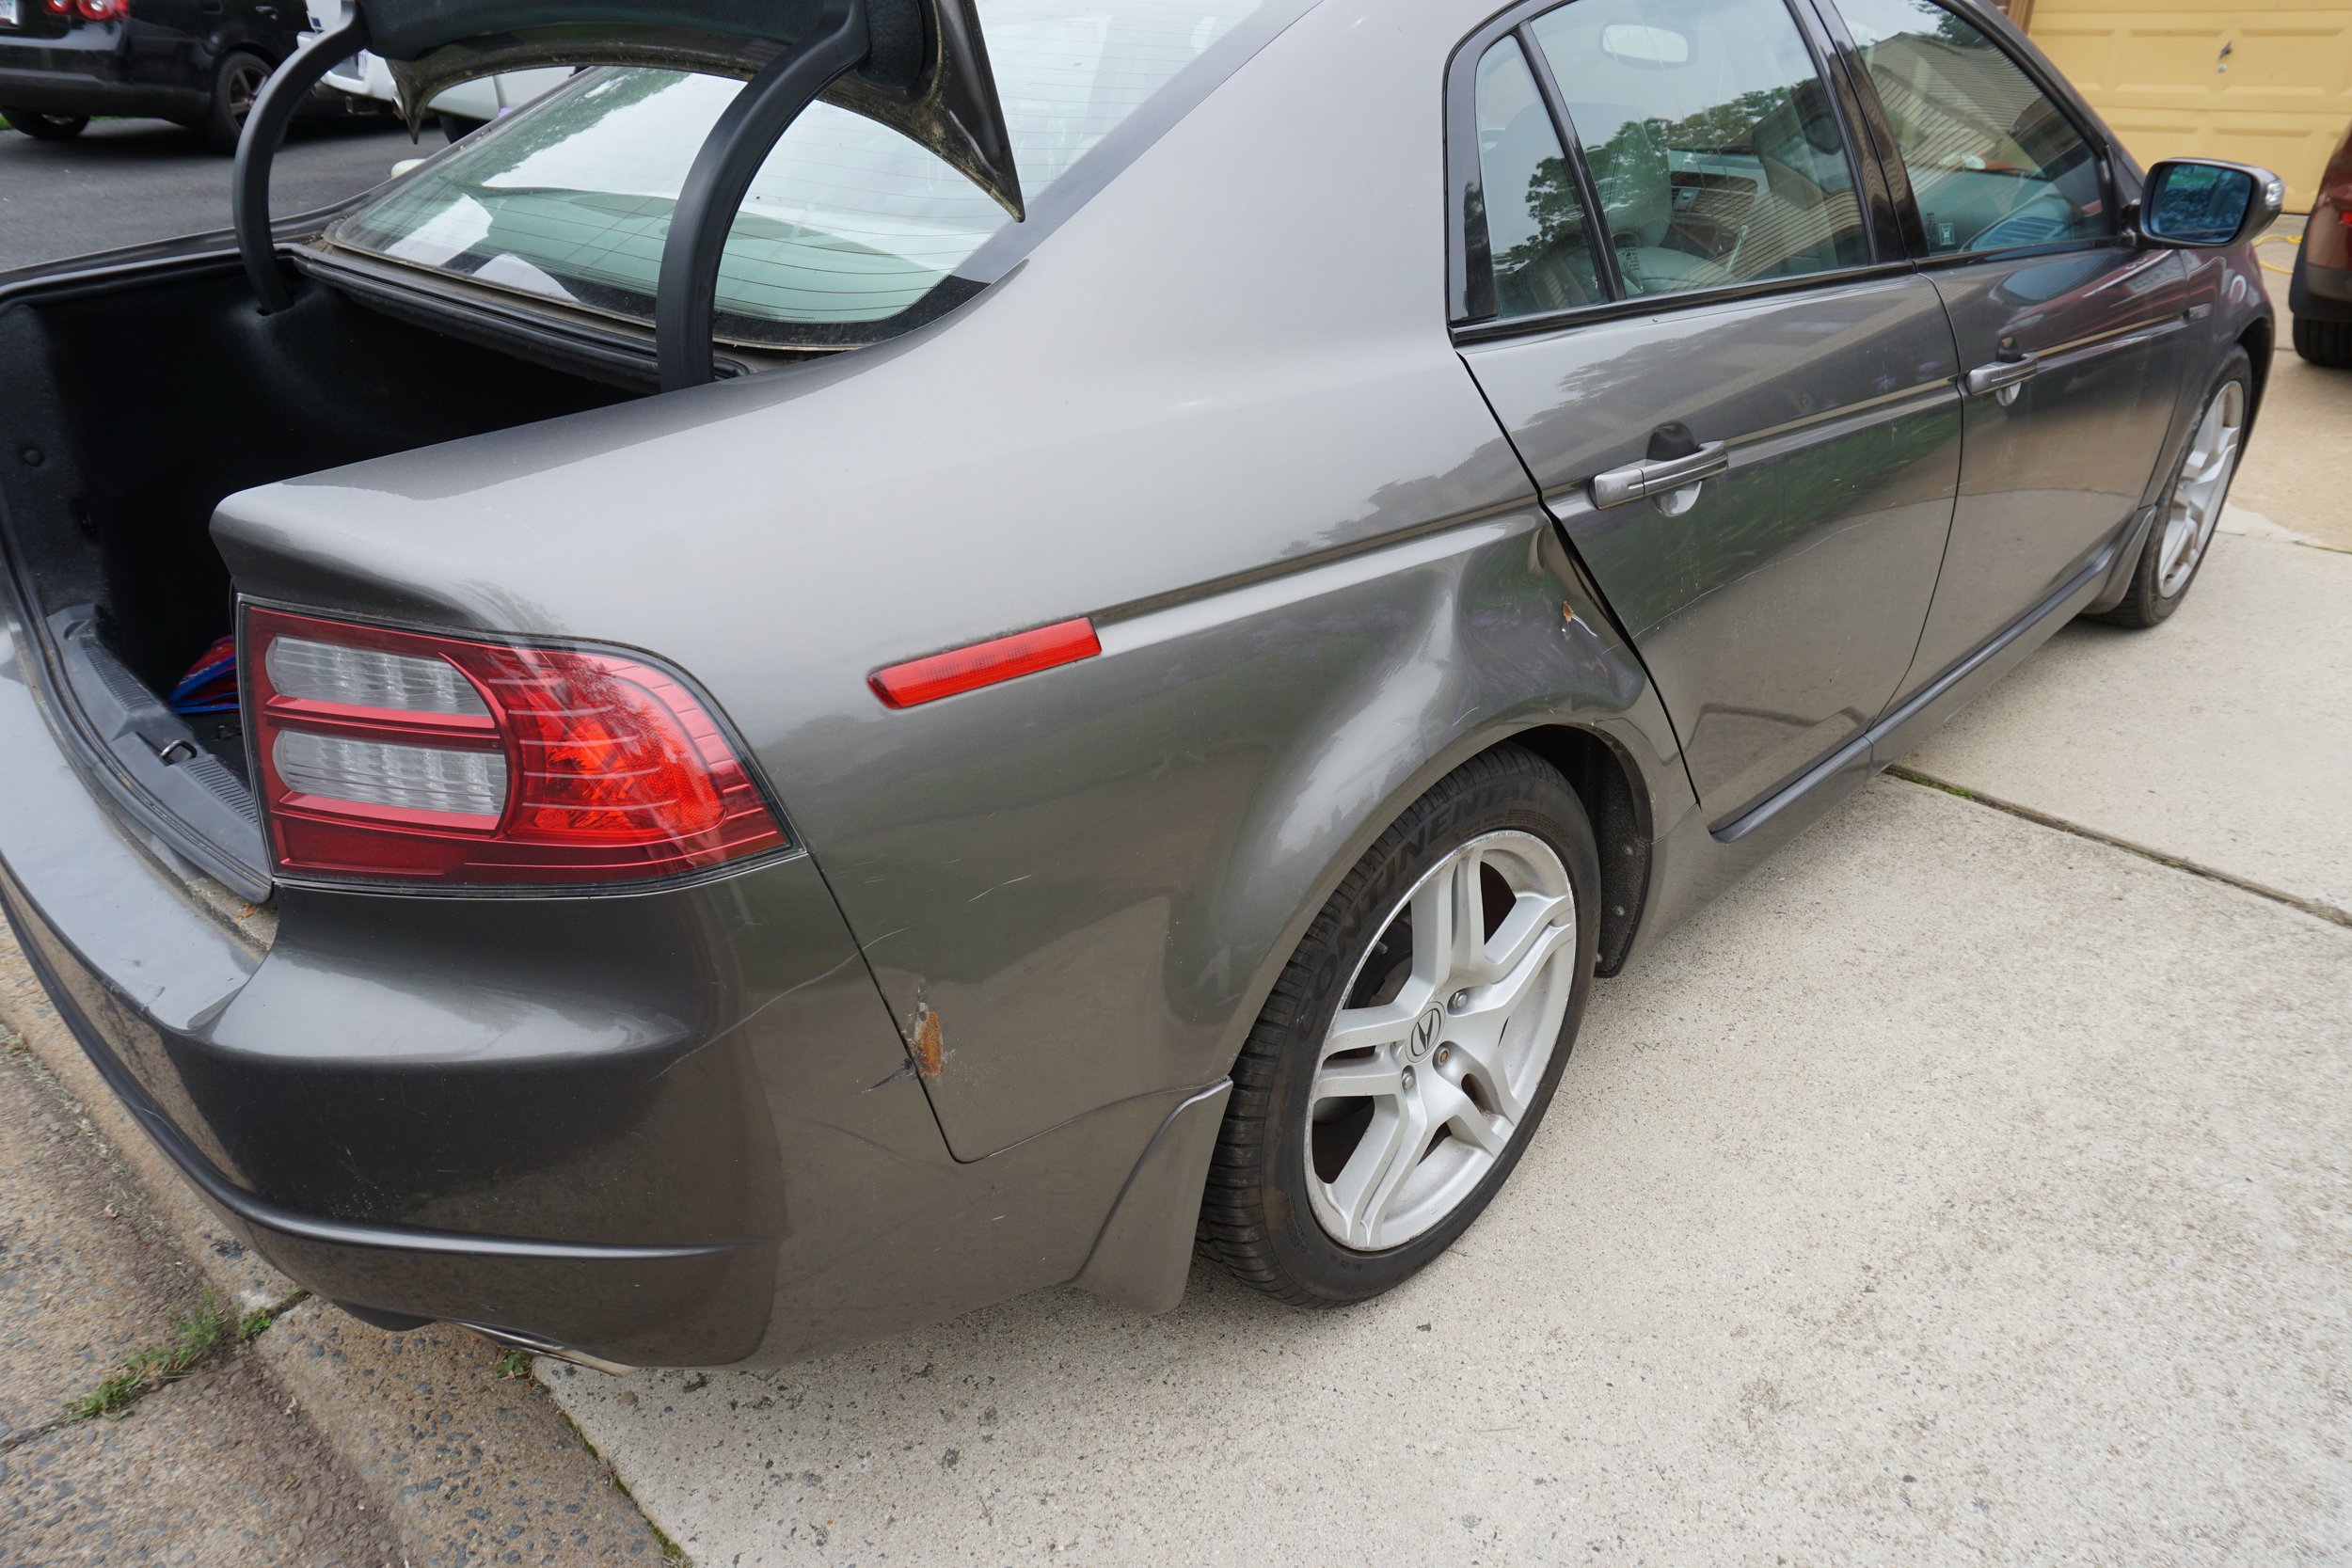
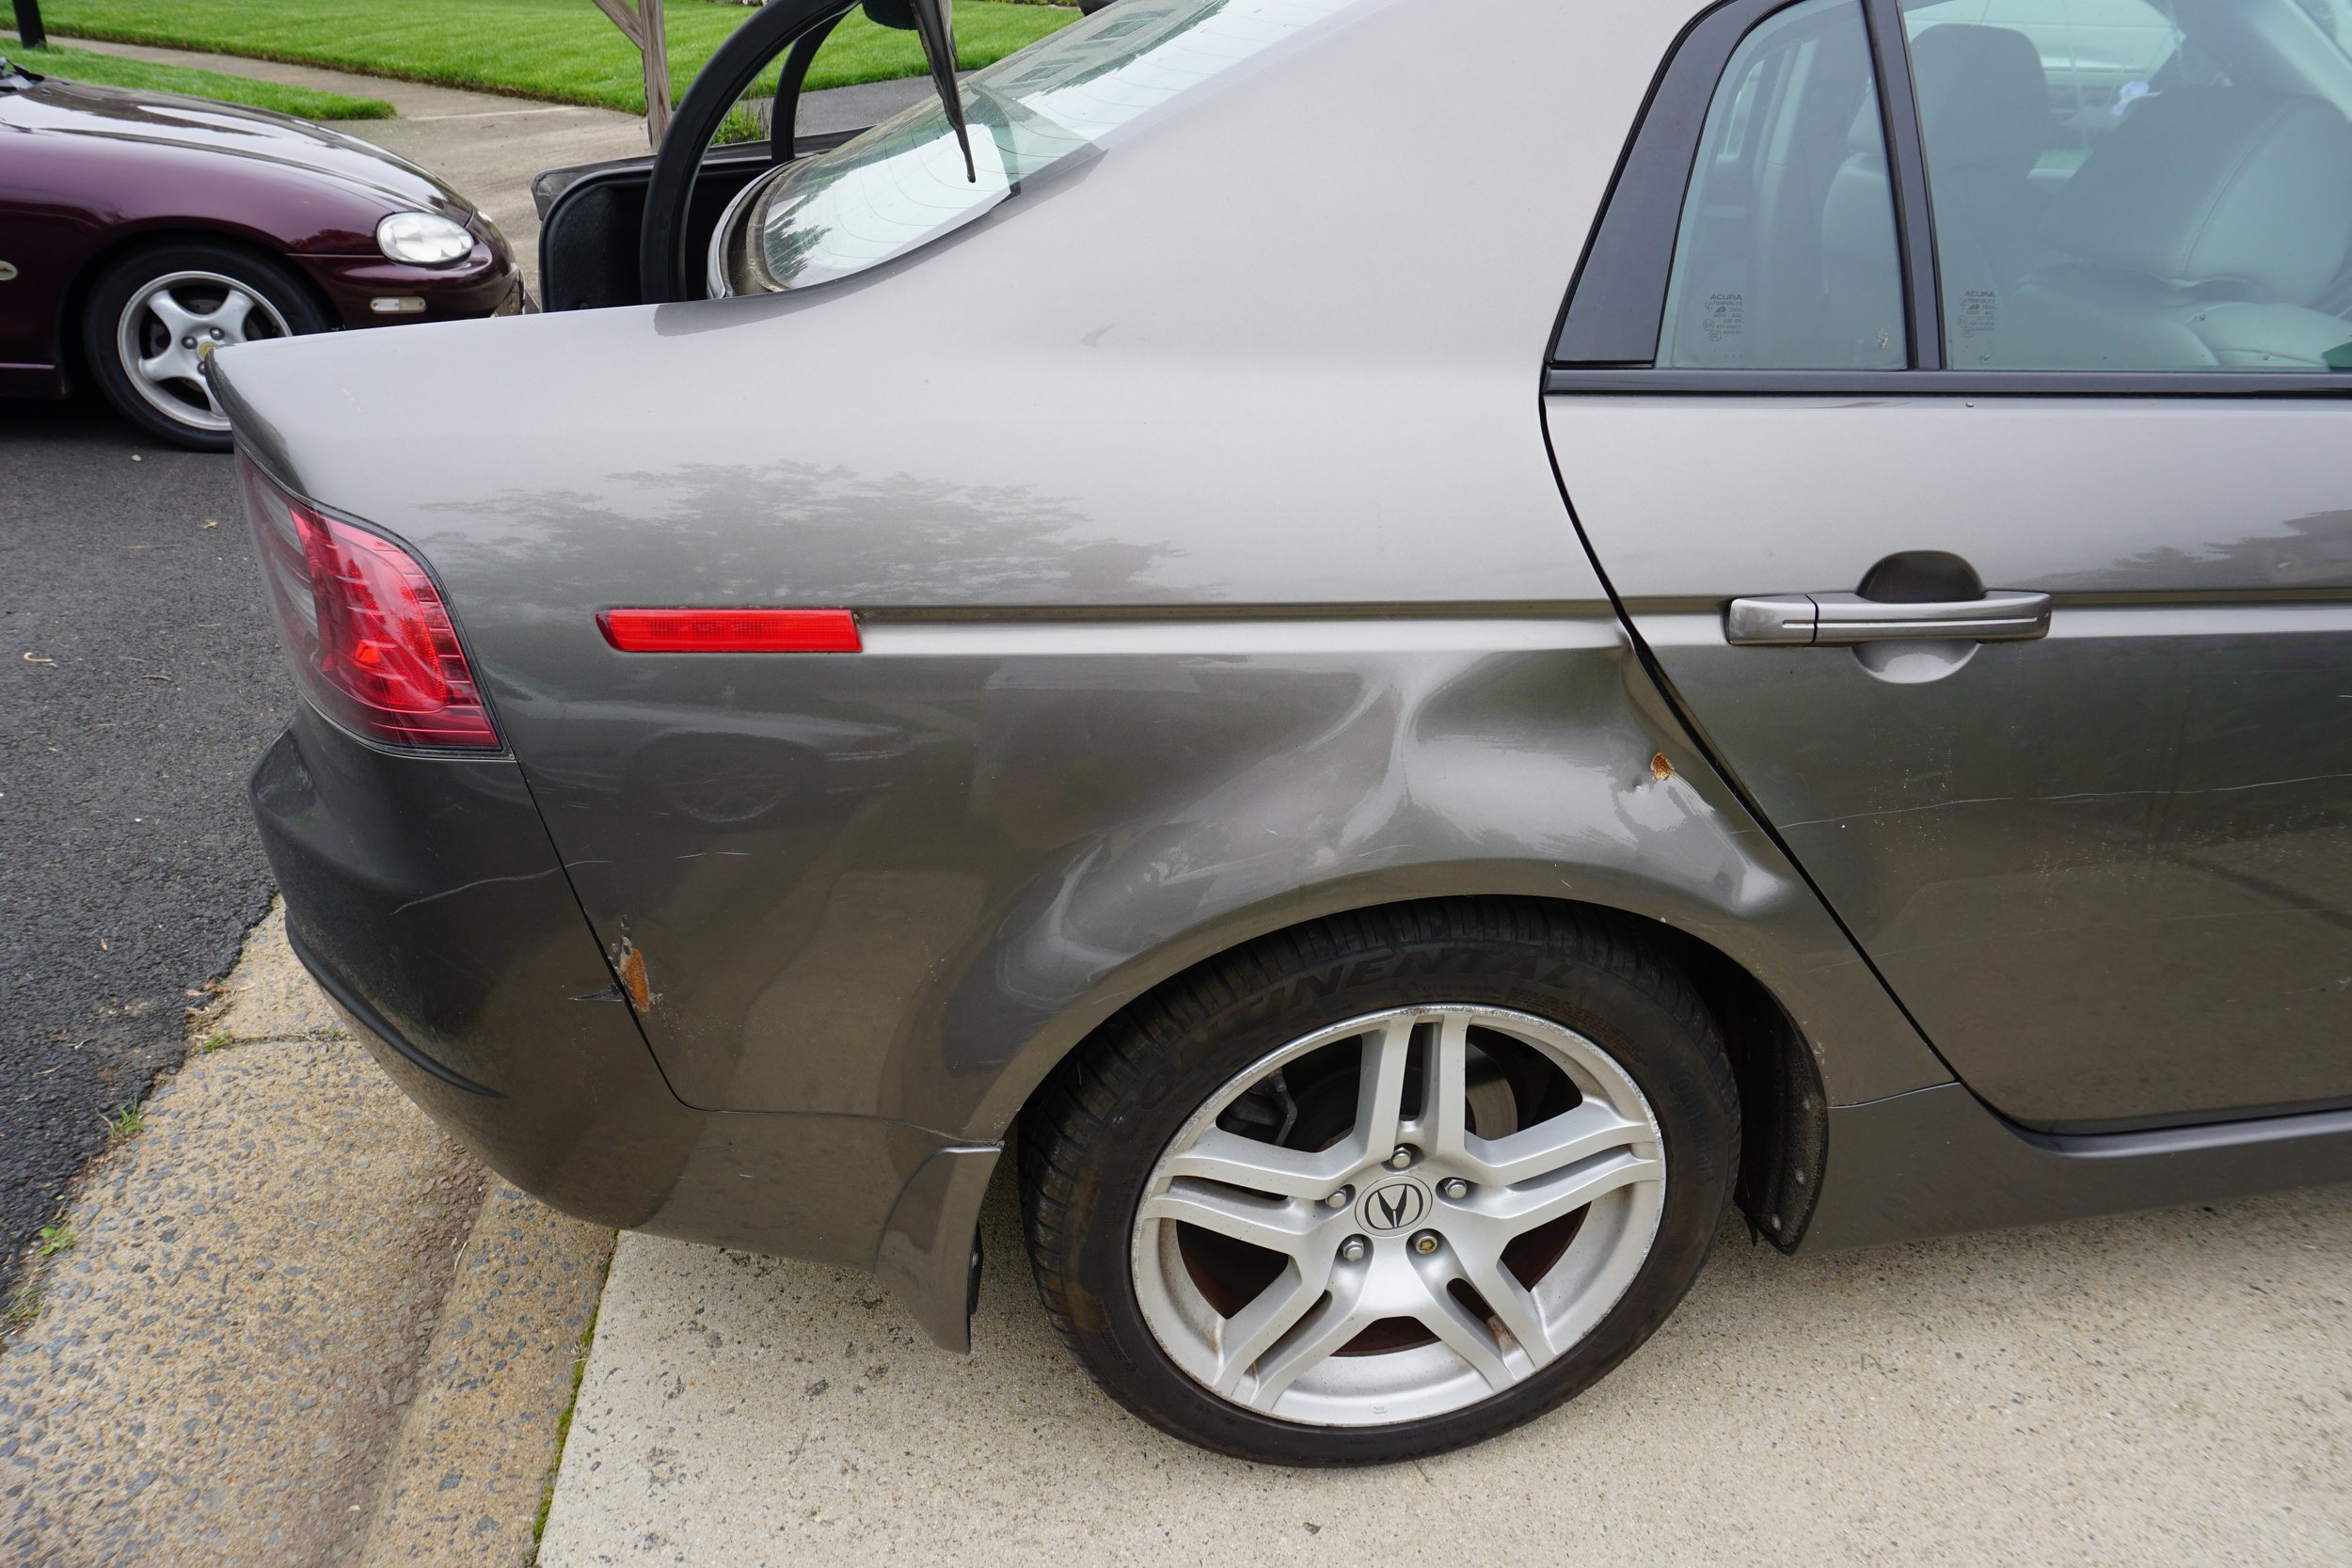
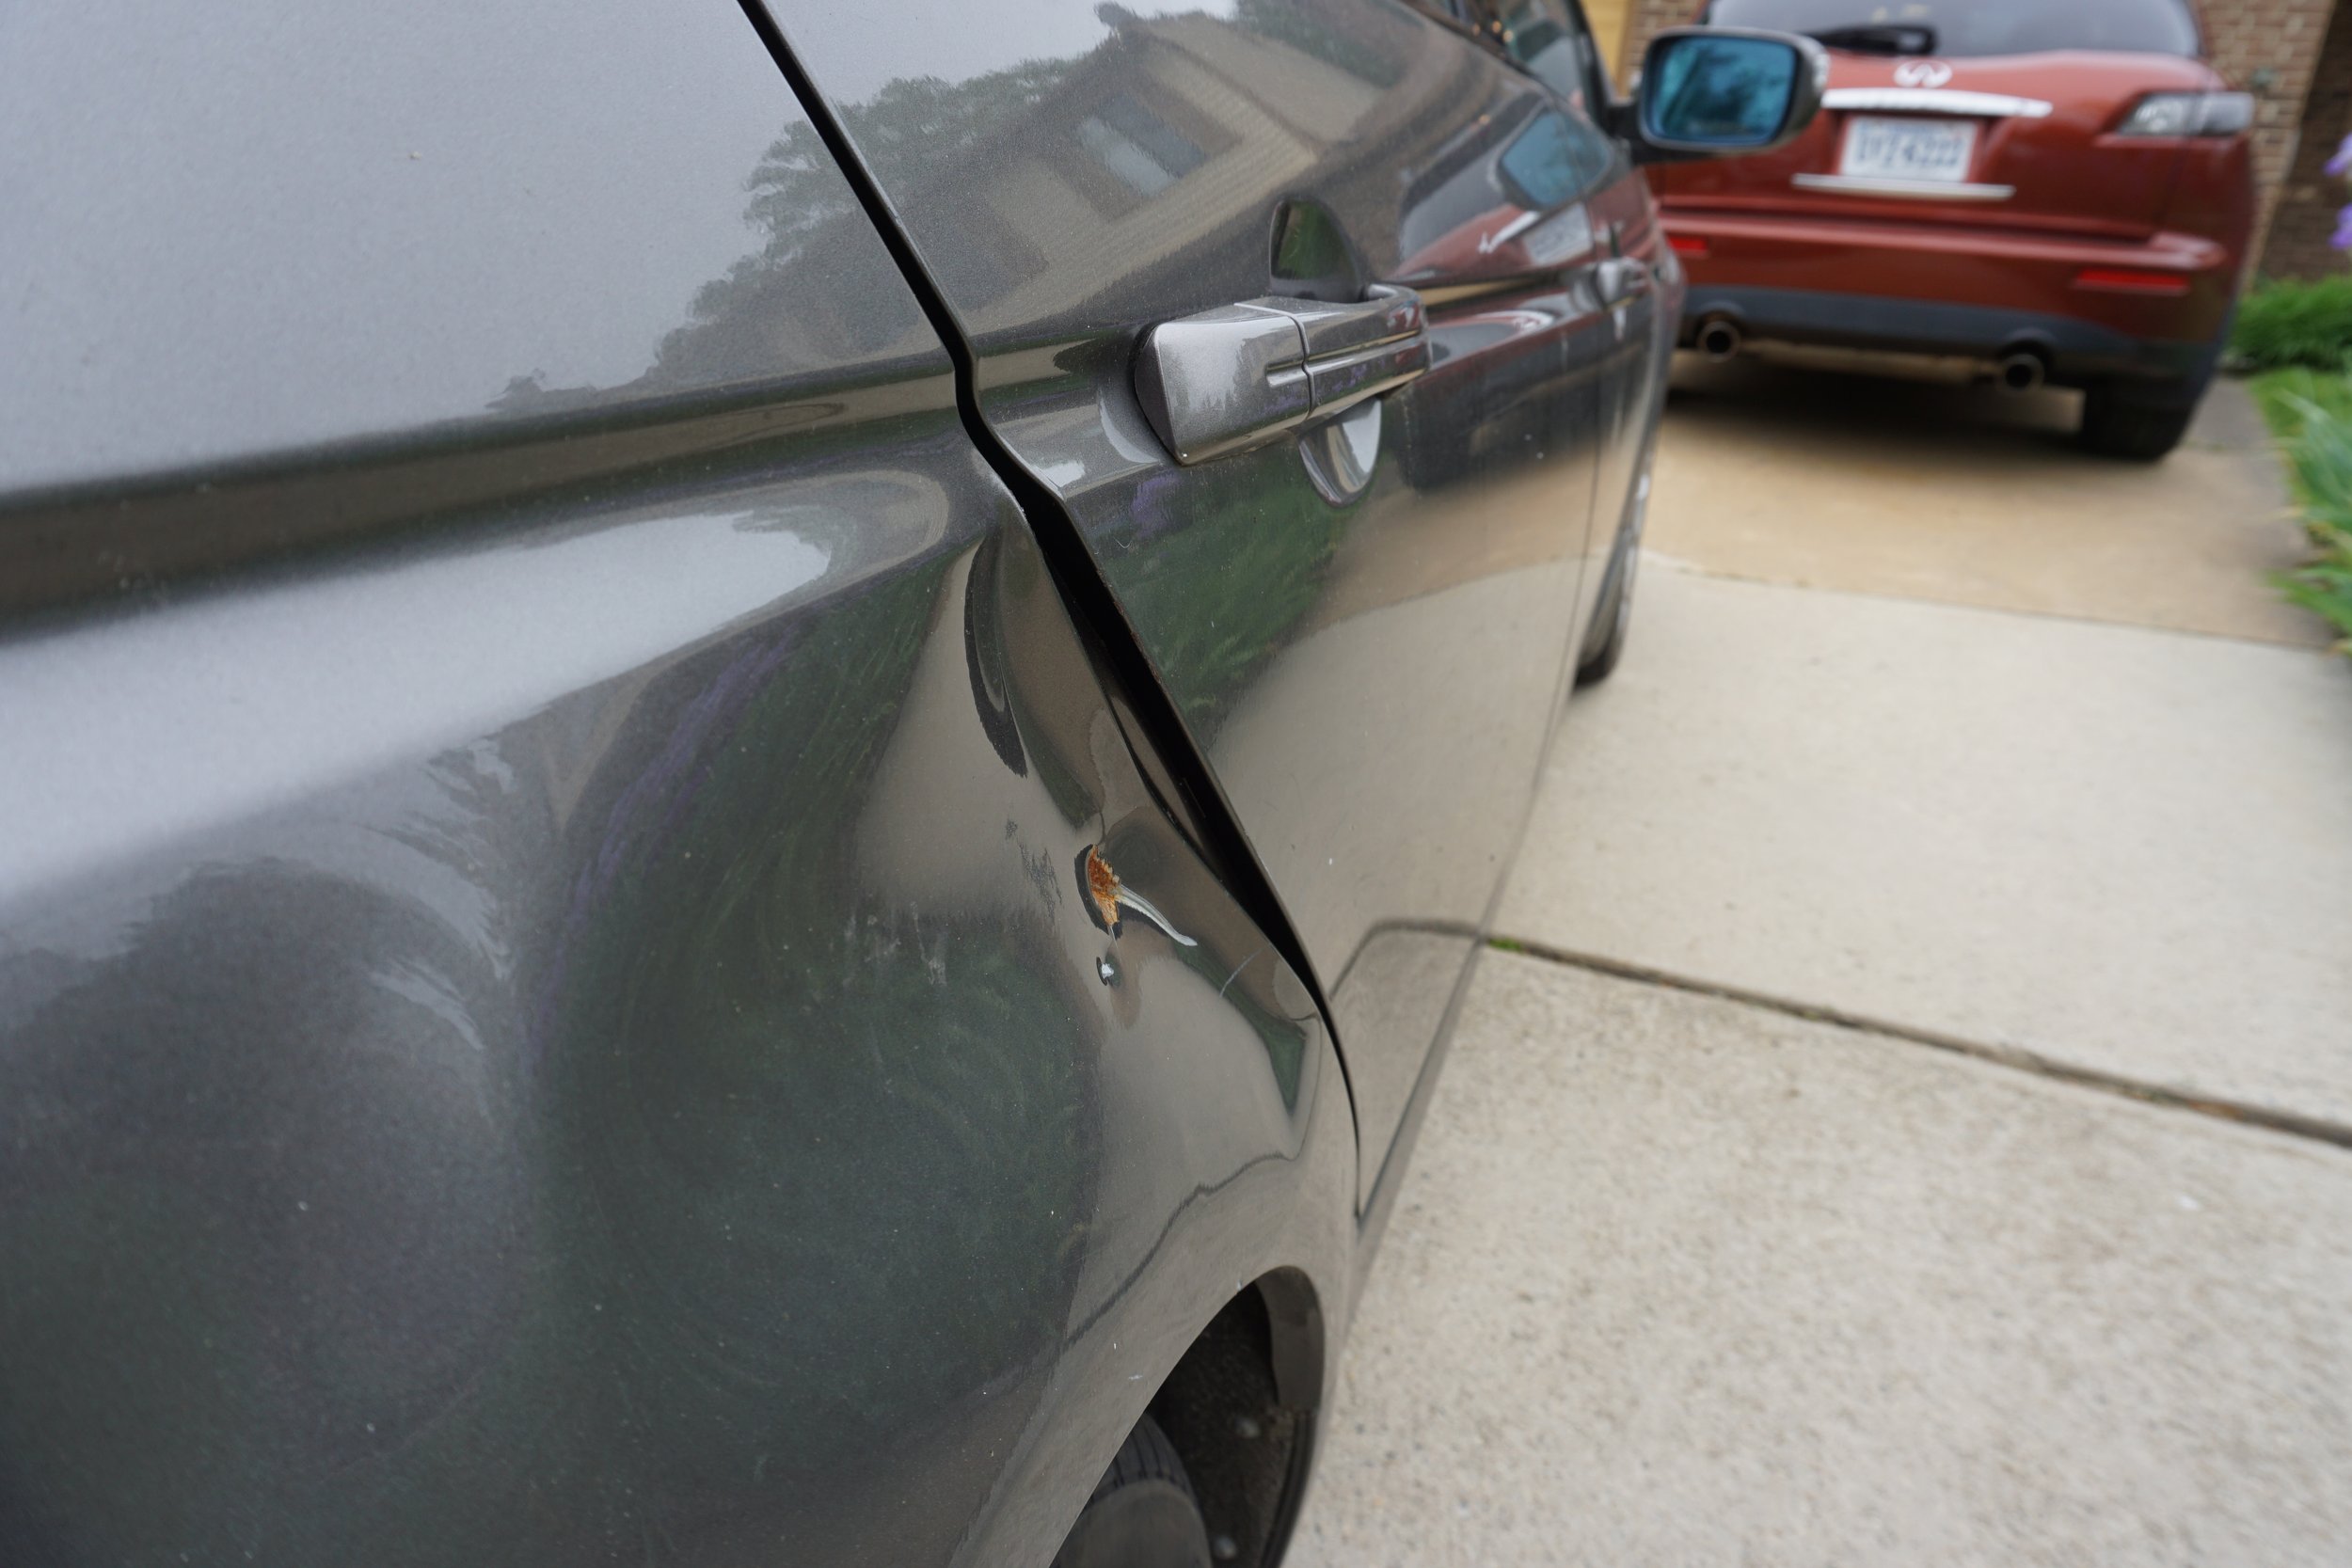
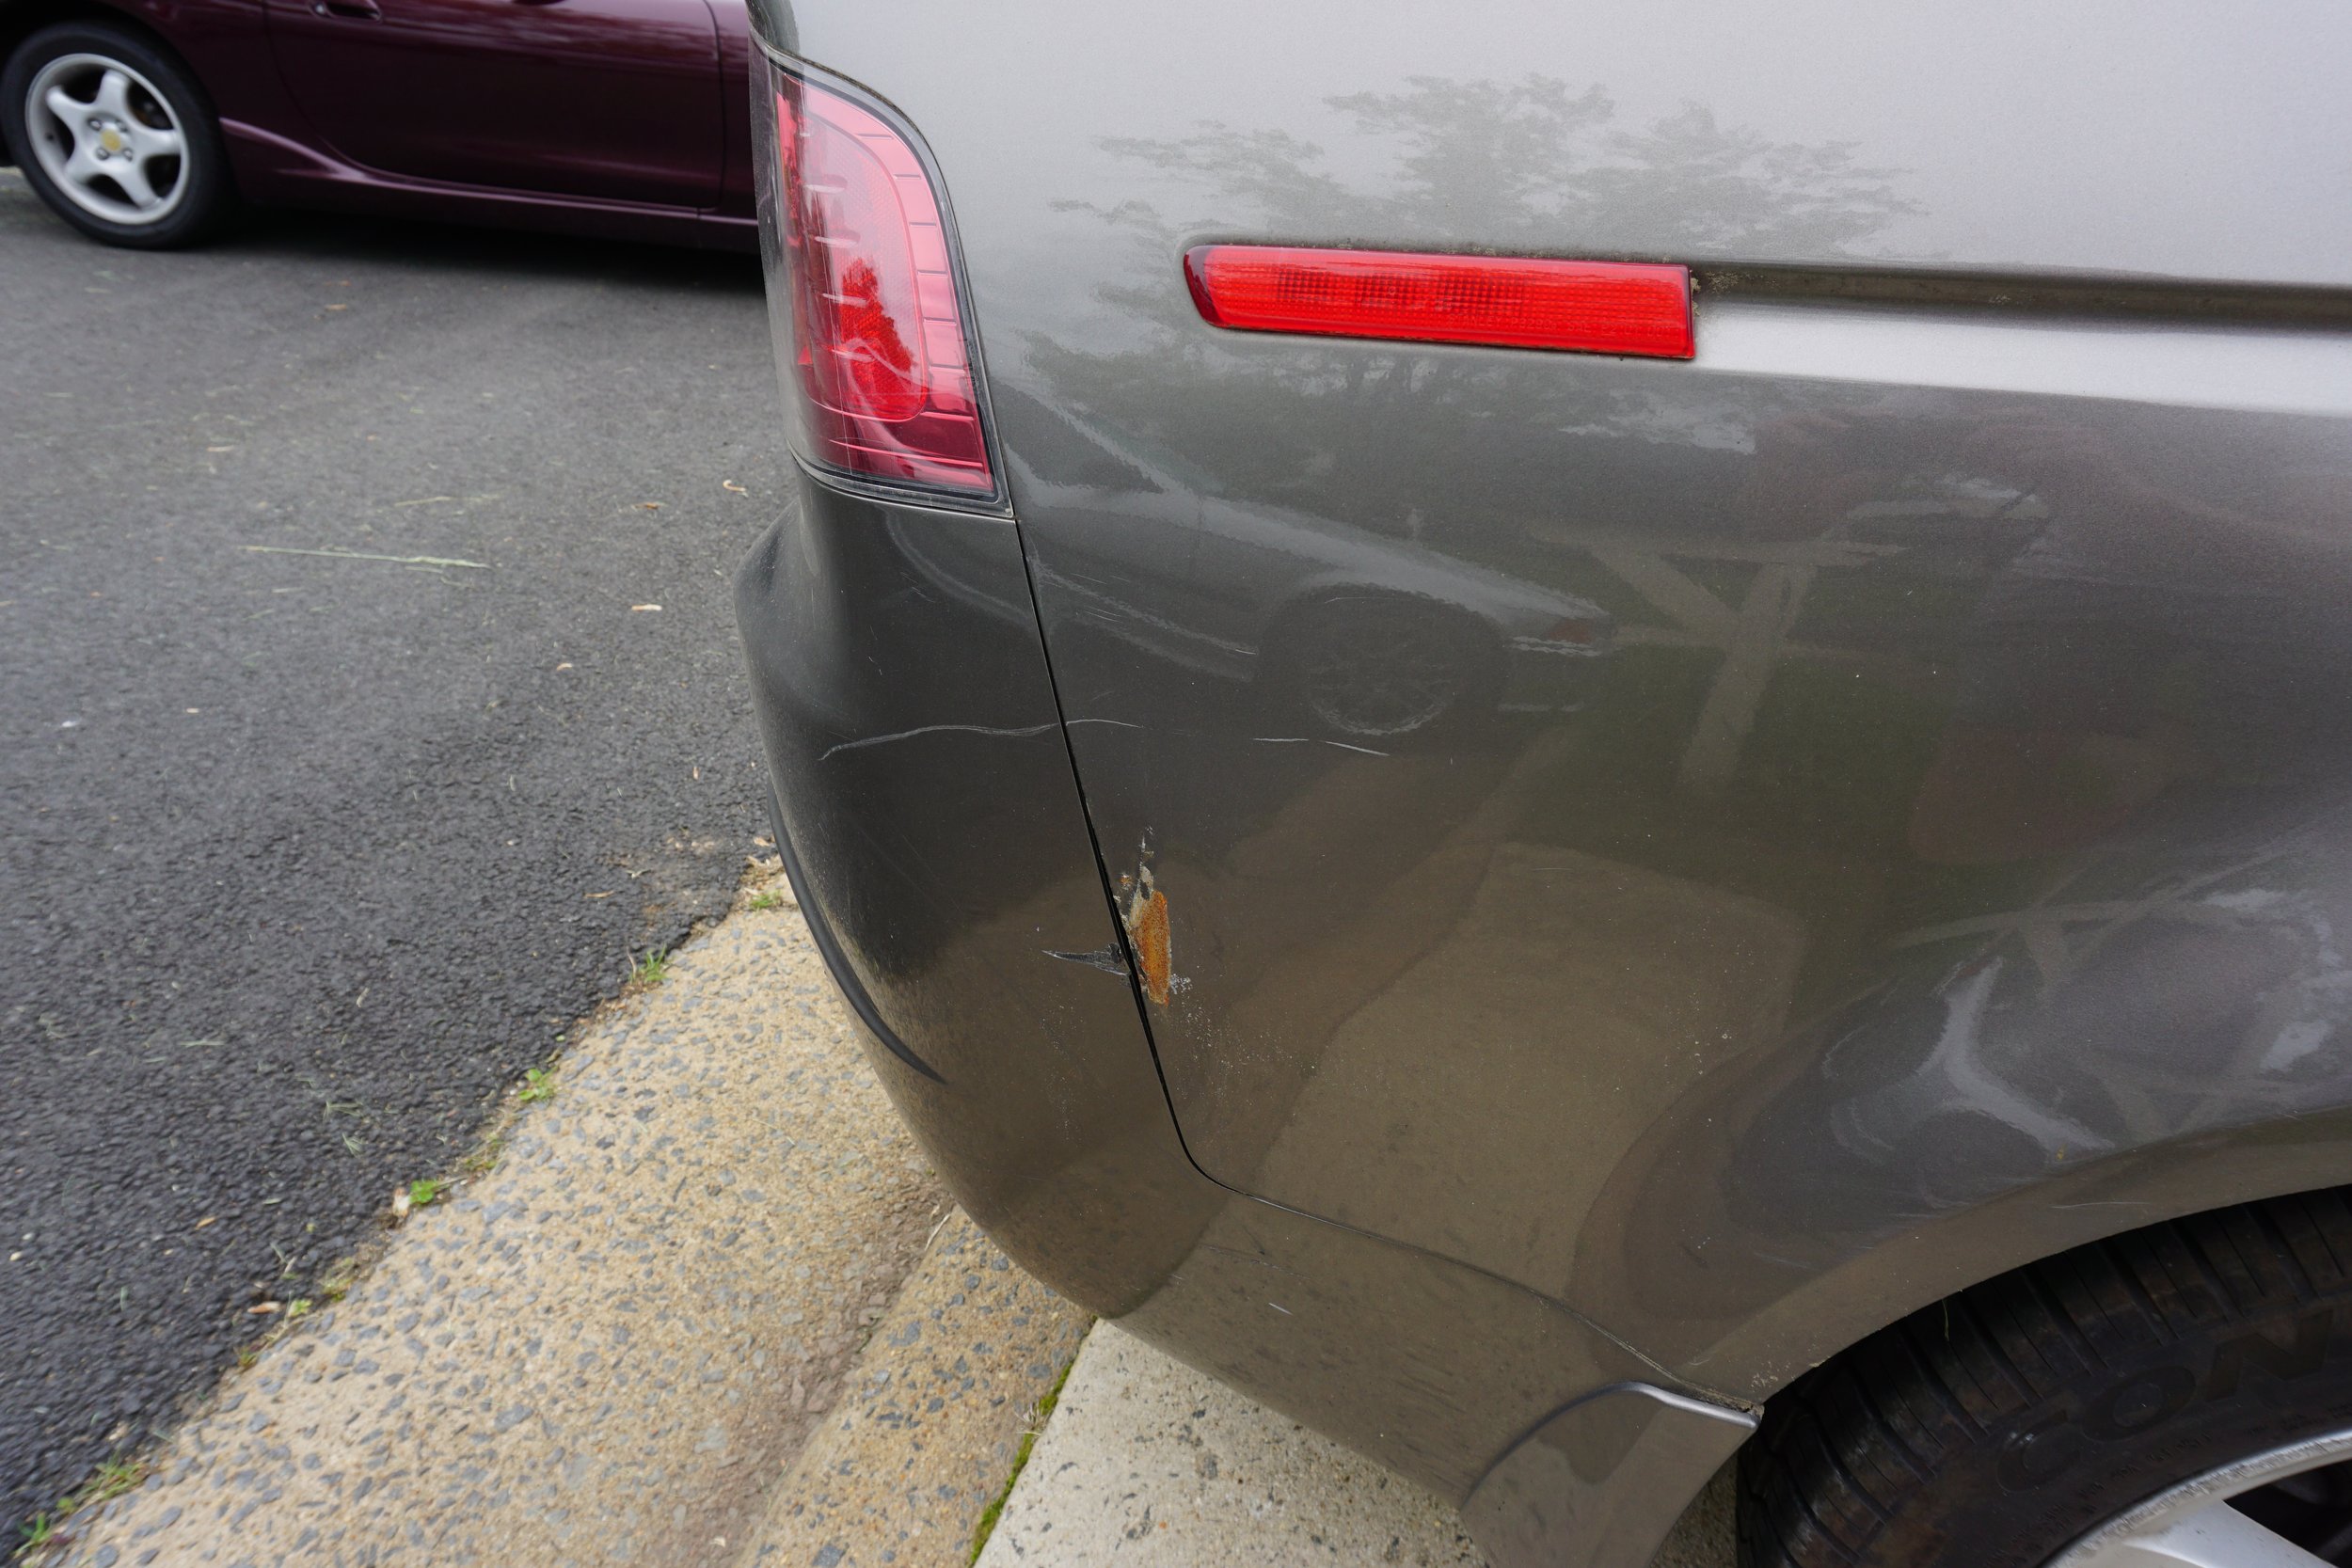
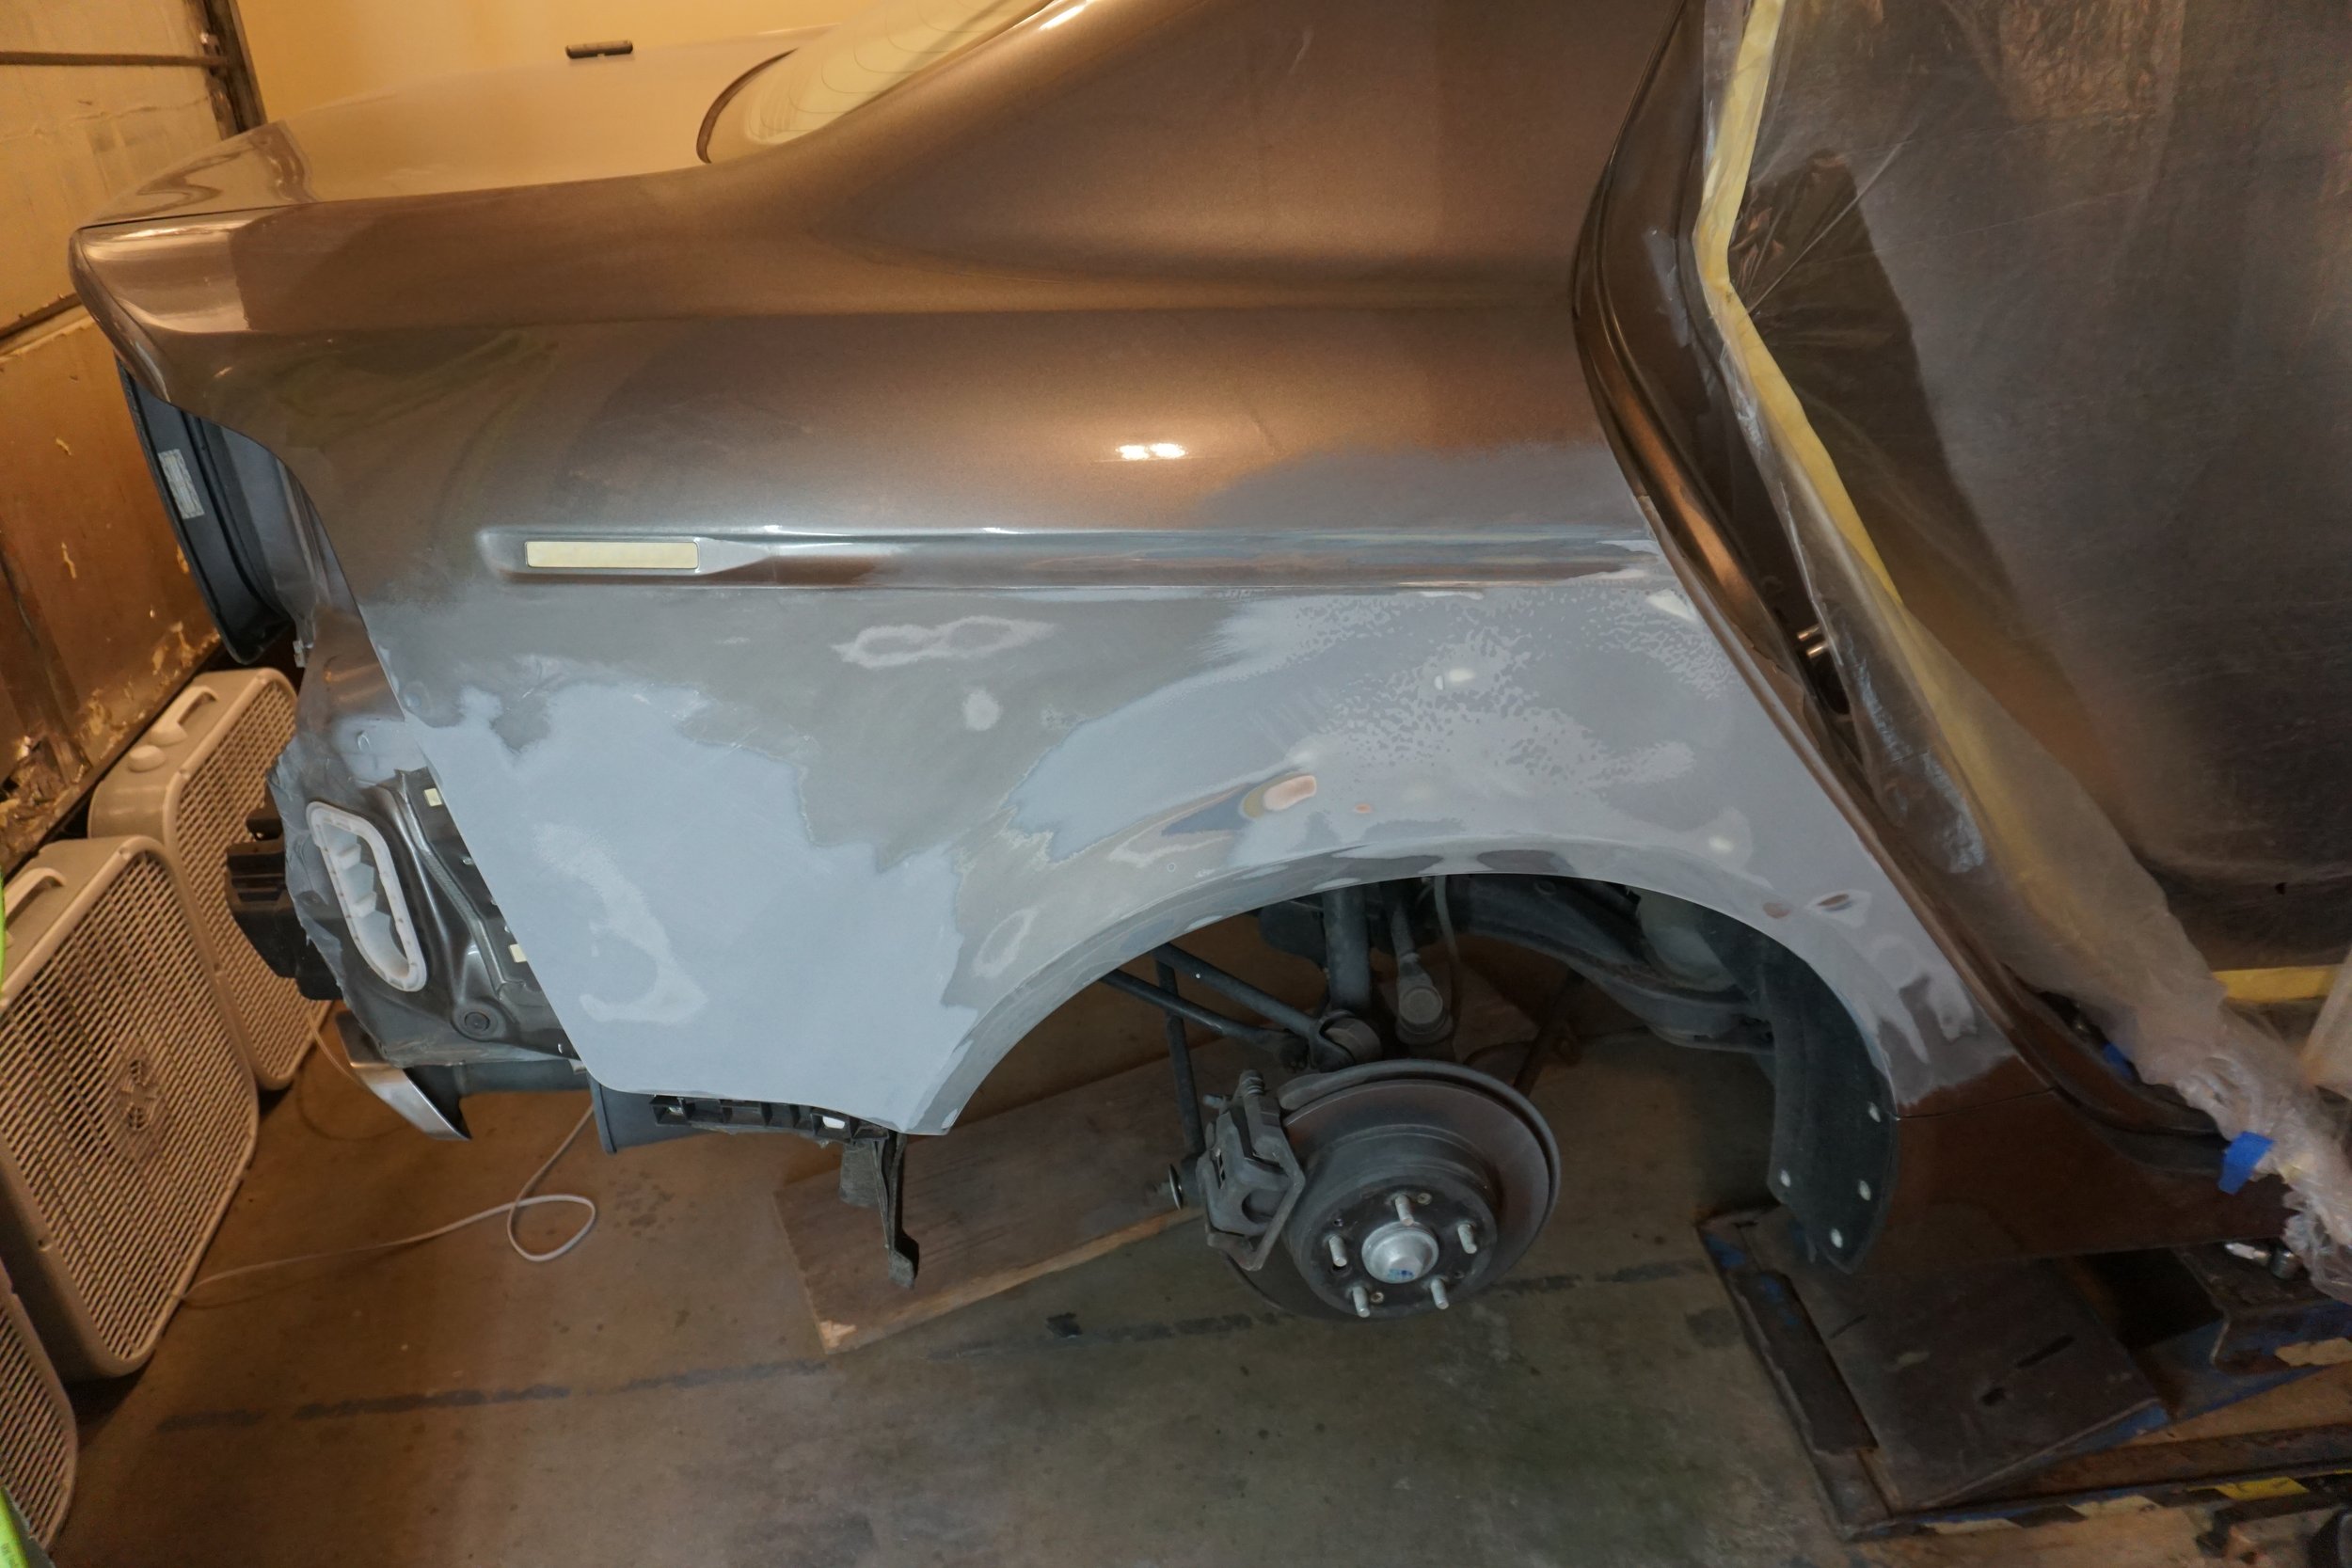
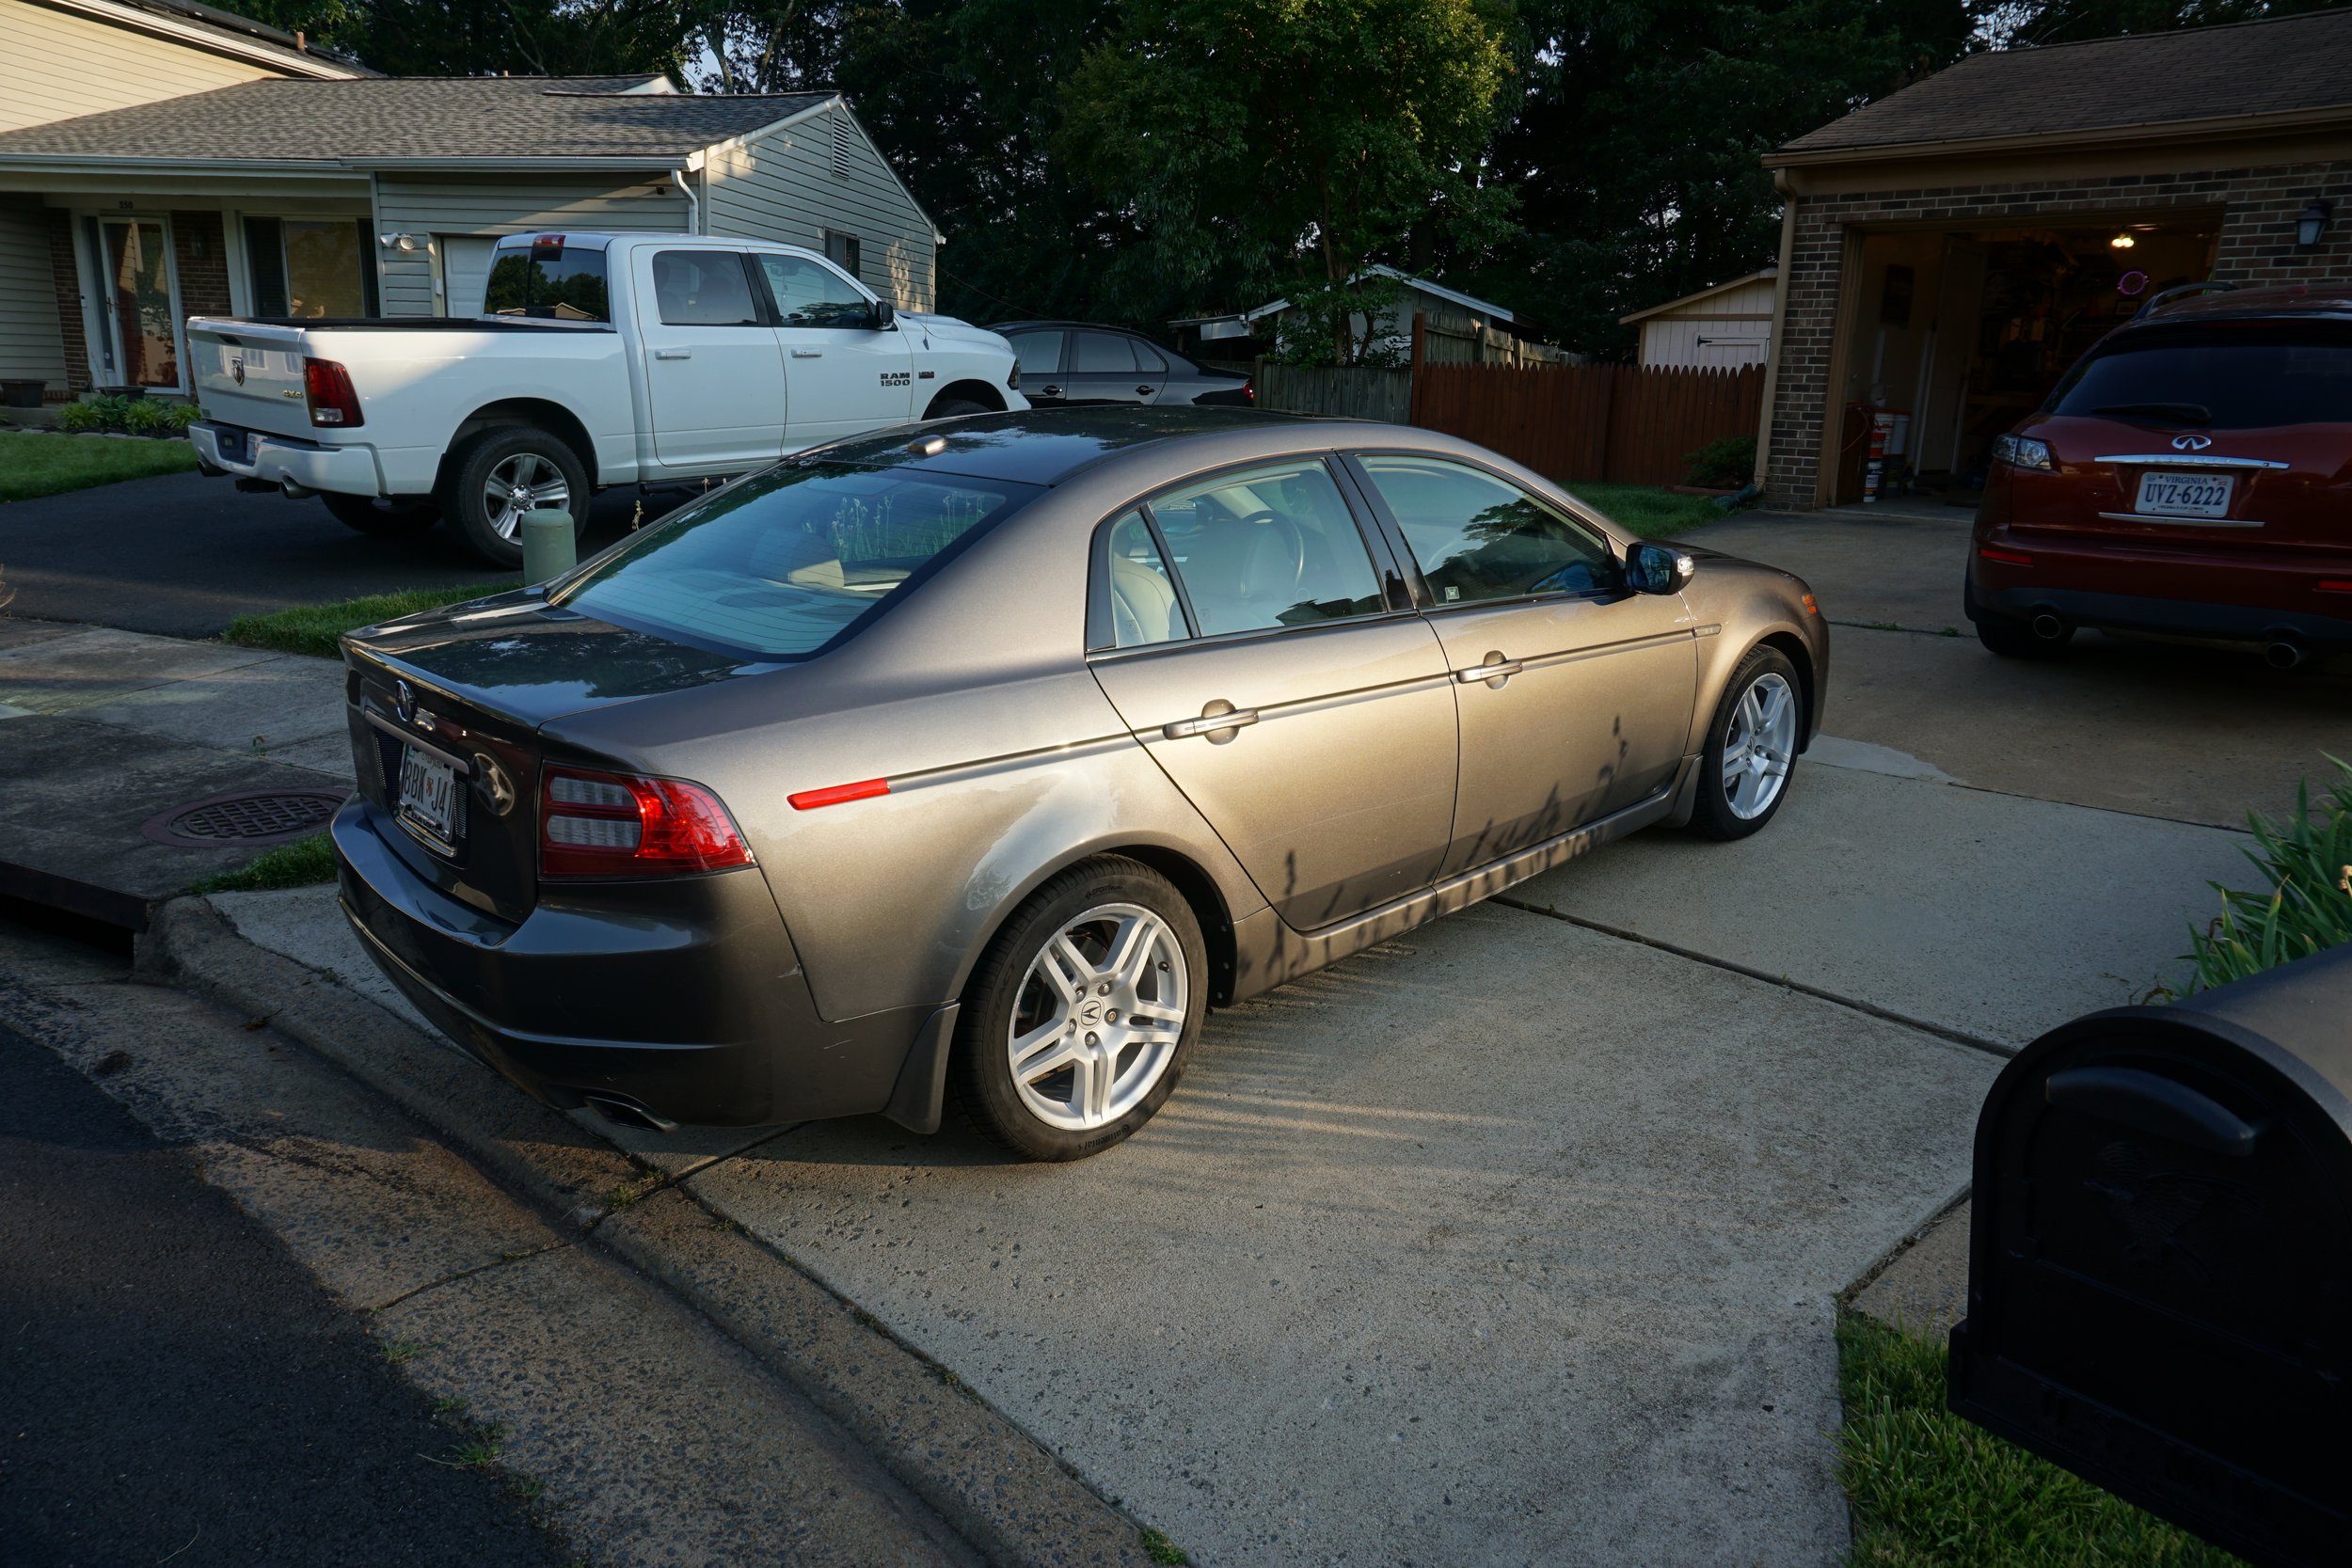
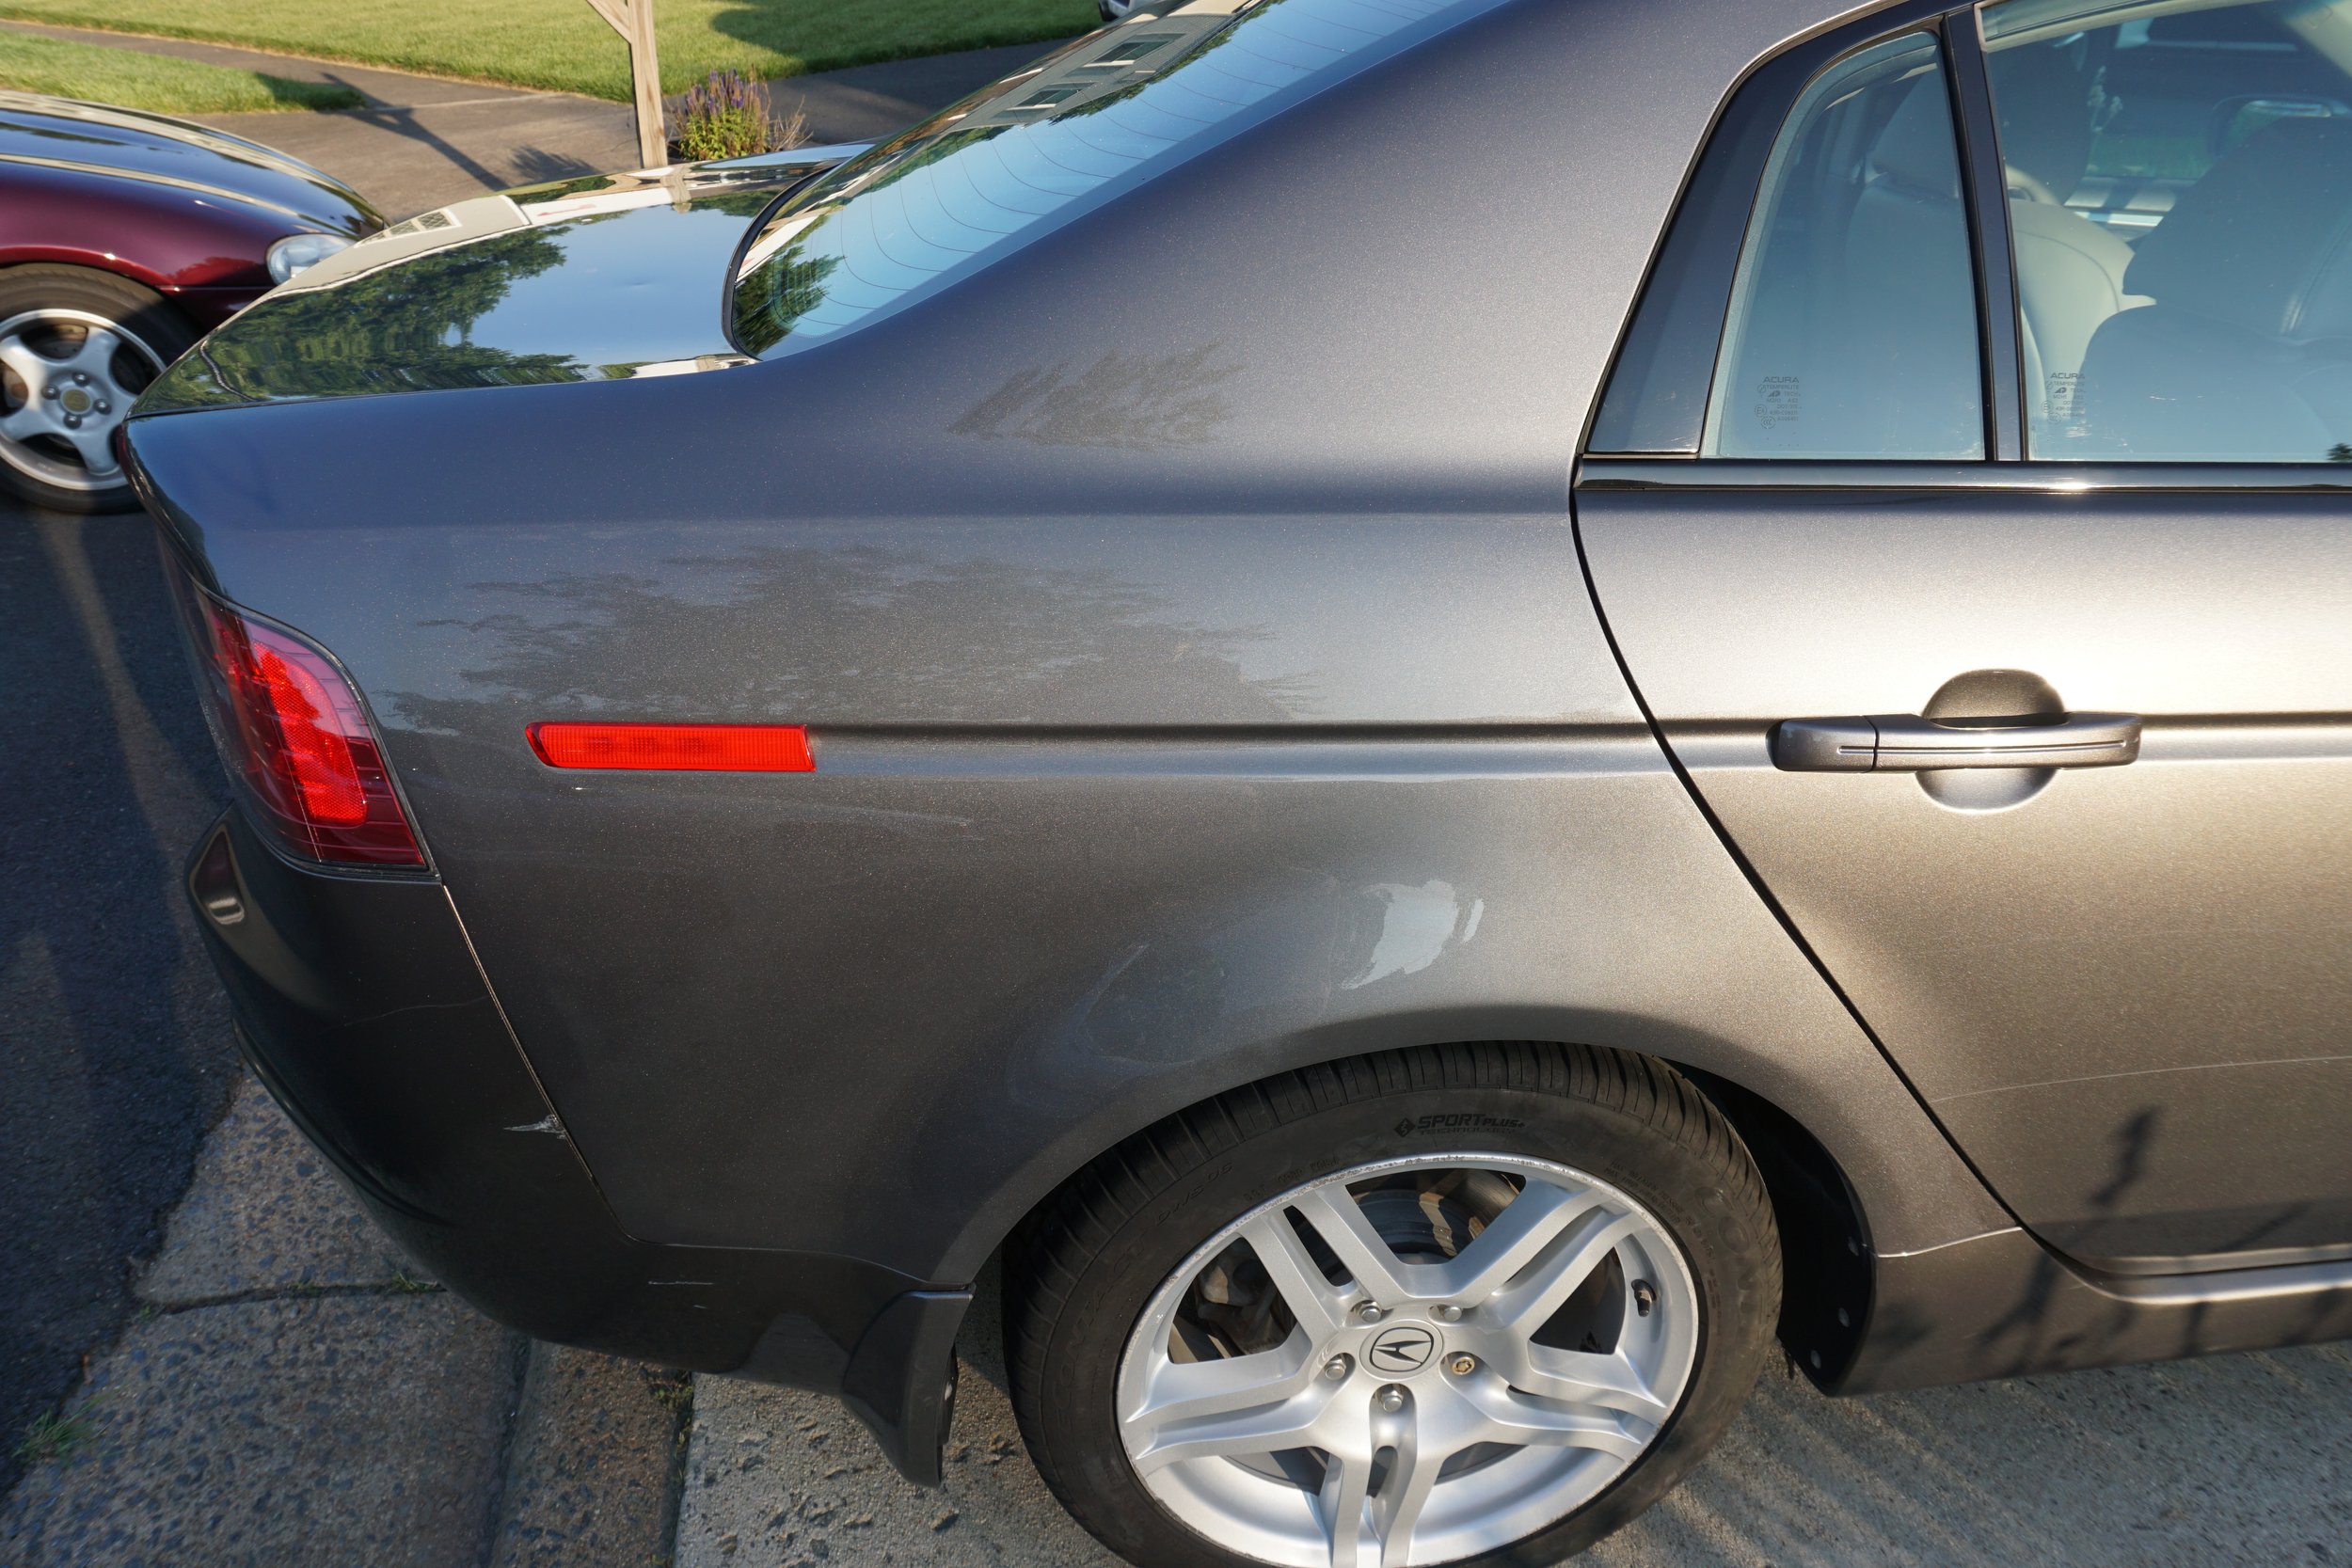
My mom had backed into something at one point, and then my step dad backed his trailer into the same panel, so I decided to repair the PS rear quarter panel.

DSC01115.JPG


DSC01116.JPG


DSC01118.JPG


DSC01121.JPG


I ground it down to bare metal and got busy with my new stud welder/puller.

DSC01134.JPG


DSC01139.JPG


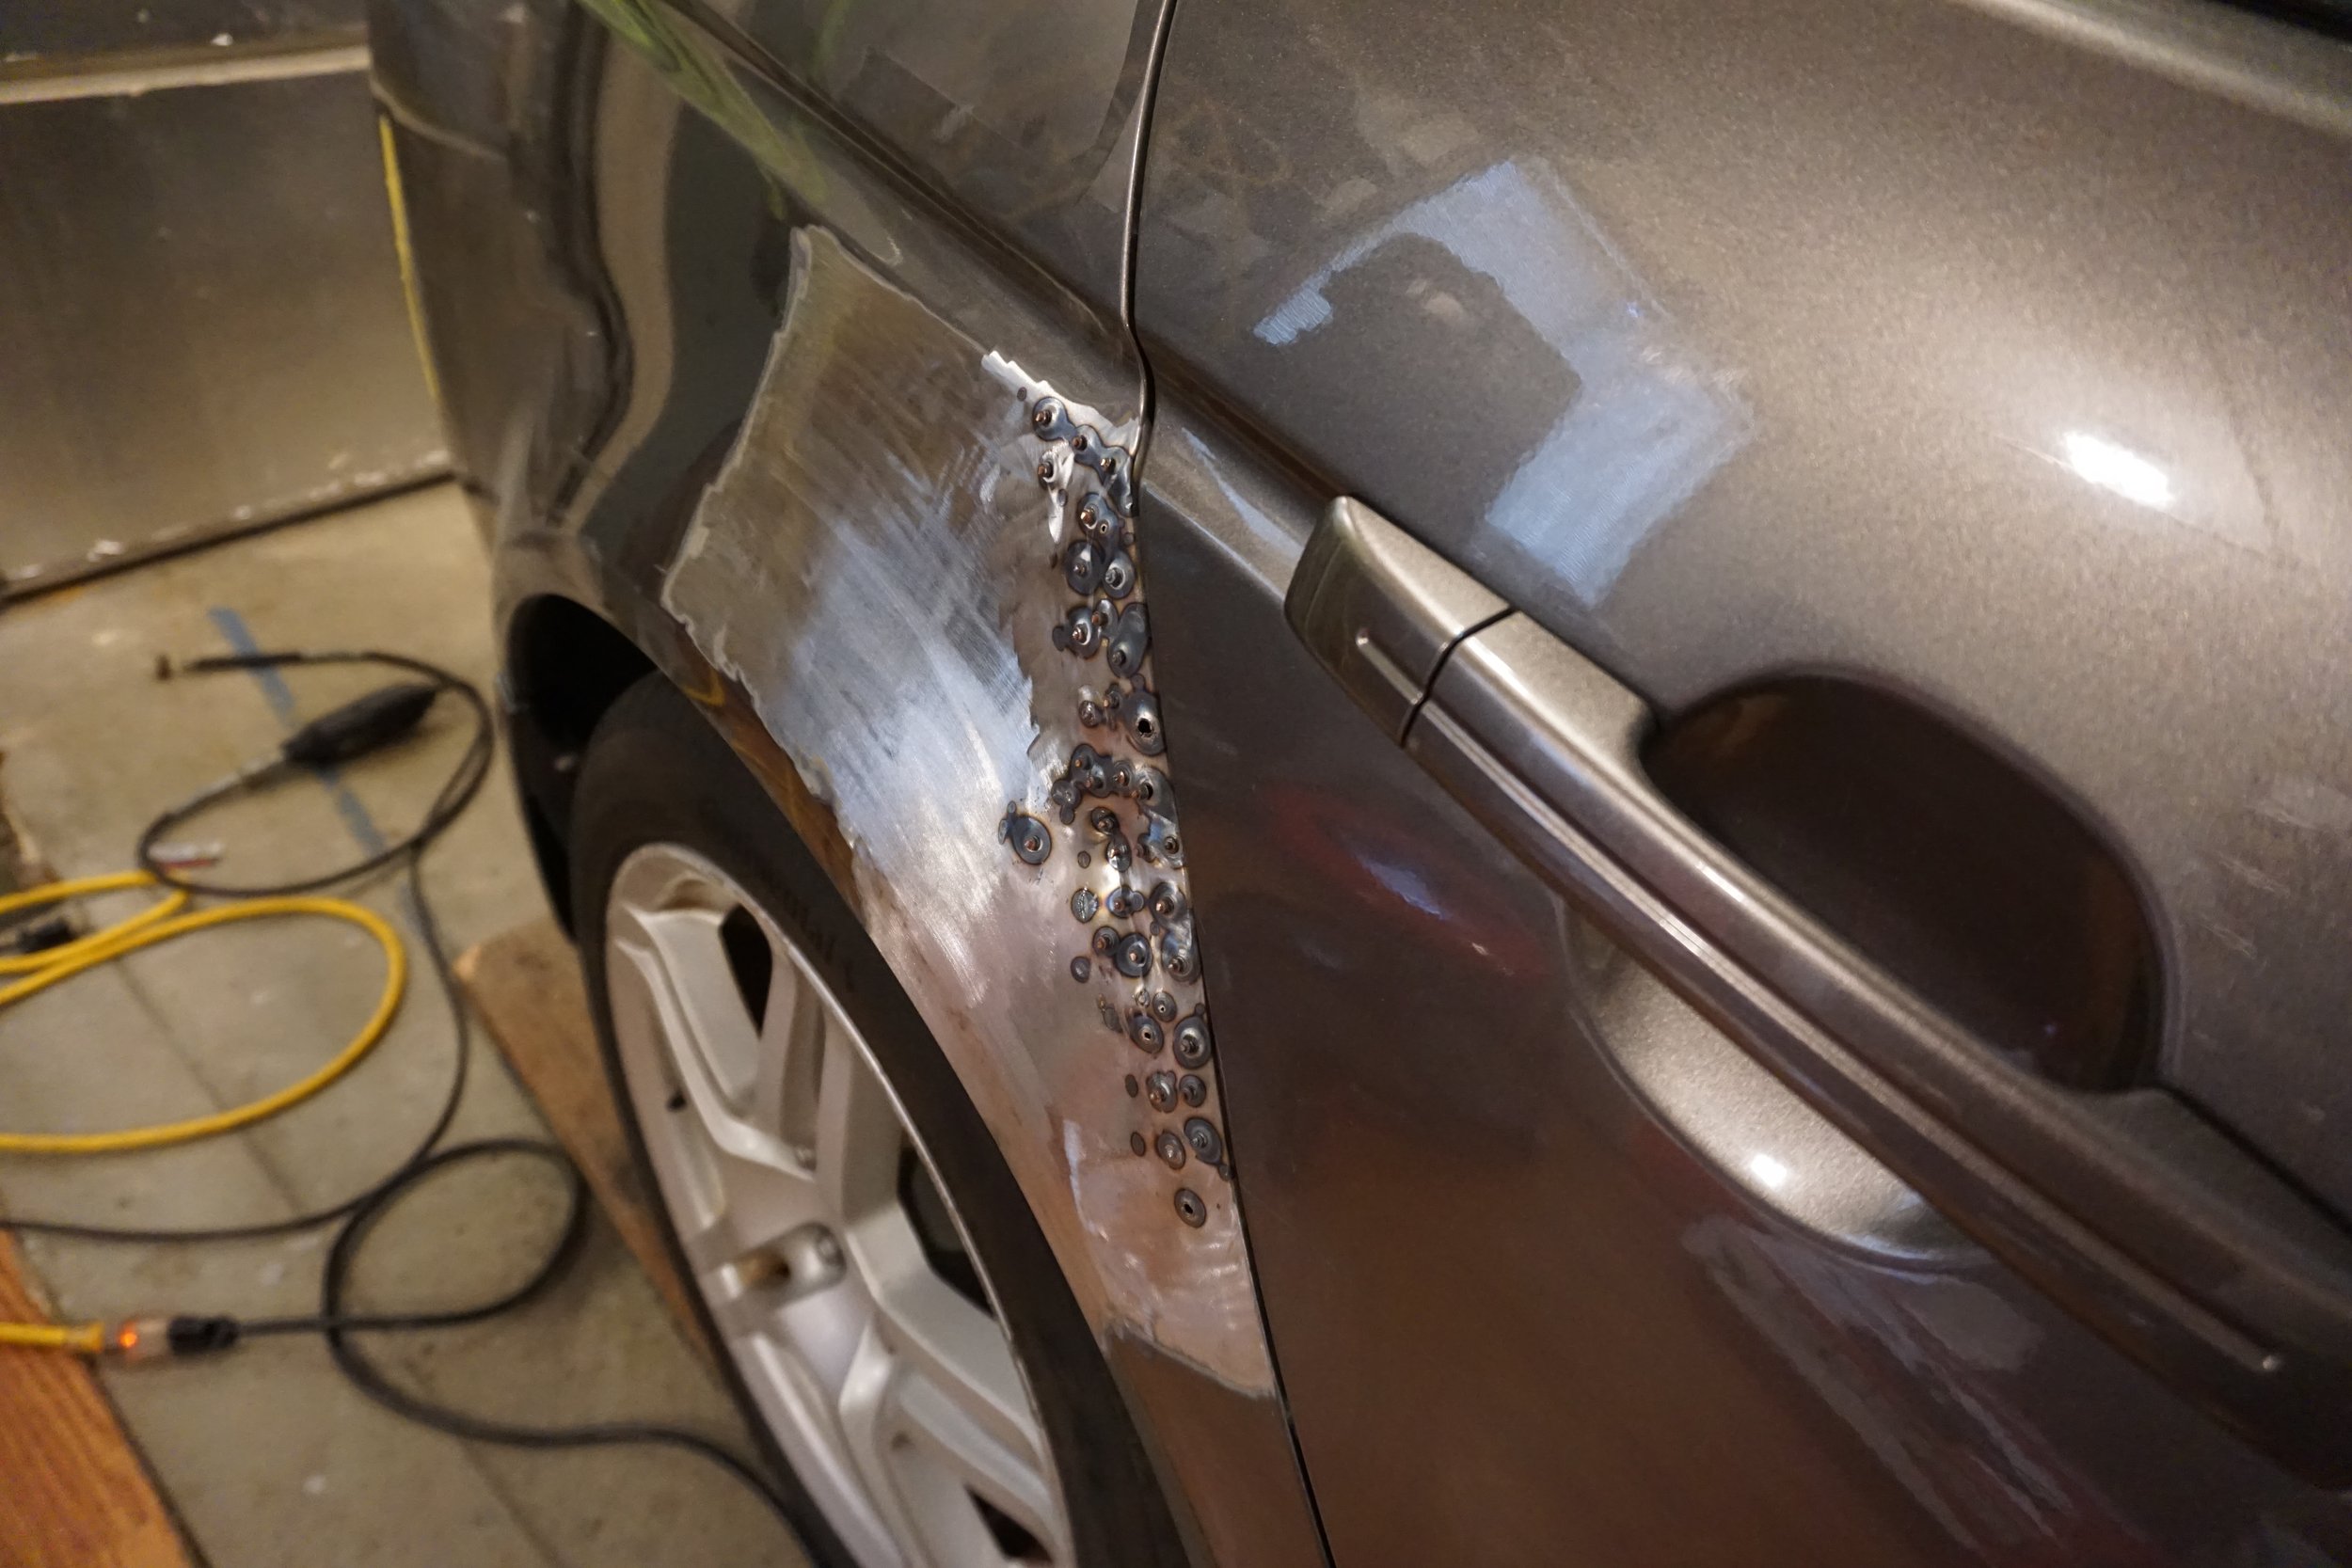
This went well enough, but there were a couple spots where I created some holes in the body when pulling out the stud, so those would eventually be filled with some fiberglass filler. I couldn't figure out if a quick one second weld versus a longer 2 second weld made it more or less likely that I would create a hole when pulling. I eventually decided to just do fewer pulls on each stud, and stopped trying to twist them off and just grind them smooth when I was done to reduce the chances of making holes.

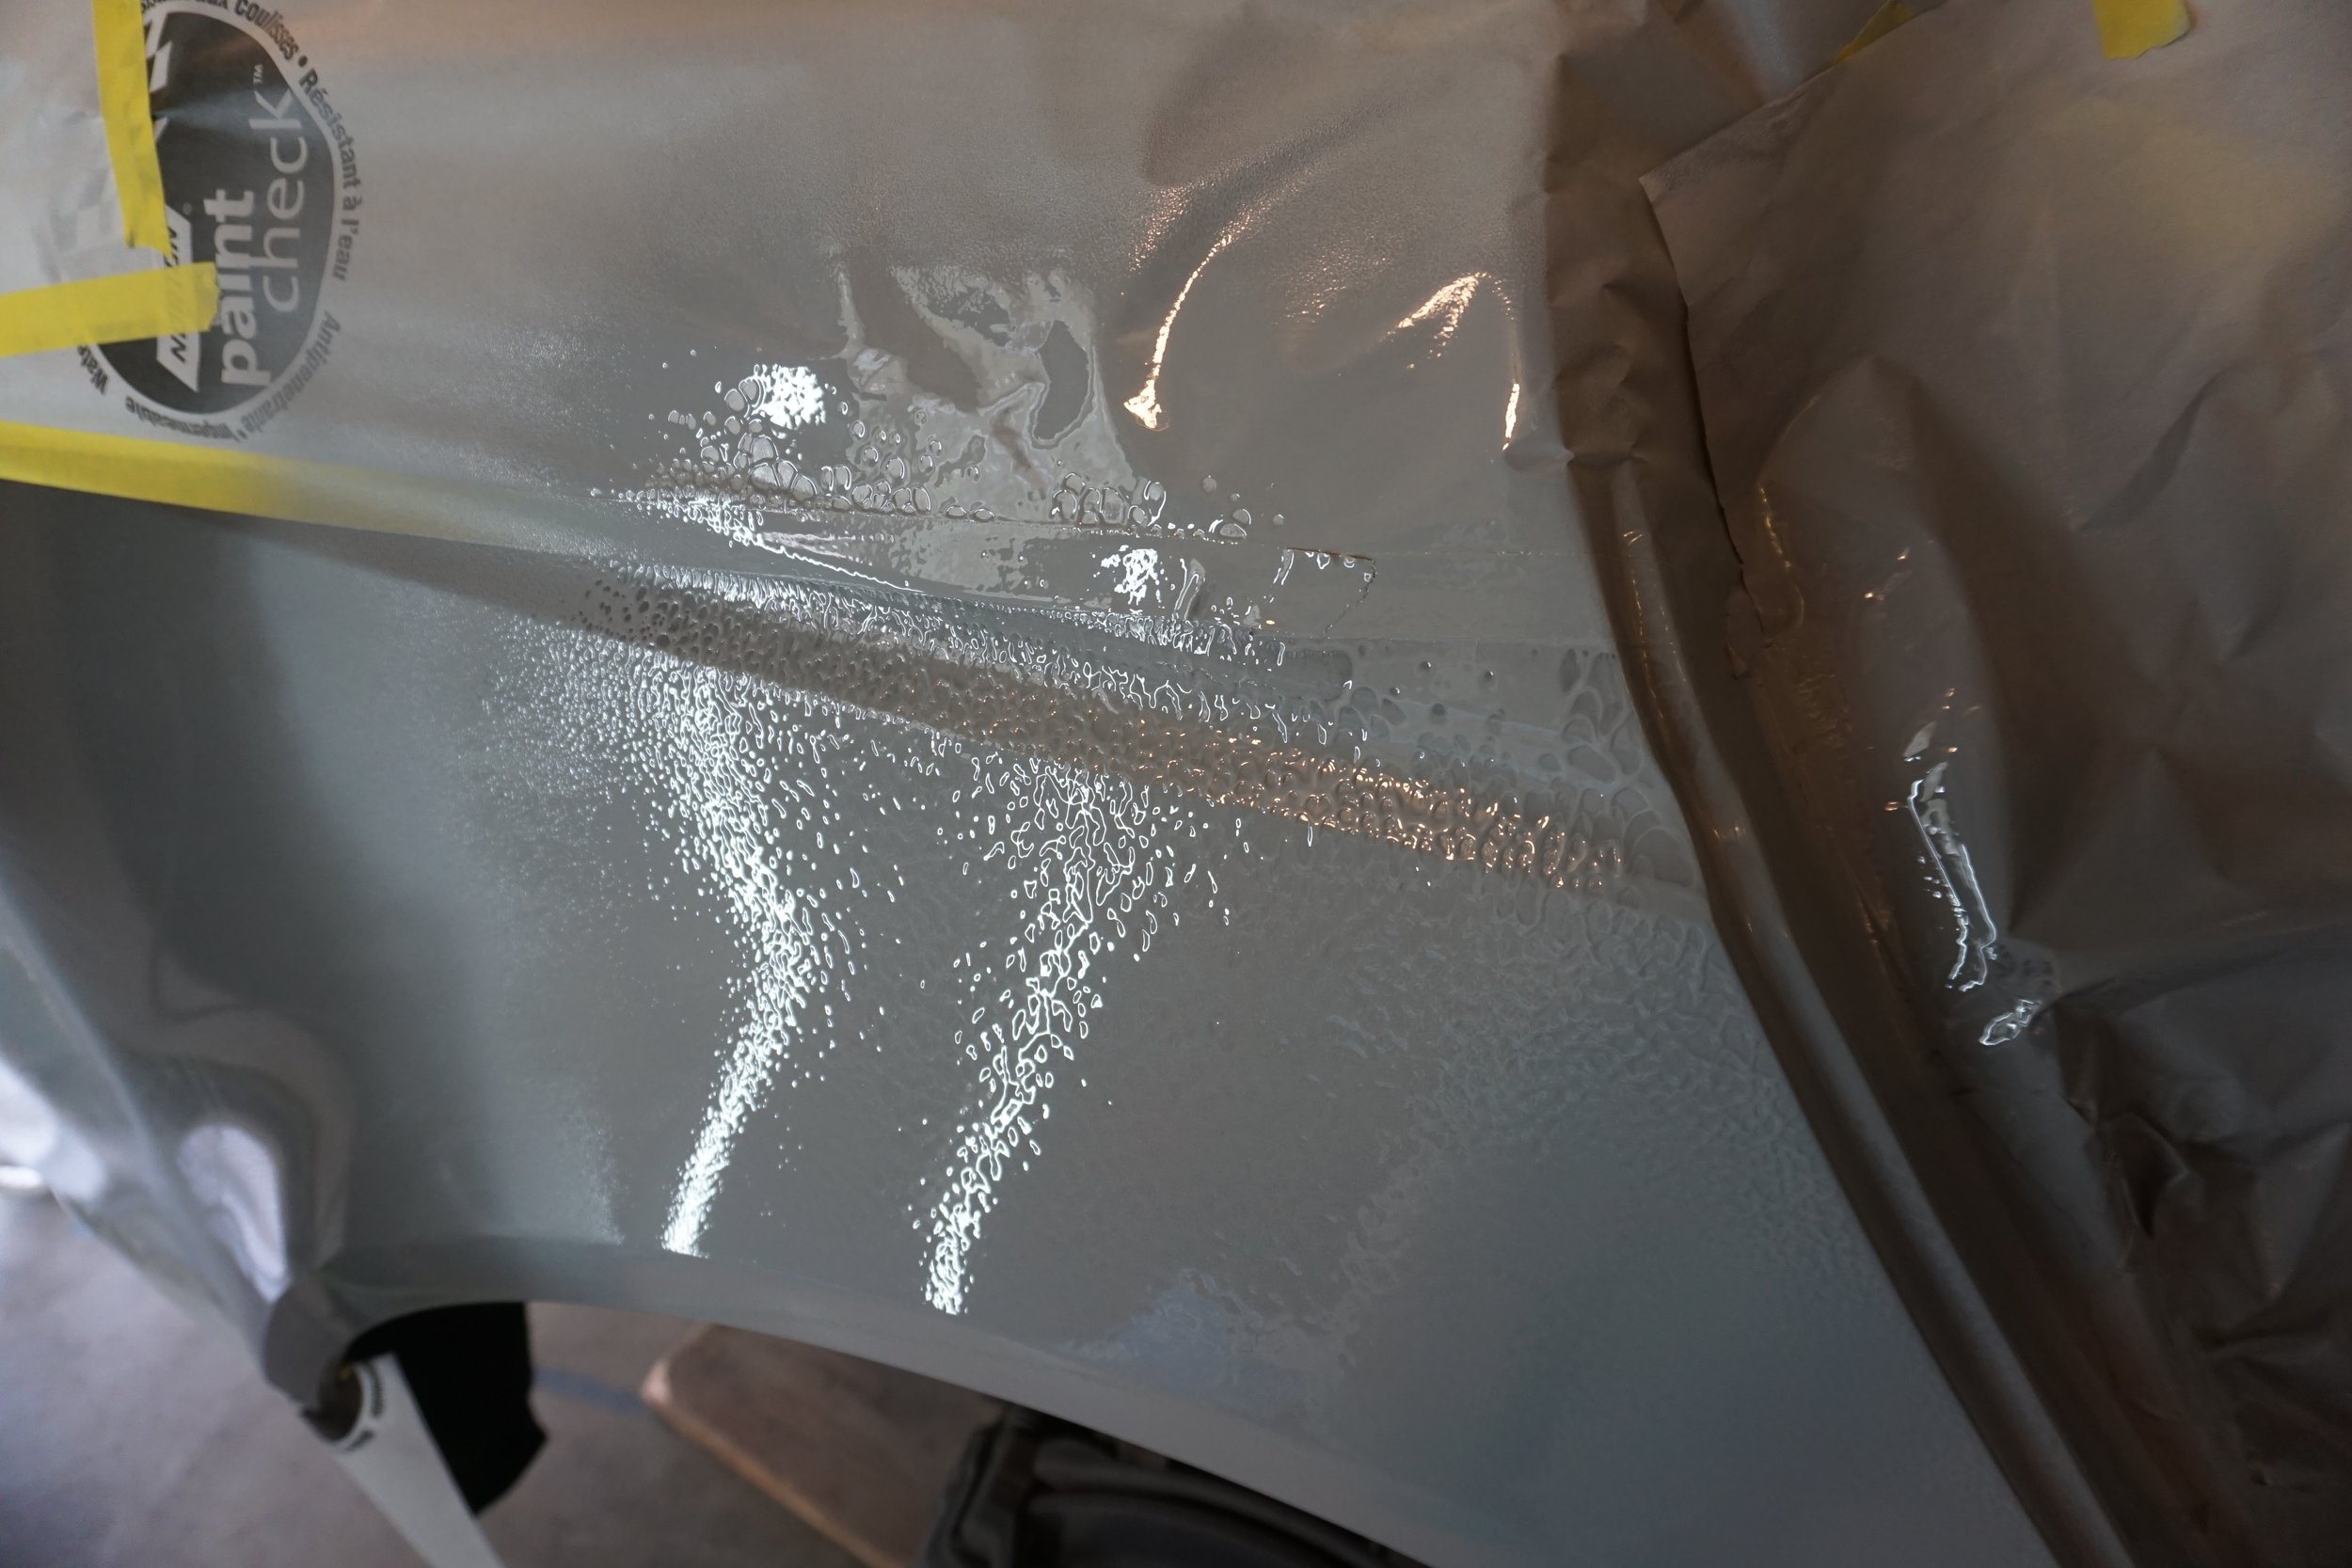
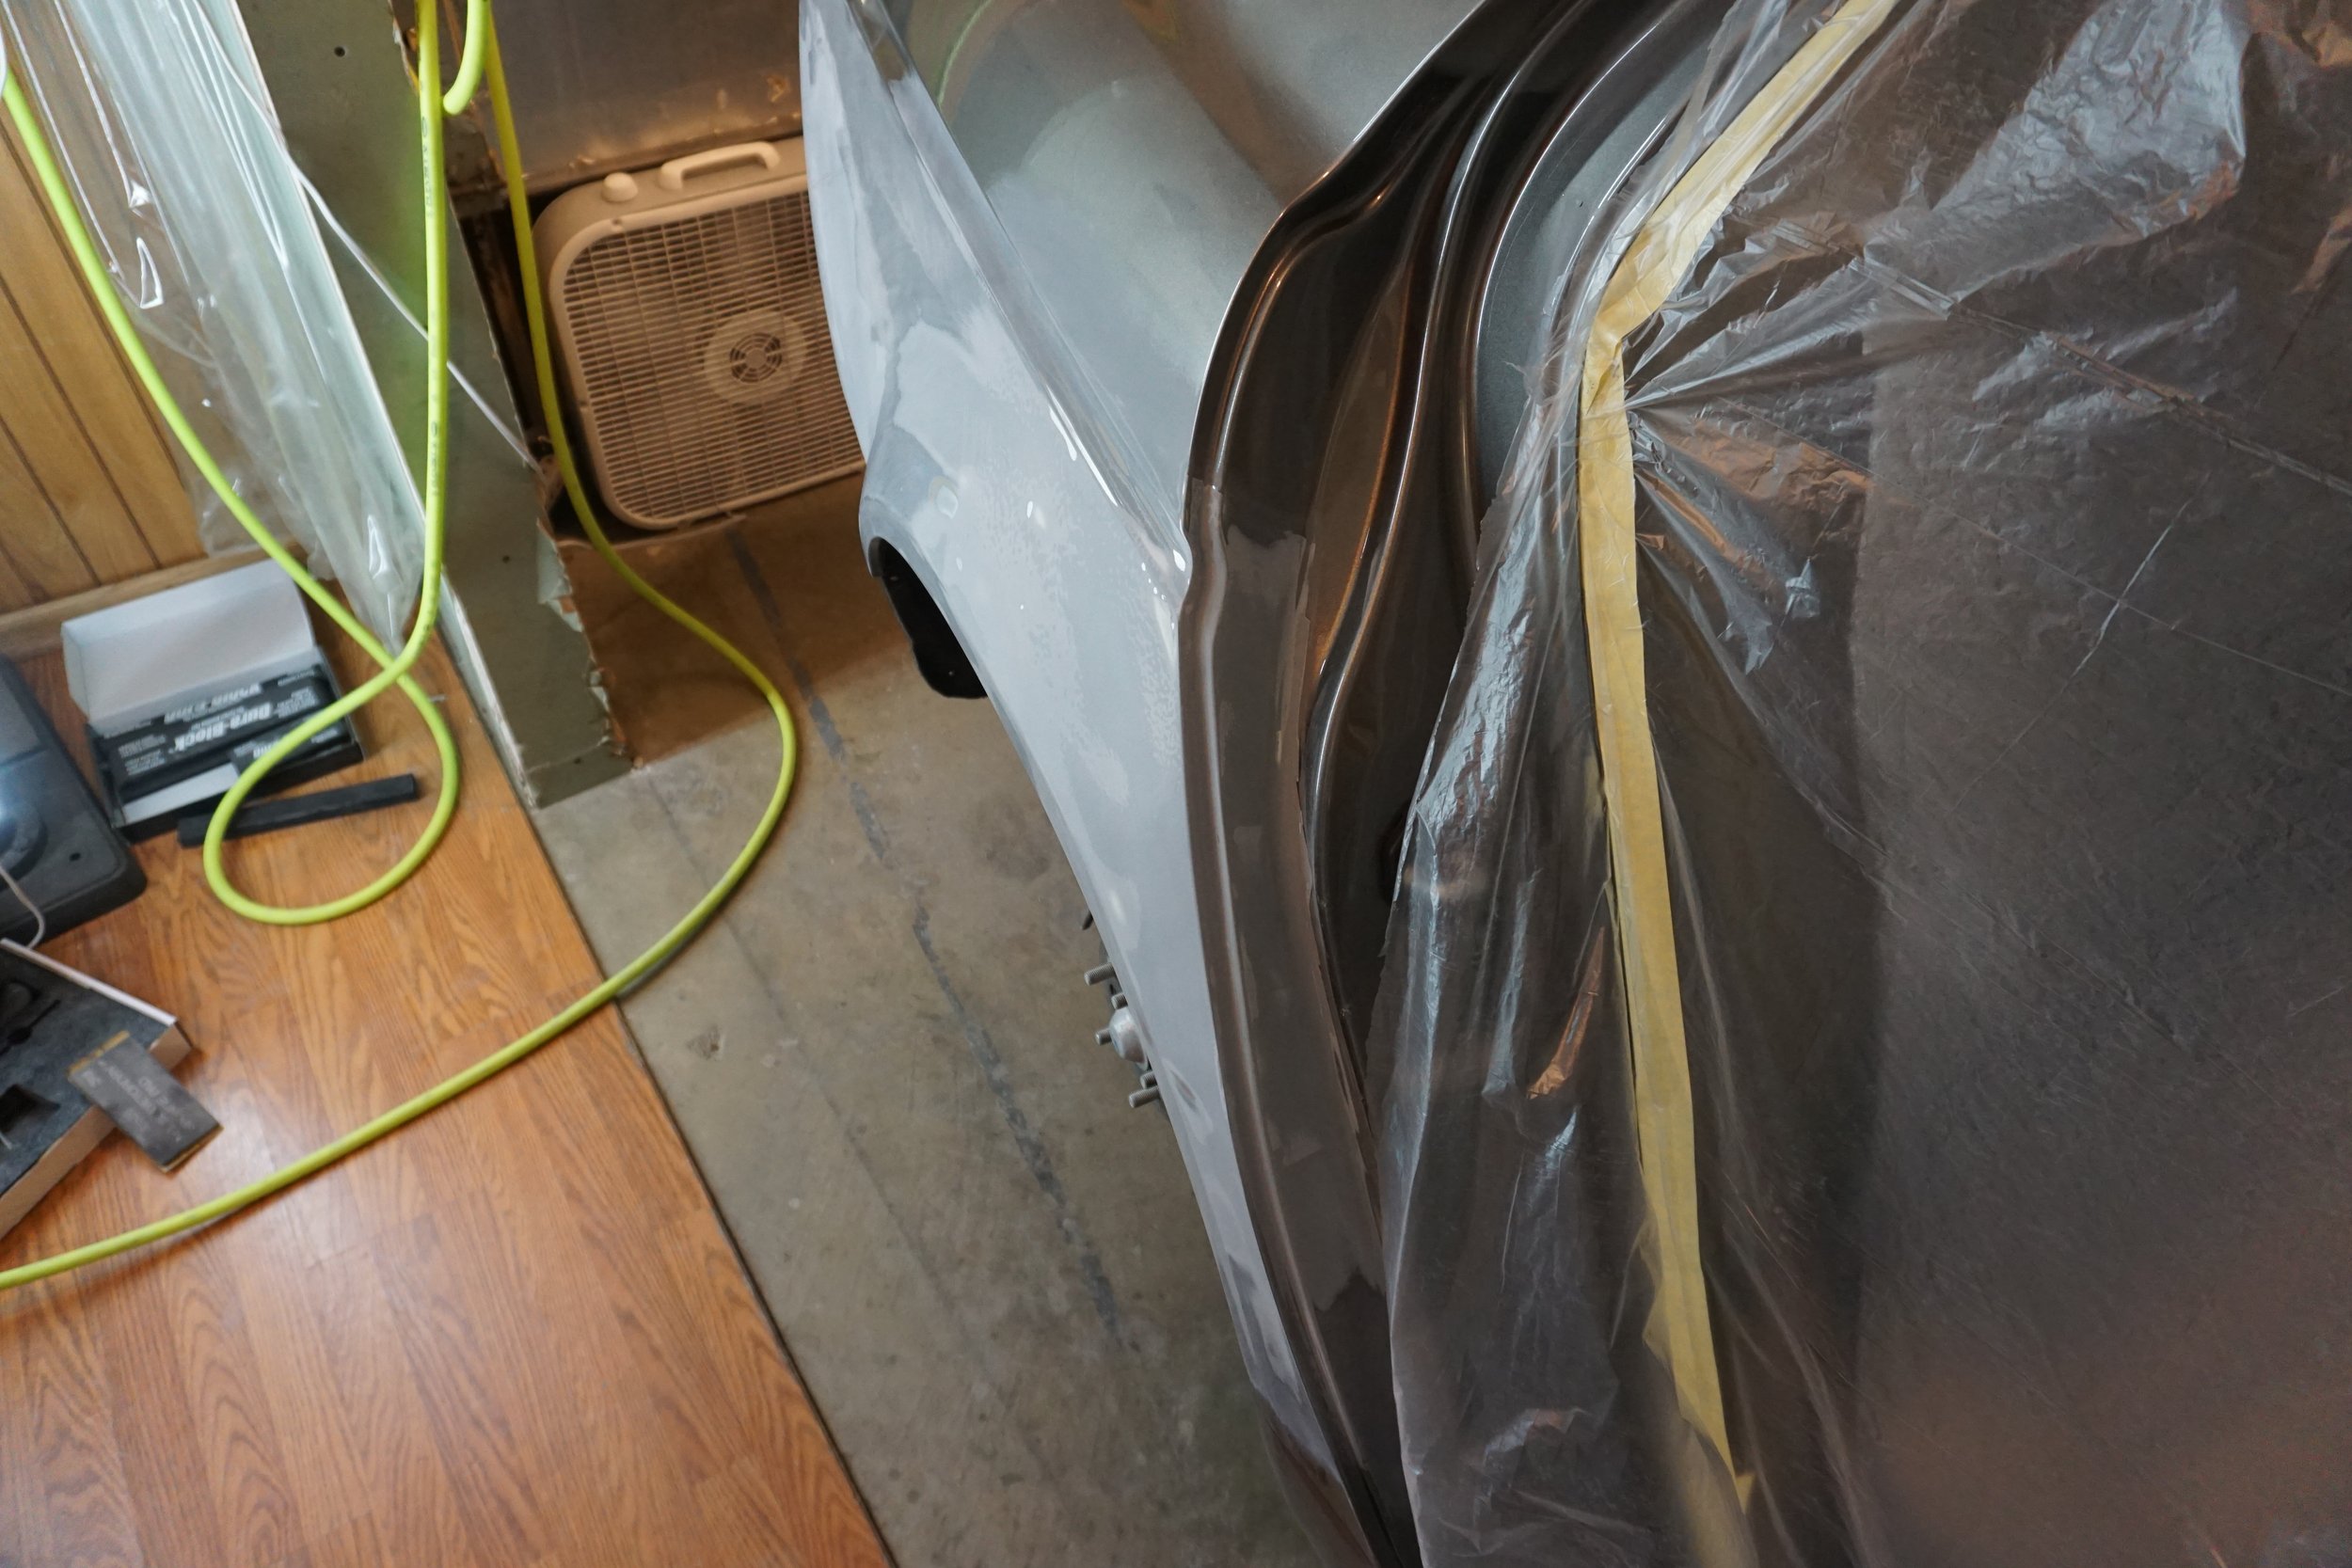
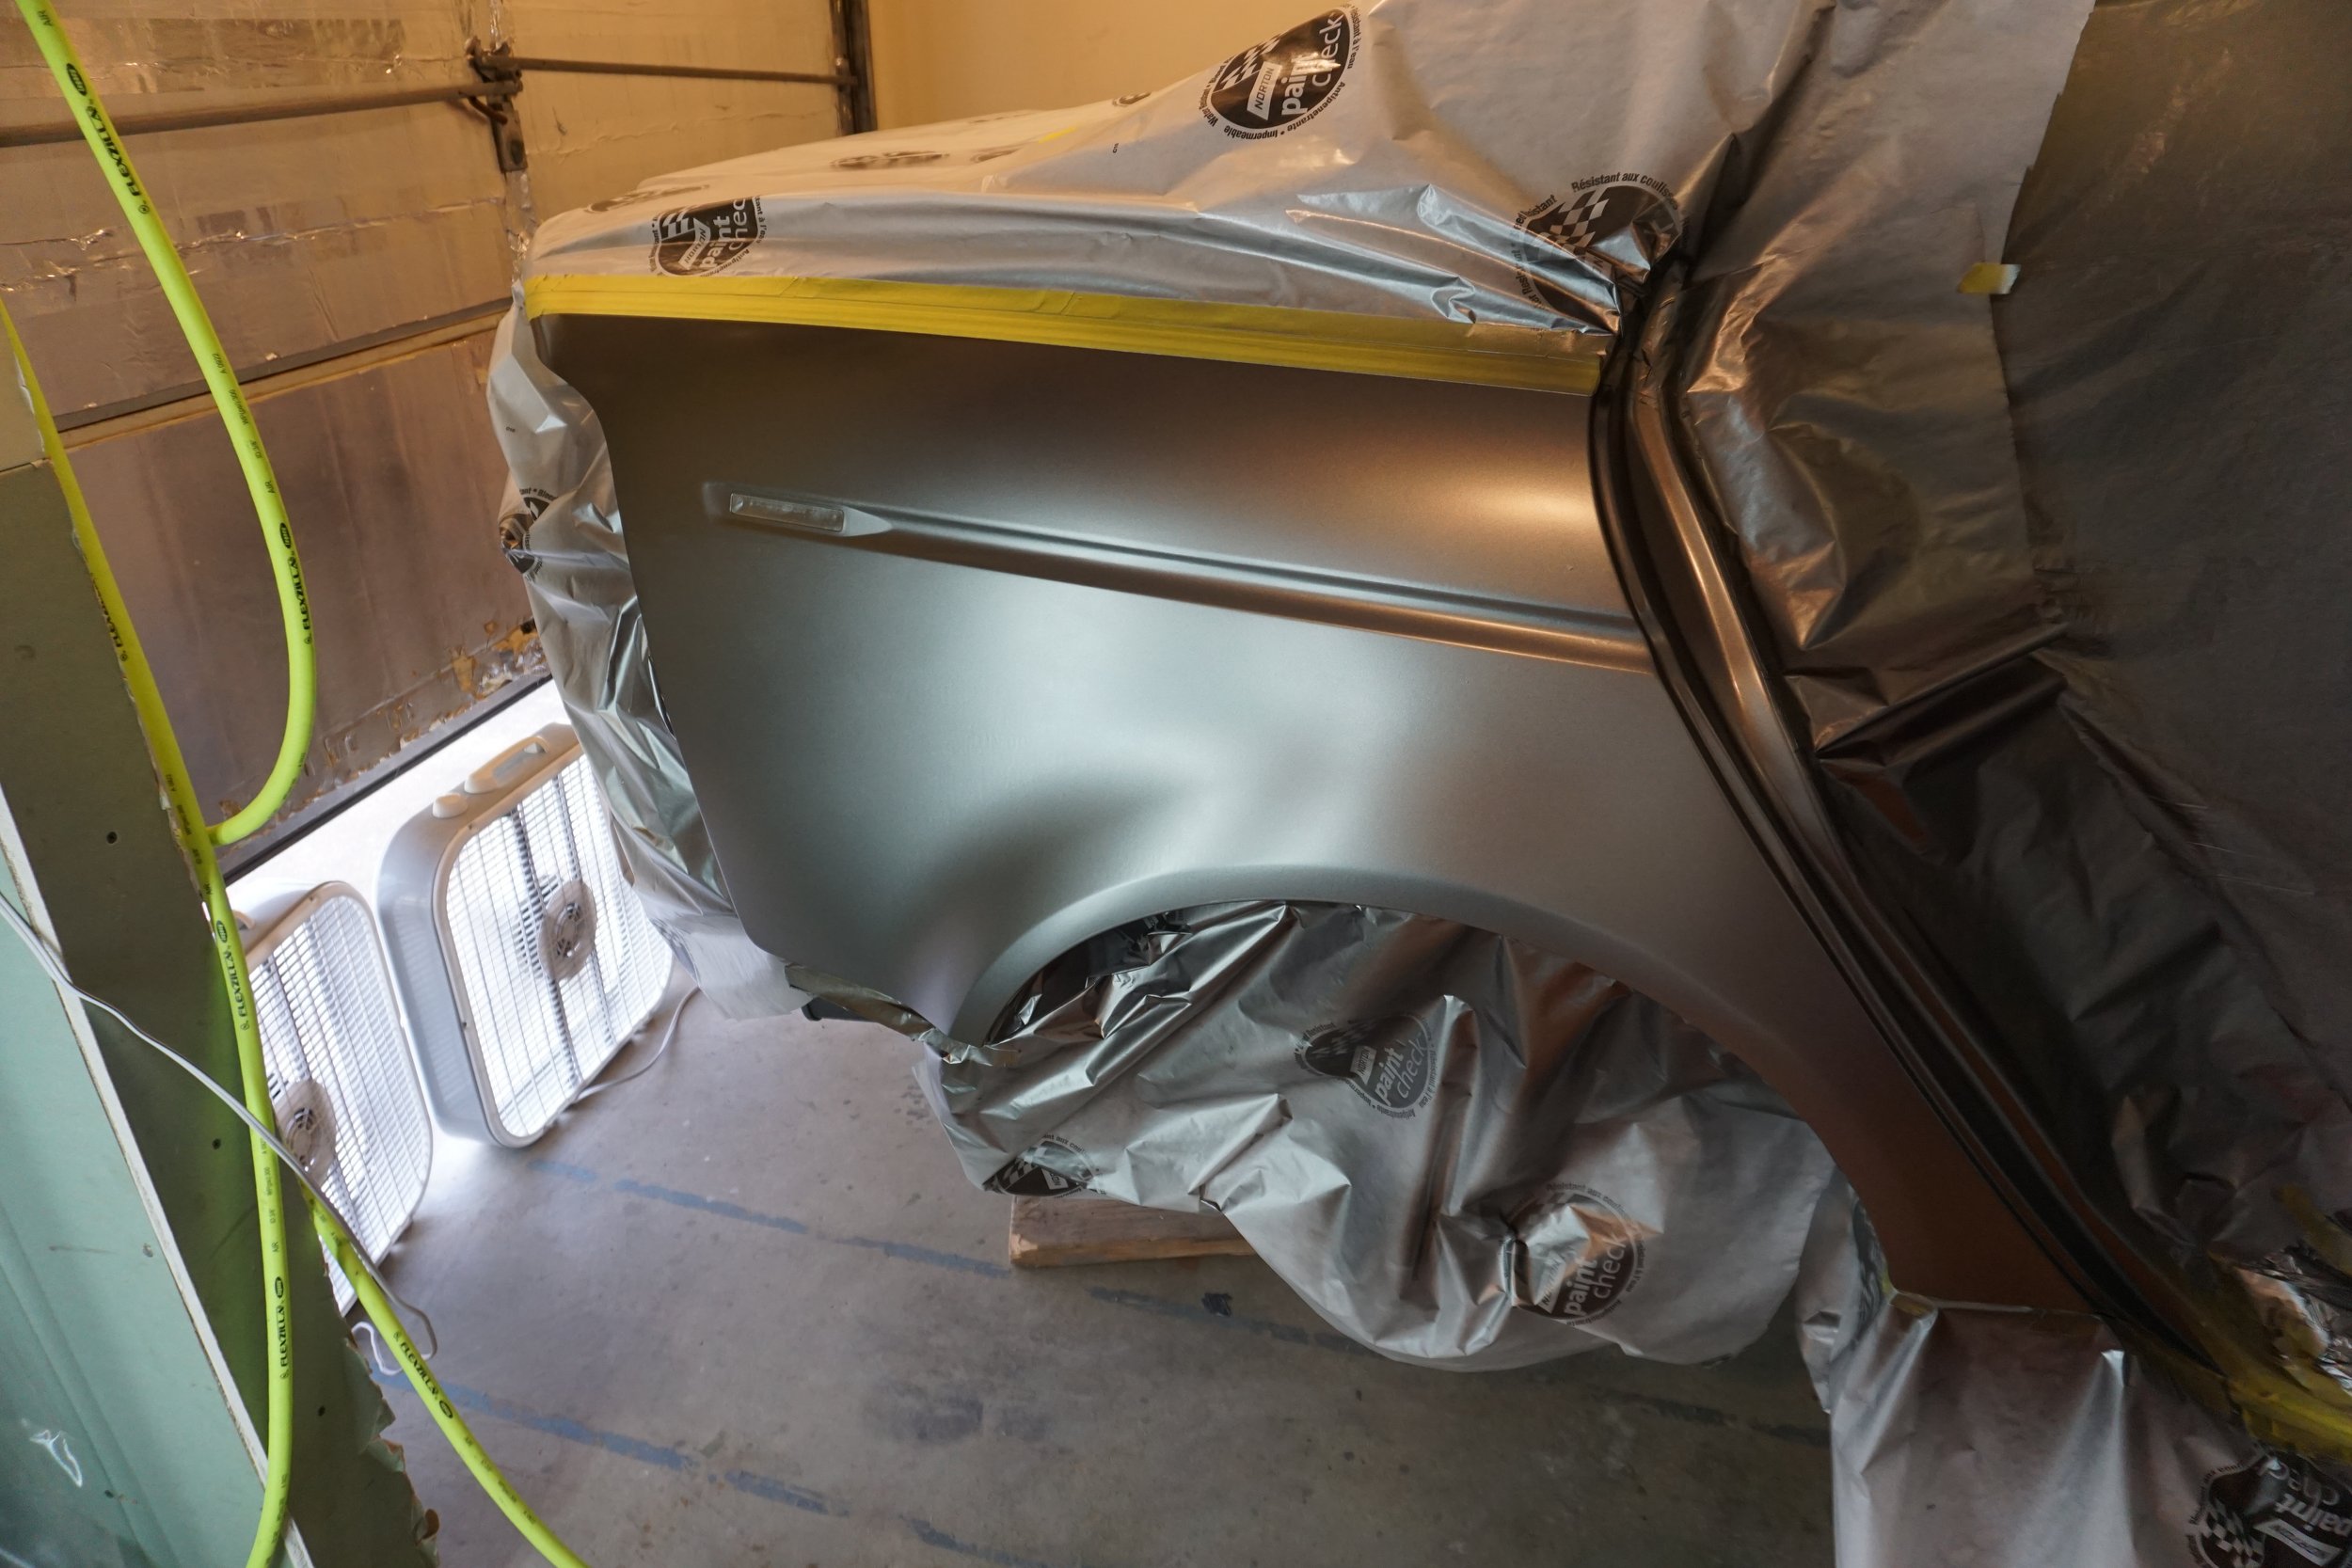
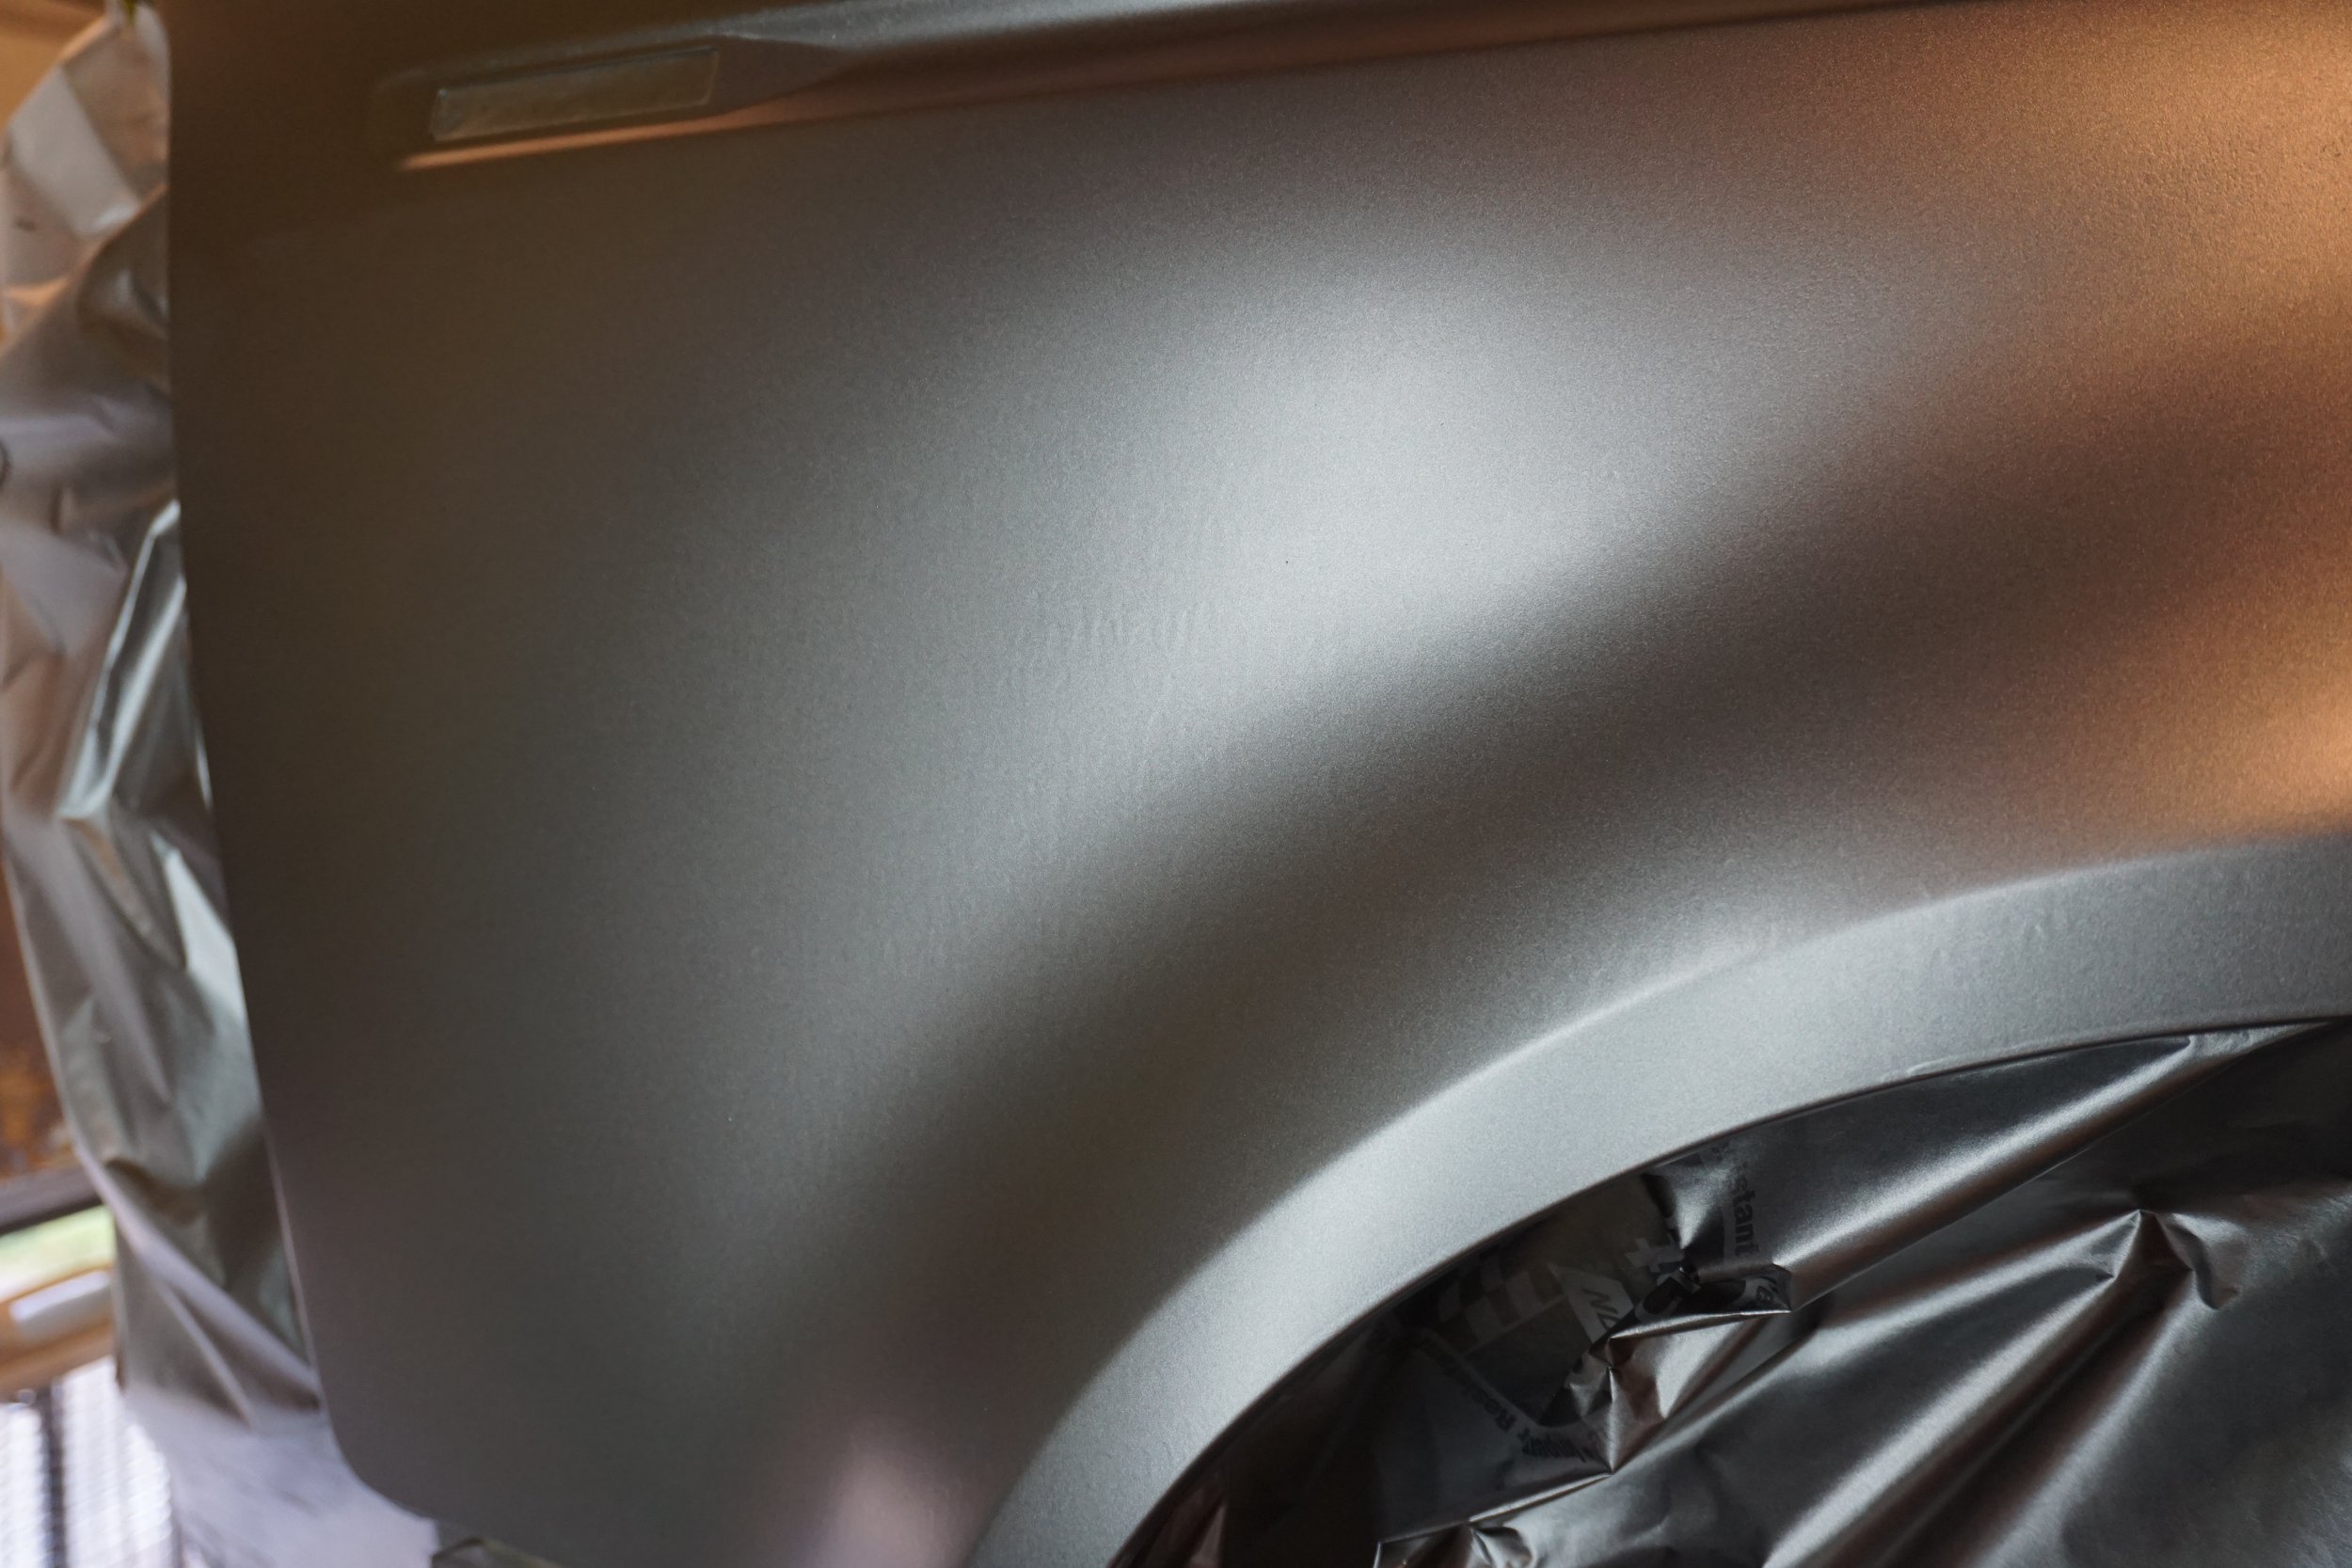
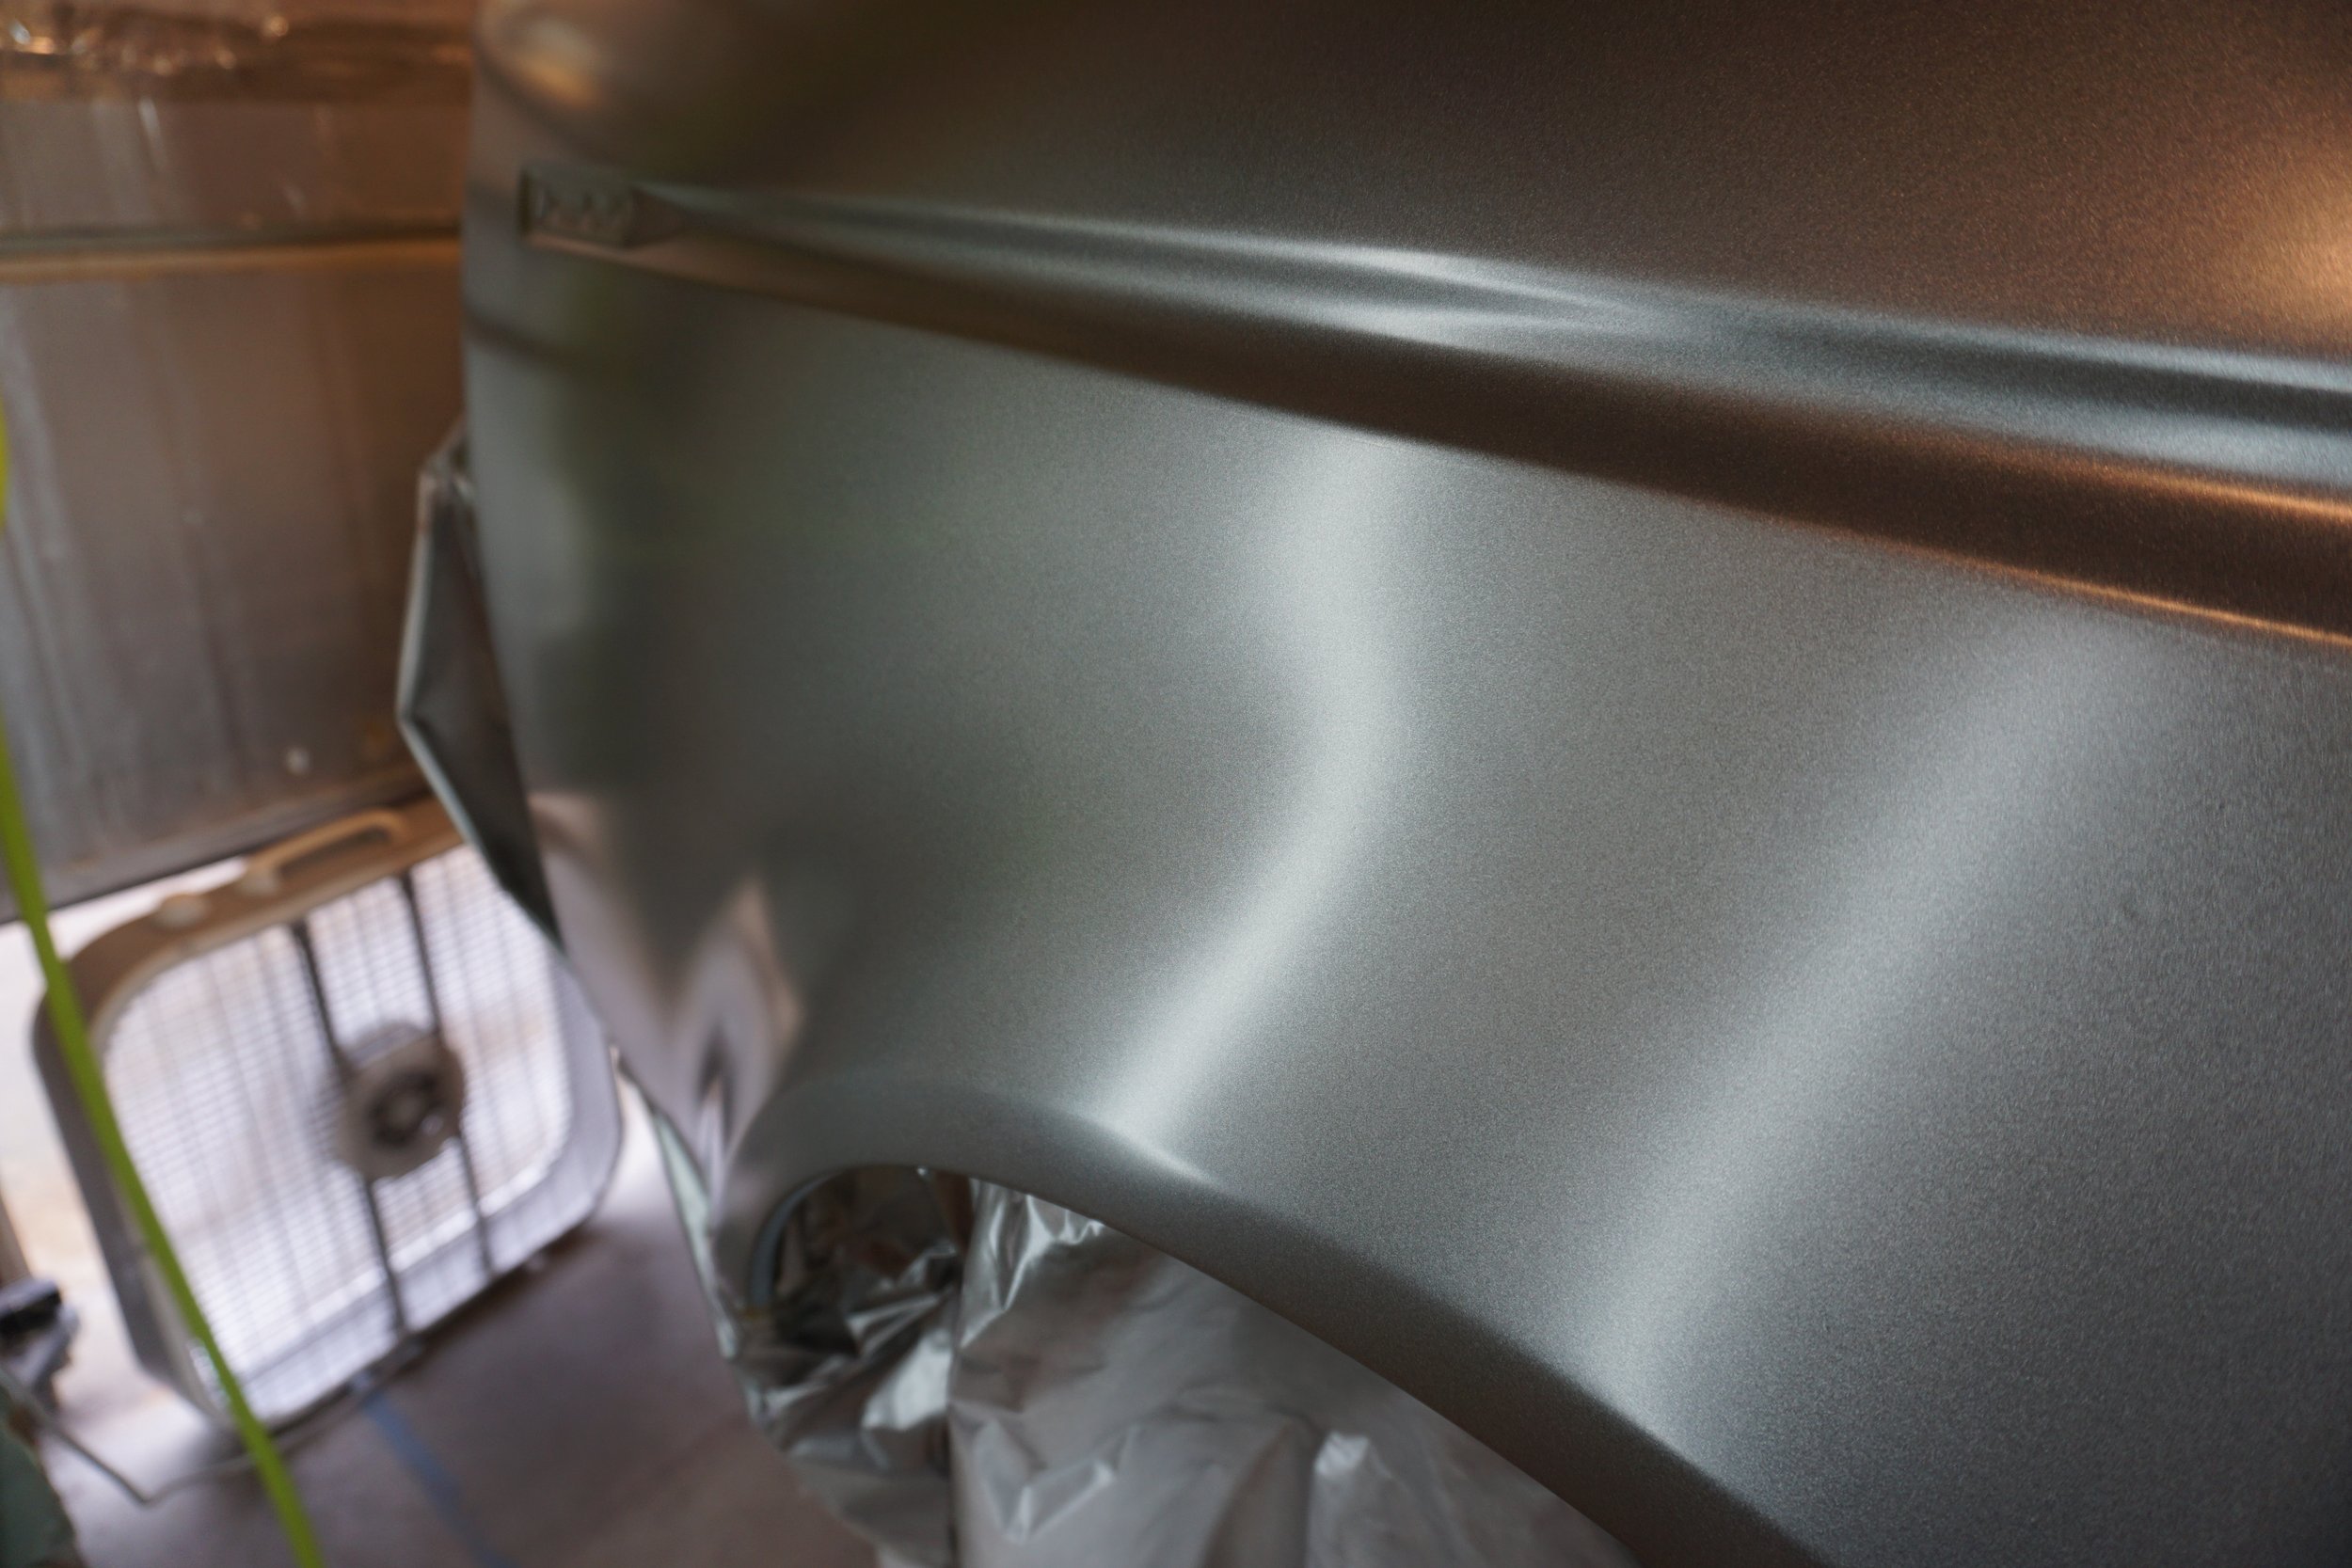
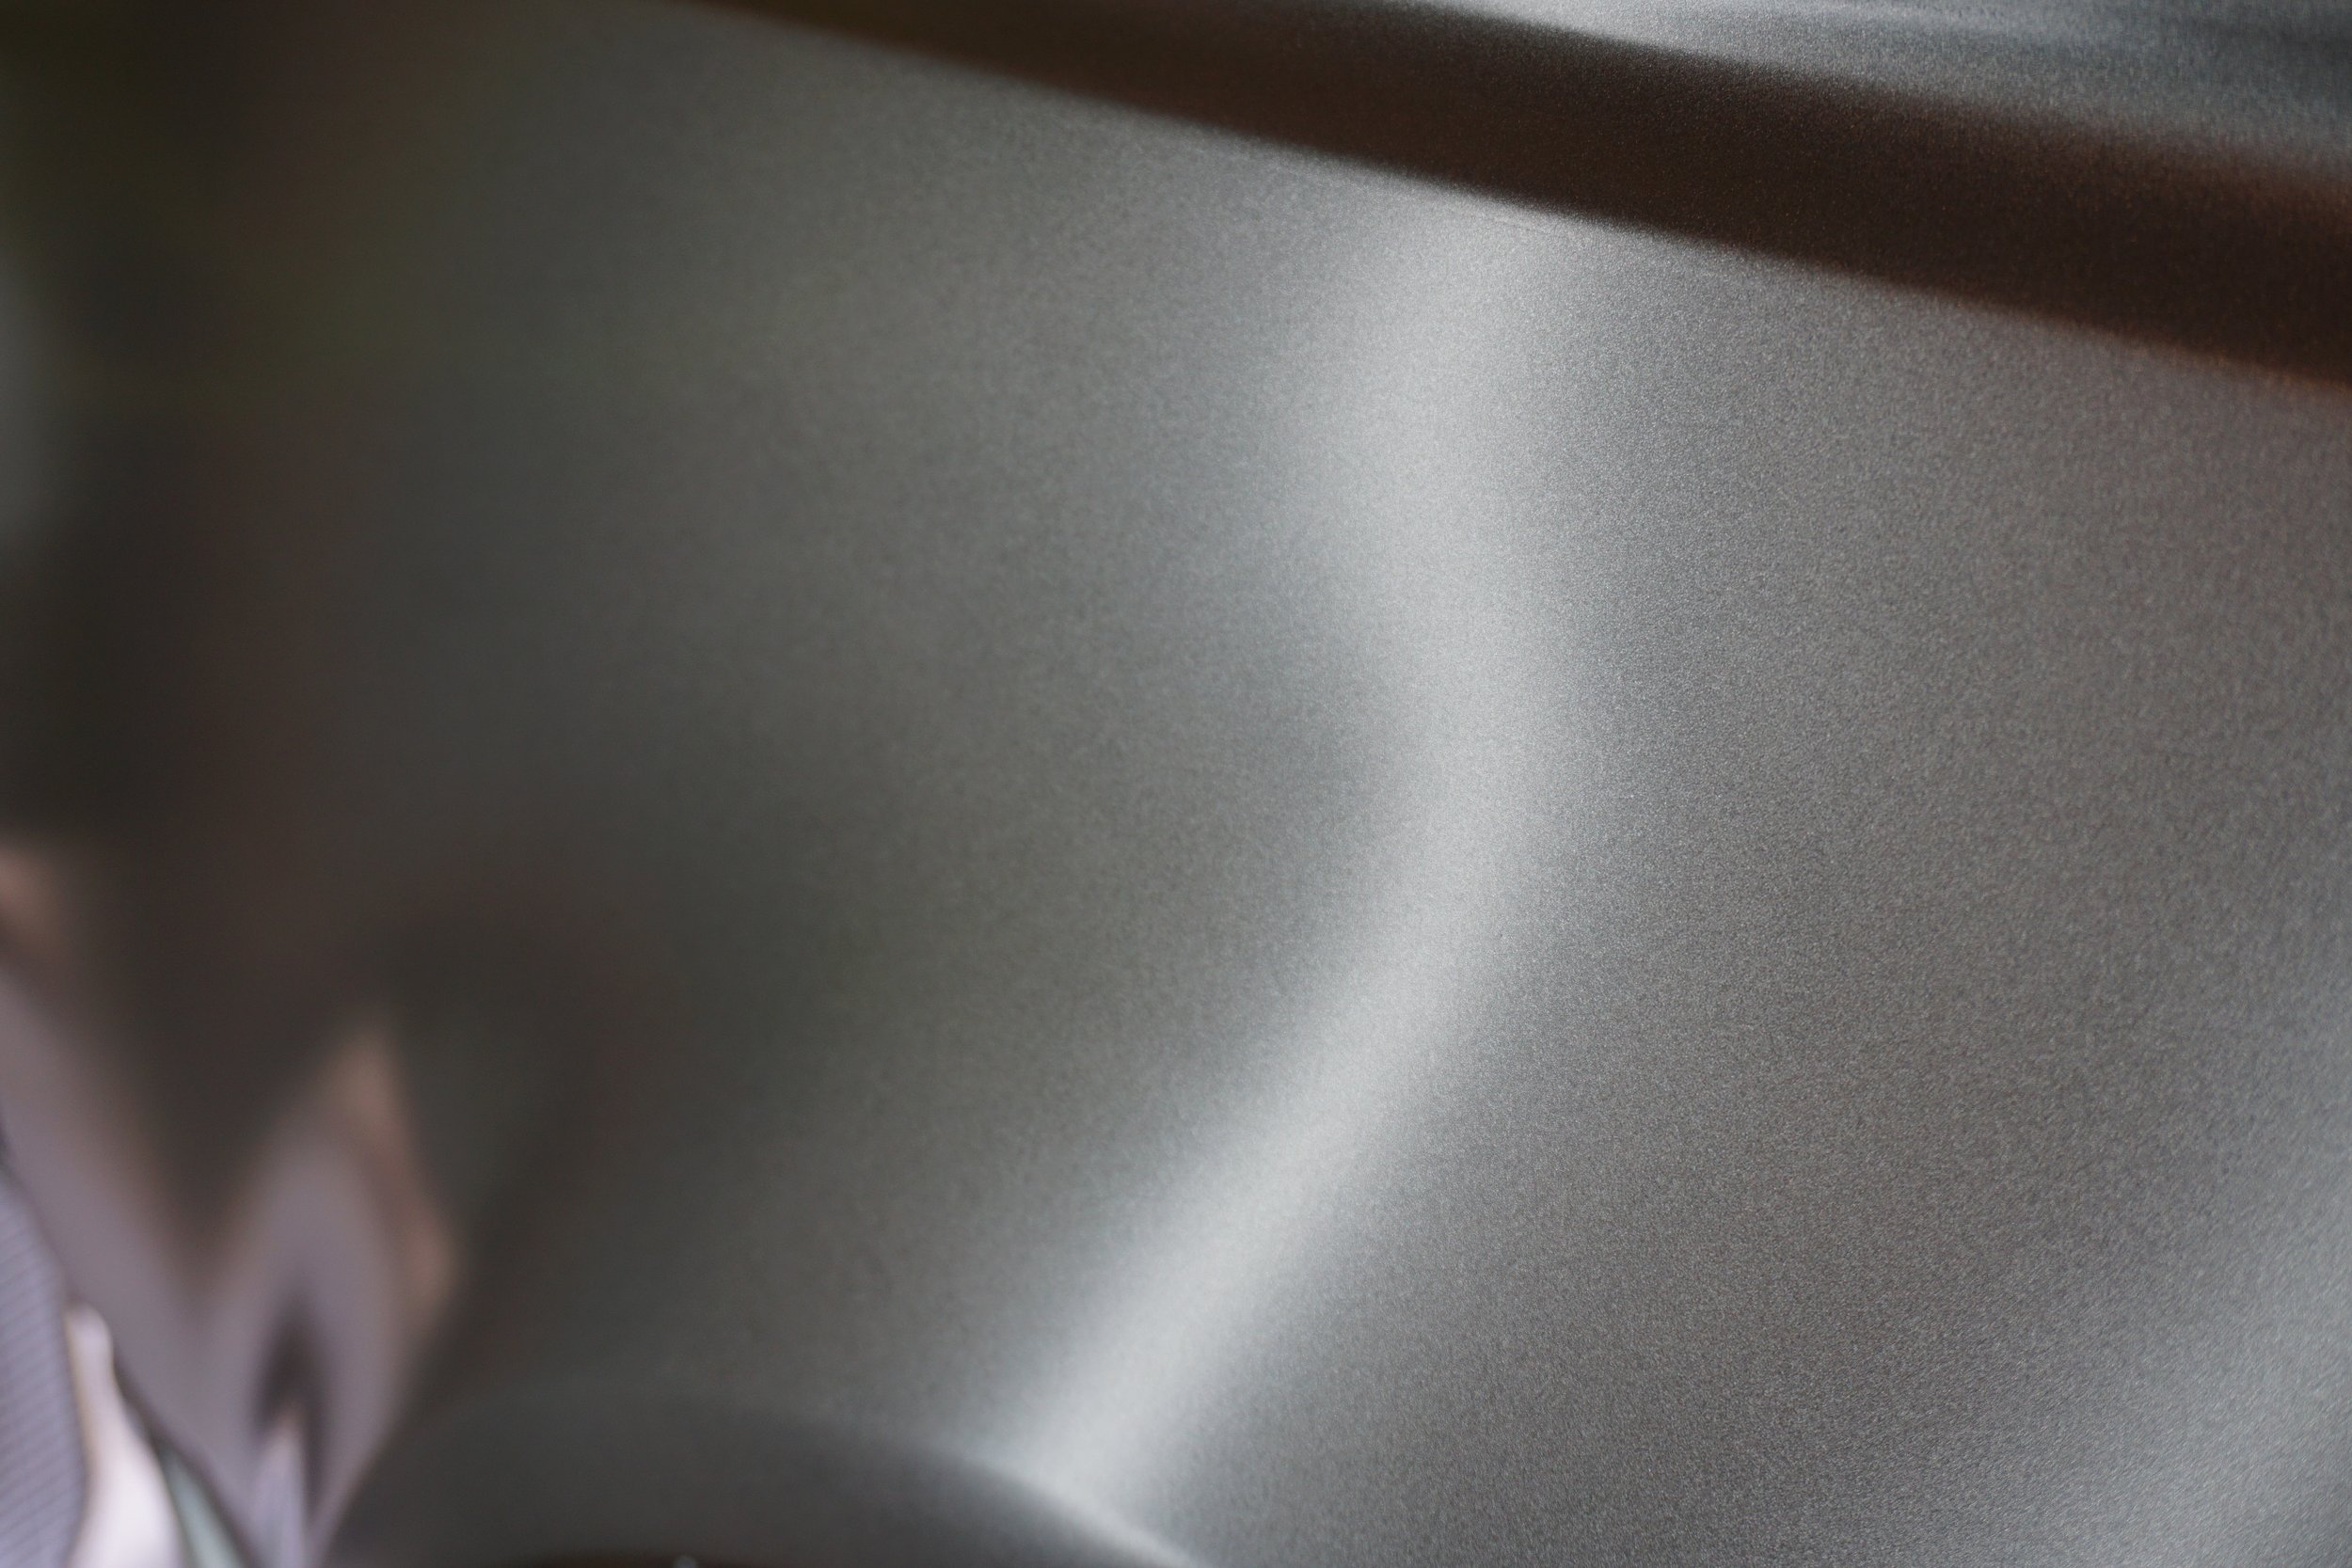
Next up was my first use of a paint gun and SPI epoxy. I'm using an LPH400 with the orange 1.3 setup. I went a little heavy with this application:

DSC01149.JPG


DSC01150.JPG


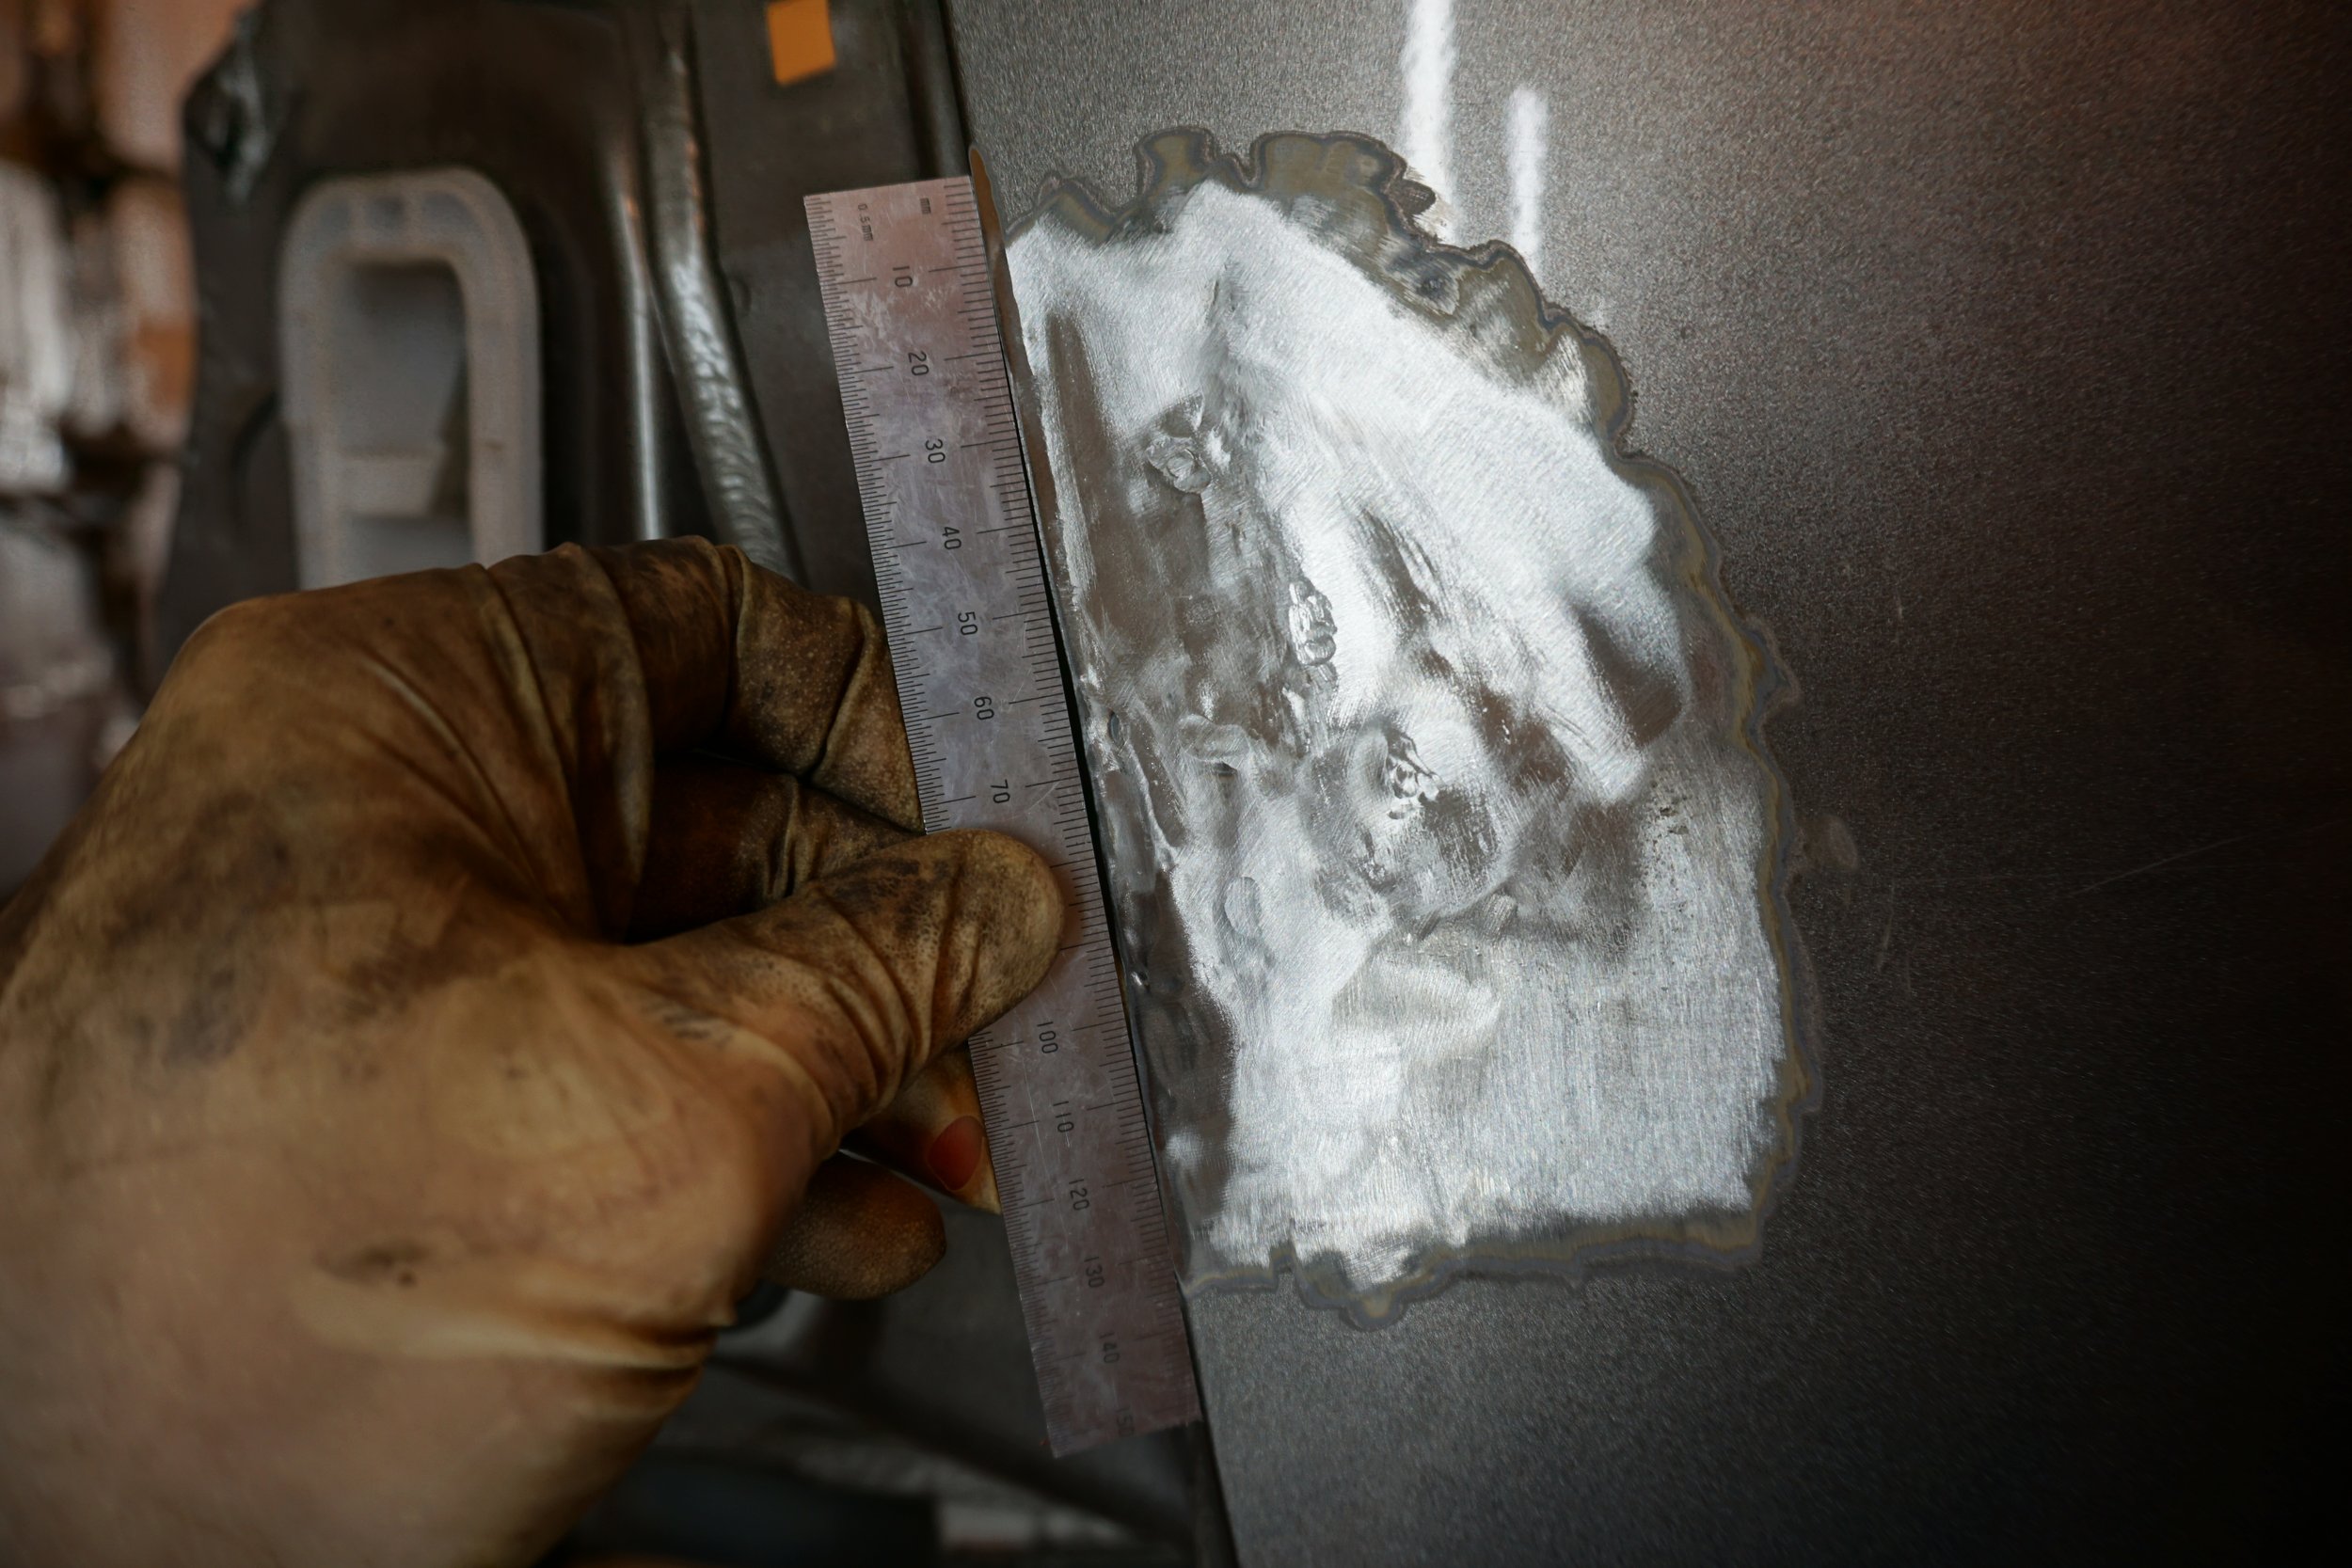
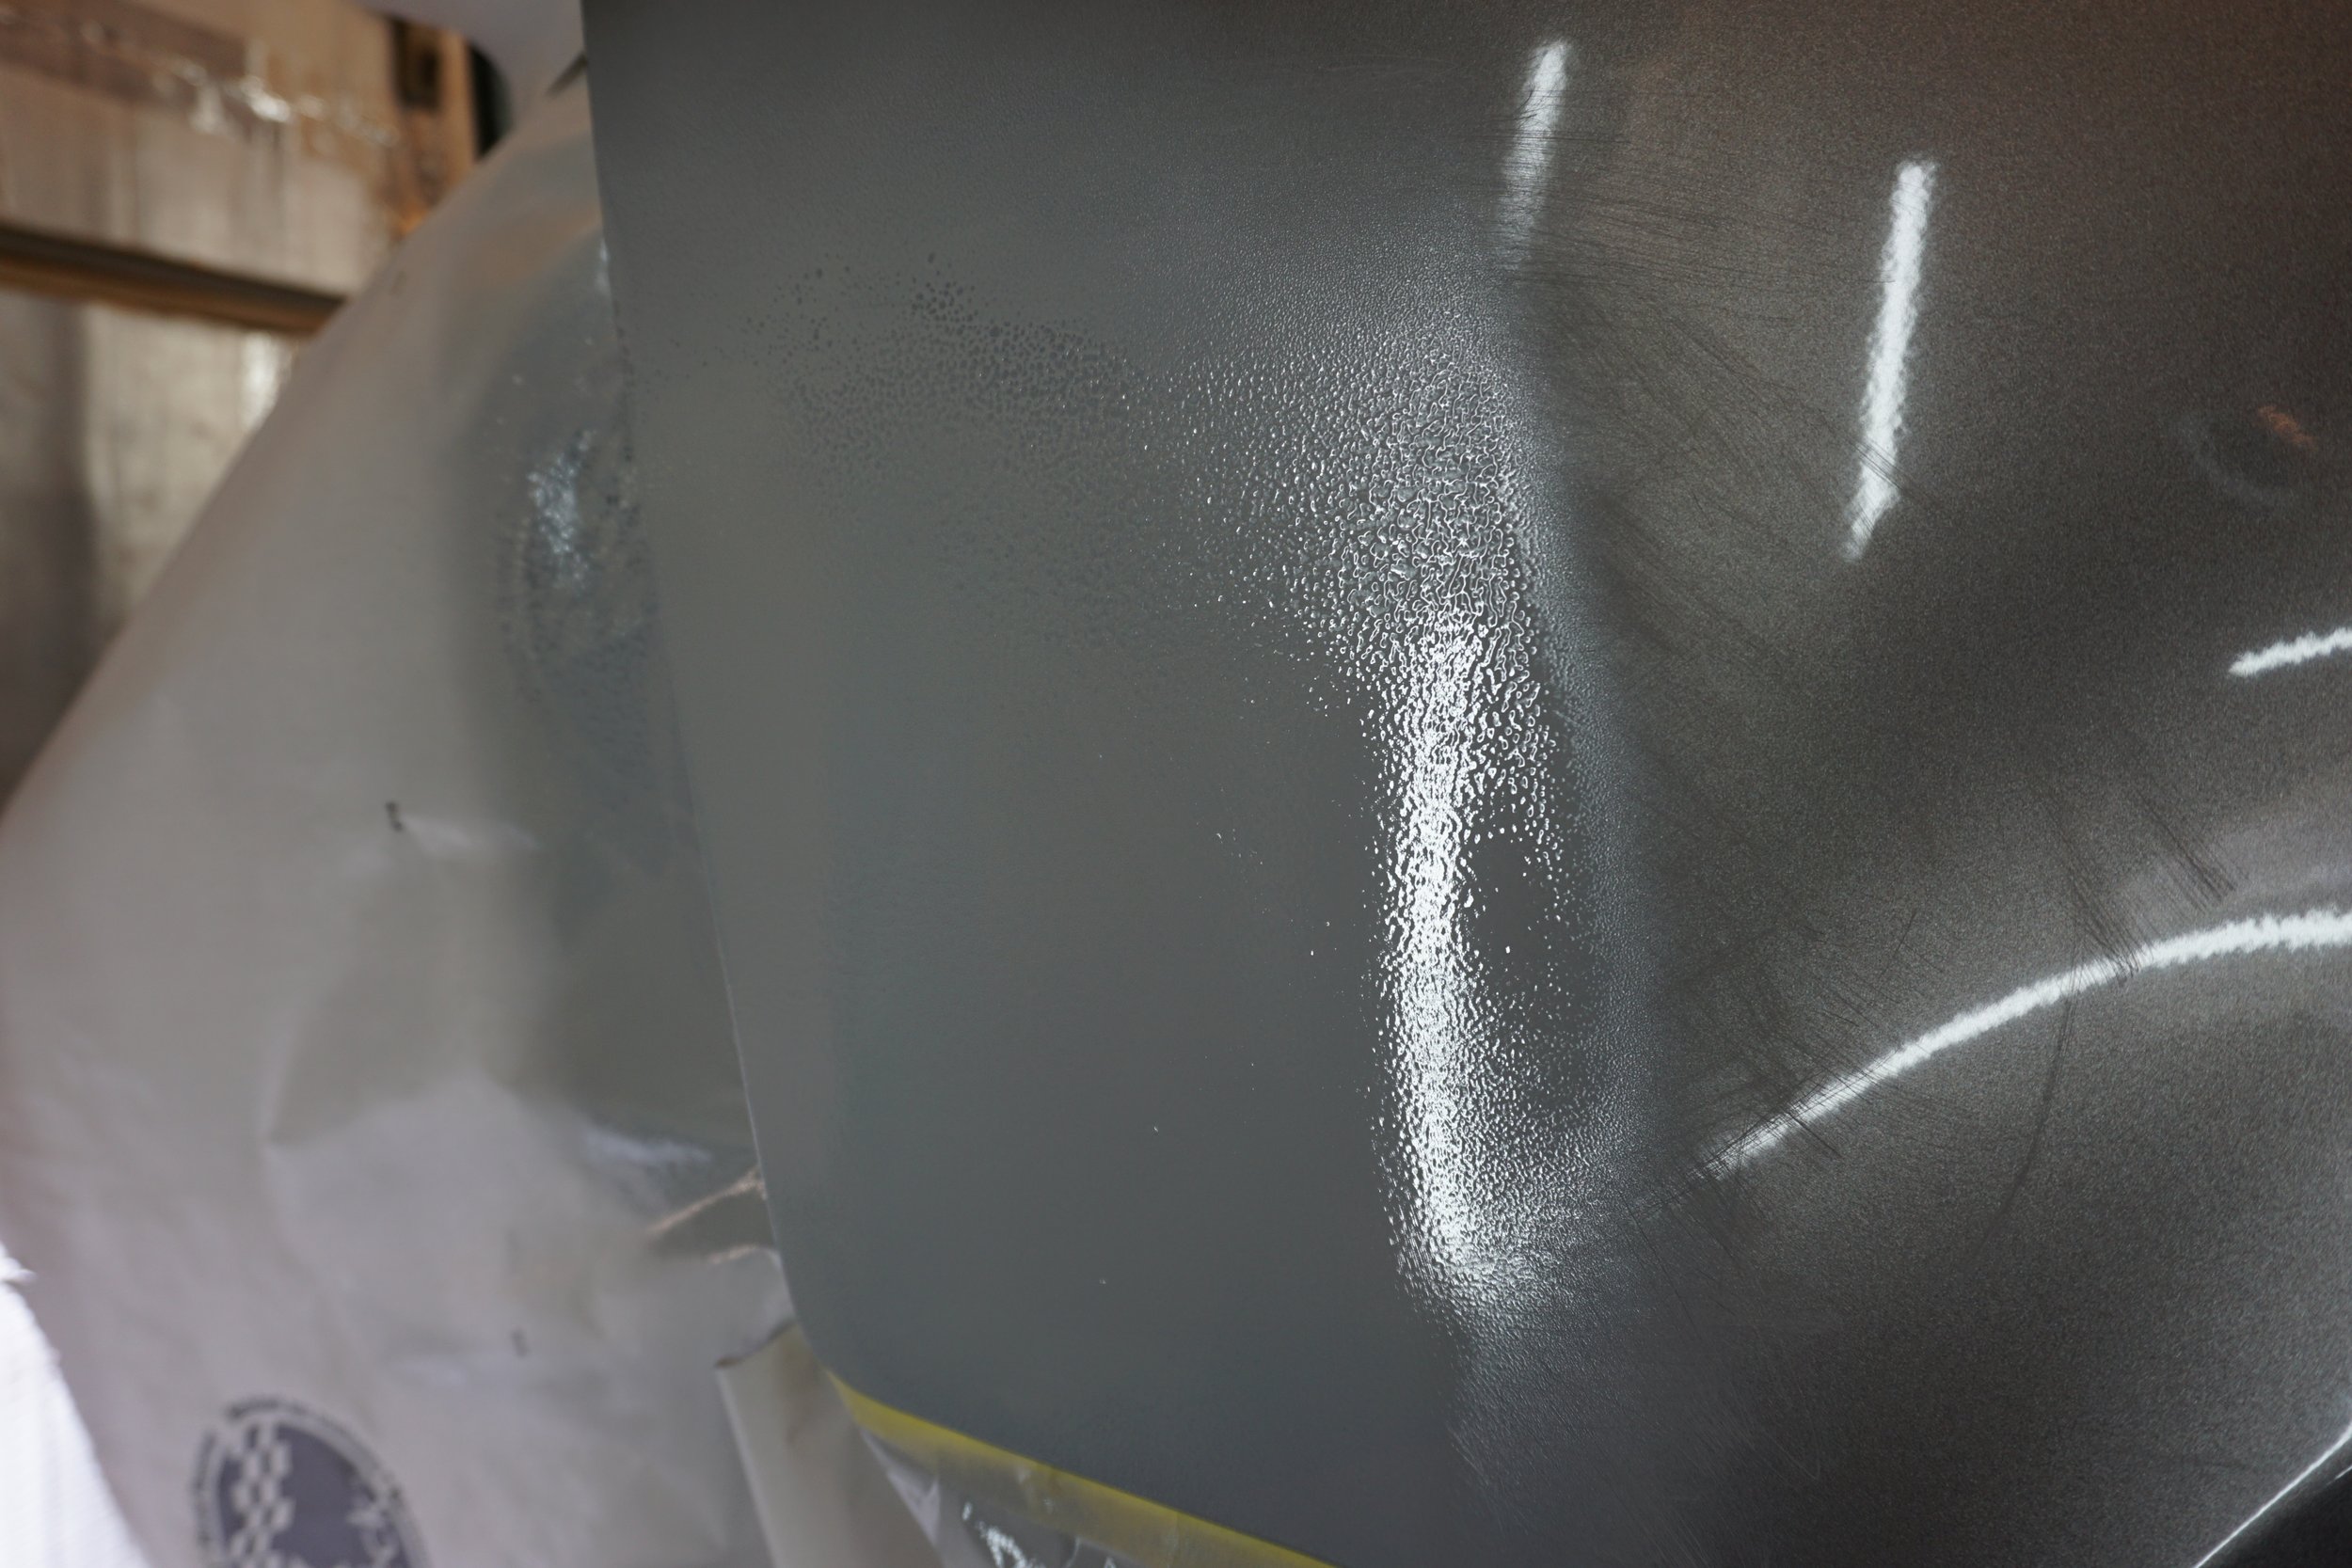
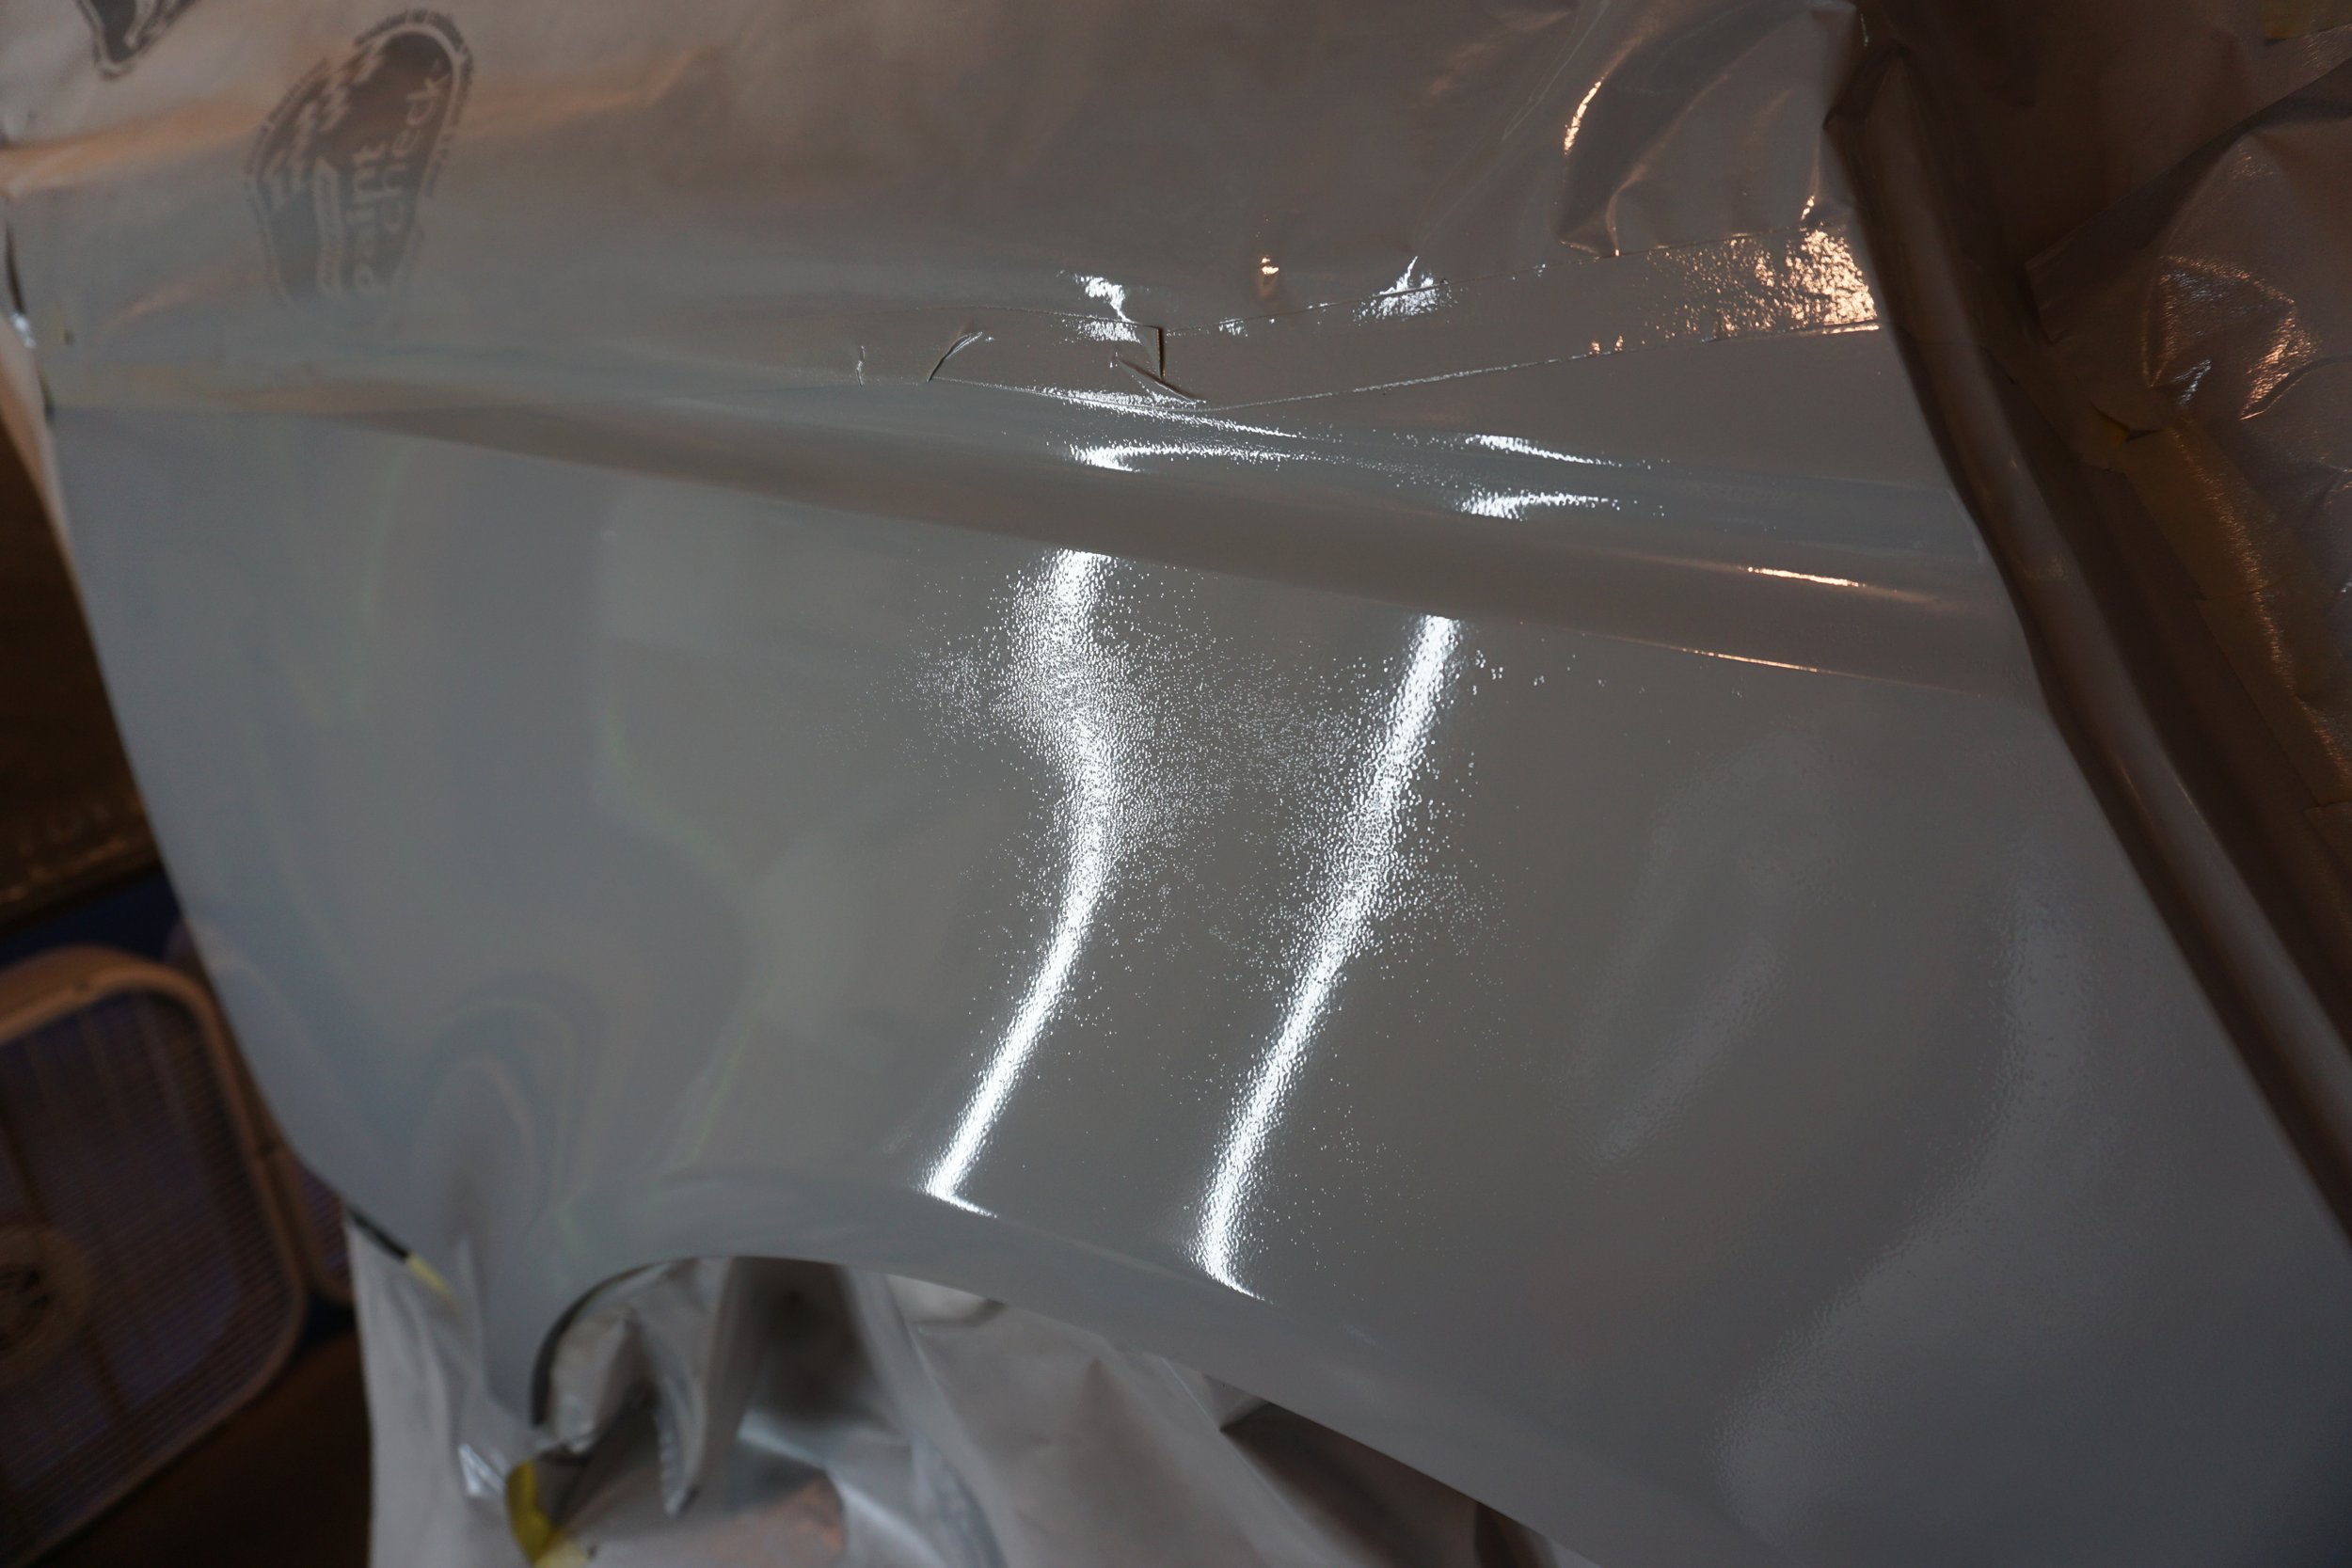
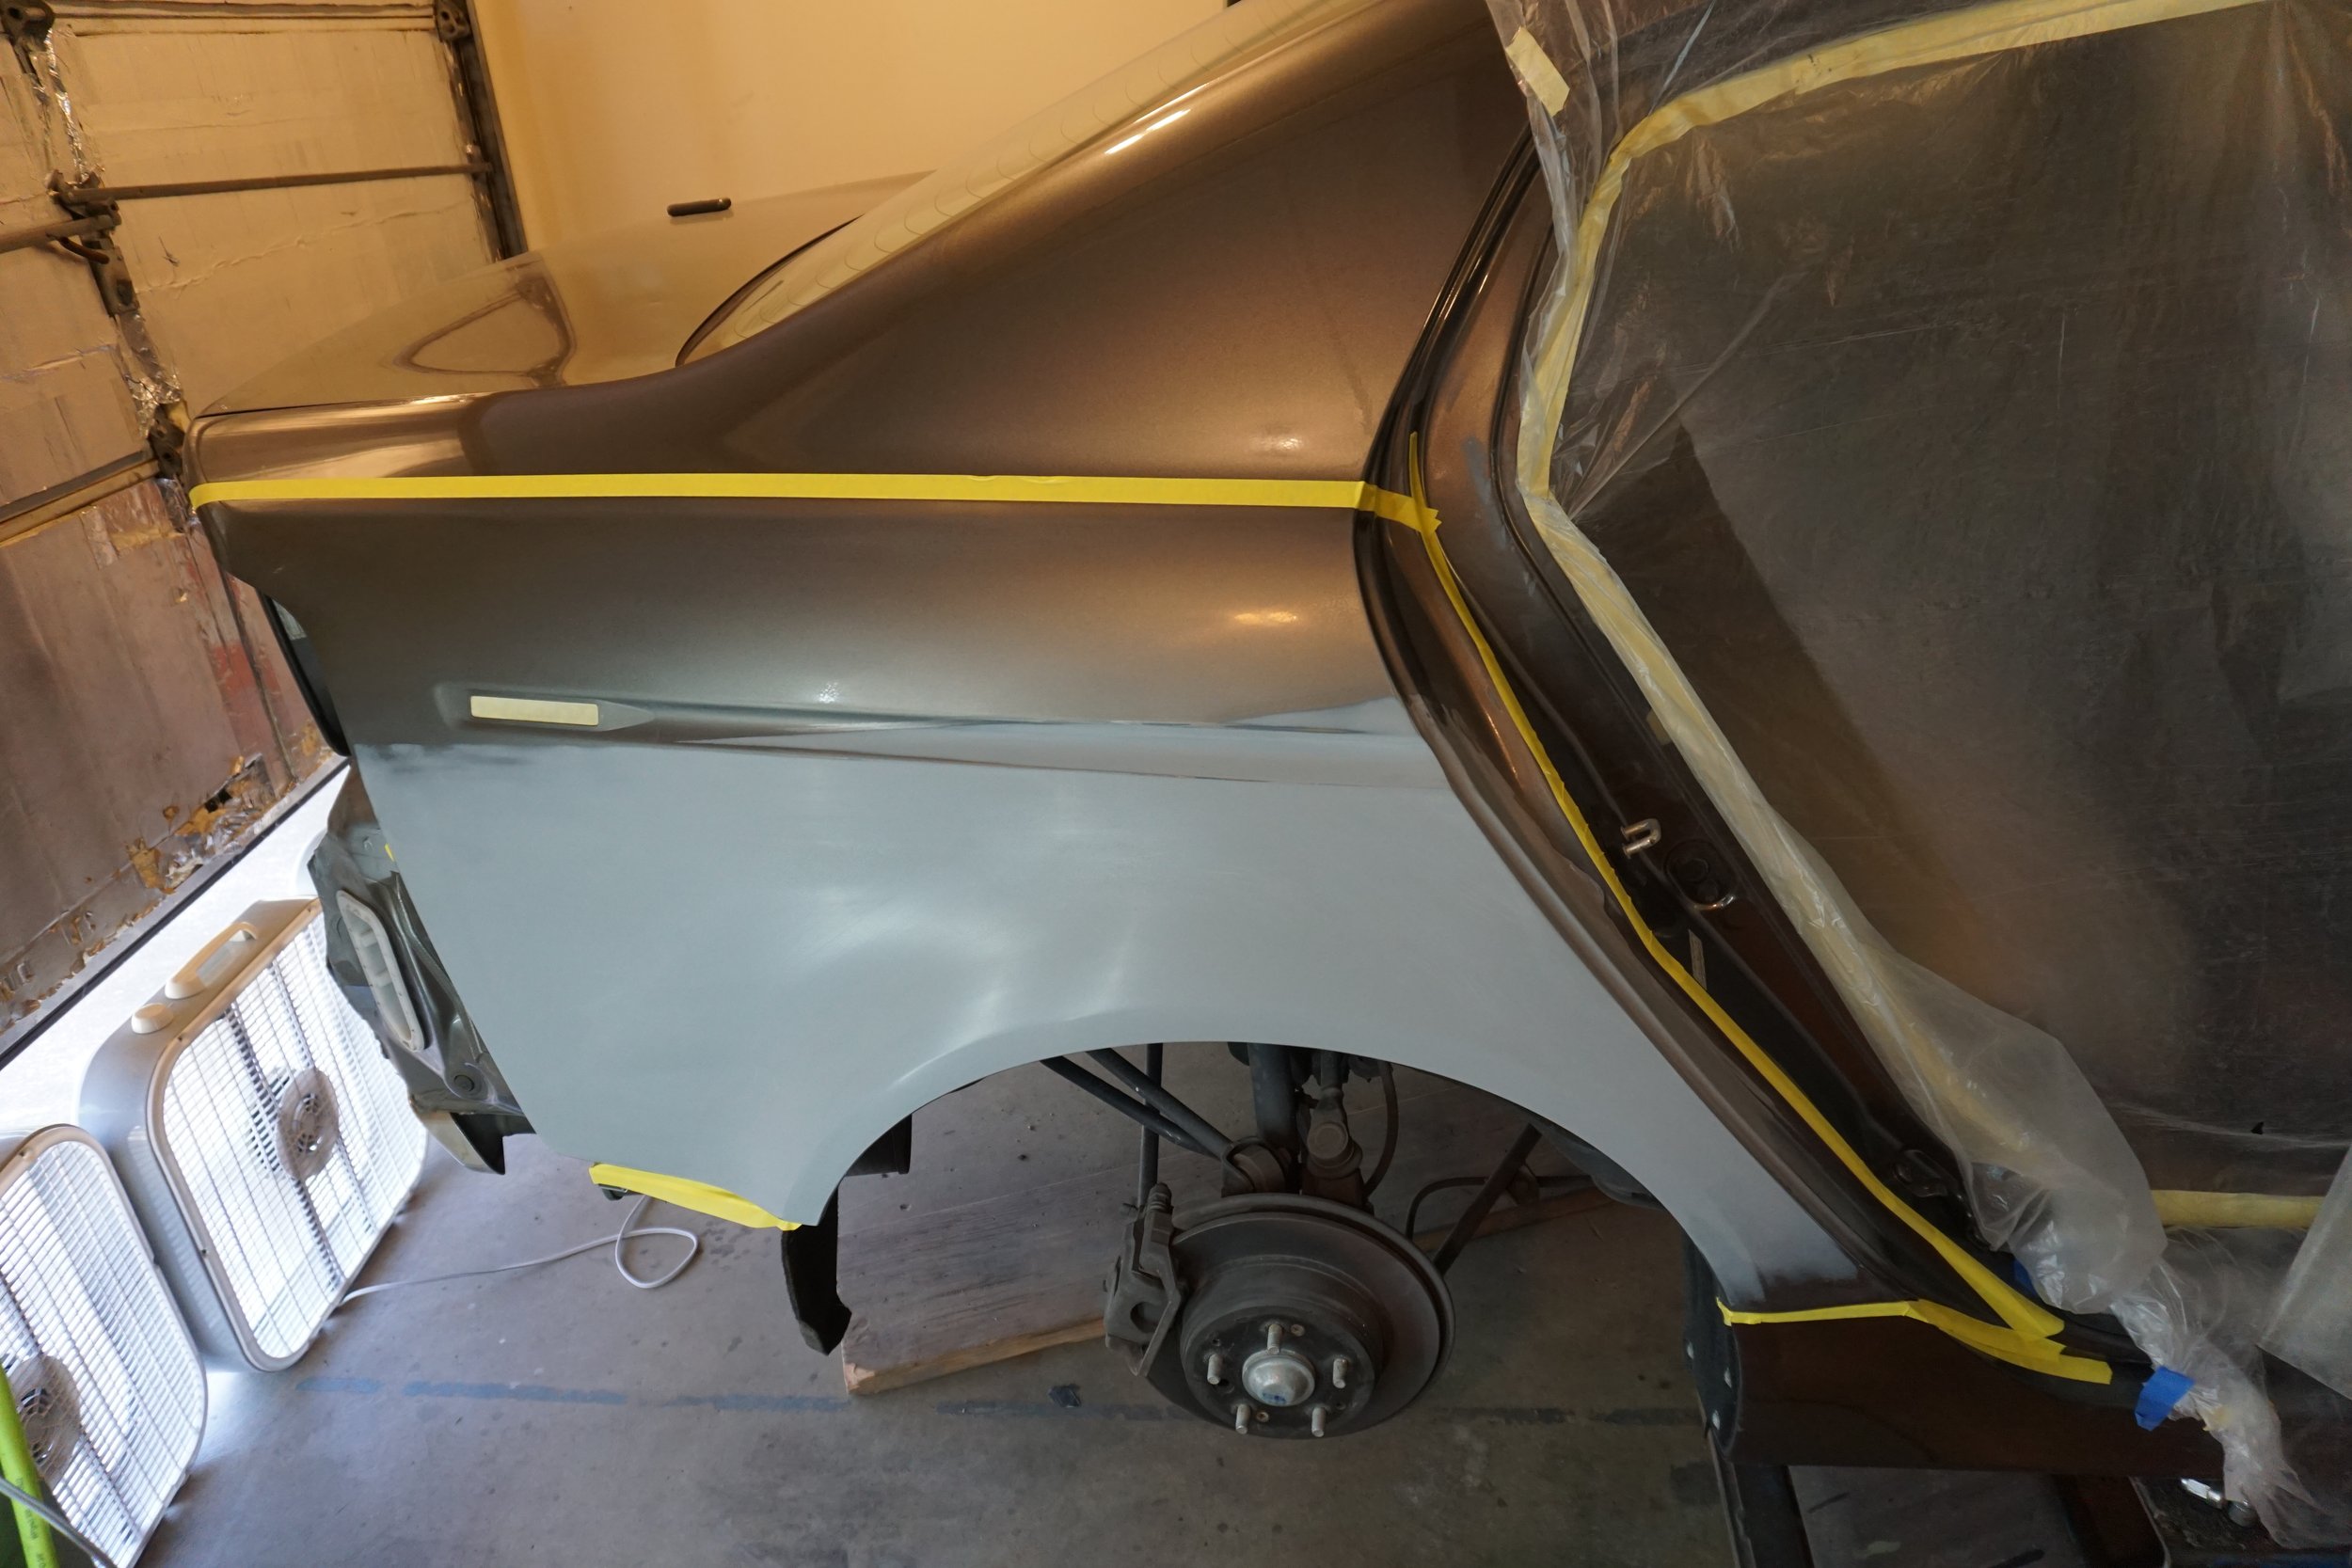
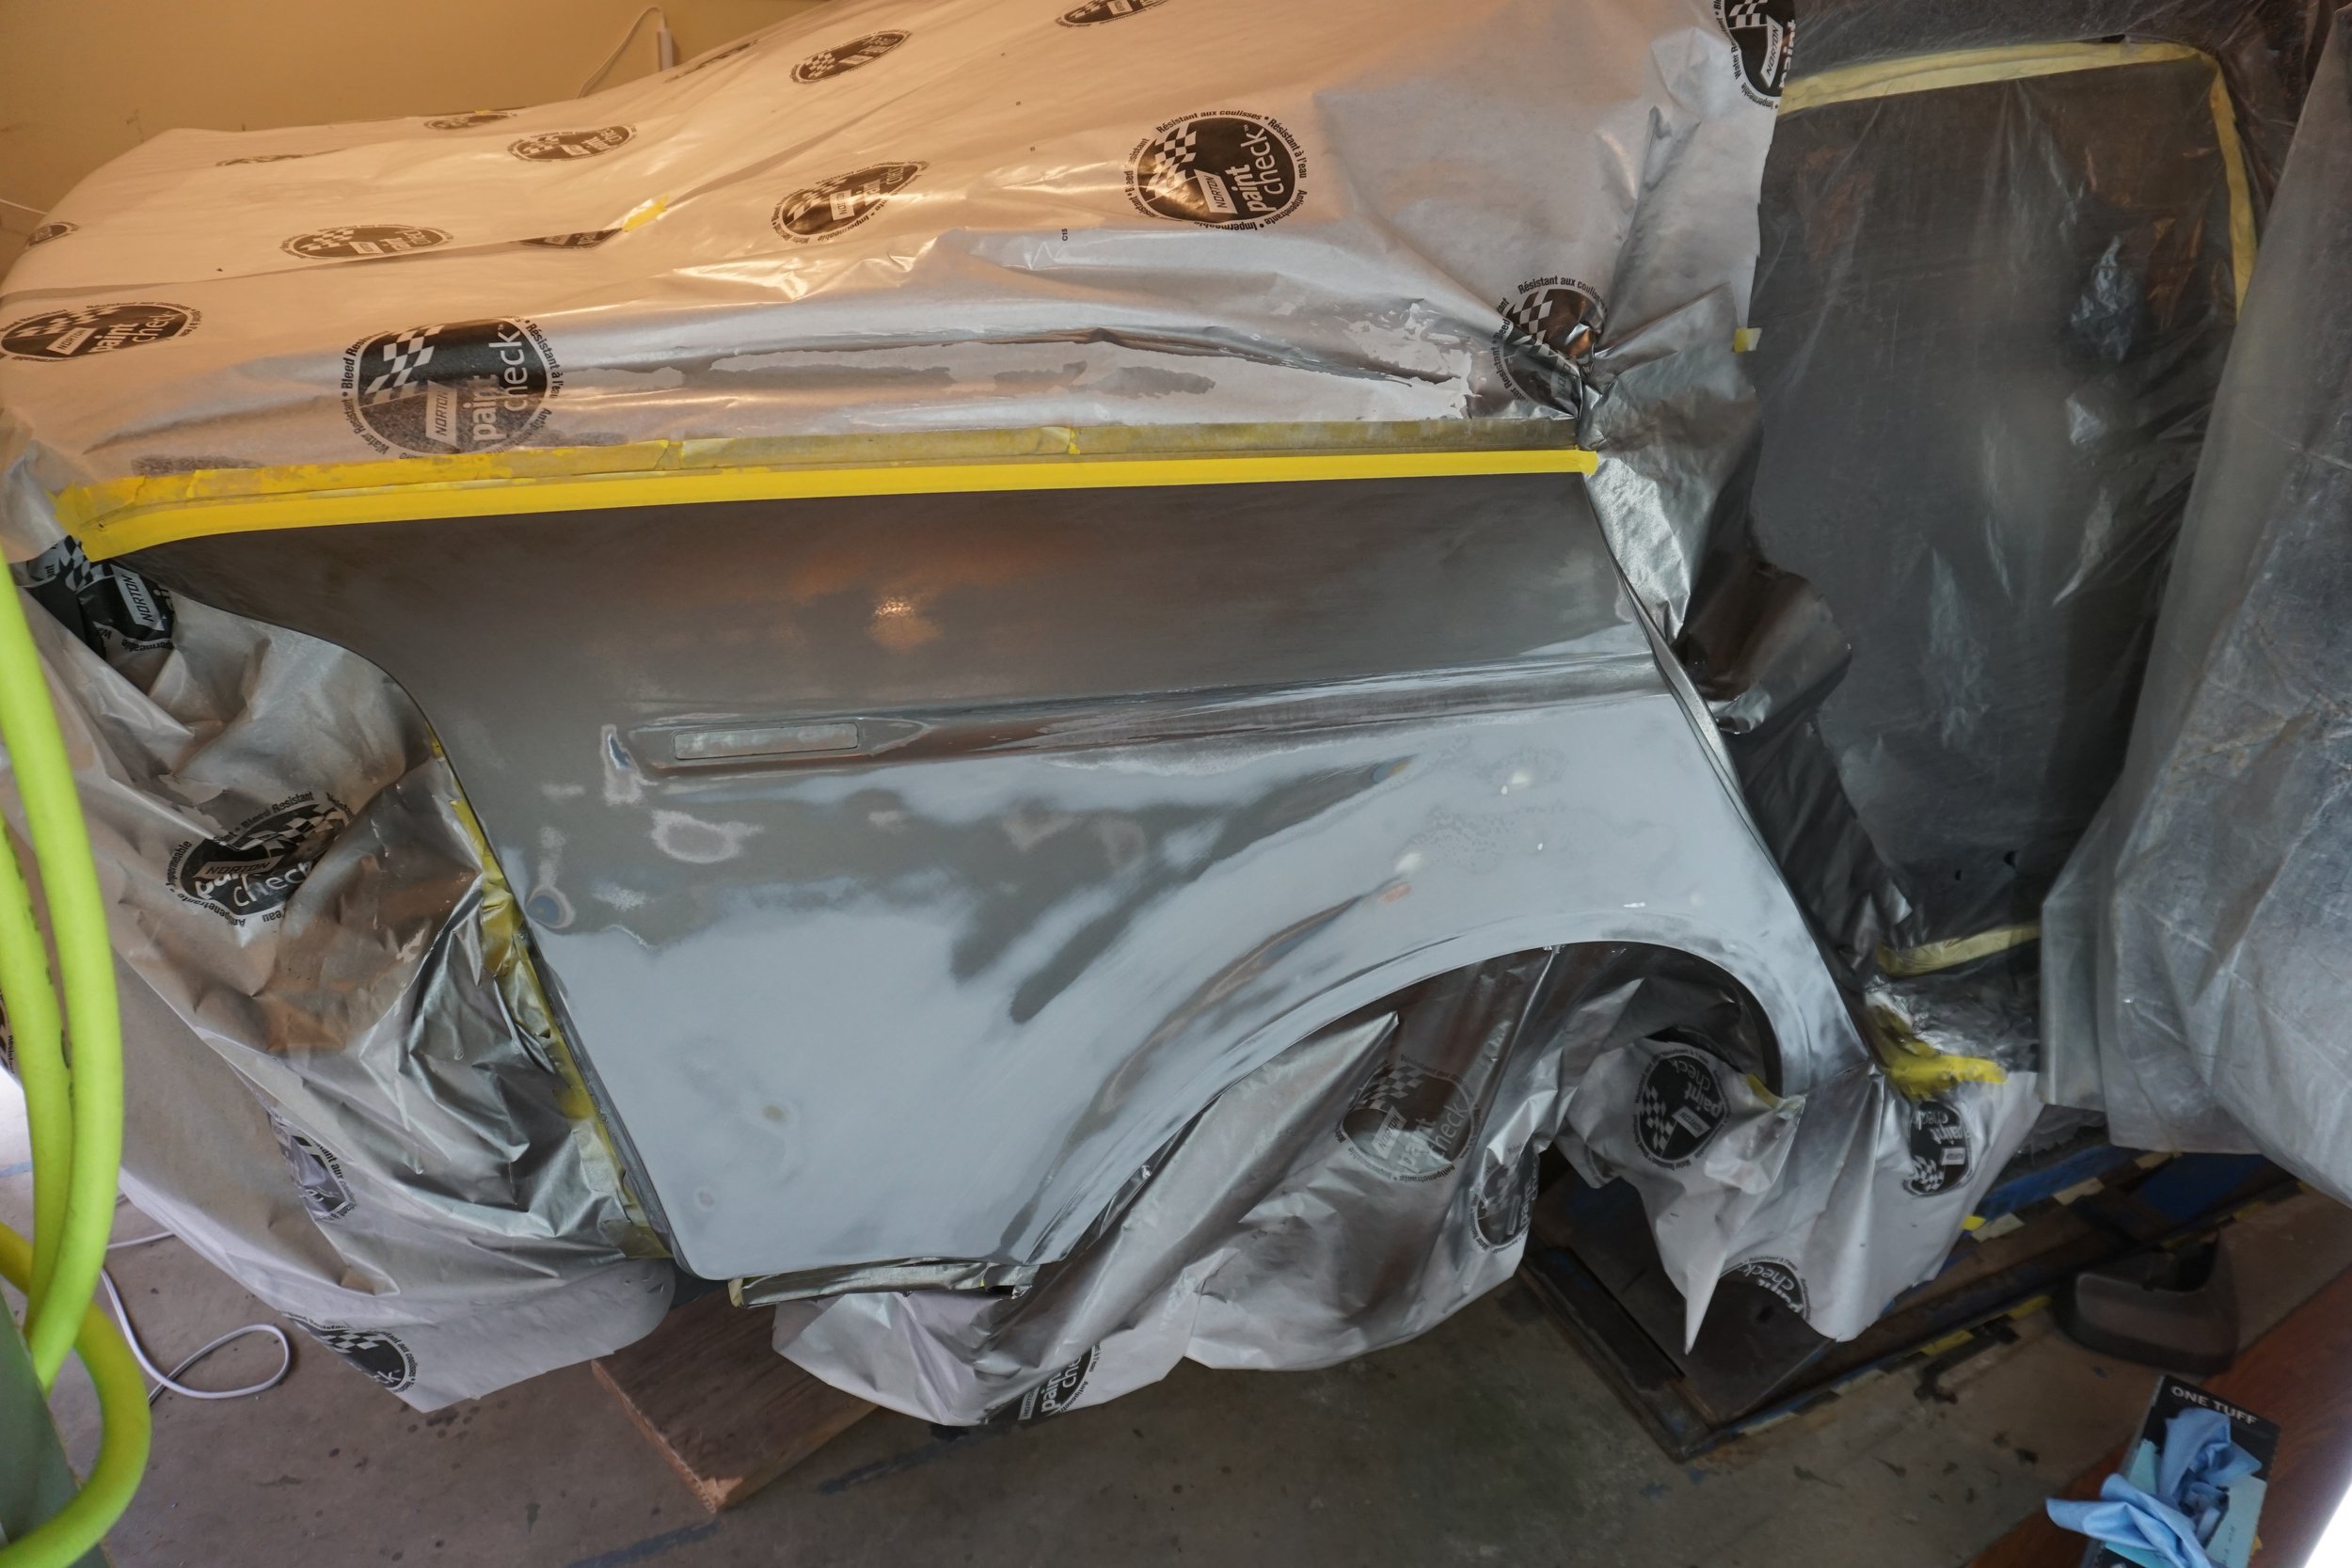
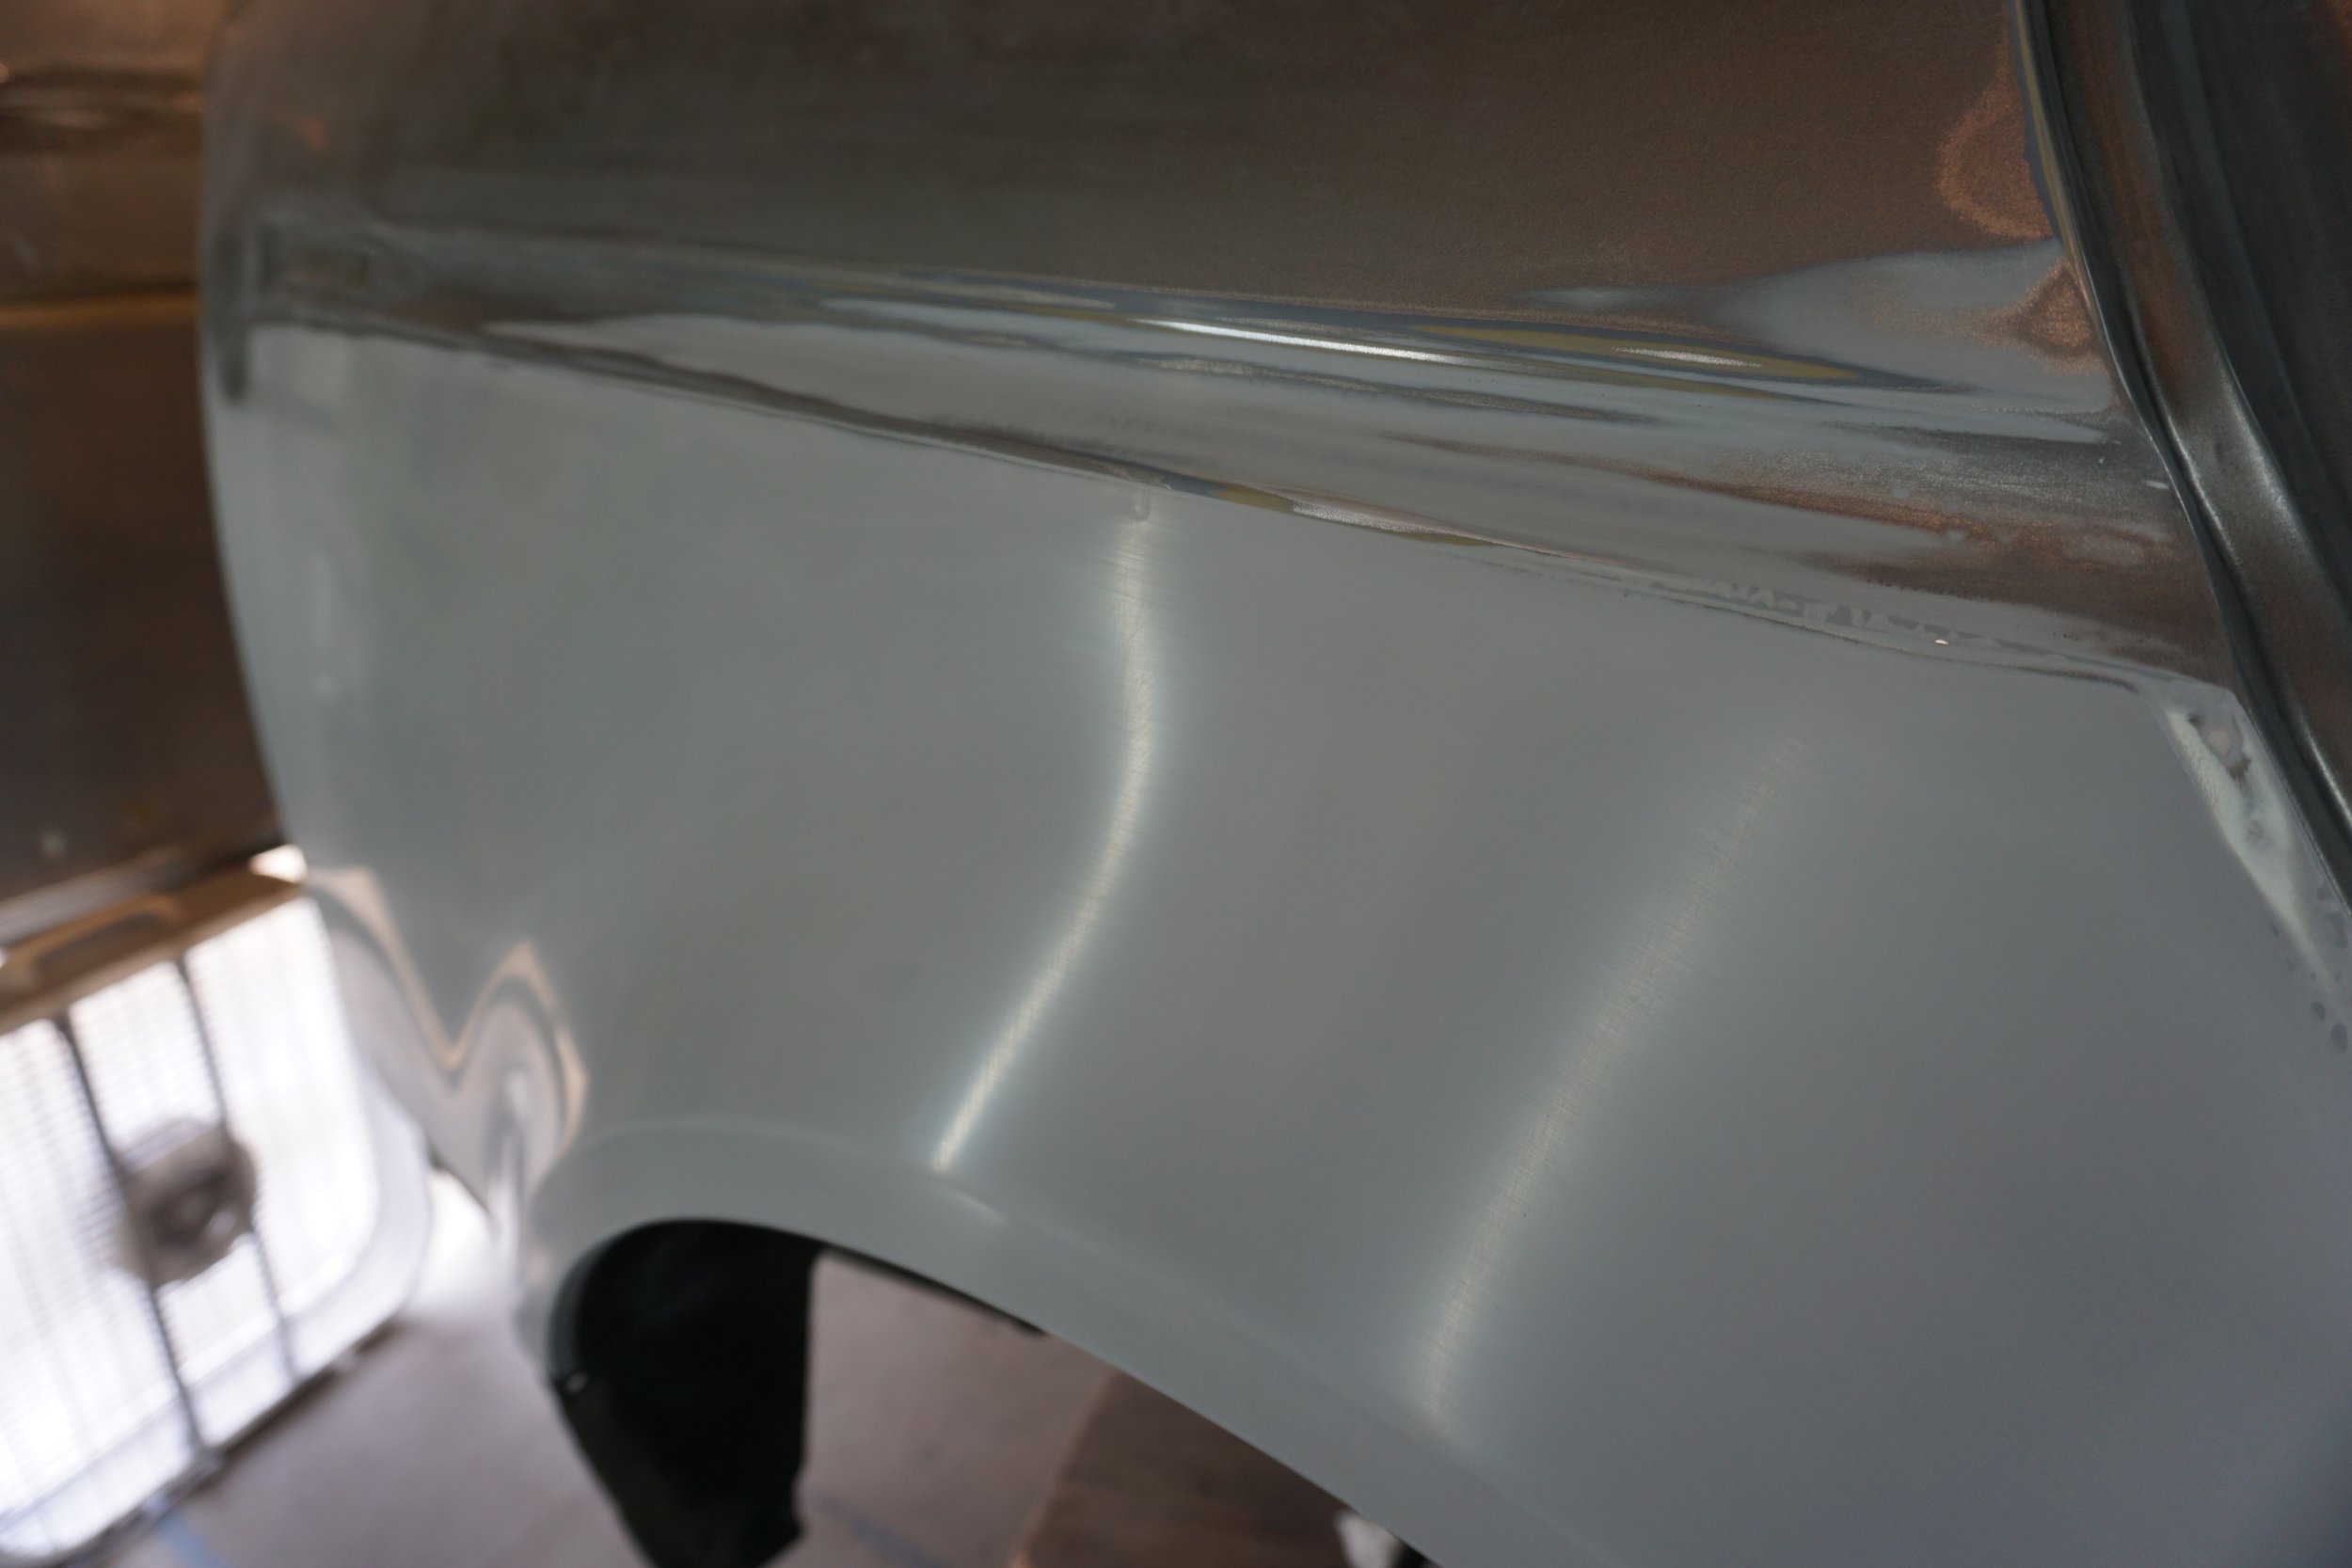
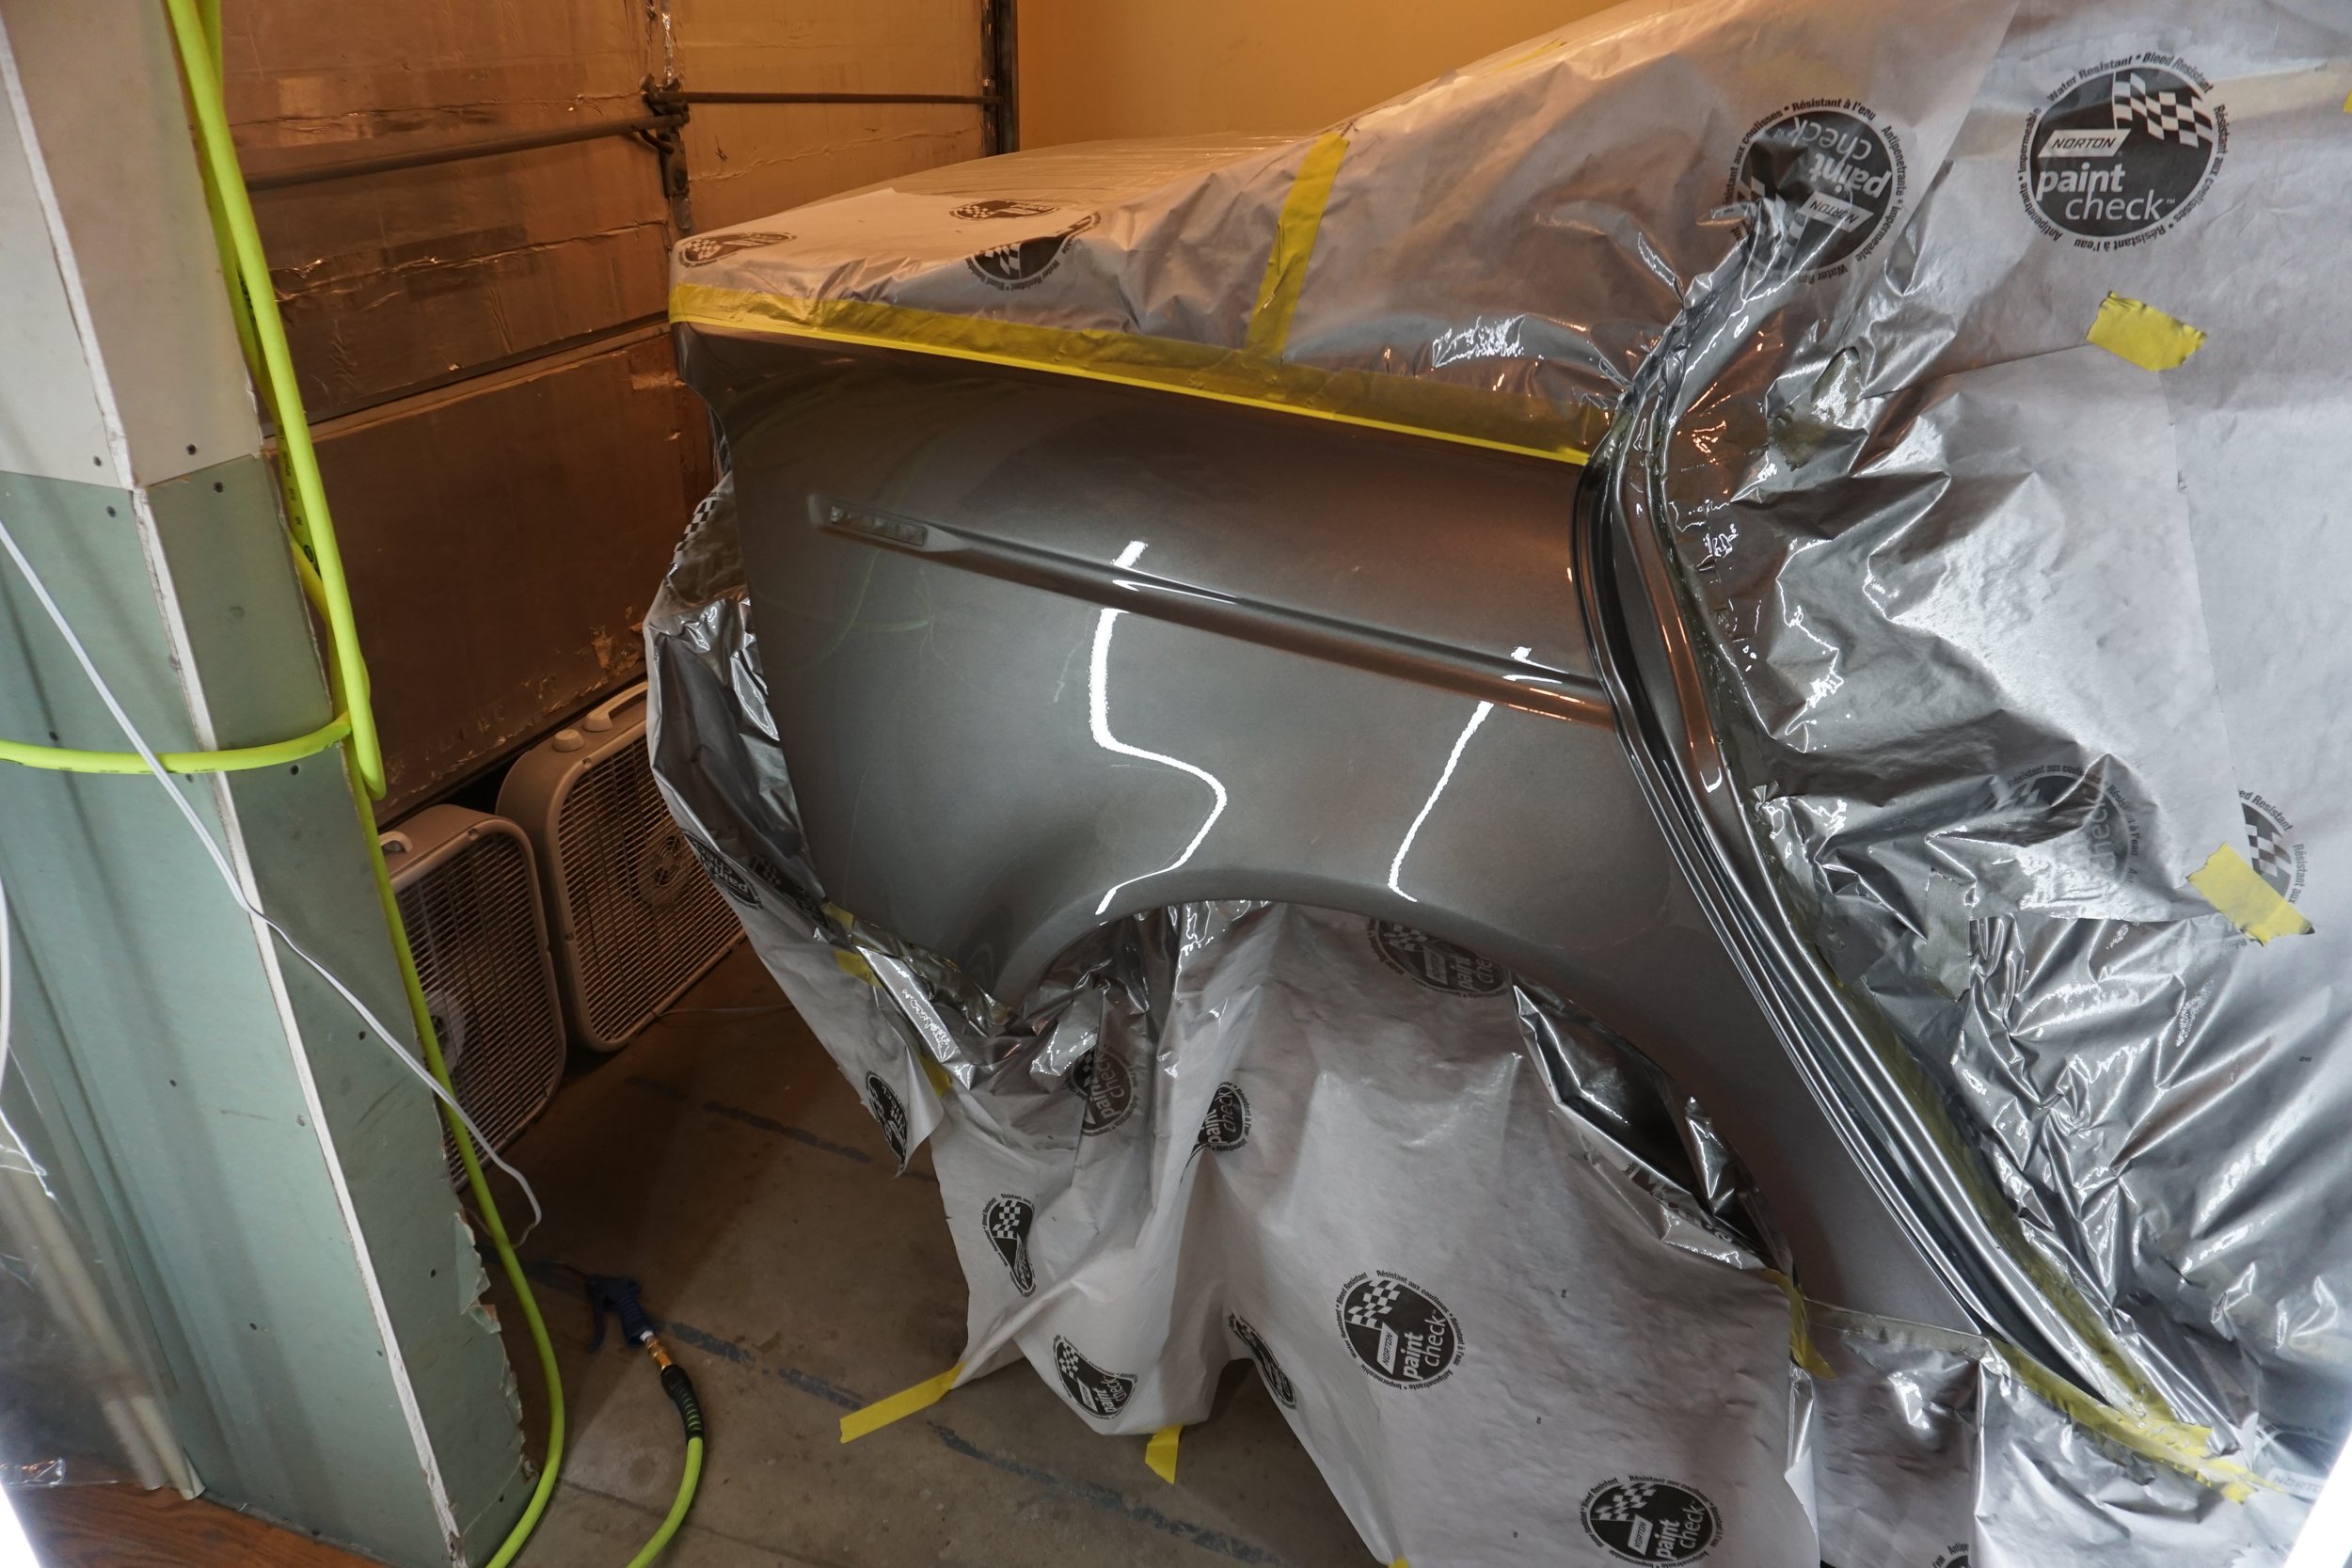
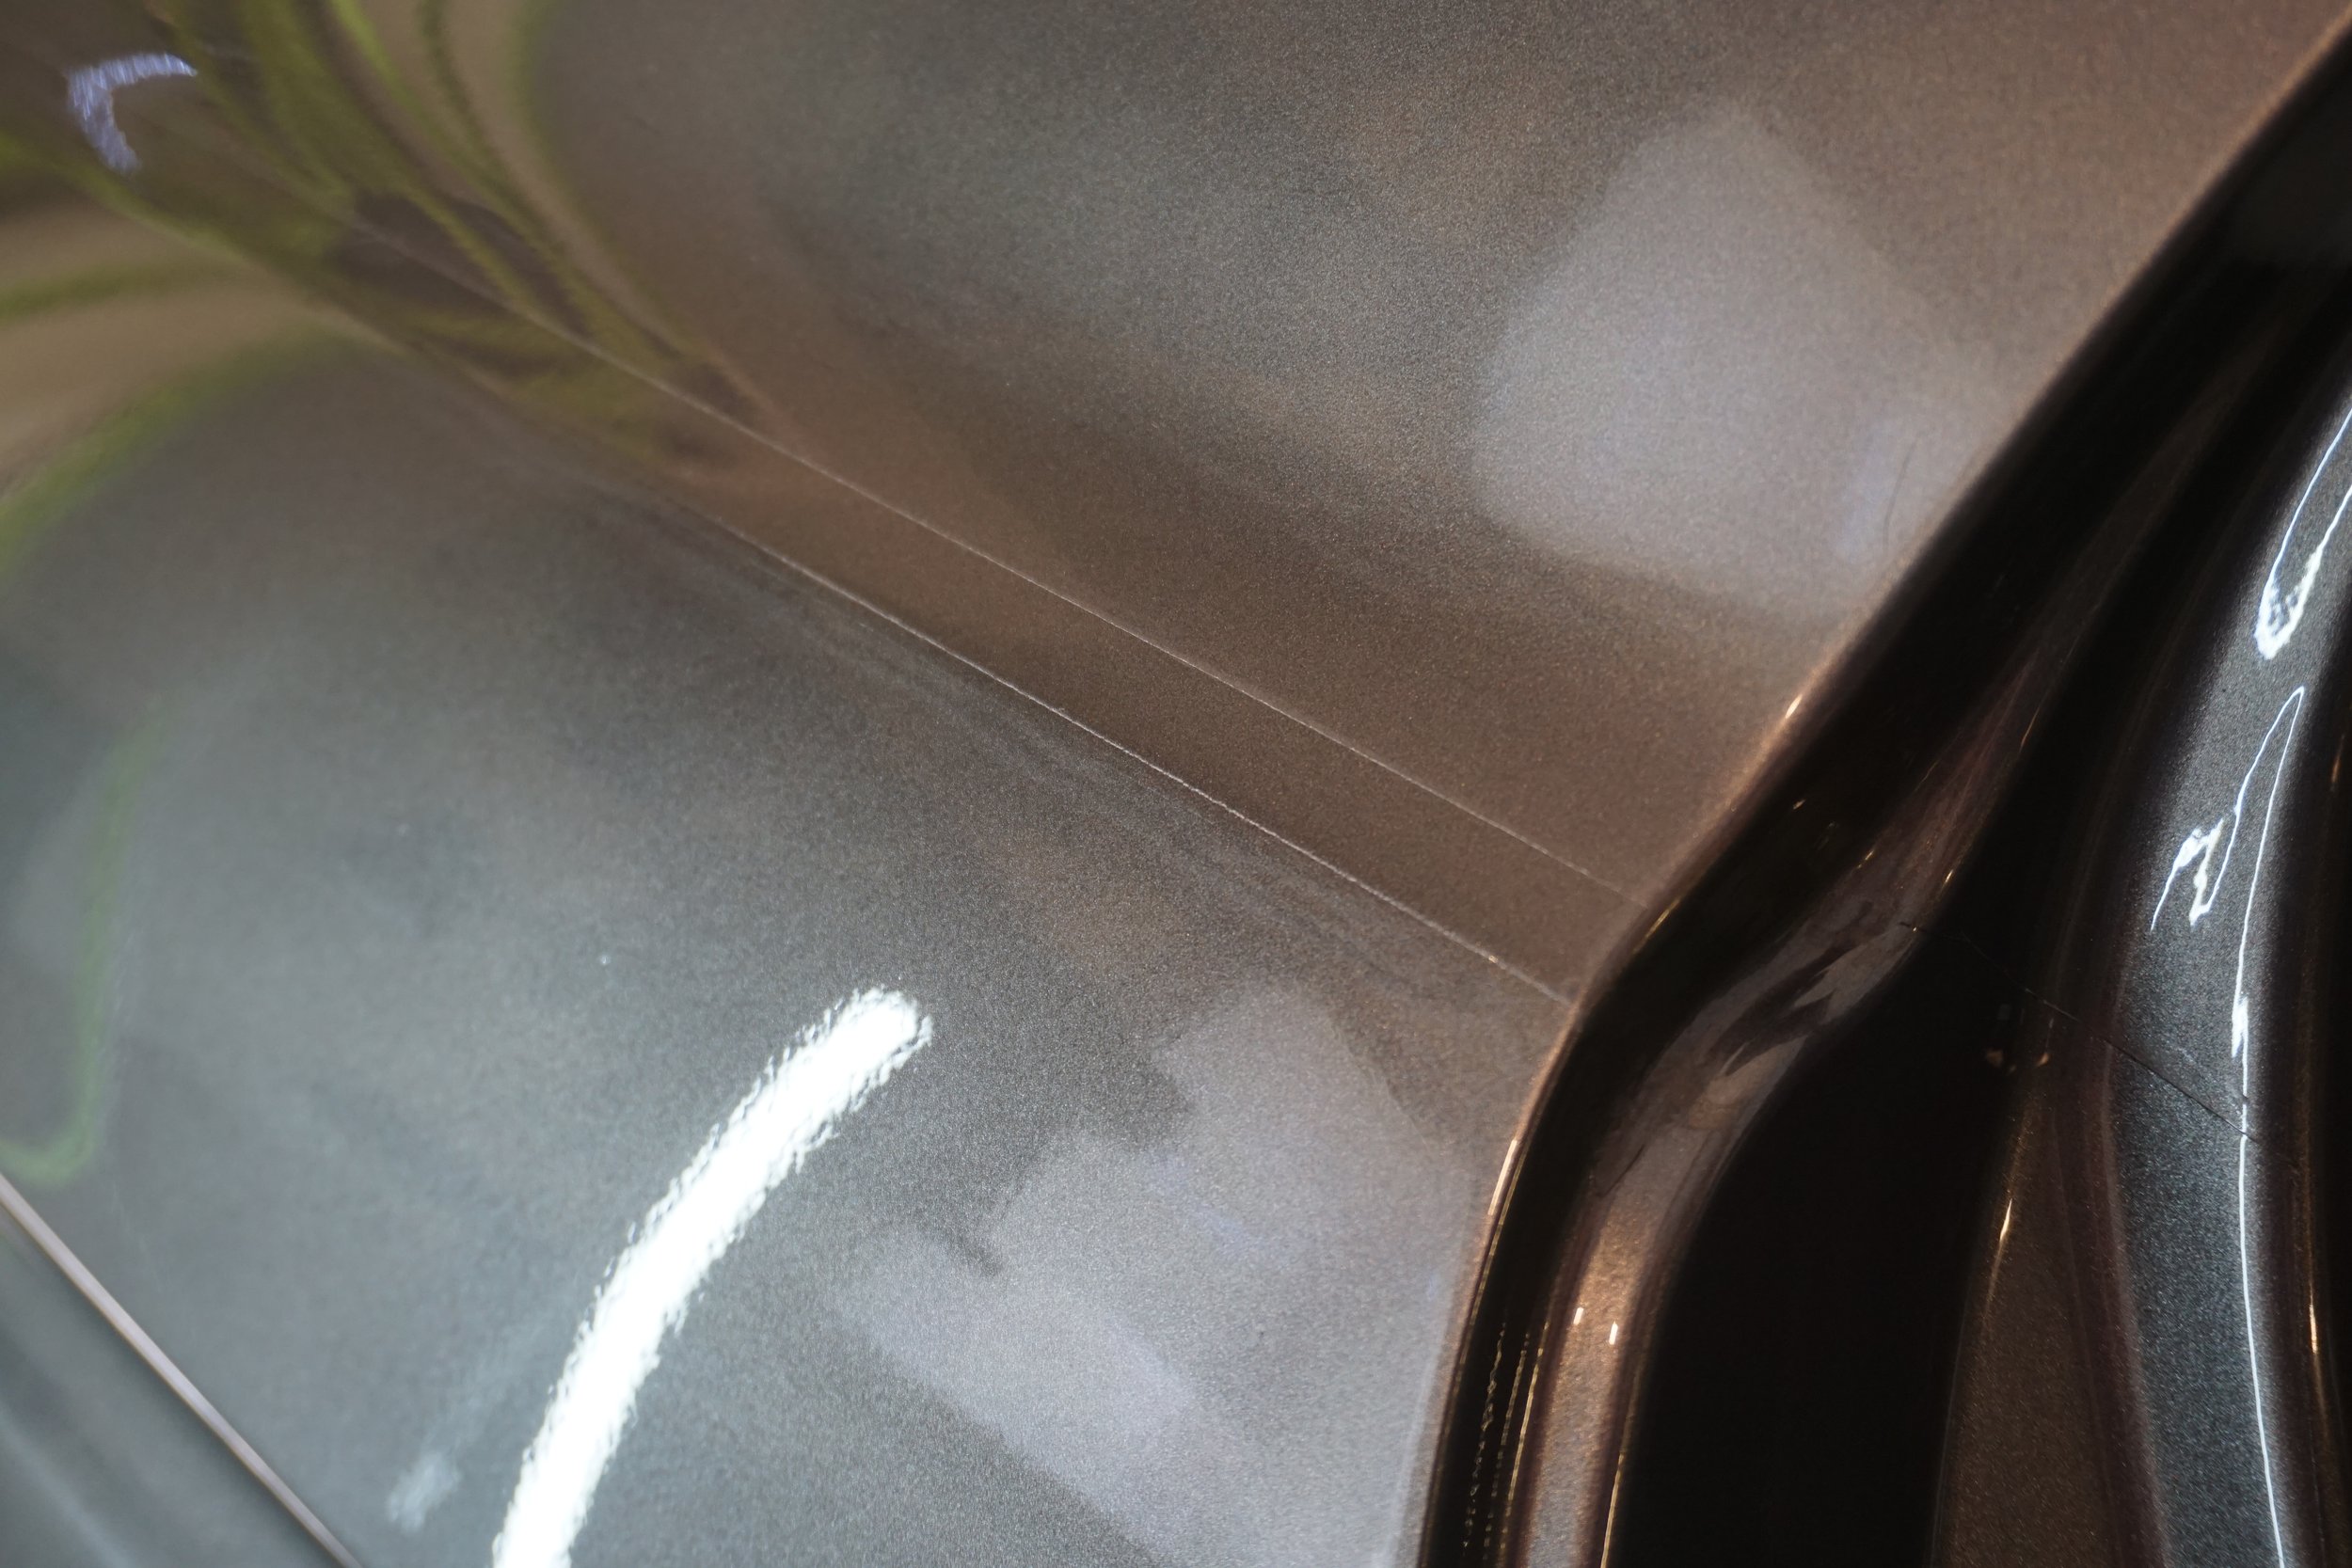
Then on to the 3M Platinum filler. This was a very tedious process since there were so many high spots from the stud puller, as well as the high spots created from the initial accident. Had to hammer those down as they showed up. It didn't help that this area has very few flat areas; there was a curve to almost everything which made things really challenging. I probably spent a full day on this. I used my new Black Diamond blocks (made by Dean here on the forums) where I could, but even the smaller block was too large and hard for much of the panel and I had to use a very flexible pad for the curved areas.
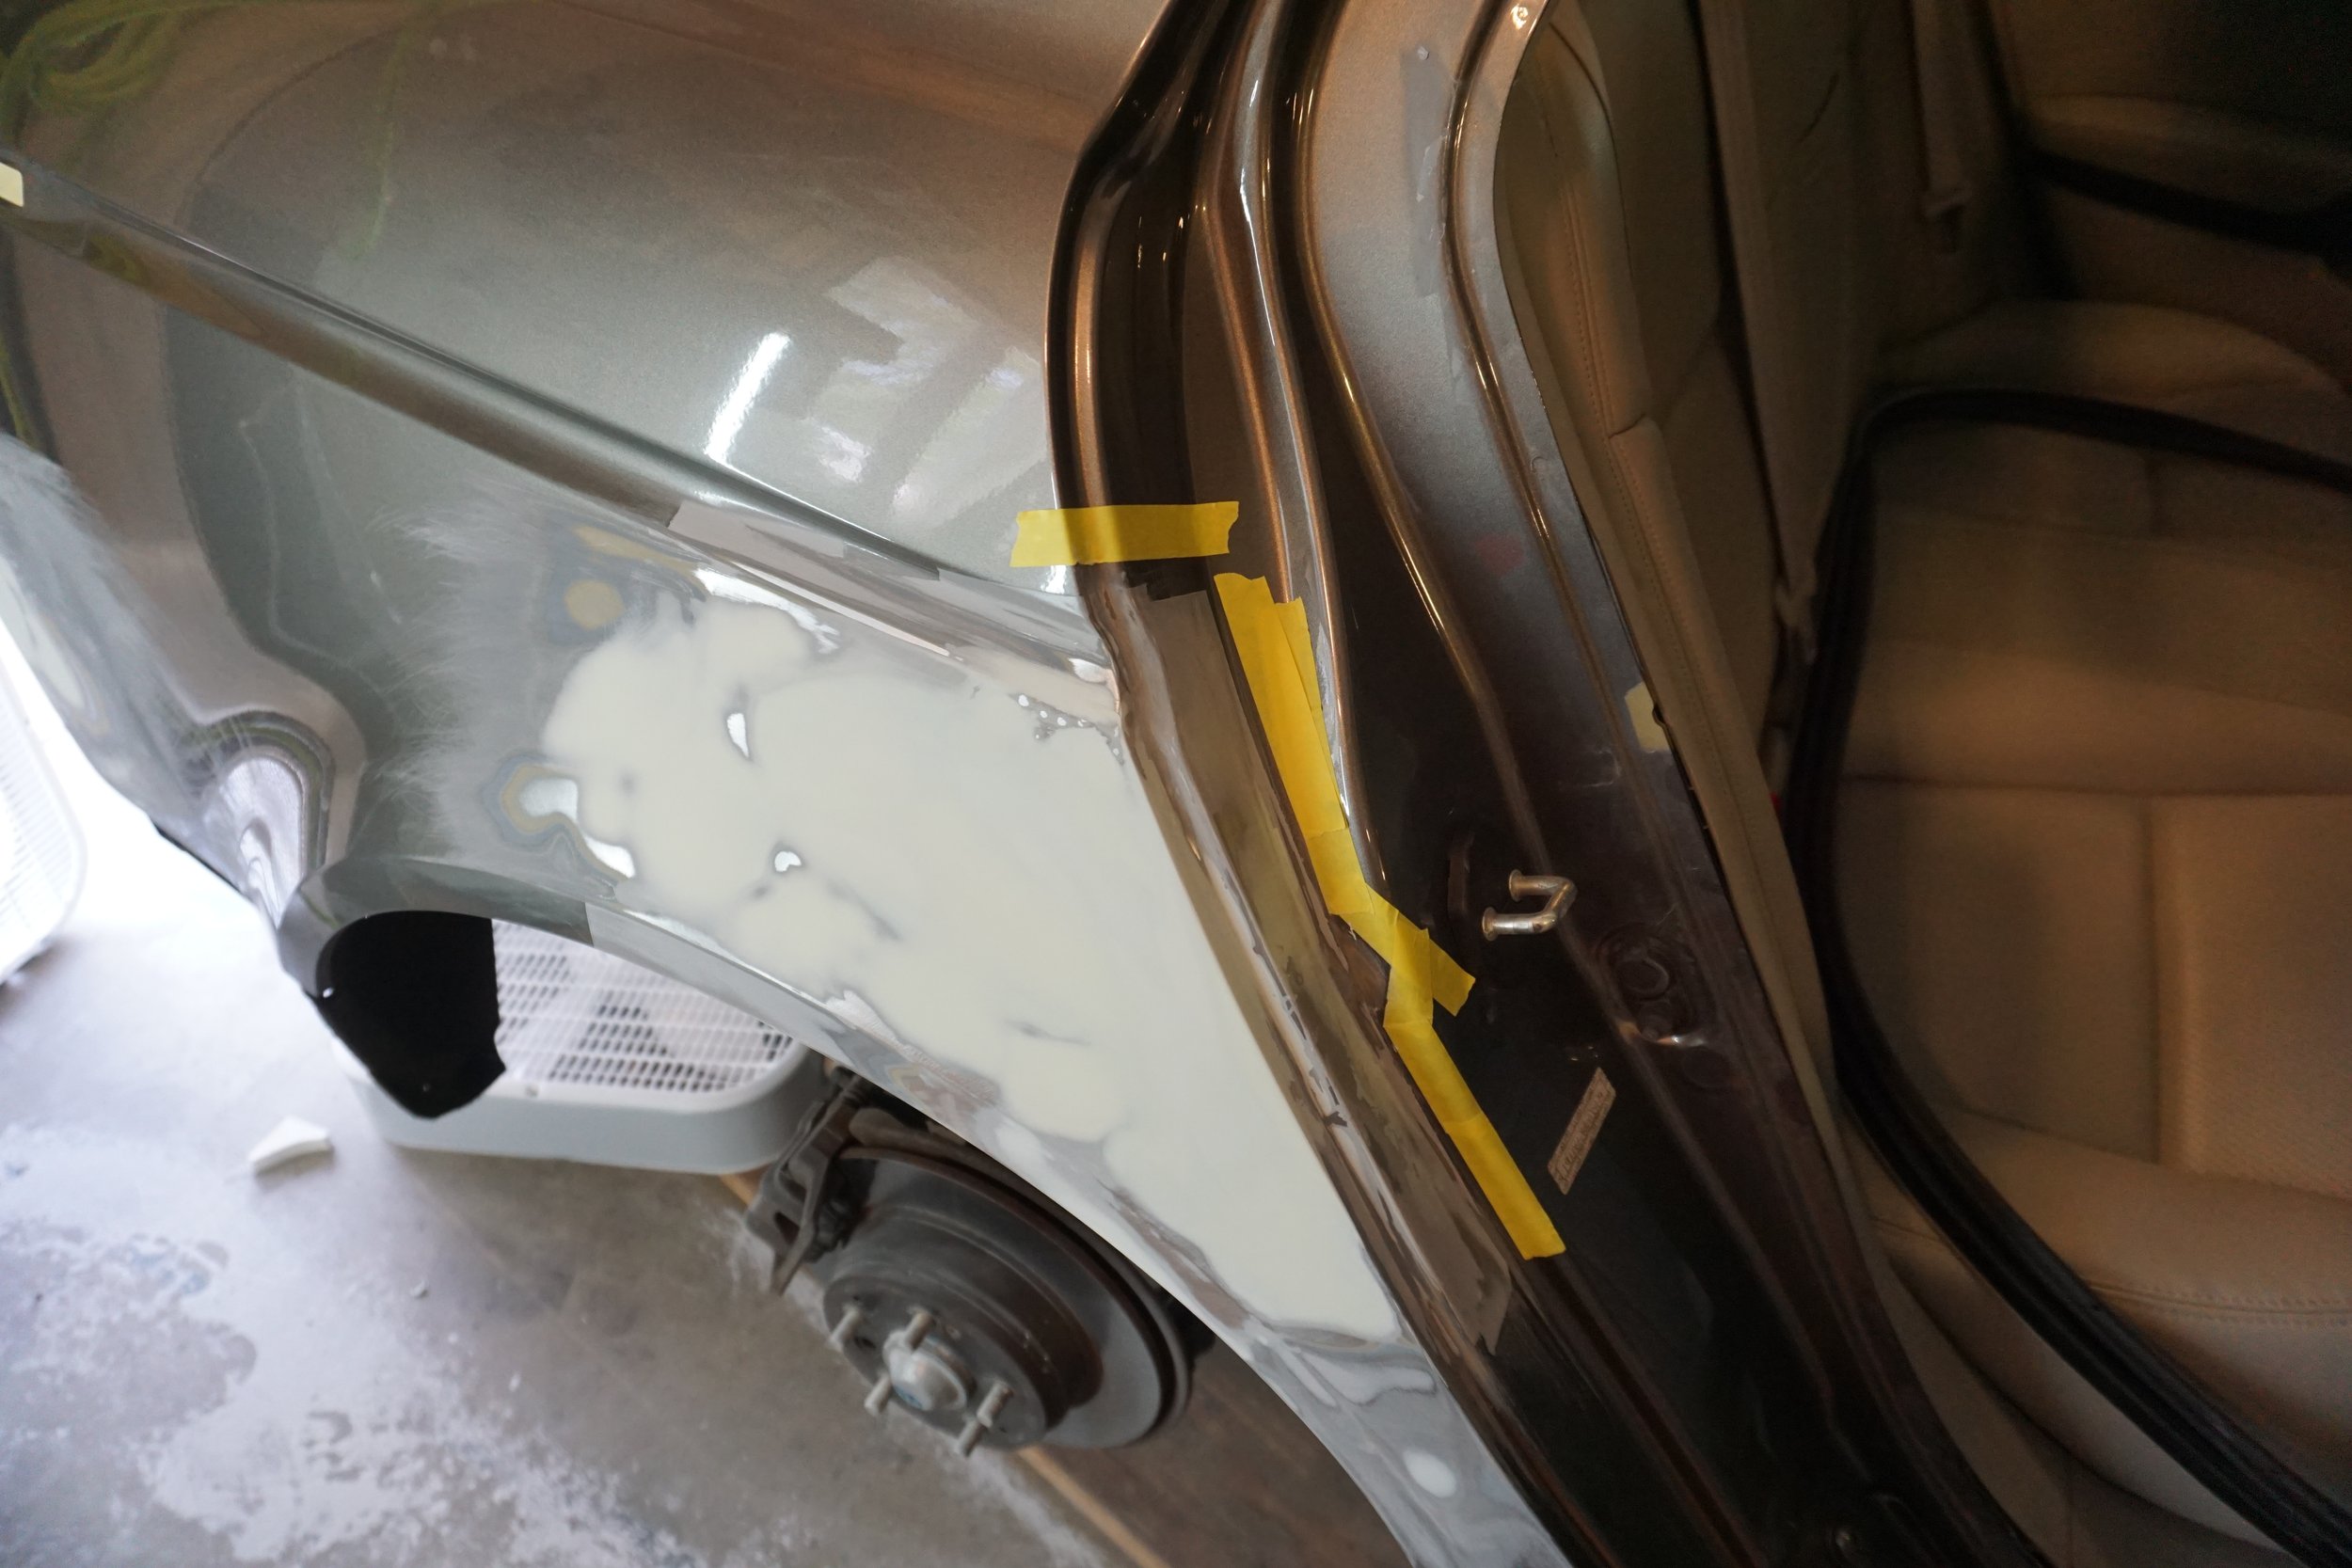
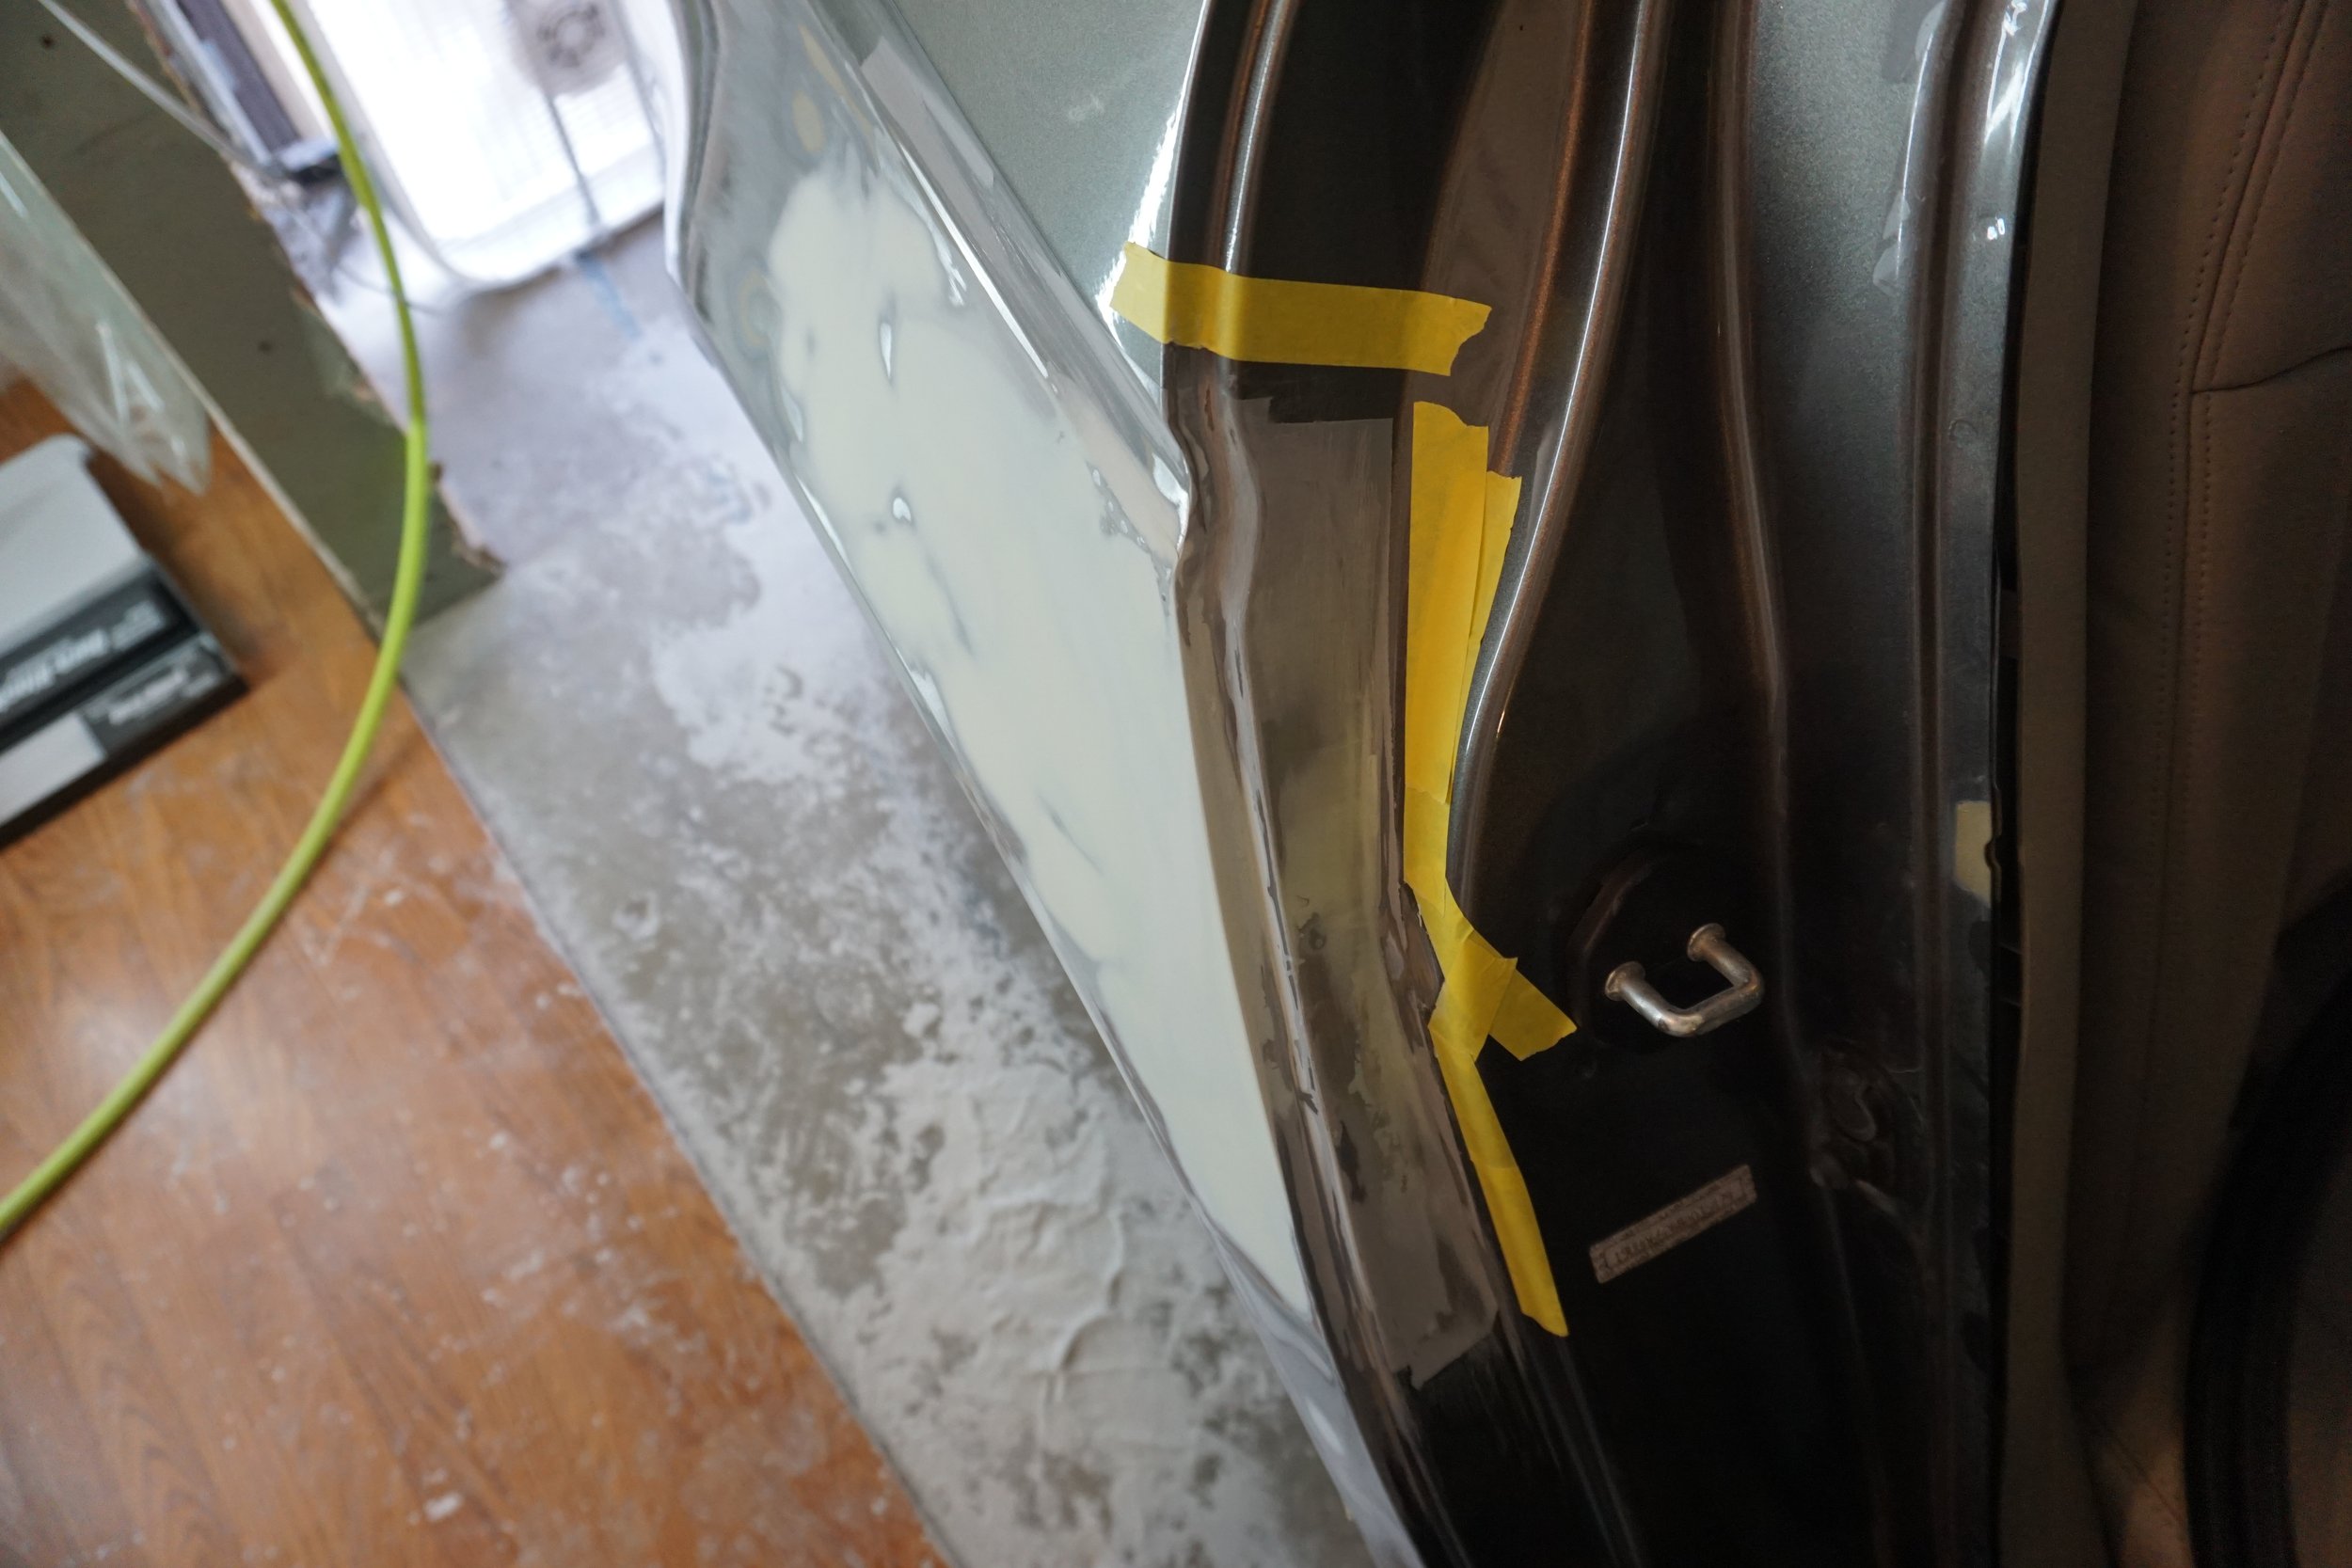
DSC01159.JPG


DSC01160.JPG
 
Since the sanding had revealed bare metal I sprayed another round of epoxy. However it had been sitting in my 3m PPS cup for 60+ hours, and I don't think I mixed it up properly, so it sprayed like this:

DSC01163.JPG


DSC01165.JPG


I then made another mistake of spraying the 2K directly over this mess when I should have sanded it down first. Which was compounded by my mistake of not masking the area off, so 2K went into areas where it wasn't needed, which forced me to sand that down, which expanded my working area. Lessons learned.

DSC01167.JPG


DSC01168.JPG


Since more bare metal was exposed after blocking (remember, I didn't hammer certain high spots down enough when doing the filler work) I wanted to spray some reduced epoxy as sealer. But being all nervous I forgot to reduce it and just sprayed straight epoxy. This time I don't think I sprayed it wet enough and was left with some dry spots.

DSC01177.JPG


I blocked it smooth with 320, 400, and 600 (IIRC) since I was going to spray metallic over it.

DSC01182.JPG


My plan was to use base clear first on the whole panel below the top tape line, and blend the base into the existing original paint above the repair area. However, this all went sideways on my when I used the wrong gun (my 2.0 primer gun) to spray the base clear and it went on way too thick and had some runs. Not knowing exactly what to do, I decided to spray the base over it anyways to see what would happen. Not surprisingly the runs were visible through the base coat.

DSC01185.JPG


DSC01186.JPG


So I sanded it all off and started over again......

DSC01191.JPG


This time I did a better job of spraying the (now properly reduced) epoxy sealer and avoided dry spray. I then went crazy and blocked it all down and finished with 1000 grit.

DSC01198.JPG


It was very smooth! I then sprayed the base clear with my LPH400 and 1.3 tip, being careful to not spray it too thick, then switched PPS caps and immediately sprayed the base on top of it. I didn't spray the base all the way to the top, I only did full passes on the area with sealer and let it mist the area above with the original base/clear. I was very pleased with the results!

DSC01204.JPG


DSC01205.JPG


Super smooth with (at least to me) an imperceptible blend into the original paint above. I was starting to get the hang of this! After letting the base dry for 24 hours it was time for the Production Clear. I wanted to try out my new DA sander (which arrived late so I hadn't used it yet for any of the sanding) so I sprayed 5 coats of clear so I had enough material to cut and buff. It wasn't a flawless application, but considering the environment I was working in, I only had a handful of nibs to get rid of, and the level of orange peel was totally acceptable, and there were no runs.

DSC01219.JPG


But time was running out before we were leaving for vacation, so I started making mistakes with my masking off of the body and some of the blend work, and I didn't have time to go back and fix them.

What I really wanted was this foam tape shown in this video:


To help with the blend line, but since I couldn't find it, and I was having trouble folding my regular tape back over itself to soften the line, I just had to work around the hard line that results from laying the tape down flat on the body. Does anyone know what that foam tape is called?

I tried to follow along with what he did in that video, and pulled away my tape after spraying most of the clear, and then sprayed some clear blender into the area to help things blend. The result was pretty crummy:

DSC01227.JPG


With a lot of time using the tiny and awesome Tolecut blocks I got the lines sanded smooth. I also used the Tolecut blocks to level out any nibs, of which there were probably 10-15. I then went over everything with the DA starting with the Eagle 1500, then 2500, and finished with Trizact 8000 wet (trying to follow Jim C's method). I clearly didn't spend enough time with any of the steps, as it took forever to buff out using the 3D compound, and I could still see sanding marks in some areas. But I was in a real time crunch at this point and just had to get it done, so perfection would not be achieved. But there were no nibs, and the finish was comparable to the OEM finish, so I was happy enough.

It obviously wasn't a perfect match with the door or bumper, but that wasn't important for this project. This was more of a "proof of concept" project so my mom's car would be presentable and not have future rust problems, and so I could get familiar with all of my new products and tools.

DSC01249.JPG


DSC01250.JPG


DSC01252.JPG


I must give a huge thanks to Barry, who was so gracious about answering my stupid questions and getting me through this. I learned so much doing this, and have a huge list of notes for future jobs so I don't repeat my mistakes. It's been a huge boost to my confidence, and I'm now ready to move on to working on my cars, of which something closer to perfection will be expected. I wouldn't have been able to do this without everyone on this forum either. The amount of shared knowledge is overwhelming, and I've done my best to copy/paste it into documents that I can easily refer to during these jobs.
 
Thanks! I meant to mention that if anyone has any tips or advice on what I've shown, please let me know!
Very nice job. The color looks like it matched well, but blending into the rear door and bumper as a rule will be a good thing to do on jobs like that, where you have new paint right against the original paint. Of coarse that requires another level of masking and sanding, so keeping the job small is a good plan for starting out. Fortunately I have no photos of my first paint job, It took me 5 years to get to the level your at now.
 
Very nice job. The color looks like it matched well, but blending into the rear door and bumper as a rule will be a good thing to do on jobs like that, where you have new paint right against the original paint. Of coarse that requires another level of masking and sanding, so keeping the job small is a good plan for starting out. Fortunately I have no photos of my first paint job, It took me 5 years to get to the level your at now.
Thank! Absolutely agreed on the door/bumper blend. I know that's the correct way to do things, but given my mom's standards (and propensity for hitting things) I knew I wasn't going to go to that length for this project. But for anything involving my own cars I'll certainly be making the effort to do things perfectly.
If that was really your first job, you did a fantastic job!!!
Great post.
Barry
Well, first job with real equipment. I've done two small rattle can jobs before. It helps having great equipment, supplies, and tech support! :)
 
Back
Top