Smoothing Interior Seams to Paint

Craigbro63

Promoted Users
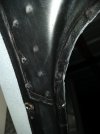
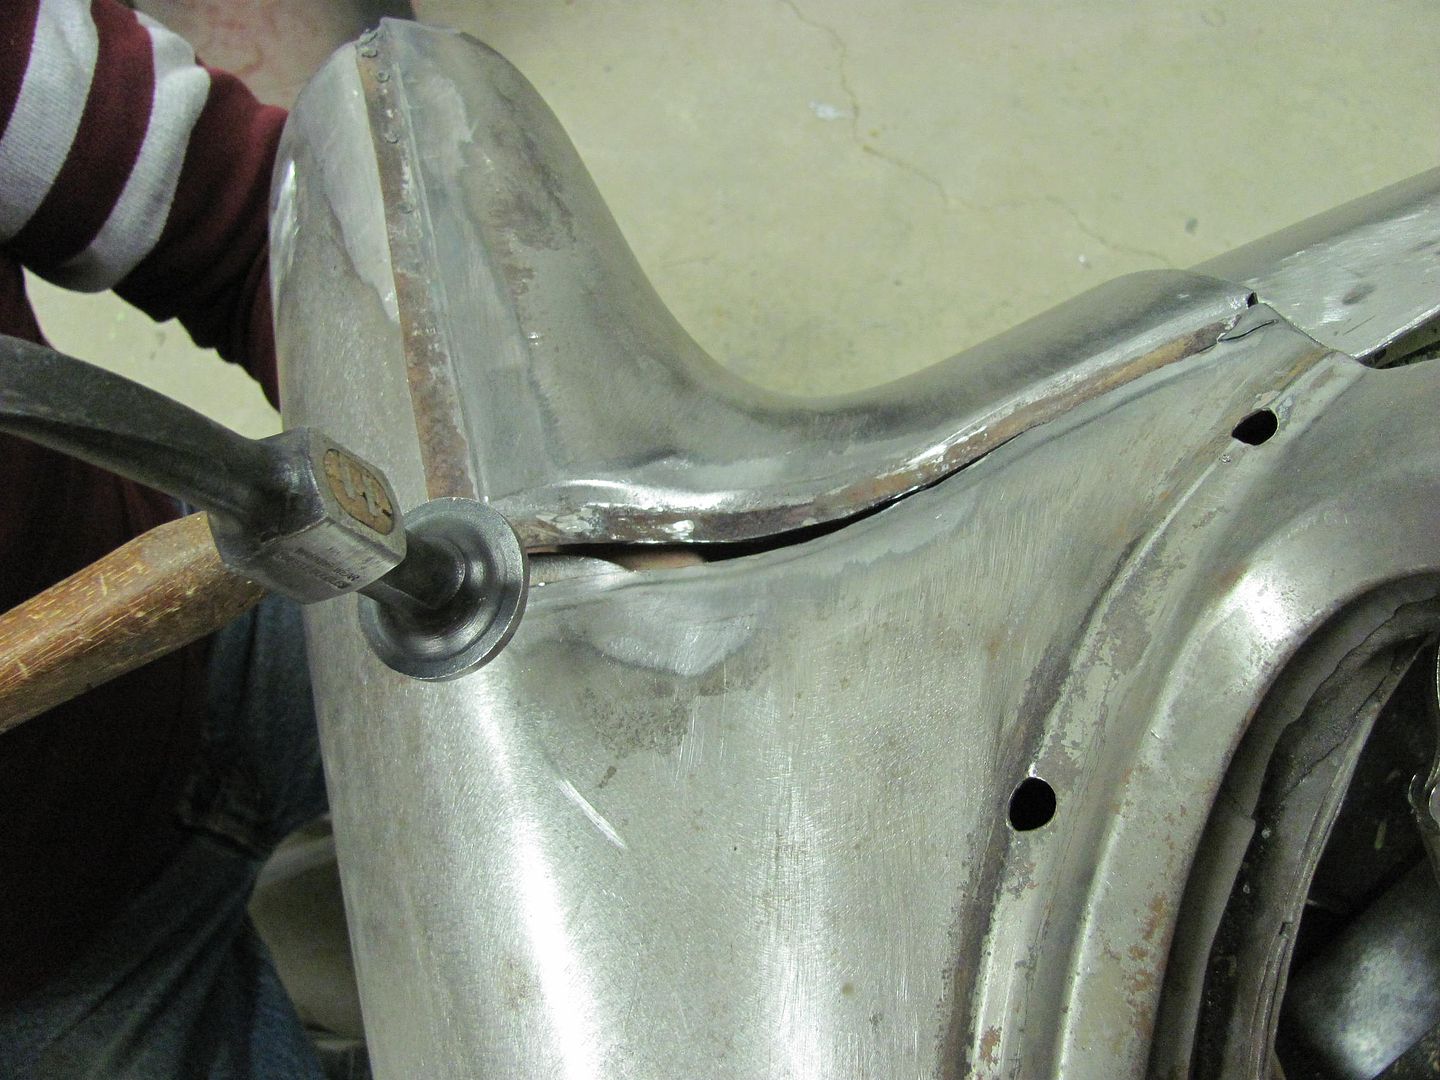
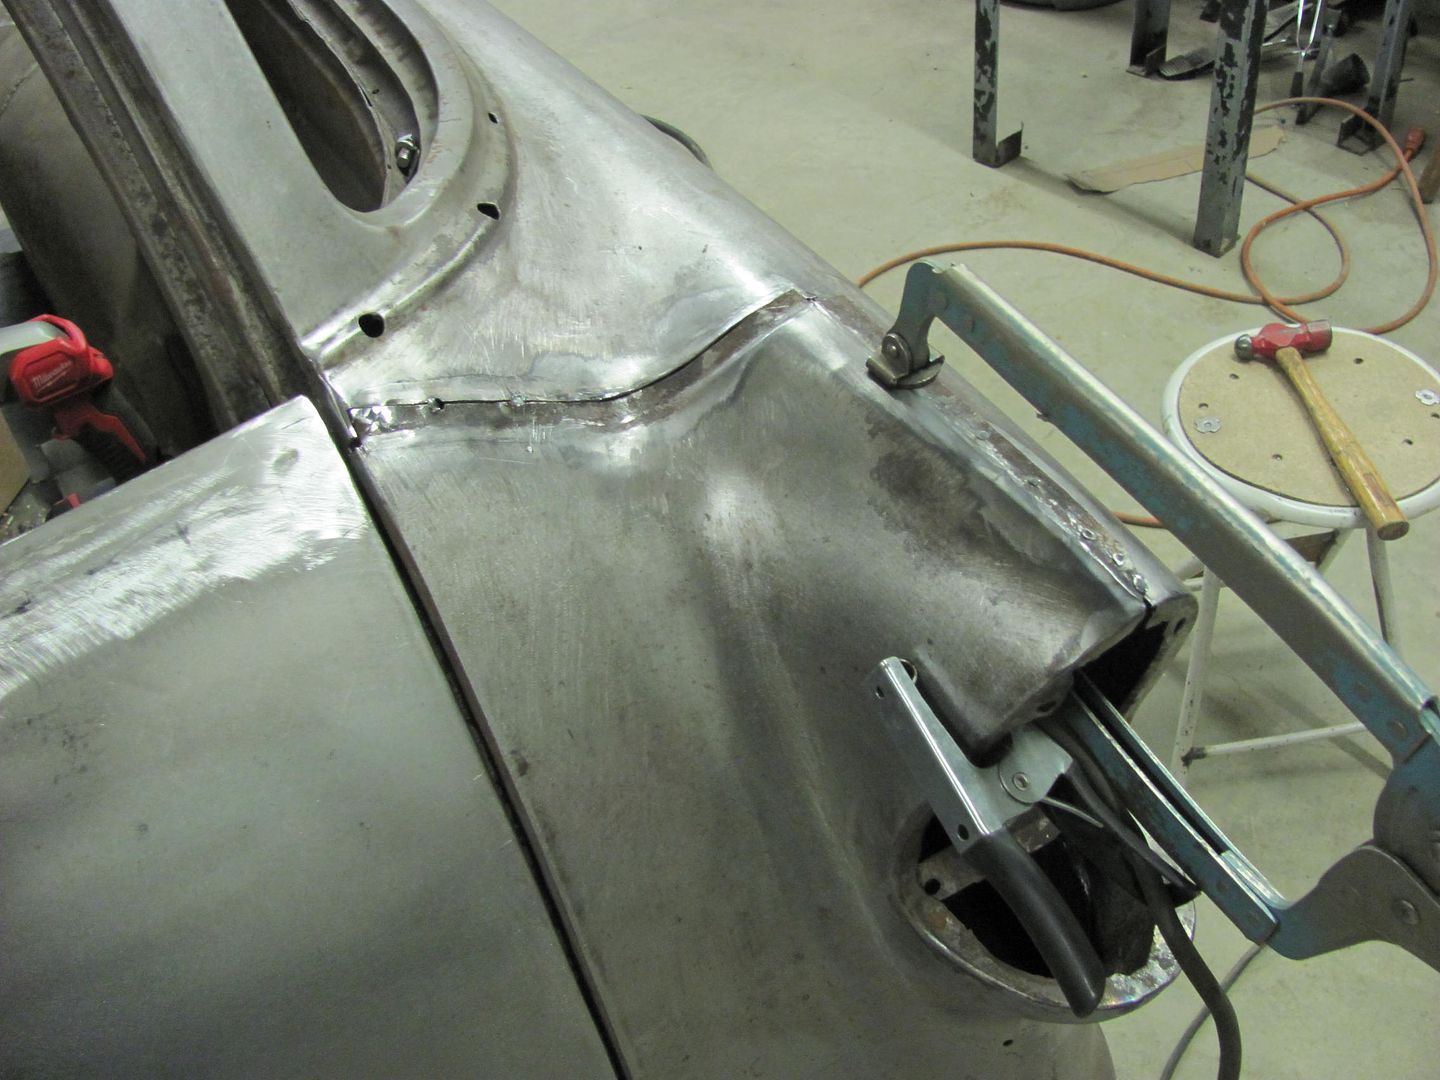
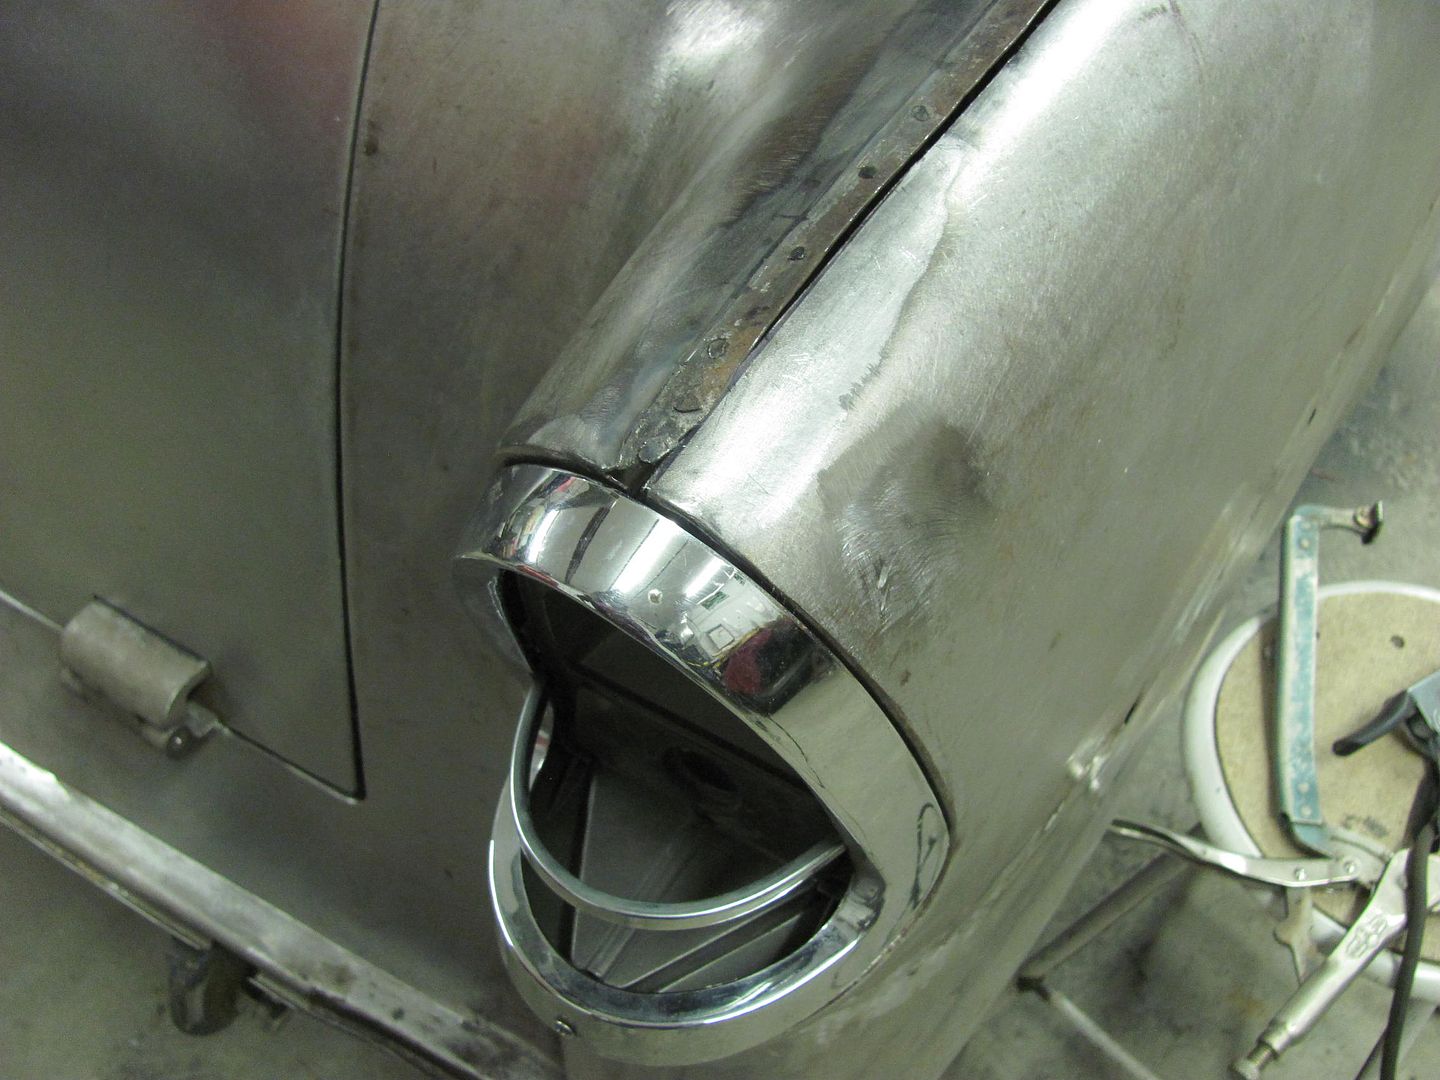
Previously there was fabric over the A Pillar and other locations, a dash pad, etc.
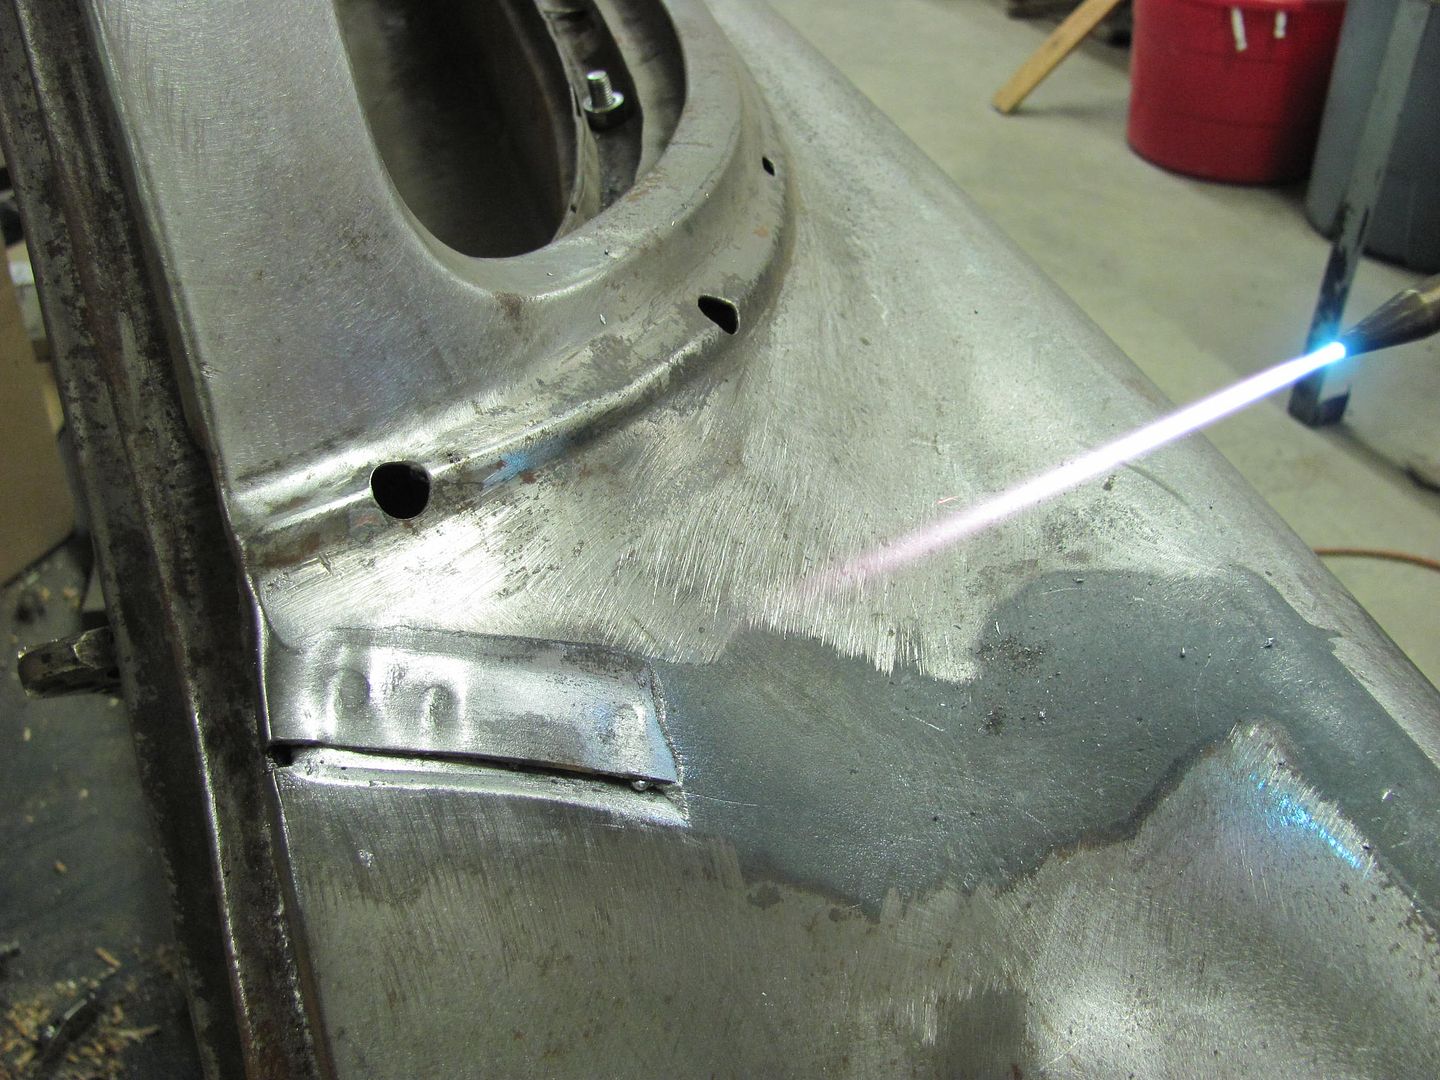
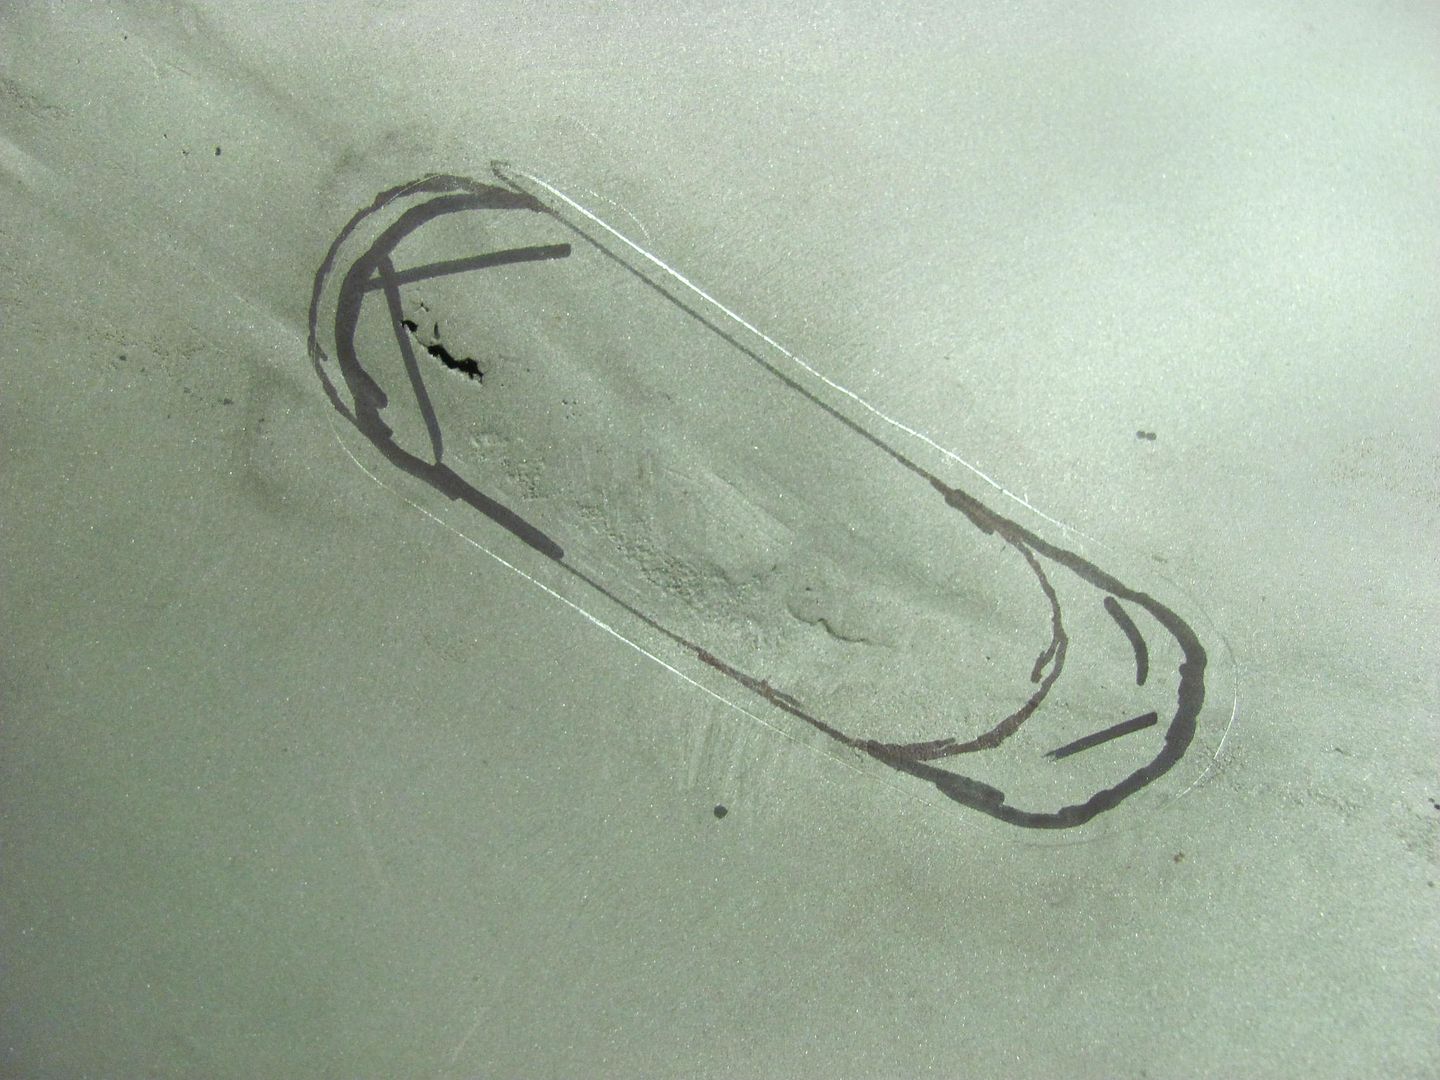
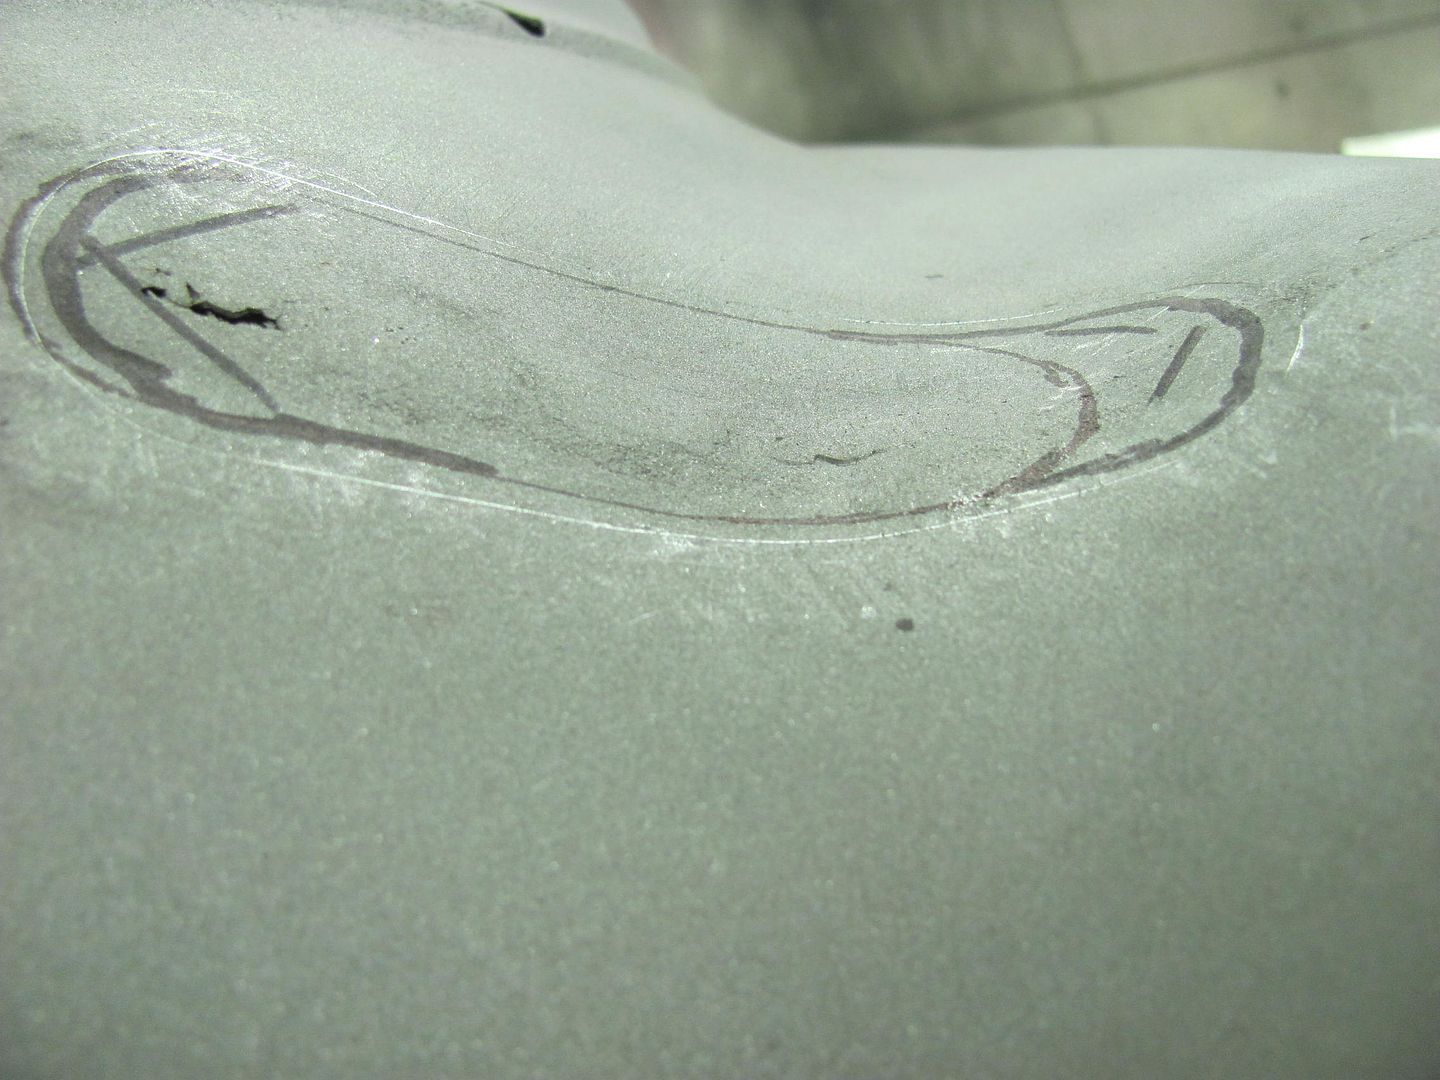
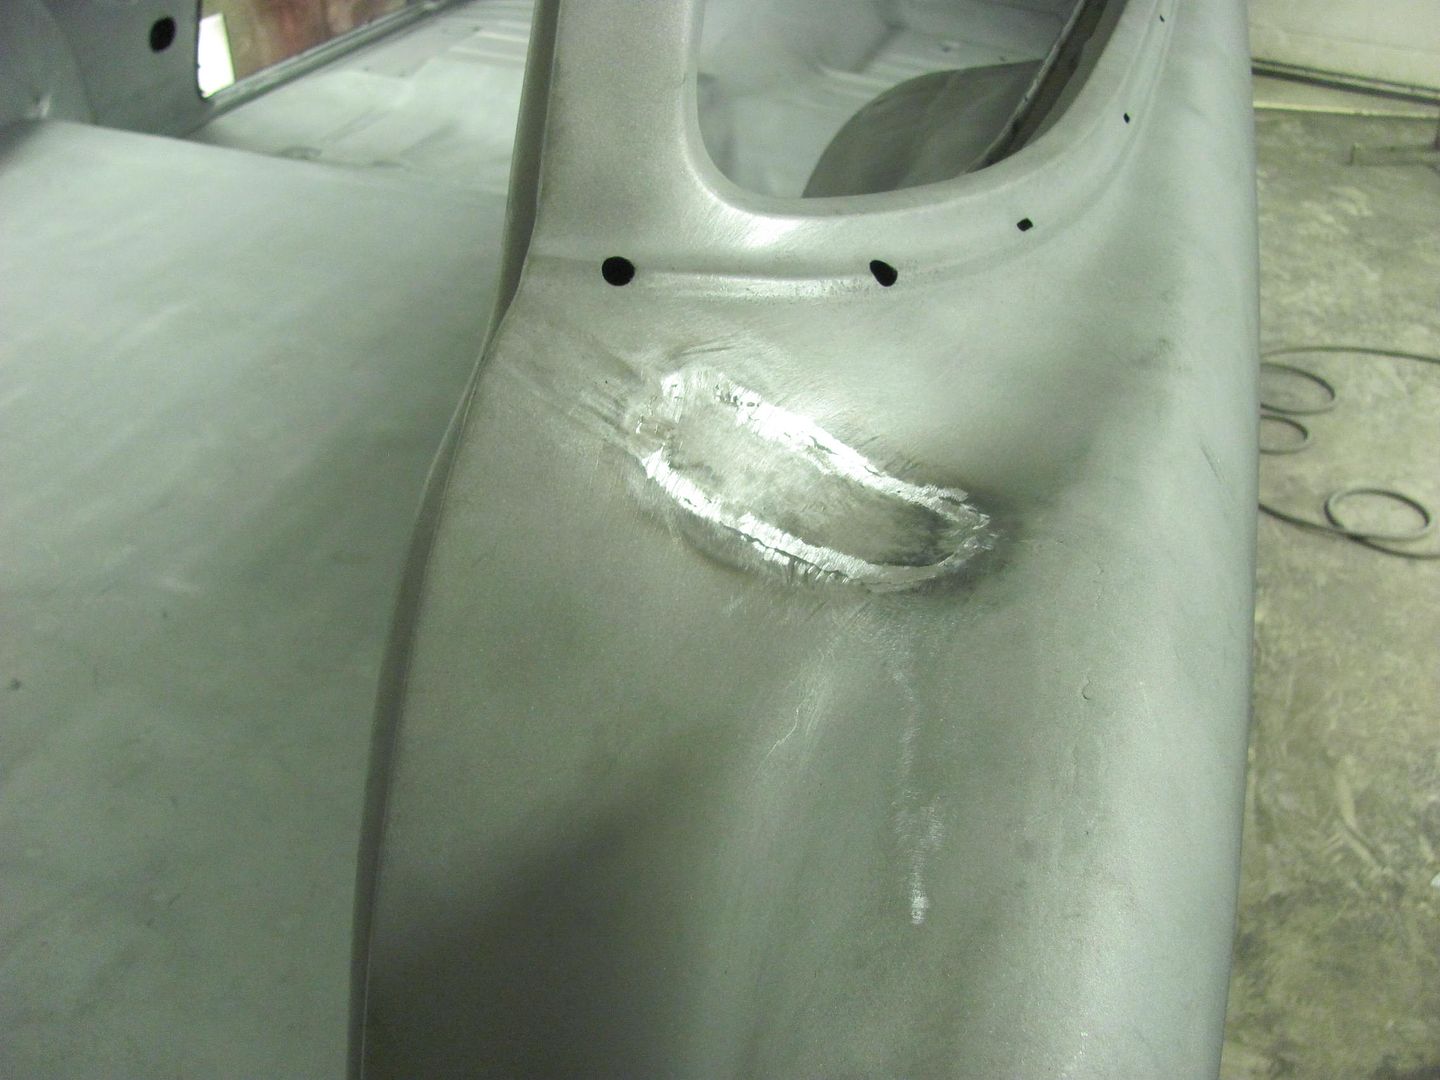
I am planning to paint these areas instead of re-fabric however there are lap seams and unfinished areas that I would like to address. I'm thinking of just leaving the lap seams as they would likely create a "hump" unless there are ways around it.
My question is should I use body filler, glazing putty, or some other product on these areas to smooth them out or how is this commonly done?
Thanks!
 
Not to sound like a smart aleck but the lap is why the factory covered them. What you are asking there really isn't an easy answer or fix. Post a pic of the area in question and one of us can probably give you a better answer.
 
Not to sound like a smart aleck but the lap is why the factory covered them. What you are asking there really isn't an easy answer or fix. Post a pic of the area in question and one of us can probably give you a better answer.
Here's an example of a lap and some demples
 

Attachments

  • IMG_20210623_201523745.jpg
    IMG_20210623_201523745.jpg
    129.1 KB · Views: 112
You could epoxy them and apply body filler within the recoat window. Not ideal but should probably be ok.

A metal working wizard would fabricate and weld in filler panels and then metal finish them.

Don
 
You could epoxy them and apply body filler within the recoat window. Not ideal but should probably be ok.

A metal working wizard would fabricate and weld in filler panels and then metal finish them.

Don
Thanks for the reply. It is currently in epoxy so I'm looking for the best way forward. I did weld/repair body panels (for the first time) but I am not sure that I would want to attempt welding these areas until I have a bit more experience.
I was initially thinking of using body filler to smooth out the dimples and other areas which I figured shouldn't be much different than exterior areas but the lap joints were throwing me off and I also wasn't sure if there was a different product to use.
 
Part of the body mods we did to the 55 wagon was to remove the overlap underneath the leaded seams, as most were rust traps. Let's face it, overlapped areas are done not because it's the best method going (as this is where most of the rust starts) but simply because it gets something down the assembly line quicker. So here's what we did to remove some of those areas..


Lead melted out..


Picture%201959.jpg


seam separated


Picture%201961.jpg


flanges removed by grinding out the spot welds


Picture%201963.jpg


Picture%201965.jpg


creases from the depressed areas (lead valley) were then hammer & dollied to flatten them out..


Picture%201972.jpg


....then panels aligned, final trimmed, and tacked together..


Picture%201977.jpg


Test of tail light to insure fitment


Picture%201980.jpg


Welds were then dressed, and after media blasting the body we found some thin spots. Kinda justifies why we wanted to remove these seams to begin with...

Picture%204594.jpg


Picture%204595.jpg


Picture%204597.jpg


Picture%204602.jpg


Our intent with shaving these overlap areas was not to get perfectly metal finished seams (as we did have some filler along these joints) but to remove areas of existing rust and future generation of the same.


Now, all that aside, and looking at the work involved, I would consider an interior seam less of a rust trap (unless inspection shows otherwise) and lean more towards accomplishing your goal of smooth seams using a quality filler rather than going crazy with the welder..
 
...Now, all that aside, and looking at the work involved, I would consider an interior seam less of a rust trap (unless inspection shows otherwise) and lean more towards accomplishing your goal of smooth seams using a quality filler rather than going crazy with the welder..
Thanks for the details! I was also thinking that because it was really cosmetic that I would address it without welding. Great work, by the way!
I'll likely try one area with body filler and see how it turns out and take it from there.
Thanks for all of the replies!
 
Last edited:
I won't try to fill a lap joint that hasn't at least been welded up. It can crack from vibration and thermal cycling even in an interior. Possibly something strong like JB weld would resist cracking, but will ghost, which might not be a problem on an interior, especially if finished with a low-gloss coating.
 
I won't try to fill a lap joint that hasn't at least been welded up. It can crack from vibration and thermal cycling even in an interior. Possibly something strong like JB weld would resist cracking, but will ghost, which might not be a problem on an interior, especially if finished with a low-gloss coating.
That's what I was originally afraid of. Do you think a smooth bead of JB Weld at the joint followed by feathering the larger area around the joint with filler would work? Or just feather out the JB Weld?
 
You have to understand that my experience doing such repairs is virtually non-existent. But if I had to do that, I would use some kind of 2-part epoxy, smooth it out, then apply 3 coats of SPI epoxy. Any poly putty work could proceed from there. I think that would be your best chance of it not coming apart later, other than welding.
 
I’m not sure I see how epoxy adds significant strength in that application. It would if it was applied before the pieces are crimped together but I don’t see how it does laying it across the joint. Just my two cents.

If you doubt the strength of the SPI epoxy primer to filler bond there are some YouTube videos out there of a guy torture testing that bond. Impressive stuff….

Don
 
Last edited:
What about seam sealer smoothed to a level surface with a filler spreader, something like 3m 8308? It might be better than JB weld as it doesn't get so hard and wont crack. I used that over some seams and the drip rail on my cab, it has been good so far.

JB weld will probably sag and be a mess as it doesn't set up quick enough in my experiences. 8308 does set up pretty quick so work time is minimal, you have to be ready to go and not mess around with it, otherwise you have another mess.
 
Another option is SEM Carbofil filler. It’s a carbon fiber reinforced filler that stays a little flexible and resists cracking. Pretty good stuff for an application like this.

Don
 
Back
Top