You are using an out of date browser. It may not display this or other websites correctly.
You should upgrade or use an alternative browser.
You should upgrade or use an alternative browser.
The influence of this forum in general, Rusty and Brian in particular
- Thread starter jtfx6552
- Start date

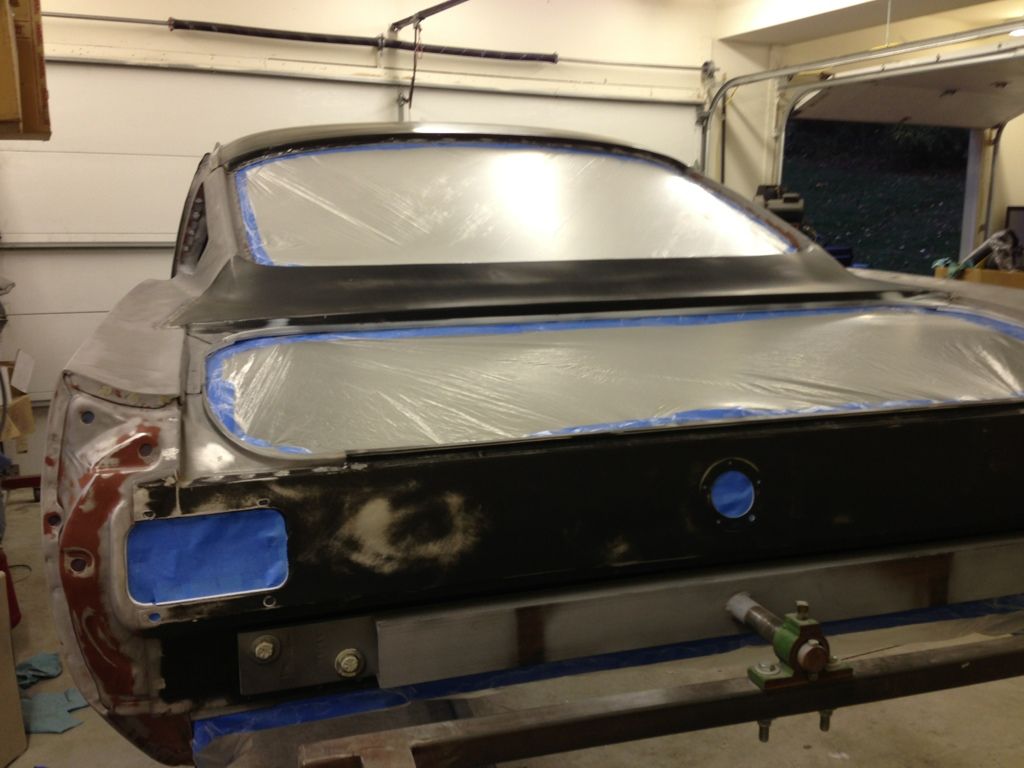

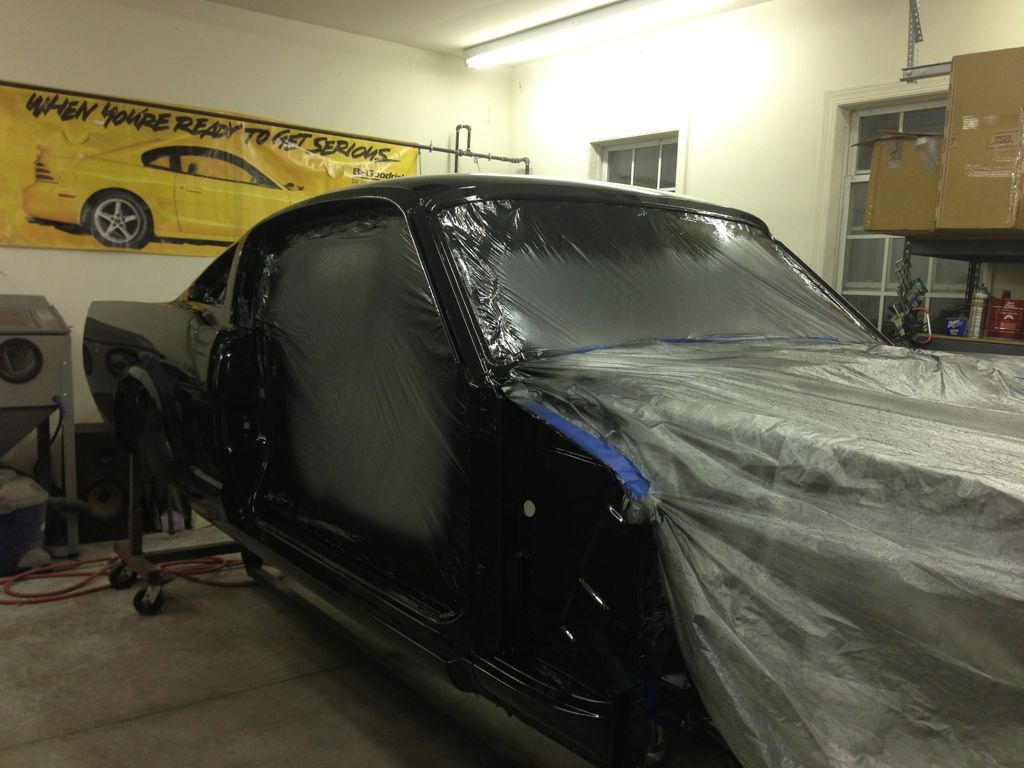
I have a few spots where I went too heavy, and where some sand blast sand magically reappeared. I plan to scuff those areas and add one or two more coats. If I'm within 7 days, I don't need to scuff everywhere, right?
Do I need to remask? I was wondering if the dried epoxy would blow off the plastic?
Do I need to remask? I was wondering if the dried epoxy would blow off the plastic?
rusty428cj
Rusty Gillis
jtfx6552;24956 said:I have a few spots where I went too heavy, and where some sand blast sand magically reappeared. I plan to scuff those areas and add one or two more coats. If I'm within 7 days, I don't need to scuff everywhere, right?
Do I need to remask? I was wondering if the dried epoxy would blow off the plastic?
If you have the plastic on where it says this side out you are ok.
metalman
Oldtimer
Test it with a blow gun to make sure. I had a roll of plastic that the epoxy did blow off. To not re-mask I had to blow off all the flakes, PITA but better than having it happen during the next coat.jtfx6552;24956 said:Do I need to remask? I was wondering if the dried epoxy would blow off the plastic?
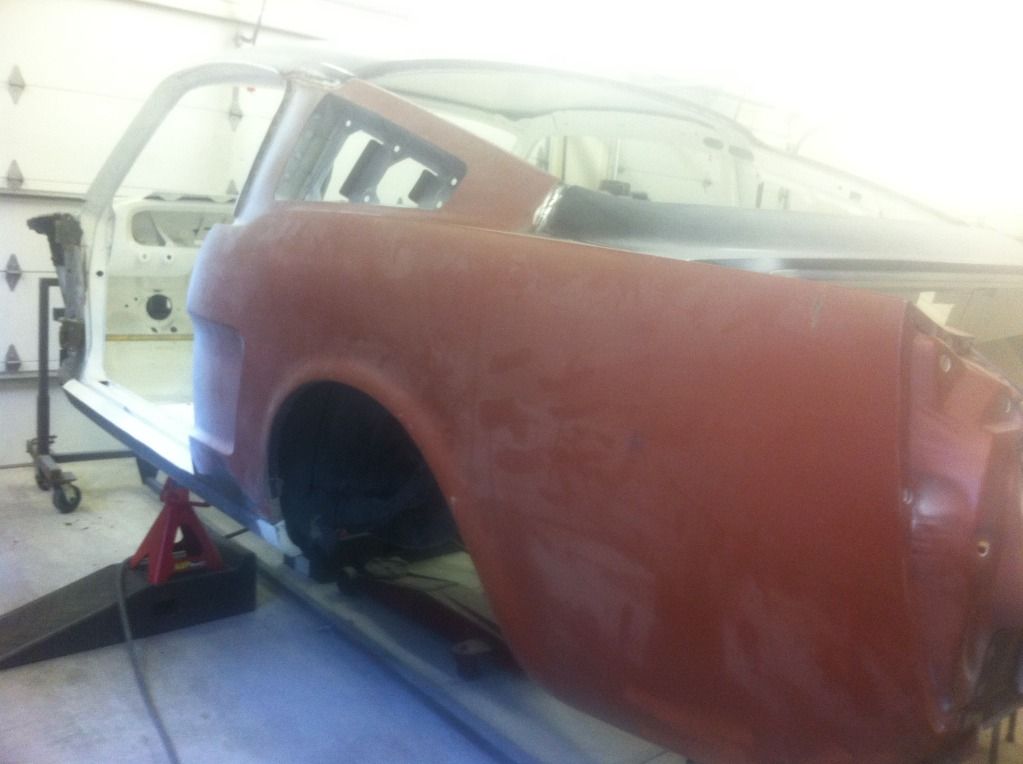
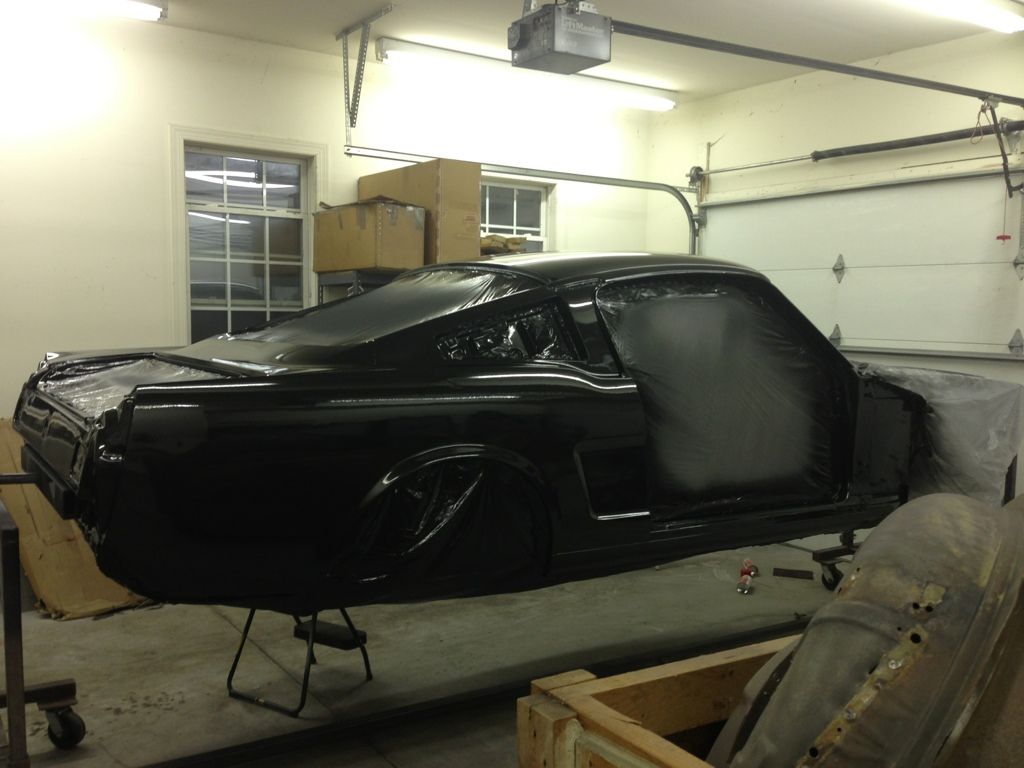
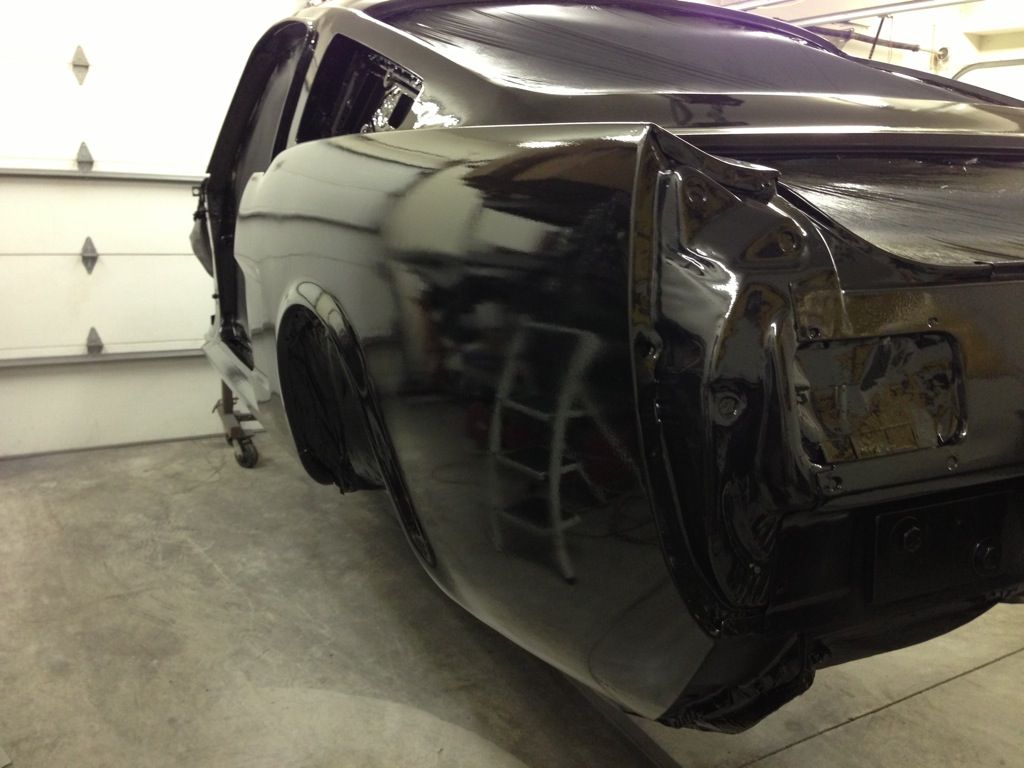
After several rounds of filler and blocking, and a couple of coats of primer, things for the most part look pretty straight.
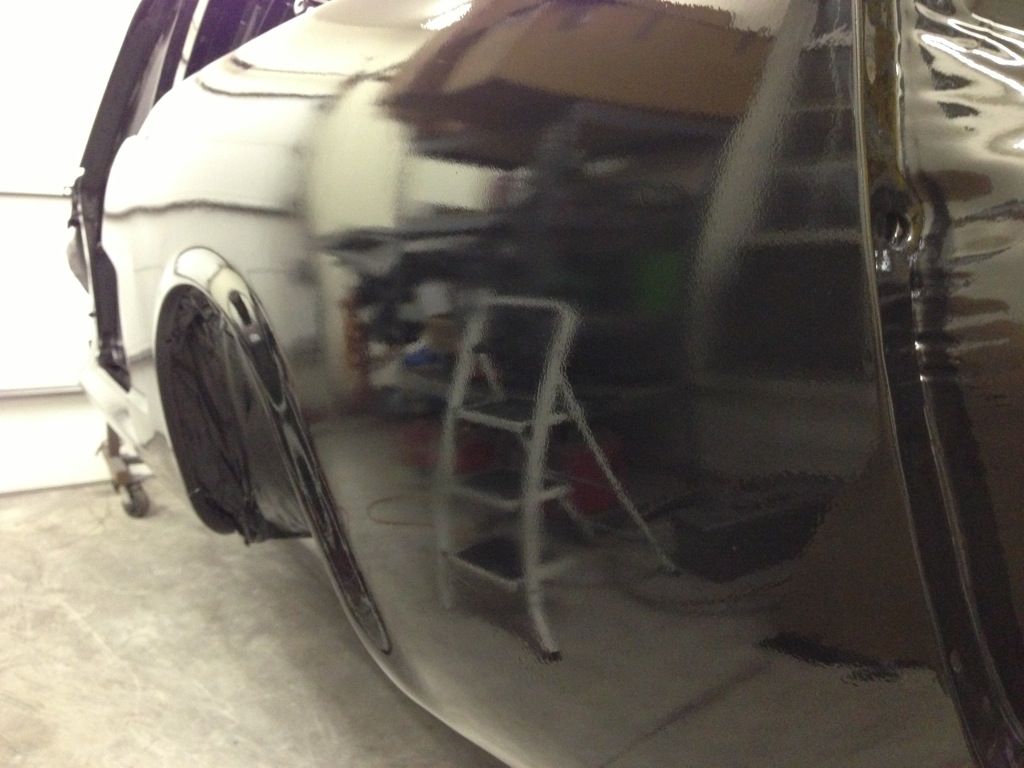
I have figure out that I'm not a very good "sculpture". Where the factory lead joints were, i seem to have a minor mess. I should have done this in steel I think, but now i guess it's too late for that. I guess I'll keep sanding and try again...

I have figure out that I'm not a very good "sculpture". Where the factory lead joints were, i seem to have a minor mess. I should have done this in steel I think, but now i guess it's too late for that. I guess I'll keep sanding and try again...
F
fireboat
You will get the hang of it, just redo it again and again until you get it right. You are doing fine, just keep at it.
I once did a rusted dented up panel that I welded, hammered, filled, sanded and primered probably 4-5 times until I got the all of the curves right. But if I say so myself, I think it came out pretty darn good and I still look at that panel with satisfaction.
I once did a rusted dented up panel that I welded, hammered, filled, sanded and primered probably 4-5 times until I got the all of the curves right. But if I say so myself, I think it came out pretty darn good and I still look at that panel with satisfaction.
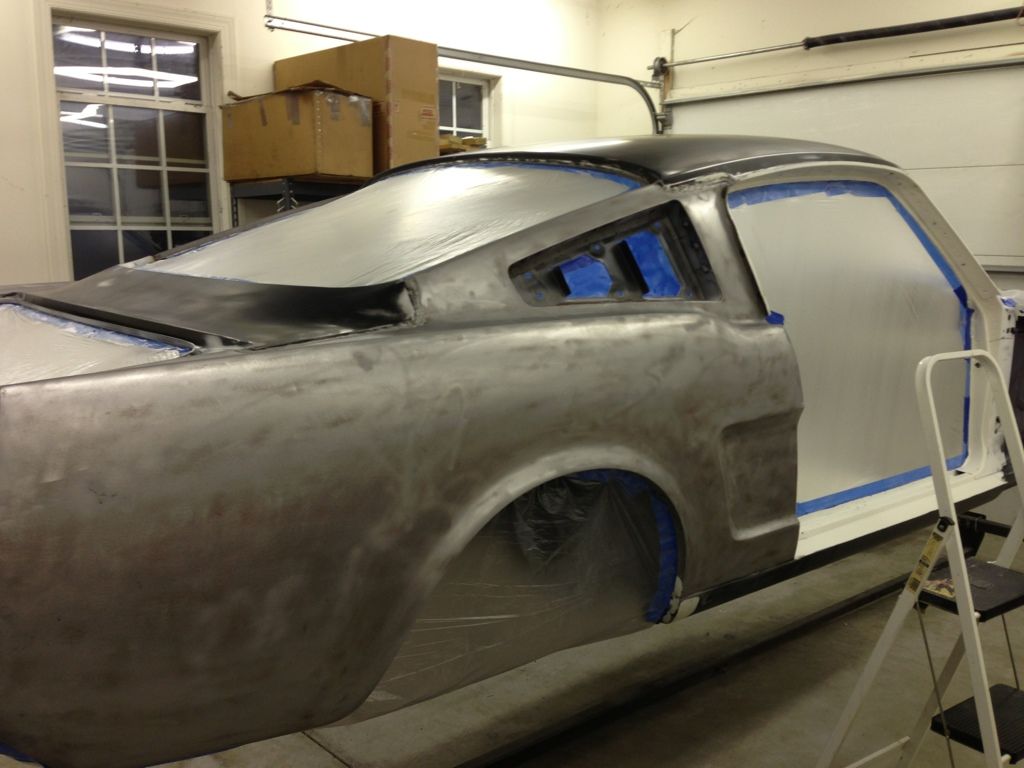
Ok, another round of blocking and priming. My main primer gum was dripping, i took it apart and couldn't figure out how to stop it, so I primered using my spi pro detail gun. Wow, what a pita, trying to paint such a large area with that was like painting with a straw.
My arm was actually burning from holding the gun out and trying to move so slowly.. lol I ended up with a huge sag and run on one of the 1/4s, and a few more areas with too much paint.
Anyway, the main seam areas are a lot better, this car will be white, so I could maybe get away with it, but Ill do another round of blocking and sanding to get it better. Would you guys recommend I add more filler then block, or and block first then add more where needed? Typically I do the later, but i'm thinking I should maybe add some filler first, then I can tell when I am getting close to bare metal by hitting the black underneath.
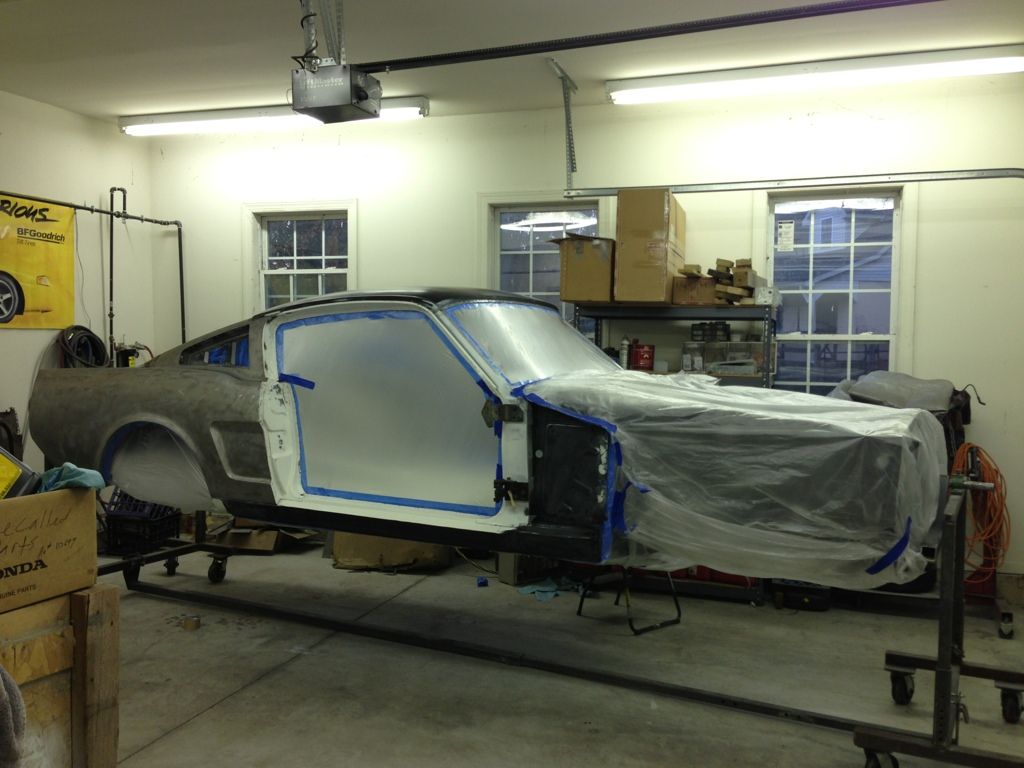
180 grit on various round and radiused durablocks. I was out there a few minutes ago sanding, and I think it may clean up without any more filler or certainly not a lot of filler if any. Just a couple of low spots left...
Thankfully I figured out was was wrong with my gun, so I'll be able to prime again on Monday when my next gallon of SPI arrives...
Thankfully I figured out was was wrong with my gun, so I'll be able to prime again on Monday when my next gallon of SPI arrives...
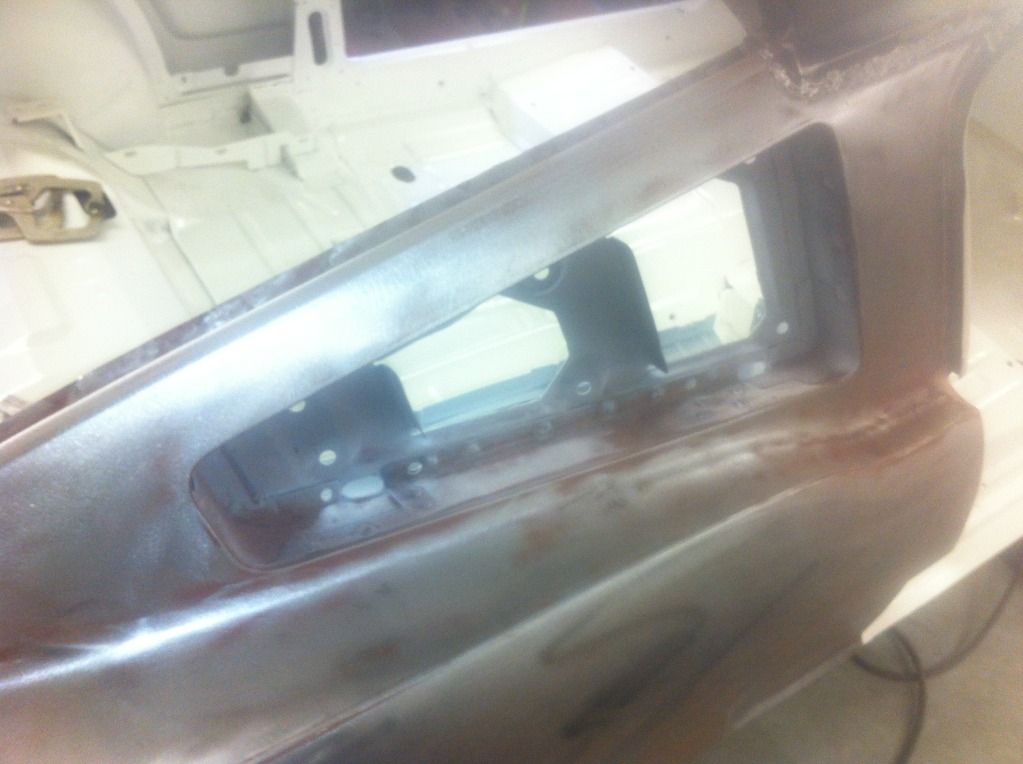
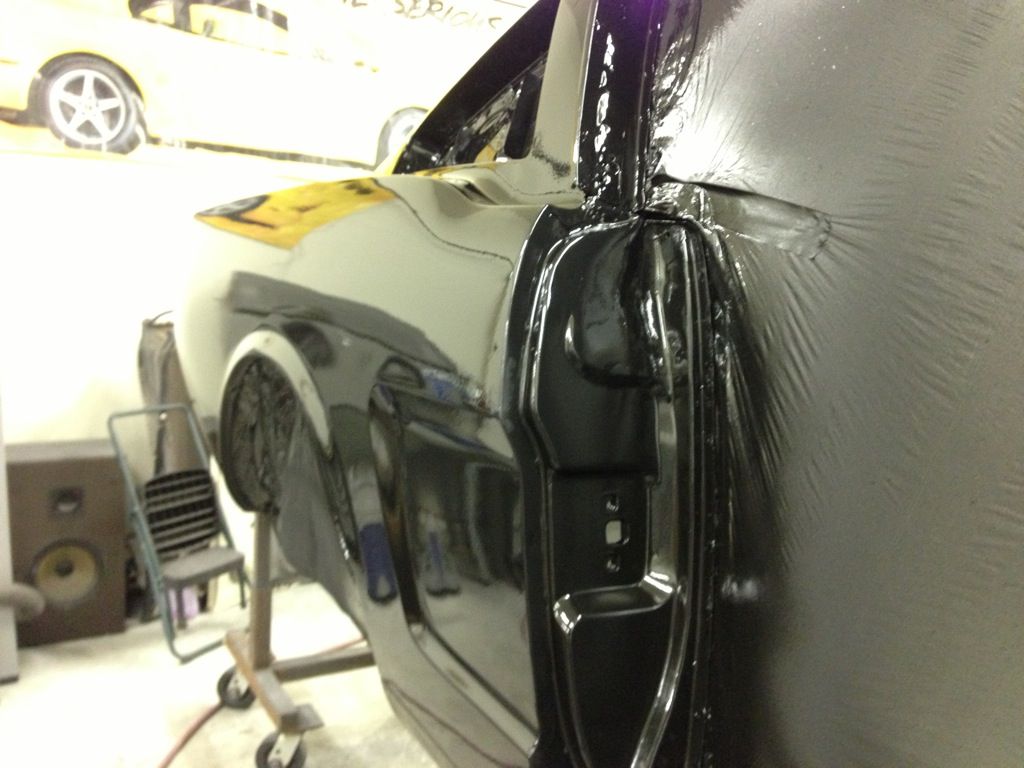
I seam welded under what used to be the lead joints. I then used Rage Gold Extreme. Is that filler strong enough, or should I have used something else? I hope its strong enough because I finally have this pretty much done and flat...
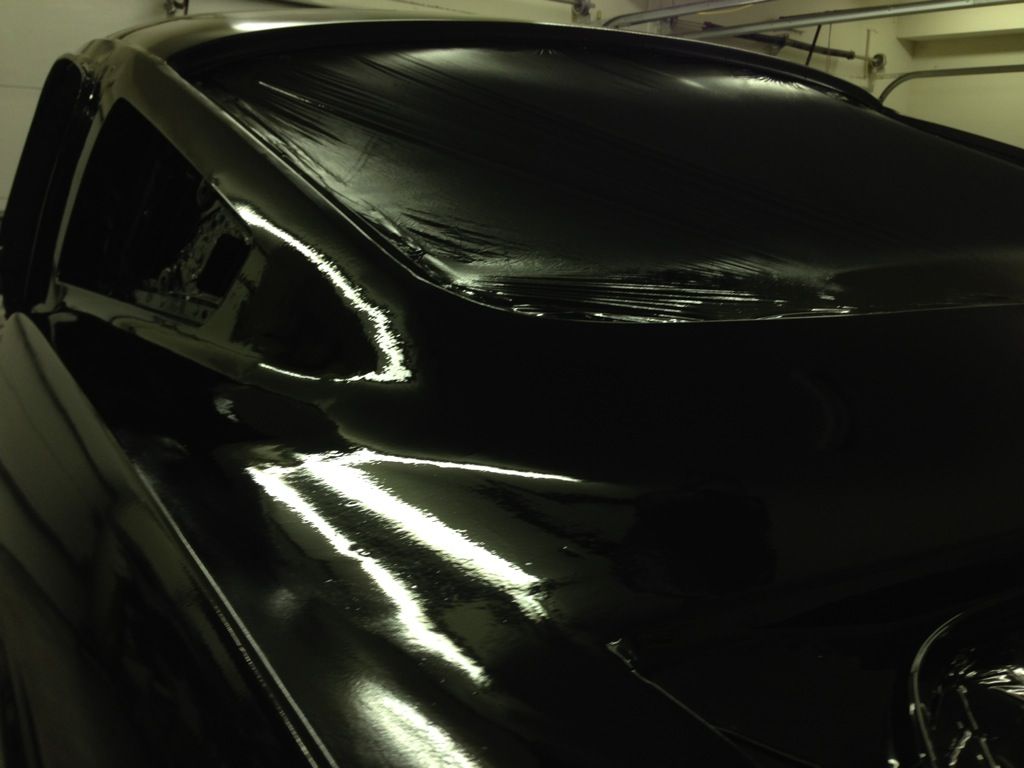
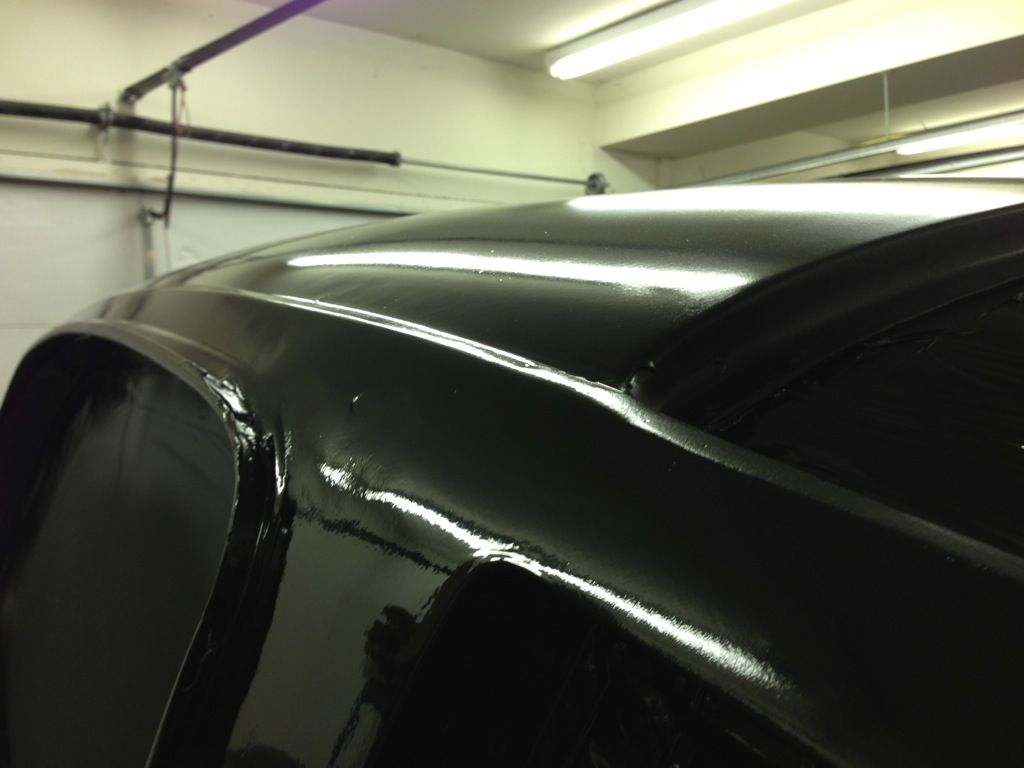
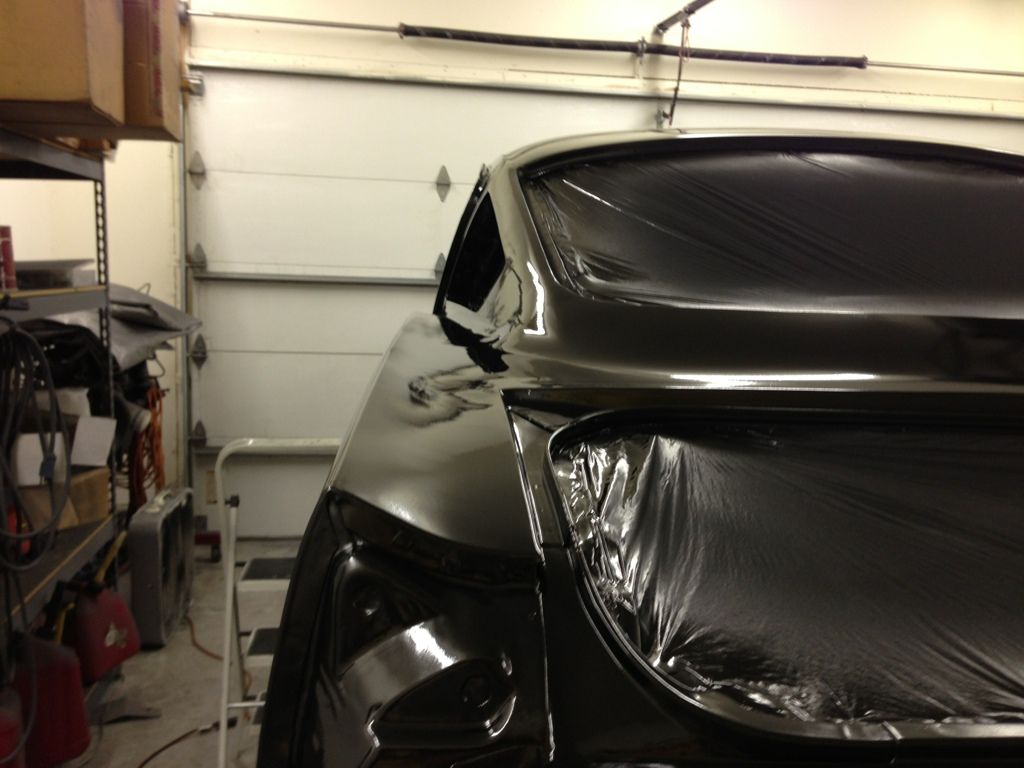
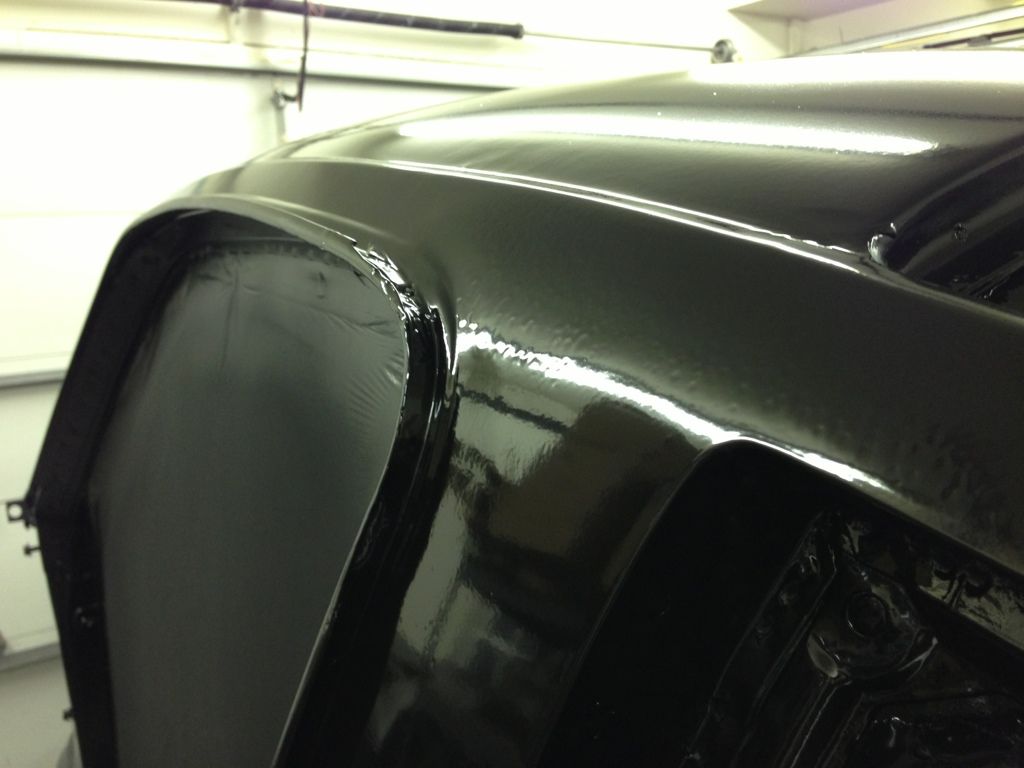
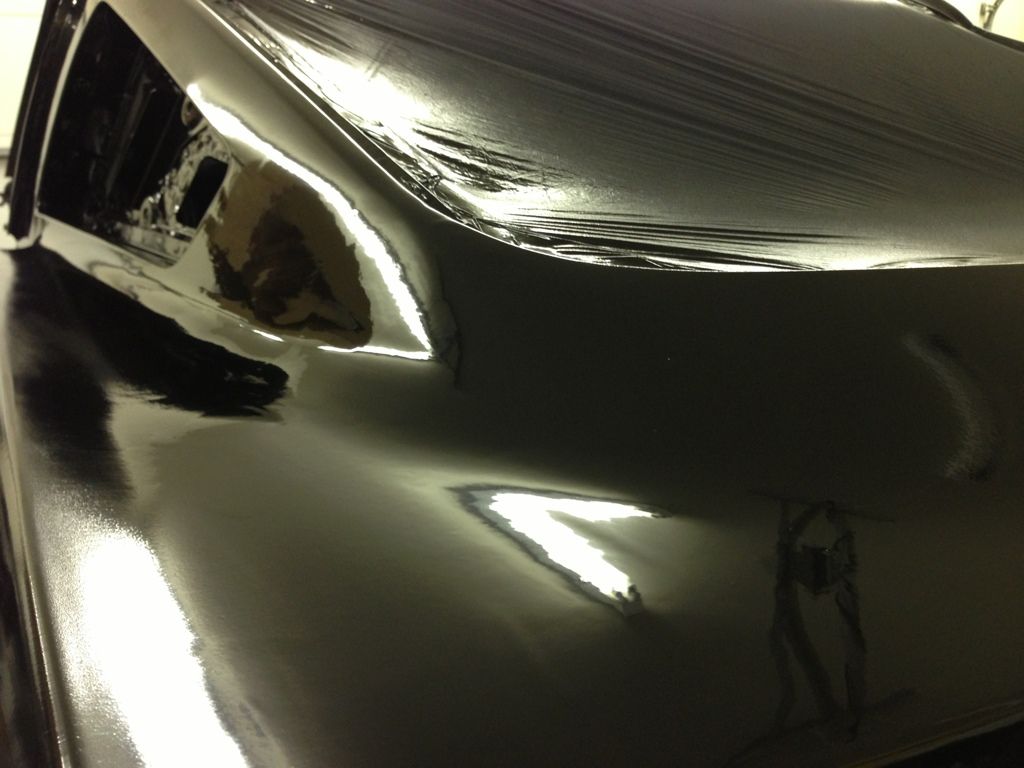
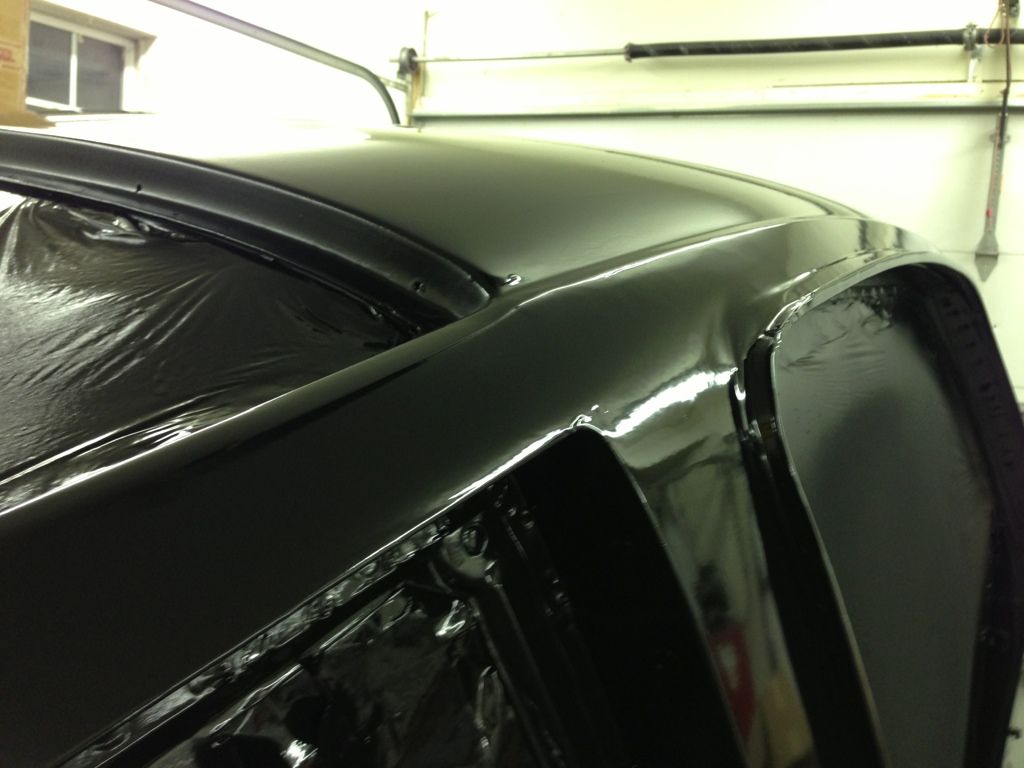
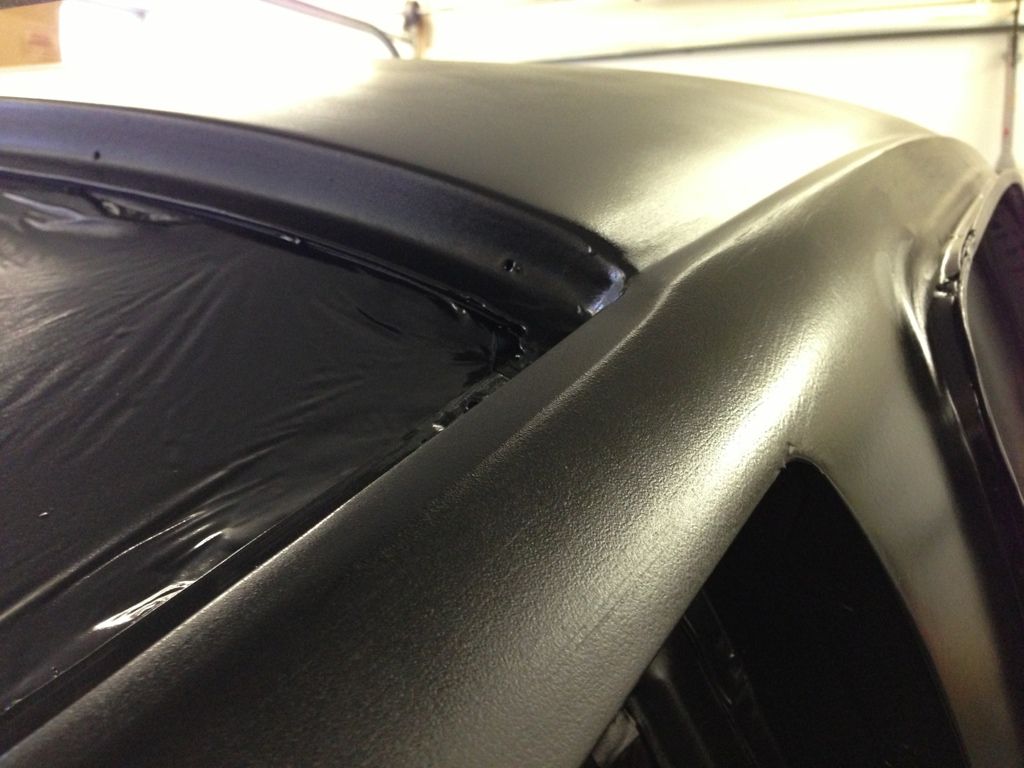
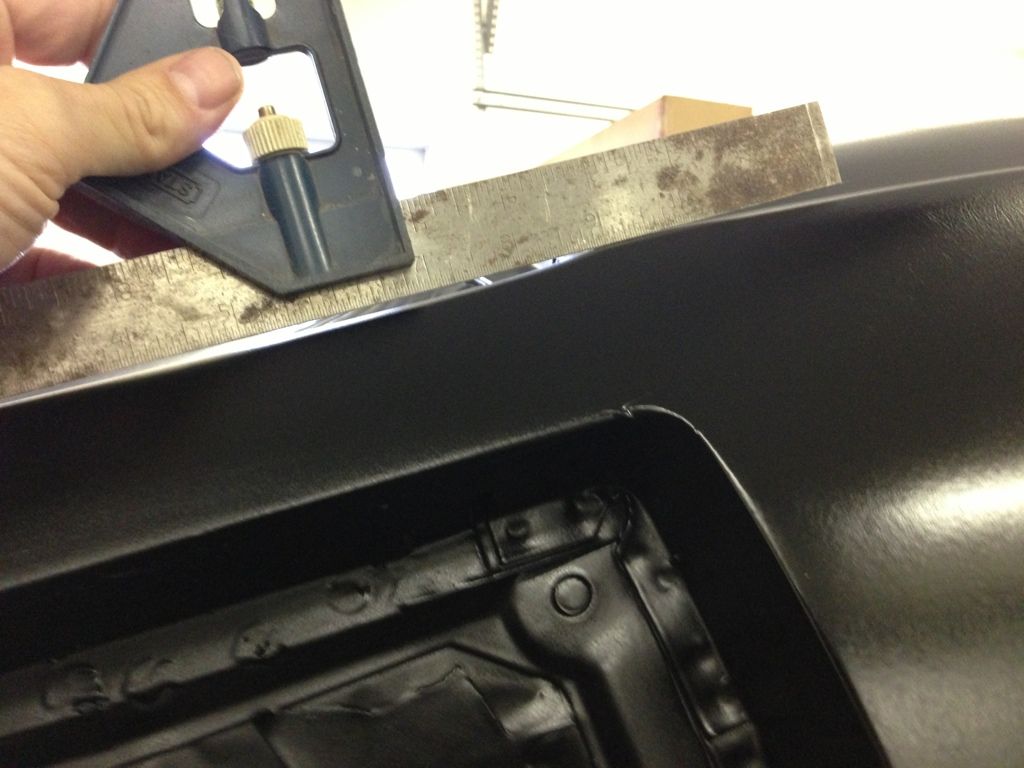
The part that made me start to wonder is the roof is a little higher than the 1/4 panel on one side so I'm going to need to build up a little bit of filler there, maybe an 1/8", but it will be filler on three sides, if you can follow my crappy description.
Maybe pictures would help:
Keep in mind this will not be a daily driver, but a burger joint/ cruise night occasional show type car when done, with about 50 rwhp, lol.
F
flynams
Take a hammer and dolly and whack that thing up some, then sand with 80...80...80...sand with 80 for best adhesion in this instance...try sanding with 80...did you notice the grit...80 or more course like 40 and fill. It will last longer than you will live with the epoxy on both sides...
crashtech;25461 said:As always it's hard to tell for sure from pictures, but you might have the best luck working the corner of the roof panel downward. Might need to slice it open with a 1/32" cutoff wheel and reshape it a little. There must have been a lot of lead on that baby!
Yeah, thats the right answer. I thought of that last night. I'm not sure if I should try it now, I should have done it before I seam welded everything together and added all the filler and primer. It's actually a flaw in the repo roof. I just didn't notice it soon enough.
I'm not sure what would happen if I tried it now.
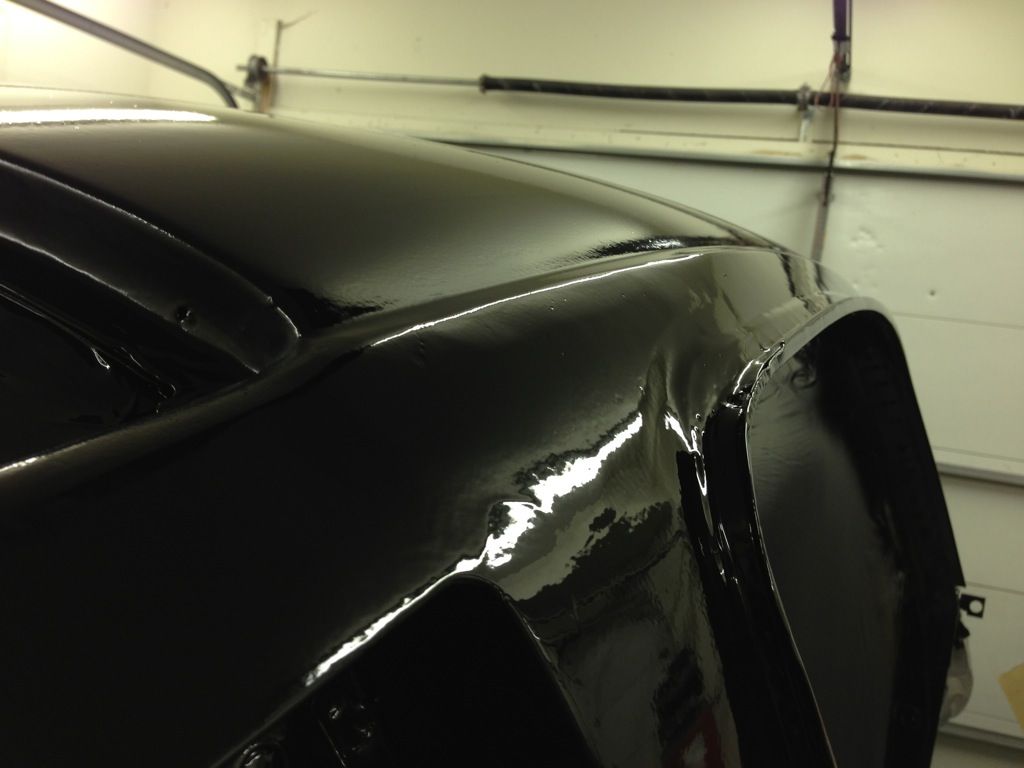
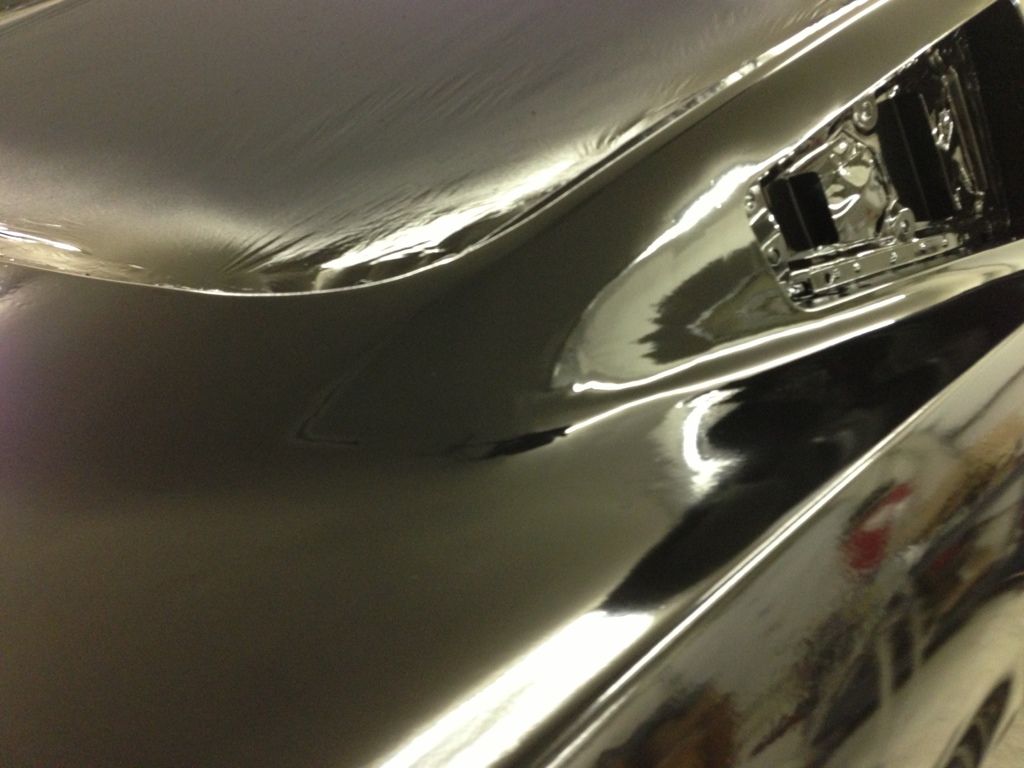
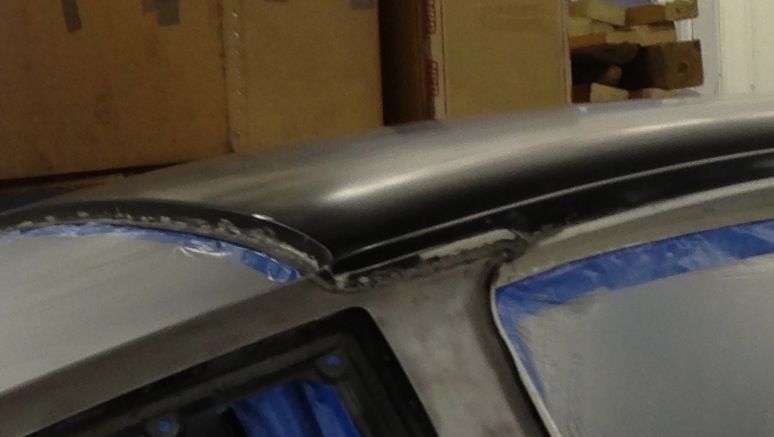
Here is how strong that area would be if i could take off the crap off:

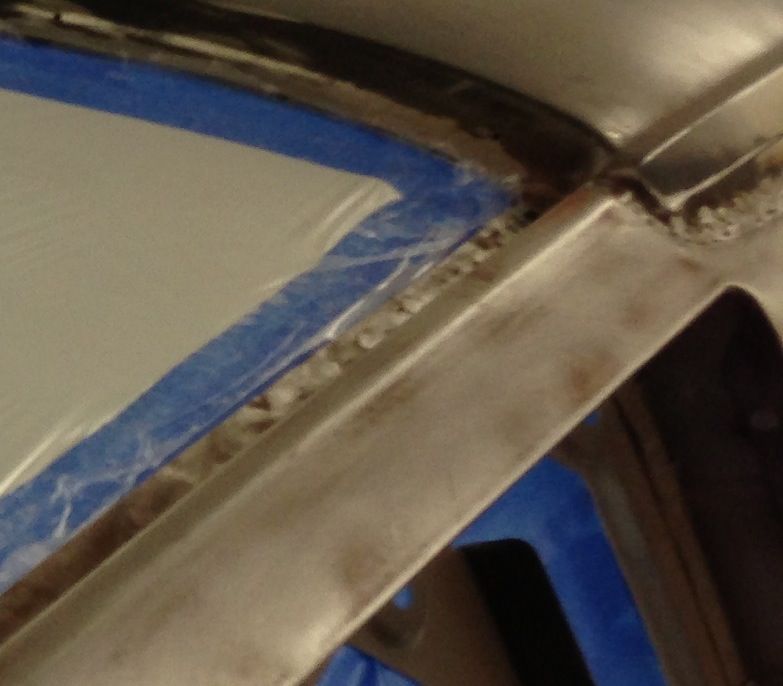
Why do you say that, do you see something there that we don't see? You may have to cut one or both ends of the slice to get it down, such as this ( I )jtfx6552;25464 said:Yeah, thats the right answer. I thought of that last night. I'm not sure if I should try it now, I should have done it before I seam welded everything together and added all the filler and primer. It's actually a flaw in the repo roof. I just didn't notice it soon enough.
I'm not sure what would happen if I tried it now.
chevman;25466 said:Why do you say that, do you see something there that we don't see? You may have to cut one or both ends of the slice to get it down, such as this ( I )
Well I never tried to remove filler before, Seems like it might be a pain, especially in the recessed area where the lead joint was. Not sure how to dig the filler out of there? Once I dig it out, I'm not sure what kind of mess will be made when I start cutting and welding near where the filler was, and fairly close to filler that I'm not sure needs to be removed?
- - - Updated - - -
shine;25467 said:evercoat 870 .
Would i have to remove the rage gold extreme back to bare steel to use the 870?
Its hard to tell from the pictures as Crash has said, but I think you need to determine if the roof is high or the post is low. You may need a longer straight edge maybe 24 inches. But it should have shown up while block sanding. If its high and you try to fill around it, it will show.
But then I'm picky, so it just depends on what you will be happy with.
But then I'm picky, so it just depends on what you will be happy with.