TIG welding

Congrats on diving into TIG, I am hooked. I am a newb at TIG, but I have been reading and studying all I can lately. My dad says to match the tungsten close to the metal thickness, so he started me on .040 thoriated for sheet metal. Though, I don't see why 3/32 sharpened to a point wouldn't work. I believe the E3 blend electrodes are chinese. Most of the budget electrodes are also china imports. They work. But, like anything else, there may be better choices.

I found Diamond Ground Products. http://www.diamondground.com/faqs/
They claim that their tungsten comes from Austria, or premium Wolfram from Germany. They sell through cyberweld. http://store.cyberweld.com/we2latuelwl.html
Or call them for a free sample: http://www.diamondground.com/request-a-sample/

After watching this video on tungsten, I ordered 2% lanthanated .040" from DGP. I have not tried them yet. When I get around-to-it, I will also order 2% lanthanated 1/16" and 3/32". Link to article and video:
http://www.weldingtipsandtricks.com/tungsten-electrodes.html

Hopefully I will get back out in the garage this week and burn some sheet metal with the .040 lanthanated tungsten. Also, I generally don't recommend HF tools, but their multipurpose diamond wheel sharpener part# 99823 has been working great for sharpening tungsten. About $30 with 20% off coupon.
 
LOL, I have several times promoted a product from HF. I also started the thread out with, I normally dont recommend HF, but................ Its funny how we all tend to get defensive when we bring up HF. I always get thier jack stands, engine hoists, engine stands, and a few other tools. I often find the same items are available elsewhere for much higher price, and also made in China. I think sometimes they are a good choice.
 
Chev427, You get your TIG dialed in yet?

I have been using mine quite a bit lately. Couldn't be happier. Using .040" 2% Lanthanated tungsten. The tungsten works great, however I noticed that you can't snap it to remove contaminants. If you try to break it off, it splits. Not a big deal. I'll just use a mini cutoff wheel and die grinder if I need to cut it. Next time, I might try Ceriated tungsten.

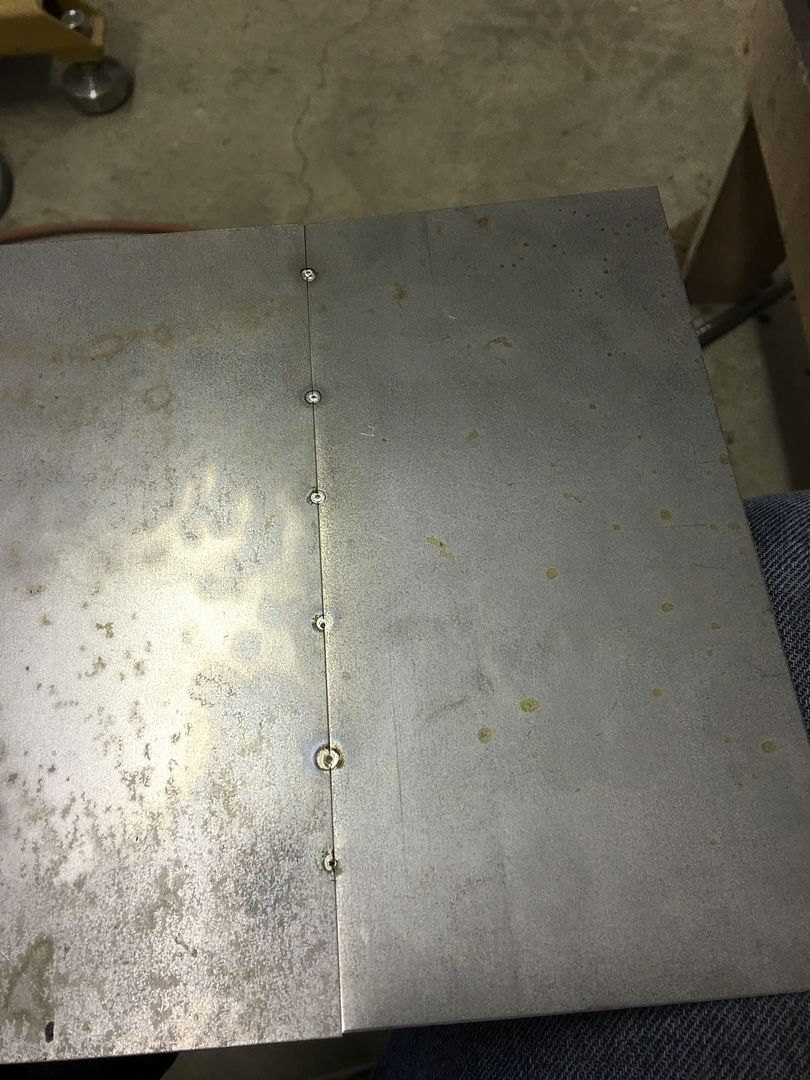
Here is a patch I did yesterday. 40 amps, full pedal. Tight, zero gap. ER70-S2 .035" filler. The filler is just enough to make a small bead to grind away. I found that without filler leaves a very small undercut. Smaller wire evaporates too fast, and larger wire sticks in the puddle. The clean up was 10x faster and easier than MIG welding. Still needs a little bit of metal bumping, but an otherwise invisible weld.

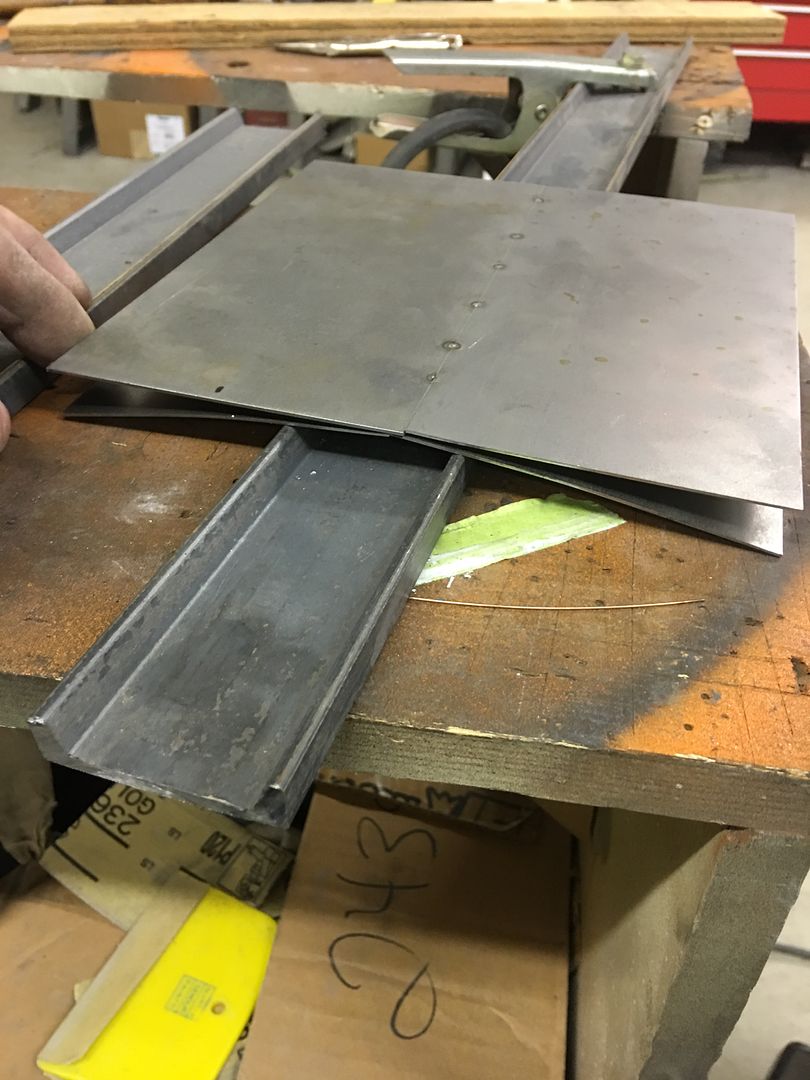
Tacked in place. The TIG tacks don't pull everything out of place as bad as MIG.


A quick grind, and clean up the tack welds.


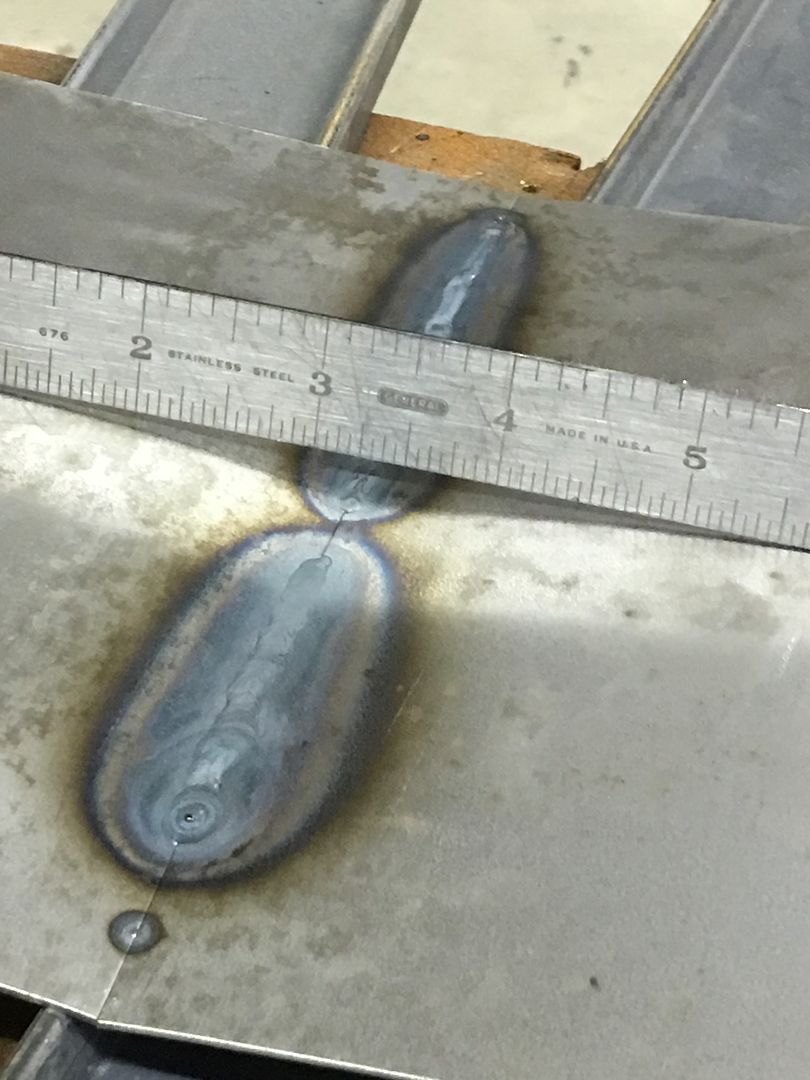
Burn it in. It seems that I'm only a 4" welder. I need to figure out how to keep moving without getting hung up. 4" is about the point where I have to move a hand and either dip the tungsten or hit it with the filler.


After about 10 minutes of clean up and hammering.
 
I started getting used to the amps and thicknesses. My issue is also my right arm. I am practicing on scrap parts that don't meet up perfectly, I am starting to feel more confident as I go.
 
Looks great. If your like me your mig welder will end up in the corner only being used a couple times a year when I don't have a 3rd hand to hold something.

I like to use filler rod also. Some guys don't but the welds are so easy to dress I like adding it even when I have zero gap.
 
Thanks, Robert. I will have to give that a try at 70A. Though it is tricky to get a start with my lift-arc. (no HF). If there is a little bit of gap, I lay the wire on the gap and make the tack on the wire.
 
Can't say I've had too much trouble with 18 gauge steel with either mig or tig OR Henrob torch & I've done pretty good with sheet aluminum with tig. But I've had a much harder time with this 1980's gm 20 gauge steel, which also has a mild amount of galvanizing on it. Some parts I've done & have later to do HAVE to be done on the vehicle & some don't all have backside access.

A helmet lens magnifier has helped me some, except that many times my welding has been on a hot overly humid florida night & fogging kept reoccurring too fast to continue. Have more difficulty seeing the line to weld on steel than with aluminum.

I've sometimes tacked a few spots with mig to start when a human hand was better than a clamp or magnet, but I can't seem to mig a line without seeing some daylight after grinding & a foot pedal tig & hand wire handling are difficult in uncomfortable positions.

Any other tips toward welding the thinner 20 gauge stuff and on the vehicle? Have the Miller syncro 200 & was twisting straight .030 or .035 mig wire to tig with. Thumb control? Gas lens instead of conventional?
 
makes a world of difference.
 

Attachments

  • IMG_20160402_122401522_HDR.jpg
    IMG_20160402_122401522_HDR.jpg
    100.8 KB · Views: 197
i have a headlamp on my helmet for tig welding. i also have a 60w flood lamp on a stand that i used before the days of autodim helmets .
 
Last edited:
Welded some more TIG coupons last night. I had some questions about weld placement, so I decided to do some samples that mimicked various body shape types.


First, we have a flat version, this would simulate the flat area at the bottom of a door skin...


IMG_1951.jpg


The second panel has more crown, such as toward the top of a quarter/door skin....


IMG_1952.jpg


Comparing the two...


IMG_1953.jpg


Next, we have a repair piece that is joined at the beltline bead...


IMG_1954.jpg


The flat area distorts quite a bit... Normally we would planish the weld after cooling to remove this distortion, but here it was left to better compare distortion amounts..


IMG_1959.jpg


IMG_1960.jpg


Looking at the three samples, the flat one moves/distorts the most. The crowned panel a bit less, the beltline bead even less..


IMG_1995.jpg


This helps to show the benefit of weld seam locations, we should select anything but the low crown/flat areas if at all possible.. The crowned areas or those with beltline bead details will help to hold any distortion in check.
 
How long are those continuous passes? What lenght would you suggest, and what are cooling methods, I have seen a video where a guy was cooling around the welds with a damp rag.
 
The other source of distortion, regardless of weld method, is the start/stop points. A continuous bead heats up progressively as you travel across the panel, and cools in the same fashion. Any start and stop will alter that pattern of heating/cooling, and you WILL be able to see it in added distortion. The welds I did were about 4" long, but the longer the better. For cooling, natural cooling is best IMO. The only time forced cooling should be needed is when torch shrinking, and there only to speed up the process to see where the next shrink should be. It isn't needed in welding.
 
4-6" is about as far as I can get without a hand getting hung up or dipping the tungsten. Practice, practice, practice.
 
4-6 inches here too, my main problem is feeding the filler rod. With the tig gloves I lose the ¨feel¨of the rod and get it all shaky and far from the puddle.
 
Any of you guys hold the filler w/out gloves? I see them do it on the tv shows and even my instructor 25 years ago wouldn't wear gloves.

I shock the piss out of myself everytime I try it. I must not be very grounded as it's like grabbing an electric fence.
 
I think the only time I got shocked was when I stuck my filler rod into the arc instead of just dipping it in the puddle.

Don't do that! :))

John
 
Tried it without gloves this weekend, feels a little better. I didn't zap myself, but I burnt myself with the hot filler rod. I was expecting to have a tanned hand, but it didn't.
 
Back
Top