What could be used instead of melted lead for full rear quarters and hiding seams ?

S

stangnet33

Seeing my other thread didn't get any responses I thought I'd word it hopefully a little better. So I need to replace full rear quarters and would also like to hide/cover a couple of seams. I'm looking to see if there is a better method or product that can take the place of melted lead. And as for covering any seams (like done to the side scoops in pic below) what would be the preferred method and product to achieve this ? Hope this is a little more clear, thx.


attachment.php
 
I thought someone answered your other post. In any event, I think the expert in this area is Rusty Gillis (rusty428cj). On his 1968 Mustang Coupe Restomod he bonded a number of body parts, including the headlight bezels and rear valances using Norton panel bond. The details of the headlight bezel start at Post 12 of this thread: http://www.spiuserforum.com/showthread.php?101-1968-Mustang-Coupe-Restomod

Rusty took this....

04.jpg


...and turned it into this (sounds something like what you want to do):

DSCN5207_zpsa5eaca15.jpg
 
of course the best way is to cut that whole lap wed area out, make a piece to fit, weld and grind smooth so the joint was never there. if your going to fill it then dont simply use filler. it will always ghost on you later. if your not going to lead it use a filler like all-metal or metal-2-metal. thats the only type of filler that wont ghost in those seams.
 
I would not use all metal filler. My experience has been that it gets brittle when it ages. I have had it crack in the 7-10 year range.
 
Had an NOS quarter to install. One of the modifications I had planned was to eliminate the pinch welded flanges in the back end, to try and eliminate some of those moisture/dirt traps that always result in rust.. The flanges on the old were trimmed to the corners, and the new quarter was trimmed with 1/8" extra. This was flattened out to fill the gap you normally see when the leaded seam is removed, and should fit up nicely for a butt welded seam.


Picture262.jpg


Picture264.jpg


Picture266.jpg


Picture267.jpg


The flanged areas for the leaded seams were flattened in an attempt to eliminate the need for lead, we'd go with butt welds instead:


Picture268.jpg


Picture270.jpg


Picture271.jpg


Picture296.jpg


Picture298.jpg


Picture299.jpg


Picture300.jpg


Picture534.jpg


Picture535.jpg


Picture537.jpg
 
Panel bond the parts together then fill, rusty turned me onto it, Ive had that part of the car done and sitting outside for a couple years now and it has held up well. I added pics in the other thread. That's how I did quarter extensions and buckets. I did make a piece to melt the lead out and weld the quarter to the roof like rusty did as well
 
Thanks for the reply in the other tread by the way, sorry I didn't respond sooner. As for adding a filler panel and then welding, I believe my side scoops are made of pot metal. Other than fabing up another scoop I guess I can't really do a blend with the original scoop - ?


bomccorkle;38662 said:
Panel bond the parts together then fill, rusty turned me onto it, Ive had that part of the car done and sitting outside for a couple years now and it has held up well. I added pics in the other thread. That's how I did quarter extensions and buckets. I did make a piece to melt the lead out and weld the quarter to the roof like rusty did as well
 
If you have a nice smooth surface beneath the scoop then rough it with a roloc 24-36 grit, then panel bond the scoop on, then fill and work your translation together with filler. Go to the depot and grab half a dozen different sizes of dowel rod and use that to sand and make a consistent radius, that's how my Shelby brake scoops are mounted. I think I pit a pic up in the other thread. Also I did still use the factory fasteners as the "clamp" for my panel bond and just left them on. You may need to shape the scoop with a grinder as well to make sure it mates to the body as smoothly as possible.

Make sense? Some of this is hard to put into words.
 
bomccorkle;n55615 said:
Panel bond the parts together then fill, rusty turned me onto it, Ive had that part of the car done and sitting outside for a couple years now and it has held up well. I added pics in the other thread. That's how I did quarter extensions and buckets. I did make a piece to melt the lead out and weld the quarter to the roof like rusty did as well


Would it be an option to panel bond the seam and then weld it shut instead of filler? Would this result in thicker metal and a subsequent ghost line where its welded?
 
Thicker metal, such as welding a plate into a license plate recess without cutting & butt welding has a high tendency to show up in temperature changes and also collect damp air moisture differently at the joint. That being said the location, such as a license plate fill in in the middle of a tailgate is way more critical than something in a bodyline shape near a corner.

For fill in of a recessed​ area where shadowing is likely, I agree with Jim C on using an aluminum based filler. Haven't had an issue yet from usc all metal filler, but since some here have , I'm thinking about trying Metal set A-4, which is an epoxy with aluminum filler. Just haven't found any unadvertised type info on it.
 
I personally weld the seams with a filler panel as rusty showed in his pics, I haven't come up with anything that would work better than that. I don't like stressed seams, I have to do this on a car we are working on currently.

As far as making a cast part bond to a steel part, that's a very tough one. honestly I would probably bite the bullet and make a steel scoop from scratch so I could properly weld it in.. probably way more work than it is worth.. I'm currently making a complete panel because I didn't like the way a filler panel was designed to attach to a tailgate. This would be a very tough way to go about it, but it beats panel bond any day of the week IMO.
 
Chad, you are really not a supporter of panel bond huh? Is there a reason you dont like it?
 
If you use panel bond on a panel such as a roof to quarter you still have a edge seam. I also don't like to apply anything over panel bond, such as body filler. The seam has a good chance of coming back over the years. I do use it occasionally but not on something like a exterior body seam. I sometimes use it on wheel well seams on trucks because I feel it is better for rust protection than the spot welds in a area like that. But that area doesn't need to be coated with anything nor do you need to apply fillers over it, it's all contained between the panels, and the rest can be removed.
 
I wish I could post a picture of the stock roof to rear cab seam on a 56 Ford F-100. It comes off the production line and has seam sealer in it. Based on your response, I am thinking panel adhesive with seam sealer over it might be a better choice than welding the seam shut and finishing it with filler (smooth with no sign of the original seam). Is this correct?
 
This is the top seam on a 56 Ford F-100 where the roof sheet metal meets the back of the cab sheet metal. Original seam was spot welded and seam sealed. Its going to be extremely difficult to get in close enough to spot weld. I have been considering panel adhesive to glue the two flanges together. Once I get it clamped, I will remove the excess and let it cure. Then I would apply seam sealer over the joint to look original. My other idea is to use a weld thru seam sealer between the two flanges, clamp it, and fill the groove with weld. I am assuming that alternative would result in a ghost line due to the weld being thicker than the sheet metal on both sides of the weld.
 
I like the idea of seam sealing it after. anywhere I use panel bond I remove as much of it as I can after it is cured, I would hit the groove with a fiber wheel to clean it out as much as possible, then at some point you are going to epoxy the whole panel I assume. I would prep the panel for epoxy then spray that. then before paint i would seam seal, that way the epoxy will help prevent any chances of corrosion down the road.. I don't like to put seam sealer over bare metal. I prefer to put seam sealer either over epoxy or 2k primer.
 
What are the plans for the bottom of the panel, does it get butt welded there or is their another seam? hard to tell from the pictures.. It's amazing how many body panels are being reproduced for all of these vehicles..
 
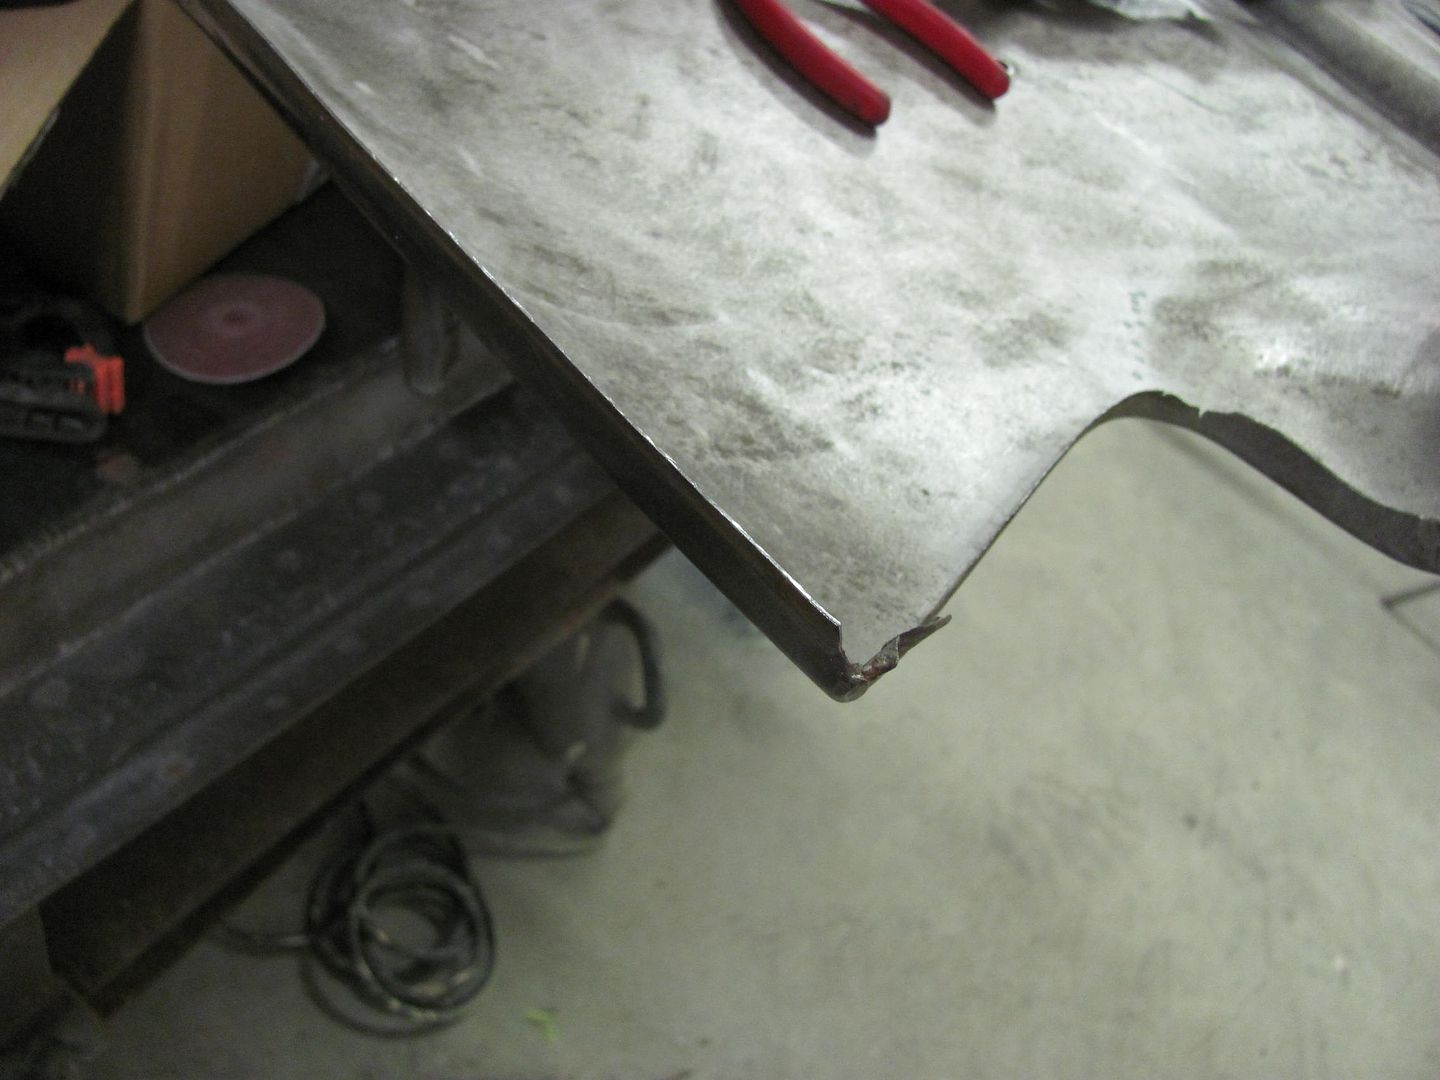
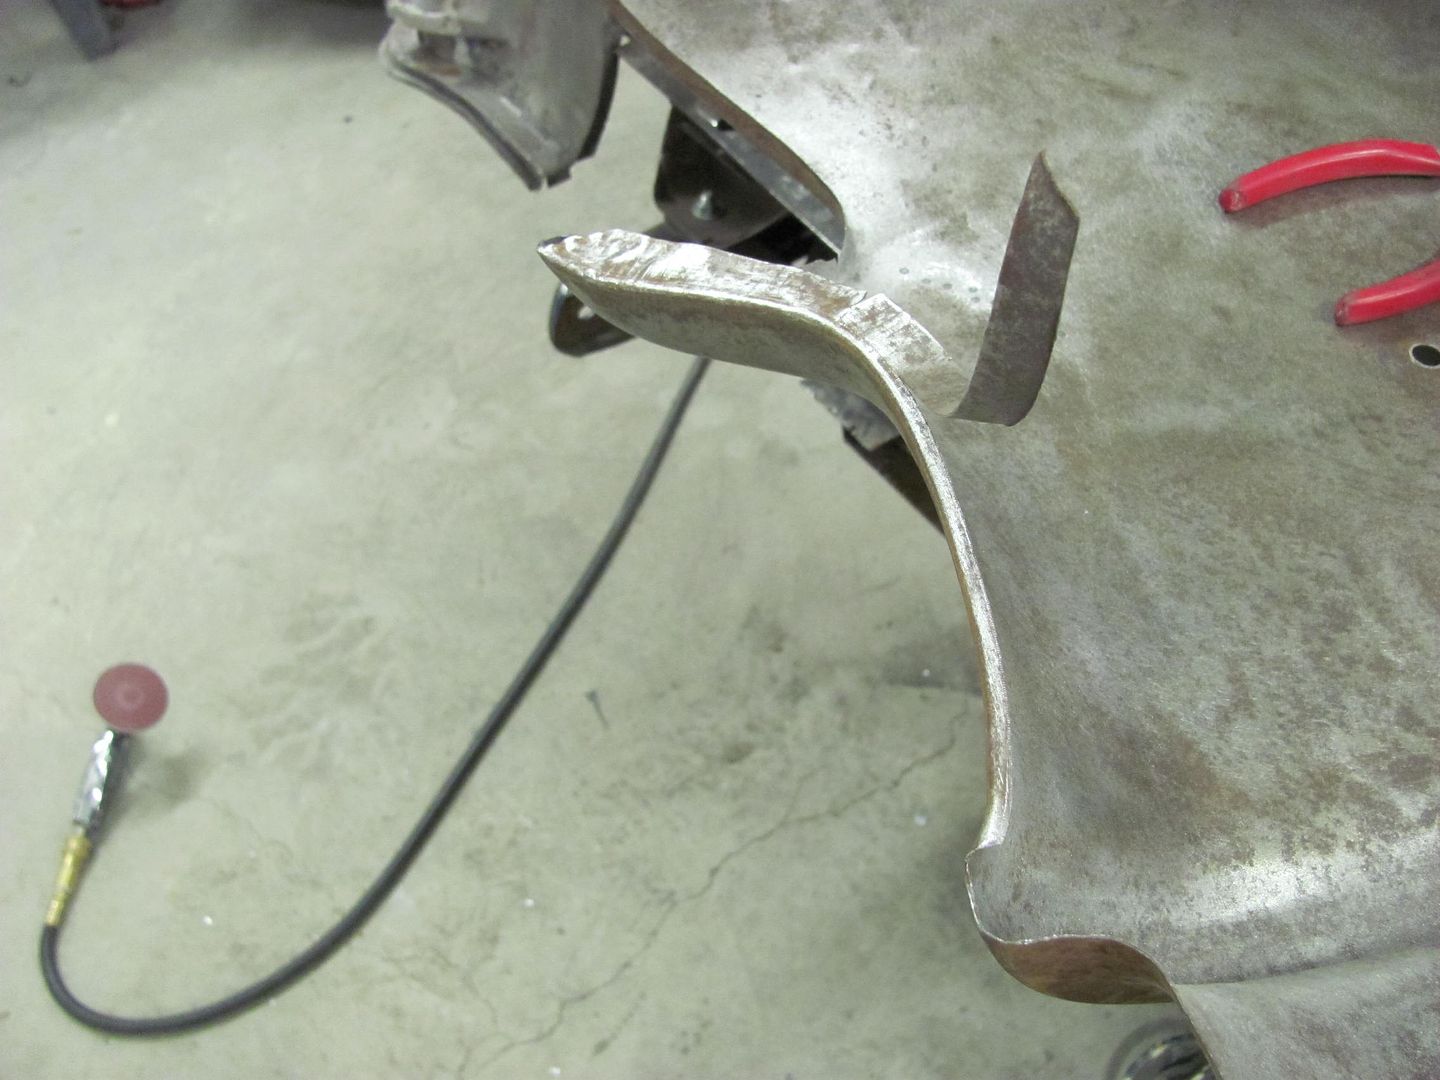
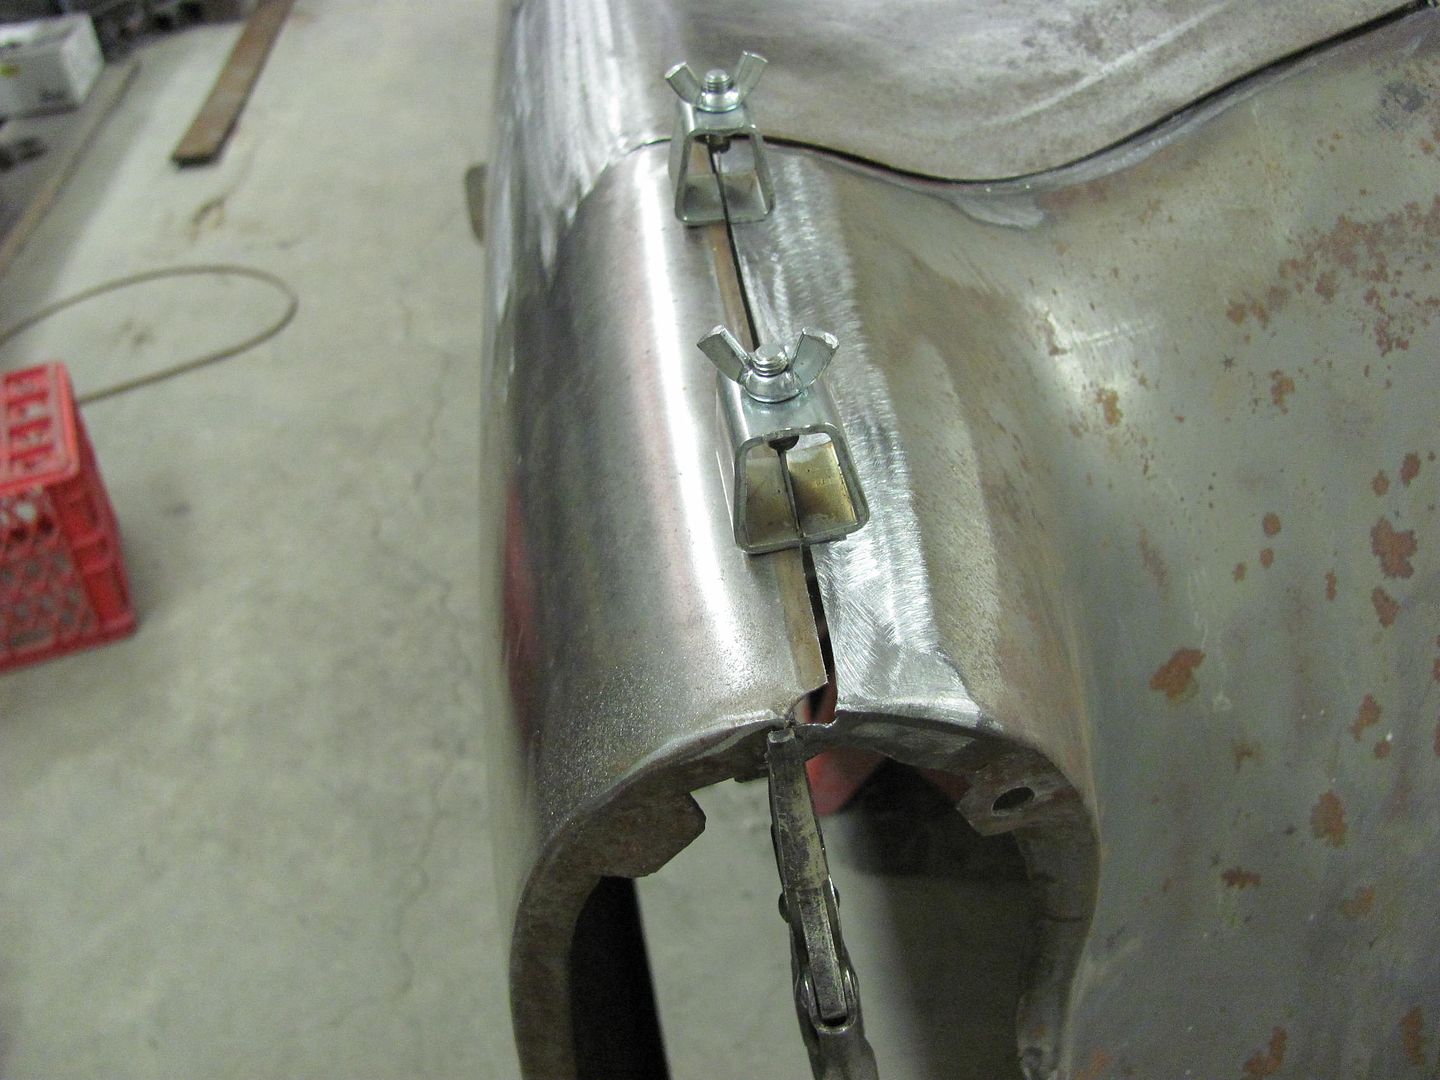
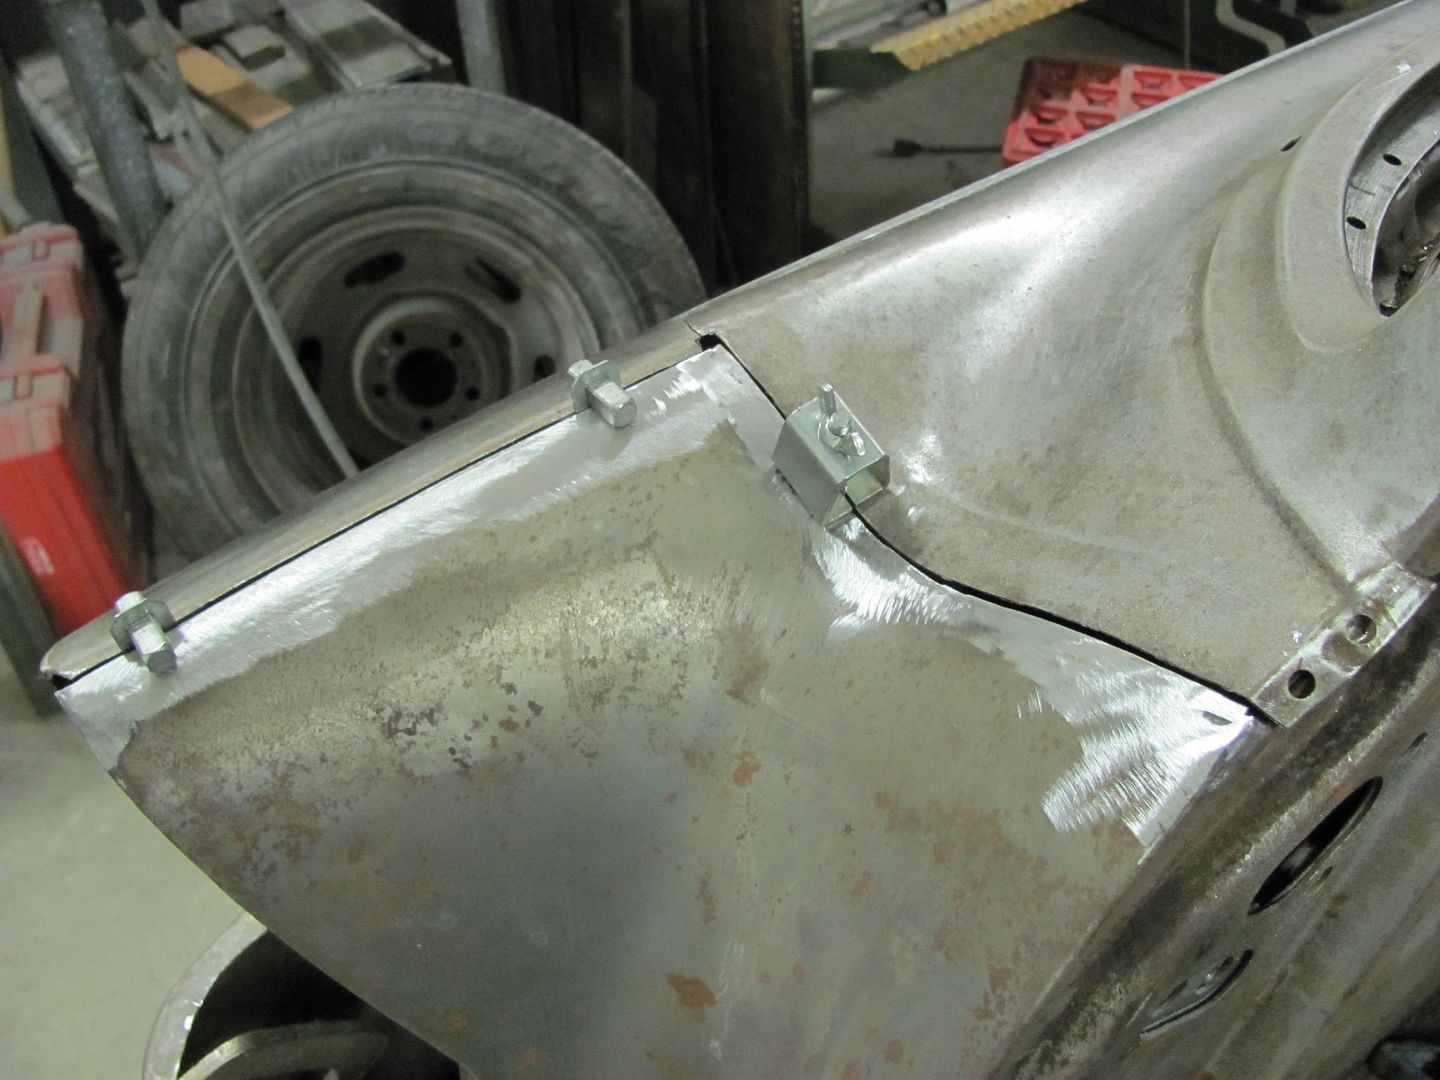
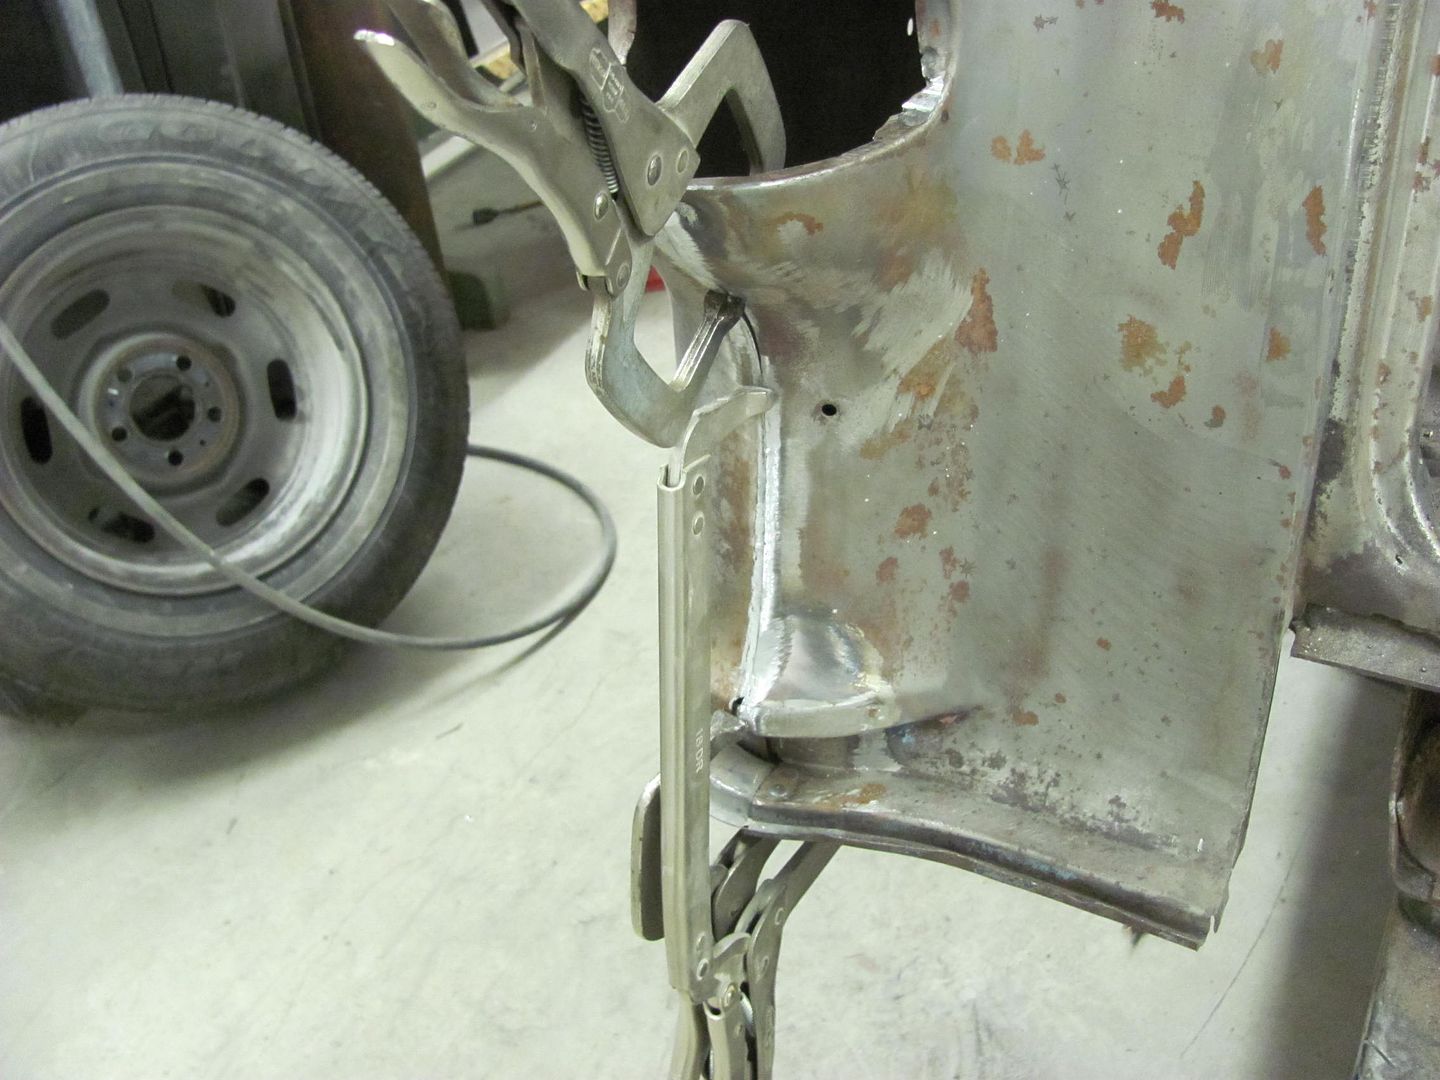
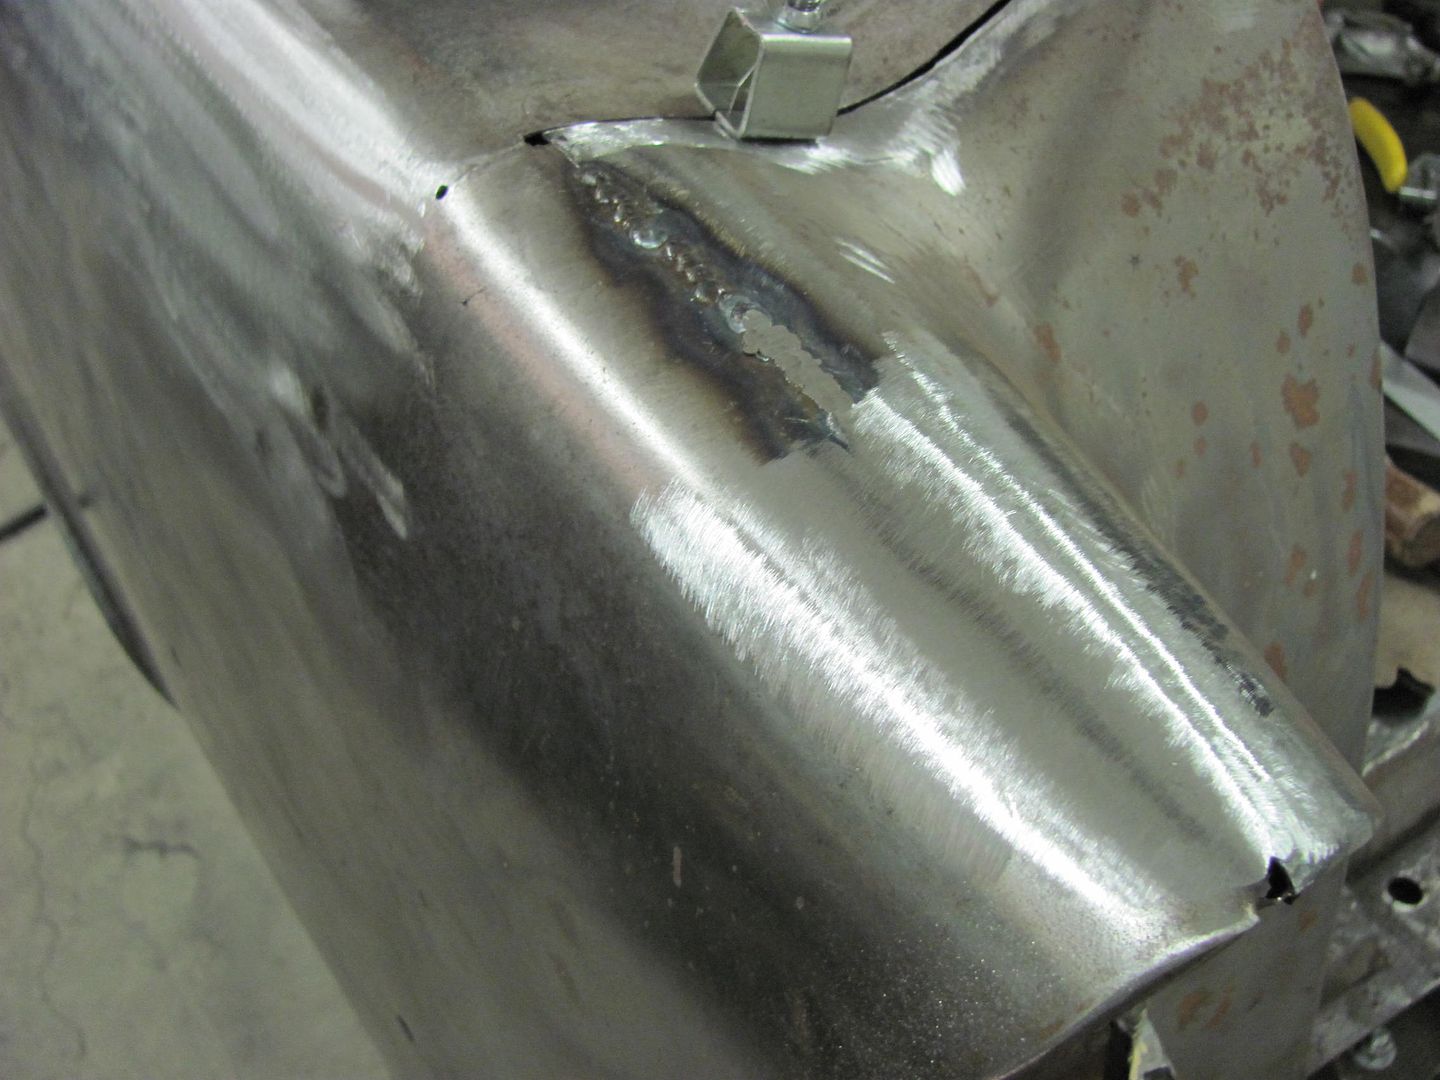
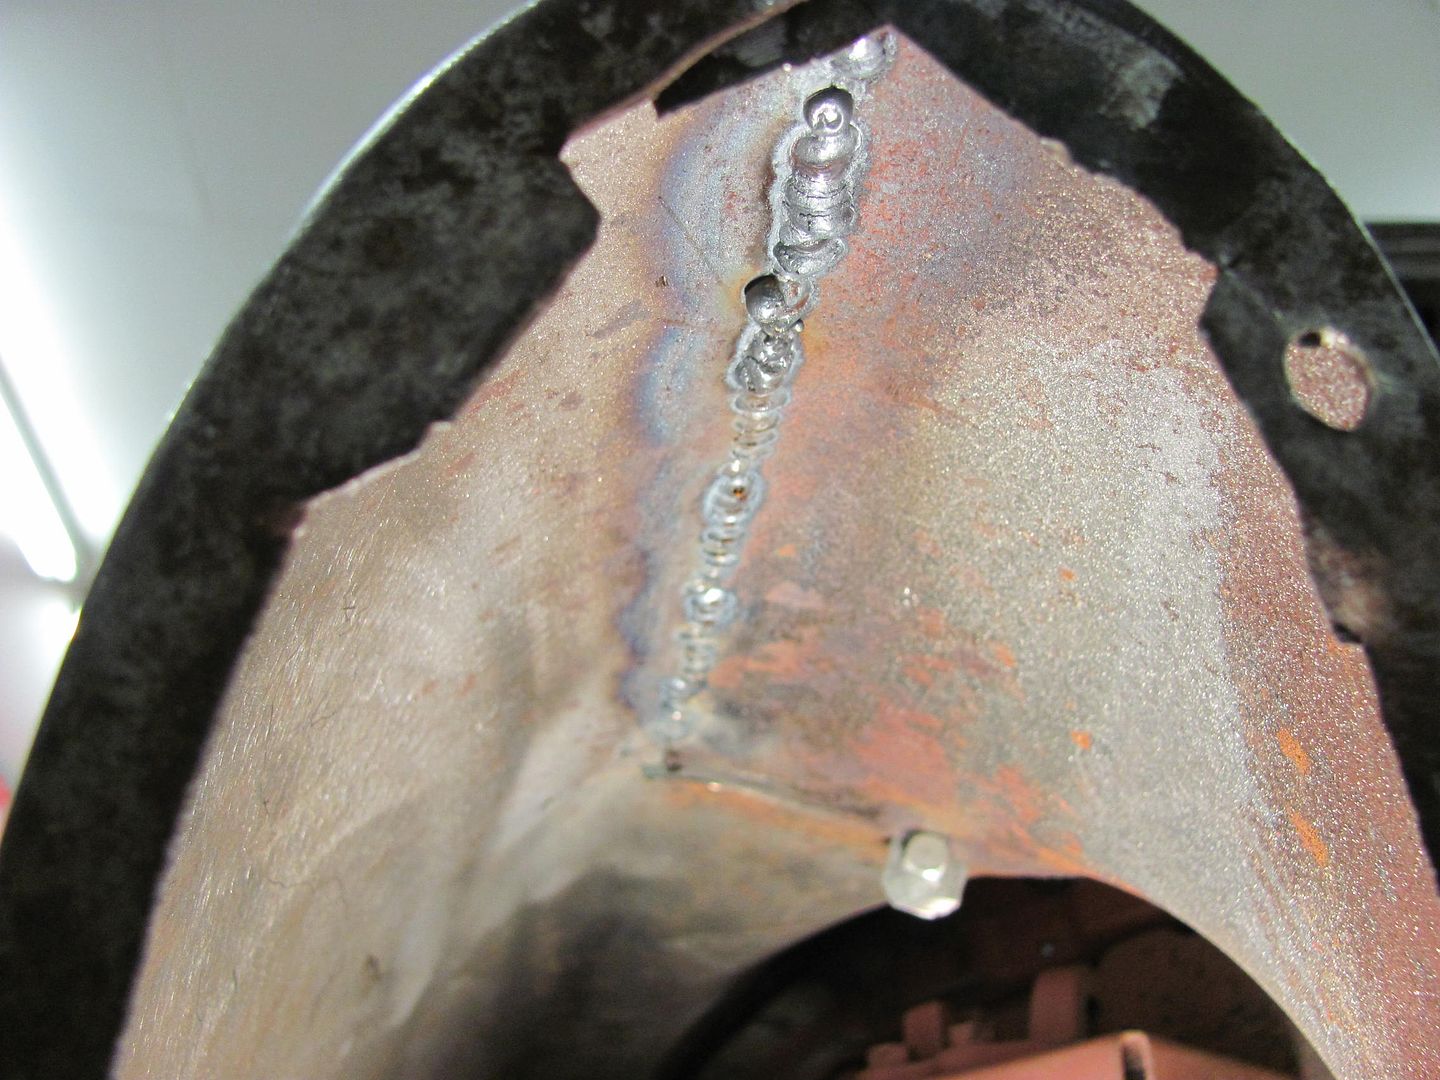
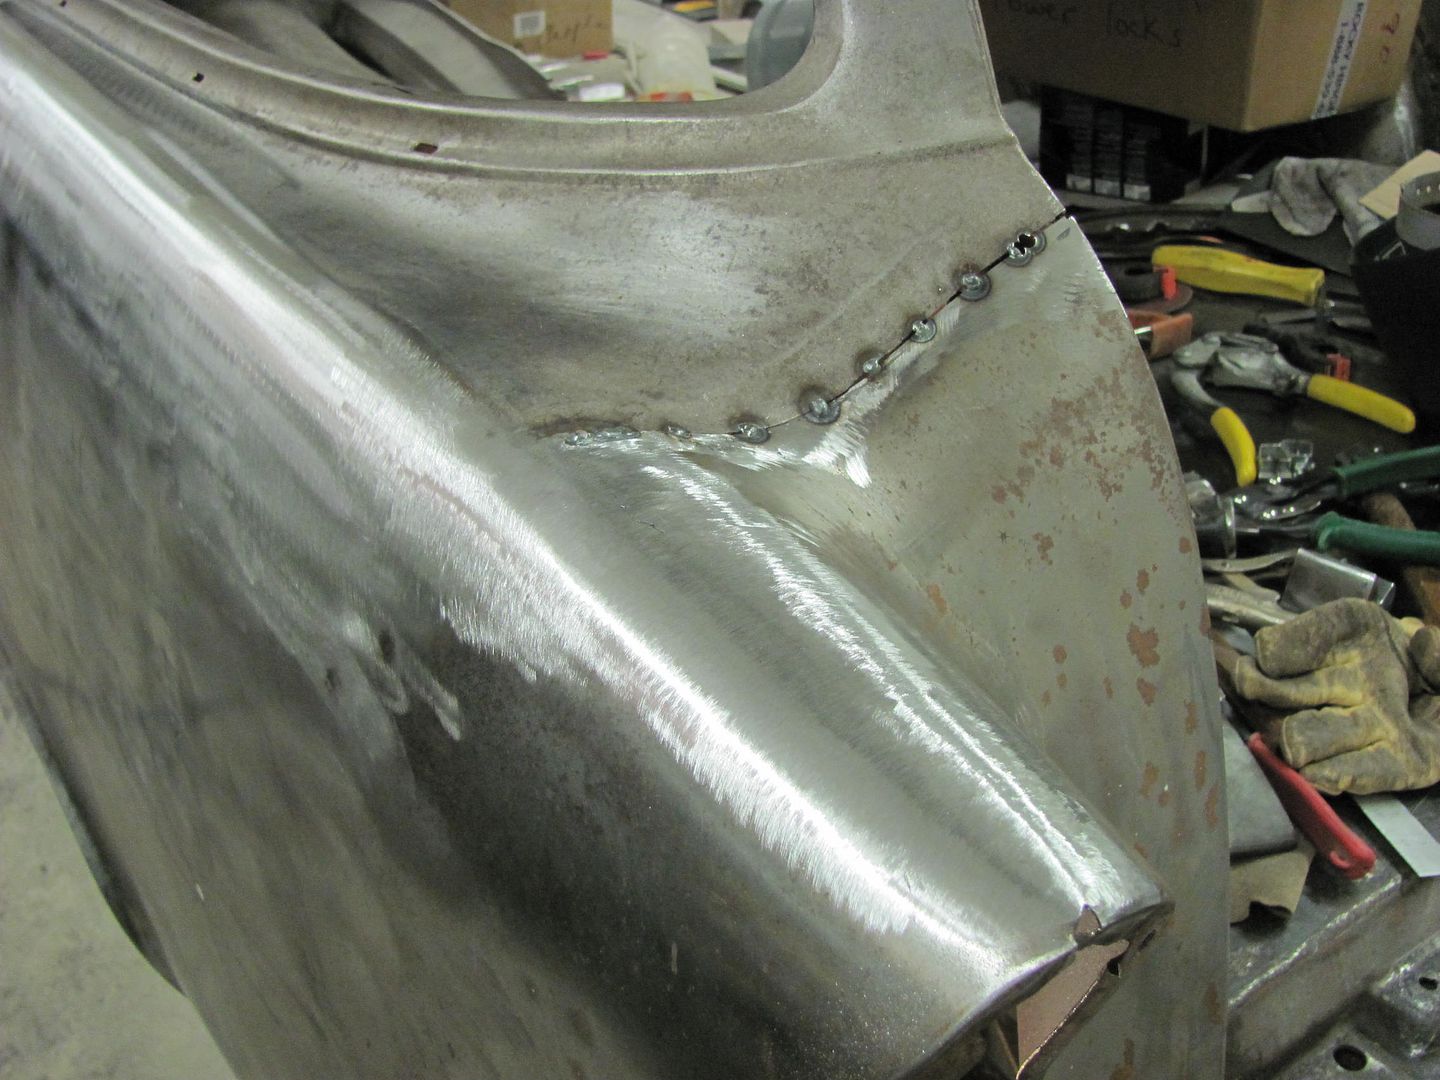
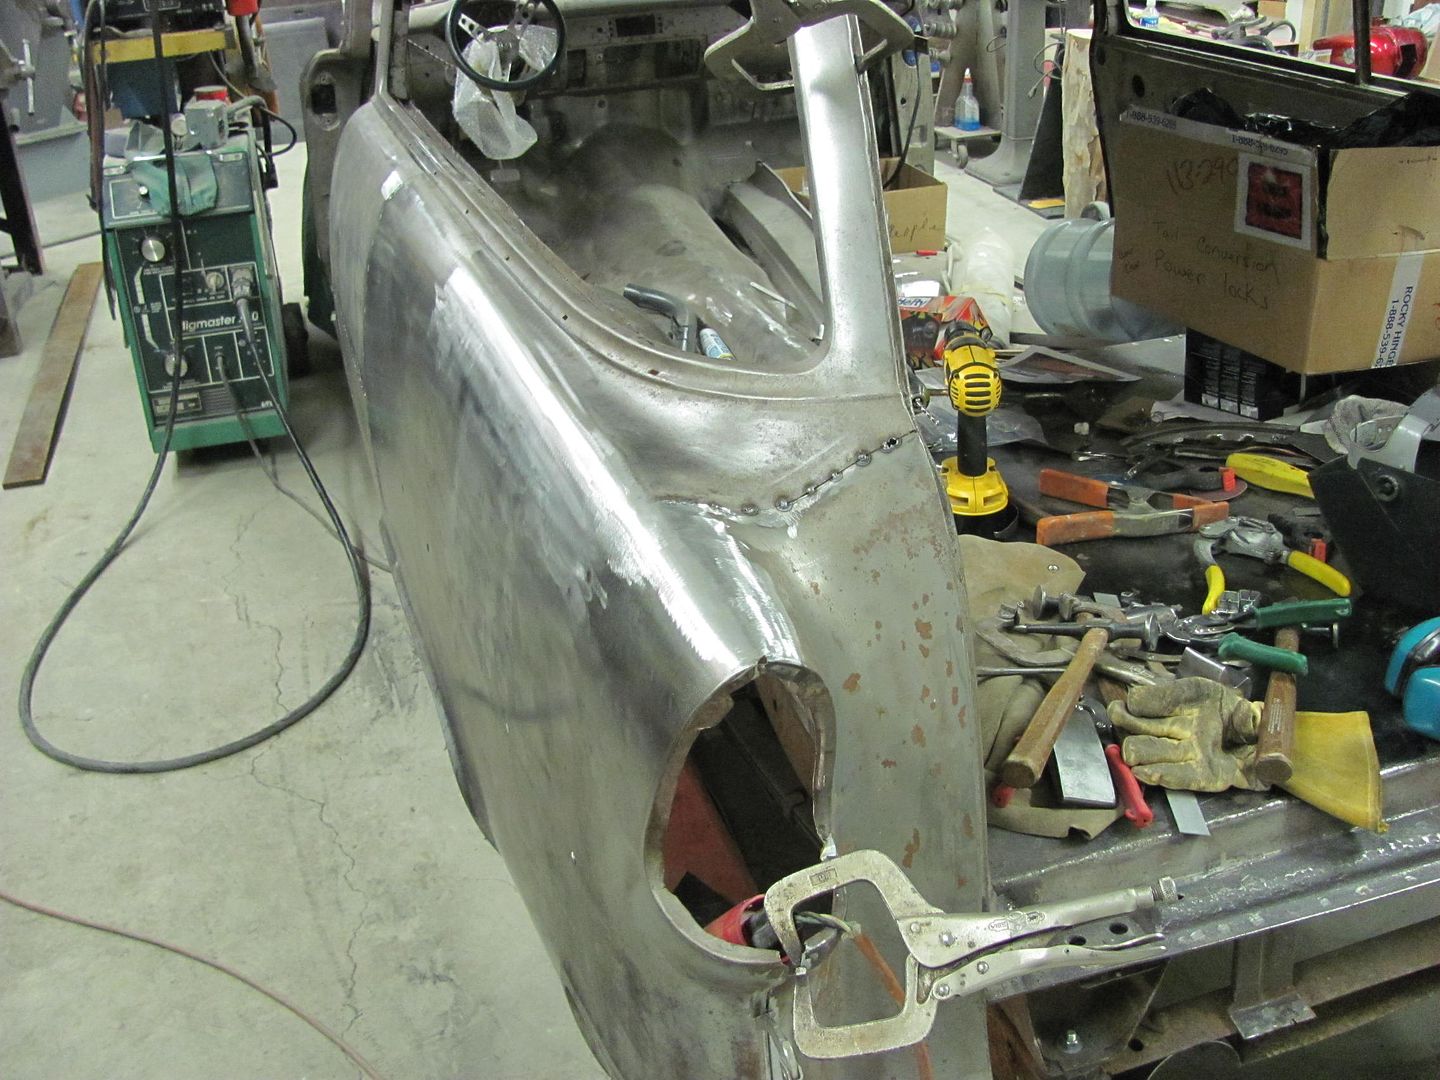
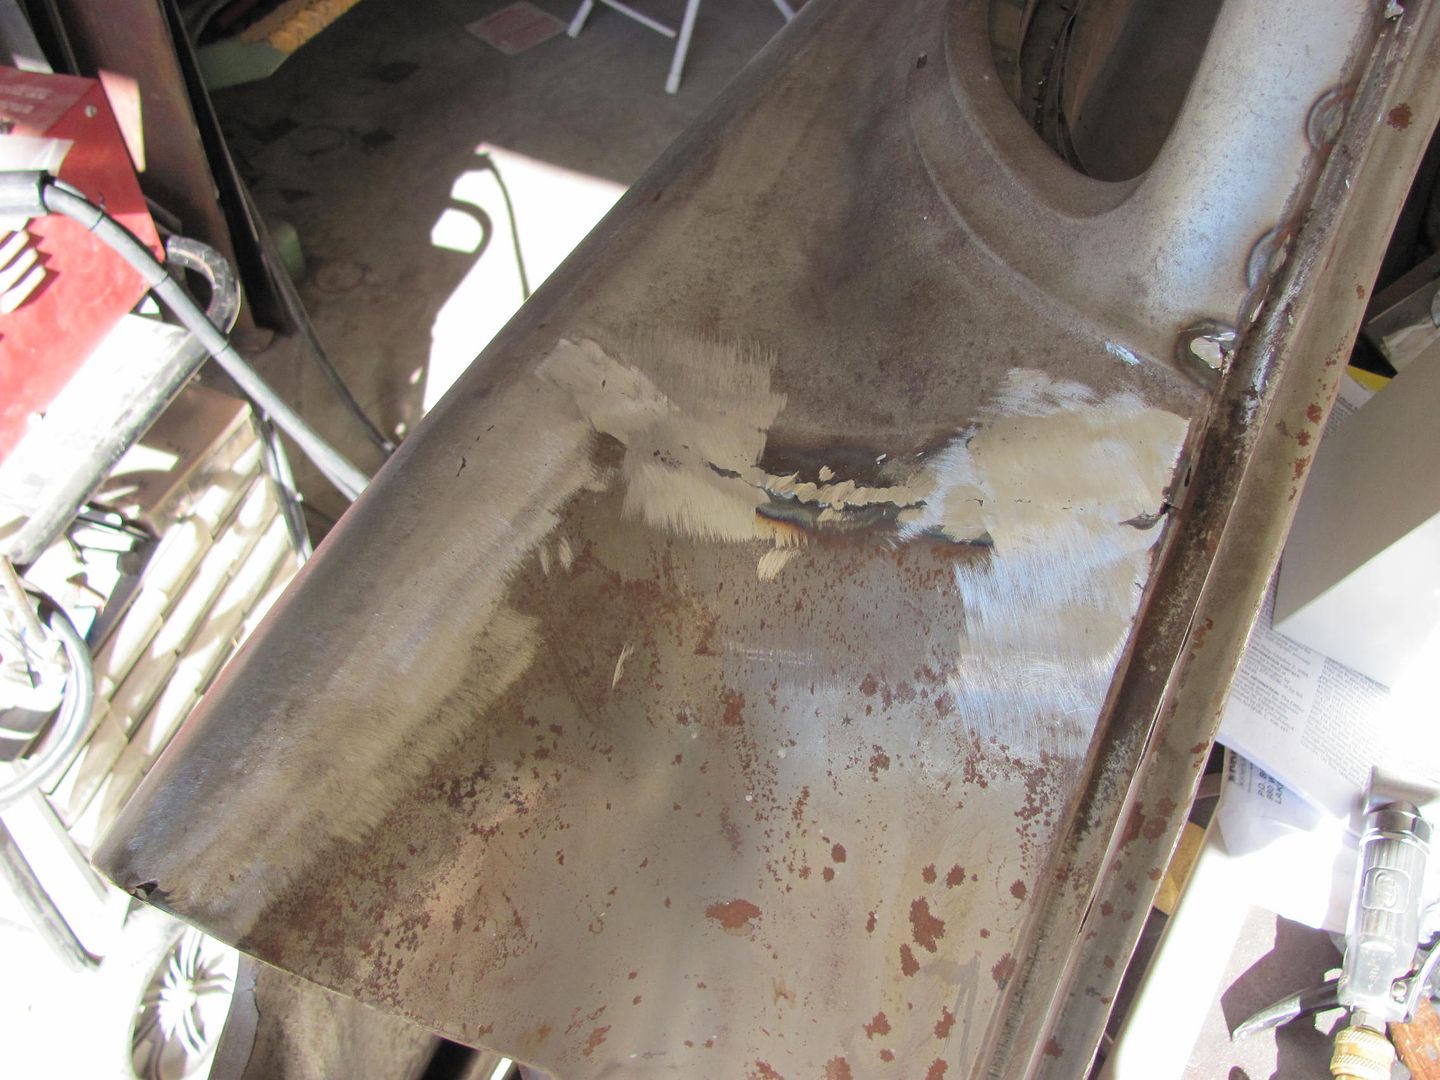
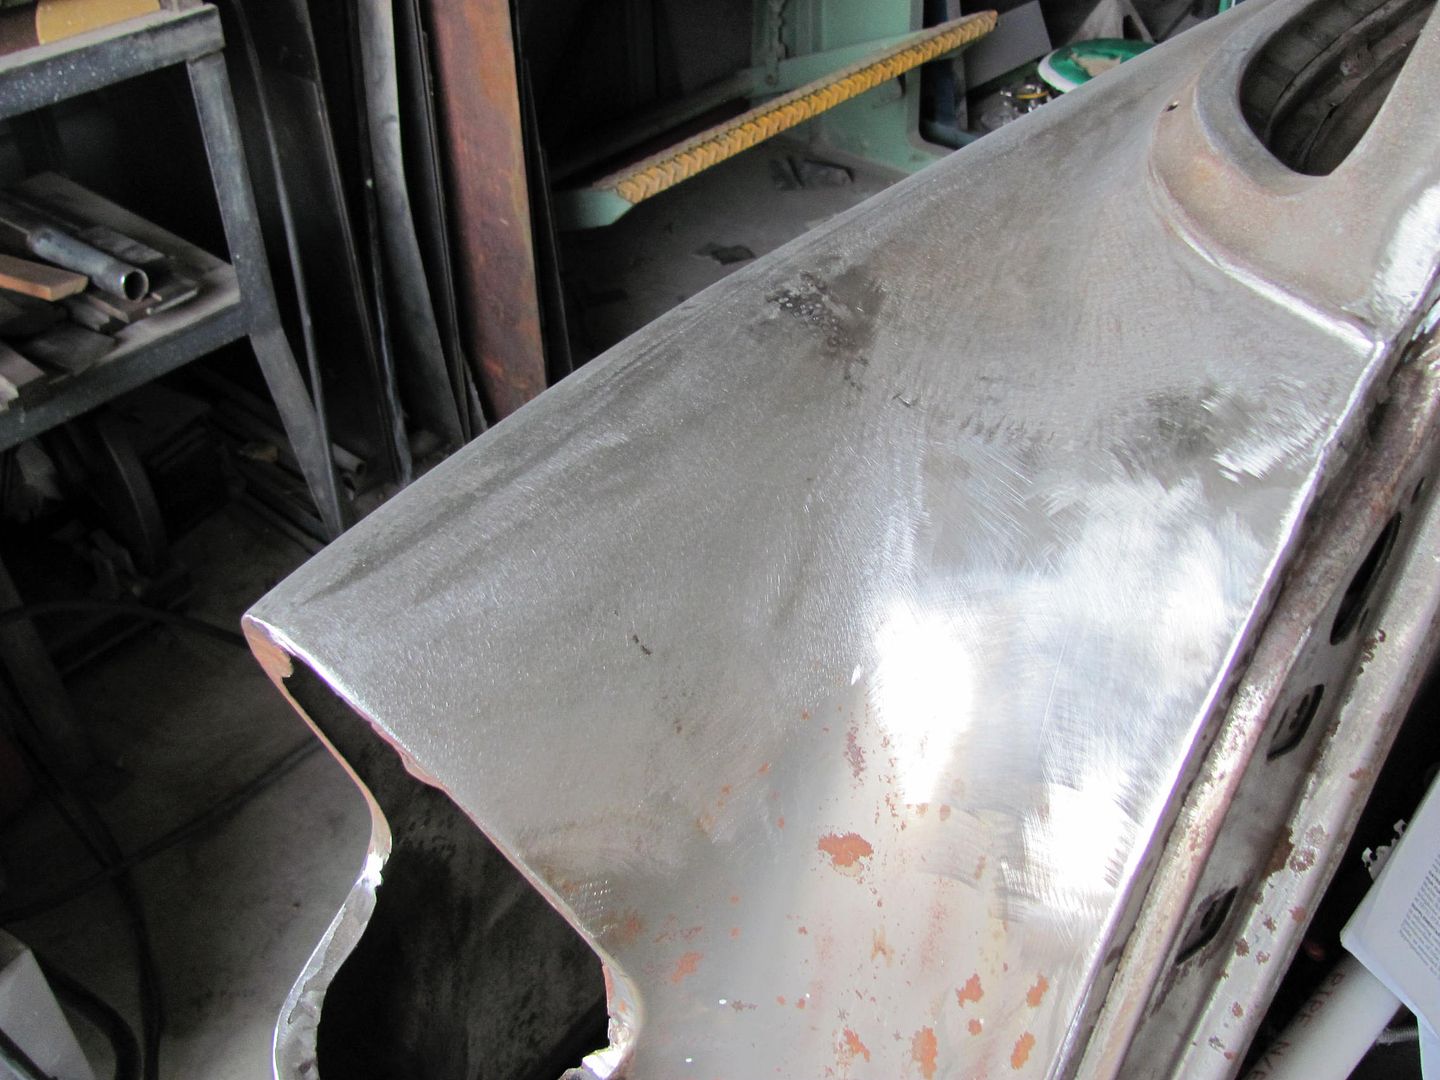
If I go with the panel bond, I will fiber wheel before epxoy, then seam seal. The bottom is the but weld I have talked about on another thread. We disucssed Tig Welding vs Mig welding. I am working diligently on that long butt seam fittment. I can get a .023 feeler guage between panels for about 70% of the seam. I keep taking it off and taking down enough to take the guage clear across the panel. Ezgrind wire, .023, connect the dots spot weld, keeping in mind you suggested three at a time. Its taking considerable time to keep removing the panel and slowing filing with hand file, but I do now want any wide gaps to deal with if I can avoid it.


I certainly like the idea of welding the seam closed after panel bonding, but Im pretty sure I would get a ghost line. Color on this truck is going to be SPI Base Black with Universal Clear. I also like the looks with the stock seam and it replicates the original big back windows and small back windows. The replacement panel is a dead ringer for the original big back window with exception of the weld seem across the back of the cab wall. The panel is 95% perfect fit from what I have seen so far.
 
Back
Top