66 Mustang

chevman

Oldtimer
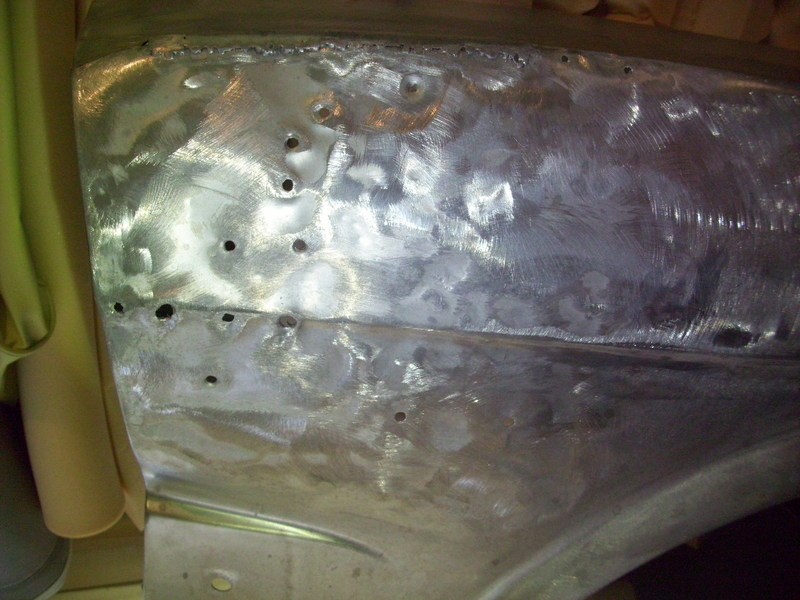
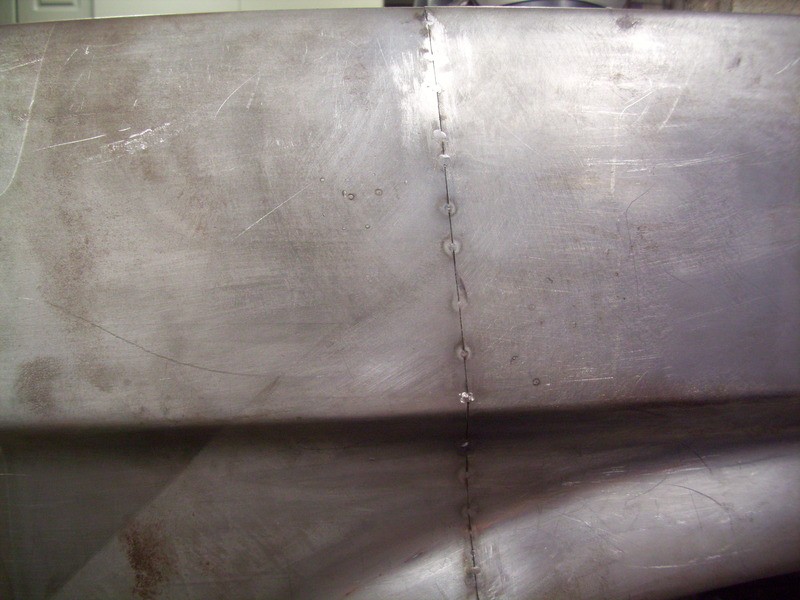
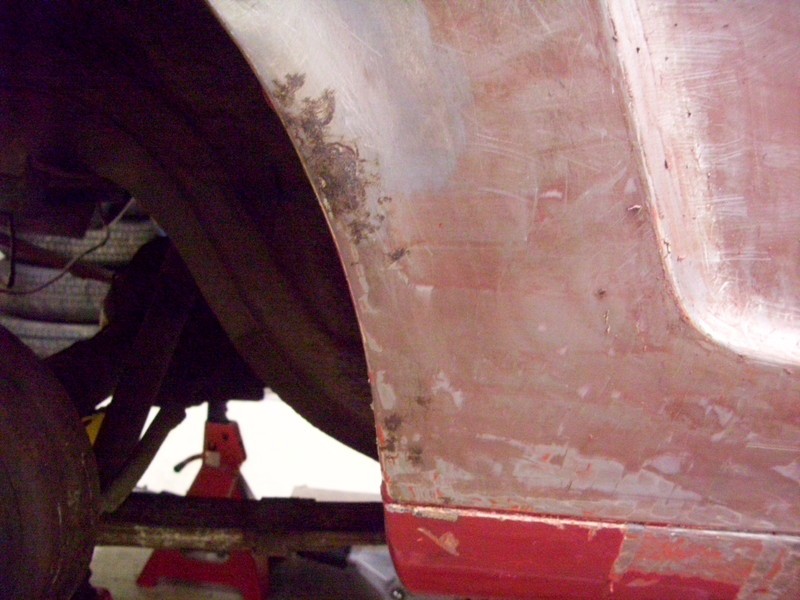
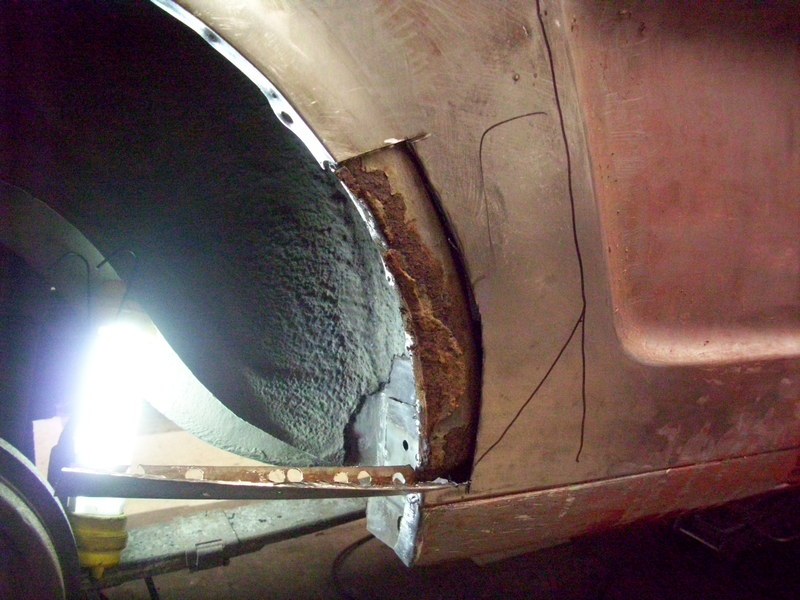
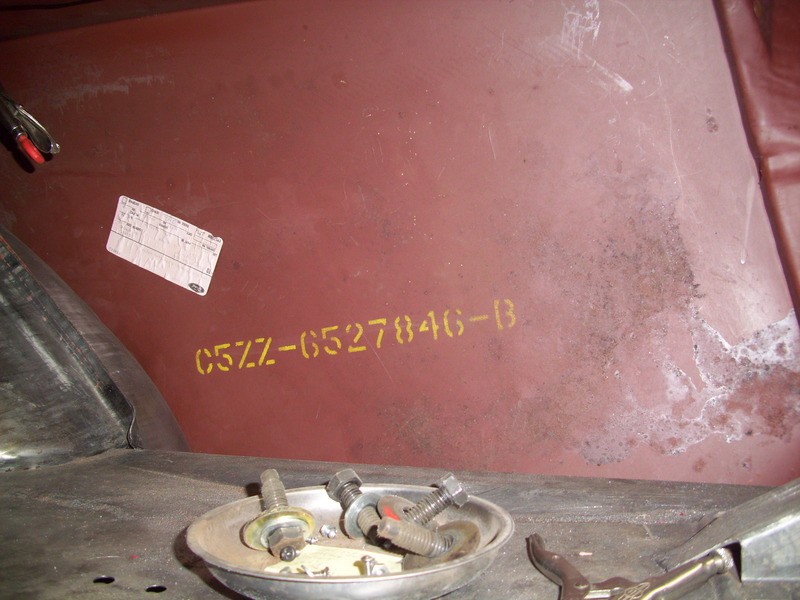
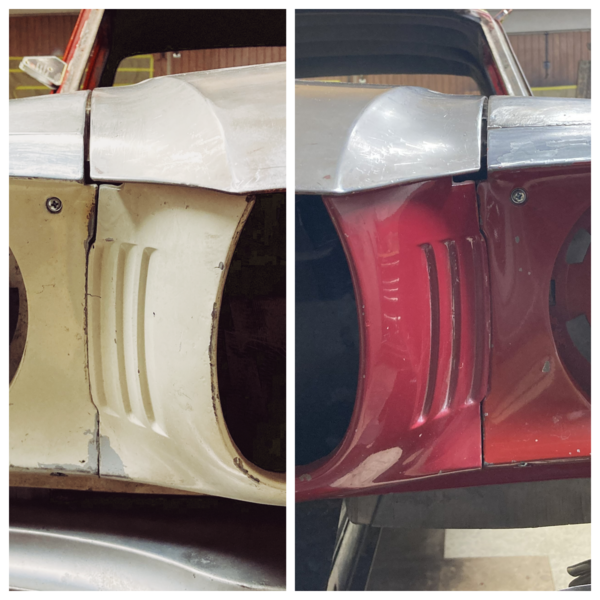
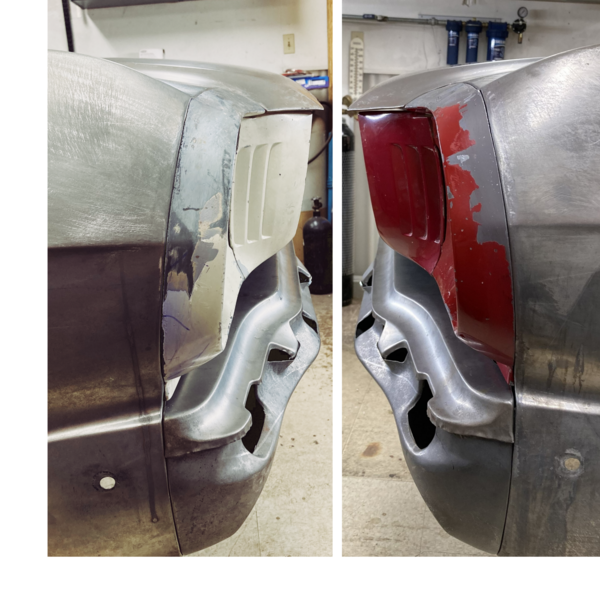
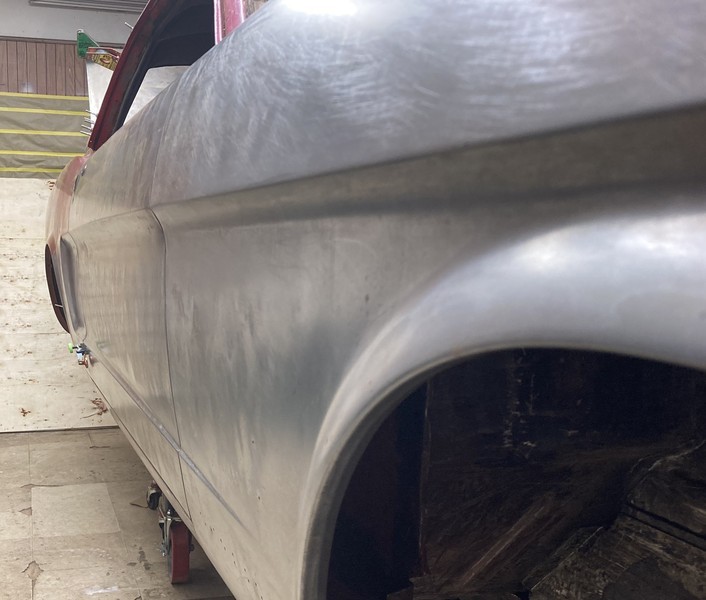
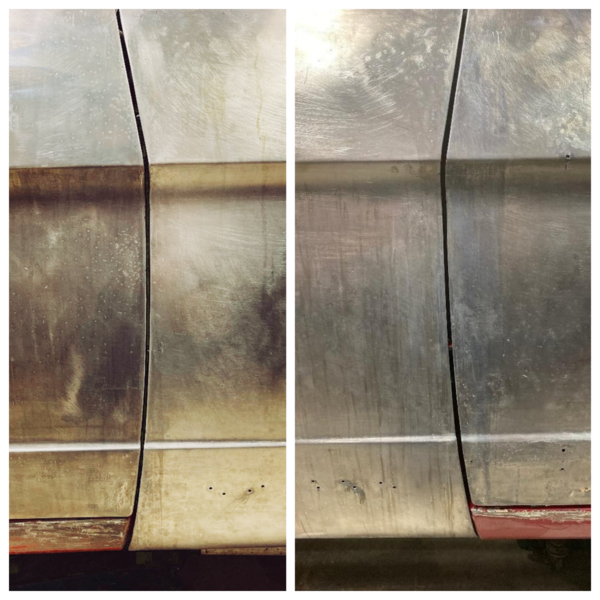
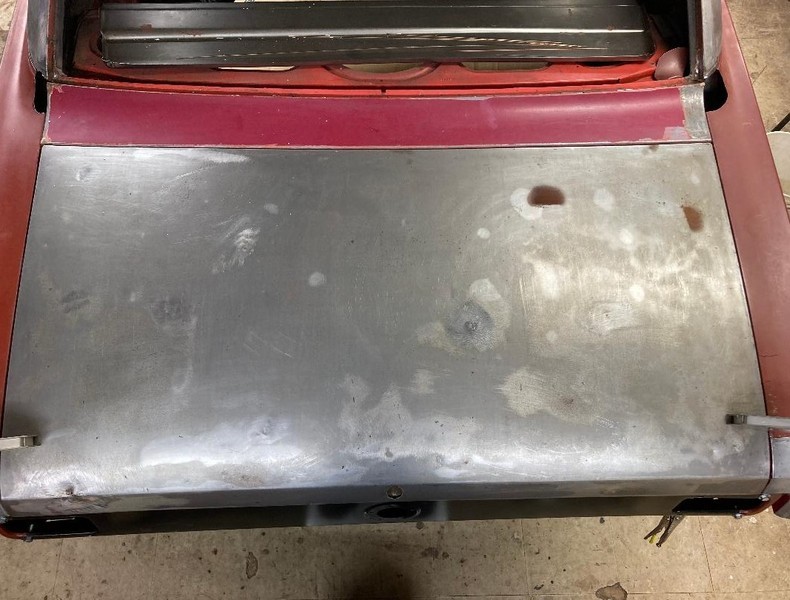
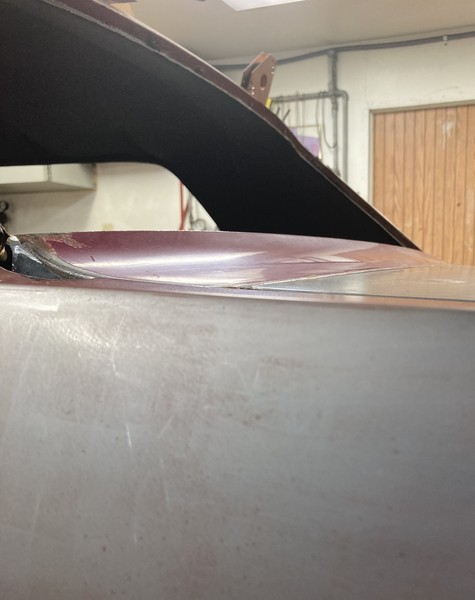
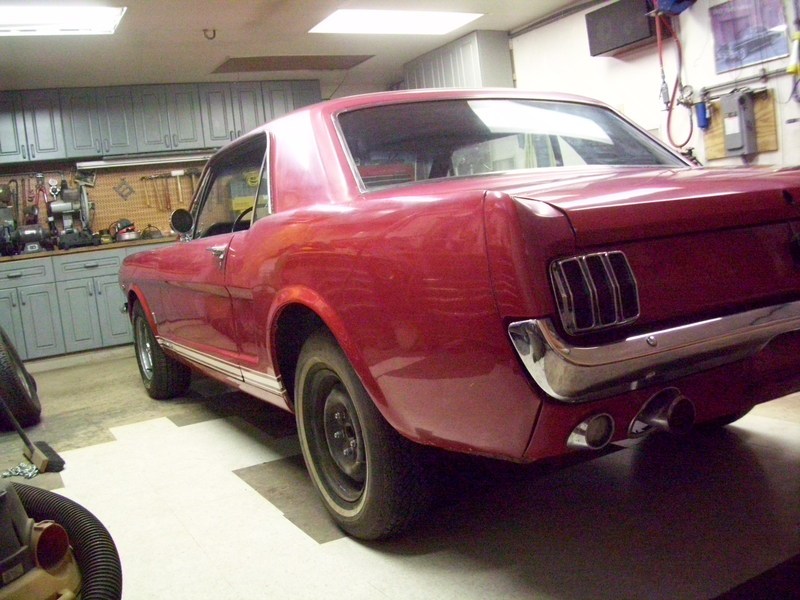
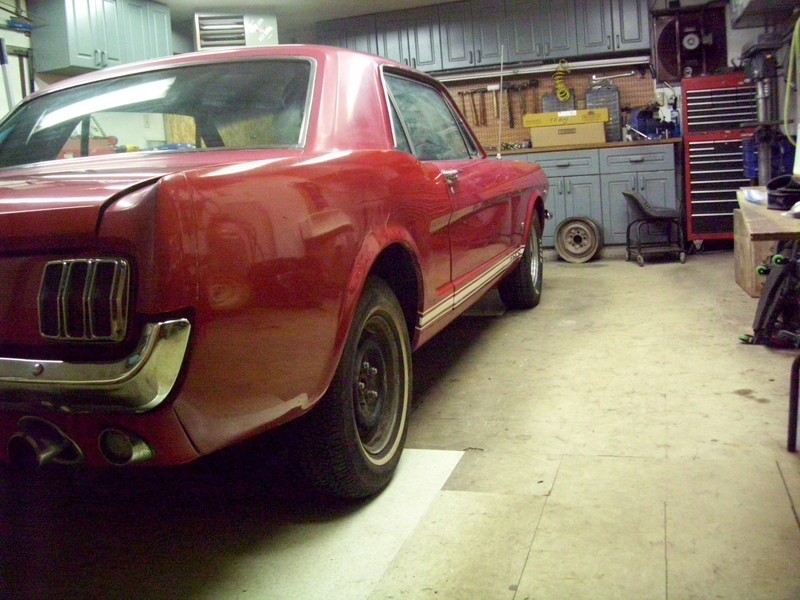
Thought I might post some of the work I've been doing on this mustang, I was hoping to paint it this summer, but as usual its taking longer than I thought to get it ready. I've had it tucked away for about 20 years, and finally got the urge to do something with it. I have several project cars and just do metal work on some of them, then sell them, and on some others I just rotate working on them. Metal work is what I like most, and I'm retired, so I work on what ever I feel like. This is what I started with on the mustang, and it looks like it just needs sanding and paint, but there was a lot of filler under that paint, not much rust, just bumps and bruises. There was rust in the quarters due to the factory trying to seal water out with foam, but it actually sealed water in, so I replaced them with NOS quarters. And the cowl was rusty due to leaves coming in the fresh air grill, cowl repair can be found here
http://www.spiuserforum.com/index.php?threads/fresh-air-system.8379/

6dHnpf.jpg


mail


I posted a thread about Door Alignment Pins awhile back, here is the link.
http://www.spiuserforum.com/index.php?threads/door-alignment-pins.9353/

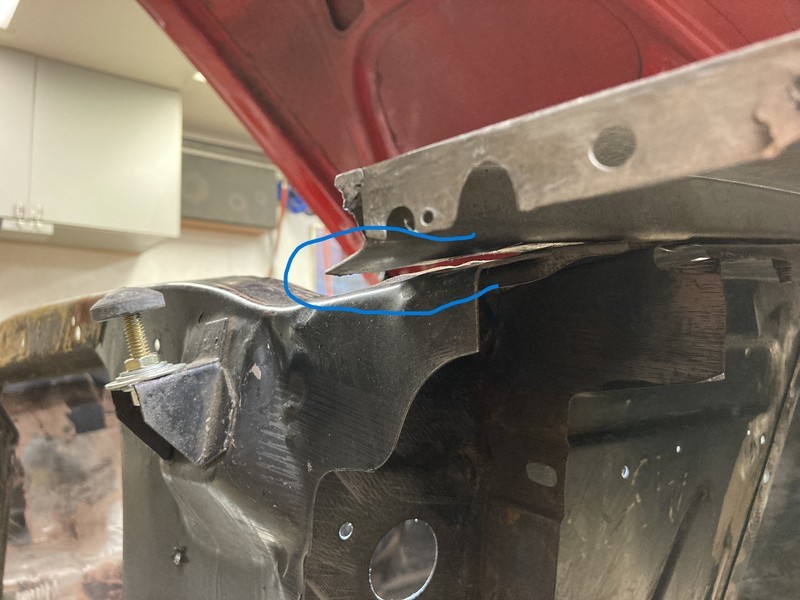
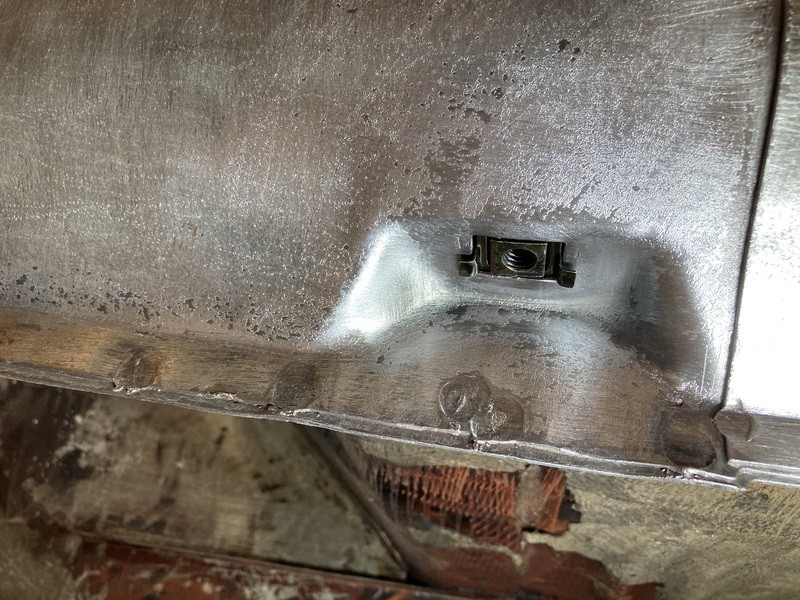
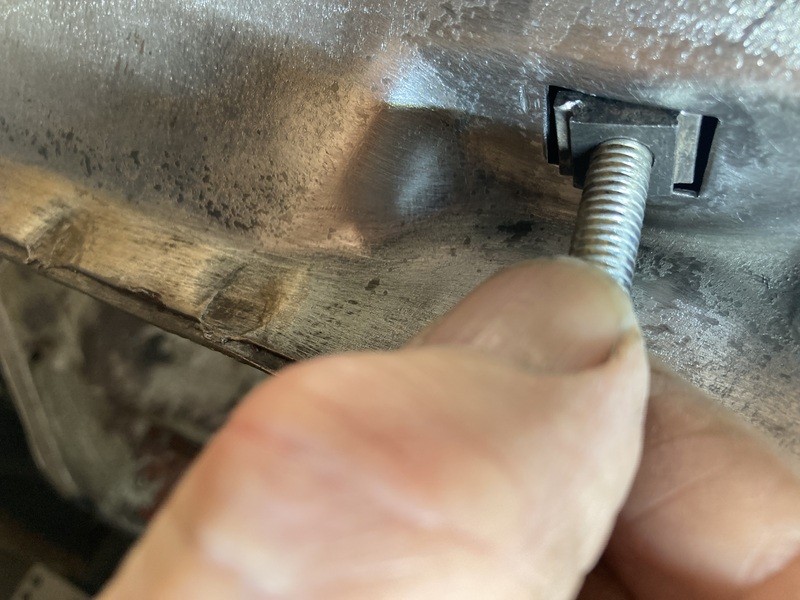
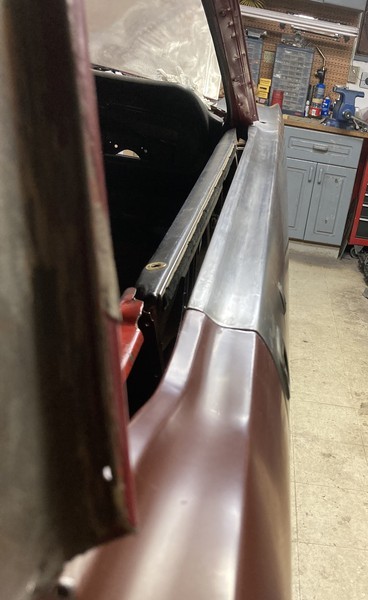
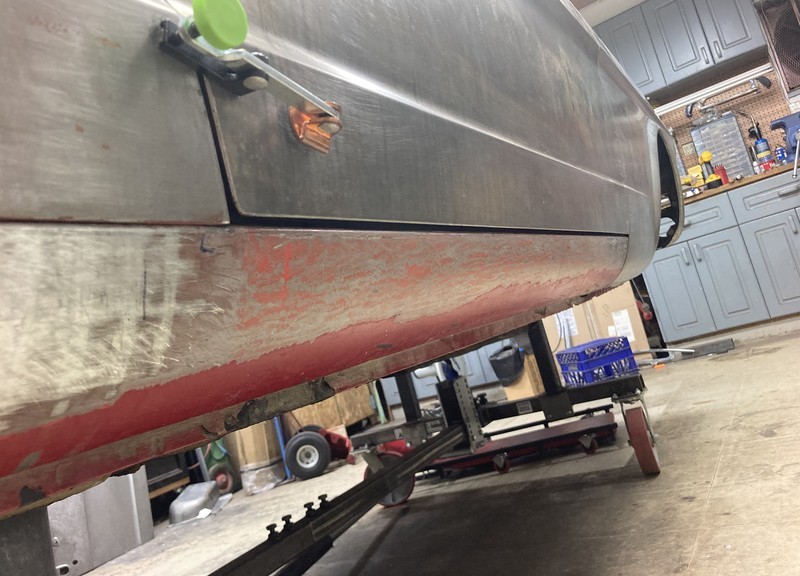
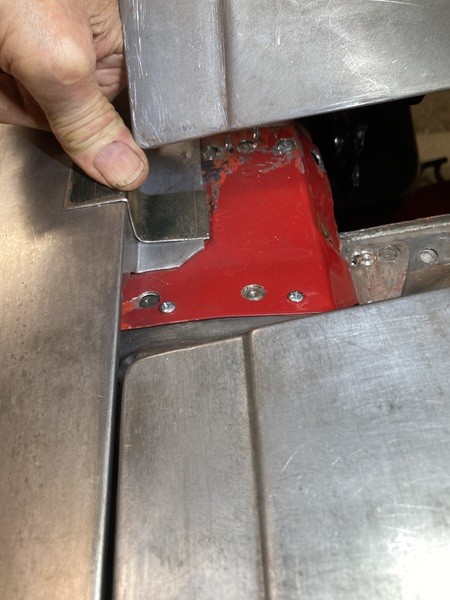
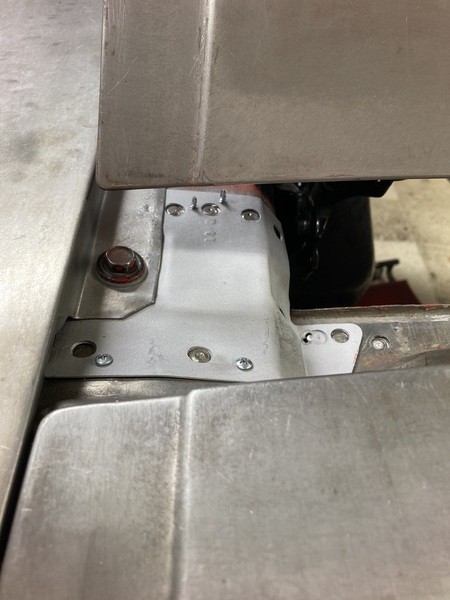
Remounting fenders on the car is not as difficult as doors, but they still have their own problems, so I want a way to remove and reinstall them with ease. Unibody Mustangs have 6 mounting bolts along the top, and for repeatable alignment I concentrated on the very front and rear bolts. After getting it all aligned, the u-nuts were removed from those two bolt positions.


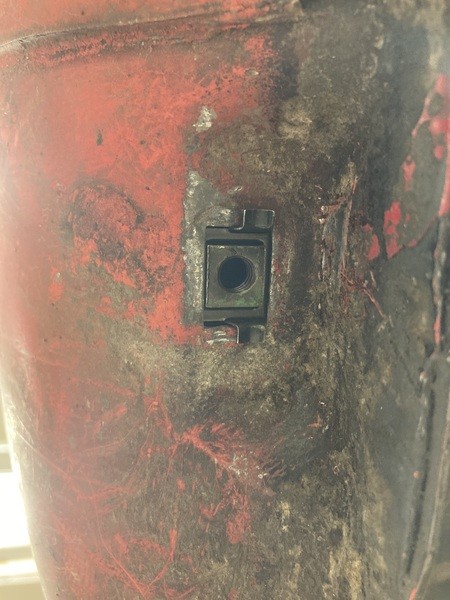
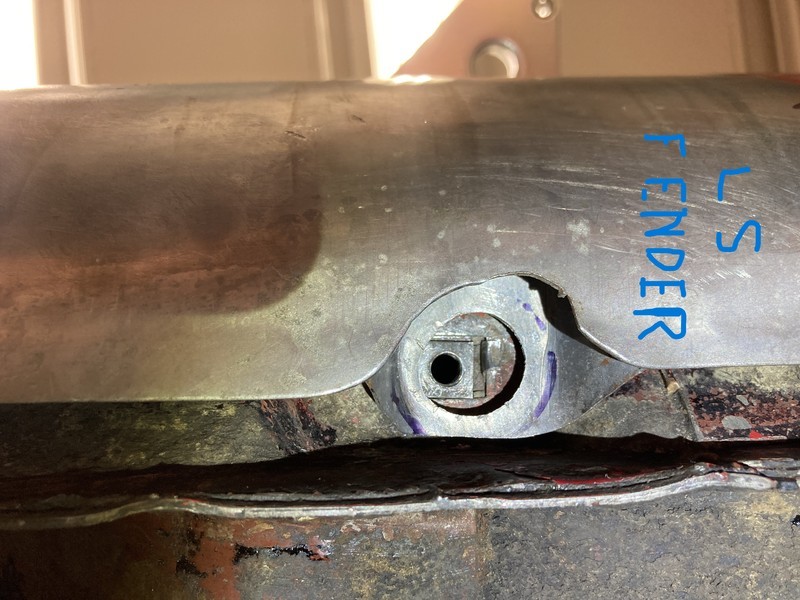
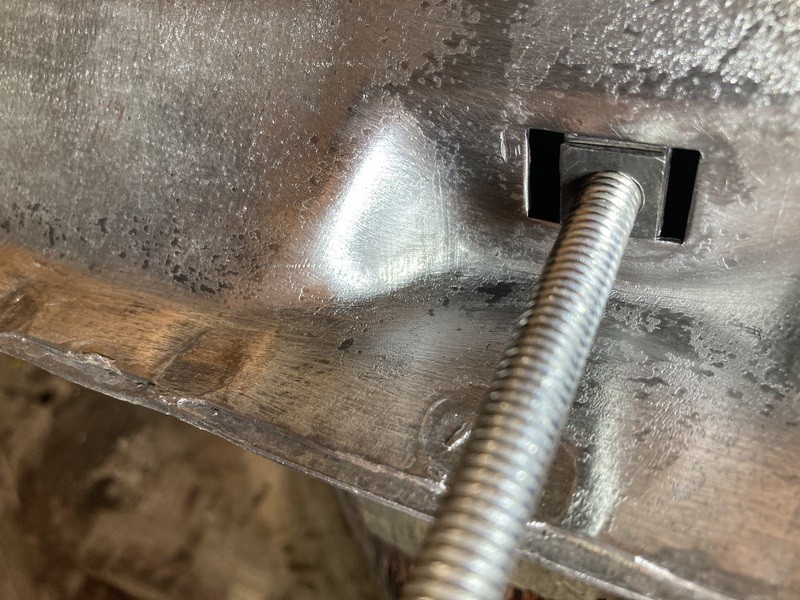
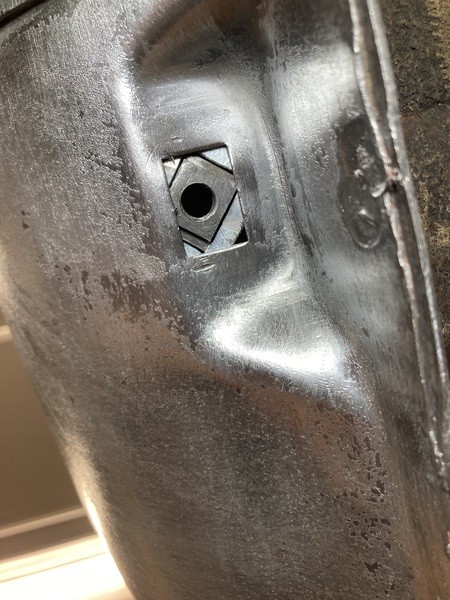
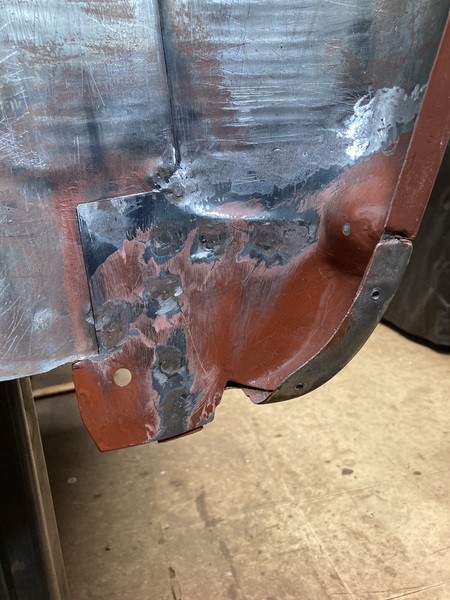
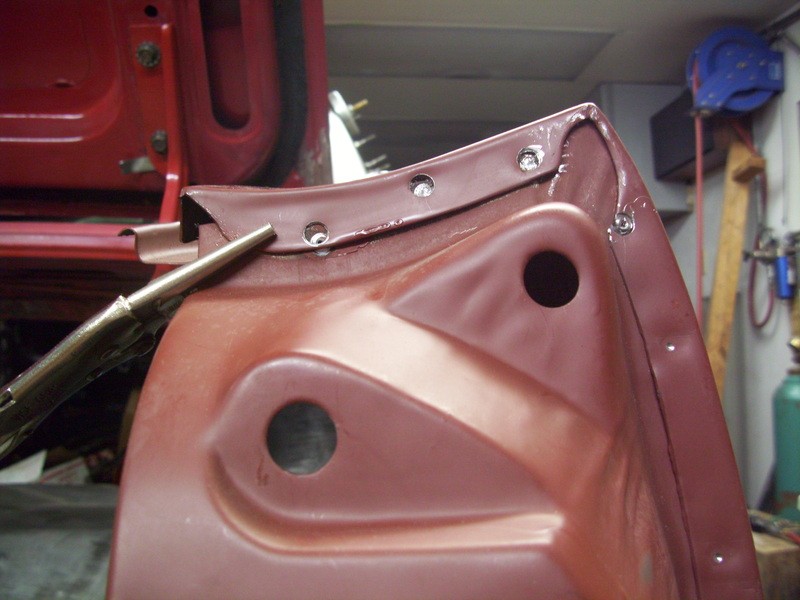
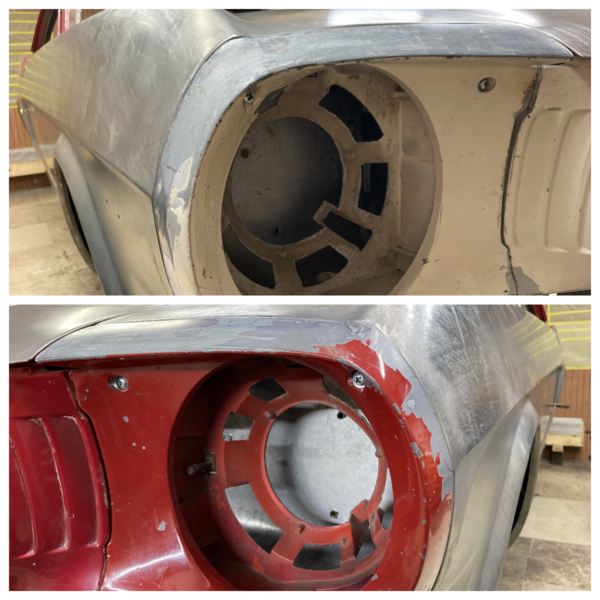
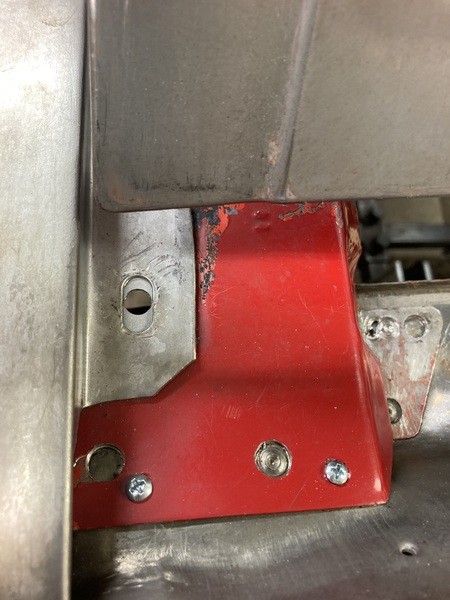
This is the rear bolt position with the u-nut removed. The red part is the inner fender/cowl connector.

mail


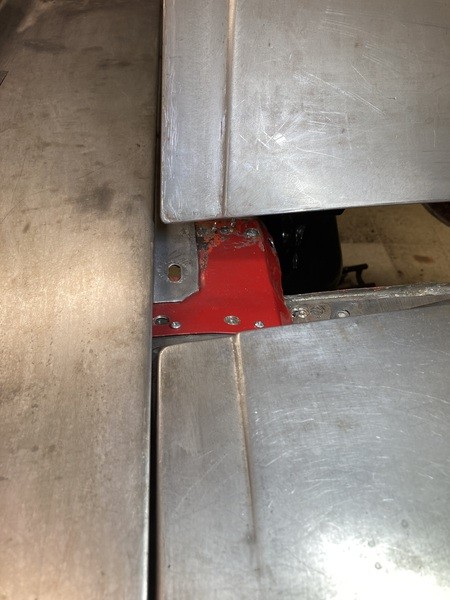
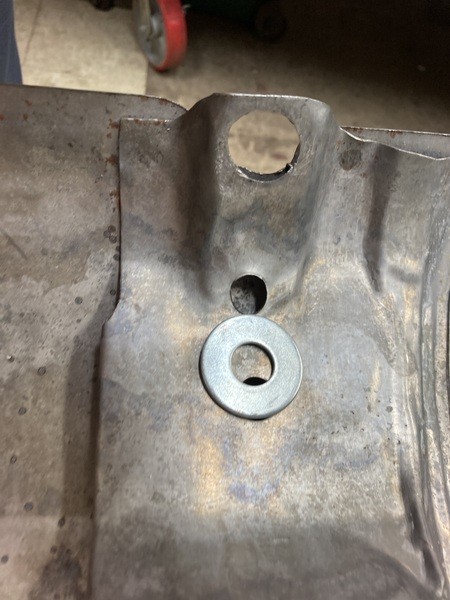
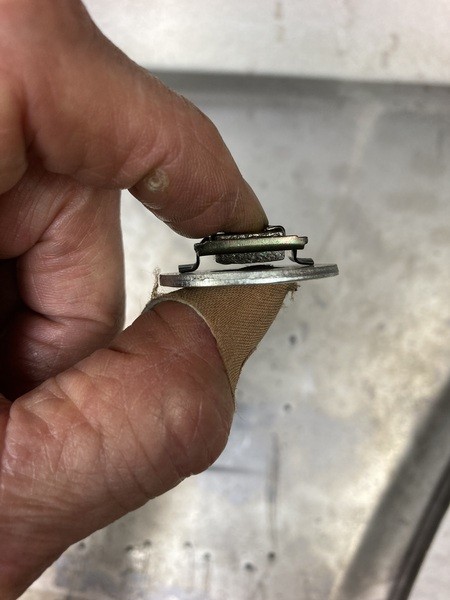
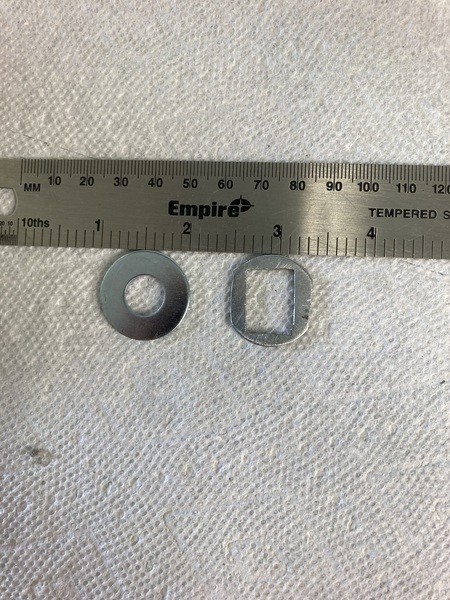
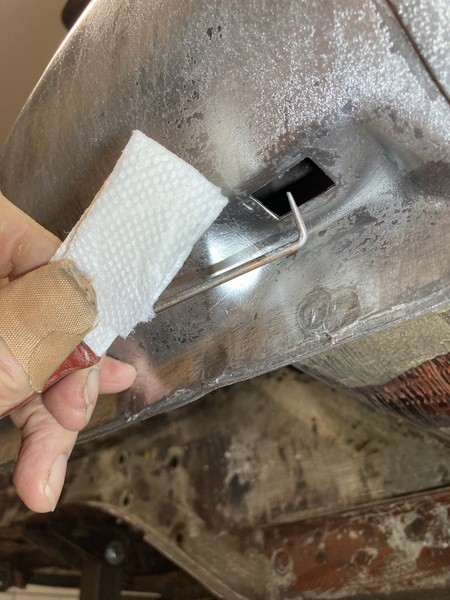
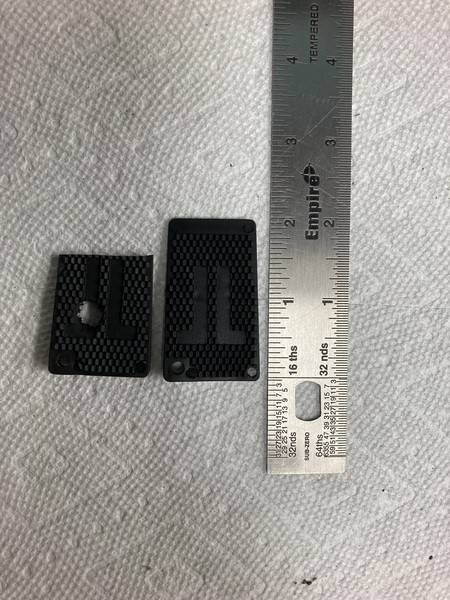
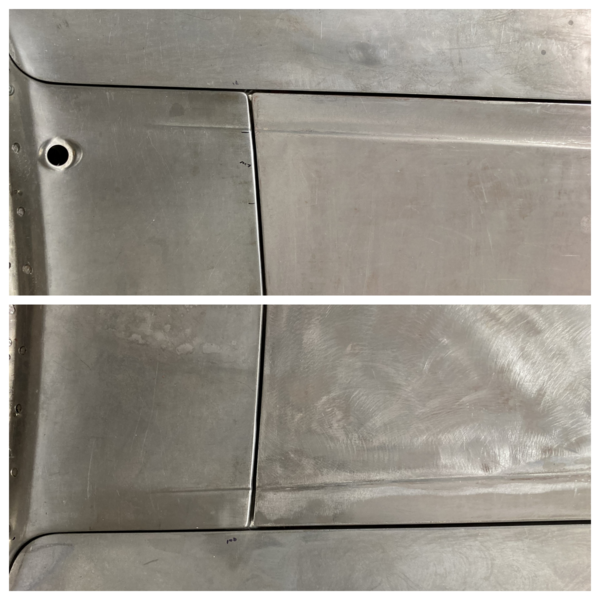
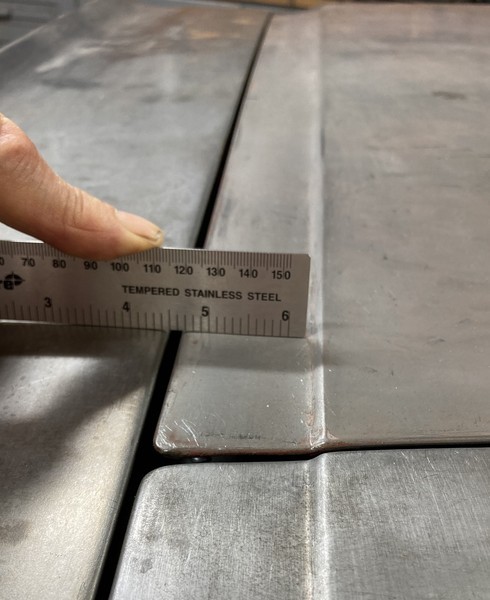
My thought was to make the bolt hole in the fender just big enough for the bolt to pass through, but not allow any movement, which is 5/16 for 5/16 bolt. An extra parts fender provided the metal needed. Panel bond adhesive will be used to glue it to the bottom of the fender, and it will also take up the space left after removing the u-nut.

mail


mail


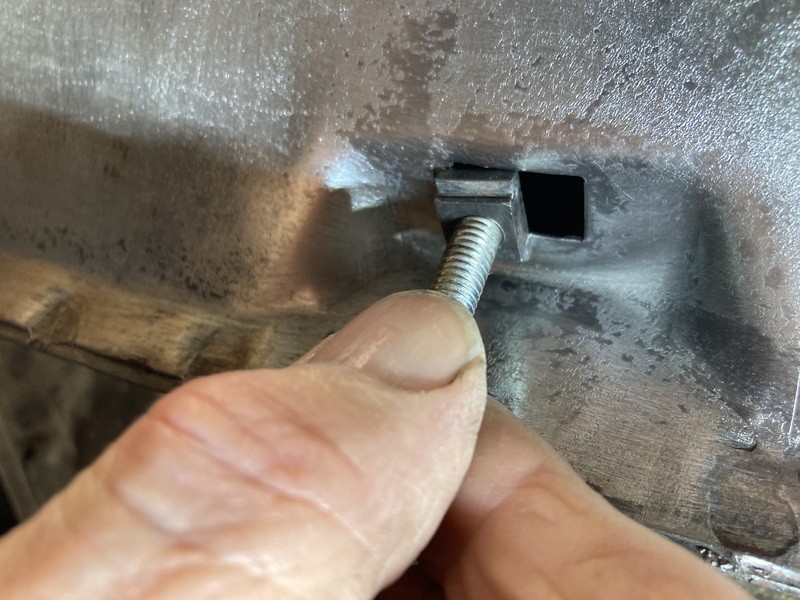
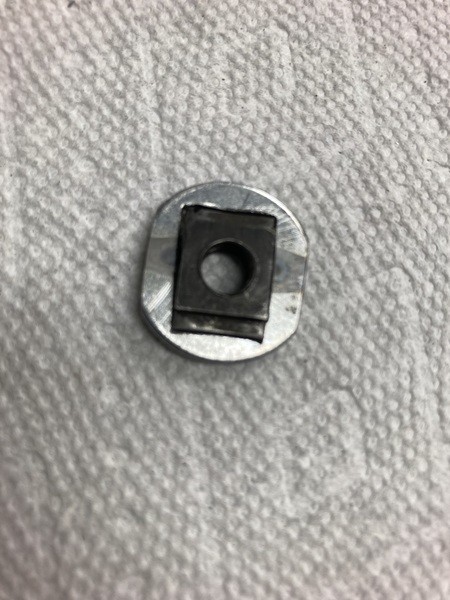
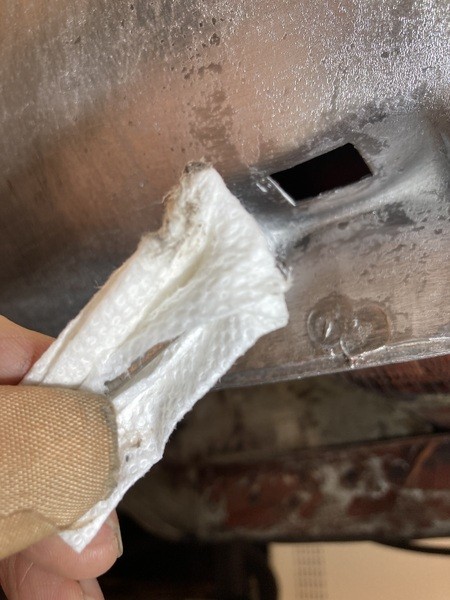
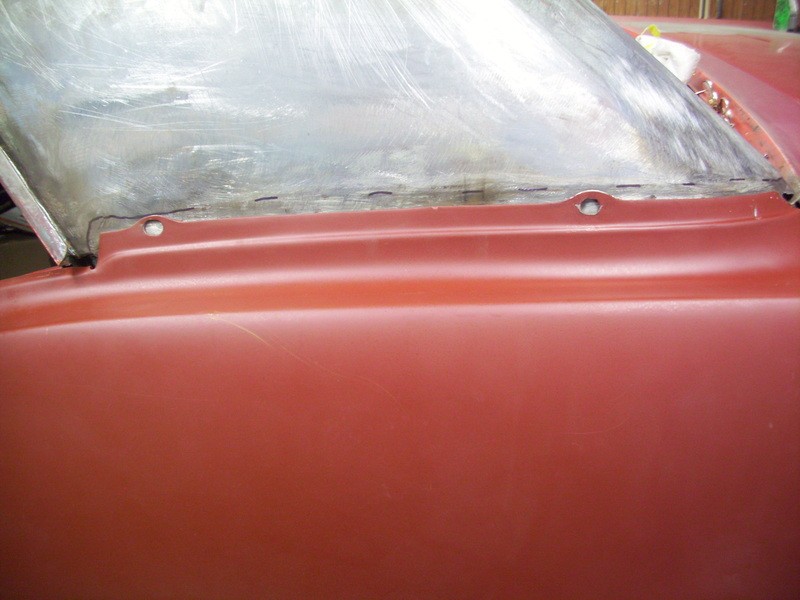
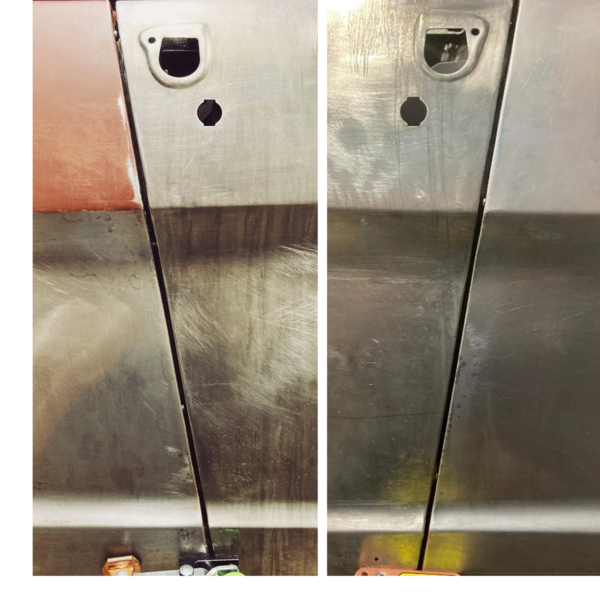
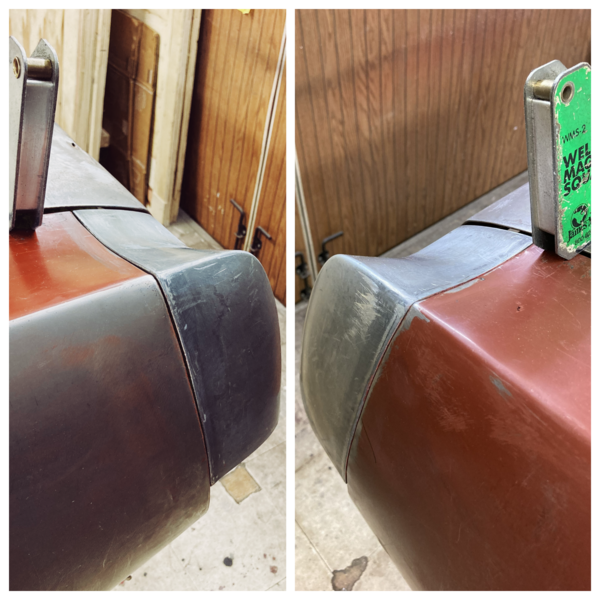
All thats needed now is a nut that won't move.

mail


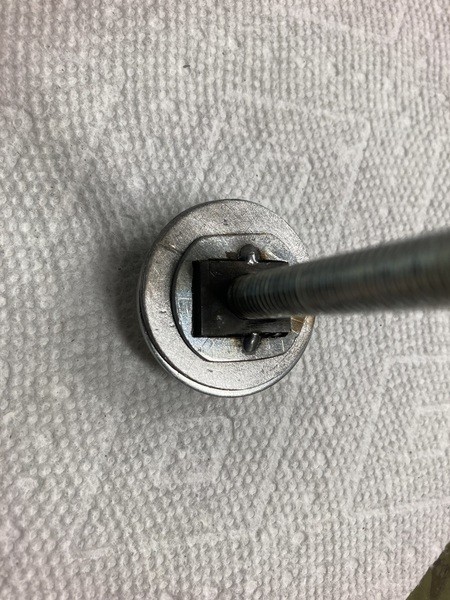
Welding a nut on the bottom side could be done, but I think adhesive will be easier and can be removed easily if needed by heating, so a piece of flat metal thick enough to be threaded was used.

mail


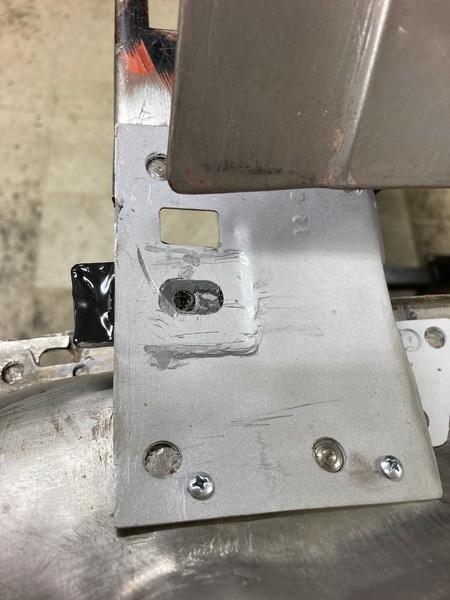
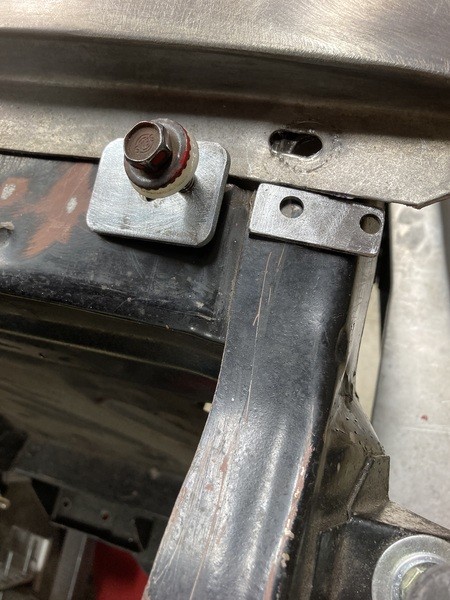
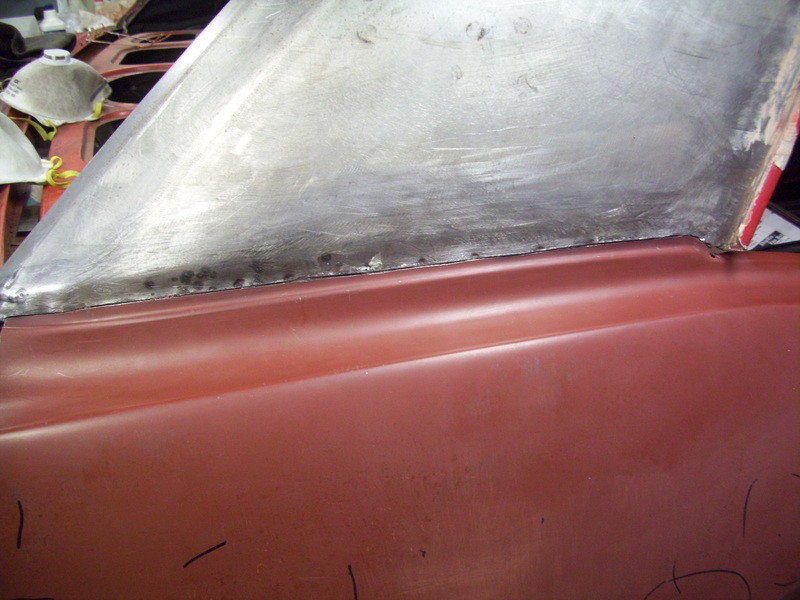
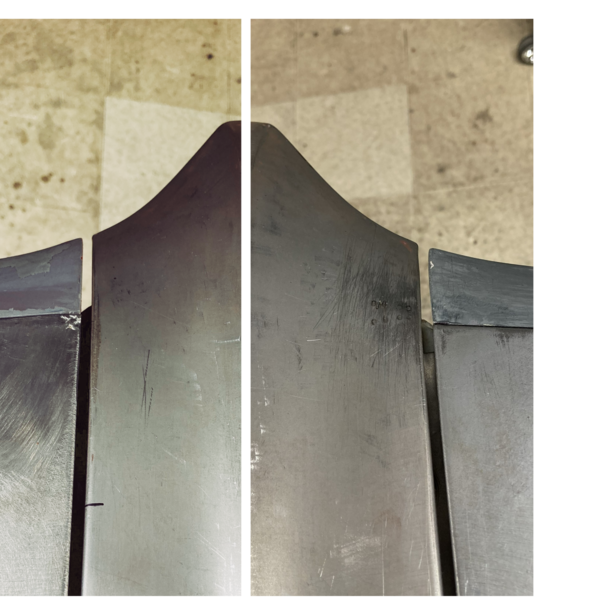
The spacer and nut plate were both glued on while the fender was aligned where I wanted it.

mail


I bought hood hinges for another 66 mustang 20 years ago, and the fit was even less than usuable, so I threw them away.:mad:
But the new ones they have available now fit and work excellent. Thank you Kentucky Mustang, they work like custom hinges.

mail


mail
 
This is the fender bottom mounting hole.

UiwnW0.jpg


It bolts up to this point on the car.

mOPGUk.jpg


It's definitely not the flat surface thats needed for proper adjustment.

mvx5ES.jpg


The design of the nut cage doesn't allow the adjustment shims to lay flat, leading to inconsistant adjustments, even though a large magnet holds the panels level with each other, and the stick holds the angle of the fender correct as shown by the straight edge, but when the bolt is tightened it gets pulled out of line. The washers/shims have to balance on those two tangs, so no two adjustments are the same.

sti26f.jpg


So I need to get rid of the nut cage and have another way of holding the nut.

obi9cQ.jpg


After removing the nut cage, you see that the nut has a shoulder that sets down in the hole. This keeps the nut from turning, and the cage just holds the nut in place.

34lCEJ.jpg


oR42pI.jpg


eWuzZ3.jpg


I decided to file a rectangular hole in a washer and bond it up in the hole to keep the nut in place.

E6VDQ8.jpg


29WcKn.jpg
 
Clamped it down so it will lay flat against the top of the hole, and spot welded it on the top side.

p3pzXY.jpg


The washer needed to be that big but it wouldn't fit through the hole, so the sides of the washer were filed so it will slide through there, on edge cross wise.

MKecip.jpg


The nut can slide back or forth and be locked/glued down where ever good alignment requires.

Ro5eBU.jpg


Some of the shoulder will still hang below, so the first shim was filed to fit over it. A little bit off set for clearance.

tspdy6.jpg


The plan is to use panel bond adhesive again to hold it all together. The area inside the hole was surprisingly clean. I can't rough it up, but there won't be any pressure against.

xYqRom.jpg


First pass with 700

TCWxSI.jpg


Without the nut cage, I was able to slide the nut within the slot--so it is closer to the middle of the hole in the fender.

vhPxKC.jpg


The gap left to fill after the first shim--was tapered from near zero to 3/16", and was distorting the fender when tightening the bolt. While searching for a tapered shim I ran across some rubber tapered shims with the right height and size that I wanted, but none made of steel. I ordered the rubber shims thinking that it might be better than steel anyway because the rubber is not slippery and may help keep the lower fender from spinning around that nut area out of alignment over time and possibly even while sanding.

Svy4uy.jpg
 
I mentioned before about the Factory putting foam in the quarter panels to seal out water.

q6yR4j.jpg


BQNai3.jpg


I cleaned and derusted the whole area and removed a section of the wheel house.

K0ccDh.jpg


And welded a new piece in

NOYvm2.jpg


Both quarters had some more damage and didn't really fit that good, so after looking around I found a set of NOS quarters.

ZtkhbB.jpg


I think these were made in the early 1970s, the date is hard to read. They are both hanging on the car in these pictures.


Of course the factory didn't take great pains to make parts fit, so I had to drill the spot welds.
Actually drilled all the spot welds.

LgAJOi.jpg


Another problem is that the factory installed the quarters before the top skin, and I noticed some guys on utube were trying to tuck the quarter up under the top and it didn't work out so good. So after aligning everything I cut the quarter to butt weld onto the top.

nJrbIf.jpg


Its an original recessed leaded area.

tWHIsP.jpg
 
Excellent post Chevman, thanks for sharing.
Oh FYI most of the pic's in your first post don't show up for me, I'm not sure if it's on my end or not.
 
Excellent post Chevman, thanks for sharing.
Oh FYI most of the pic's in your first post don't show up for me, I'm not sure if it's on my end or not.
It looks like the first picture isn't there, but I see the others, and its too late to edit now. Thanks for letting me know.
 
I guess it was on my end, cause they all show now. I'll check them out when I have a little more time, Again thanks for sharing.
 
Excellent post Chevman, thanks for sharing.
Oh FYI most of the pic's in your first post don't show up for me, I'm not sure if it's on my end or not.
X2 on great post.

Not x2 on pics.............fine for me.
Thanks guys

They say that both sides of the car should be the same, so I tried to do that starting with hood gaps.

dA2690.png


NuJinD.png


Hood and fender extension alignment

0IAYFM.png


nLv21i.png


s7o6fV.png


WQYSl8.jpg


Body lines


xA0uGp.jpg


fbcc1aeb-37c4-49e9-871e-0ce00231d1f4.jpg


XkeviL.jpg


rAVh2b.jpg
 
With the new quarter panels just hanging on the car, I was able to manipulate the flanges on the front and back to get a good fit, and that was true of the door and fender edges also, being moved in or out, but the panel gaps are otherwise natural. On this car it was imperative to have the front valance installed while doing the fender/door gap. Any movement at the front of the fender will affect the gap. As mentioned already, an uneven bolt mounting surface at the bottom of the fender can have an affect on the gap and angle on the bottom side of the fender.

jA8Ns5.png

J6IZha.png

l4qjsG.jpg


Quarter panel extensions alignment. The left side of the trunk lid has previous damage that I haven't repaired yet.

MTdDI6.png

bbwBTM.png

wOnFj2.jpg


oPrLt3.jpg


Wow, looks tremendous! Coming here is a double edge sword, lol. All the advise has made my car WAY better than it would have otherwise been, but I realize everything I've already done could be a lot better.

I have the same issue with my front fenders, No matter how tight I make that bottom bolt, the fender still twists around it, usually until the back edge closes the gap that supposed to be there in front of the rocker. I wish I had seen your solution before I did mine.

I added a tab on the rocker and a tab on the back side of the fender that overlap when the fender is on and I can put a bolt through.Bolt needs to be installed with the splash guard out, but provided I can get the splash guard back in with the fender on, the extra bracket will be pretty much impossible to see. Maybe if you shine a light in the little fender to inner structure gap below the A pillar with the front door open it will be visible.
 
Thanks for the compliment, but don't let anyone discourage you. If the guys here have helped you then you have made our day.:cool:

It sounds like you have come with a good idea on that lower fender bolt, I'll have to check that out.
 
Back
Top