Auto Rod Tech's Project Thread

All I can say is holy SHIT!!!! that is unbelievable you must have arms like HULK!. I got to do about 2 weeks of metal forming back in body shop school and I though my arms were gonna fall off. Kudos man your work is unbelievable!!!
 
X2^ looks great. Next time put up a go pro up in the corner. I would love to see it time lapsed.
 
Chad, wow! I see this is a fiberglass body you're using as a buck? are you building a complete car?
 
fantastic work, Im amazed at the metal work, I bet that was quite time consuming.
 
underdog;41344 said:
X2^ looks great. Next time put up a go pro up in the corner. I would love to see it time lapsed.

That is a really good idea... I really need to get a go pro.. I could use it for a lot of things.


Bob Hollinshead;41348 said:
Chad, wow! I see this is a fiberglass body you're using as a buck? are you building a complete car?

It's going to be used by Wray for his classes that he will be teaching next year.. We used the fiberglass body to make templates from, it is going to be used for a guideline but it's not really the best to use as a buck.. One side is a little different than the other so a template made from one side that body work was done on to correct the issues and then the pattern is just reversed to create the other side, which is the fender I made. He has a guy coming to help to make the other pieces which will connect the two fenders.


Tinz;41364 said:
Nice work Chad..eh! :)
old soul;41367 said:
That looks better than factory stamped! Very nice work, Chad.
Thank you guys.

MORE IMPATIENT;41396 said:
fantastic work, Im amazed at the metal work, I bet that was quite time consuming.
The fender took 6 days. I started on monday working 9AM-Midnight, with a 2 hour nap break, we did that until I think it was Thursday then we started coming in later and later.. I think I went in at 11 on Saturday but then I took off early on Saturday as well to head home. There is nothing quick about doing this stuff.
 
what I find amazing is the tucked areas like around the headlamp opening and how well they blend into the other areas that are stretched, these are actually folds that are compressed and e-wheeled smooth right?
 
mitch_04;41427 said:
Flat out amazing. At $75 an hour (shop rate guess) that's roughly $5000 fender...

Probably not to far off!! No quick way to go about it..
Unless you have a huge press and a die.. lol..
 
Bob Hollinshead;41446 said:
what I find amazing is the tucked areas like around the headlamp opening and how well they blend into the other areas that are stretched, these are actually folds that are compressed and e-wheeled smooth right?

The whole process is very interesting.. If you can see the V Marker lines in the first pictures, those were areas that were folded up into a big V and compressed on a stump type fixture, which created the shape.. then I raised the panel with a hammer and then wheeled it to flatten it all out. the edges were formed with a tipping wheel, which you can have a dedicated tipping wheel or you can use one like I have that is on a bead roller..

A big key to this is the flexible shape pattern. Which is used as a map to tell you what to do with the metal.. That is for creating exact copies of panels, you can also use a buck but it's not as descriptive or accurate.. There is a lot more to it but some of it is hard to explain but that's the start of each stage..

You can also see where the panel is in a loop. That's because it doesn't matter how the panel is sitting or looks.. you just keep shaping until it fits the flexible shape pattern.. When it fits that the metal is all arranged into its proper area, then you just bend and fold it to get it into it's final shape.. Which is much harder than it sounds as well.. lol.
 
Bob Hollinshead;41447 said:
Chad, is that Clausen poly on there? rust defender?

orangejuiced86;41499 said:
I really want to try to Clausen stuff on a project. Maybe on the next one.

Yes this is the Clausen. It's by far my favorite poly primer that I have ever used.. It is getting expensive though.

I also find that when i use this primer that I really don't need to give it full coverage.. I put three coats on now and you can just barely see through it.. I find that if you sand it down like I do that the three coats is enough.. If you put 4 coats on a big project, by the time you are done you're arms fall off!! With three coats they just go numb.. lol.
 
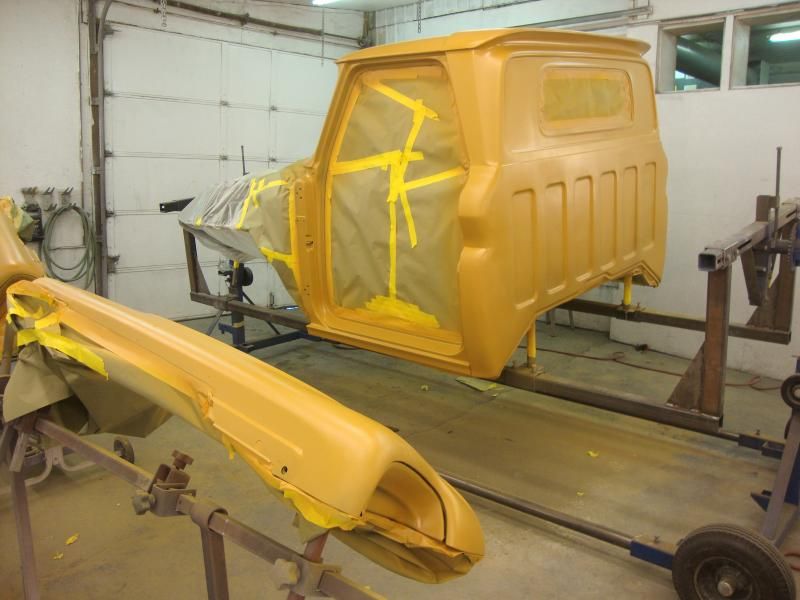
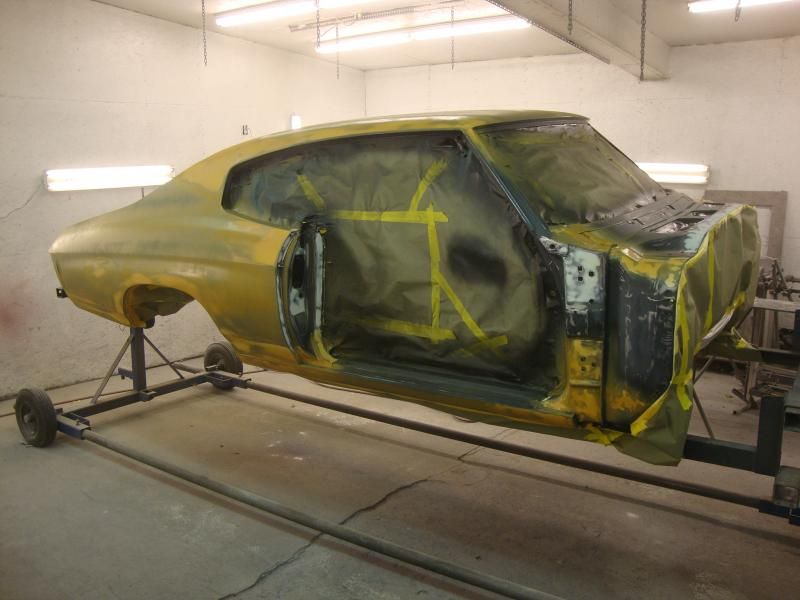
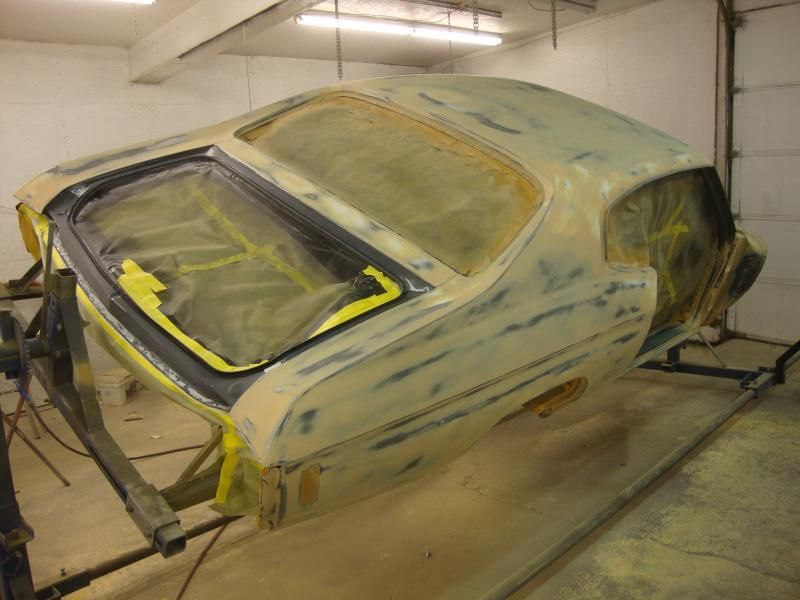
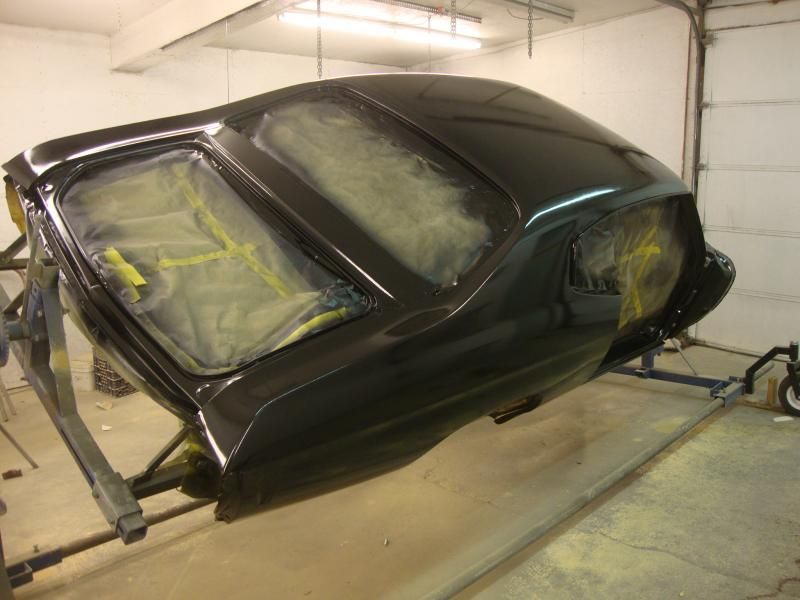
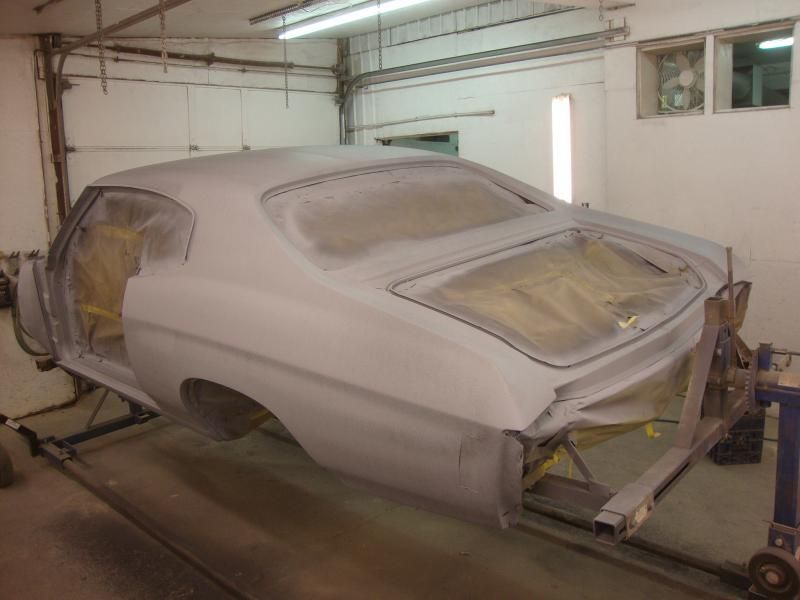
Here's a bit of a update for the Chevelle..
I had a full thread on this car in here but I think one thread for all of these makes it much easier to keep up on, plus I do this three stage primer session now on most of my projects, it seems to really hold up well and it really gets things straight.. I find that the key is to block each step as far as possible to keep the millage down as much as possible while still getting the benefits of the primer.. The downside is the amount of time and effort it takes to block everything down. I know some people in here are against the poly primer stage which is fine, I'm kinda in the middle on my opinion on this, which is why I sand it down so far.

I forgot to take a picture before Z-Chrome but you can pretty much see through the first picture and see that this car didn't really need a whole lot of body work.

In the third picture, you can see on the roof that if you look close enough you can still see through it.. This was my last coat.


If you guys haven't figured it out by now, my main interest is in creating things from scratch, whether it's panels, something fabricated or just creating another tool.

Well to build the cross member for the Chevelle I realized that I needed to have a better way to bend heavier gauge flat stock.. I could do as I normally do and go to the closest fab shop and have him try to interpret what I was visioning or just make my own tool to get the job done.

I also decided that if I was going to take the time to build another piece of equipment I should build it to be able to bend more than what I really should need for use on a car. My goal was to be able to bend 1/4" plate steel the full length of the die, I tested 3/16 full length and 1/4" about 2/3rd the length of the die but it did it with little effort so I think I should be able to bend it full length.. I didn't want to mess up a full sheet just to experiment so I will give it a try when i get some more metal.. I may even experiment with 5/16 but that's probably pointless as I really don't need to bend anything that thick.

So I created this thing.. We call it Sir Bendsalot
The first picture was of the first creation, which flexed a lot more than what I expected when bending full length so I needed to come up with a way to make it stronger. The second picture is what I came up with for a final product.. Which I think it also looks much nicer which is of course the other half of the battle.. lol.. Only thing left for me to do is make a cage to hold the jacks in place. Then a big stand and possibly powder coat.


That's a beast.
What did you use for the 90 on the bottom and top? Angle iron?
 
Back
Top