Fabricating a Stubby hammer

MP&C

Member
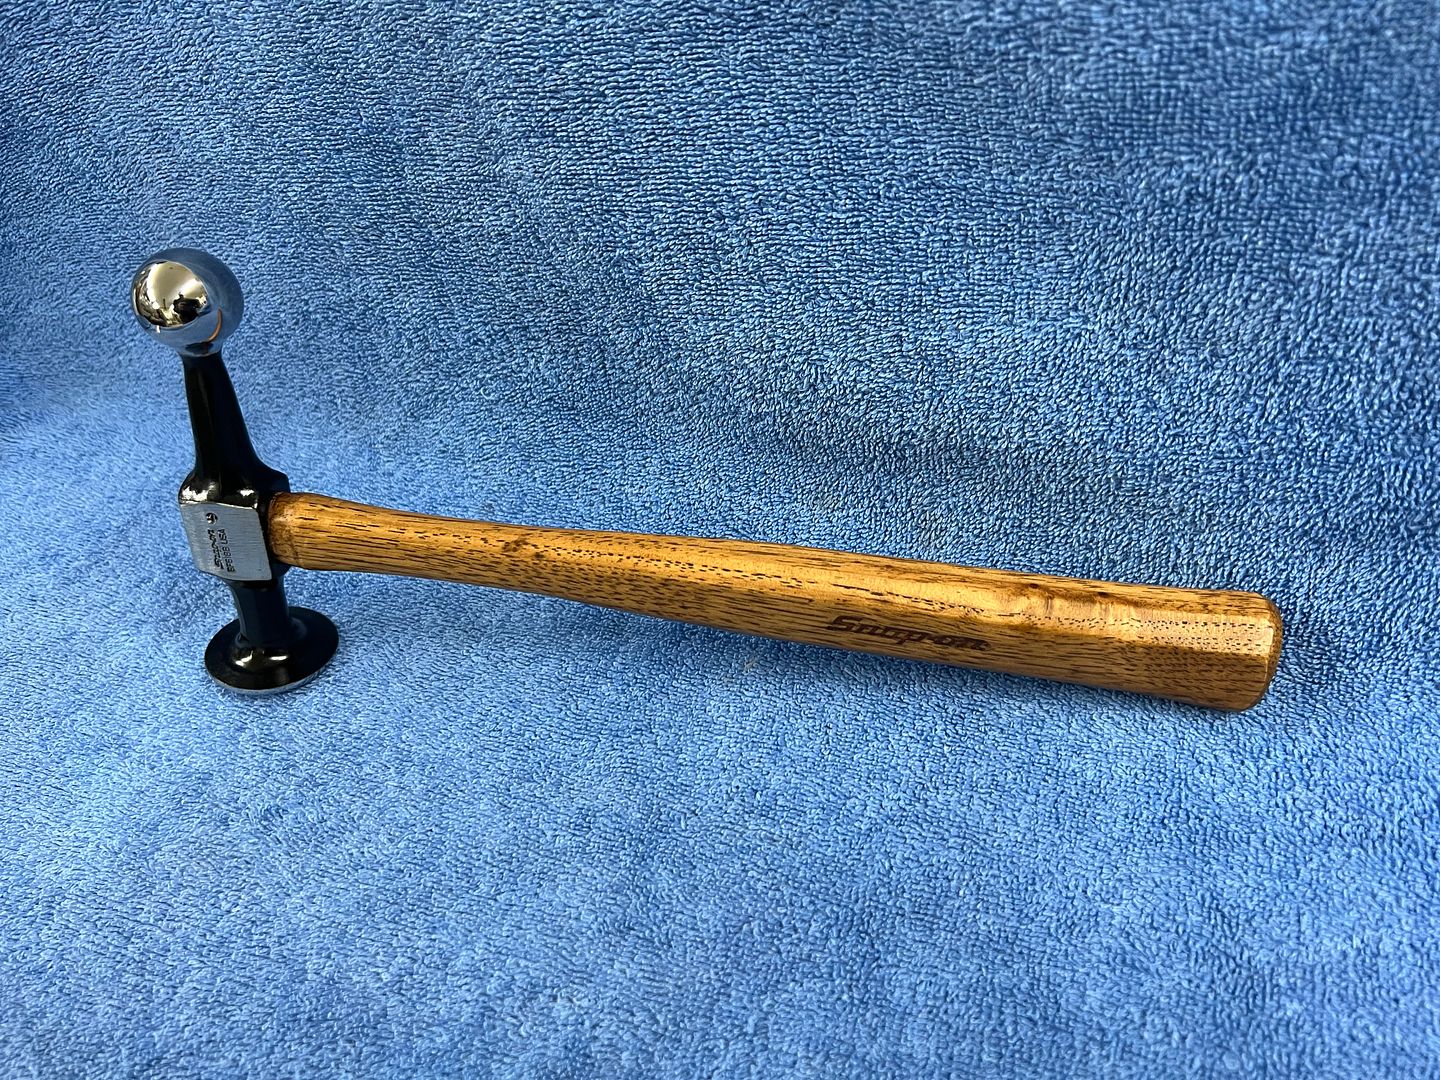
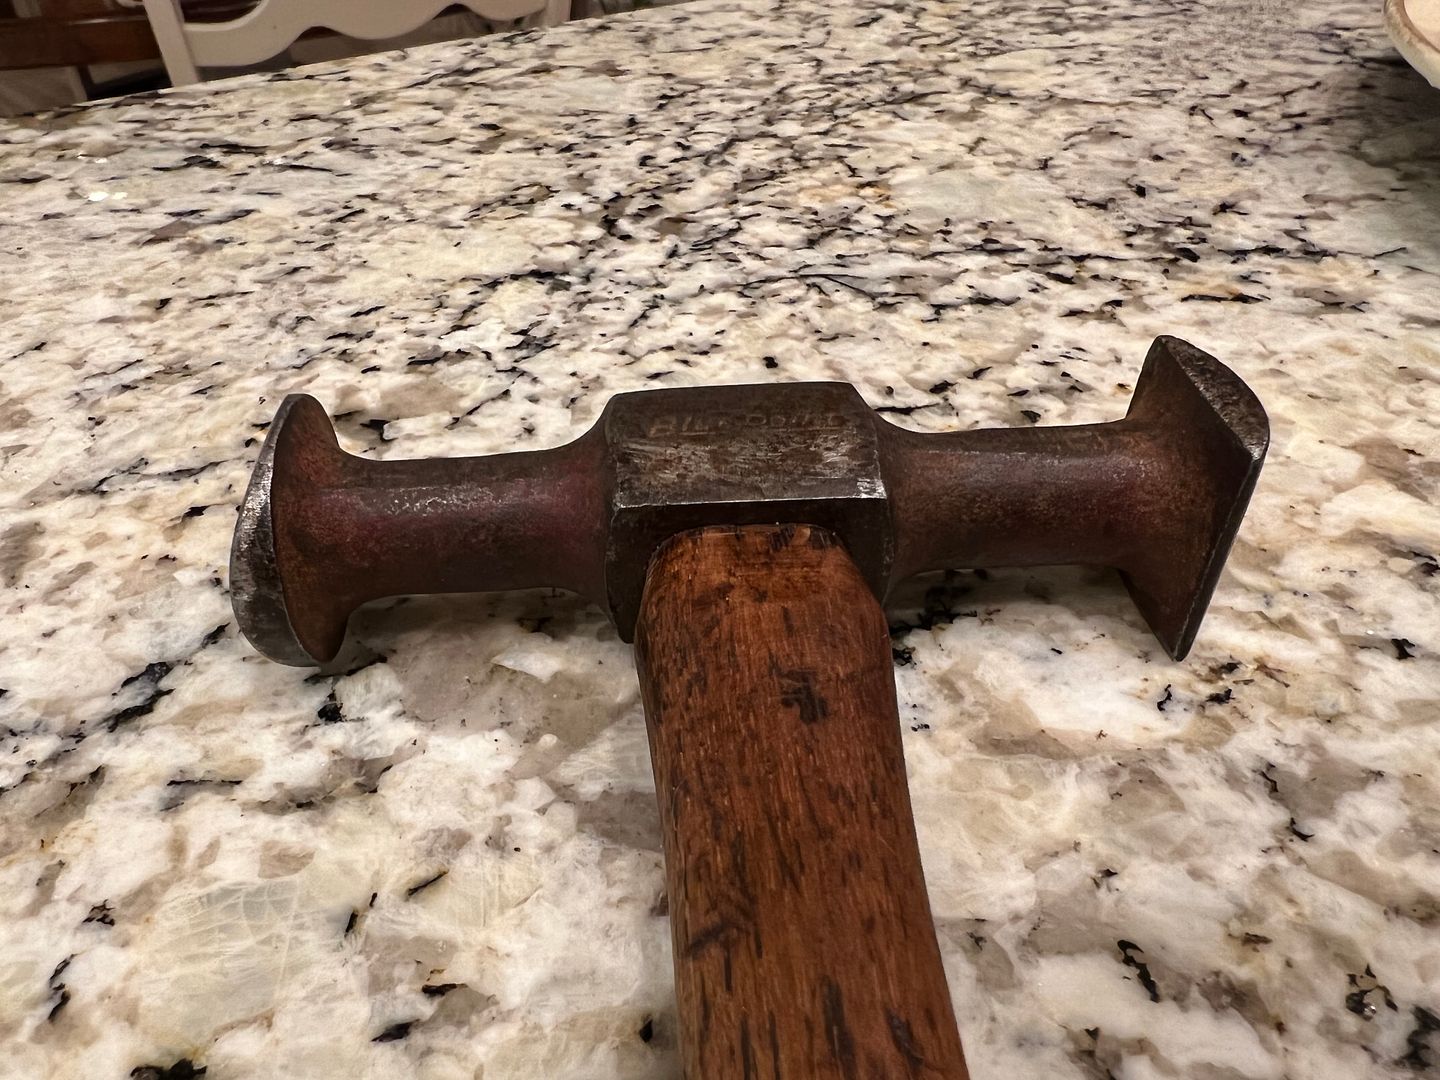
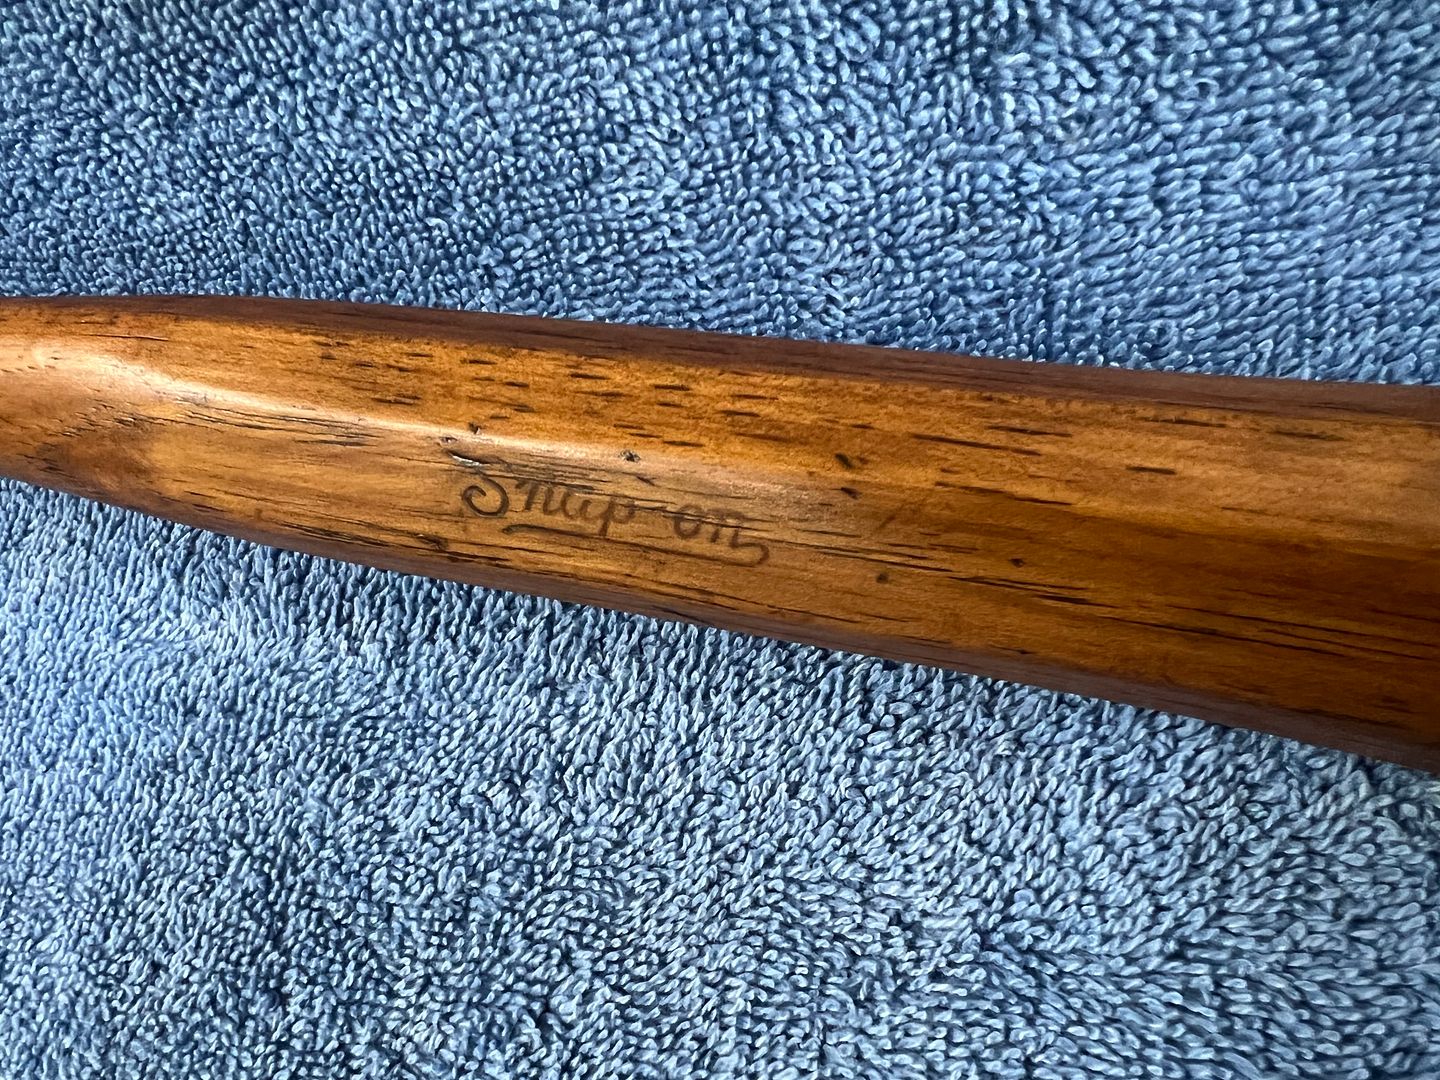
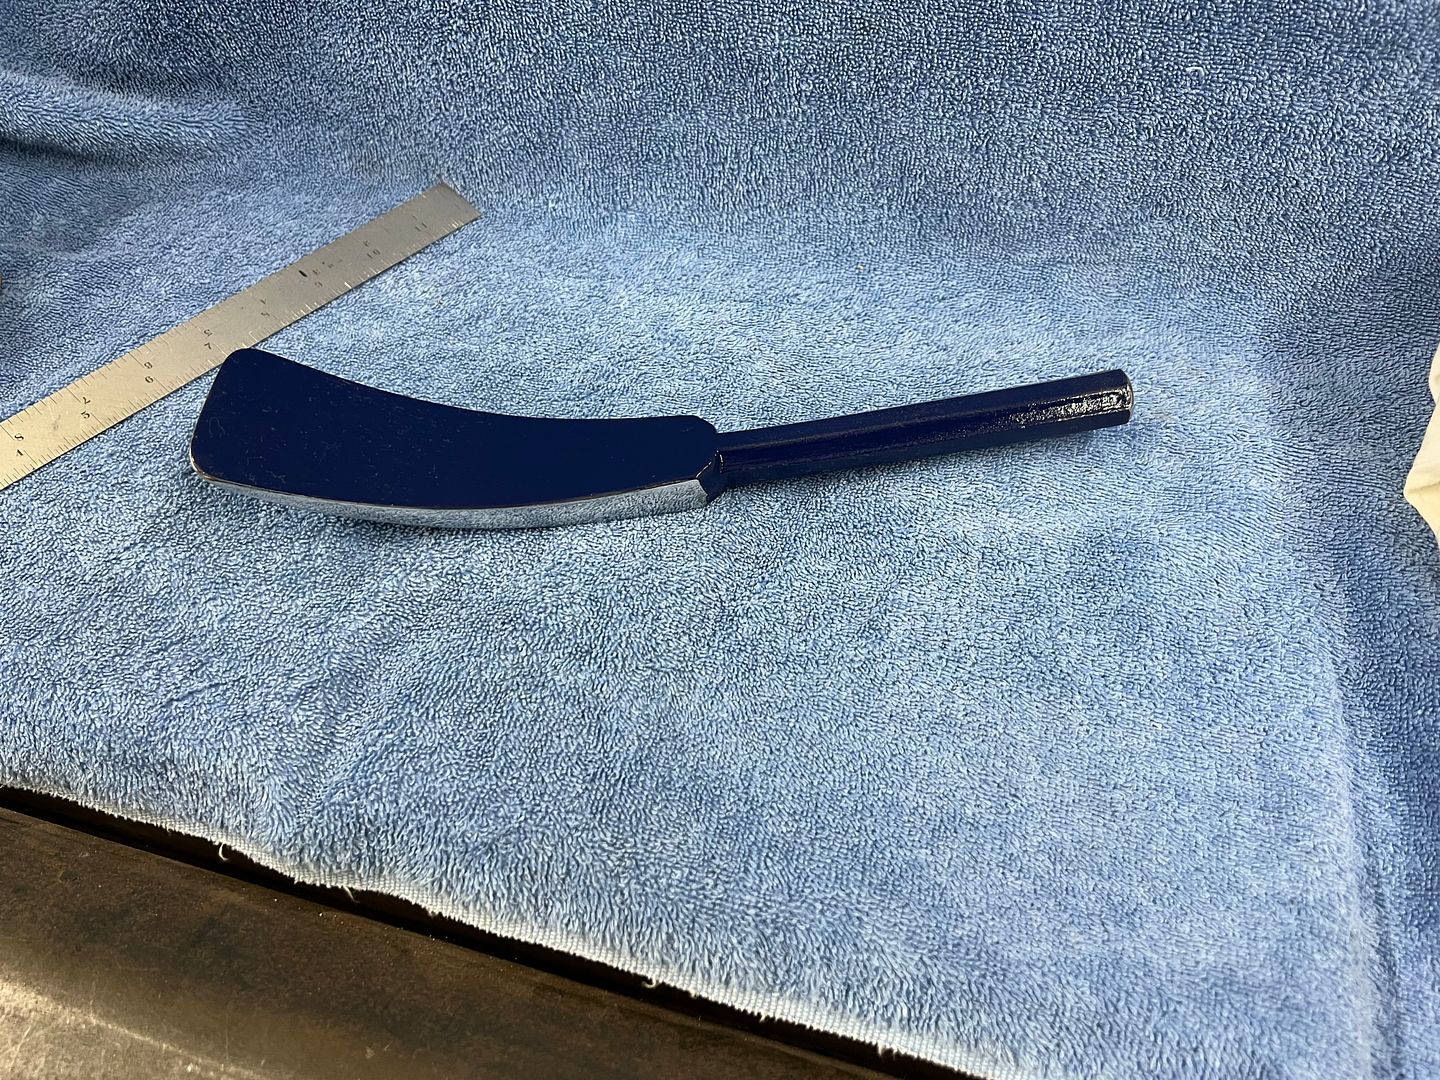
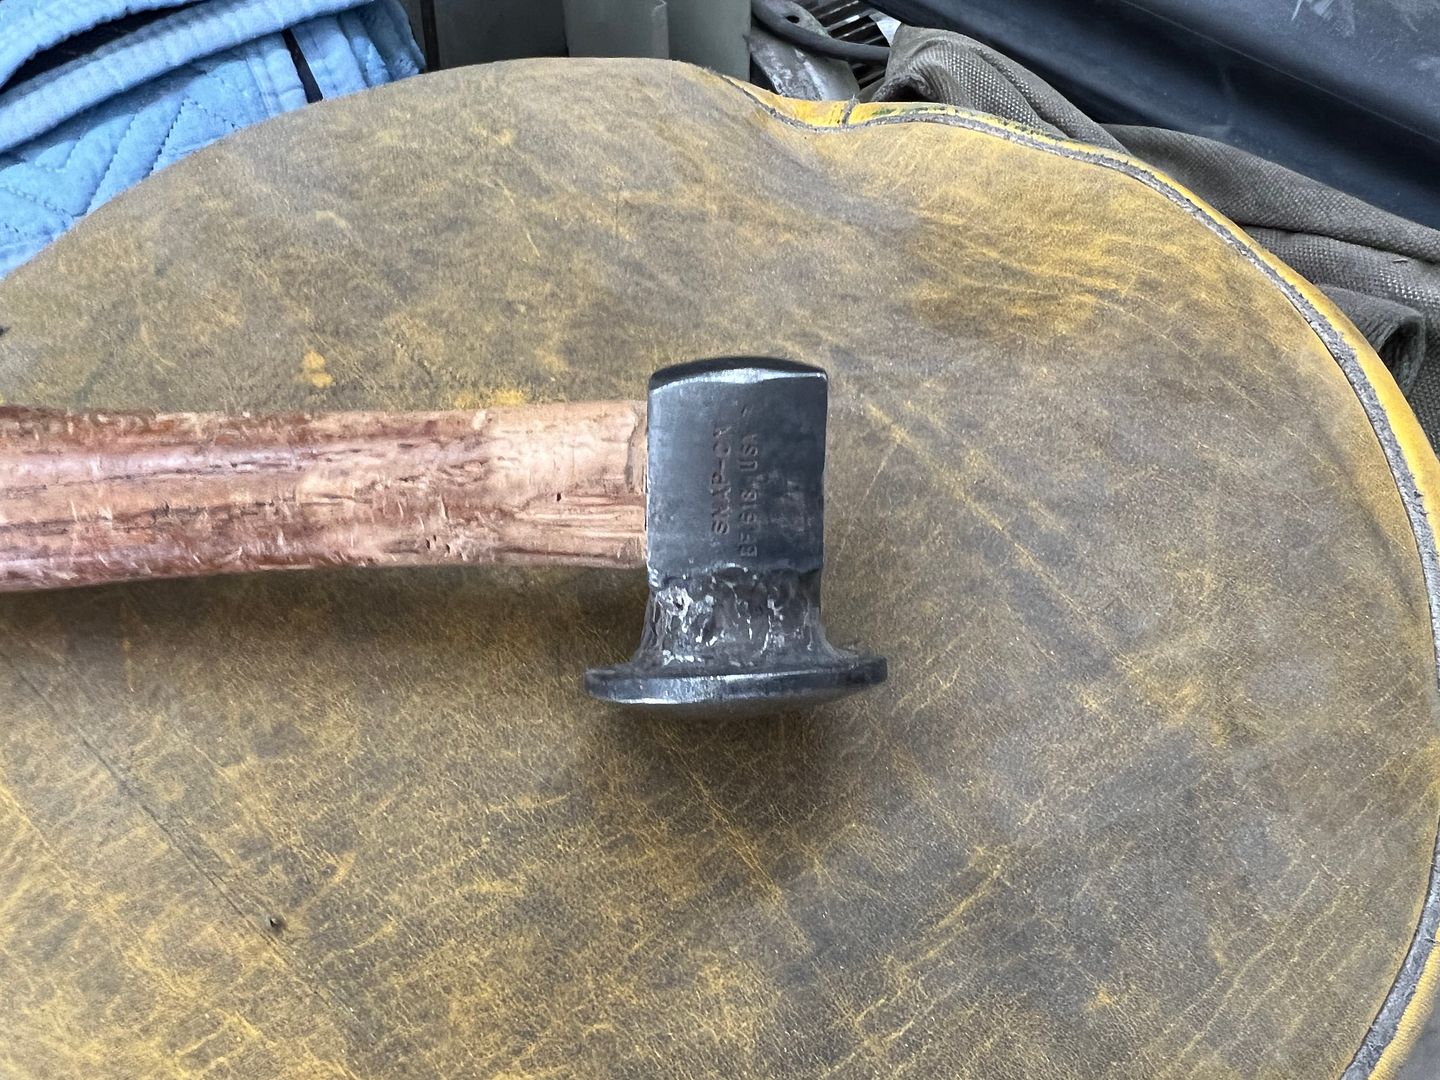
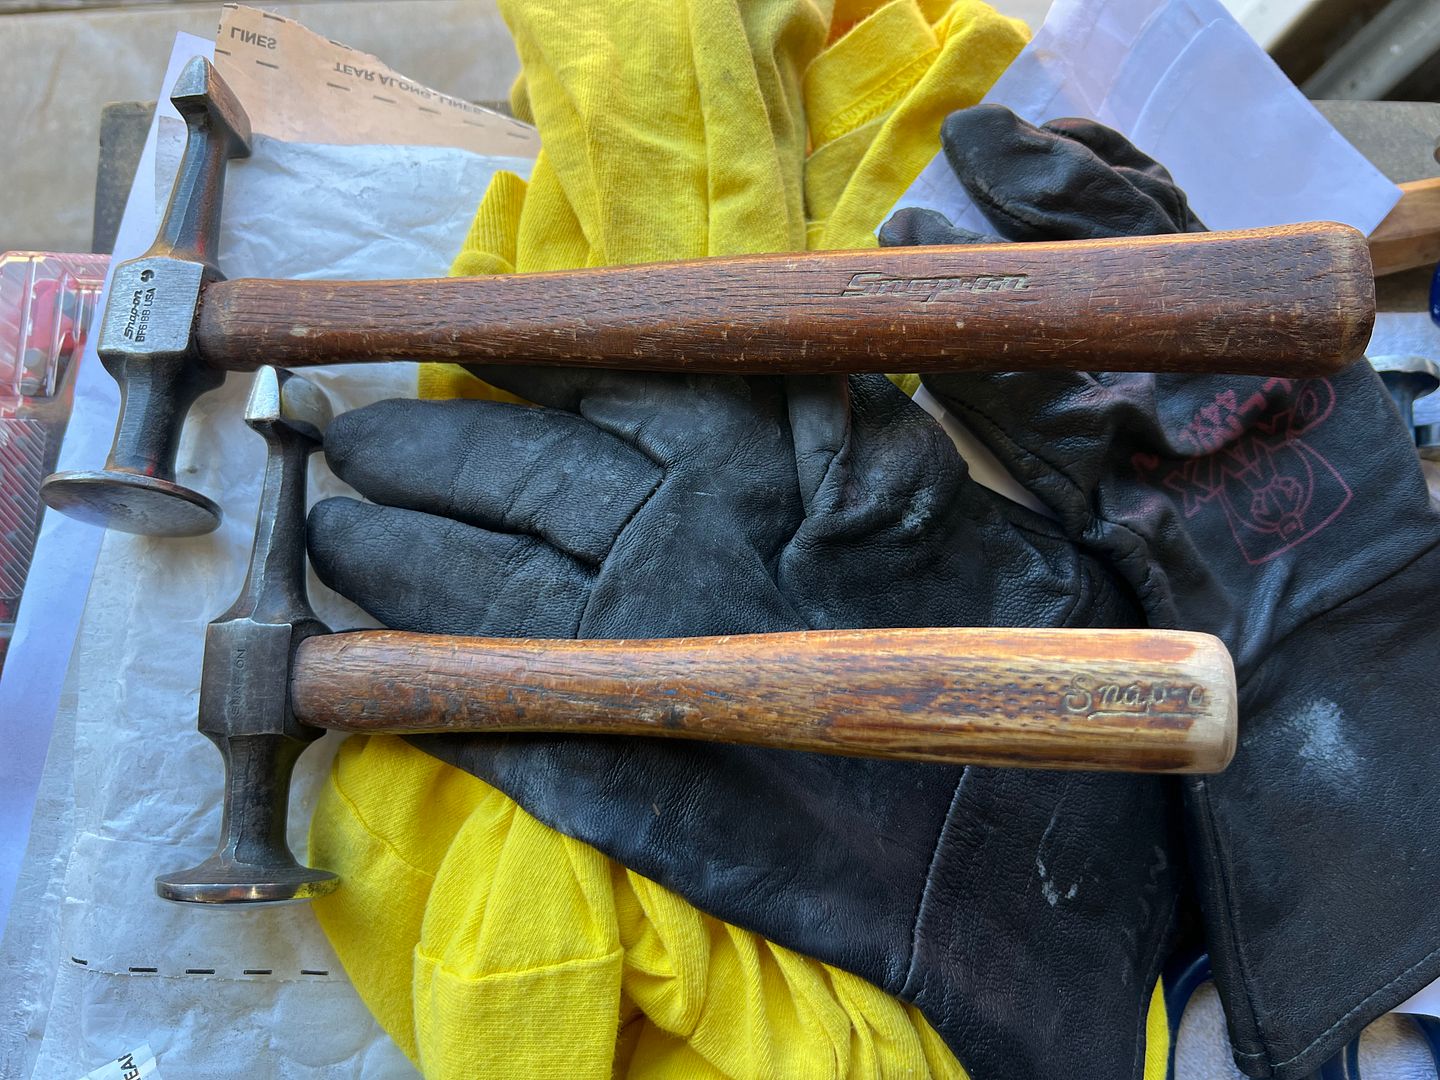
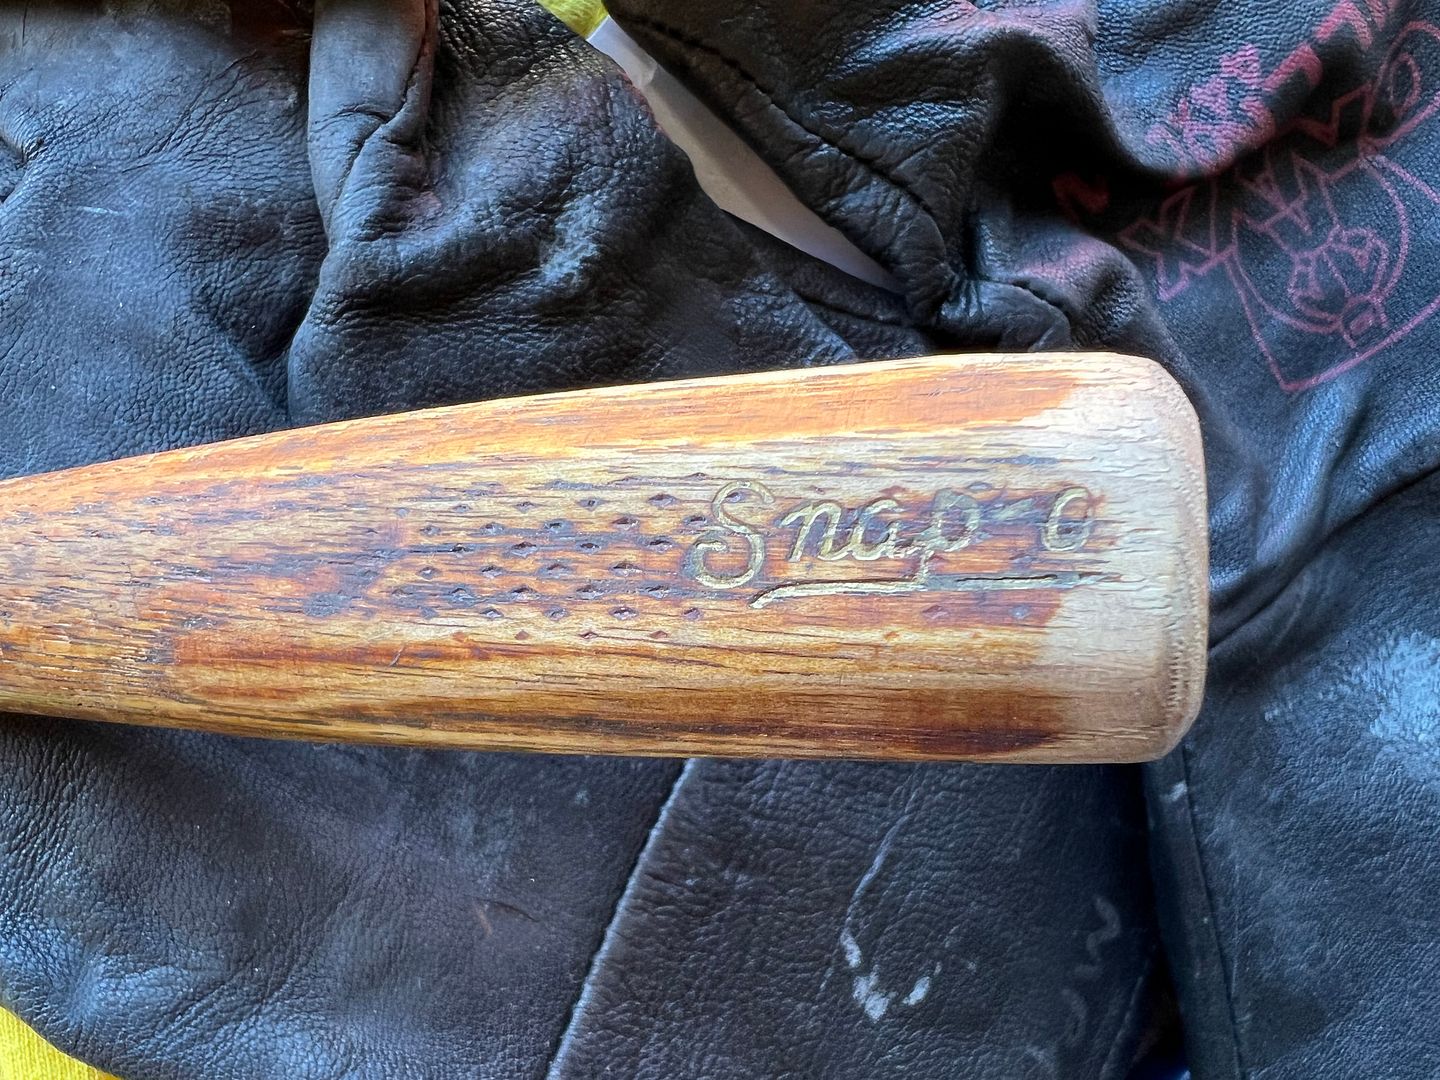
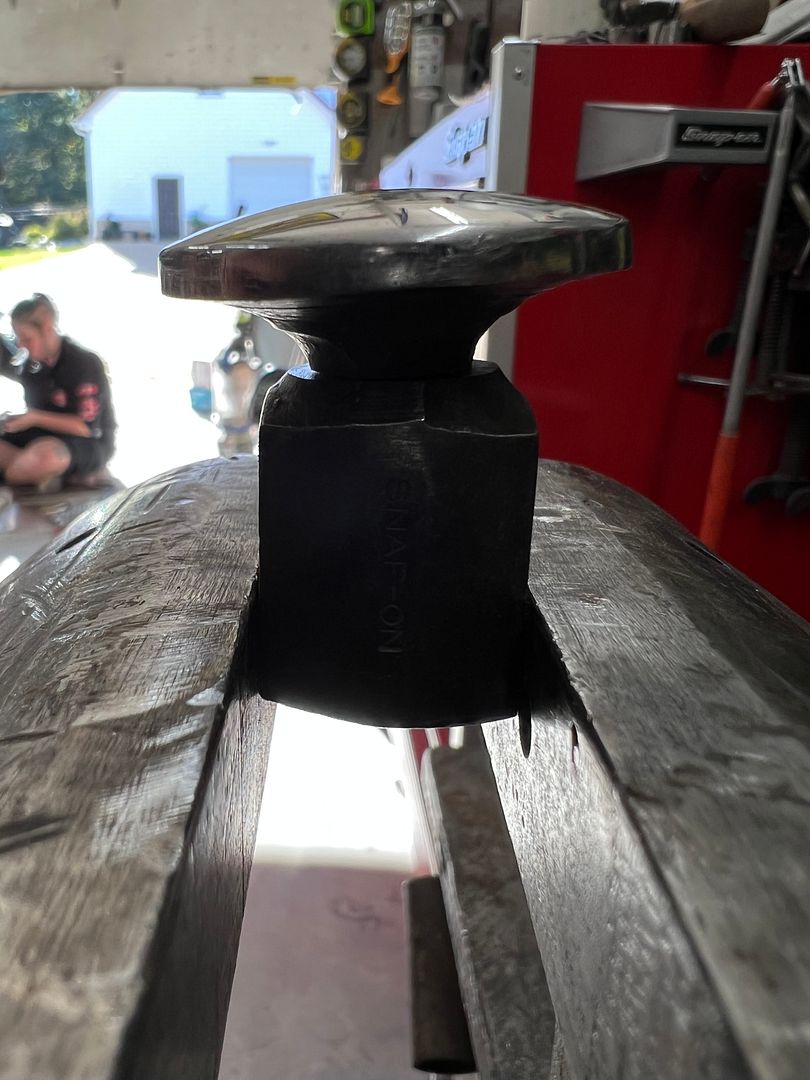
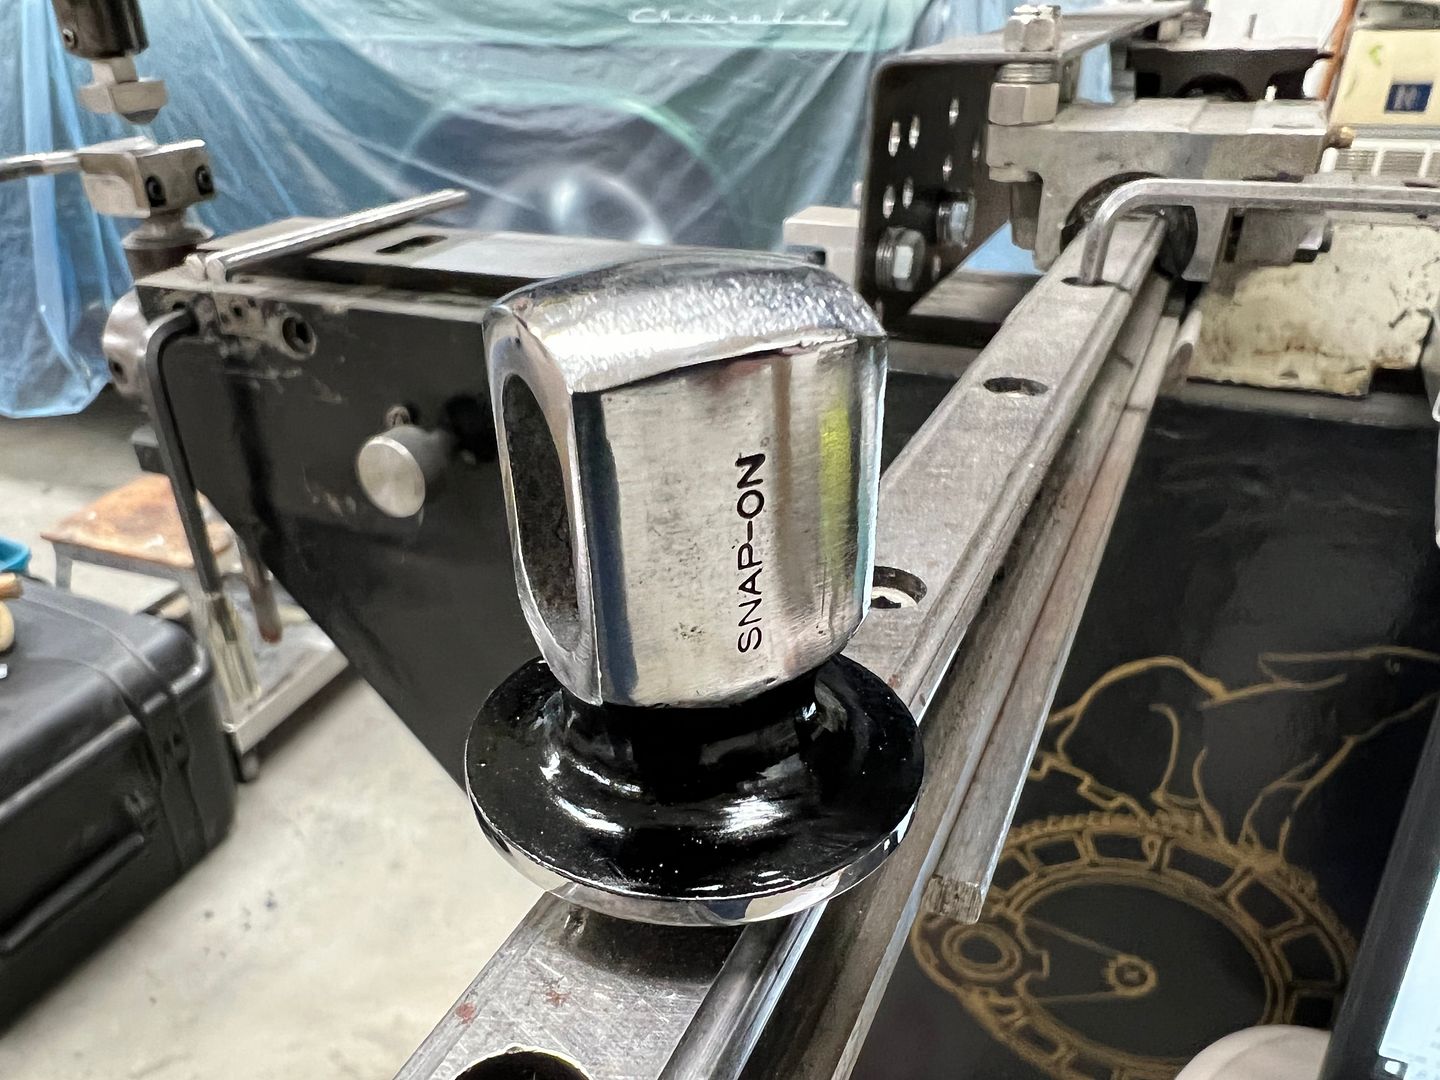
My body hammer rack has been running out of room, so I've been spending time lately cleaning up some of my extras and selling them through my IG account. One of the guys who just bought one of the hammers had seen my modified tight access hammer and asked if I could make one for him. Since I had a couple extra BF618's, I accepted the challenge. I had bought a hammer a few years ago from a retired body man, who must have needed a shorter handle at some point. Sad, because it was one of the older scripts. But we'll use this to make a new hammer that should last a lifetime.


IMG_7614.JPG


IMG_7602.JPG


IMG_7603.JPG


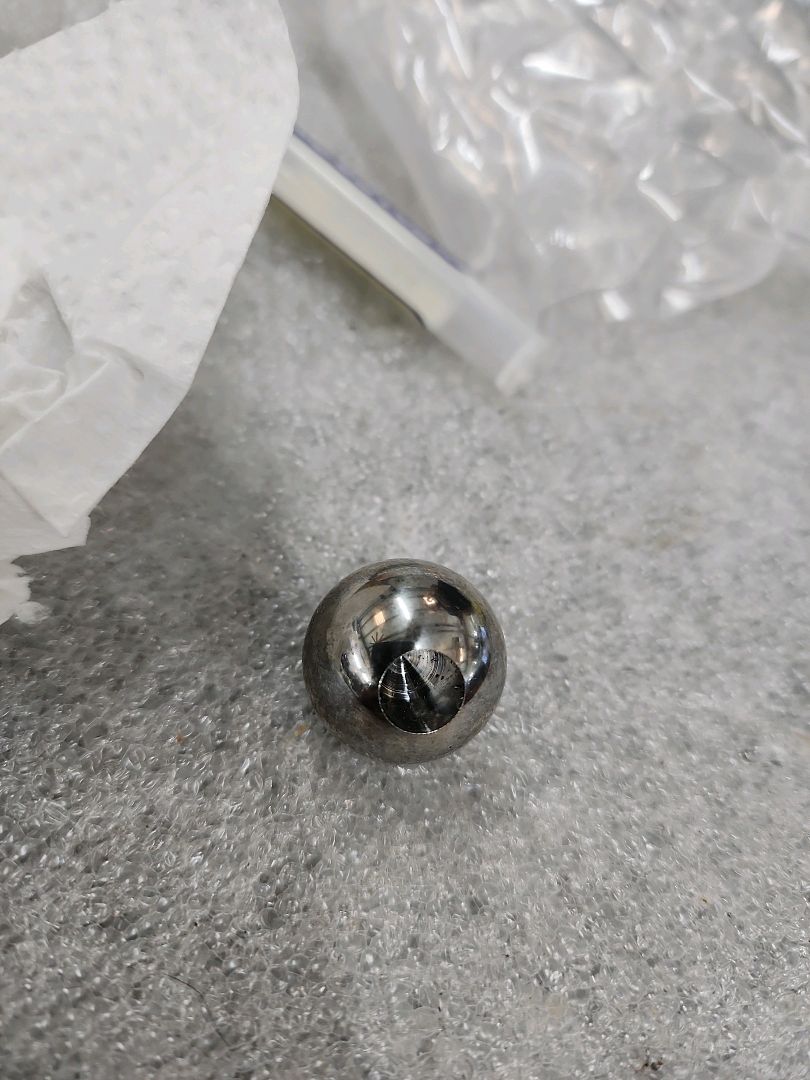
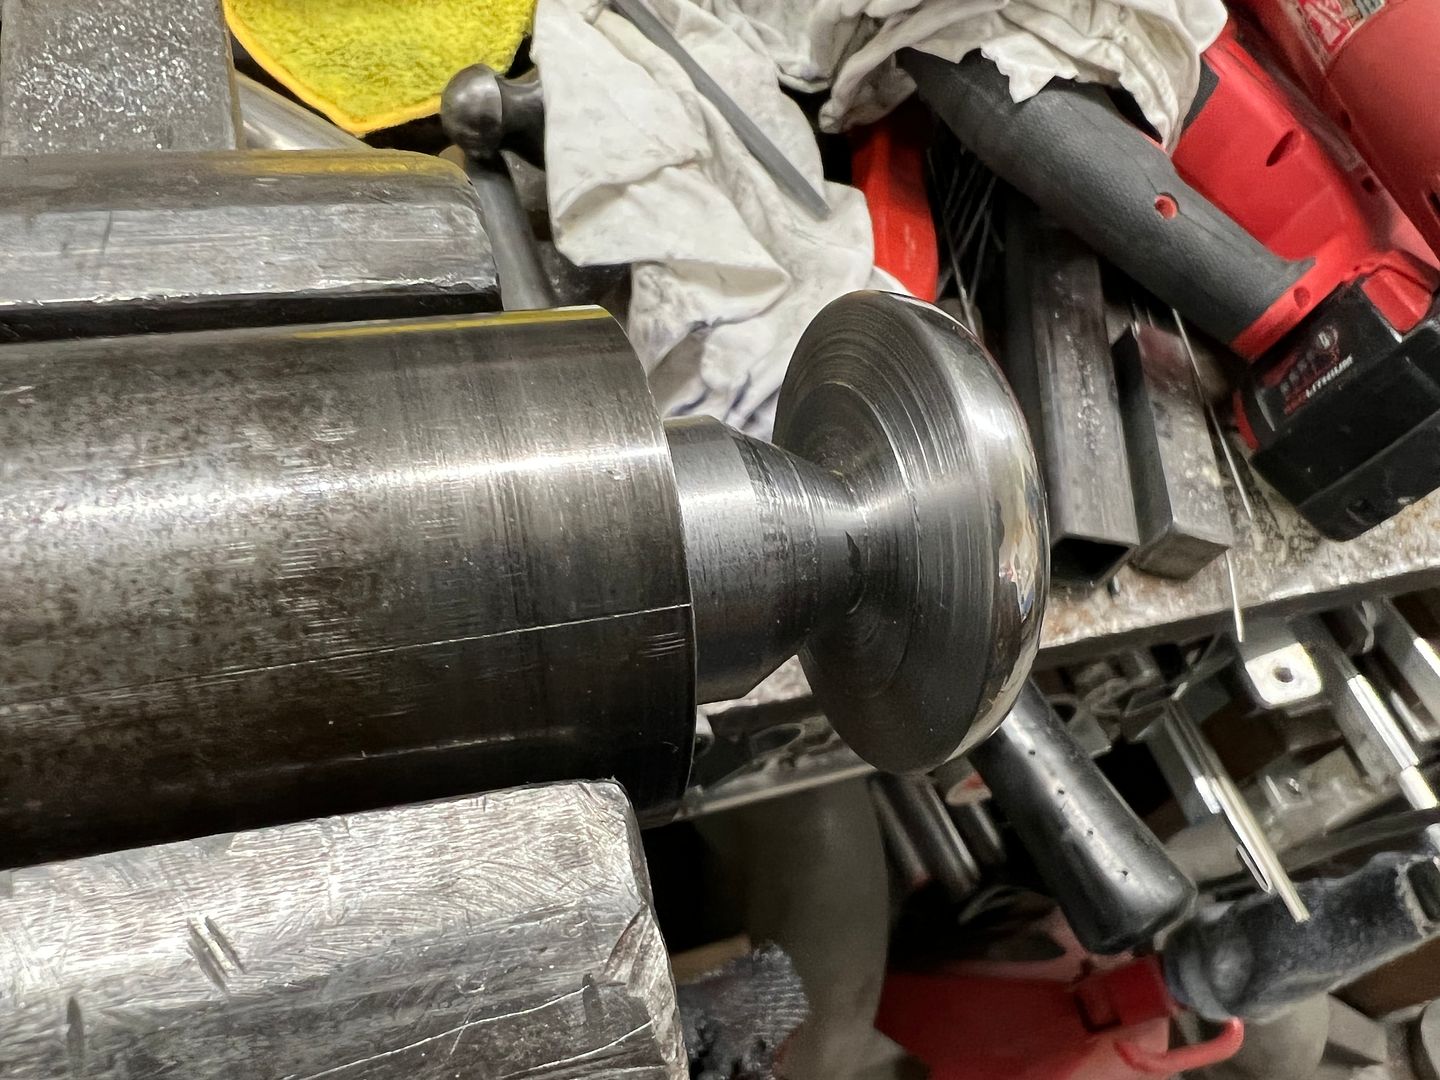
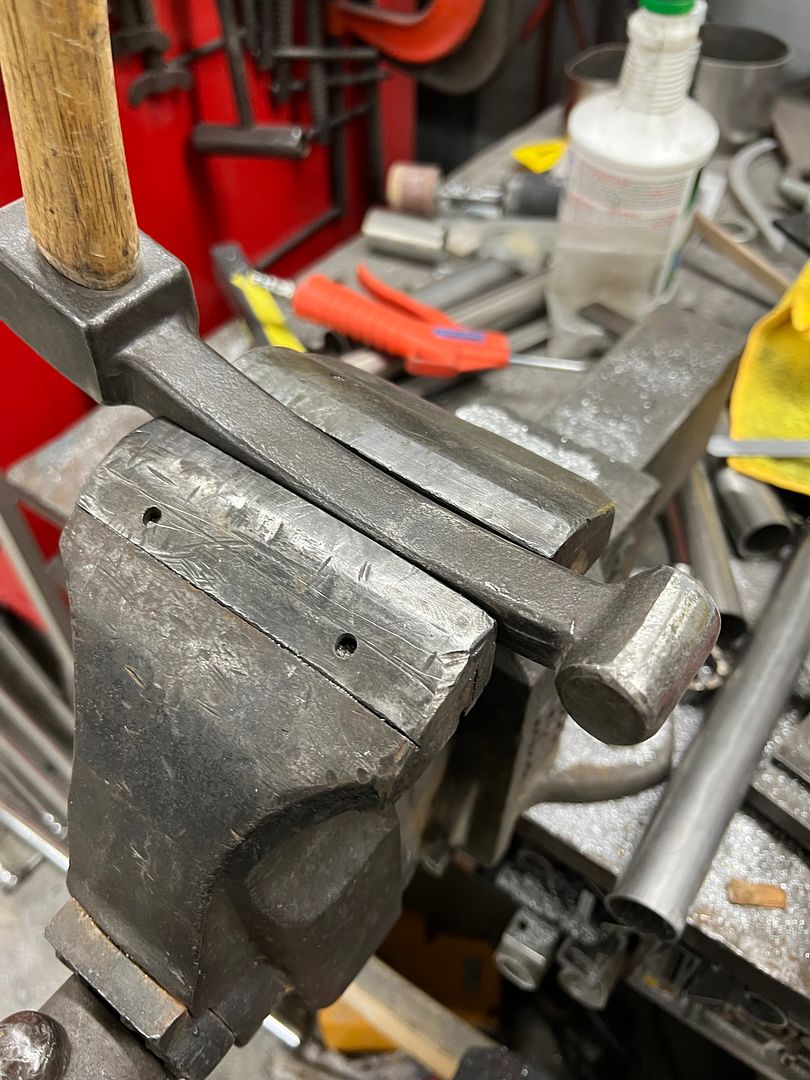
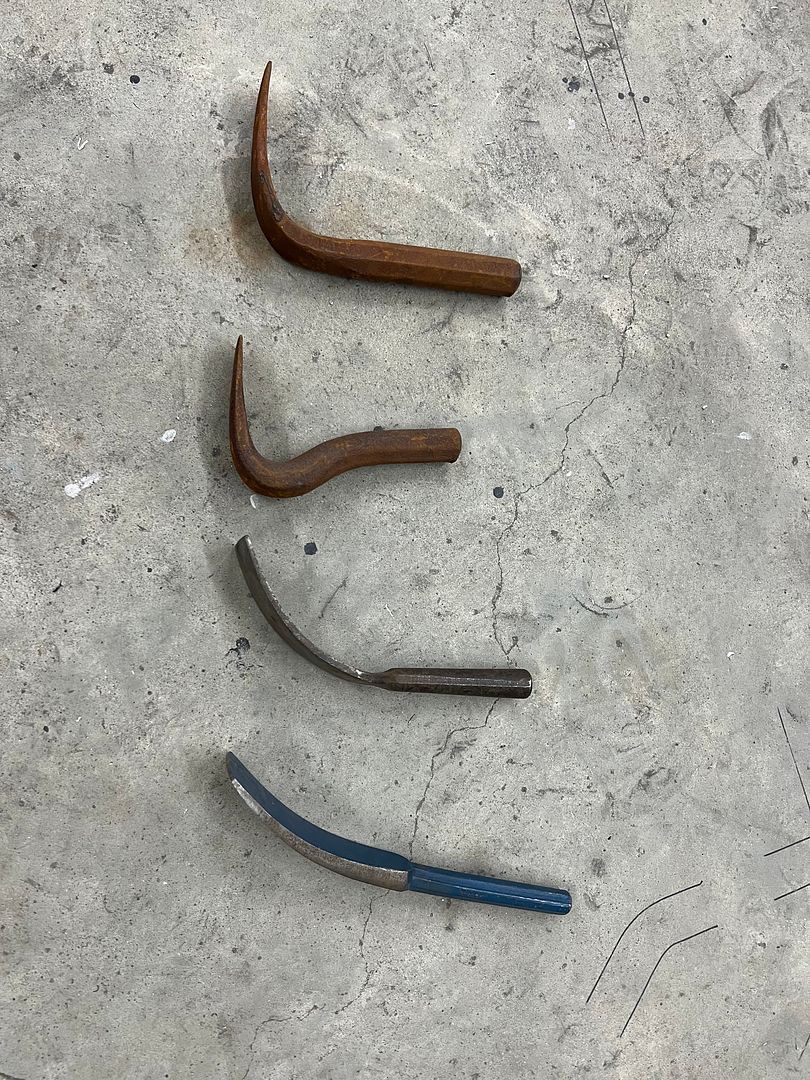
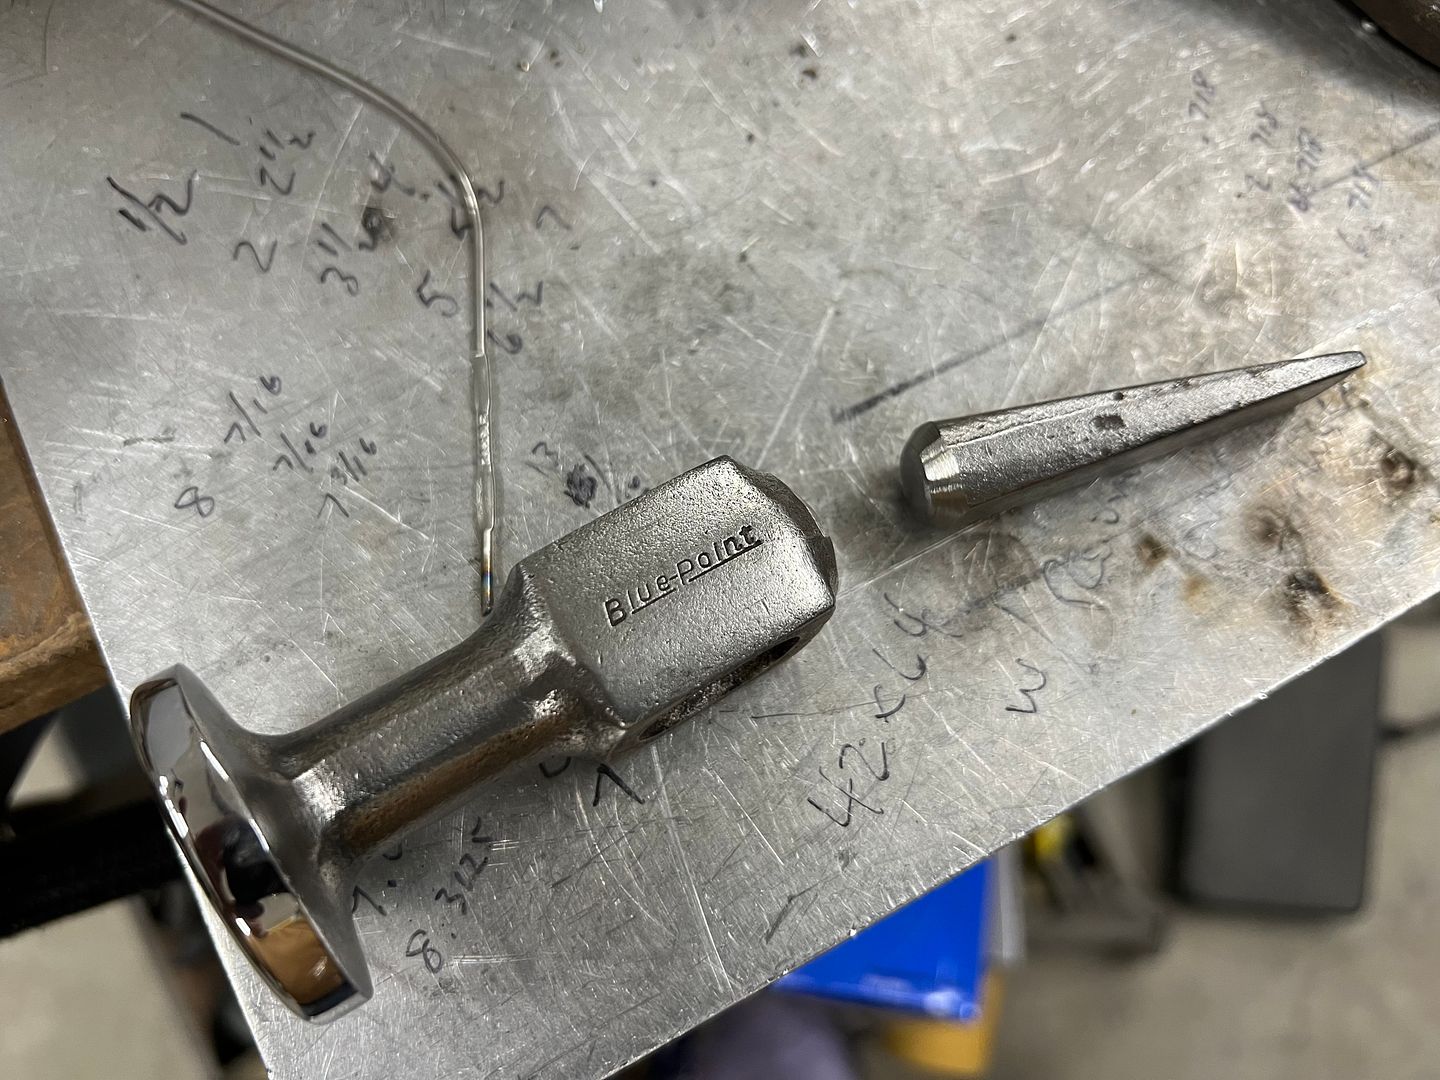
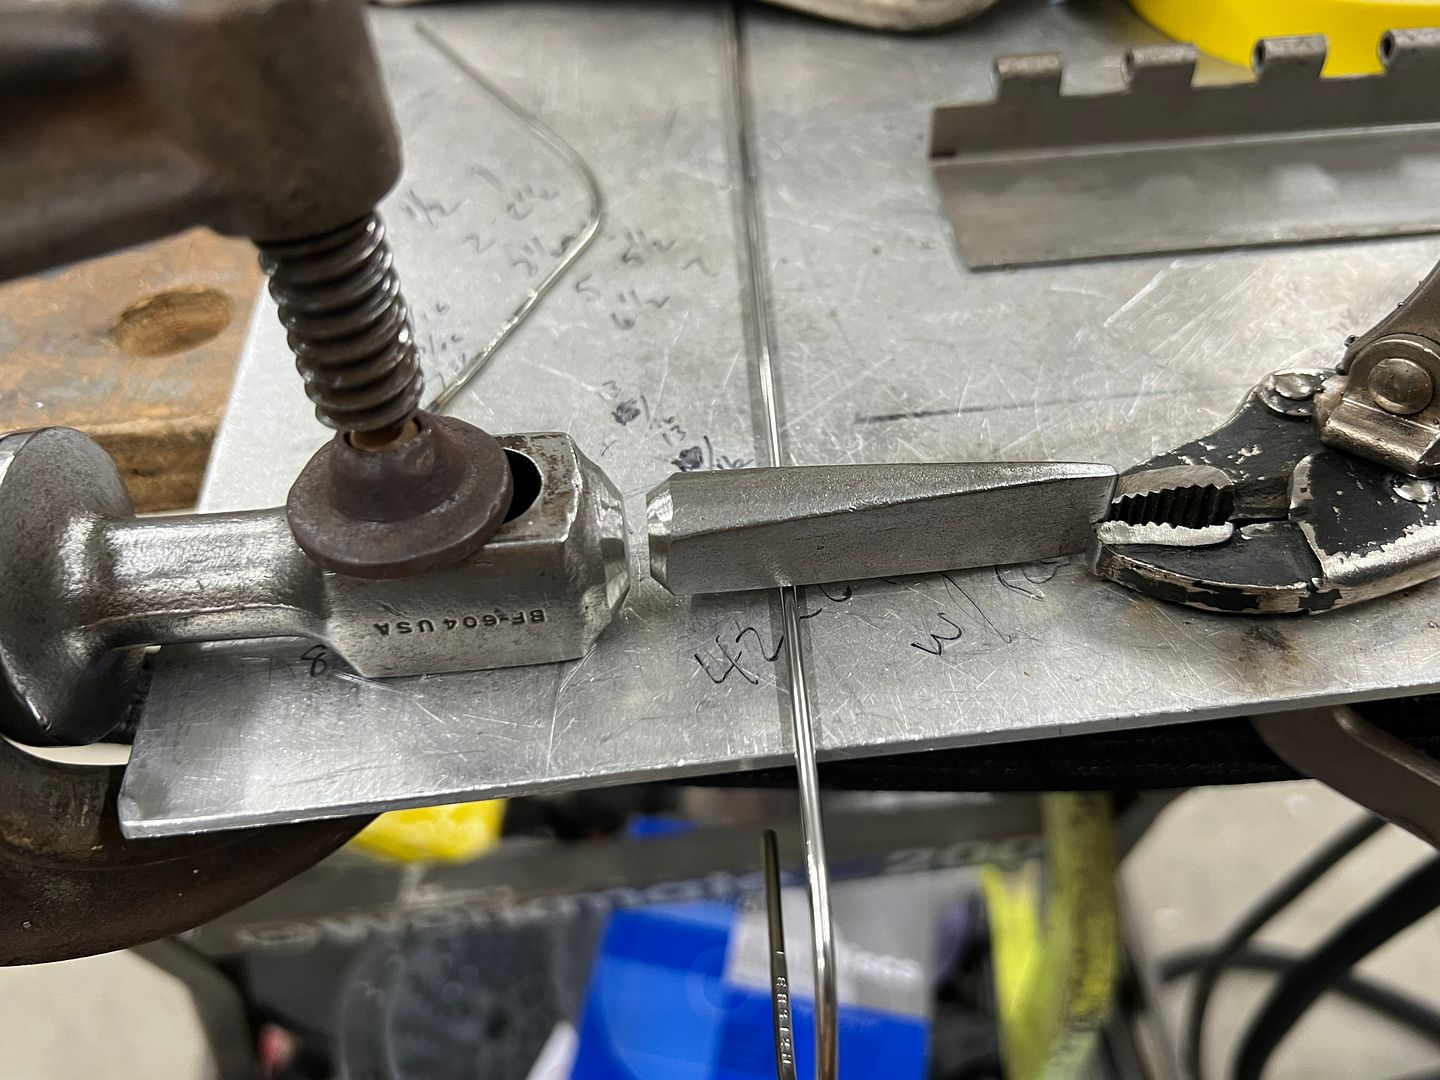
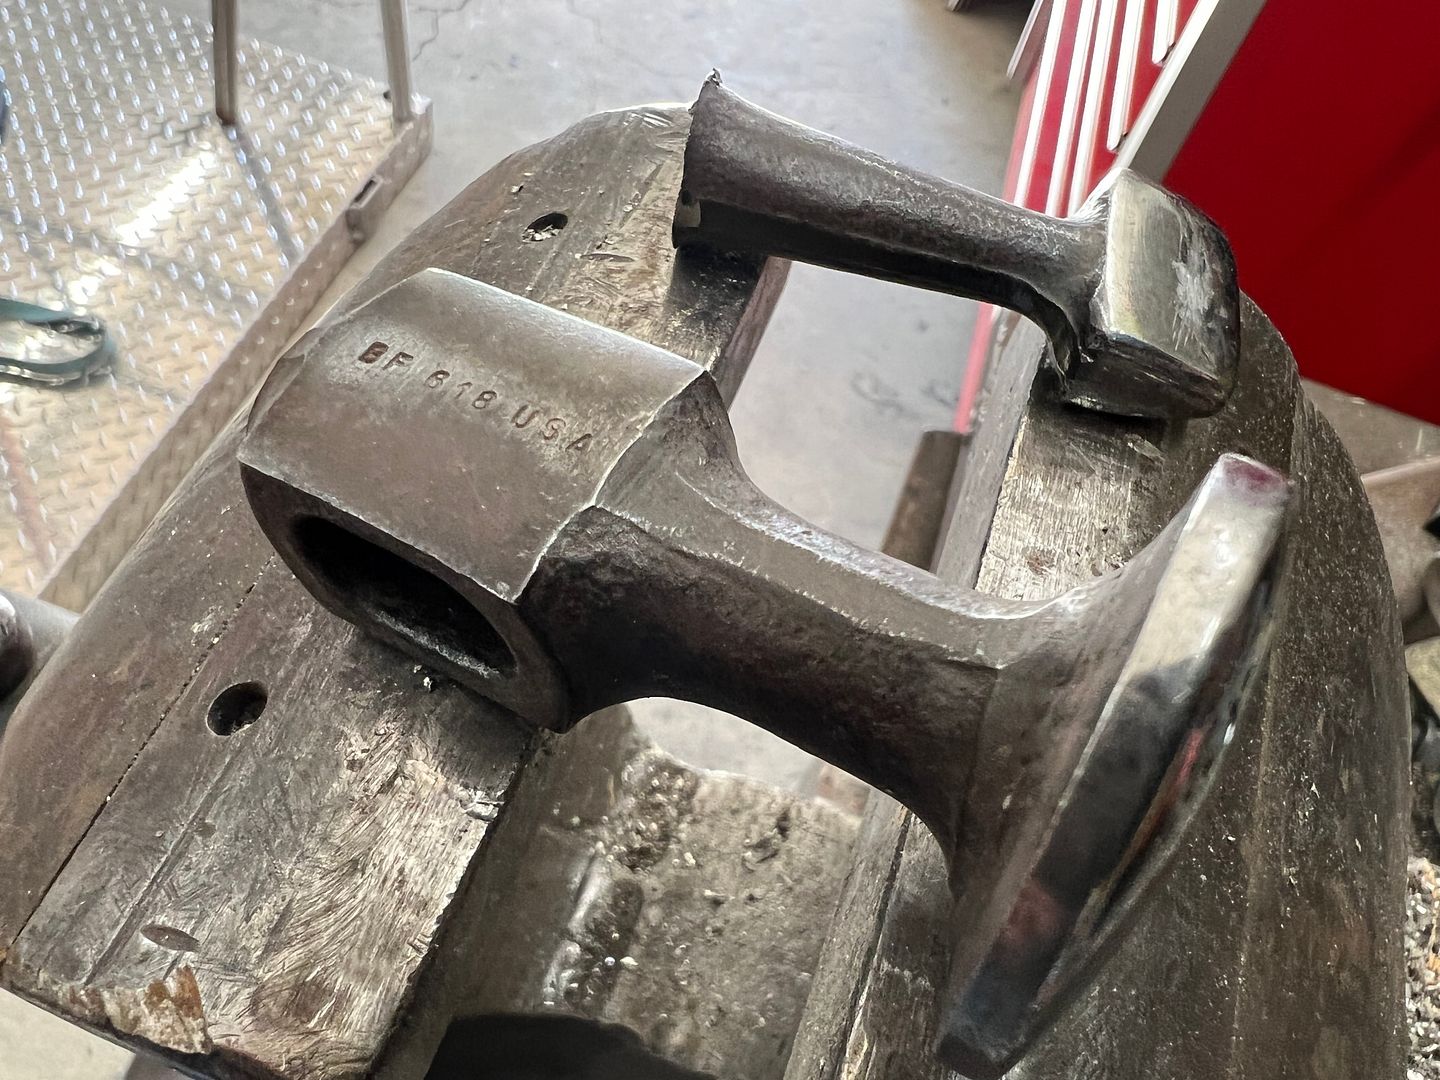
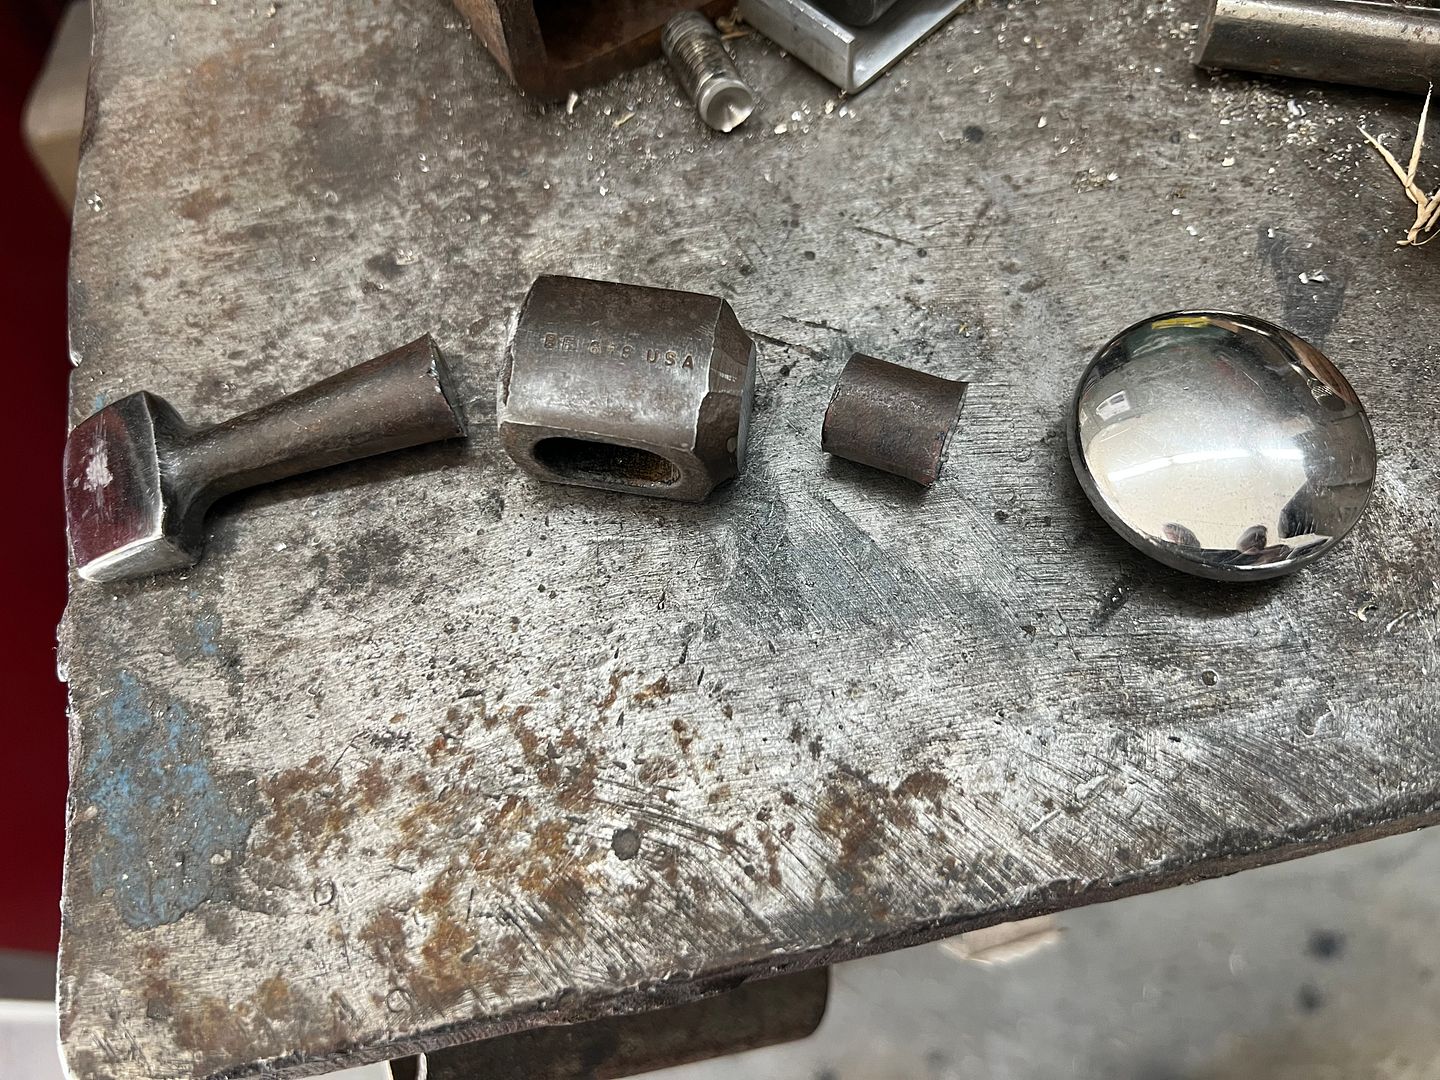
The hammer head is dissected with a cutoff wheel, and a slight angle is sanded into our mating surface to provide more finger room given the shortened head.


IMG_7611.JPG


IMG_7612.JPG


IMG_7613.JPG


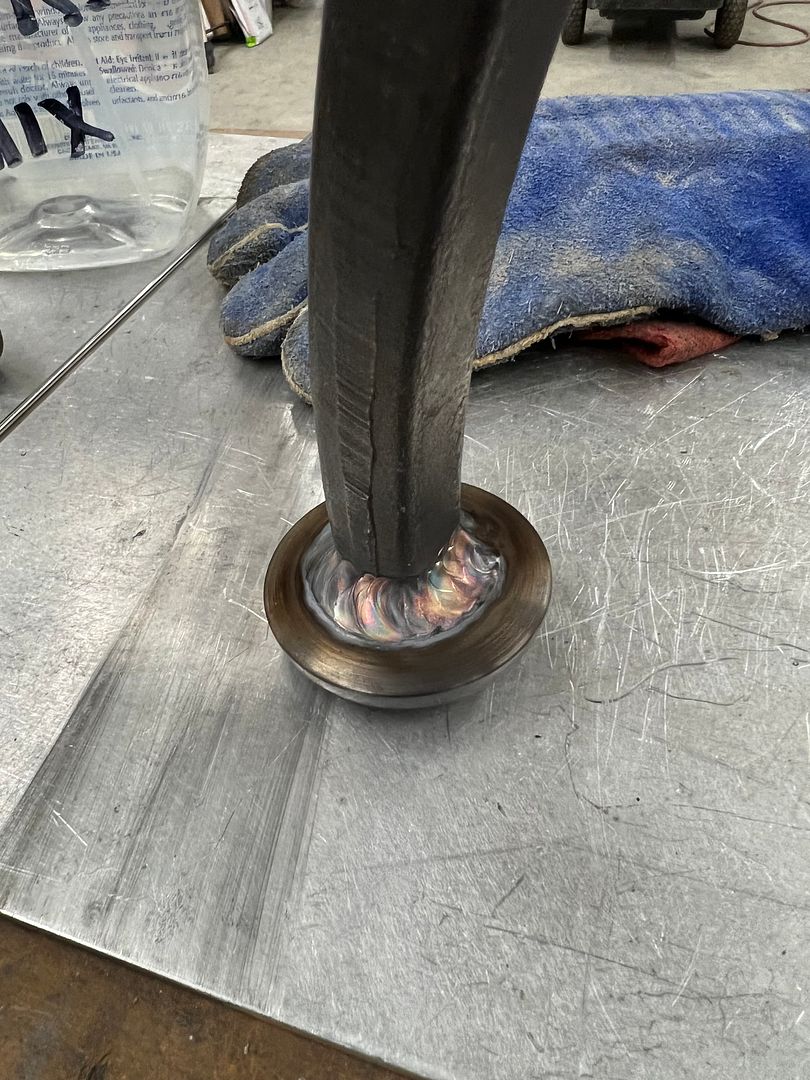
The parts got TIG welded together using ER312 rod...


IMG_7615.JPG


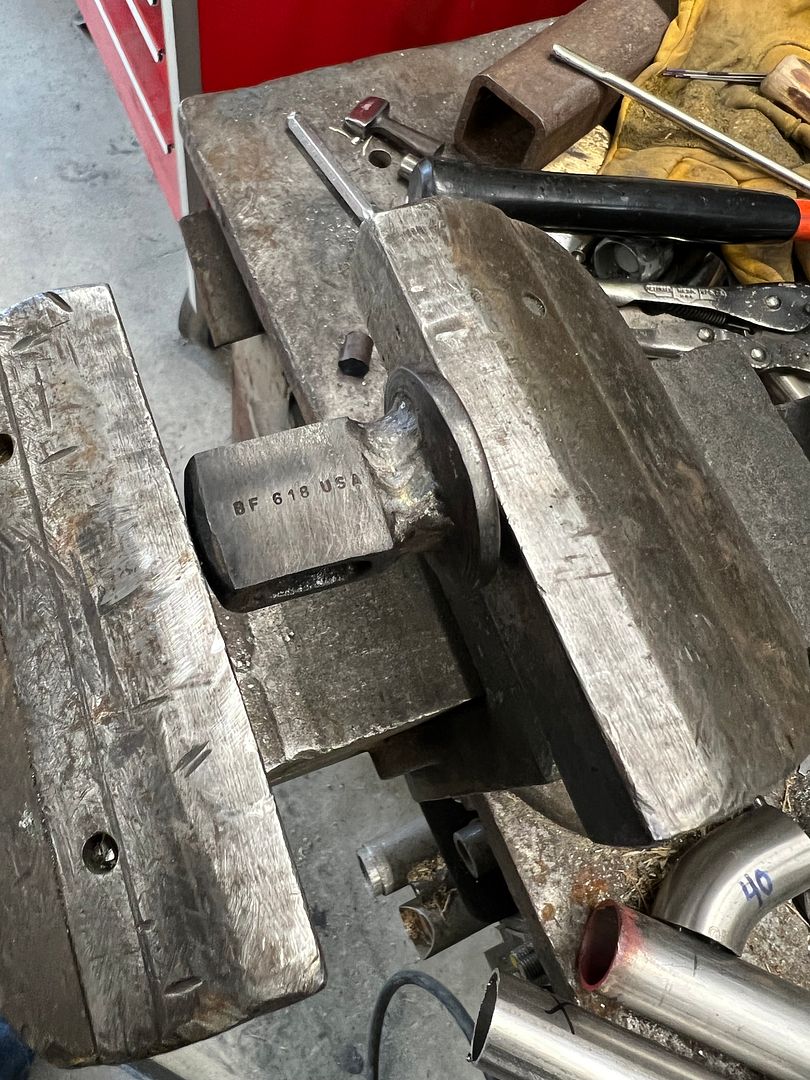
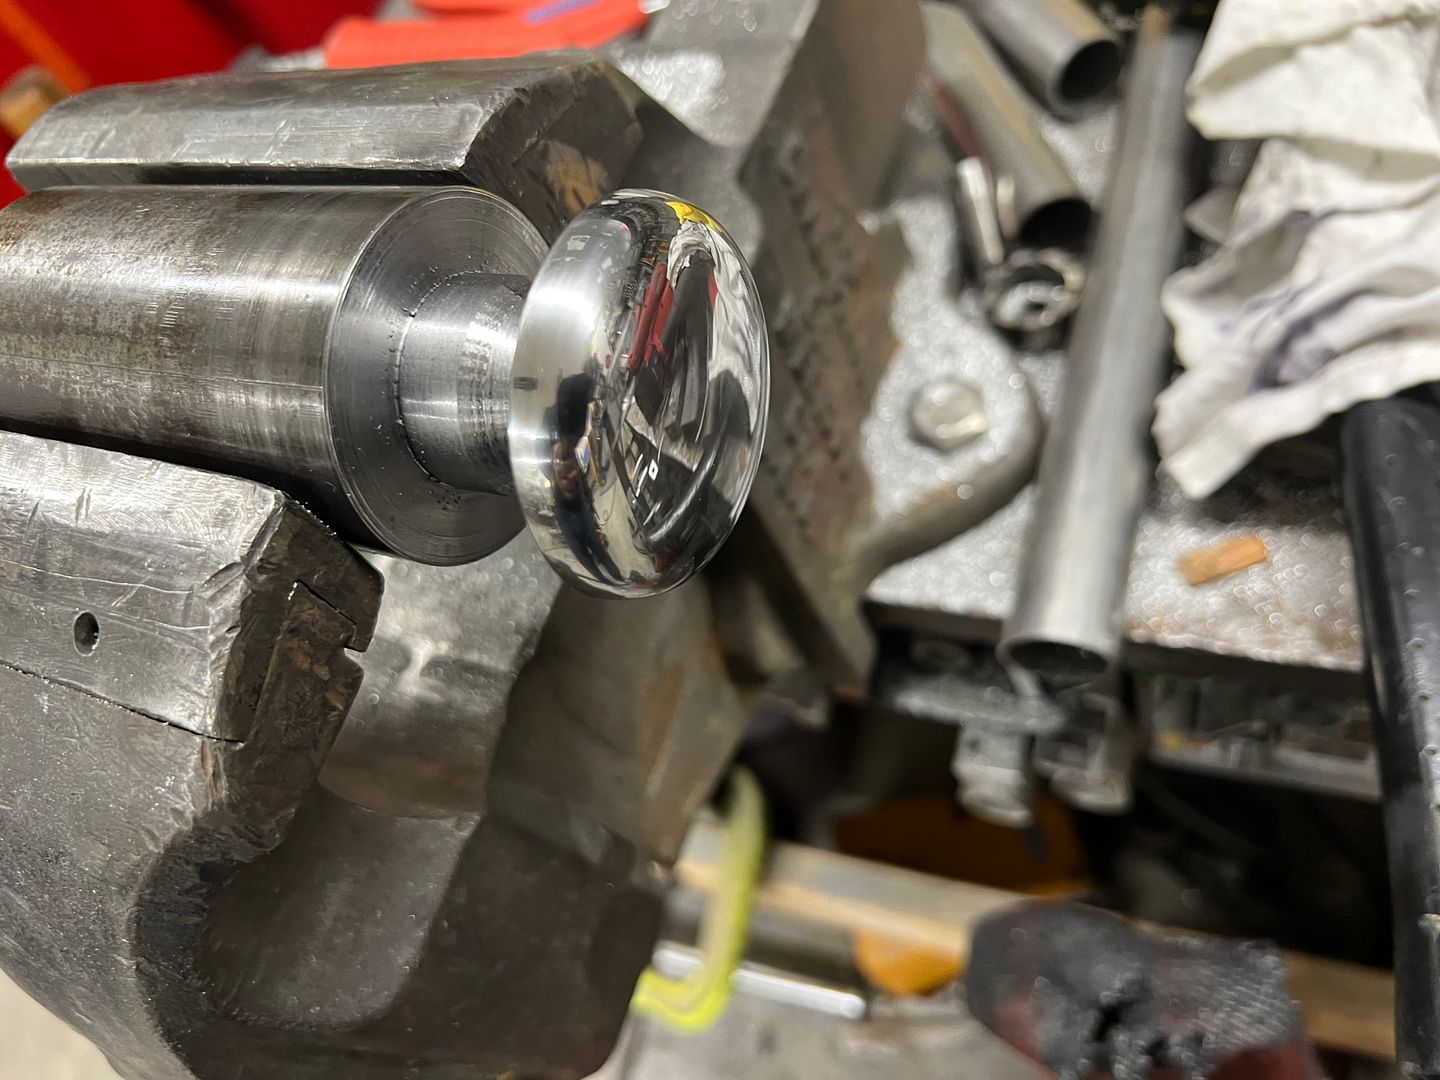
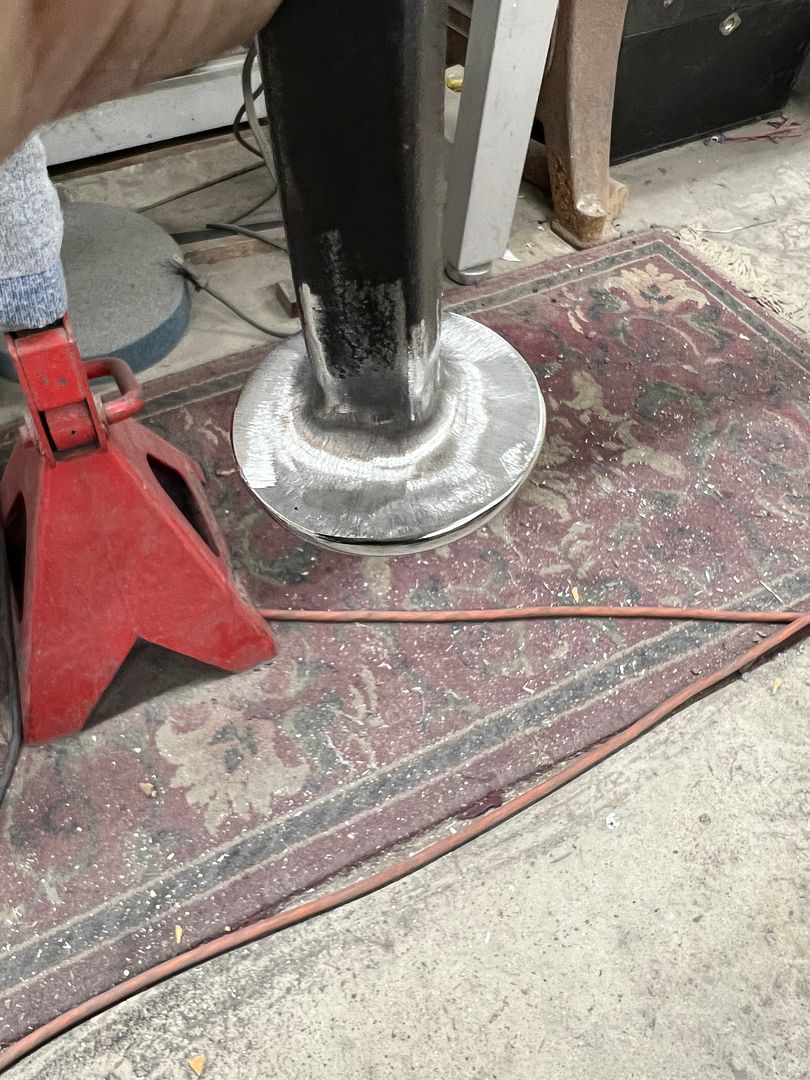
and cleaned up with a die grinder


Taped off, media blasted, and painted....


IMG_7618.JPG


IMG_7621.JPG


IMG_7622.JPG


IMG_7624.JPG


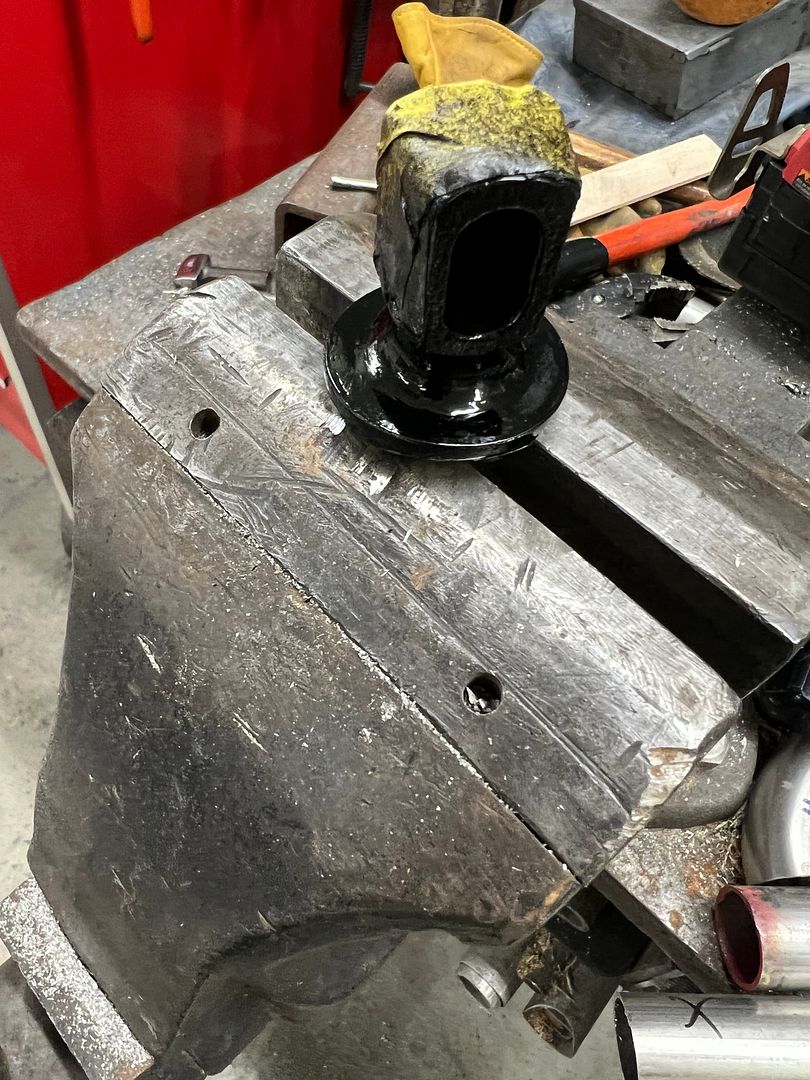
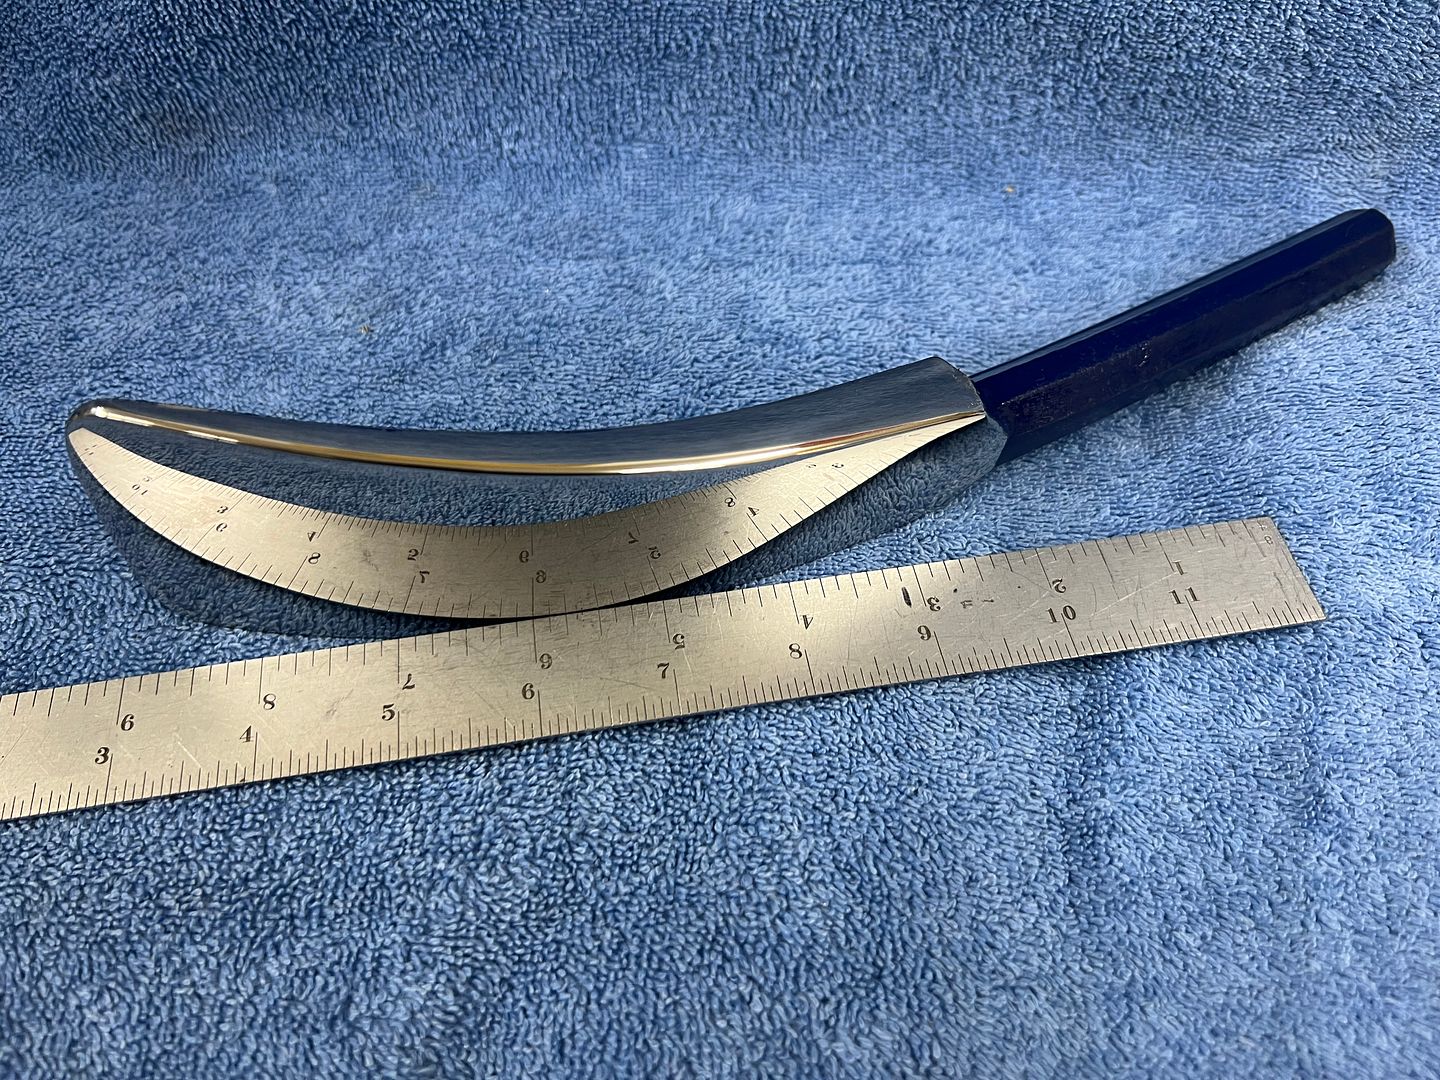
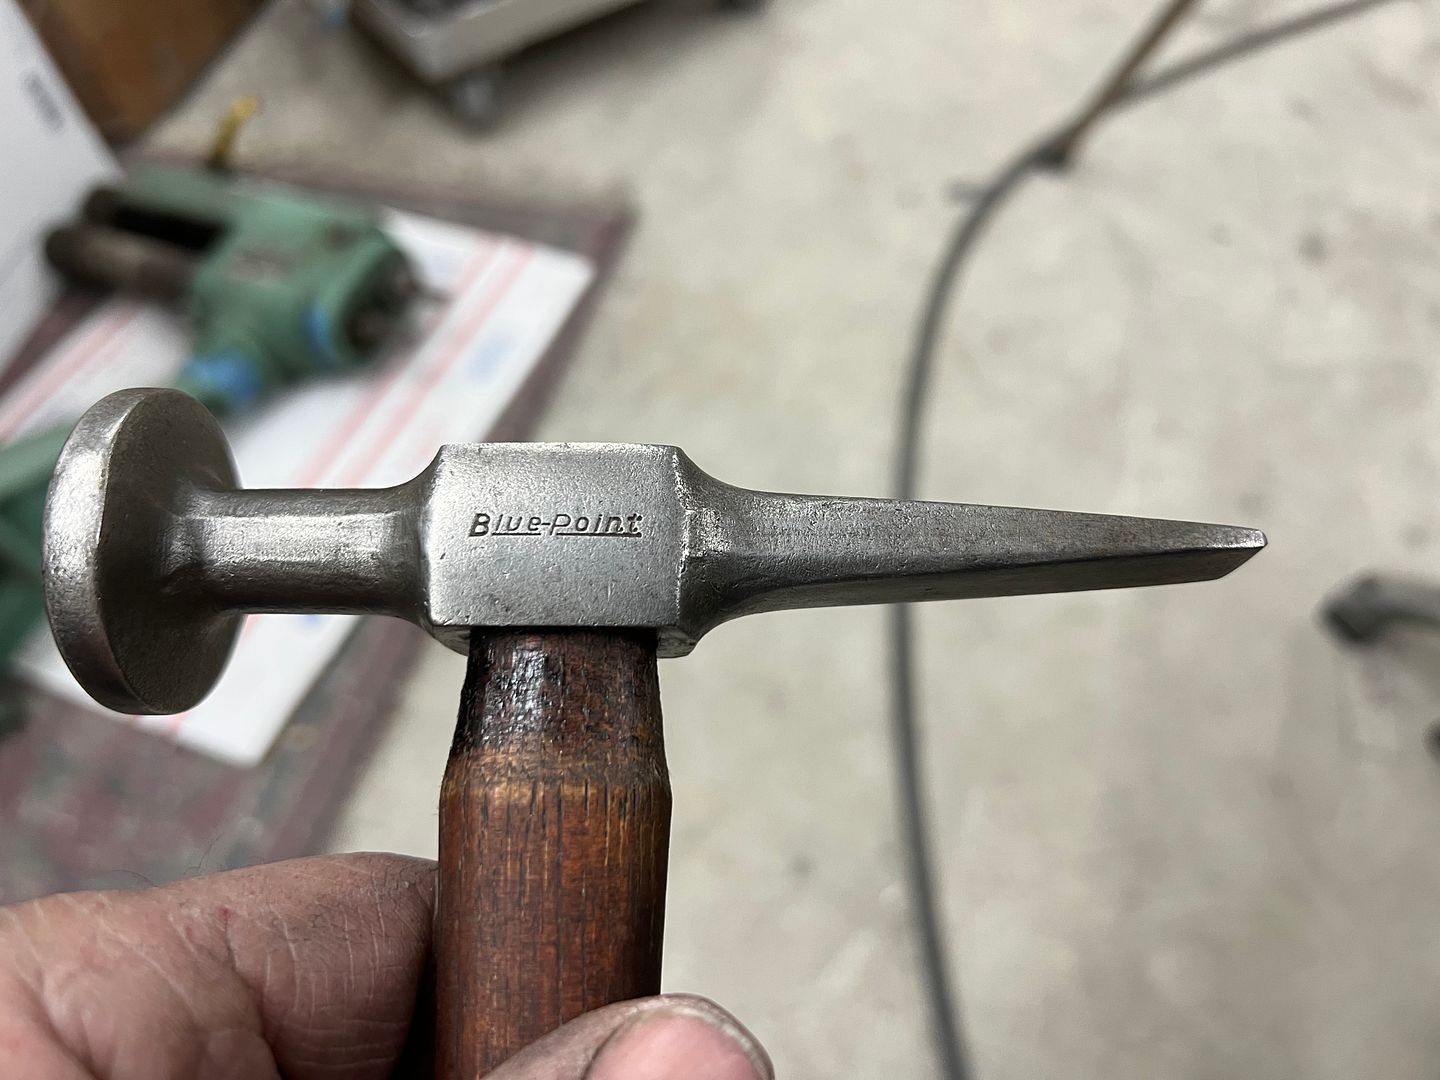
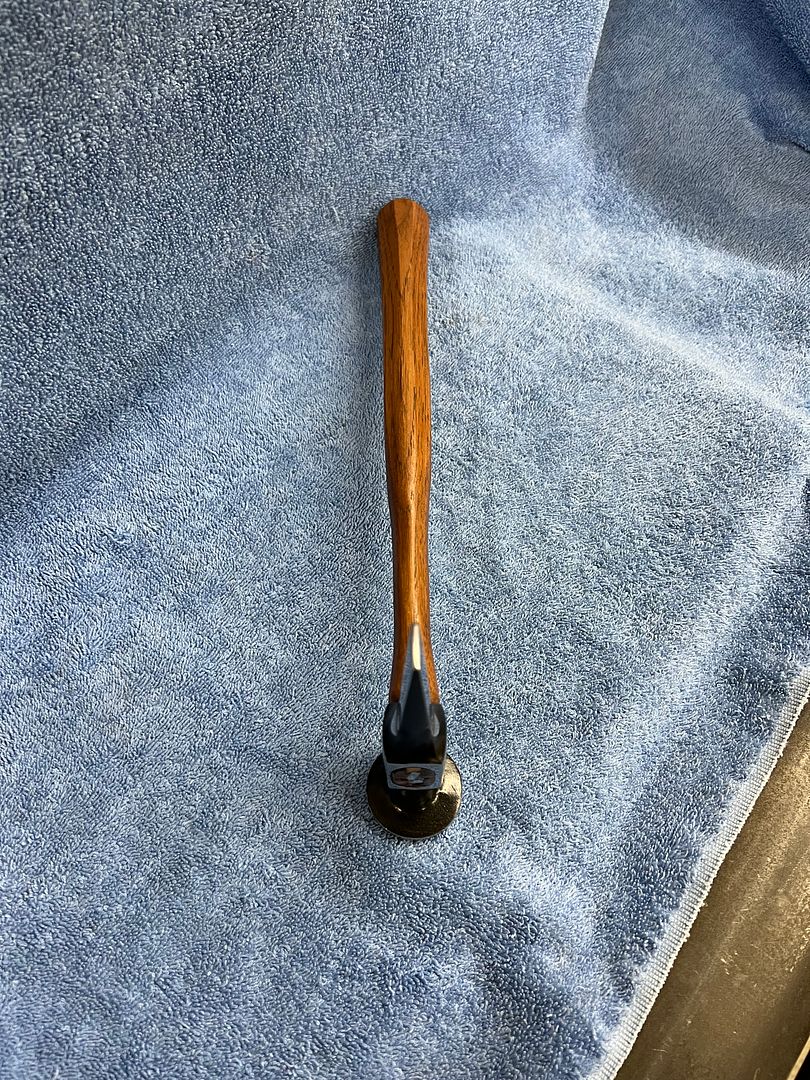
I had a replacement hickory handle that didn't have the faceted sides, so flats were sanded, handle fitted to the hammer head, finish sanded, stained and satin finished.
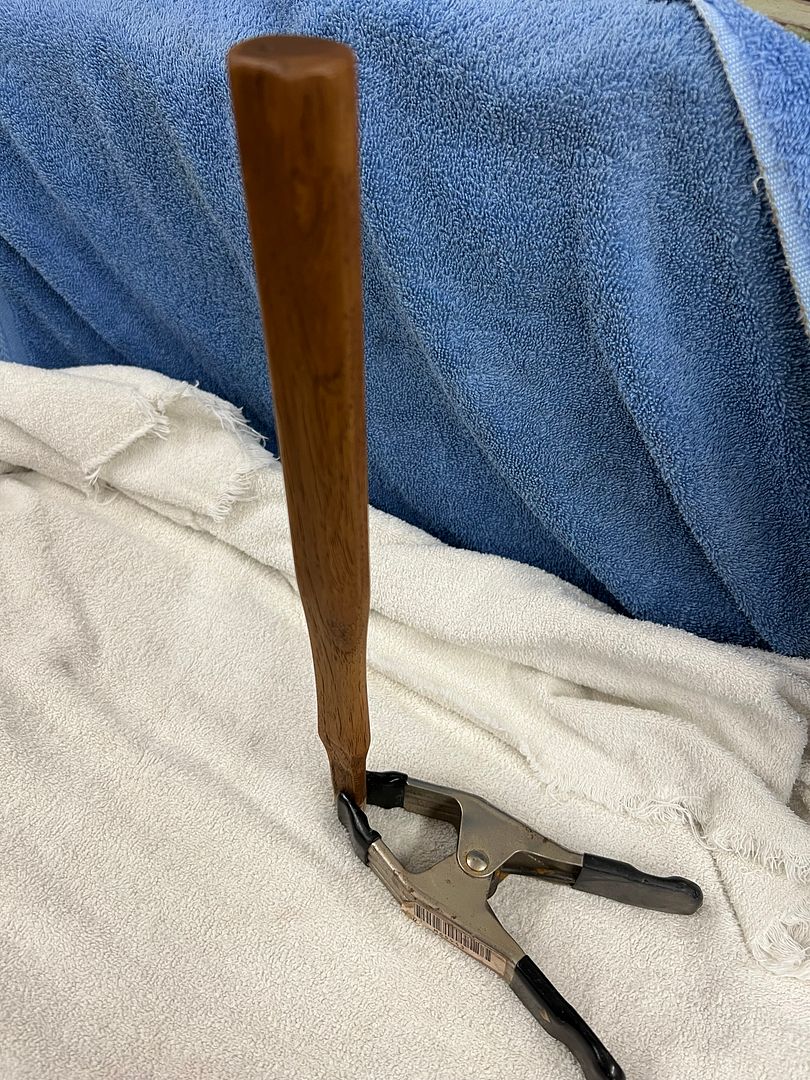
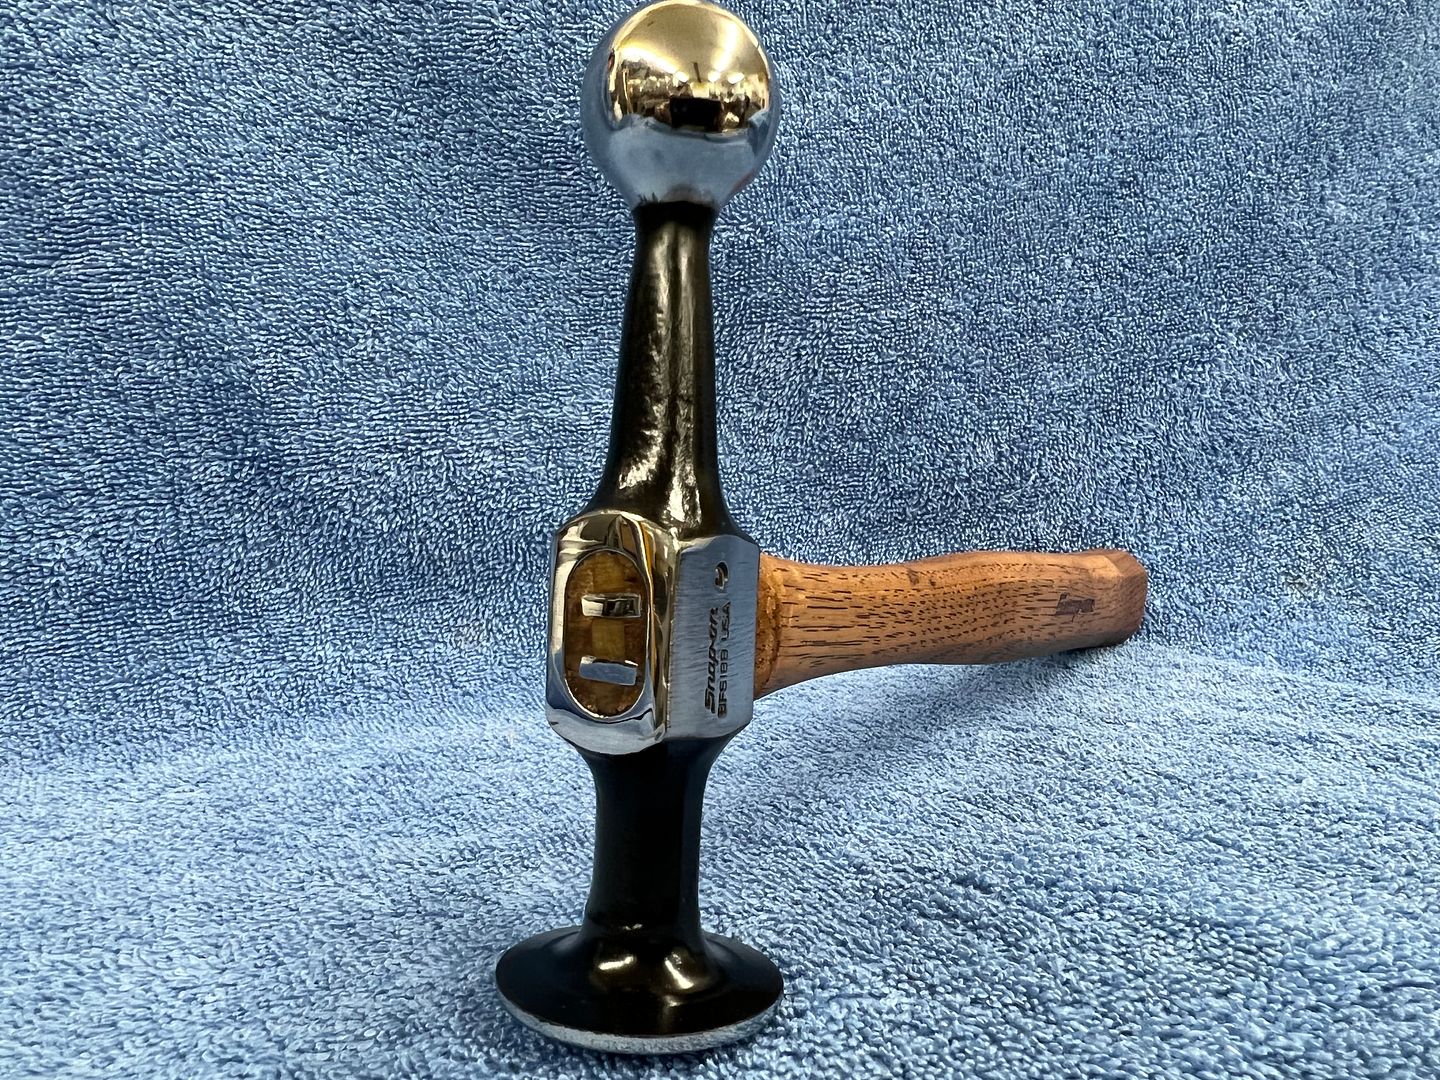
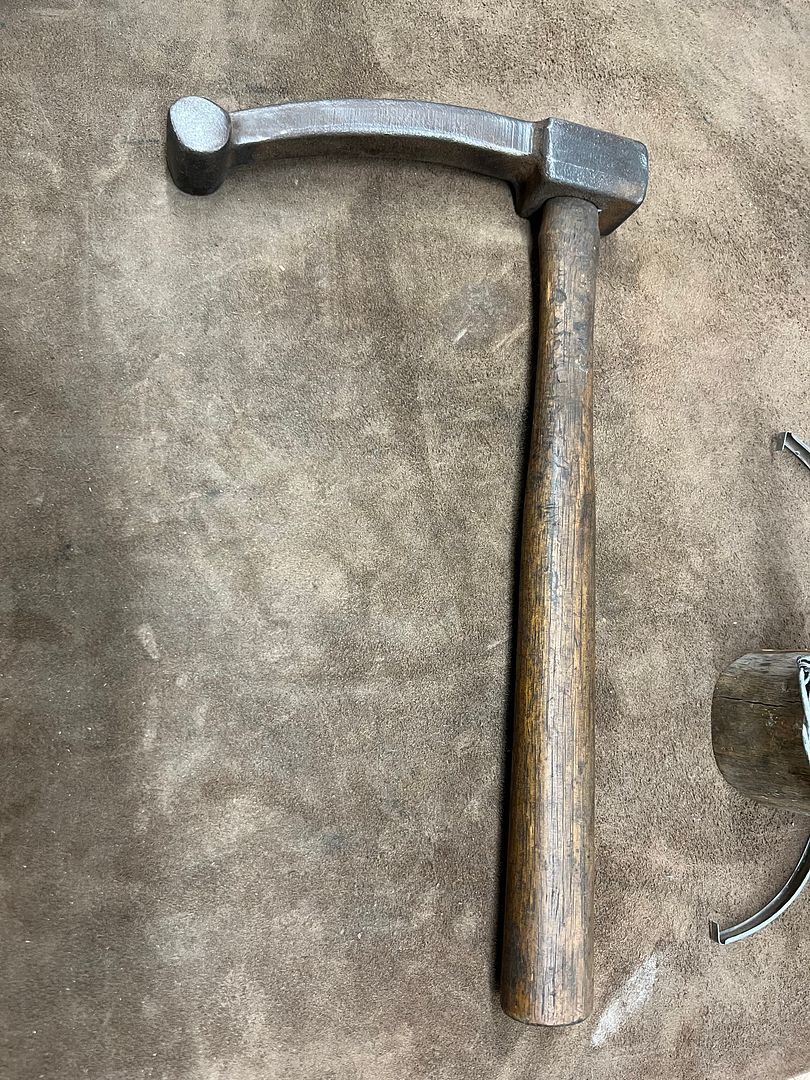
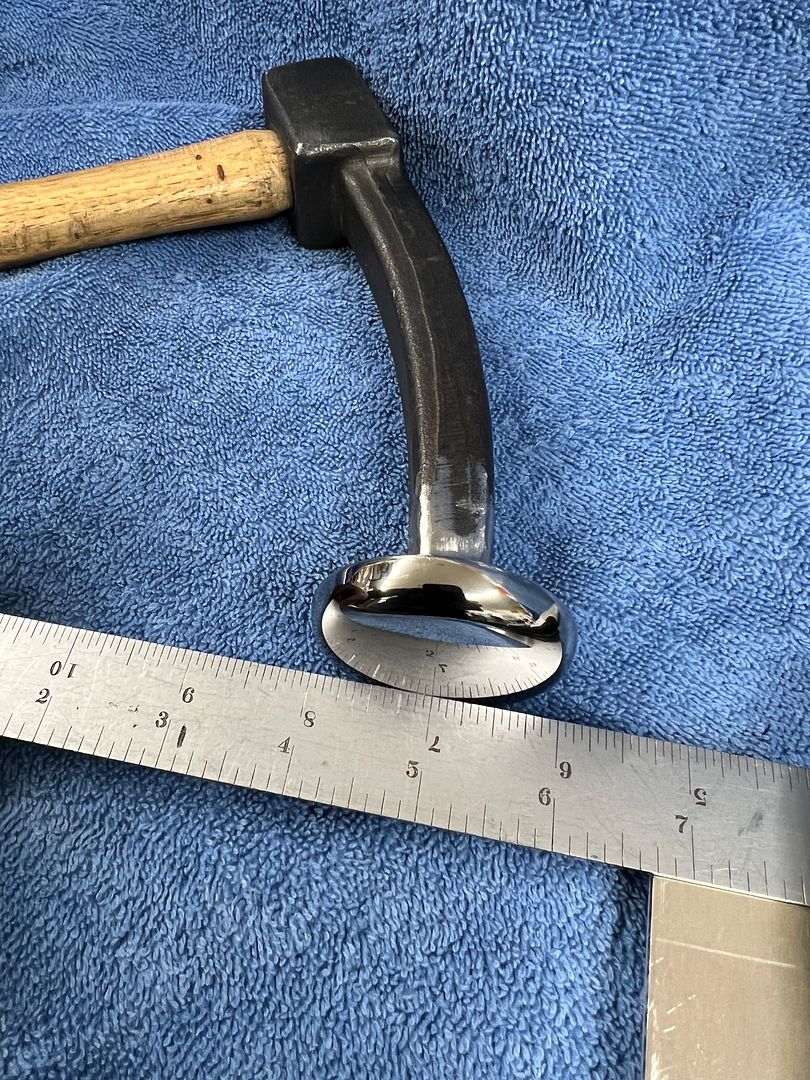
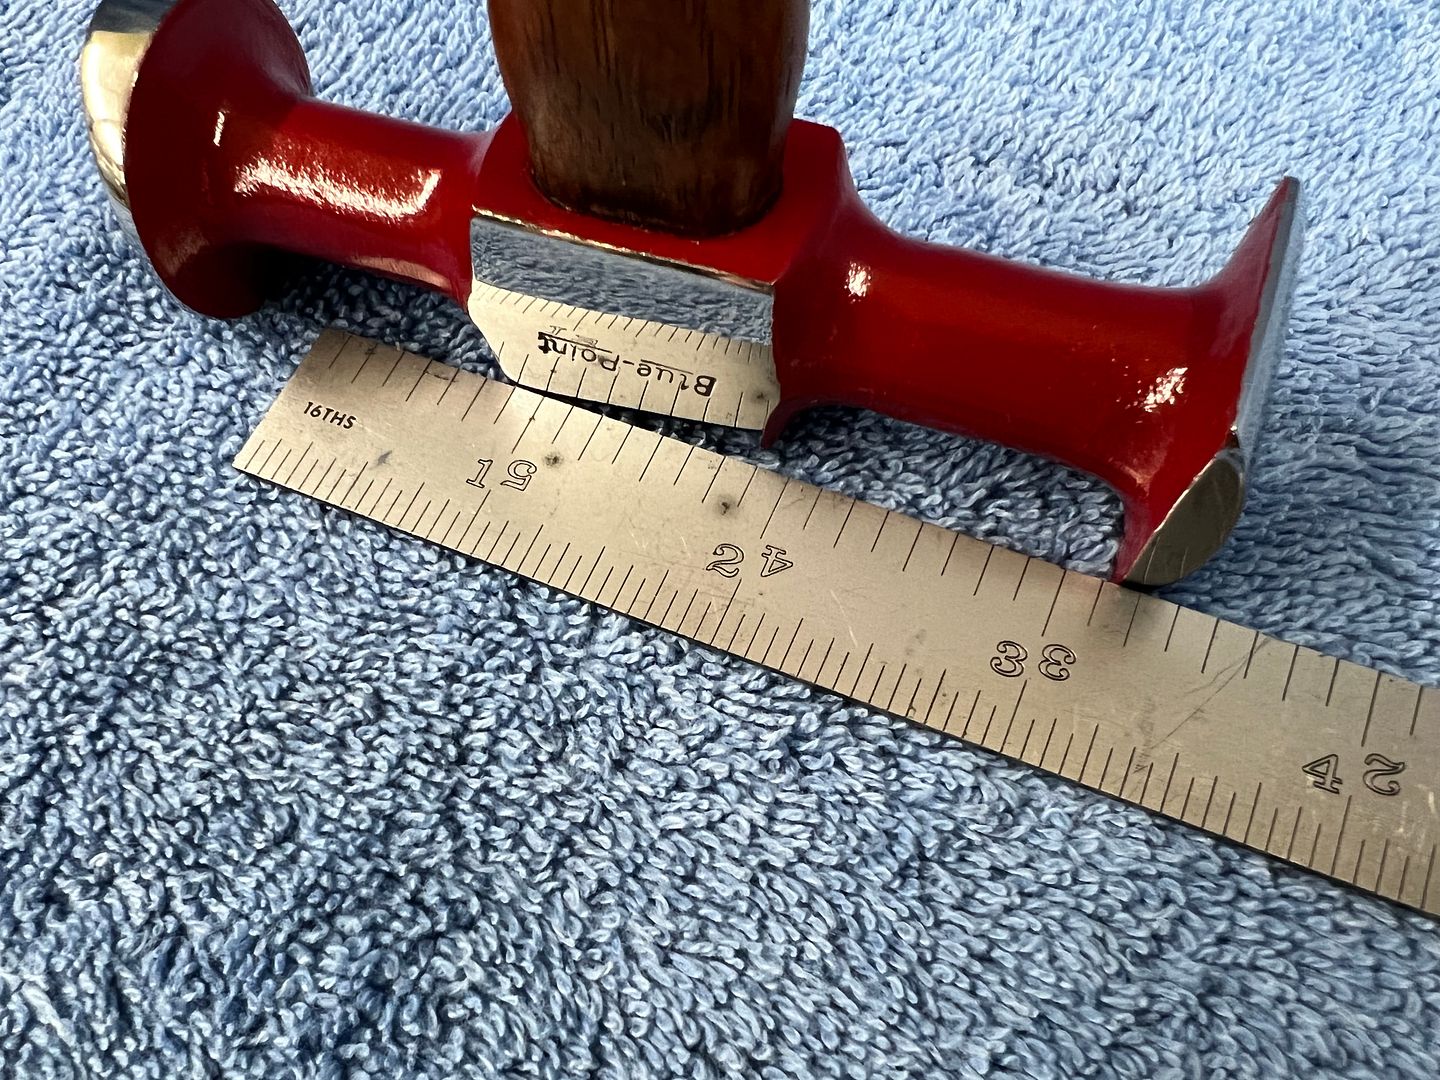
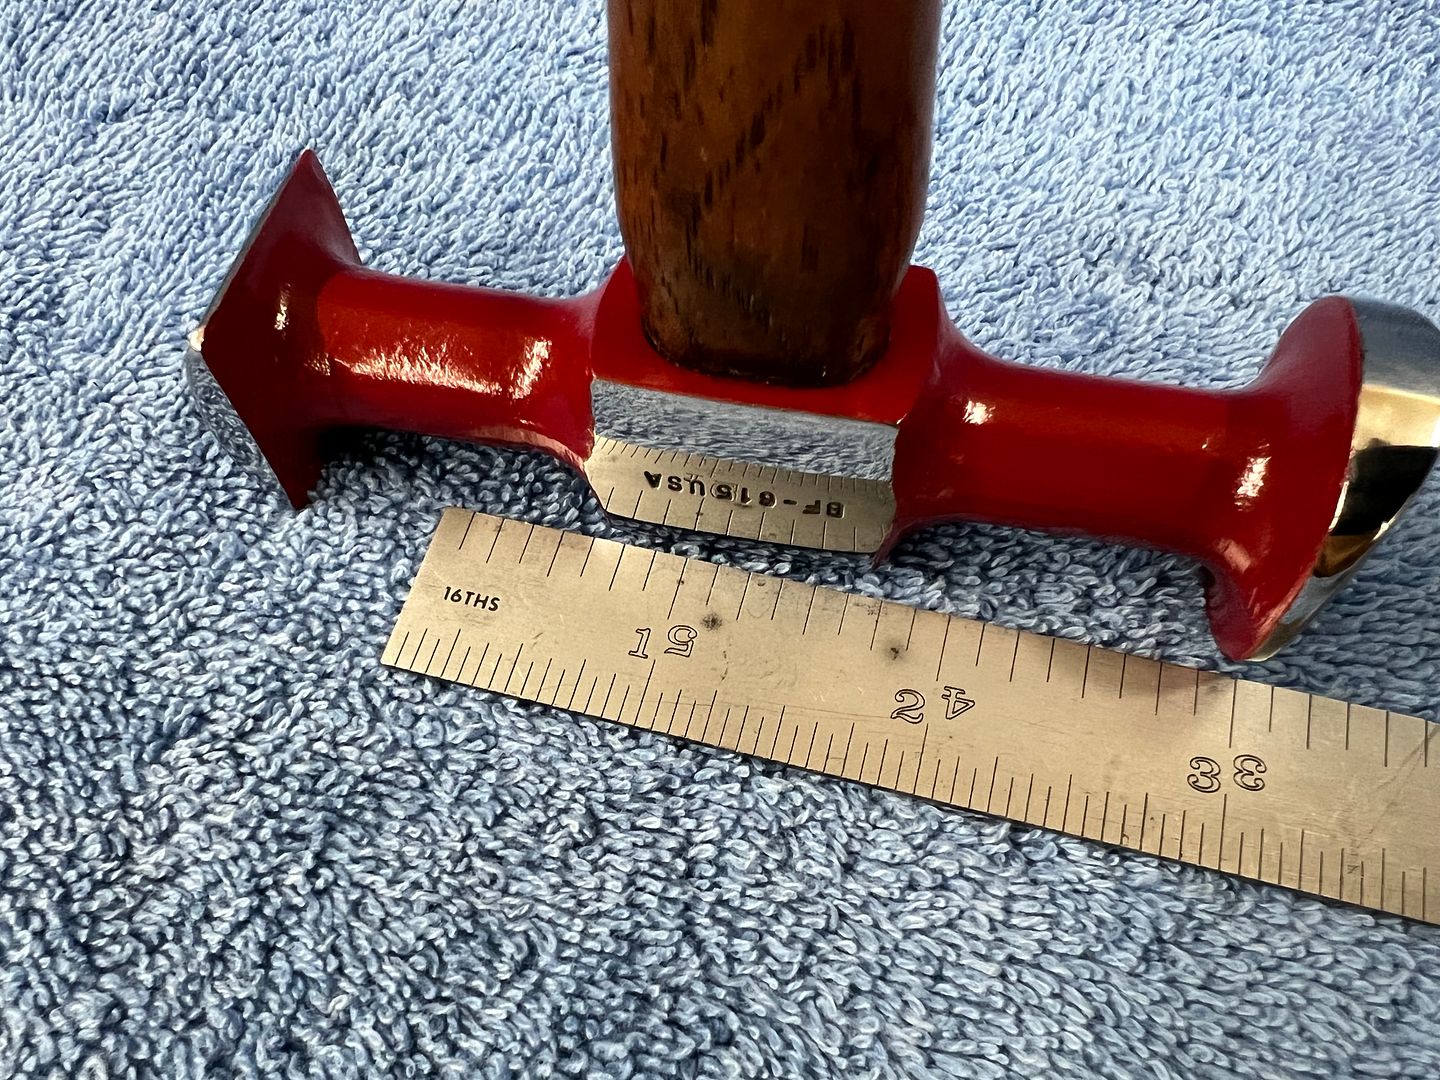
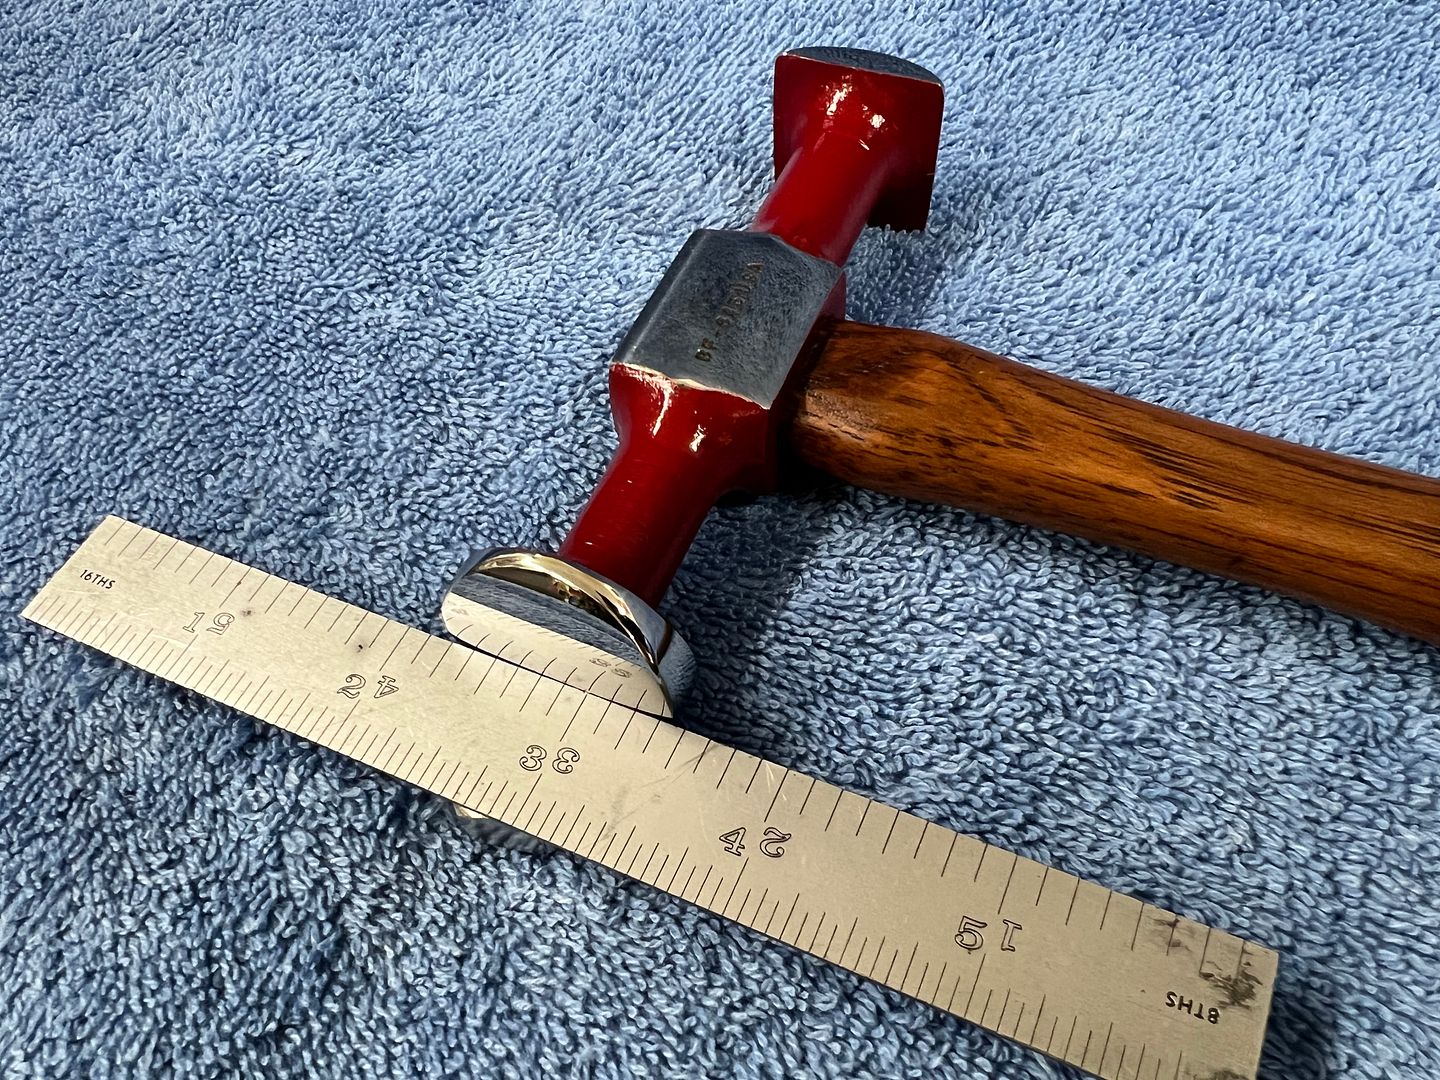
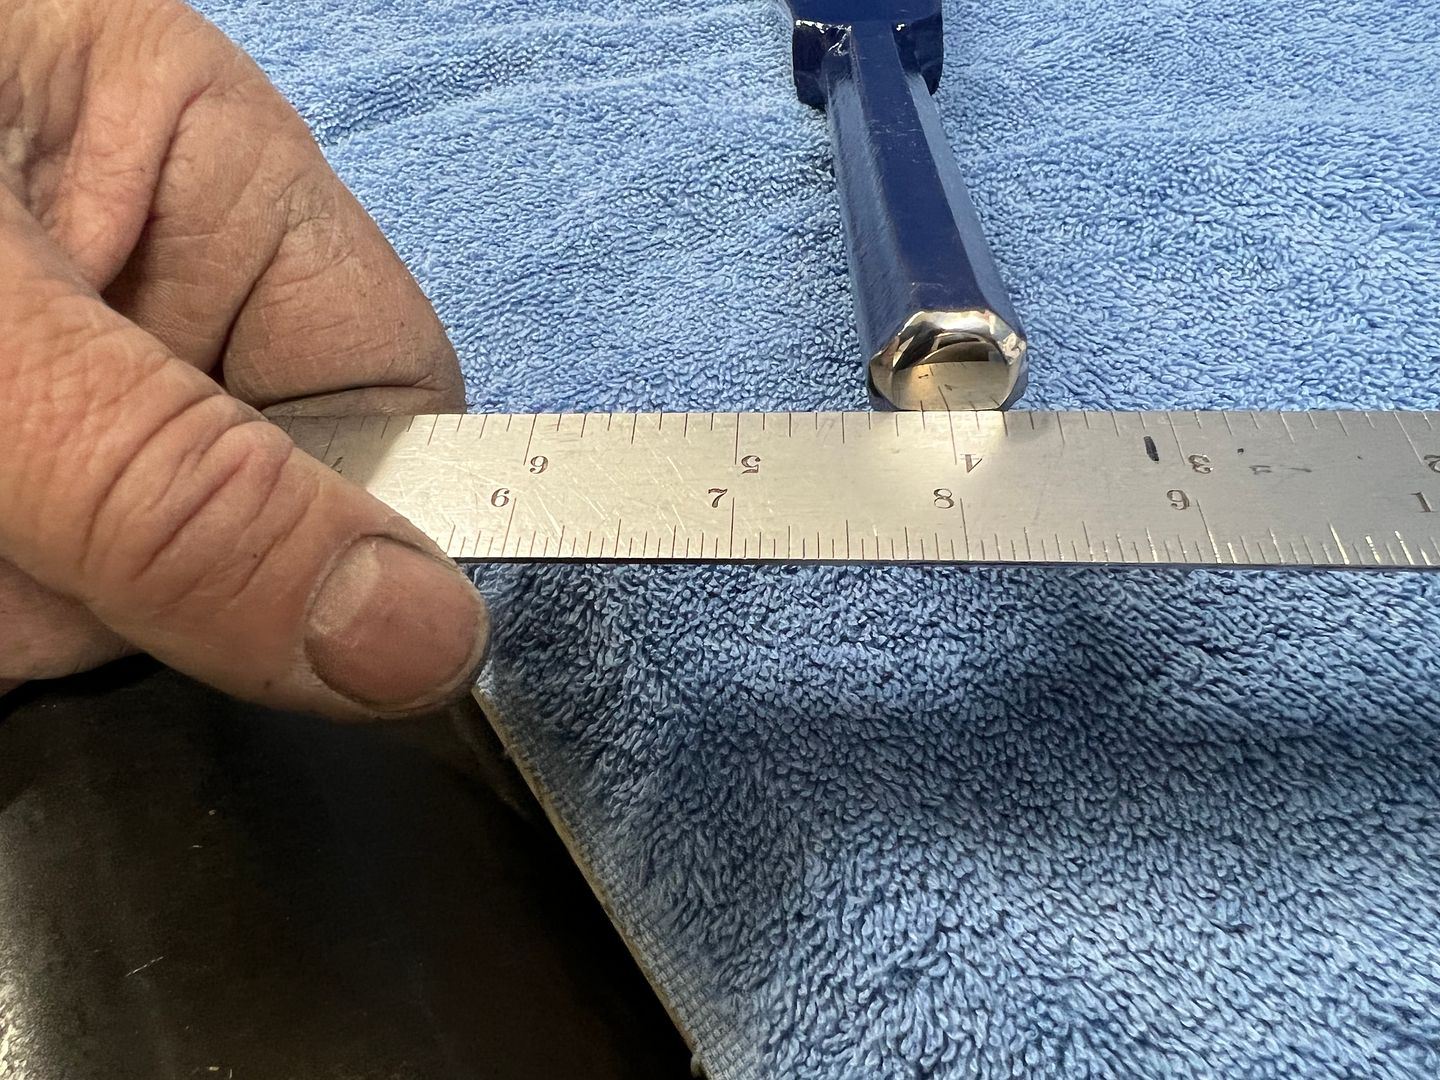
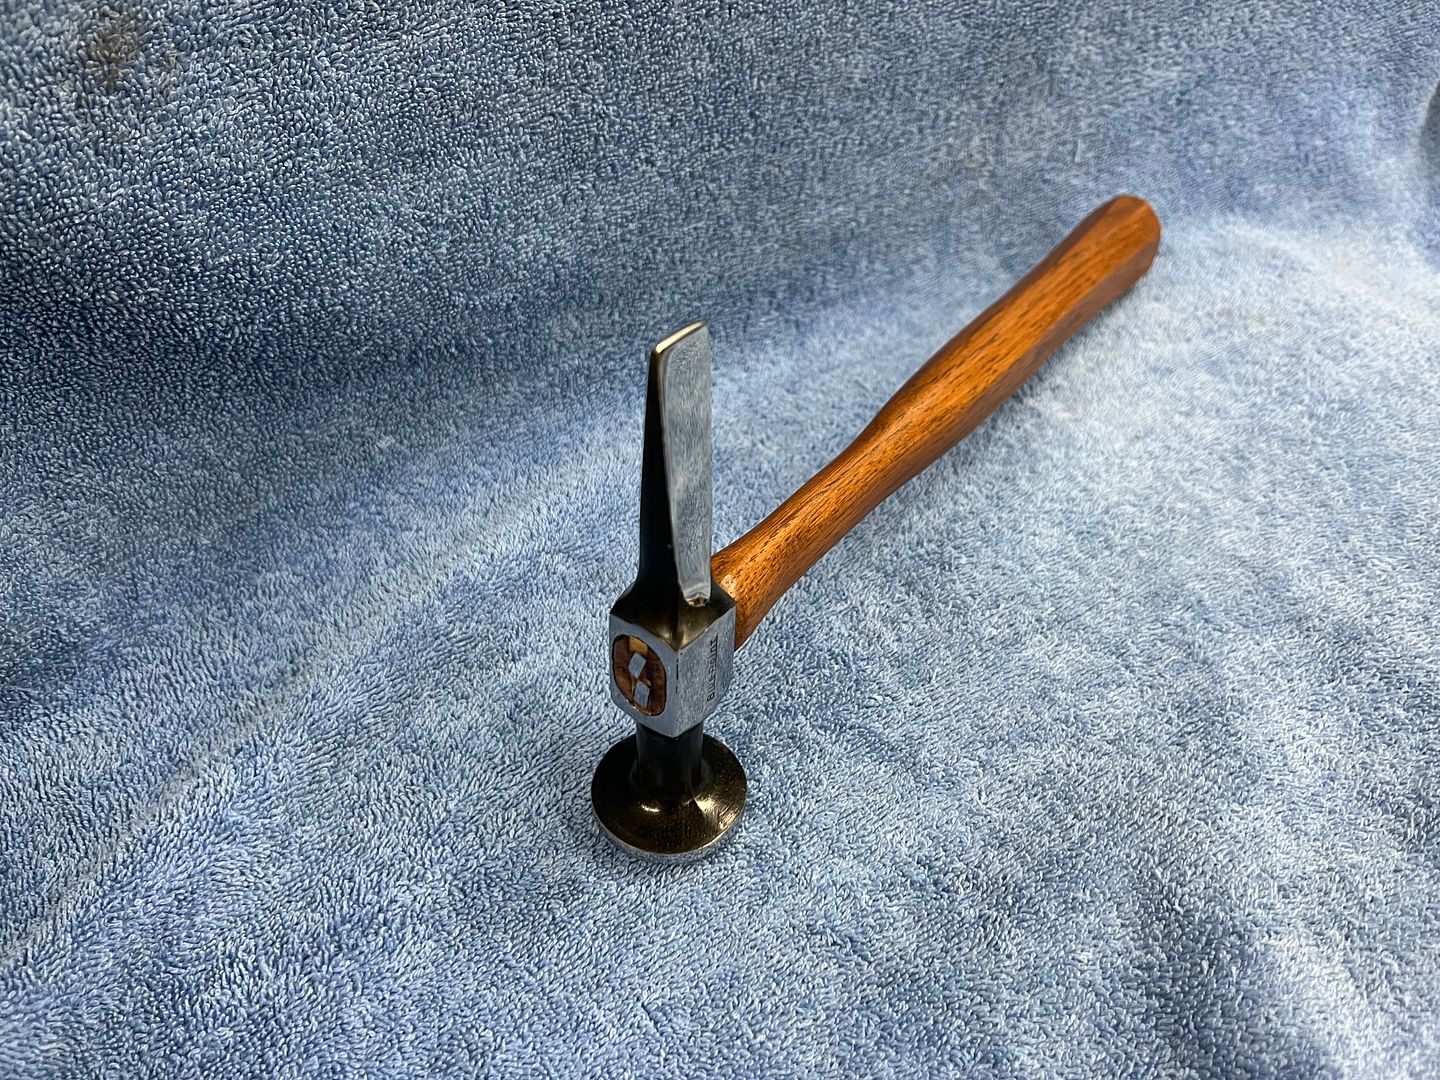
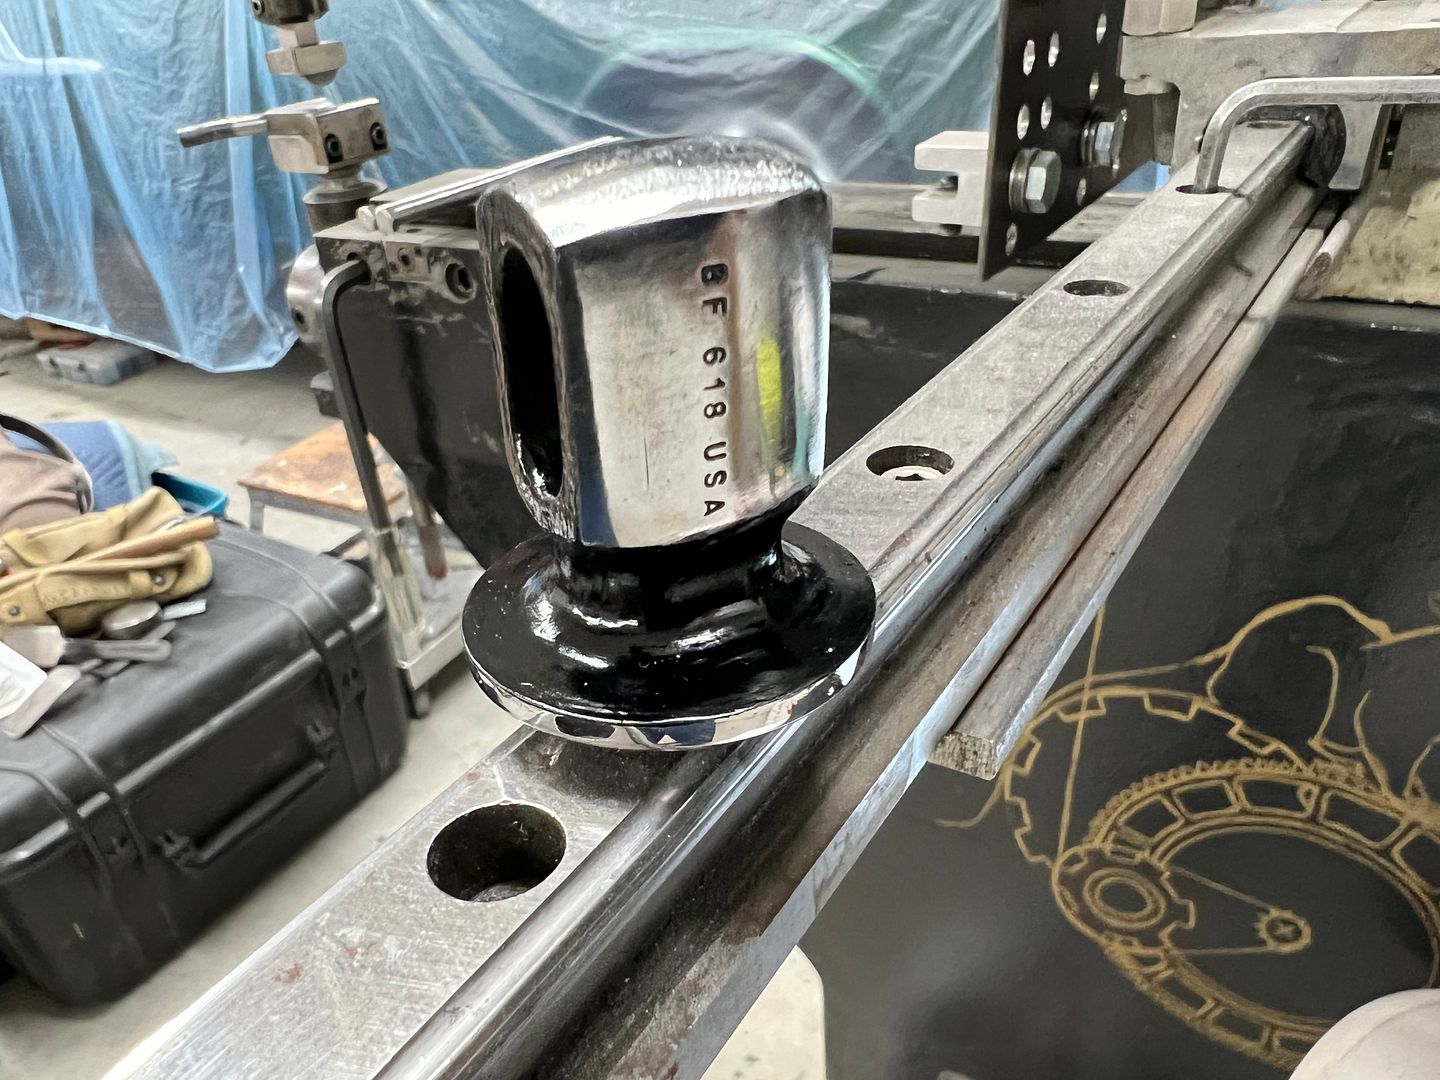

IMG_7619.JPG


Assembled..


IMG_7625.JPG


IMG_7627.JPG


IMG_7642.JPG


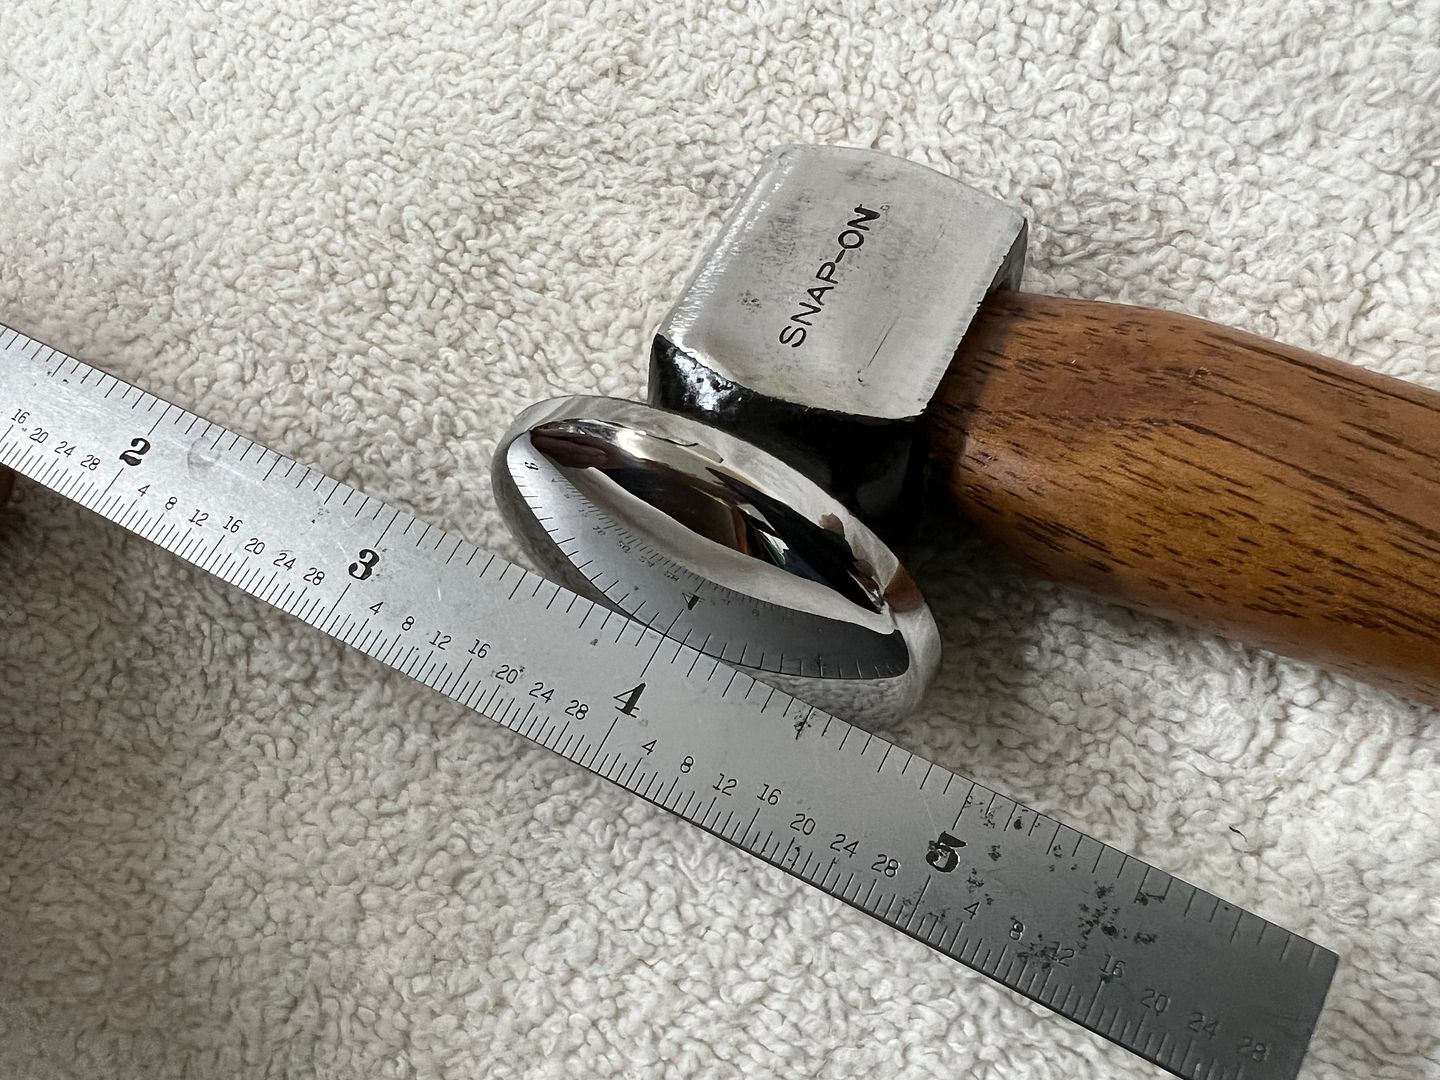
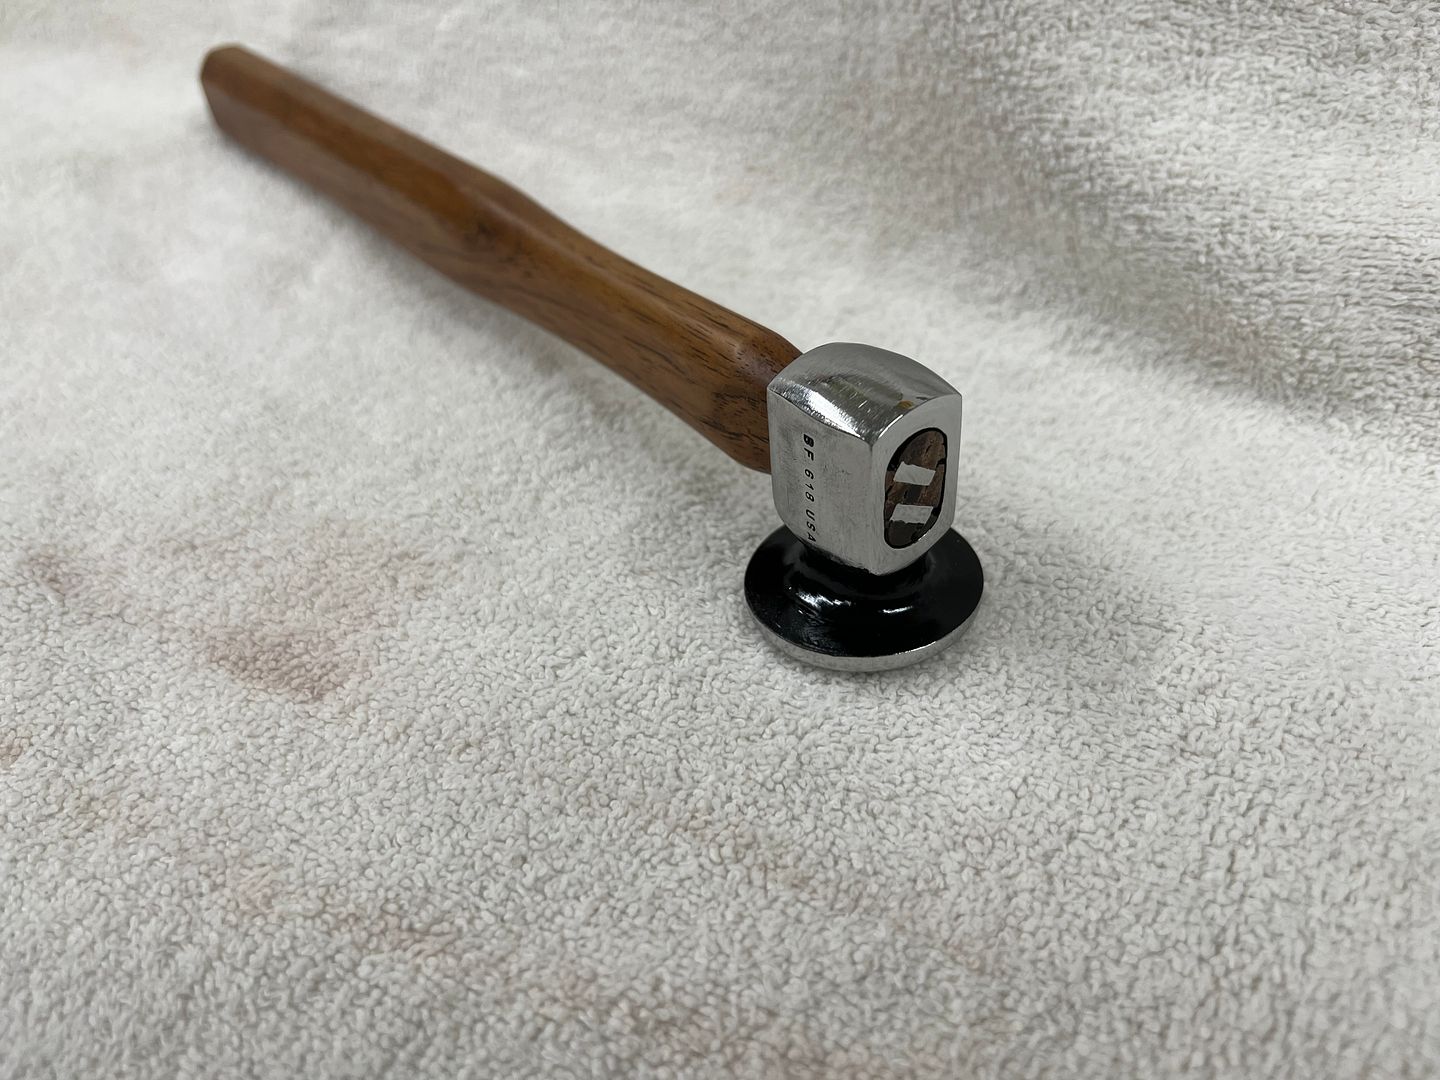
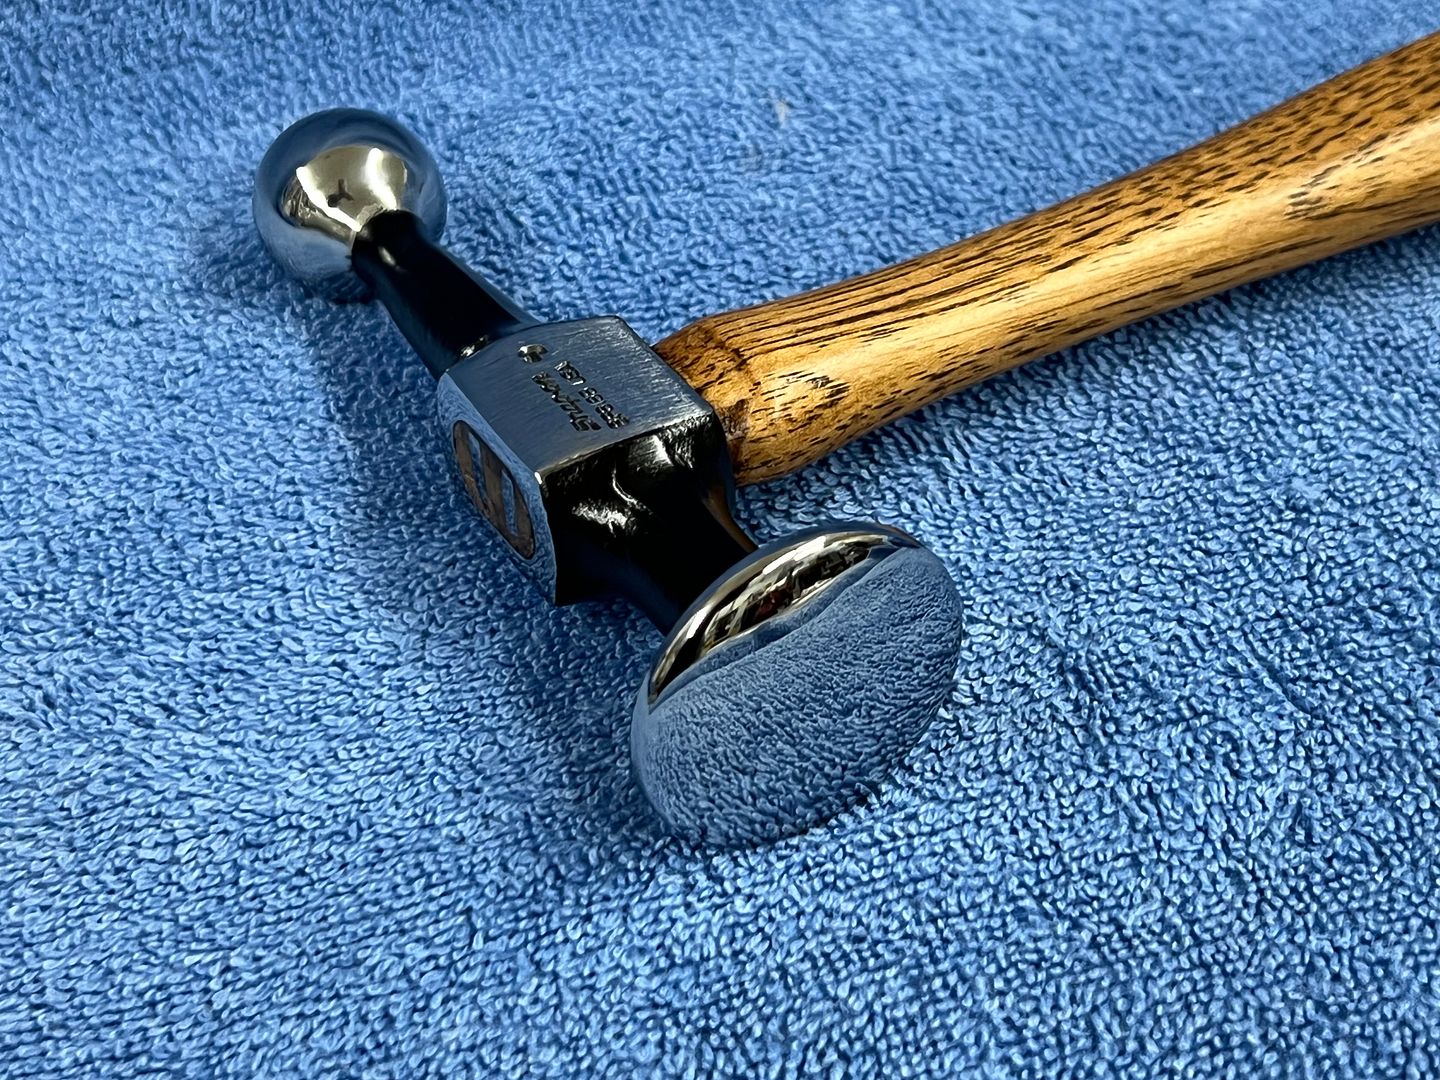
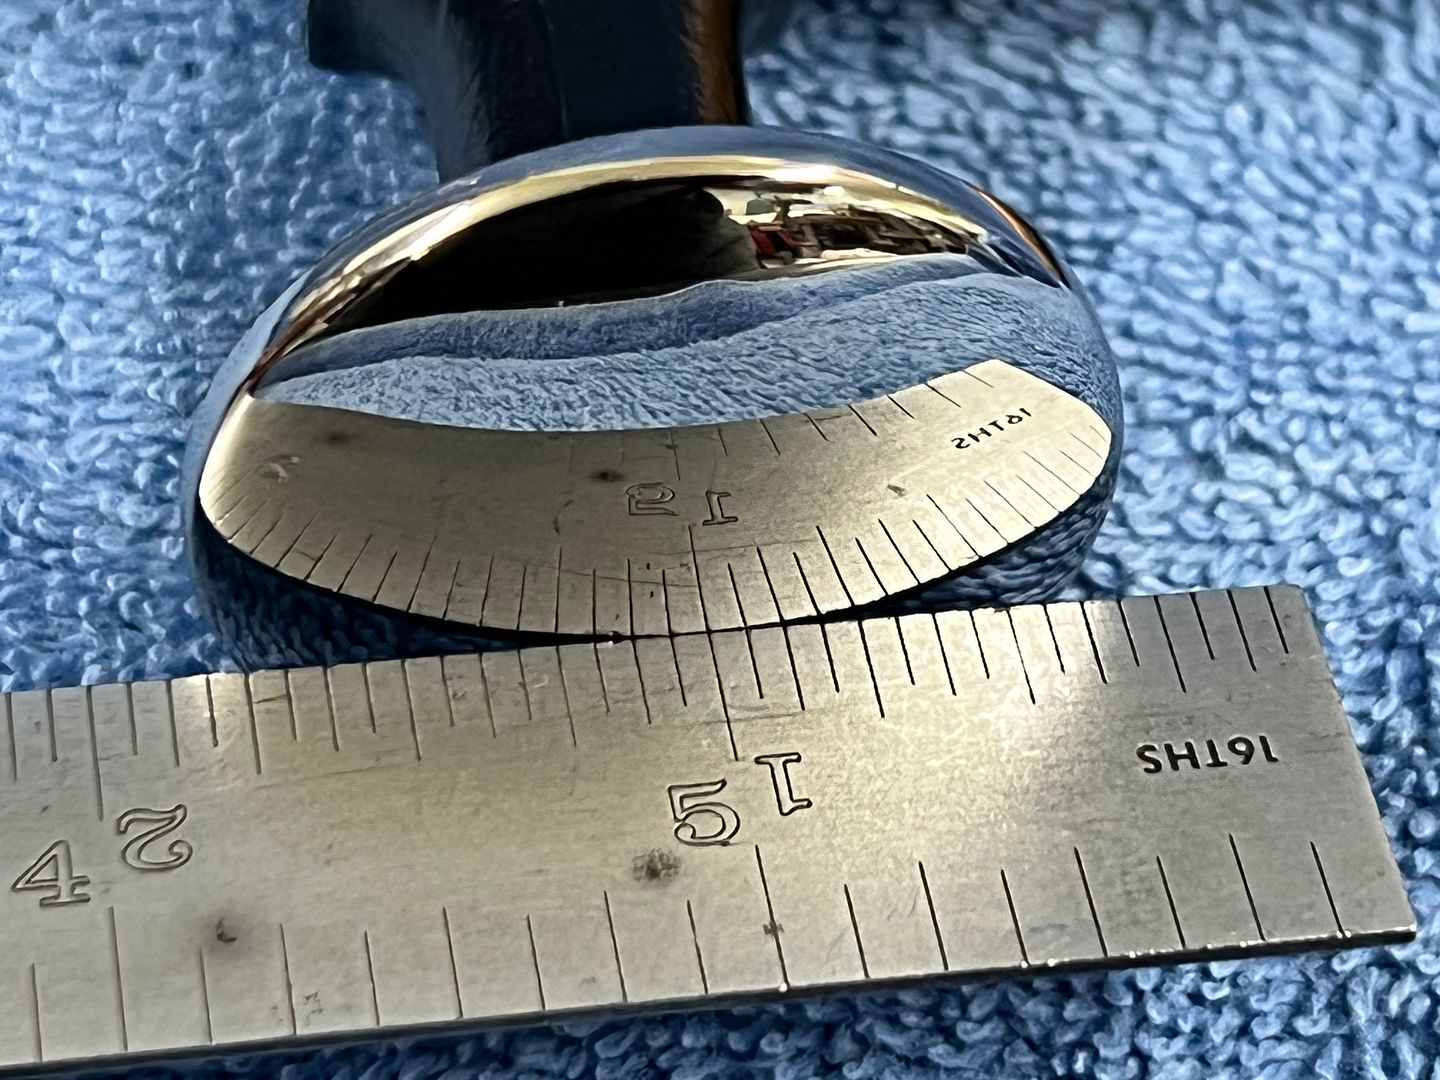
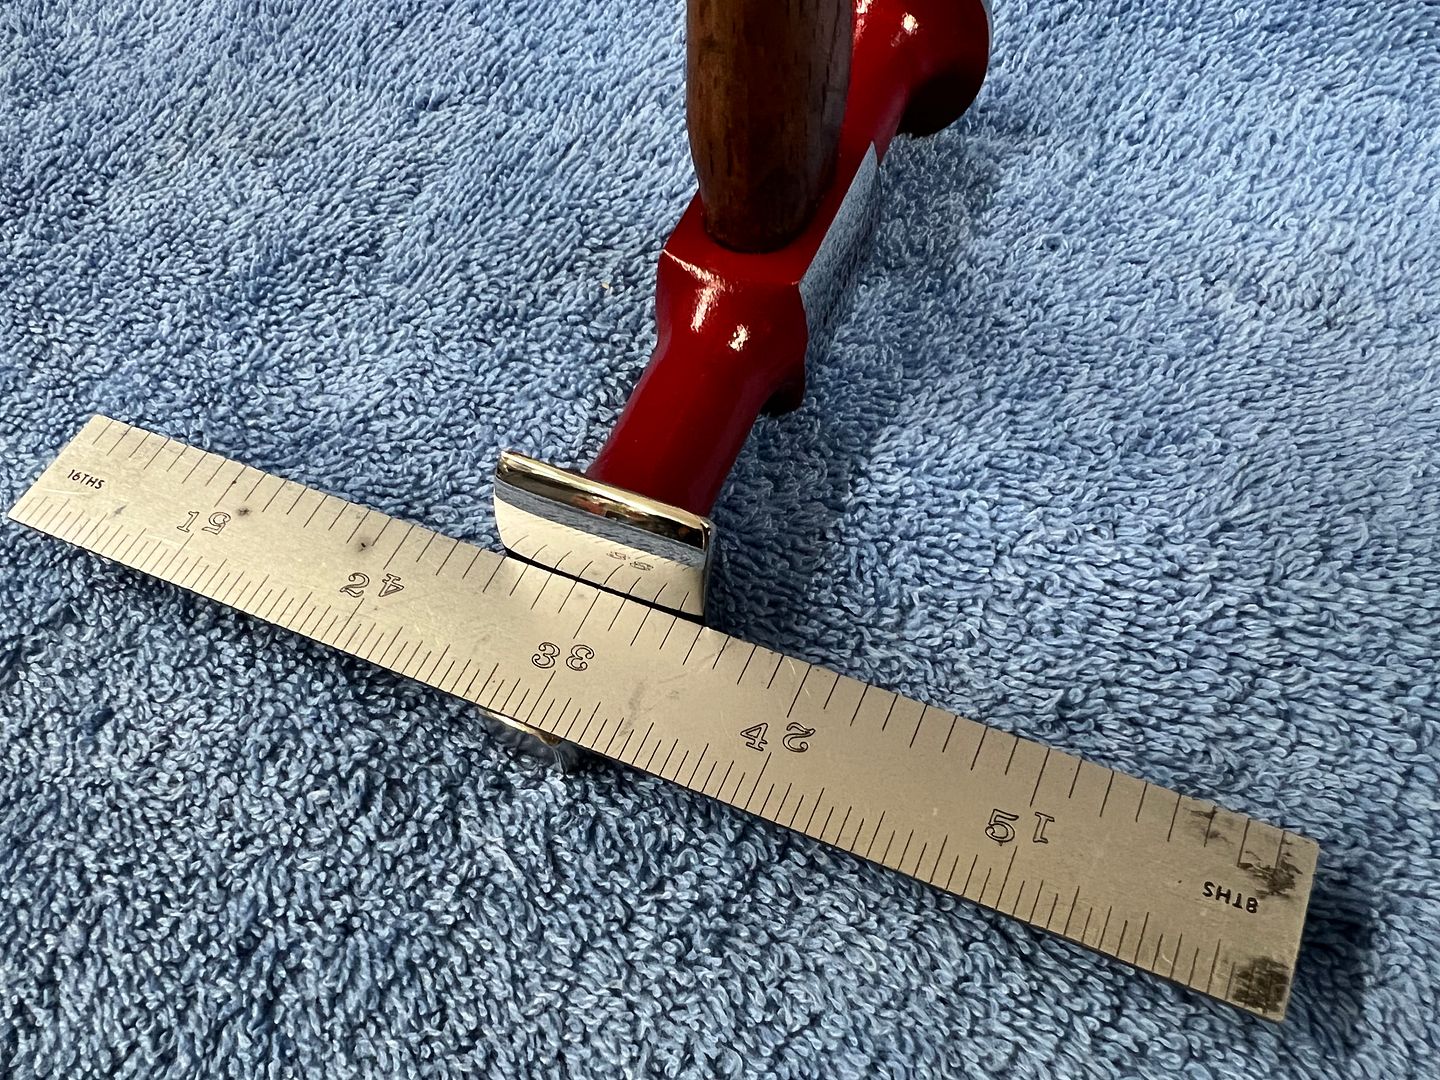
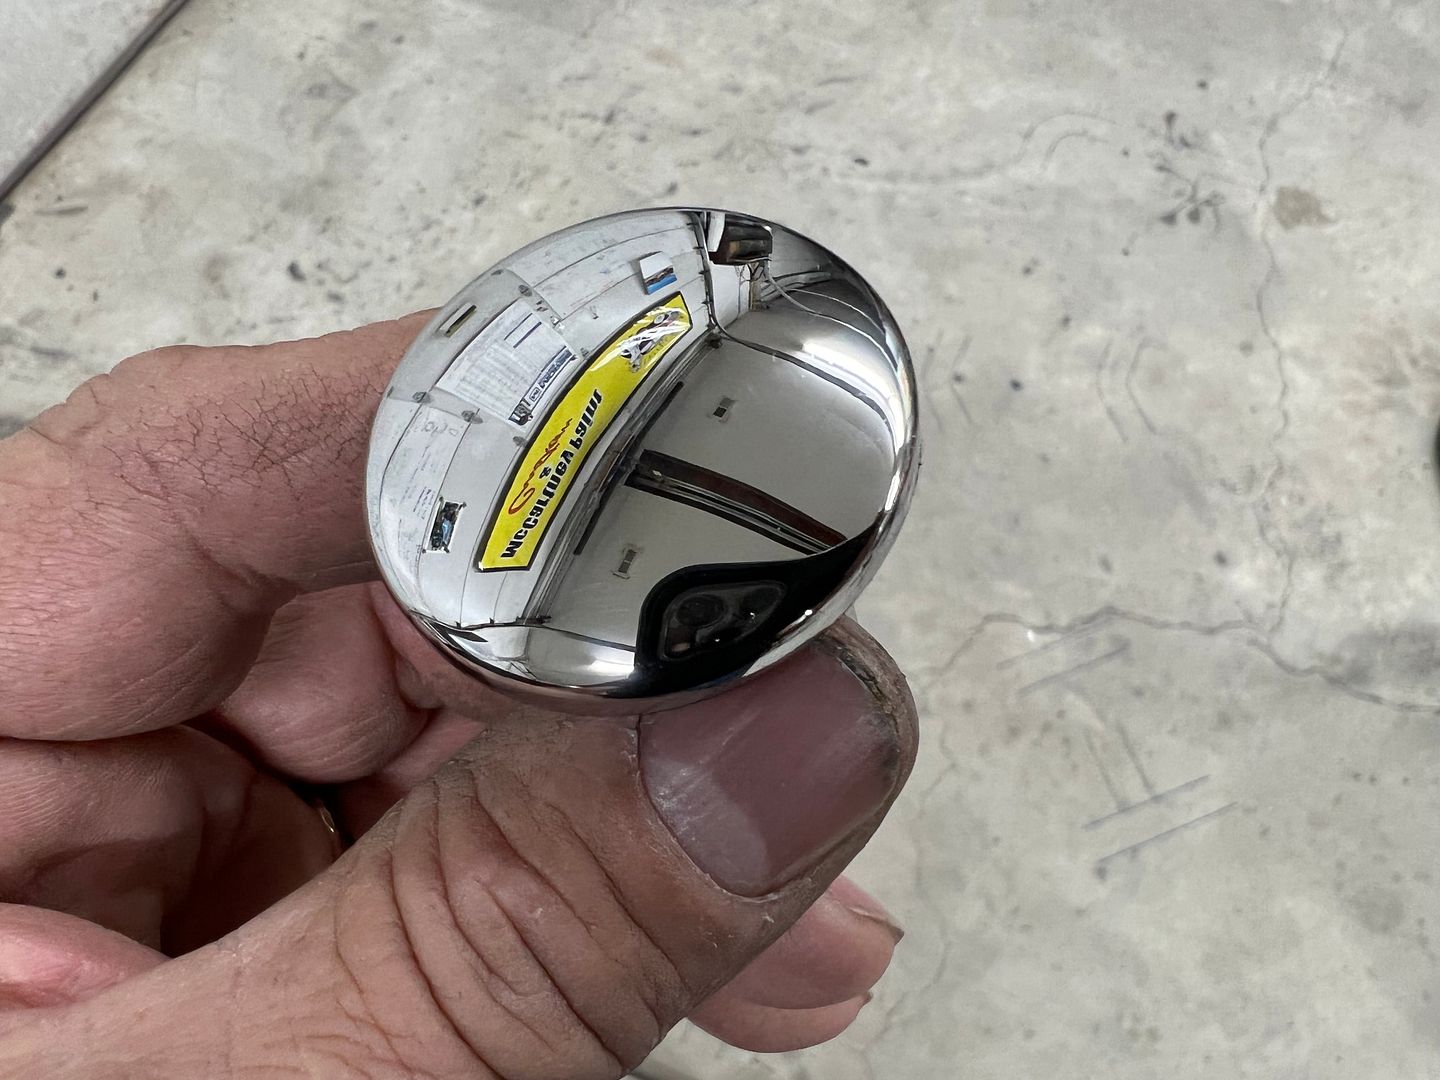
So the main reason for making this hammer is that Snap On does not make it with a crowned face. Their tight access hammer, the BF612 has a flat face, which is counter productive in most cases because you'll need it inside of a quarter panel or door, where typically you have a concave crown inside the panel to contend with. A flat face hammer is going to leave coin marks with every strike, the crowned hammer is more suited. The other issue to address is that with the short hammer head there is little finger room when the head face is parallel to the handle. With a slight angle added, we've increased the finger room..


IMG_7630combine.jpg


Ready for shipment to MI.


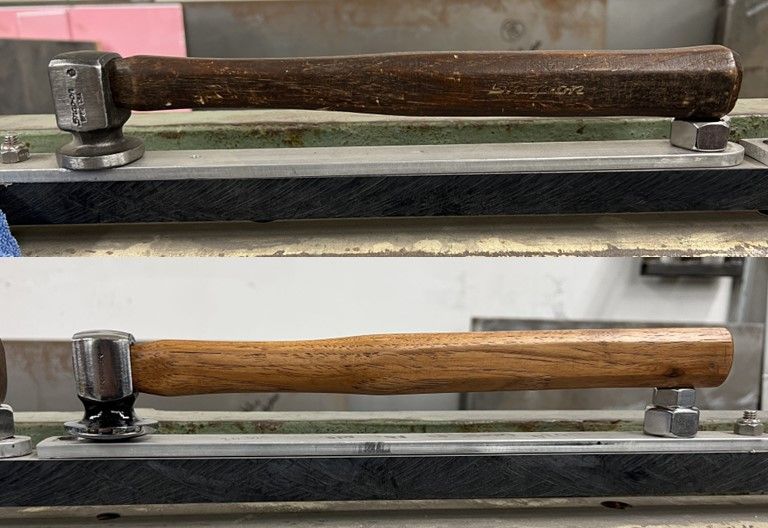
Looking back at the first picture (my hammer), it pales in comparison. Might have to clean it up as well....
 
Last edited:
Another BF618 hammer we modified. This time we're making a radius face on both ends. Using a 1" S2 tool steel round, which got bored with a 3/8 hole, and the chisel end of our 618 was trimmed and turned for a matching "peg" that gets pressed together with the bored ball. Then TIG welded in place using 312 rod and dressed out so it looks like it came this way. And yes, Snap-On should have made this one too. A low crown radius at the bottom and a smaller (1/2") radius at the top.


IMG_7844_kUTTzxxXuofH3kXUj9ouxw.JPG


IMG_7845_gVq4r6H951Bt87QH1w2jzK.JPG


IMG_7846_v9df3US2tUFthX2fKYk5S9.JPG


IMG_7850.JPG


IMG_7849_7Subd3eDZ86myBH1vKqed3.JPG


And here's a sample of the next set that will be finished this week, a set of Bonney with reverse curve faces.


Last edited:
I could straight edge shave myself from looking at my reflection with that highly polished finish.

I'm having body hammer withdrawals :D
 
Latest hammer modification, This one is a fender bumping hammer that I'm told works well on early vintage (20's-40's?) fenders. The barrel end seems to have not enough crown from end to end for such a fender without leaving coin marks on the ends of the strikes. So I thought I’d doctor up the extra hammer I have of these.


IMG_7984_d2fBsHvXqBWeyqHZ5L1TDR.JPG


A round crowned face was turned out of some tool steel. And a bandsaw didn't want to touch it for the final cut, had to use a 4-1/2" cutoff wheel on this and the hammer.


IMG_7973_t3MfQ2dZng8KunF1nkRhdw.JPG


IMG_7974_hRqtqYv2DXBE71pStiA5FT.JPG


IMG_7975_nmpwZoEUkTust52bgAwjgv.JPG


IMG_7976_q8Jbu9mcEoKZhWB1SGezud.JPG


With the barrel removed and the new face welded in place.....


IMG_7980_swTybc8USdPpUzFS2n98ej.JPG


Belt file makes short work of cleaning up the weld...


IMG_7983_24okgyLW8ZWGgyoEfBPkvG.JPG


Still needs some media blasting and a paint job, but looks like this will do the trick.


IMG_7981_pJcJSQwyqQ9YUPKeC2DZE7.JPG
 
I use one of those bumping hammers as a chisel with a handle.

My snap on hammers would get short handles because I always broke them. Collision work is hard on some tools.
I make tools when I need something.

Have not tried to weld a hammer together.

I tried a trick I saw to weld a hard edge, just use a cobalt drill bit as a filler rod with the tig. Its hard without heat treat. I made a mild steel chisel that could cut through bolts.
 
Robert, what is your tool steel of choice and do you harden afterwards?

I’ve been using 4140 oil hardening, the ball added to the one hammer above was S2 because it was the closest match to the Rockwell hardness of the body hammer. With most of these hammers a band saw won’t touch them and a cutoff wheel is needed. I haven’t hardened them based on how hard they were to begin with. And typically I’ll only weld one side of a weld pass at a time and allow it to cool in between, to keep things from getting too hot.
 
S2 is excellent….I used S7 to make nibbler tooling.
Both are excellent materials for toughness and can be very hard on the Rc scale ( mid 60s)
Nice work all the way around
 
Very Nice! What is your polish procedure? I took some of my hammers and a leaf spring slapper to 1000 grit and called it done.
 
Thanks! I use a similar process to what I was doing in polishing up stainless trim. Start with about 400 grit and work up to 5000 Trizact before buffing. Unless there are some gouges to get rid of, then I’ll do a coarser starting point. With the hammer face I turned in the lathe, the polishing was primarily done on the lathe, which makes things easier and more consistent.
 
Next hammer we did is a vintage Blue Point "redhead" reverse curve hammer. It started with some nasty nicks in the hammer face and a handle that needed a fresh cleanup.


IMG_7824.JPG


We start by removing all the nicks and abuse from the hammer faces, as well as removing any sharp edges followed by a polishing, to keep from transferring those defects to your panel. Then media blasted and painted. The handle gets thinned slightly through the neck to help keep the impact shock from traveling to your wrist.


Then the handle gets refinished. The fun part is removing the old stain (and stains) without removing the vintage logo...


IMG_8100_o61cjRcowxgQWdjPXAm339.JPG


IMG_8099_dWbUaxSUoqox6q8bZRhVKf.JPG


IMG_8098_ud8s9JszYKRFT3Ccx4ofA3.JPG


IMG_8097_tazdHAqkhiPwpDb19qMF68.JPG


IMG_8096.JPG


IMG_8093.JPG


finished and ready for shipment


We also worked on a Heller 422, the bottom one in the next picture...


IMG_8029_eJakWJ4BkEdtj3caPP24pY.JPG


We had years of abuse to remove, nicks, surface rust, and casting flaws. When checked on a loose belt sander we found waves in the casting, so the belt sander was used to provide a more consistent radius. Then we followed our sequential sanding techniques, and finished out on the buffer...


Then the polished edges were masked, the remainder media blasted and painted


IMG_8039.JPG


IMG_8036.JPG


IMG_8037.JPG


IMG_8038.JPG


All complete, this one now resides in Delaware.

It would be an honor to be slapped in the face by a beautiful looking spoon like that.

Batter up :)
 
Here’s a commission I just completed for Jason at Wild Rides and Fabrication. He had reached out to see if I had one of the Snap-On unicorns, the vertical cross peen hammer. Well, I didn’t have one, but had all the parts to make one. We started with a BF604 and lopped off the chisel, chamfered everything, rotated the chisel 90°, set a gap for a root pass, and welded everything up with some Super Missile welding rod. The handle was narrowed through the neck and refinished. All cleaned up, it looks like it came this way.


IMG_8087_3g94zcc8rinjC2JBX7mapA.JPG


IMG_8120_eceV9o3fESba6DozfkZshe.JPG


IMG_8121_qvBrfkp72jir2MX1hvVTEN.JPG


IMG_8143_qeKH5zCnPoR1LKQPtDuRR8.JPG


IMG_8144_38Afk1g3PaiFd8tvEEVHQy.JPG


IMG_8147_vbHLf3g25GJHBvAoGg4Sk4.JPG


Back
Top