You are using an out of date browser. It may not display this or other websites correctly.
You should upgrade or use an alternative browser.
You should upgrade or use an alternative browser.
Fabricating a Stubby hammer
- Thread starter MP&C
- Start date
Kawickrice
Promoted Users
Your hammers look better than the factory puts out. Great work
MP&C
Member
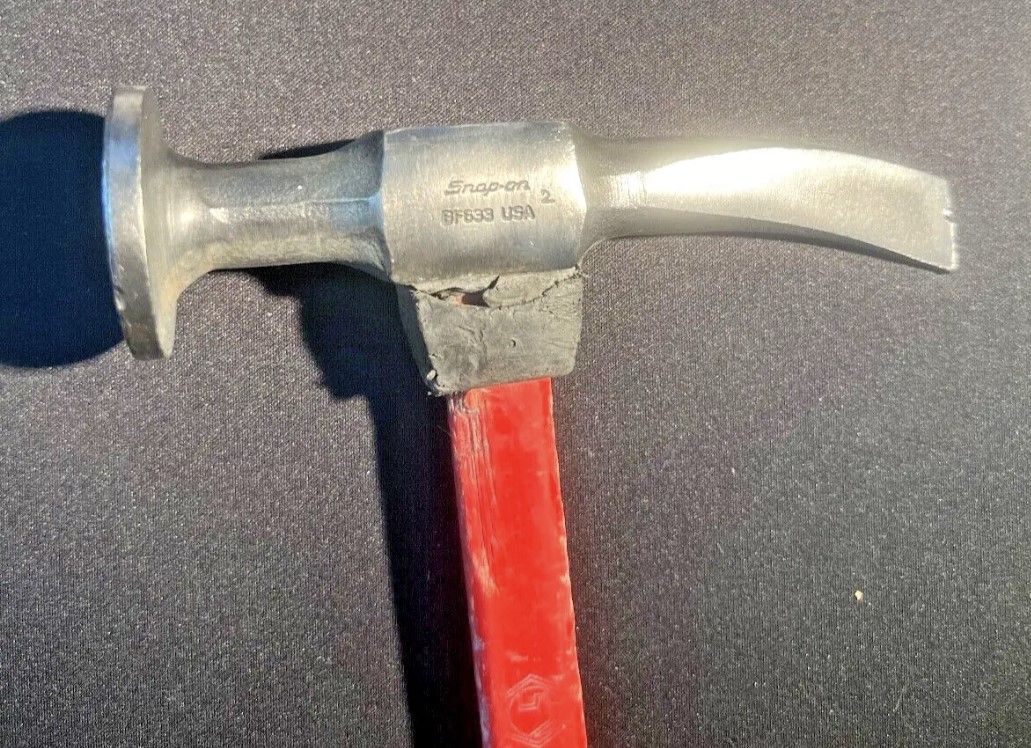
A friend of mine in PA has been looking for a Snap-On BF633 hammer for some time now. The last (and only) one I've seen was on eBay, it had nicks in the chisel and hammer face, as well as an incorrect MATCO fiberglass handle. With tax and shipping it sold for right at $200, pictured here:
I also have a couple of the BF617 large face hammers with the shrinking face (waffle pattern). Another metalshaper friend of mine has been restoring and selling hammers and dollys for many decades. He told me in all that time, he has never sold a waffle faced hammer.
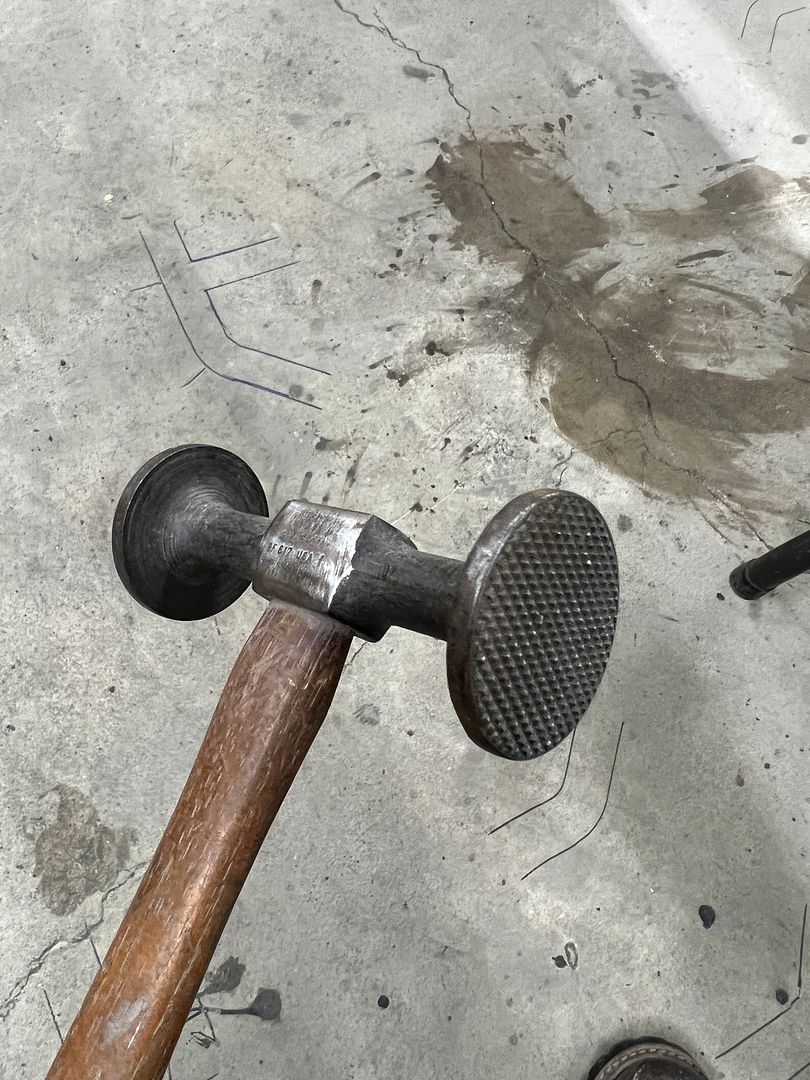
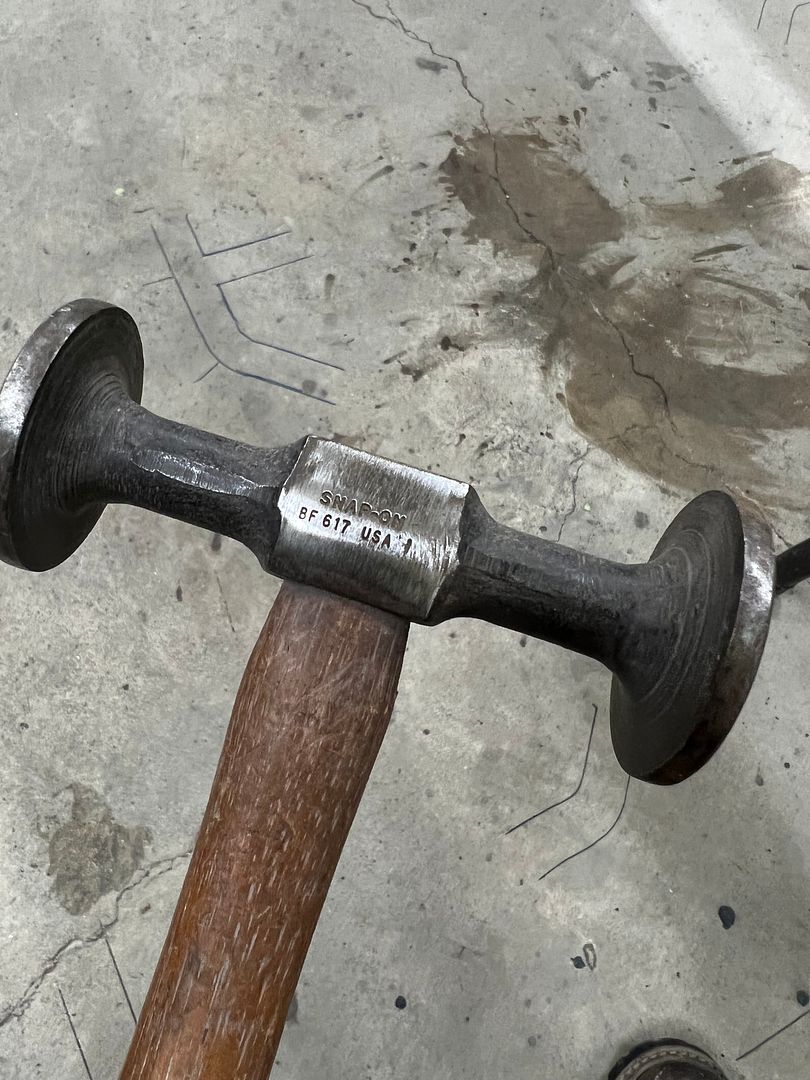
So based on his experiences, I have little chance of selling one of those shrinking hammers myself, and thought I'd sacrifice one for the other. Here is our attempt to use a hammer nobody wants to make a hammer nobody can find.
Here is our start to the process, using the blacksmithing skills I didn't know I had. The unwanted end was heated cherry red and smacked using BFH to force the hammer face inward. Heat, beat, and repeat. A piece of 1/2-13 all thread serves as our heat resistant handle.
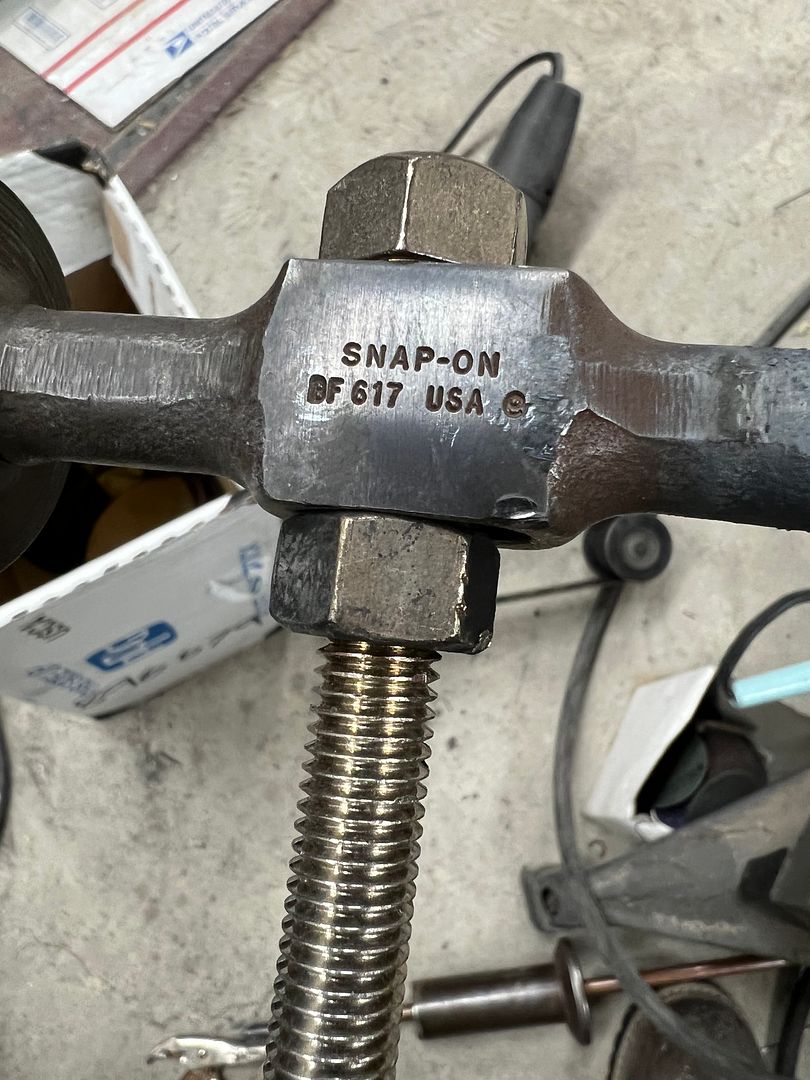
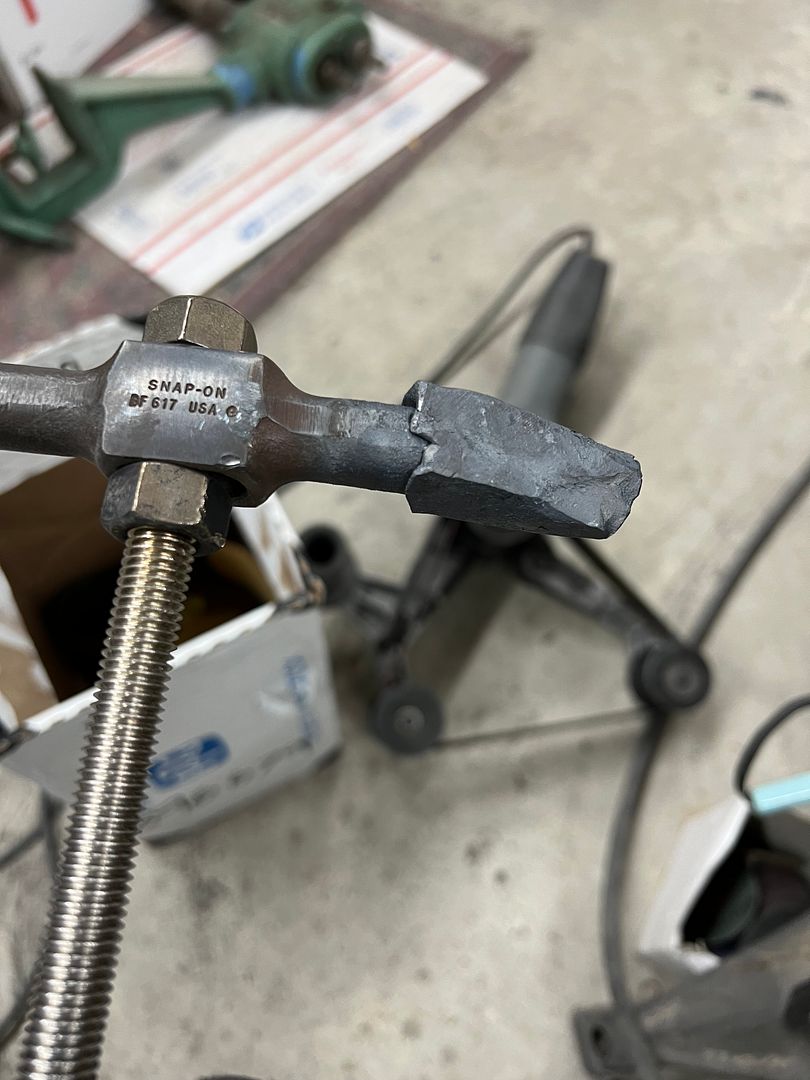
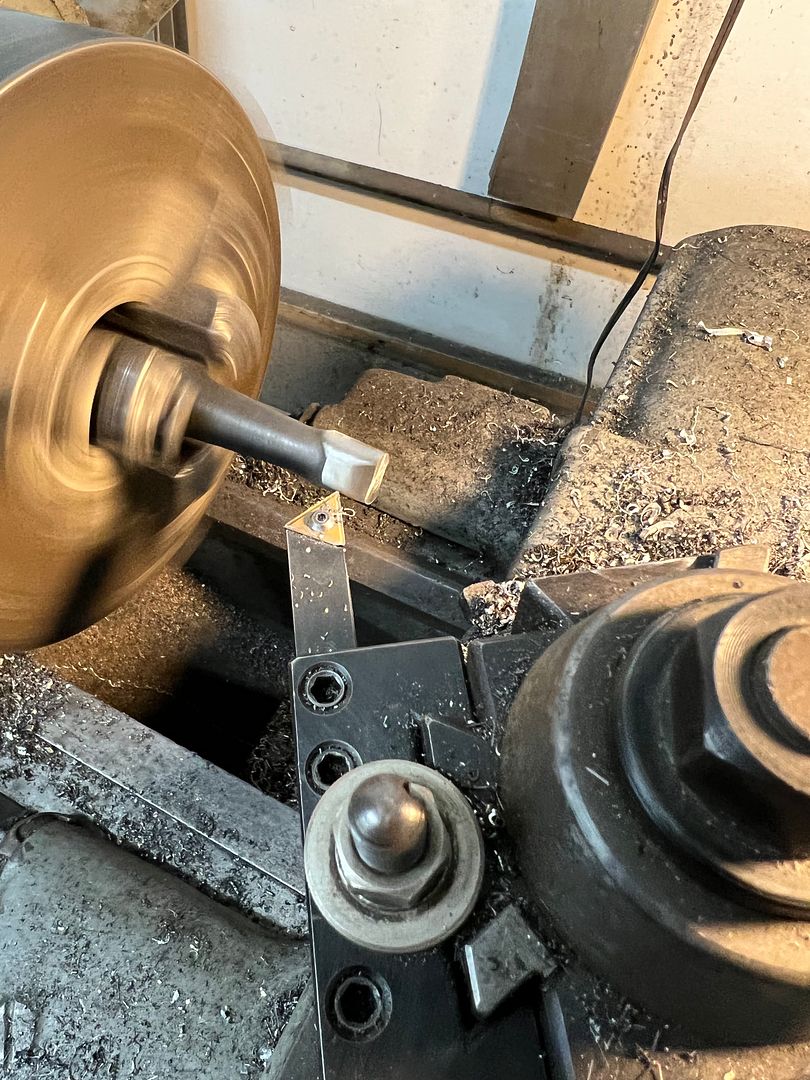
Once our hammer face was "pointy" enough to fit through the jaw of the lathe, the hammer was chucked and the diameter cut down to size for our faux hammer.
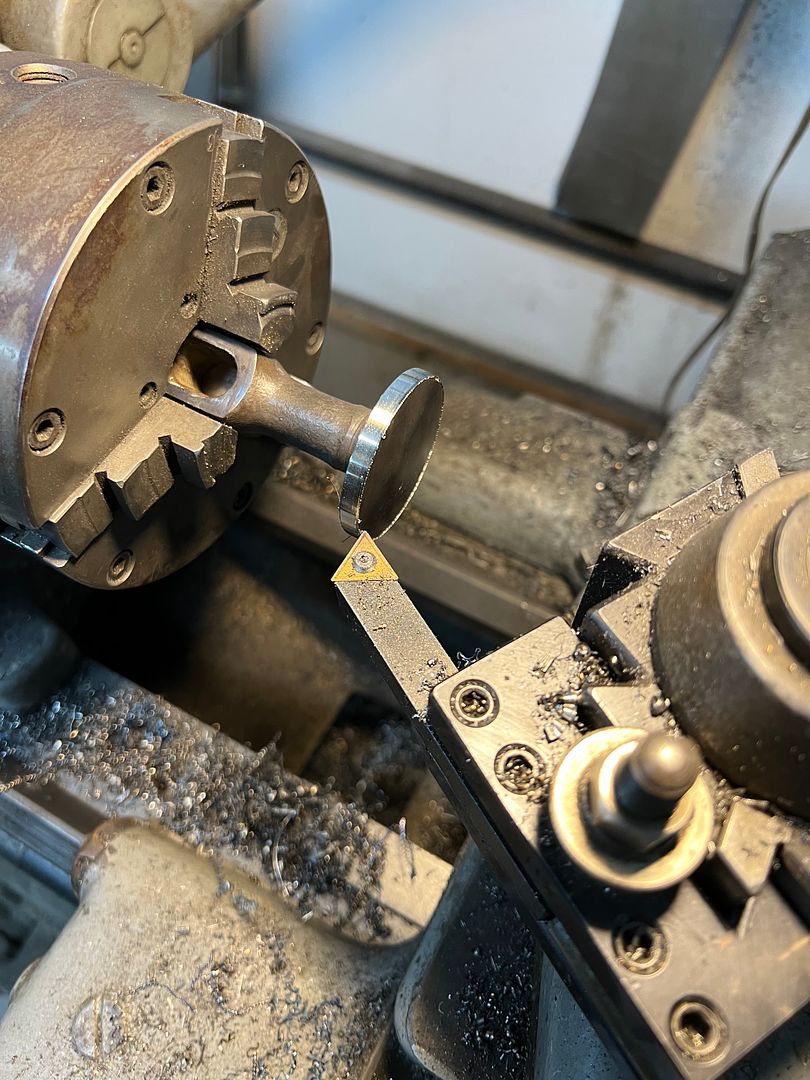
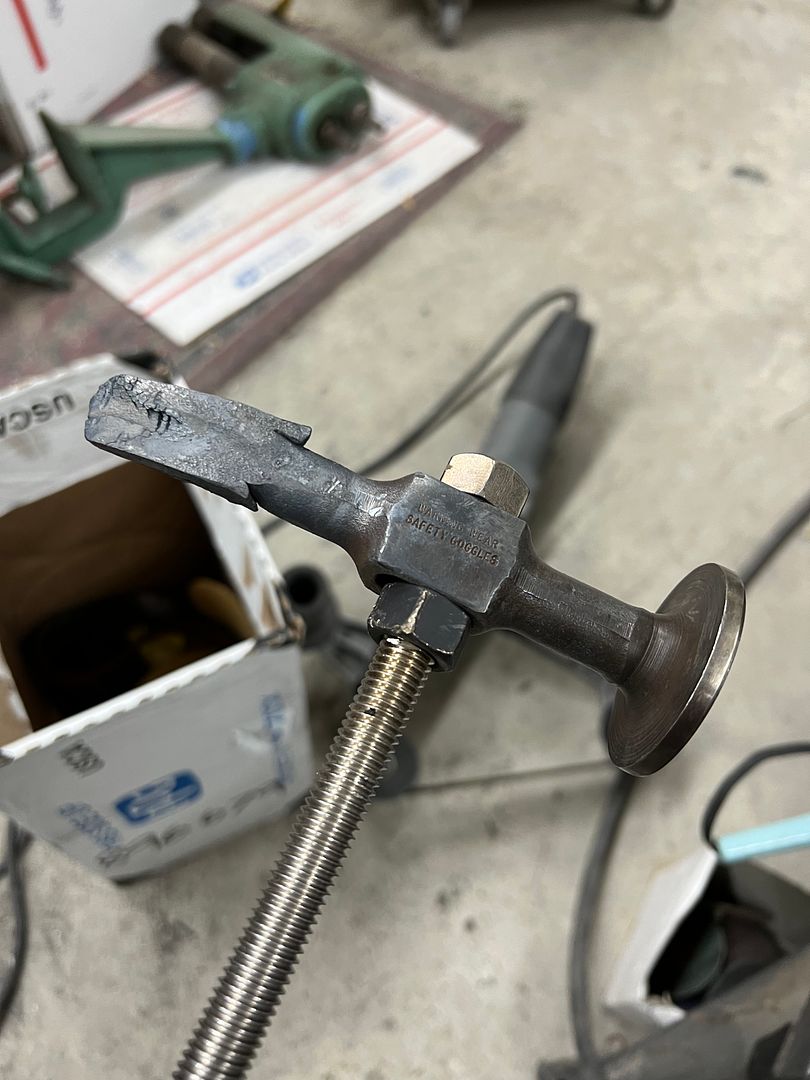
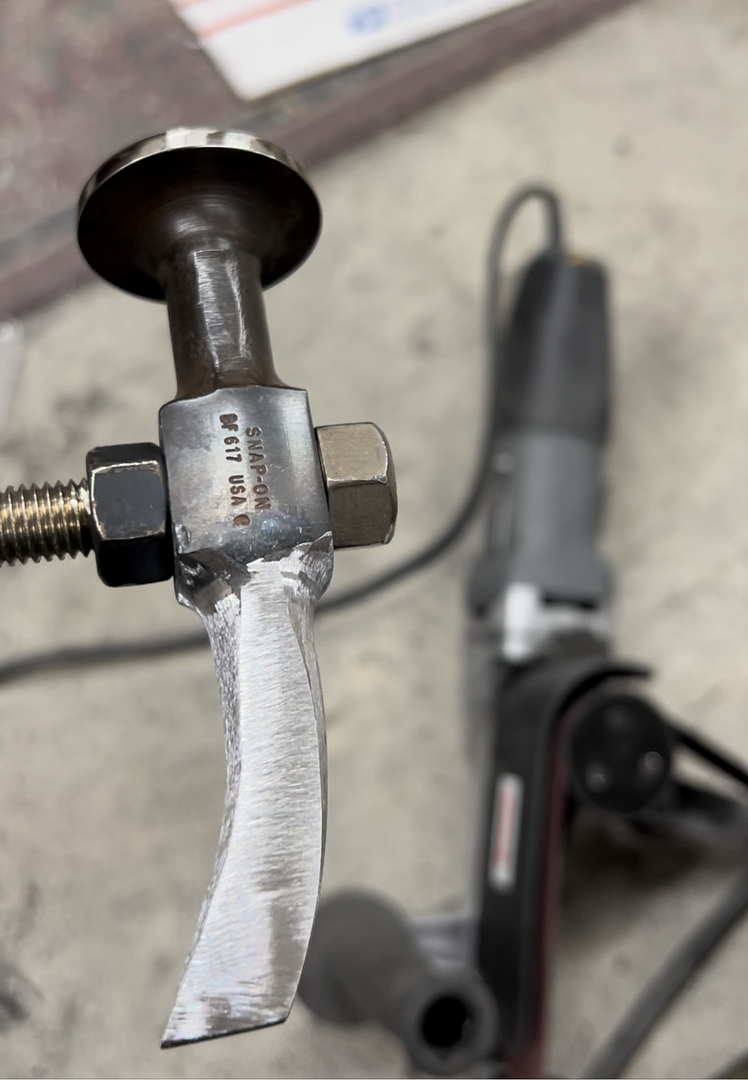
Now with the face cut down to size and preliminary polishing done on the lathe, the chisel could be heated and curved to match the BF633 Unicorn.
Some grinding using the Dynabrade air file/belt sander...
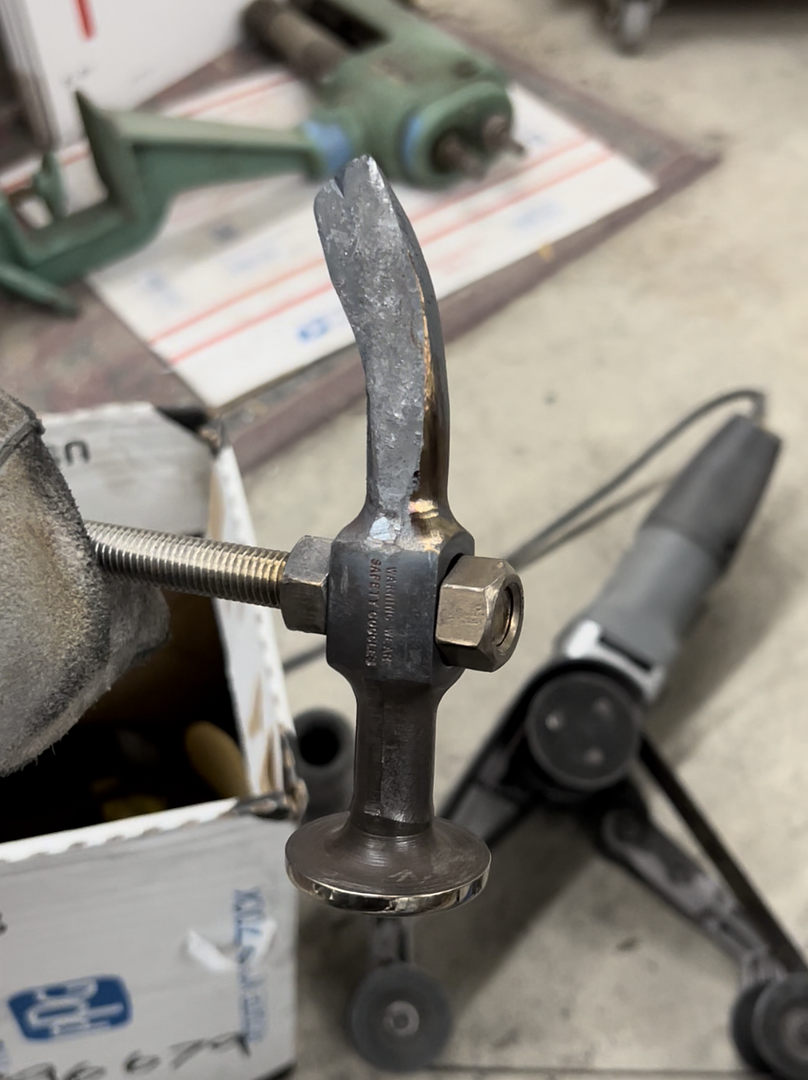
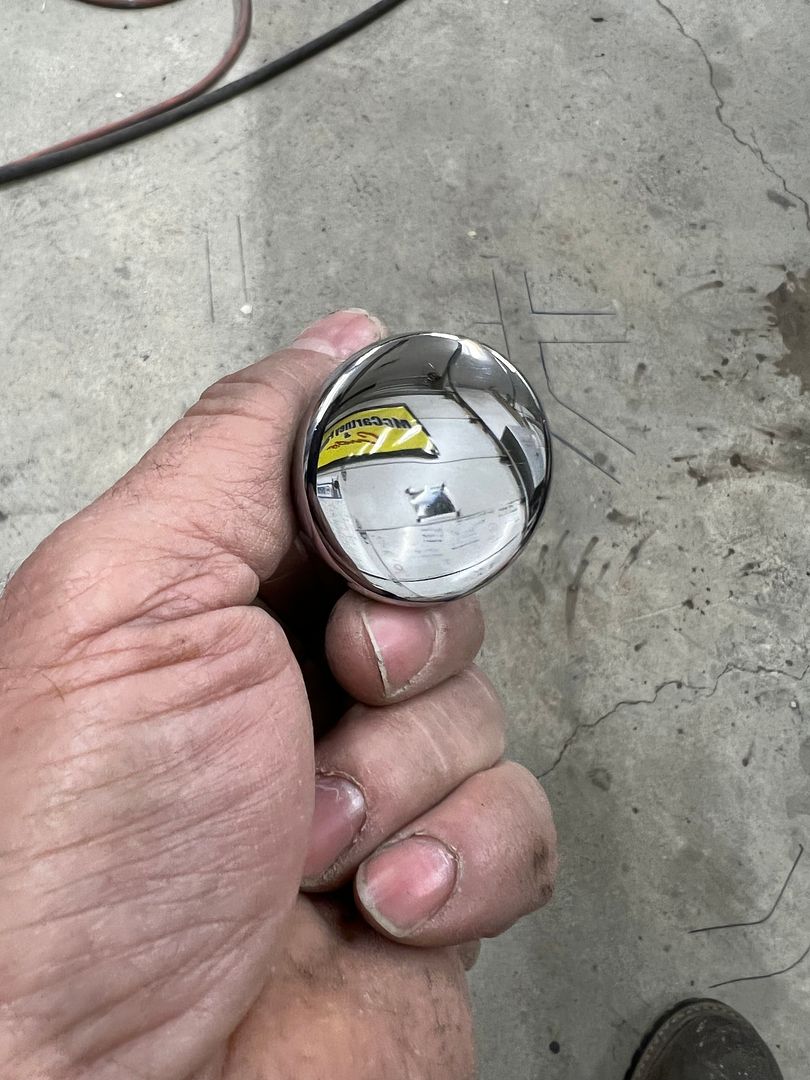
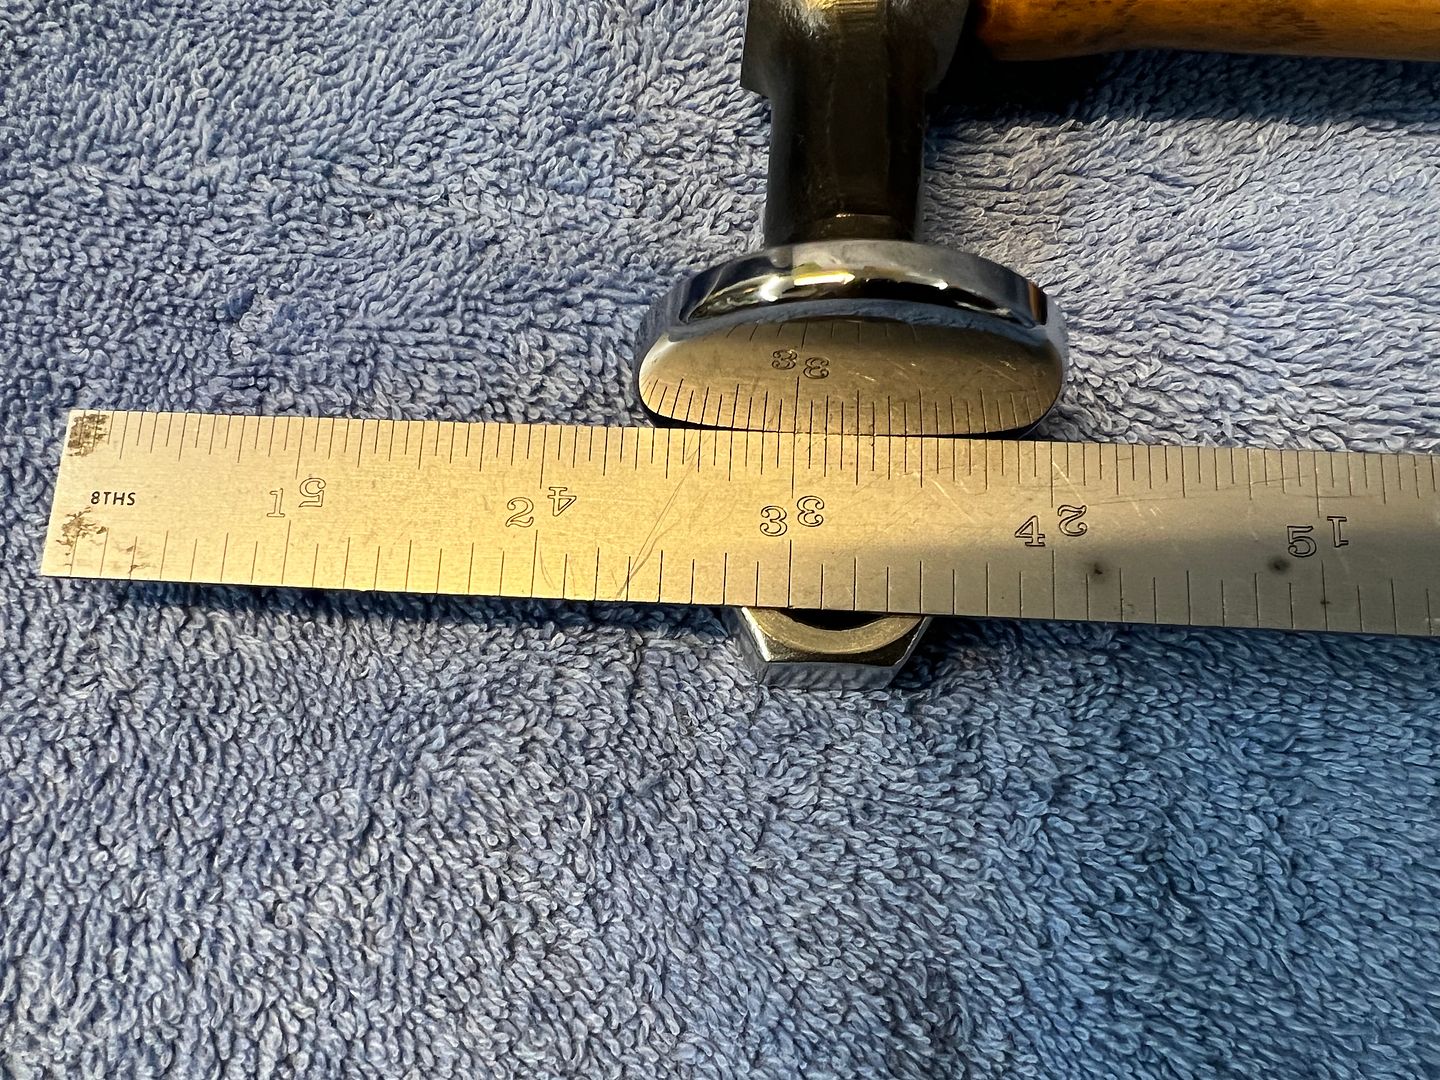
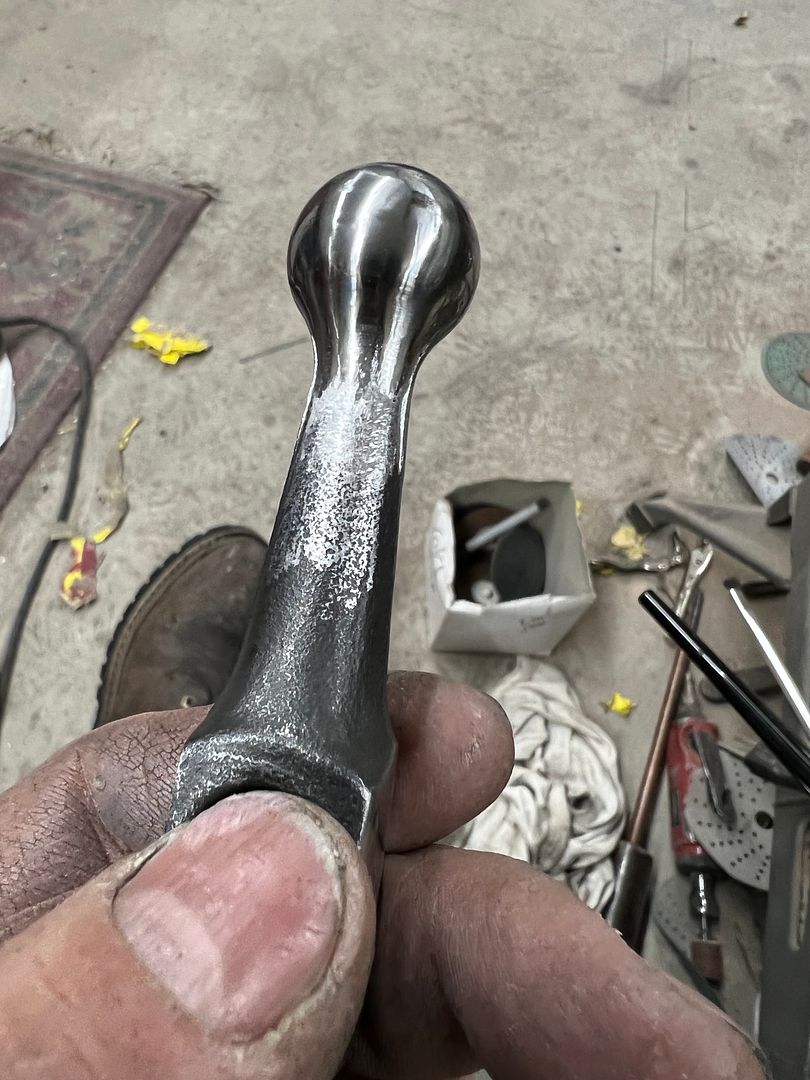
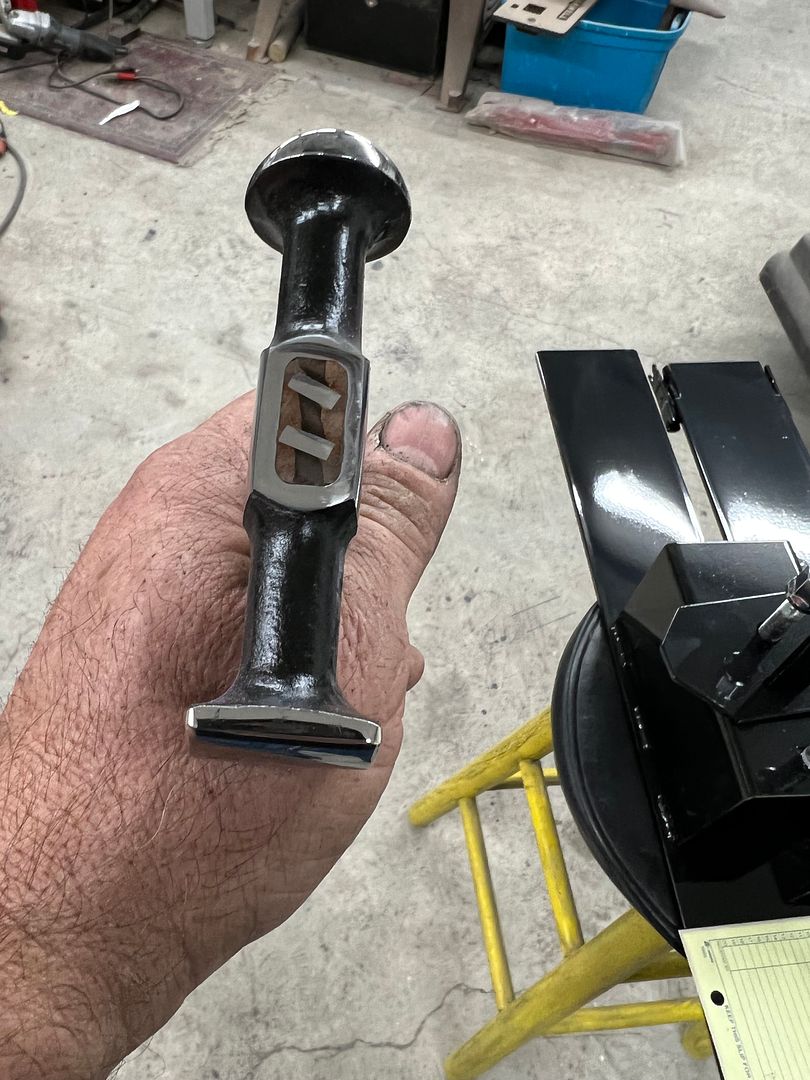
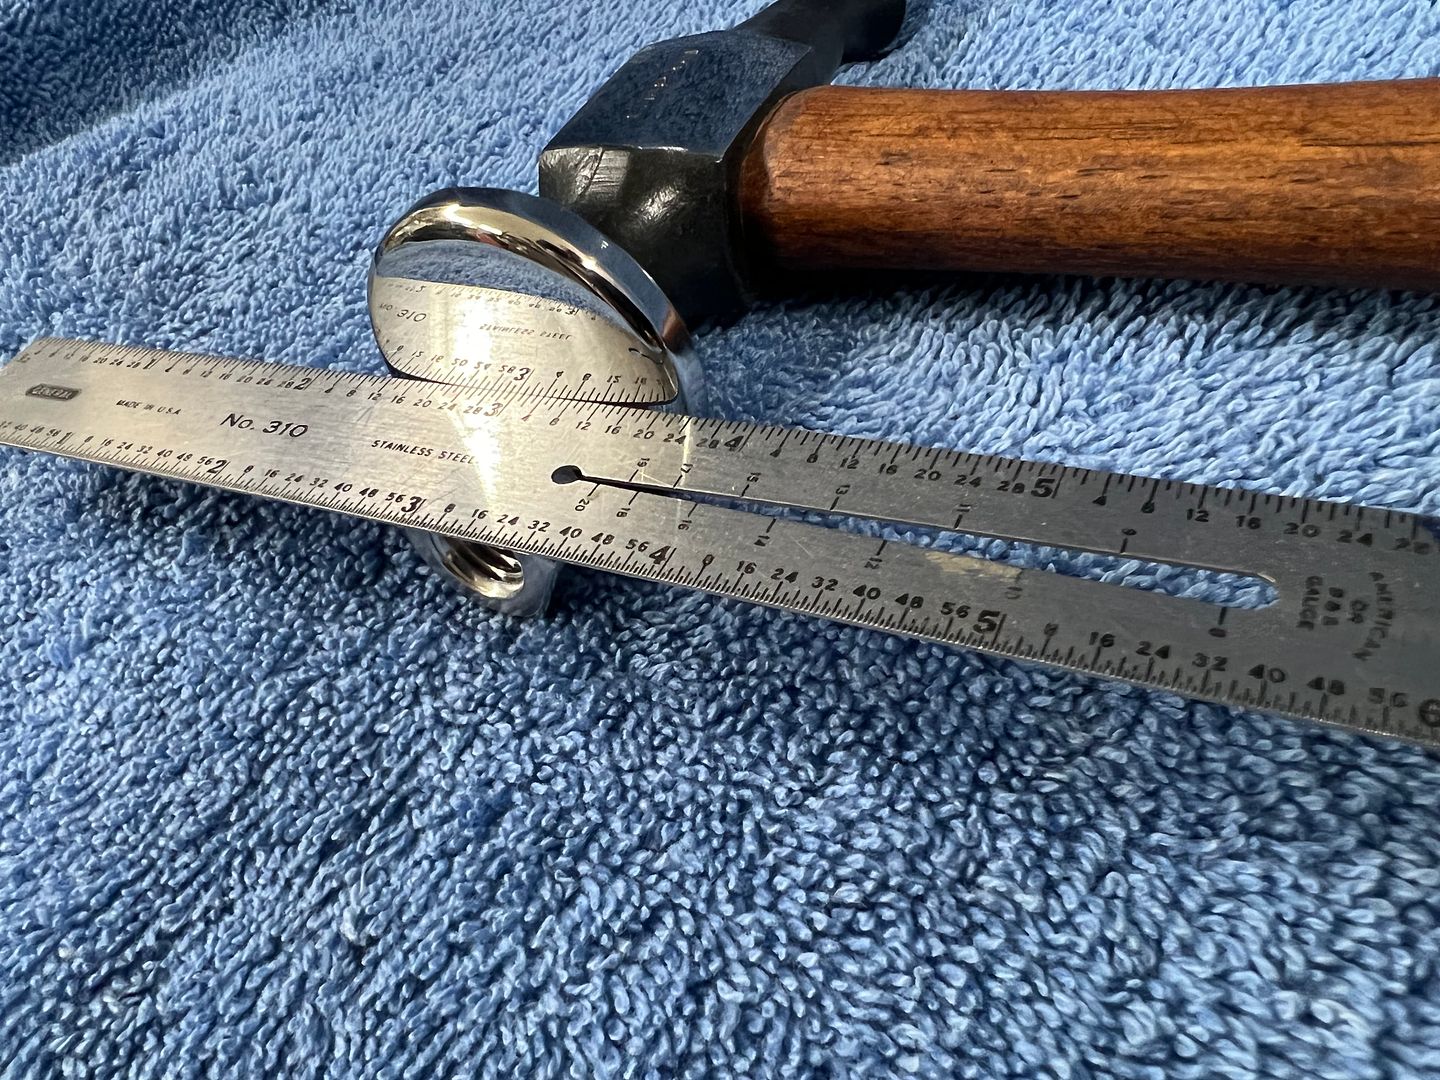
Face polished
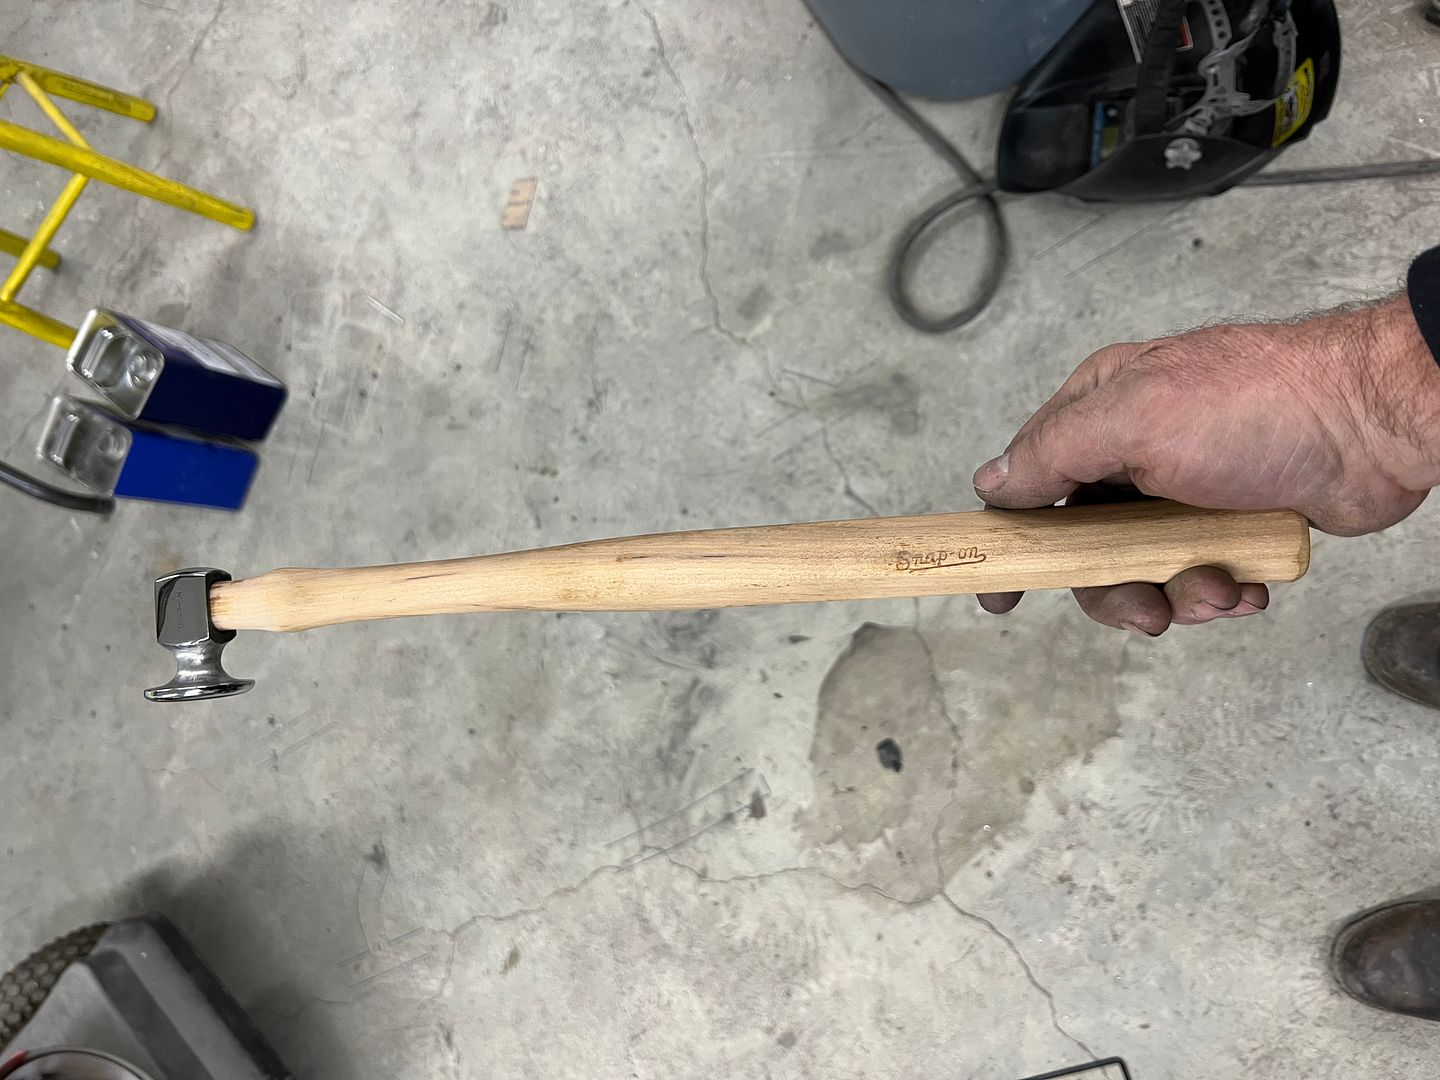
Handle refitted and neck section thinned out
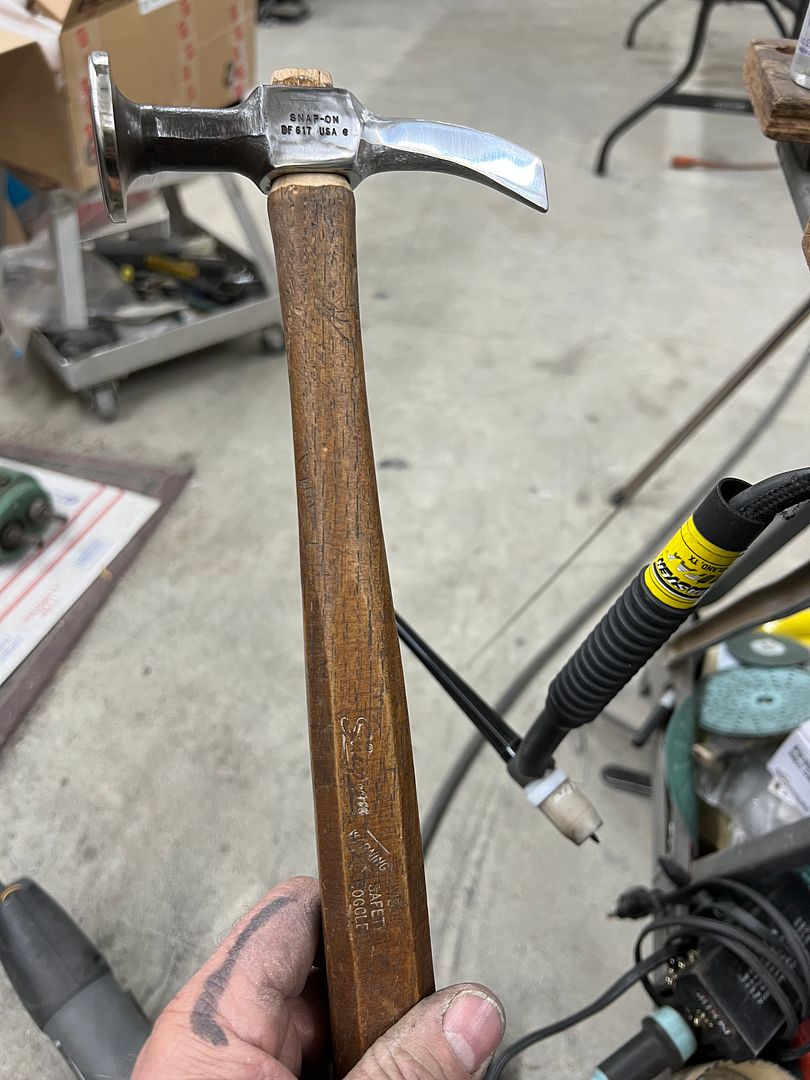
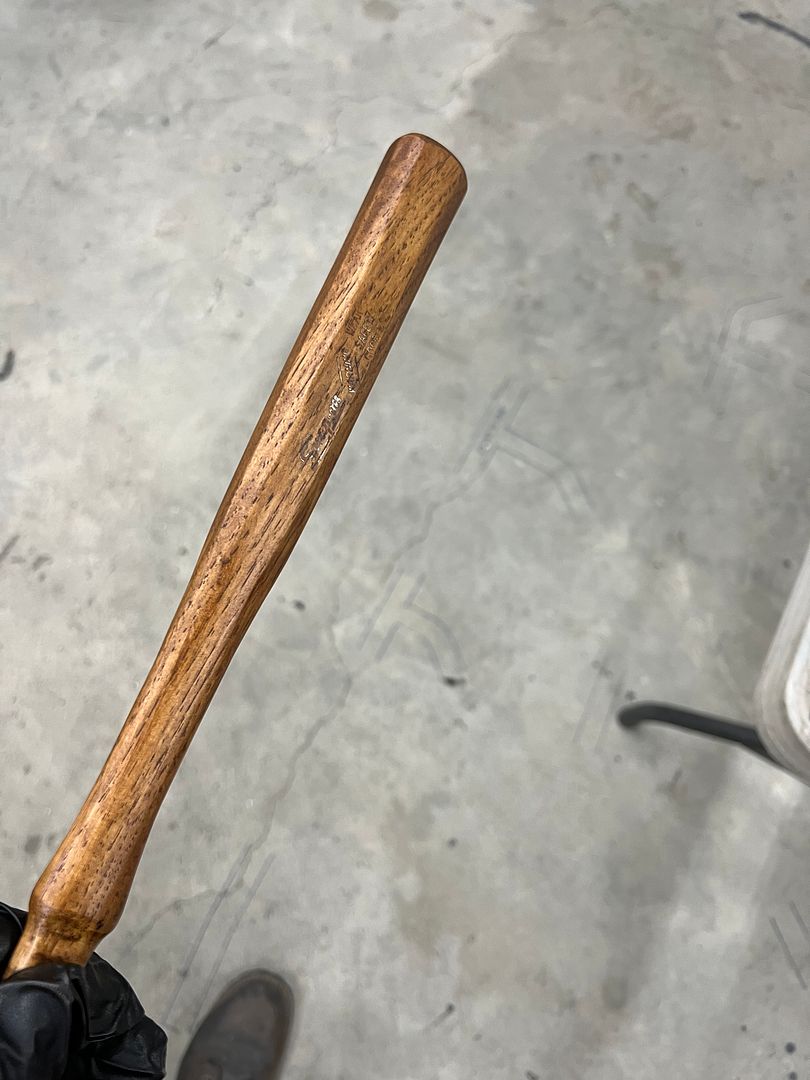
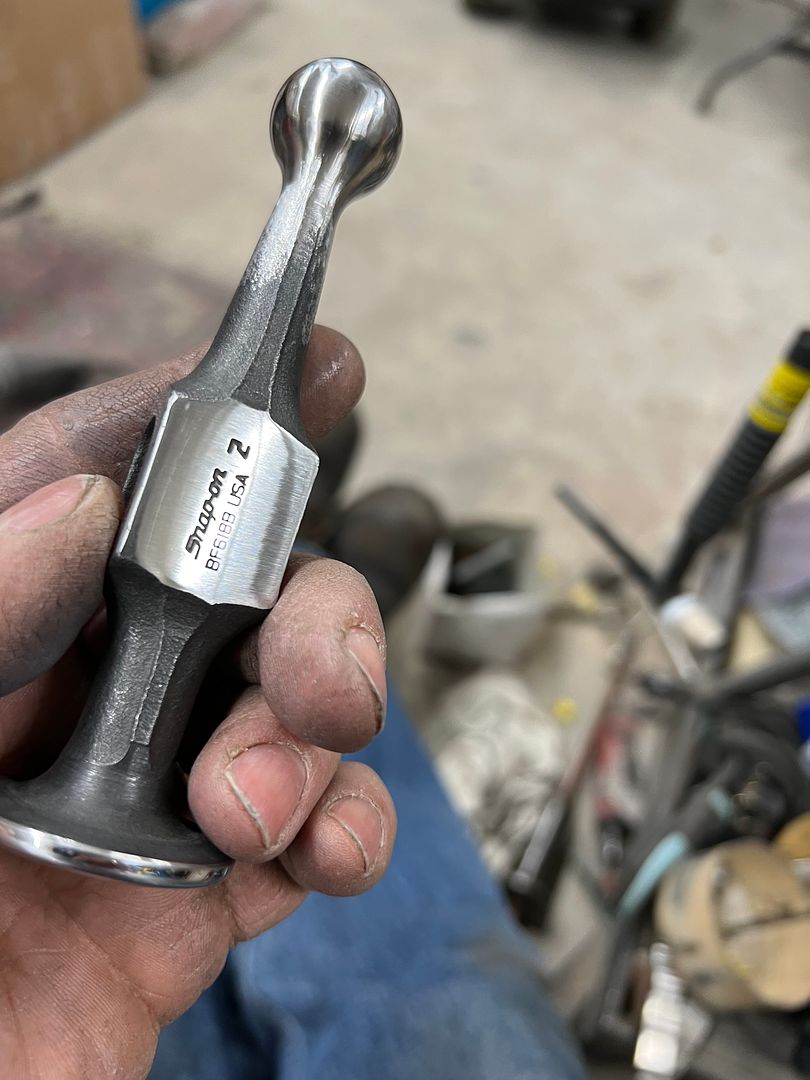
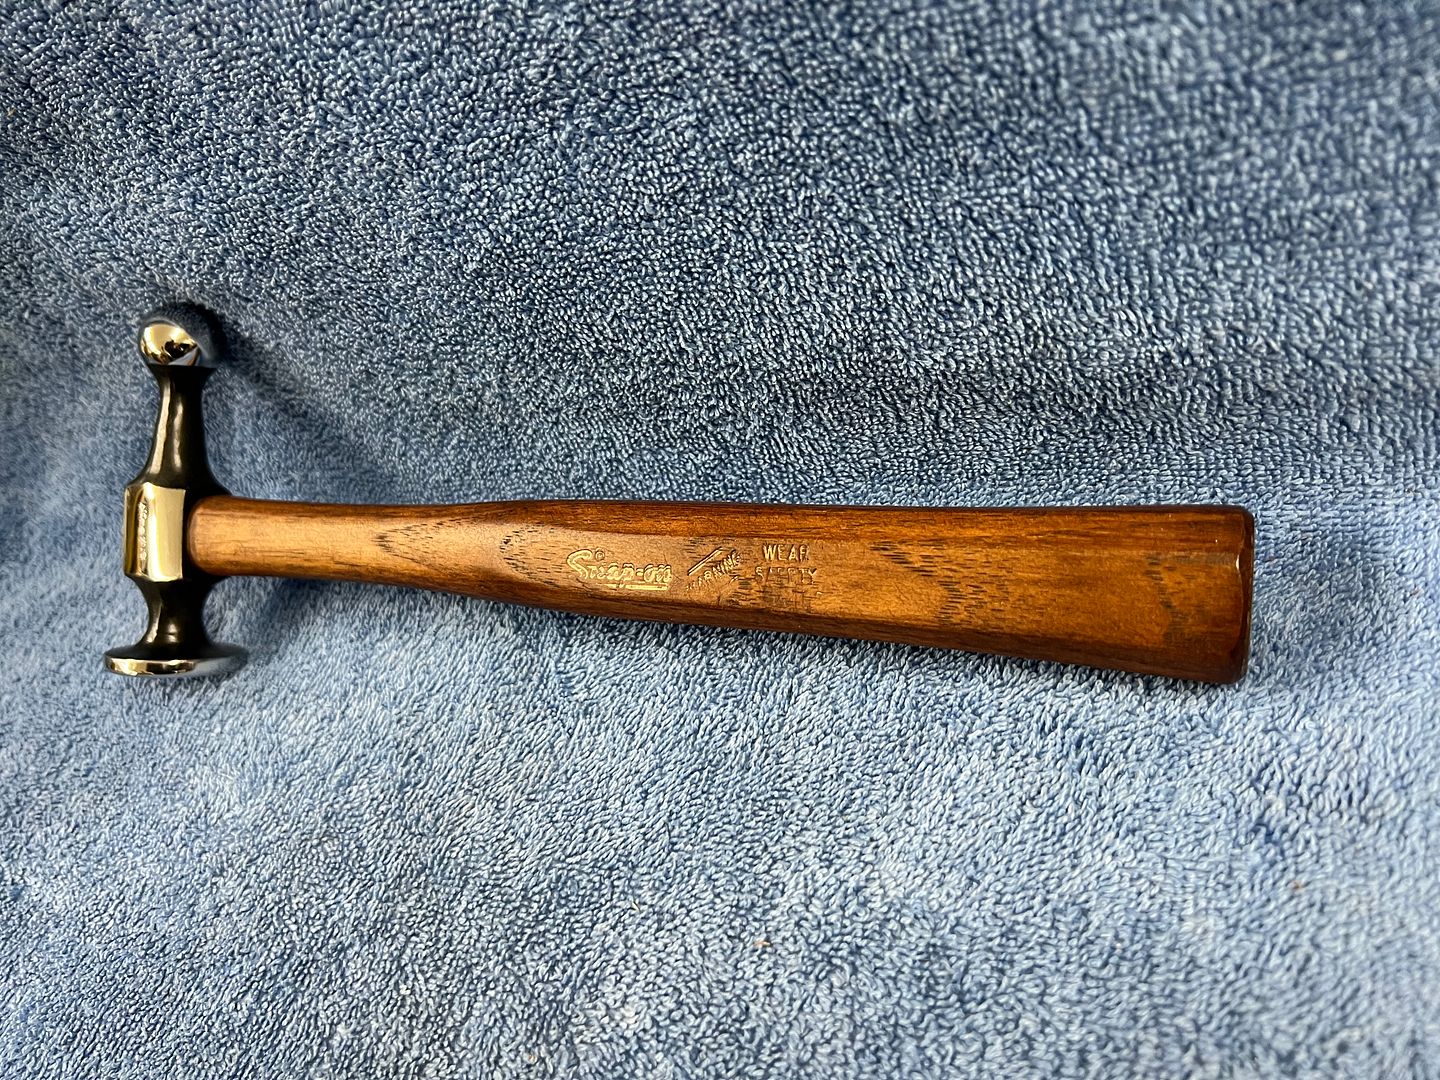
The tricky part with refinishing the handles is to leave the logo intact.
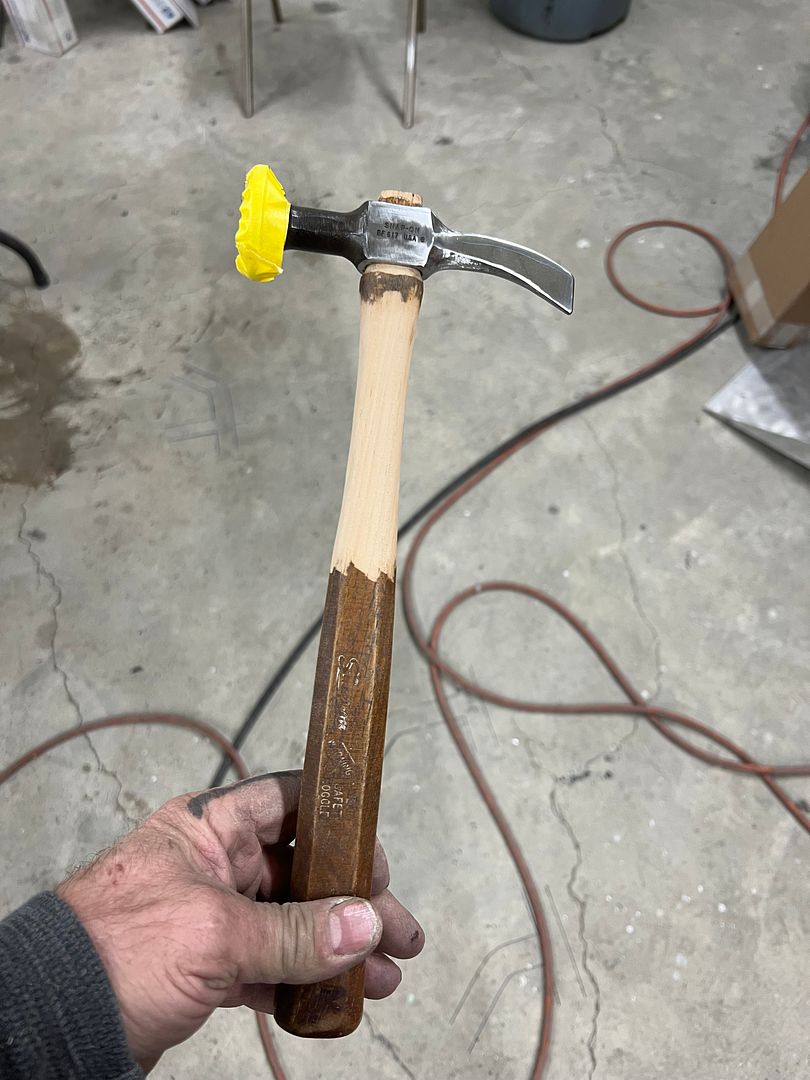
Prior to final assembly the hammer head was taken to Combs Prototype and Fabrication for some heat treatment in his oven.
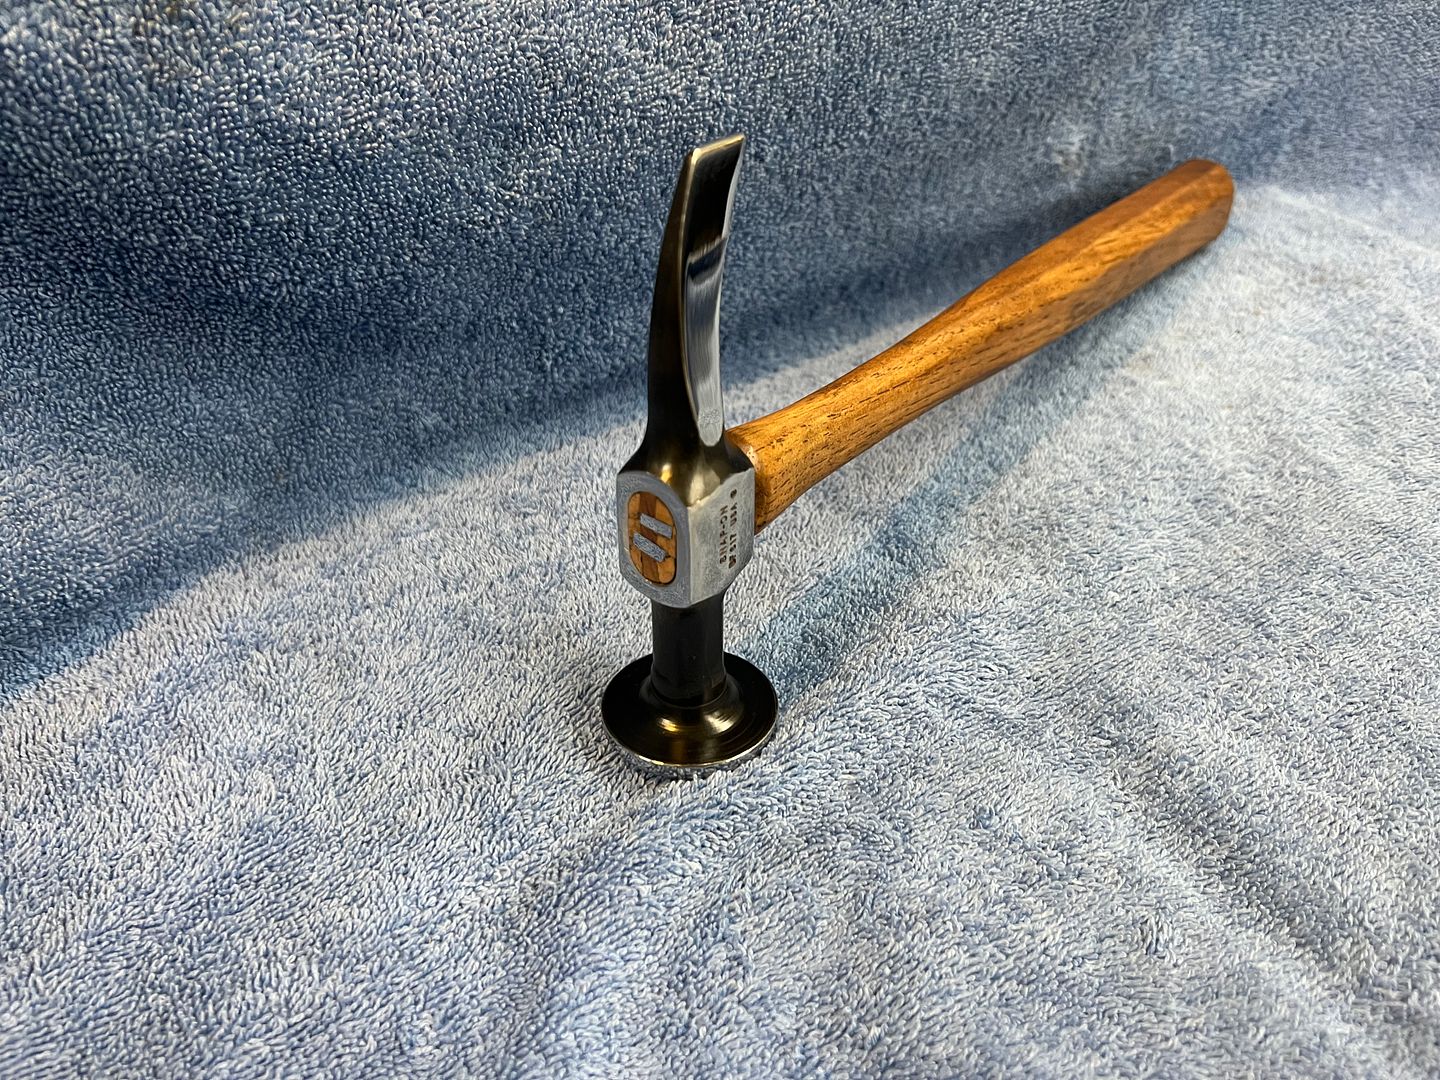
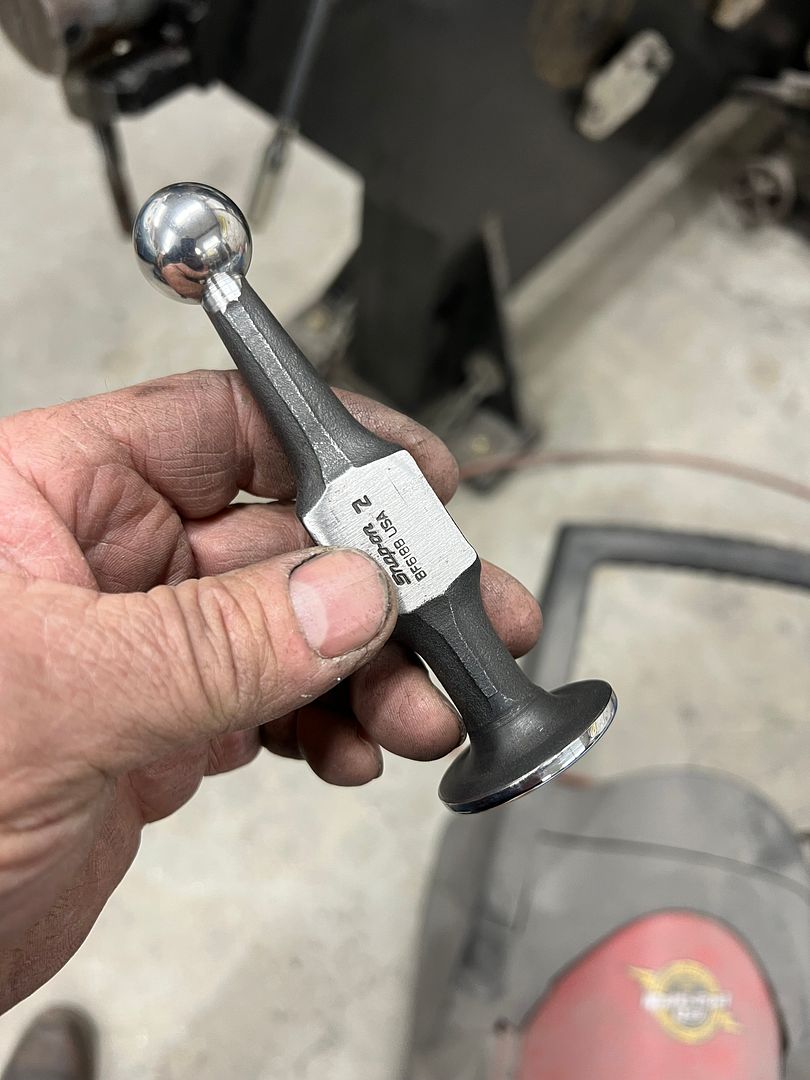
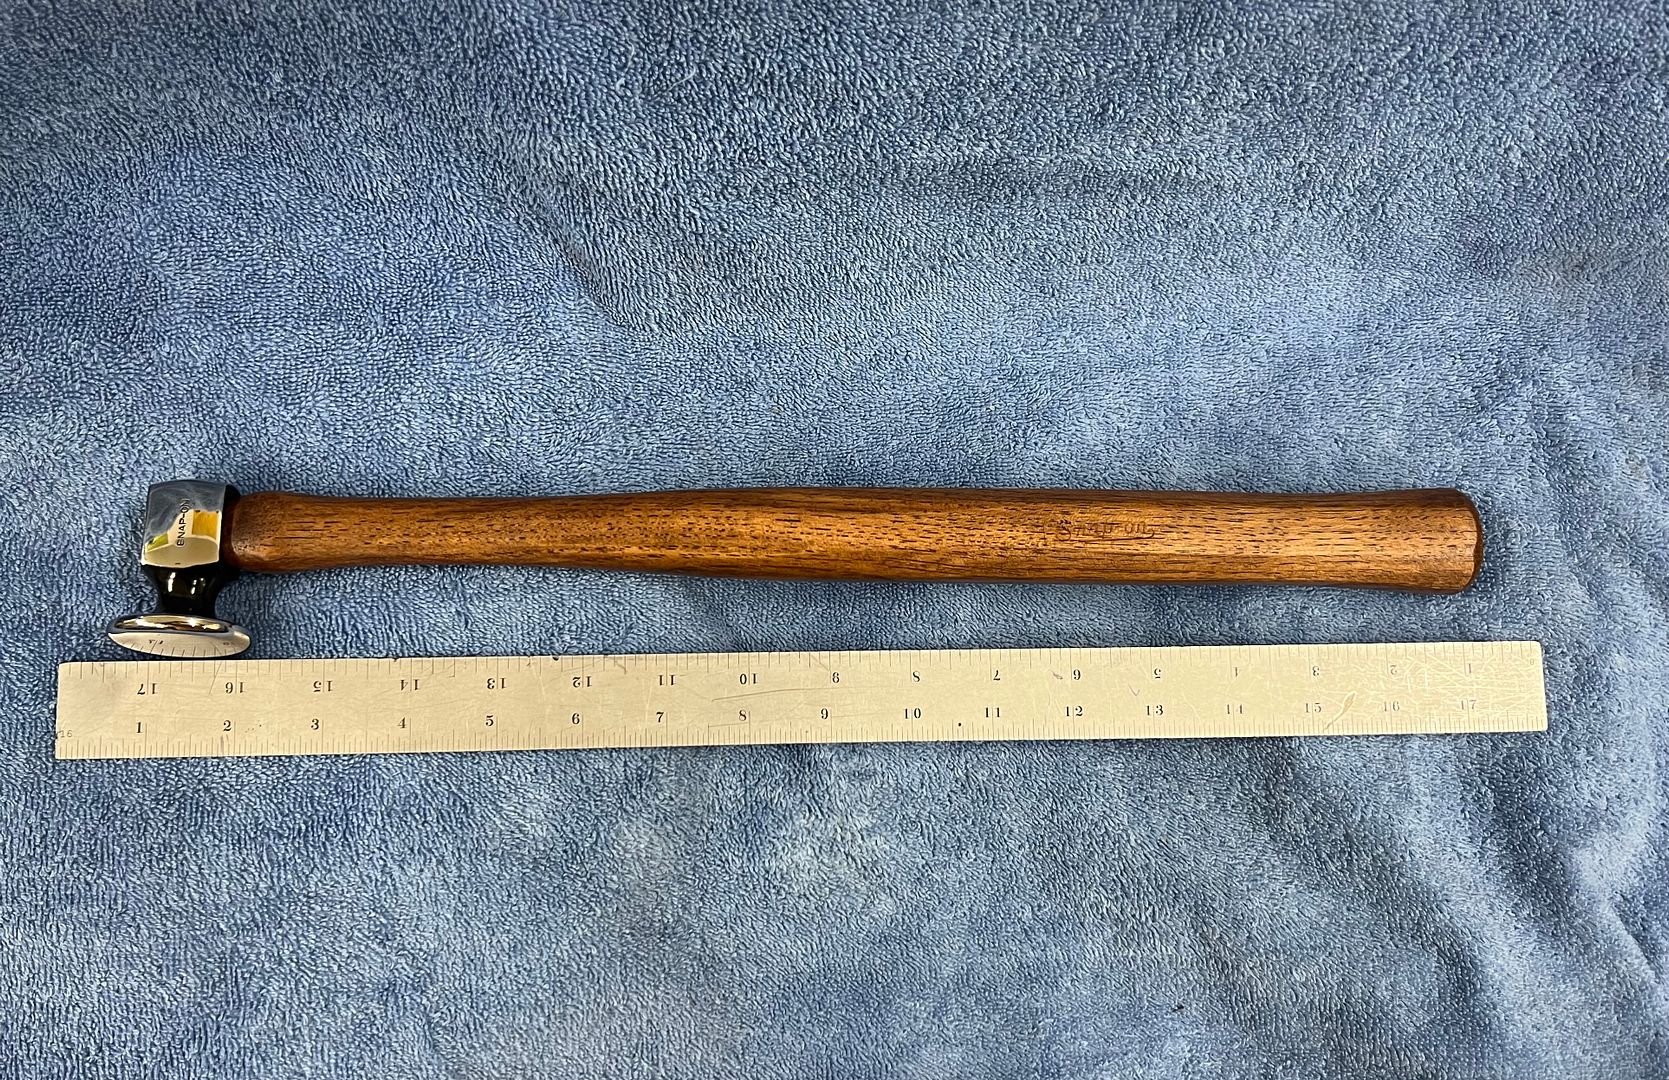
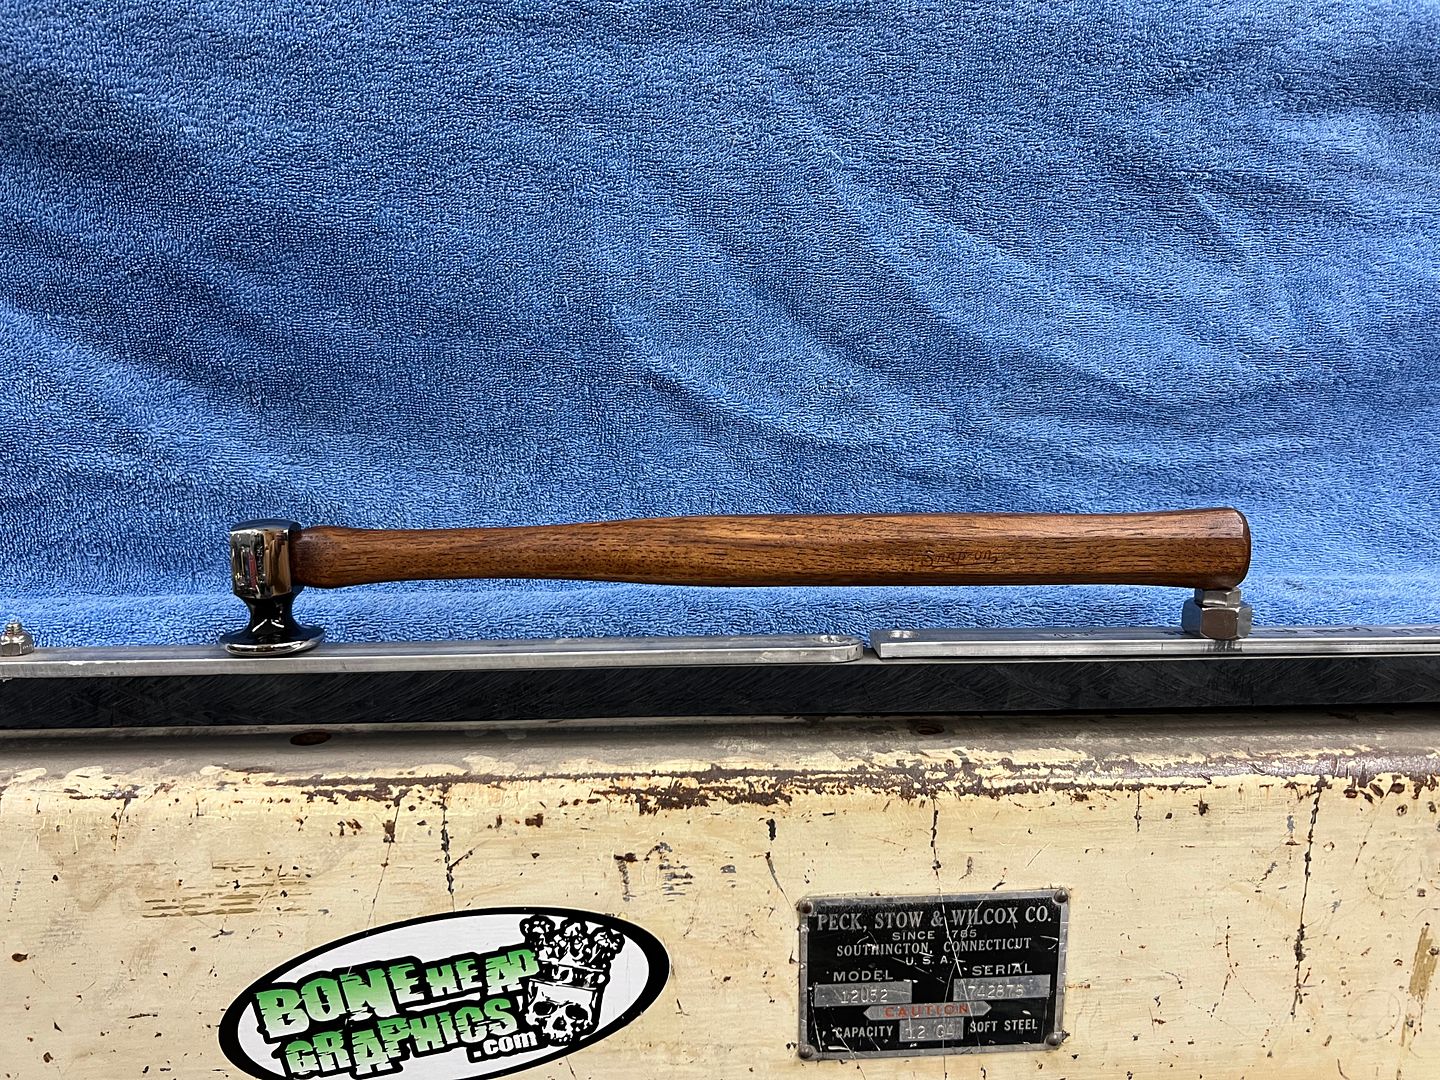
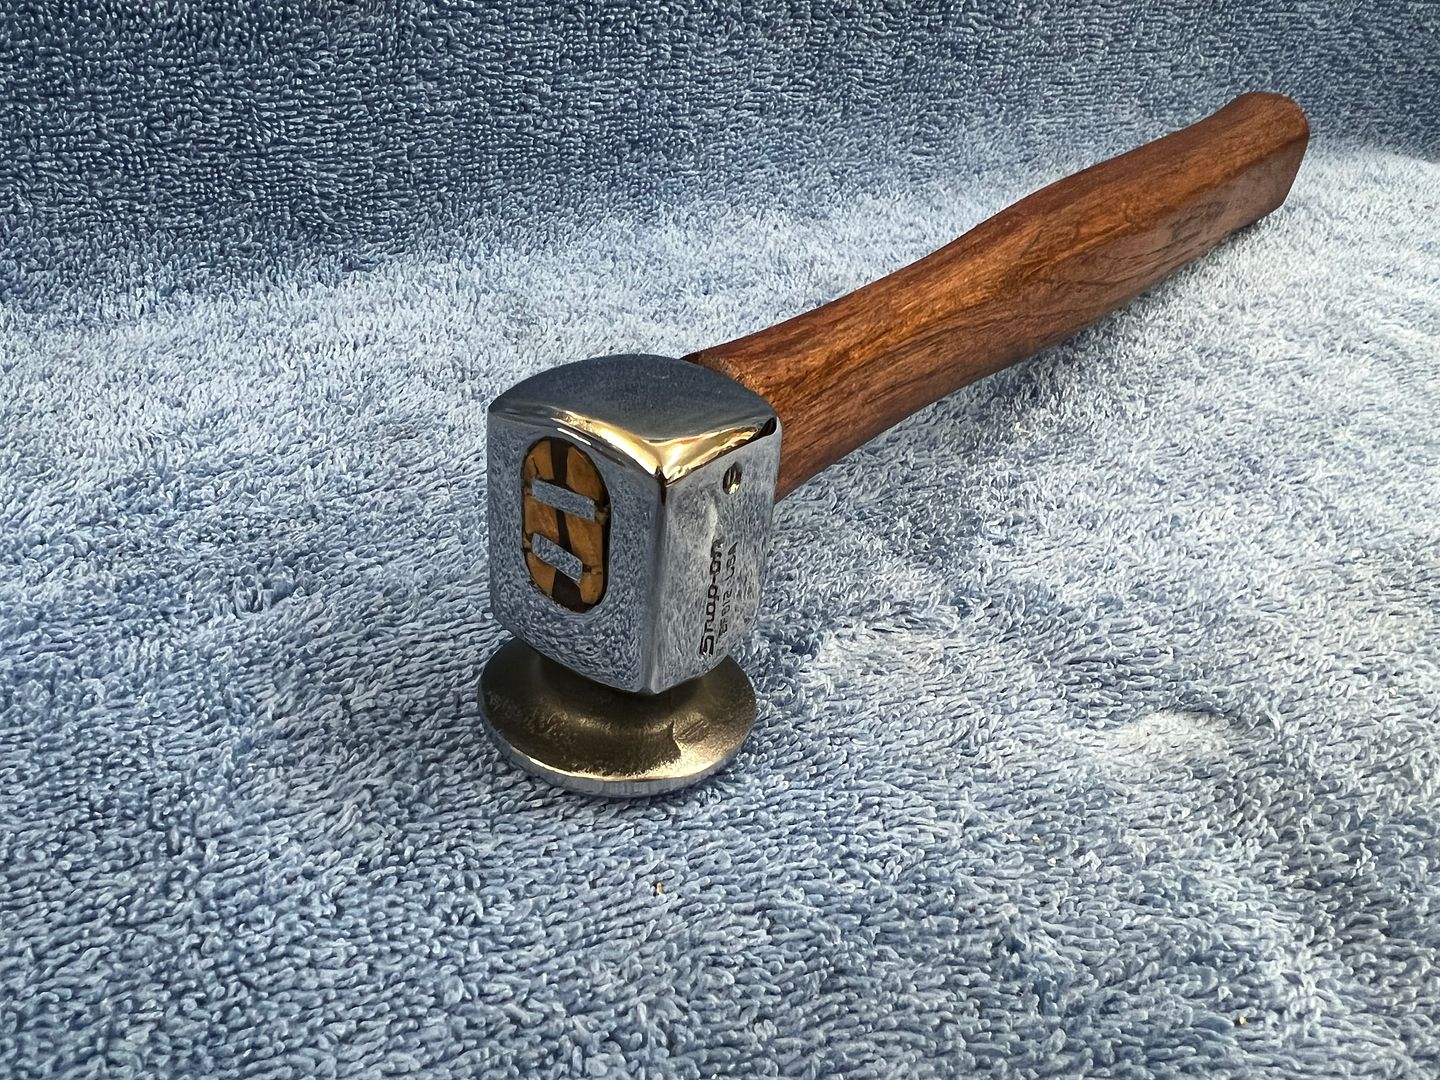
Assembled, polished, and ready for a trip to PA where it can be put to work...
I also have a couple of the BF617 large face hammers with the shrinking face (waffle pattern). Another metalshaper friend of mine has been restoring and selling hammers and dollys for many decades. He told me in all that time, he has never sold a waffle faced hammer.
So based on his experiences, I have little chance of selling one of those shrinking hammers myself, and thought I'd sacrifice one for the other. Here is our attempt to use a hammer nobody wants to make a hammer nobody can find.
Here is our start to the process, using the blacksmithing skills I didn't know I had. The unwanted end was heated cherry red and smacked using BFH to force the hammer face inward. Heat, beat, and repeat. A piece of 1/2-13 all thread serves as our heat resistant handle.
Once our hammer face was "pointy" enough to fit through the jaw of the lathe, the hammer was chucked and the diameter cut down to size for our faux hammer.
Now with the face cut down to size and preliminary polishing done on the lathe, the chisel could be heated and curved to match the BF633 Unicorn.
Some grinding using the Dynabrade air file/belt sander...
Face polished
Handle refitted and neck section thinned out
The tricky part with refinishing the handles is to leave the logo intact.
Prior to final assembly the hammer head was taken to Combs Prototype and Fabrication for some heat treatment in his oven.
Assembled, polished, and ready for a trip to PA where it can be put to work...
Last edited:
")
MP&C
Member
Still putting pictures together of the latest wagon progress, so let's add a couple more hammer pictures in the meantime..
A good friend from Huntsville area has been selling body hammers and dollys for decades now. He told me he has never sold a "shrinking" hammer with the waffle face. So he had one that had a slightly damaged waffle face, and he sent it to me, said I'd find something to do with it. Fast forward to last week, and one of the guys that had been to the shop for metalshaping classes reached out, looking for a square faced low crown hammer with a chisel. I didn't have the exact hammer, but I did have the parts. Here's the hammer, a Fairmount with a round shrinking face, smooth face on the square end..
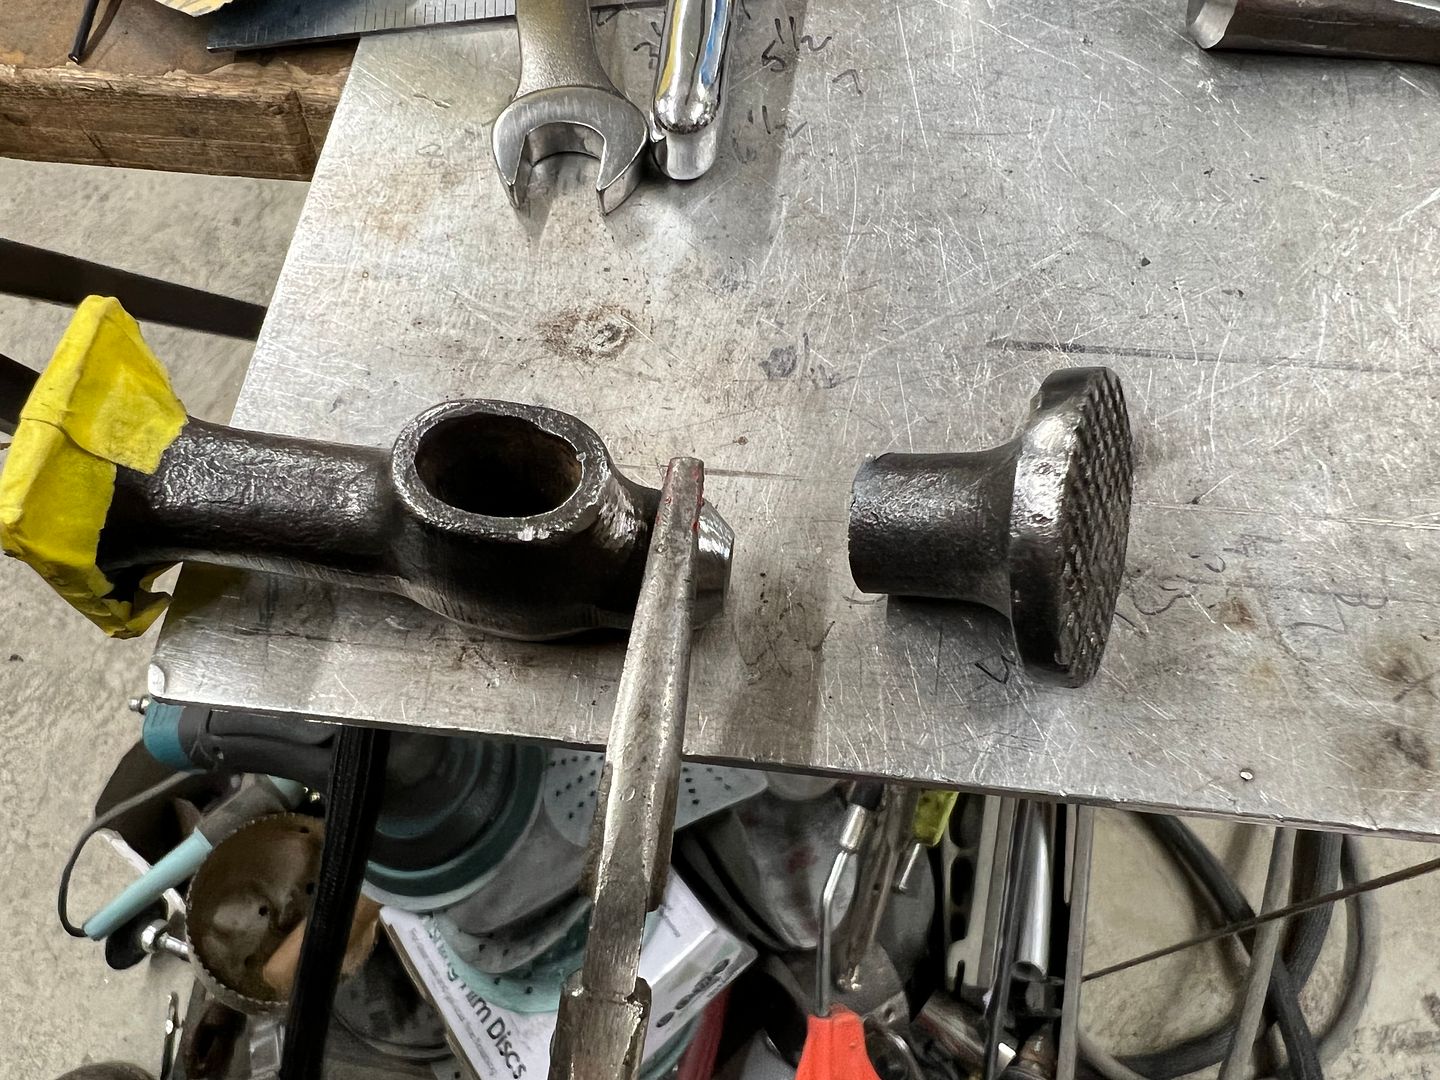
I also had this chisel left over from a Snap On BF618 when we made a stubby hammer out of that one.
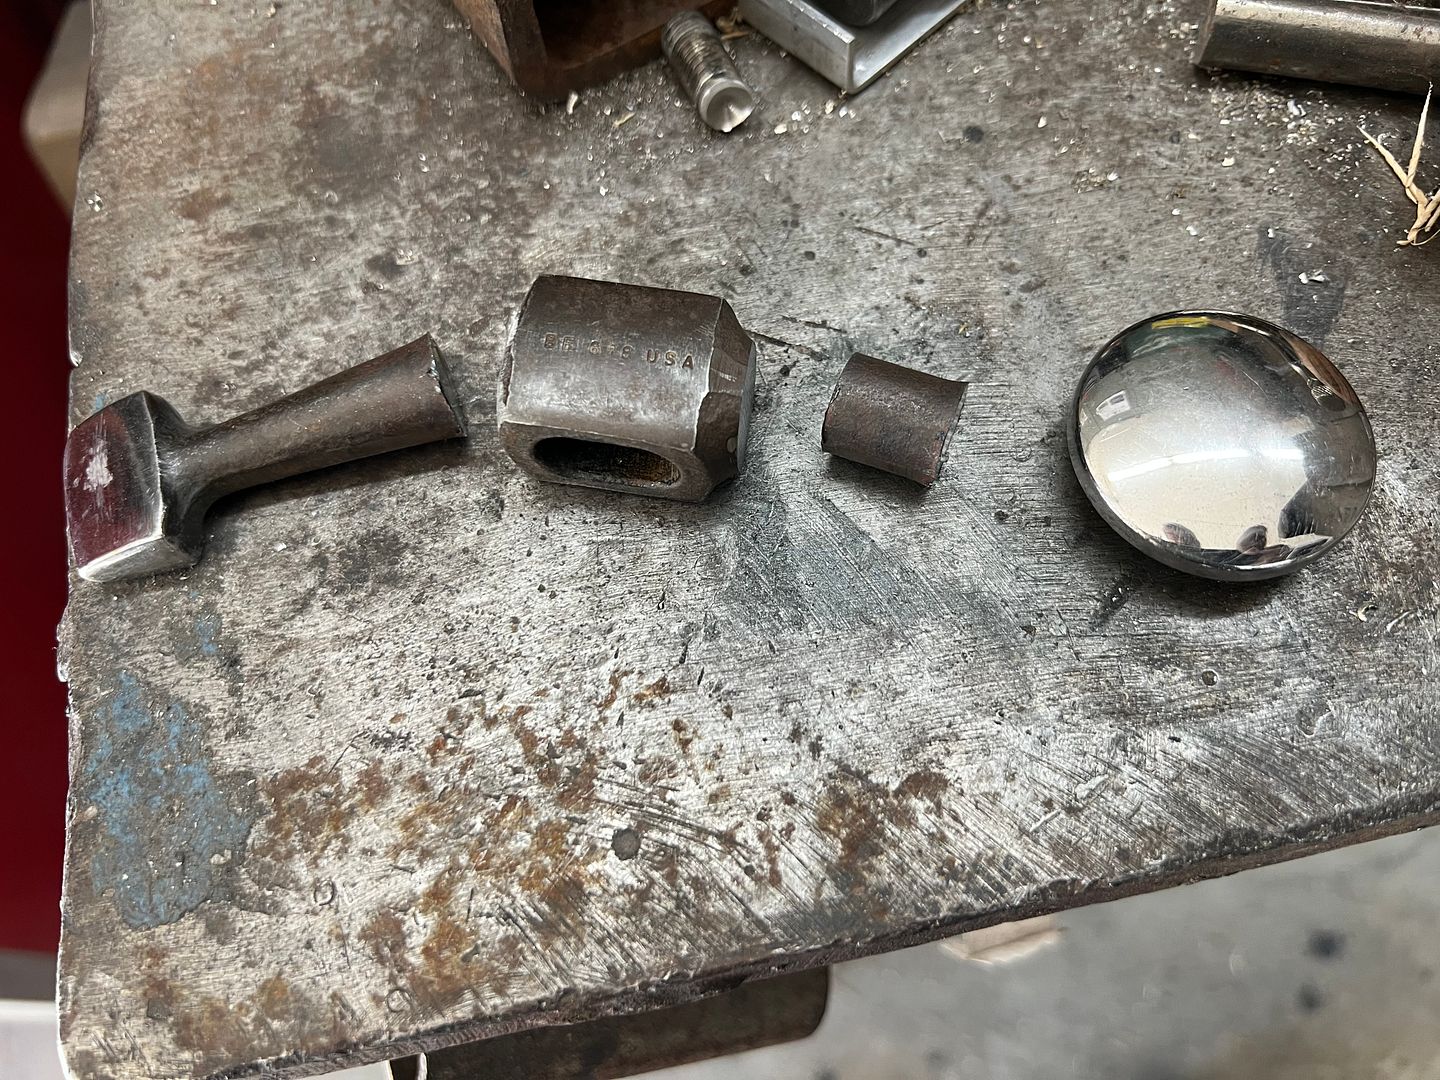
That was a good start, but not sleek enough for what I had planned here, so we thinned out the chisel for a better match to this hammer..
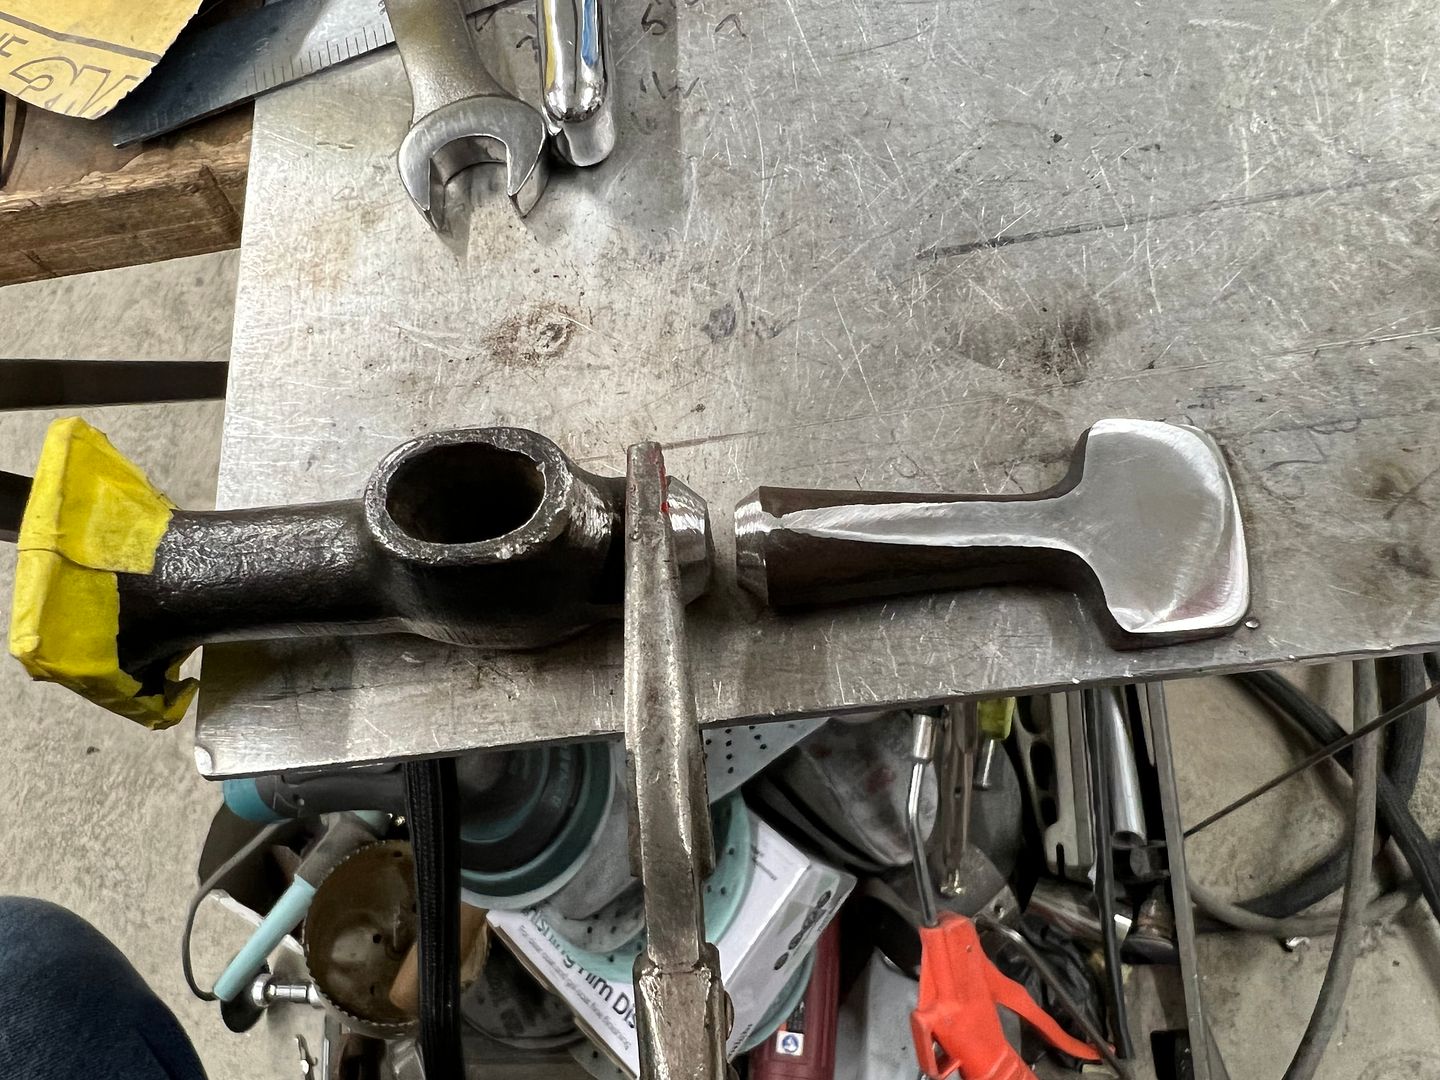
Root pass using 312 rod. When welds were done, we also used a burr grinder to add the side casting marks through the welds so it looked like it came this way.
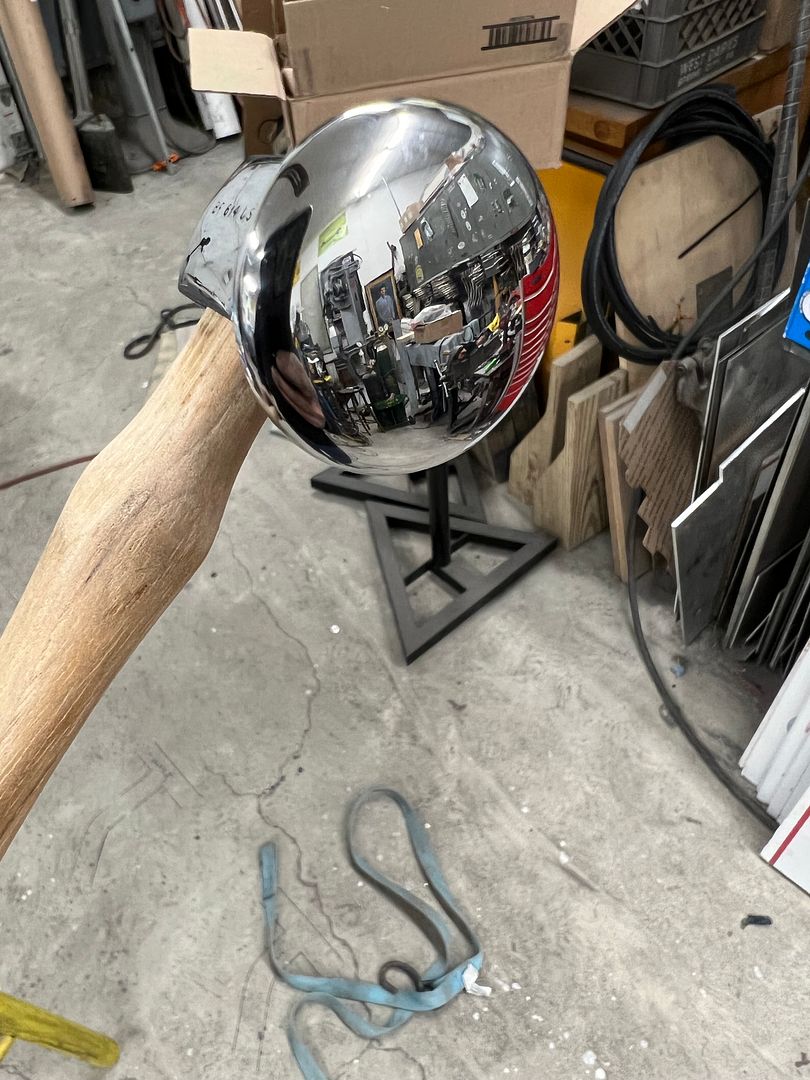
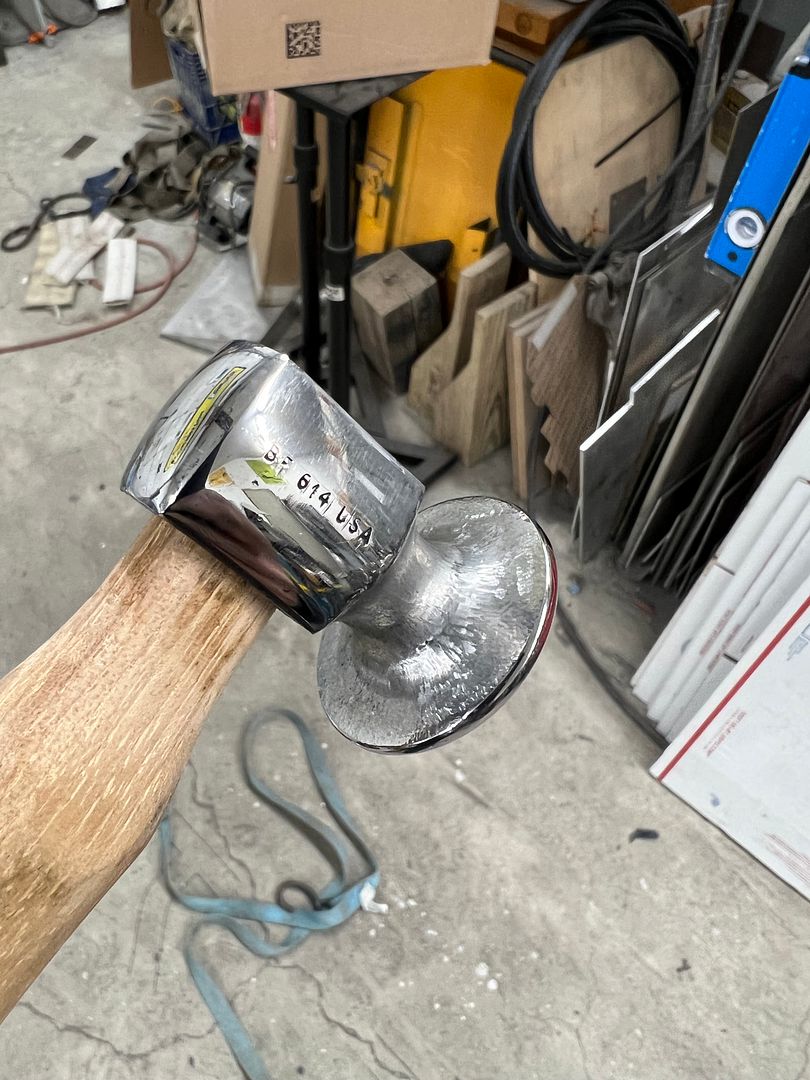
We also have another ball end hammer that was requested, this one heading out to BBT Fab in Illinois.
7/8 S2 tool steel ball that we had bored was pressed in place and welded on using 312 rod.
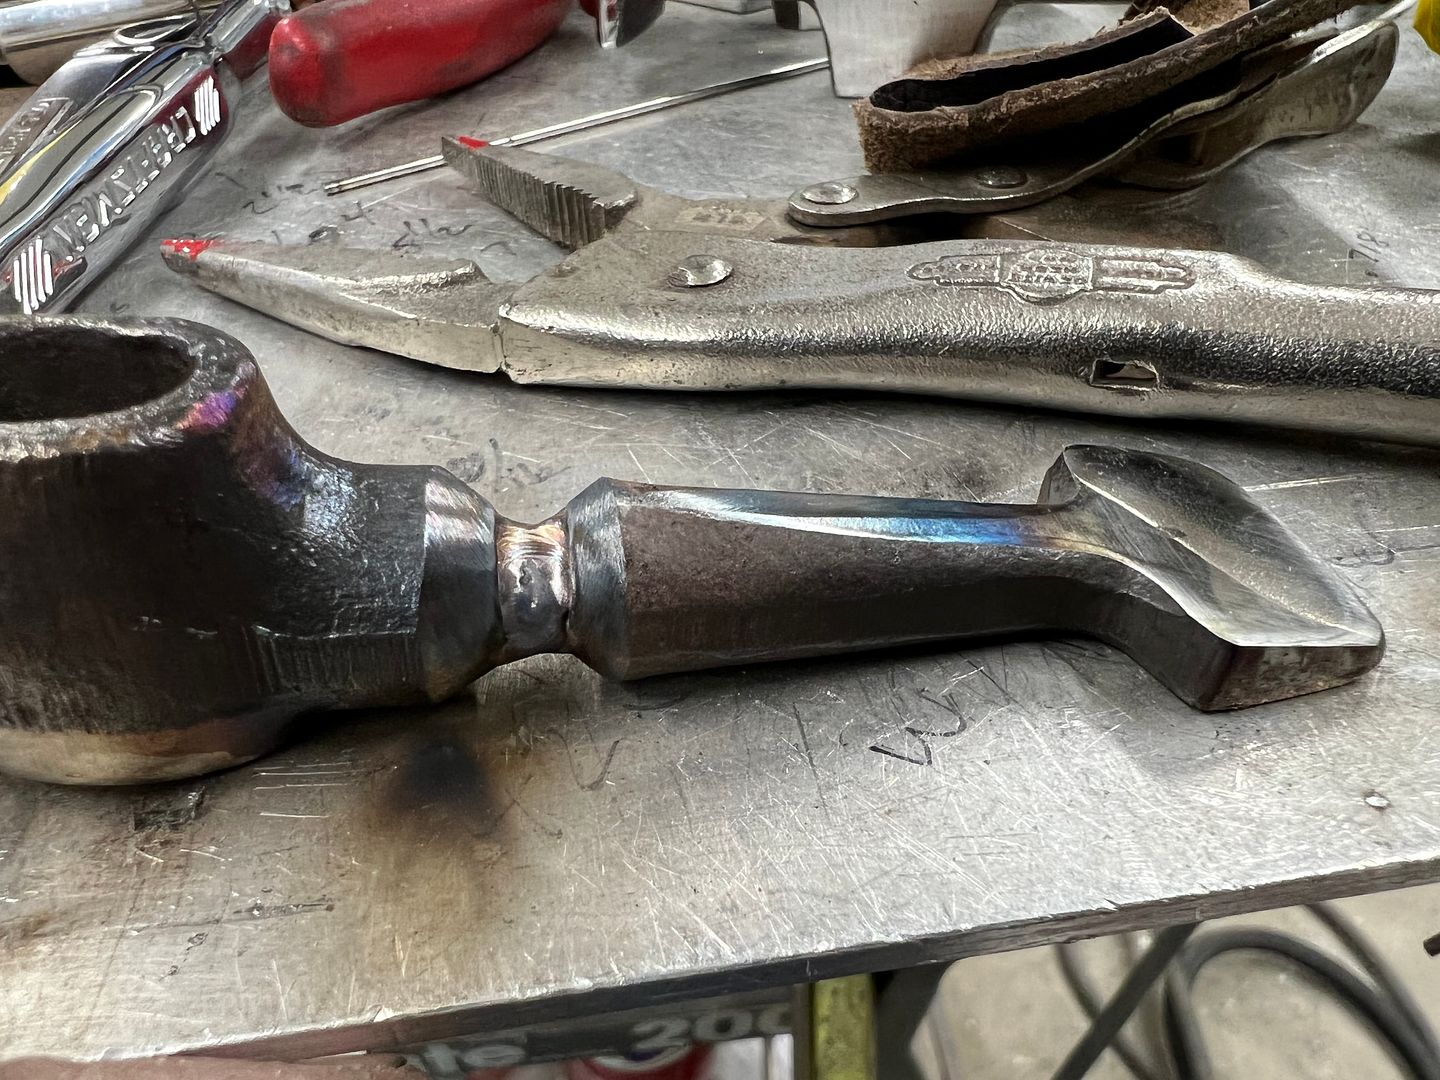
Die grinder used again to take the side casting marks up into the weld area to make it look like it came this way..
And I've had steady requests for the linear stretch - reverse curve hammers.. Had to start assembly lining these things.
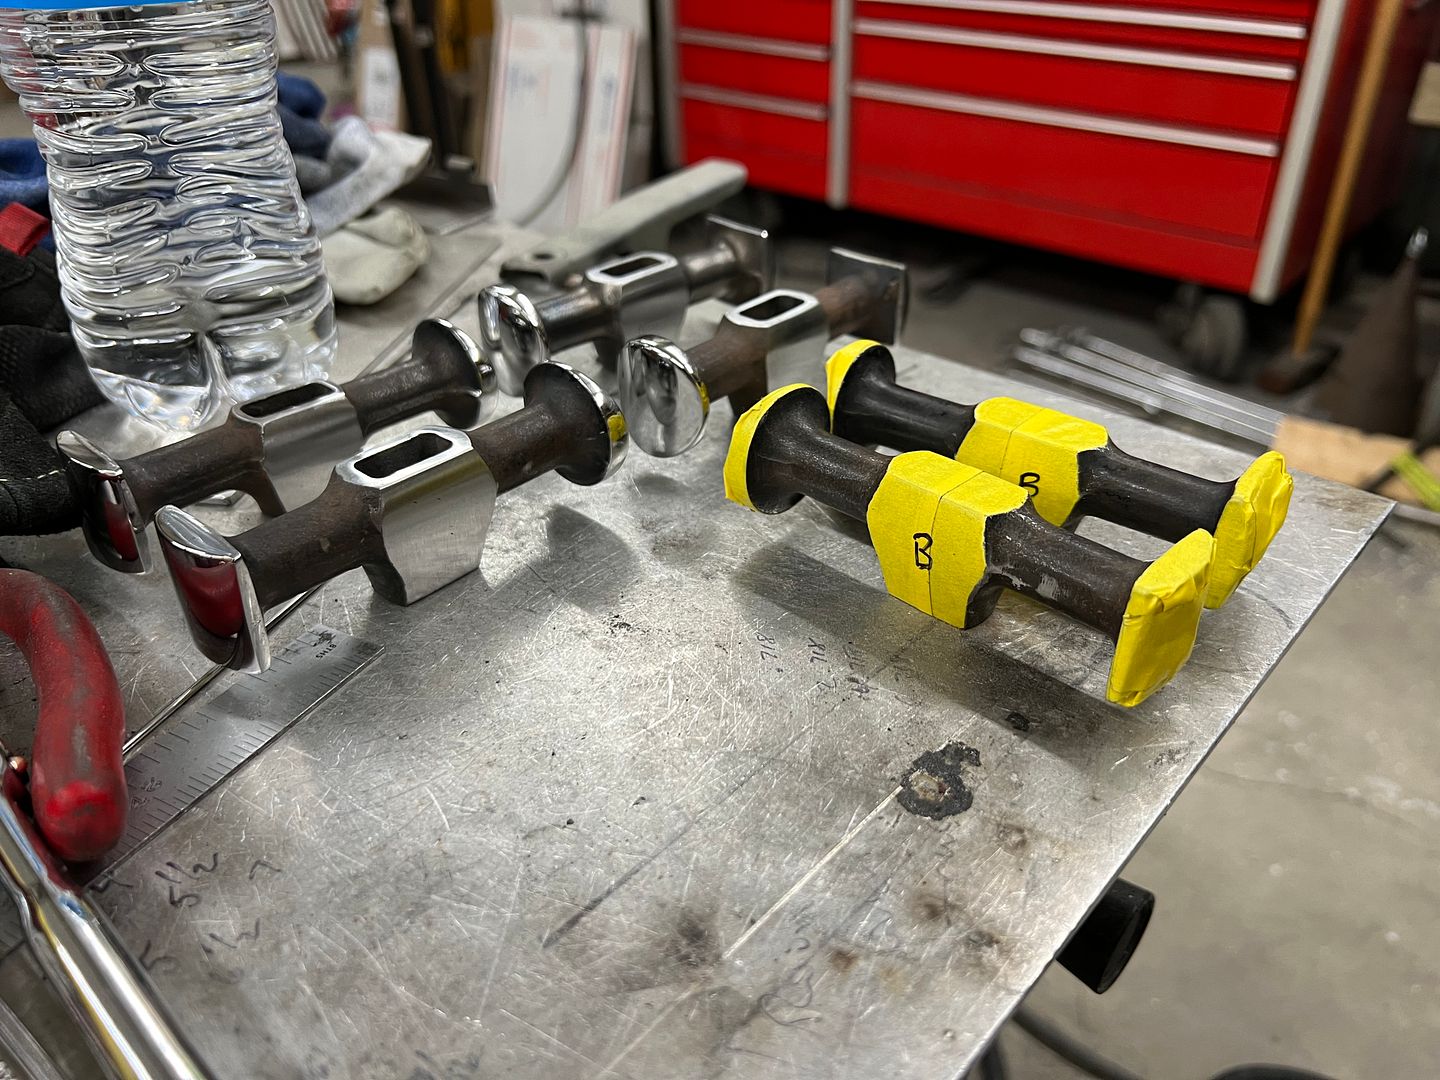
Another finished matched set..
A good friend from Huntsville area has been selling body hammers and dollys for decades now. He told me he has never sold a "shrinking" hammer with the waffle face. So he had one that had a slightly damaged waffle face, and he sent it to me, said I'd find something to do with it. Fast forward to last week, and one of the guys that had been to the shop for metalshaping classes reached out, looking for a square faced low crown hammer with a chisel. I didn't have the exact hammer, but I did have the parts. Here's the hammer, a Fairmount with a round shrinking face, smooth face on the square end..
I also had this chisel left over from a Snap On BF618 when we made a stubby hammer out of that one.
That was a good start, but not sleek enough for what I had planned here, so we thinned out the chisel for a better match to this hammer..
Root pass using 312 rod. When welds were done, we also used a burr grinder to add the side casting marks through the welds so it looked like it came this way.
We also have another ball end hammer that was requested, this one heading out to BBT Fab in Illinois.
7/8 S2 tool steel ball that we had bored was pressed in place and welded on using 312 rod.
Die grinder used again to take the side casting marks up into the weld area to make it look like it came this way..
And I've had steady requests for the linear stretch - reverse curve hammers.. Had to start assembly lining these things.
Another finished matched set..
MJM
Promoted Users
What is it about the waffle face hammers that people don't want them?
It's my understanding that 99.9% of the time a waffle face hammer will do more damage when used to shrink. There are better shrinking methods that don't mar the metal surface like a waffle face hammer does.
MP&C
Member
What is it about the waffle face hammers that people don't want them?
To cover both flavors of the "gimmick hammers", I used to own one of those Eastwood swirly "shrinking" hammers, and my experience was that you needed some appreciable force in your strike against the panel to get the twisting action to accomplish anything. I worked the panel for a bit and saw positive results, but unfortunately I also found myself on the wrong side of that fine line between "hey this thing actually shrunk a little bit" and "now you've stretched it out worse than it was"
Regarding the waffle face, what I have heard on that one is that it is similar in theory to the waffle face on a framing hammer. Think of those smooth faced framing hammers that will quickly bend over a nail if your aim is slightly off. Now use the waffle face framing hammer and the problem of bending nails all but goes away. What's occurring is now you have multiple "hammer faces" where if one slips, others are there to grab the nail head and continue driving the nail inward and not sideways.
As it relates to sheet metal, where the waffle face hammer really shines is on irregular shaped (lumpy) metal. It works well to grab the high spots and not slip. I would add that the intent here is not to use the waffle face as a hammer form in thinking that transferring that pattern to the sheet metal is going to gather up the excess metal. When using it on sheet metal you should only use light taps (unlike the framing hammer), and if you are leaving prominent waffle depressions, then ease up on the swinging force.
When these hammers first came out they were being used stand alone or in conjunction with heat (shrinking those dime sized heated spots) and today we have shrinking discs and heating tips that offer perhaps a less gimmicky solution. I've seen guys use these who have done beautiful work in shrinking and then you have guys like Ron Covell who say they are gimmick hammers and not to buy them. I think he has said before that he's never had good luck with them, so it would make sense that he wouldn't promote something that he couldn't demonstrate an effective and consistent use of the tool. As Kent White told me, all hammers shrink. Think about that one. At any rate, if you feel you must experience the shrinking hammer for yourself, I'd suggest looking for a used hammer as there are plenty of people that had the same thought, (I mean, it has shrinking in the name, it HAS to work!) so you may as well learn if you can play nice with the tool at less than full retail price..
Last edited:
MP&C
Member
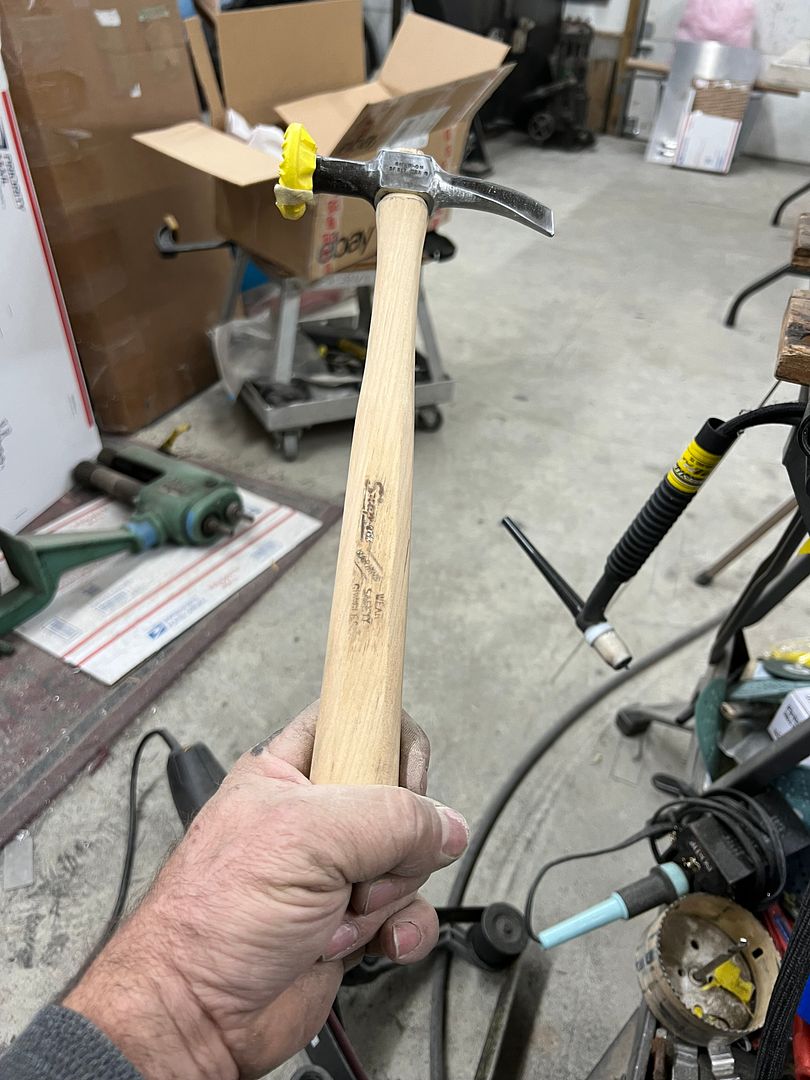
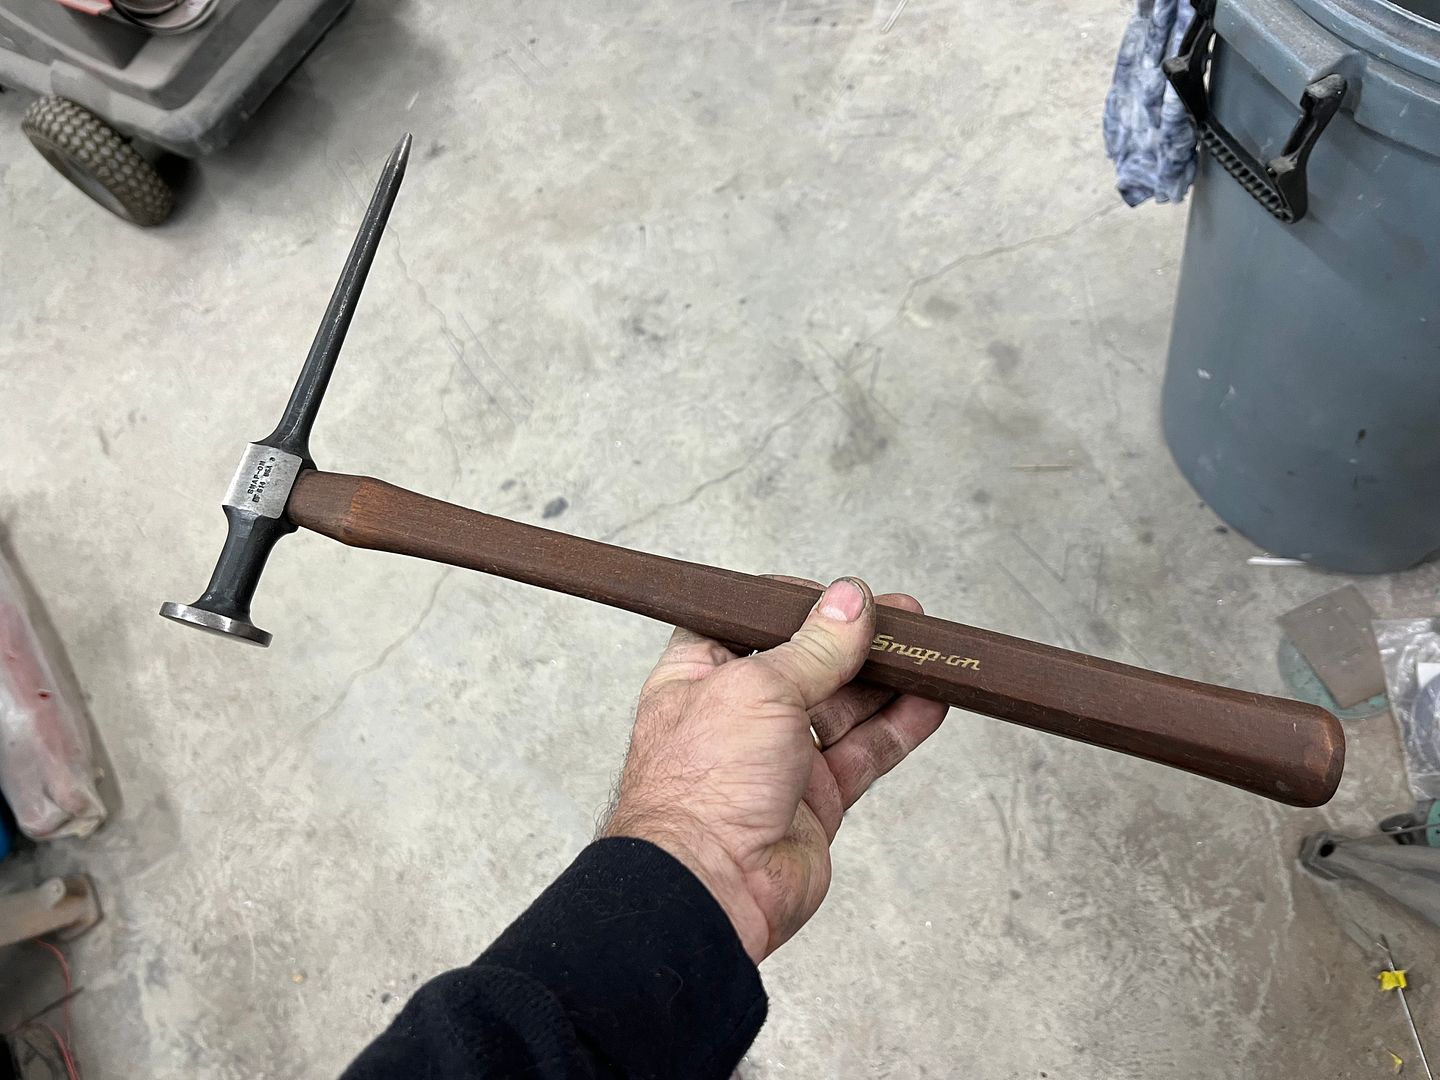
I have a couple of these BF614 long pick hammers, and the older one may have been used to pry at some point in it's life as the pick was bent towards the front of the hammer. So let's make some lemonade. Since this hammer's handle is about 4-5" longer than their normal, I thought I'd try another of those crown faced stubby hammers with a bit extra reach.
Sample picture of the BF614:

I missed the welding pictures, but here's the immediately afterwards...
We should get the handle stained, hammer head painted, and assembled by this weekend. I also picked up some black walnut scraps from a local cabinet maker to give the wooden wedges a bit more definition..
Sample picture of the BF614:
I missed the welding pictures, but here's the immediately afterwards...
We should get the handle stained, hammer head painted, and assembled by this weekend. I also picked up some black walnut scraps from a local cabinet maker to give the wooden wedges a bit more definition..

JimKueneman
Mopar Nut
Maybe the Admin can make a "Body Hammers too pretty to use" forum?
MP&C
Member
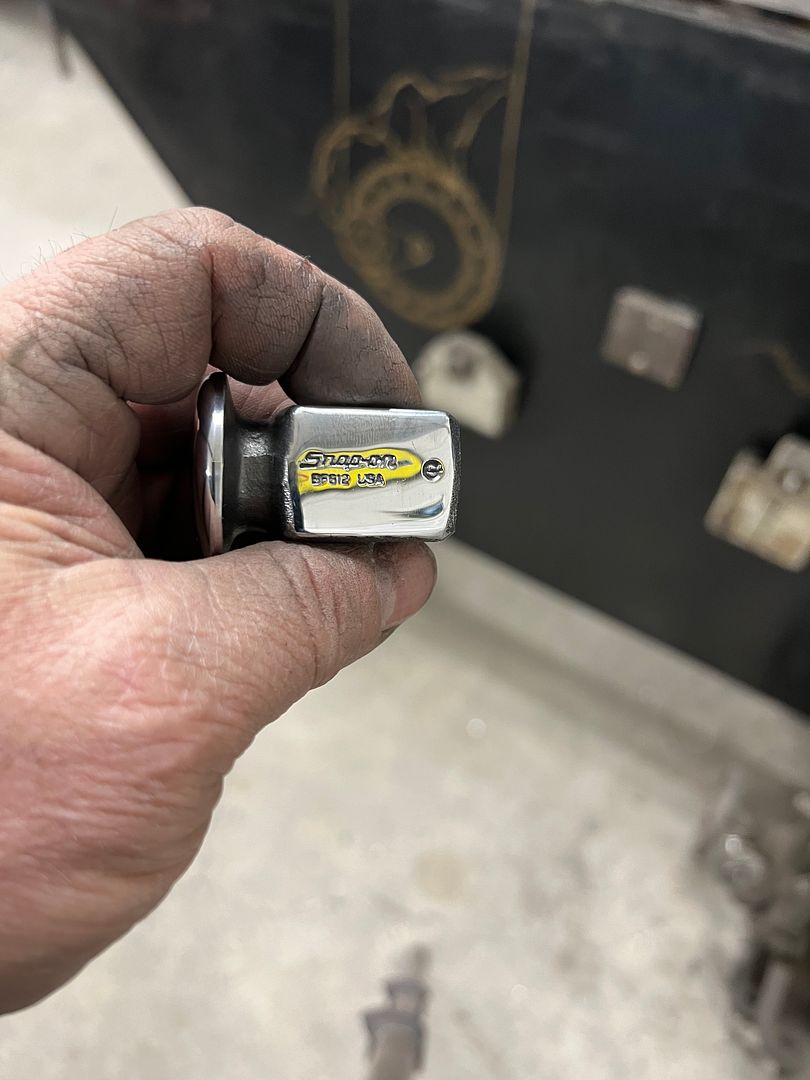
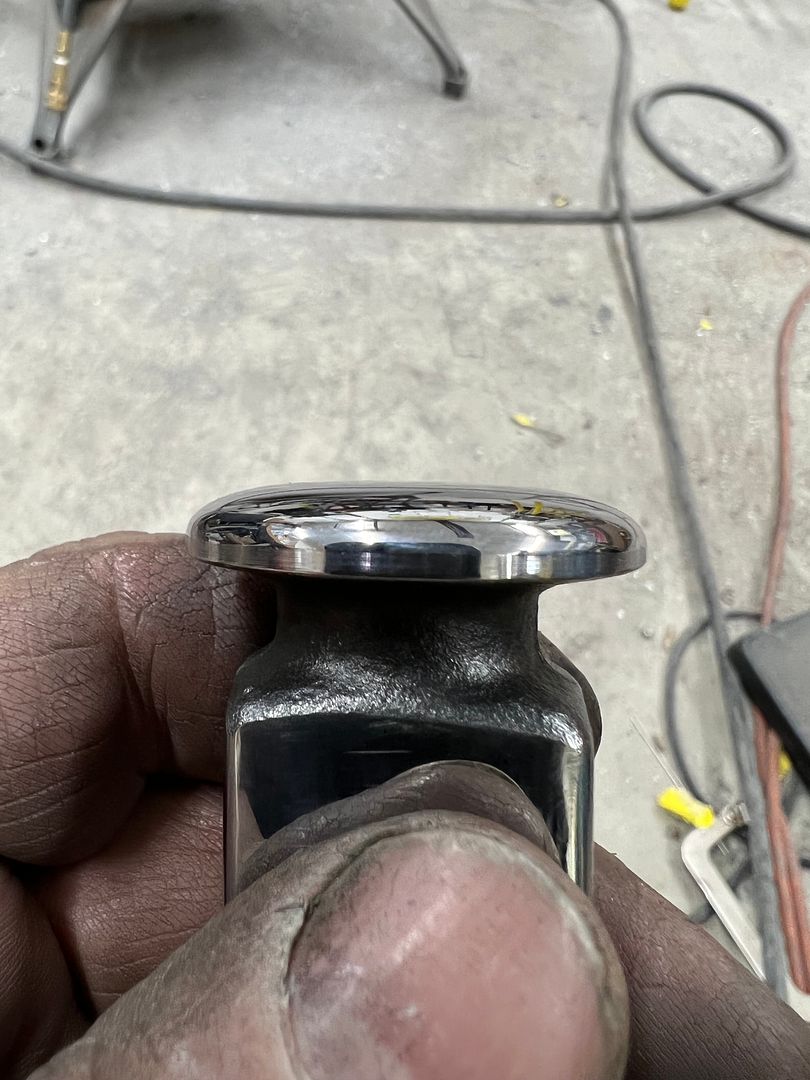
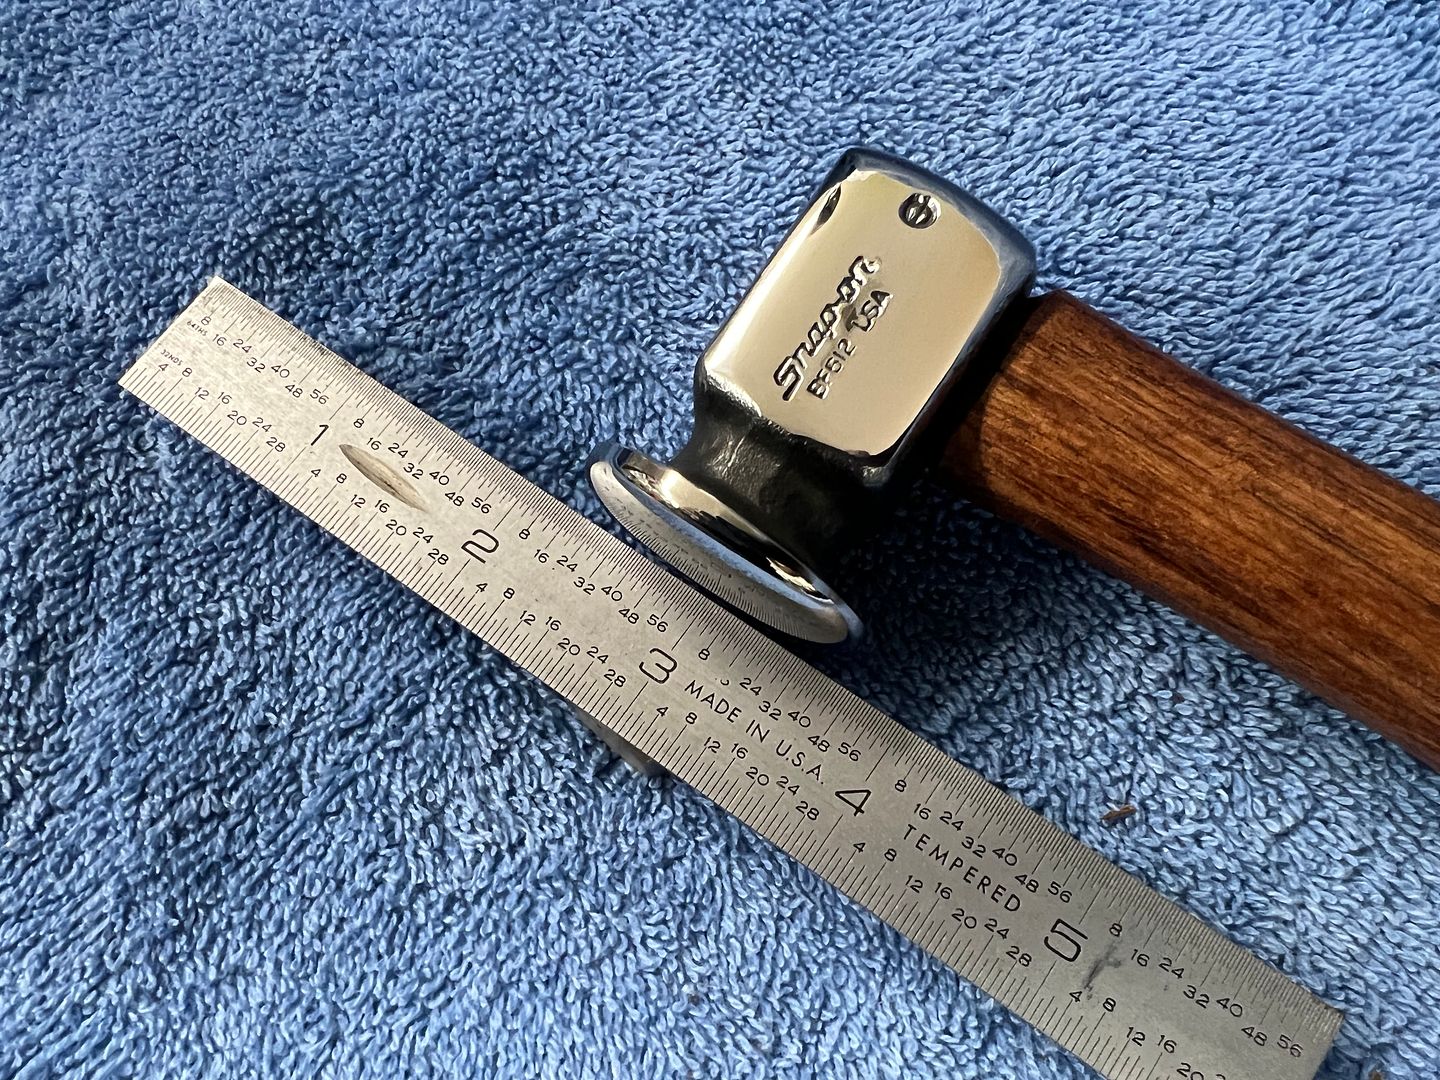
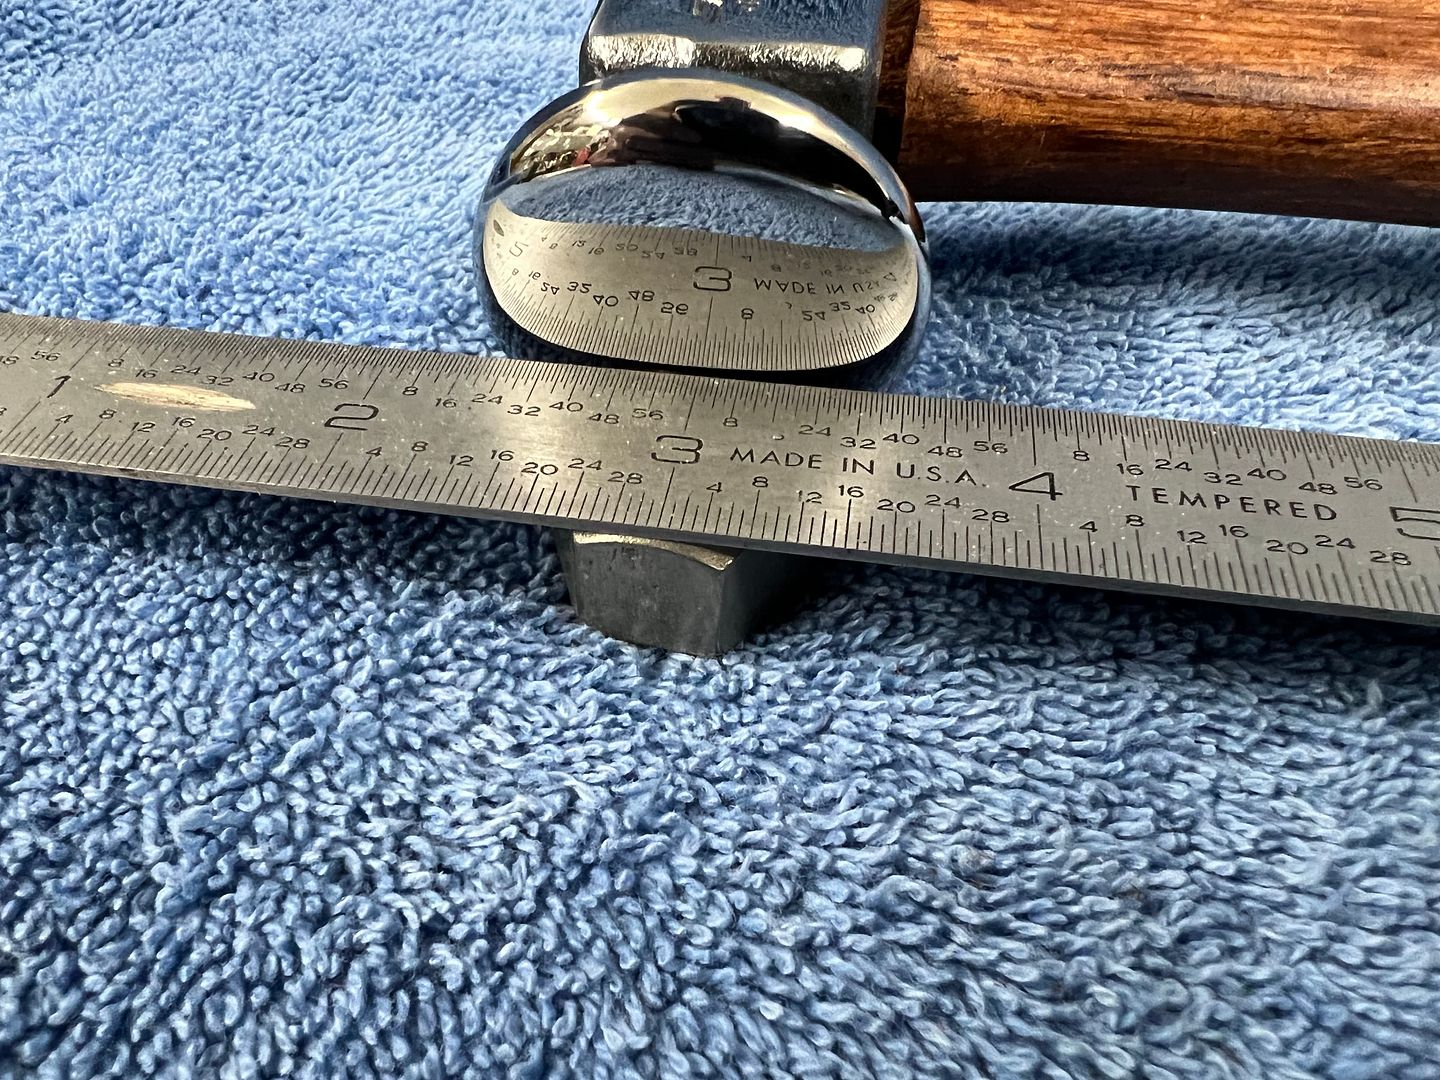
Well I broke down and worked on my BF612 the other day. The Snap-On BF612 was designed for better access in tight spaces by someone who's never used a hammer in tight spaces. Otherwise they would have known that over 90% of those tight spaces are inside of a door, fender, or quarter panel, with a reverse crown on the back side of the panel. So the flat face that they put on this hammer would actually leave coin marks on the panel. This is my correction of that flaw, we've added a slight crown, all the edges of the hammer face deburred/radiused to remove any sharp edges, and polished out. Then we thinned the hammer handle slightly through the neck for less shock transferred to your wrist, and refinished. The handle was reinstalled using a Walnut wedge.
MJM
Promoted Users
So the flat face that they put on this hammer would actually leave coin marks on the panel. This is my correction of that flaw, we've added a slight crown, all the edges of the hammer face deburred/radiused to remove any sharp edges, and polished out.
What tool did you use to make a slight crown by working the edges.