Metal Prep for Fire Damage

8

82firebird

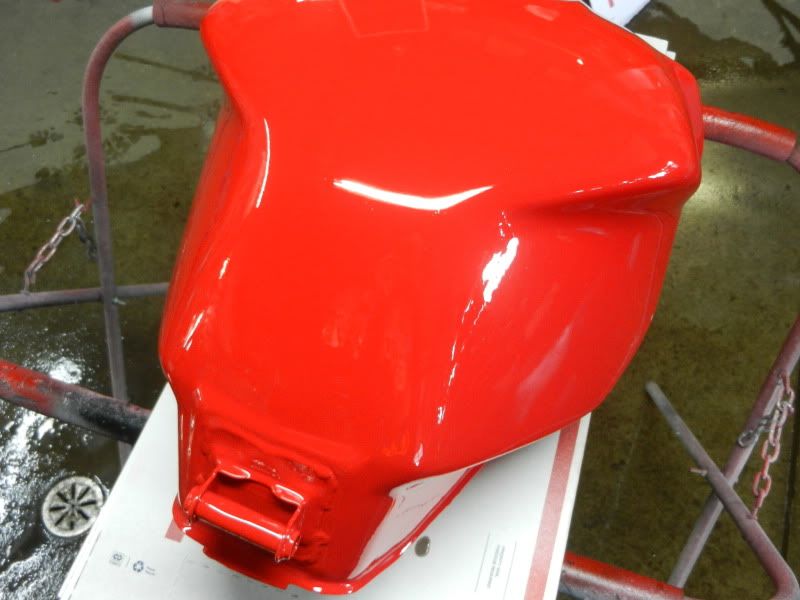
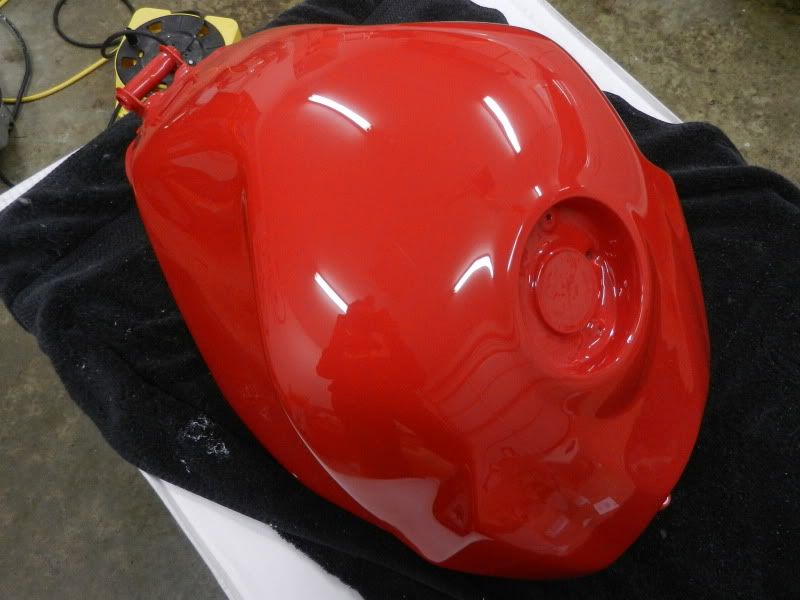
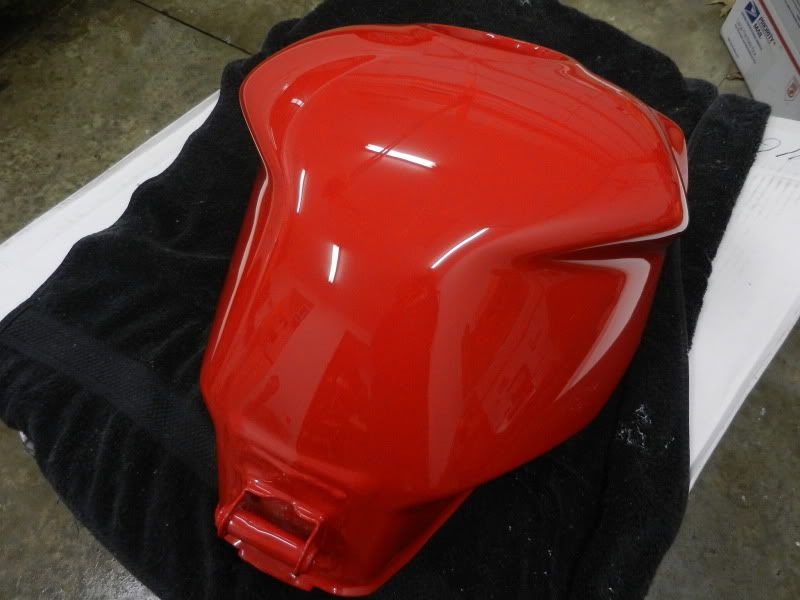
My husband owns a used motorcycle parts business and parts out 100% of what comes in. However, yesterday he asked if I'd be interested in painting a gas tank for a bike that came in with fire damage only. My question; is there any special prep needed before spraying epoxy on the tank since it was torched? Thank you in advance.

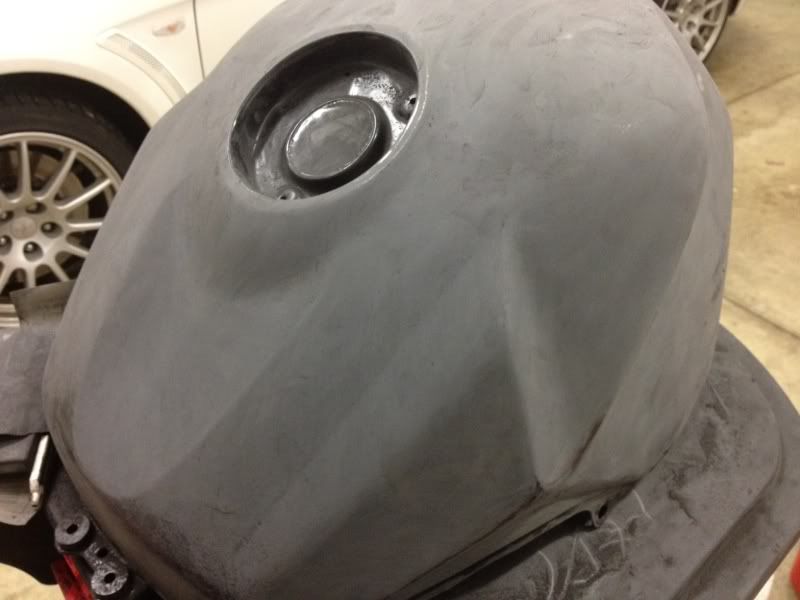
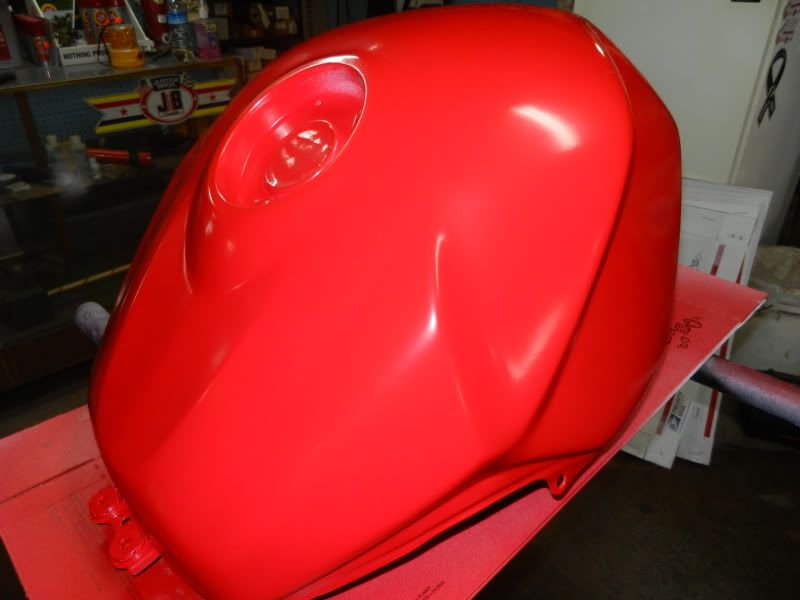
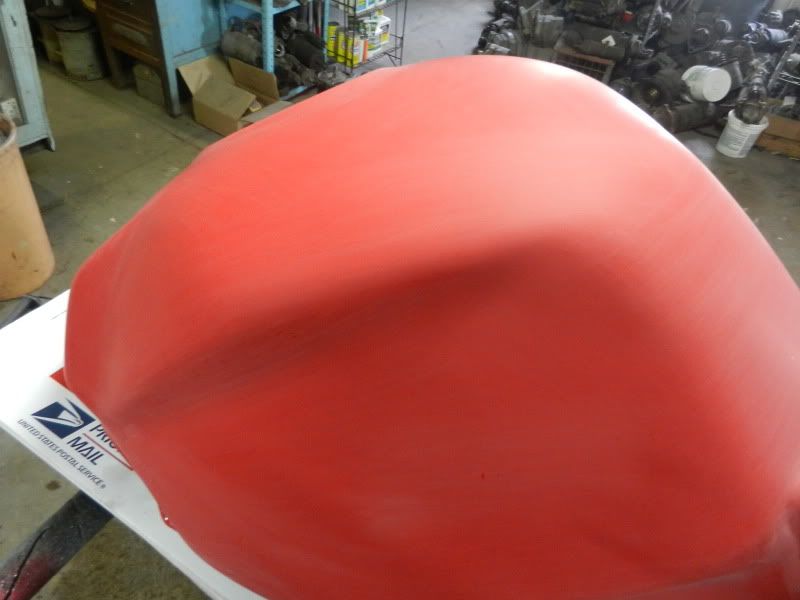
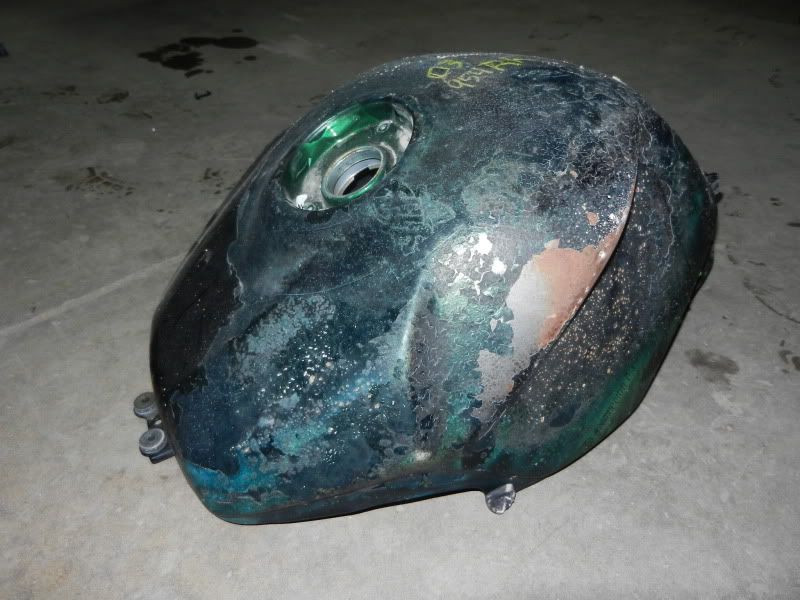
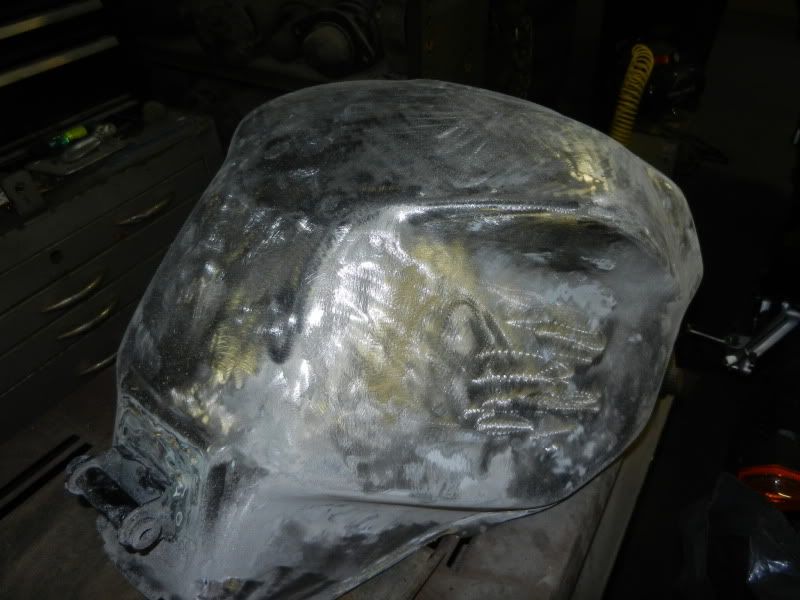
Here is what it looked like, and then after I had it almost completely stripped.

DSCN0790.jpg


DSCN0794.jpg
 
The recommended bare metal prep is 80 grit, wash down with waterborne wax and grease remover, let dry for at least 30 min. then shoot 2 coats epoxy with 20-30 minutes between coats. Next day body filler, prime, seal and or base then clear. Make sure metal temp for spraying epoxy is at least 65 degrees and there after for at least a couple hrs. The pics show you still have some primer left. I would recommend taking it all off just to be sure. Otherwise, looks good. Have fun!
 
There's a local powder coating business that I drop parts like that off at and they strip them with a blaster for cheap, usually $20 to do two fenders and tank(s). I don't know if you have any blasters available in your area but it would be worth while if you can hook up with one or your own blasting cabinet if there's going to be more parts to do down the road. The blasted texture left is much better than any sanded surface. But your sanding and grinding will work, 80 grit on a DA sander is best, 3M clean-n-strip discs also work well, clean it with waterborne wax and grease remover then shoot two-three wet coats of epoxy.
 
^ What RodMan and Bob said.

Best to try and sand those rotary marks as far out as possible with 80 DA.
 
Ok thanks guys. I'll DA it tonight with 80. I know I have to get the rest of that primer off, I just got tired and had to stop for the night - the shape of the thing is so akward. The rest of the parts are plastics but I don't want to paint those. Most of the tanks he gets in are dented, so this is just something to practice on and hopefully it if turns out nice he can sell it for an extra couple bucks.
 
Yep, you got it - 2003 Honda CBR954rr. I'd like to paint it red.

1016.jpg
 
82firebird;15520 said:
Yep, you got it - 2003 Honda CBR954rr. I'd like to paint it red.

1016.jpg

Hey, that is a Euro model, Fireblade designation and the lack of the black panel on the tail section where it says CBR. A friend bought a 954RR, an incredible bike. Have fun painting the tank.
 
Gee, I can't get anything past you guys. Pretty good for a Senile Old Fart ;) I'll keep you posted on the tank.
 
Ok I finished stripping off the primer and then sprayed it with black epoxy. Then it took me a few nights to block it with 320. Also, we found that the Honda red I wanted to use was a tri coat so...we orderd SPI Red instead, and Aaron will just have to use the tank for promotion haha :) I hope it turns out good.

I forgot to take a picture of it fully blocked, but here is one during.

tank.jpg


Then today I sprayed it with reduced white epoxy. I've never sprayed reduced epoxy and I ended up having a couple runs.

DSCN0867.jpg


DSCN0865.jpg


Lauren
 
Thanks!

Thank you Rusty for walking me through this today. I wet sanded the tank today with 400 and then sprayed 2 coats of SPI Red. I missed a spot in the gas cap area and my second coat was a little dry. I will wetsand and spray 2 more coats tomorrow since I also have a fat run to address arrgh. This stuff ain't easy.

DSCN0873.jpg


DSCN0879.jpg
 
Thank you for the tip, it helped- I'm learning everday thanks to you guys.

-Lauren
 
A couple days ago I sprayed SPI Universal Clear on the tank and it was a mess. I knew something was goofy so after researching around on here in panic mode, I added 5 pounds of pressure and it seemed to do the trick! I then wet sanded it all over with 400 and then sprayed some more UC and it turned out a lot better than the first time around!

DSCN0954.jpg


DSCN0968.jpg


DSCN0967.jpg


DSCN0970.jpg


-Lauren
 
Thanks to this forum, she's just about finished up. A whole lotta work for this little thing but I sure learned a lot. I wanted to take some pics before I buff (burn through, HA) the edges. Happy thoughts, eh?

DSCN0988.jpg


DSCN0994.jpg


Lauren
 
Back
Top