Troublemaker64
New Member
Did u have the inside of the floor pans blasted as well?
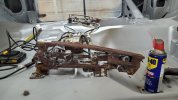
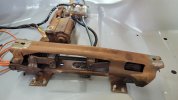
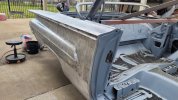
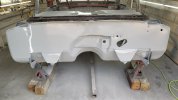
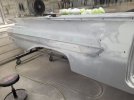
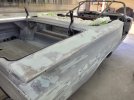
Hi yes it blasted inside and out. Only thing wasn't blasted was doors quarters and deck lid. Everything is in epoxy nowDid u have the inside of the floor pans blasted as well?
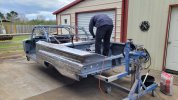
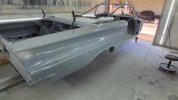
It was a decent start. Wasn't cheap but I think I'm still ahead of the curve with what I've got tied up in itYou scored a great car. Don't see to many with solid rockers, doors, quarters, and looks like 80-90% solid pan in today's market. Maybe 1 or 2 of those metal parts, but not all in that shape. Look forward to your progress videos. I'm just getting started on an 83 944 Porsche, customer car. It to is in great shape, but it's also 23 yrs younger then the chev... have fun!
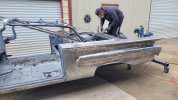
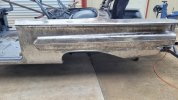
I hear you. My hope was to get my GTX straight enough to just use epoxy primer. Now I have to face the fact that I'm just not that good at metal working.. . . I am by no means an expert with the hammer and dolly but im going to give it my best, but the car will need filler. . .

That's another level of restoration. I wish I was capable. Just need to keep plugging away. The end of the game is to just enjoy these cars.I hear you. My hope was to get my GTX straight enough to just use epoxy primer. Now I have to face the fact that I'm just not that good at metal working.
It won't take much filler but it will definitely need some.
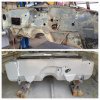
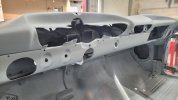
Before and afterDid you smooth out the firewall, or is that how it came from the factory? I like the clean smooth look myself.
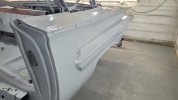
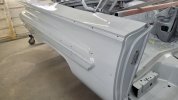
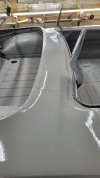
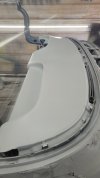
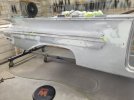
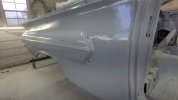
I understand that. Sometimes it feels like my arms are ready to fall off.Been working on the passenger side. So far it's been filler and 80 grit and epoxy. Repeat. Its starting to take shape. I think I got about 25 hrs or so on this side so far.
I need to buy one of those inline sanders. I use a da to knock down the uglies from the spread and then block, buts its still alot of workI understand that. Sometimes it feels like my arms are ready to fall off.