A woman's project: 1968 Mustang Fastback Eleanor

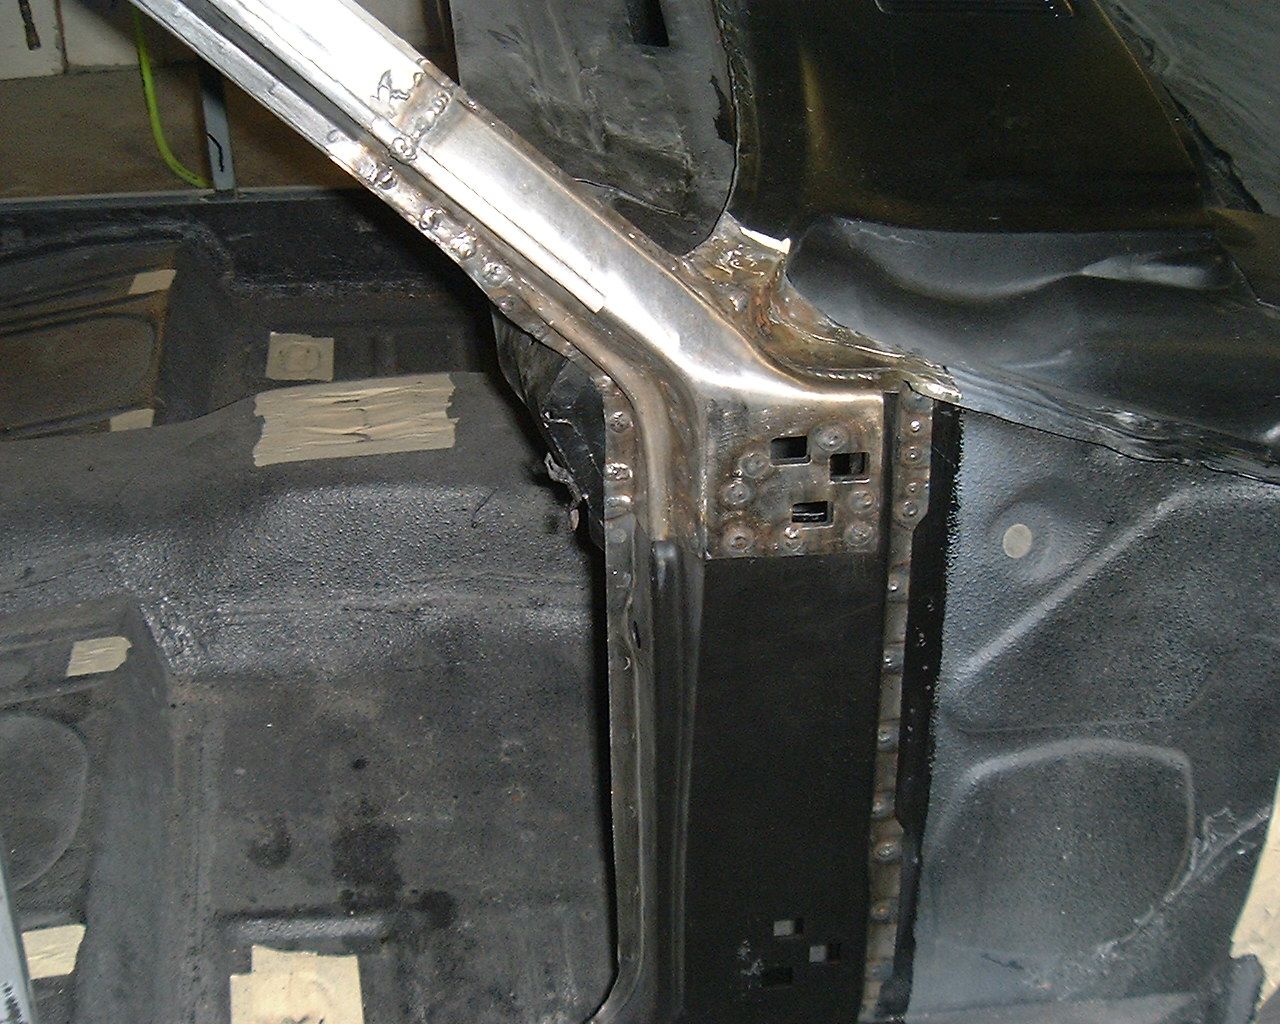
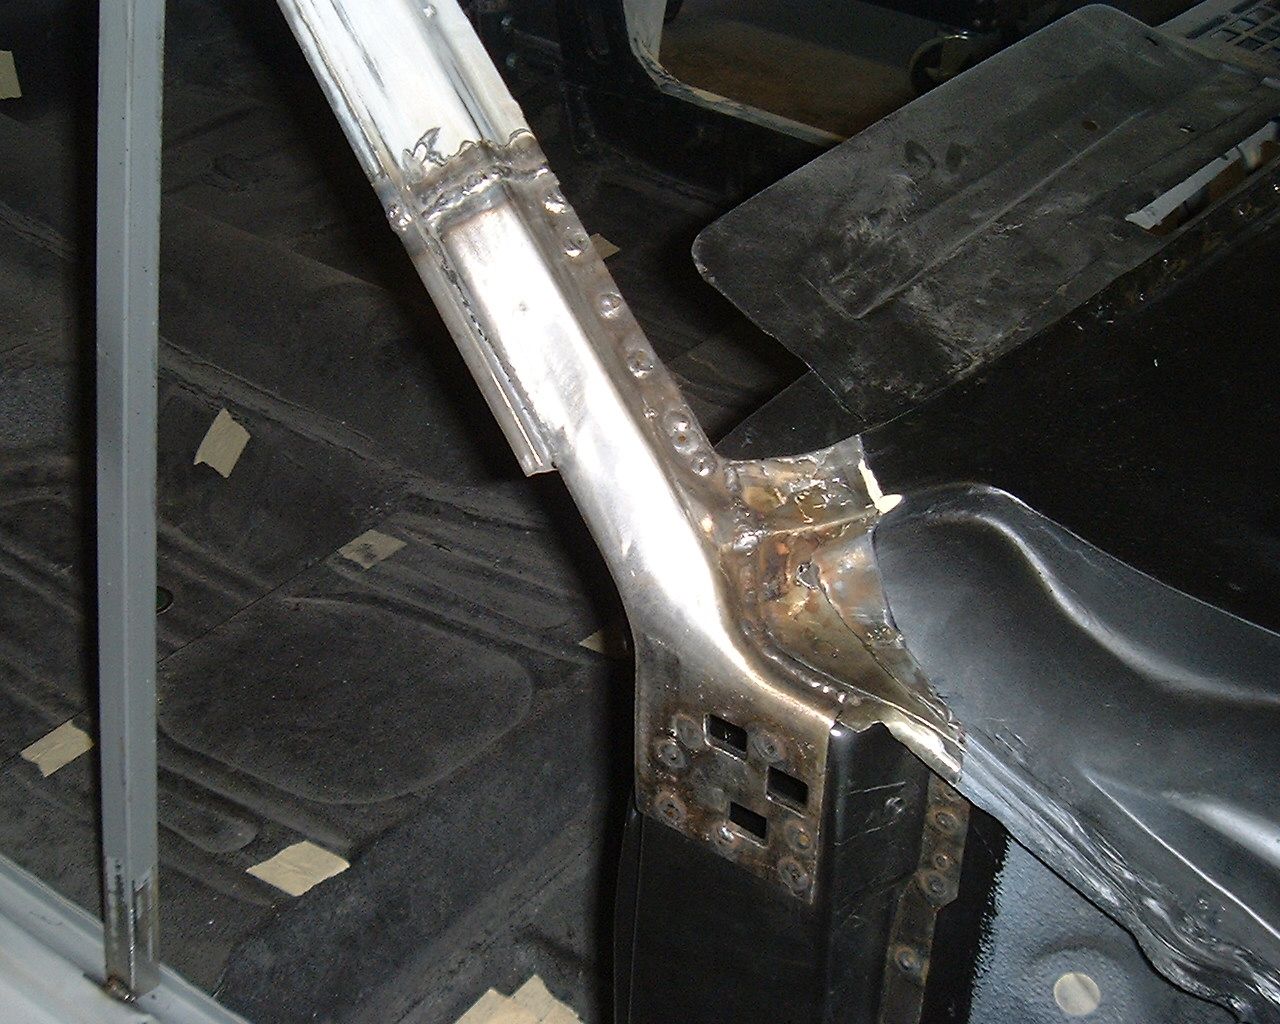
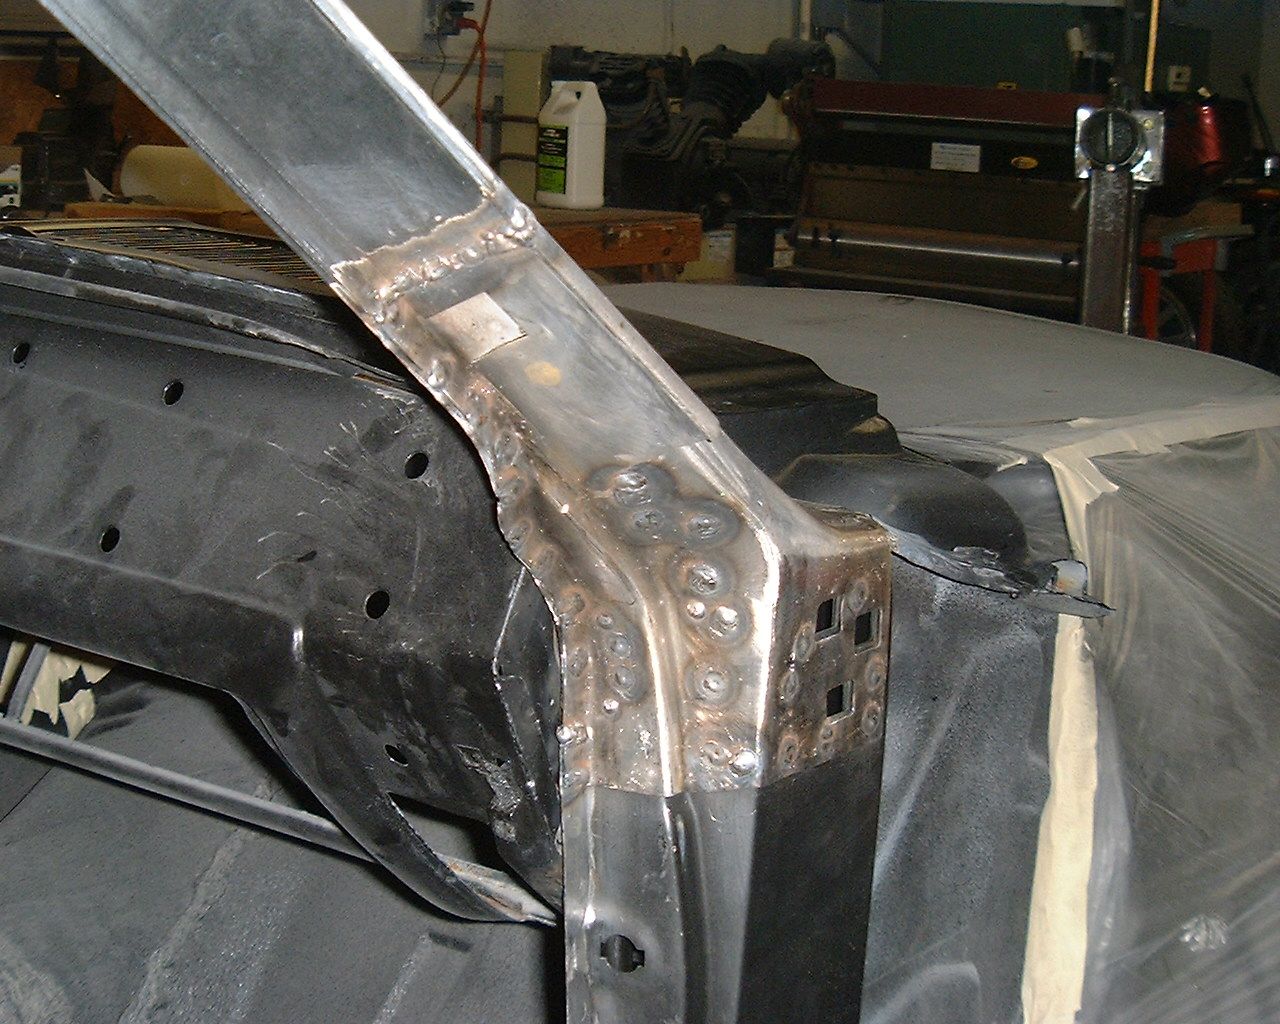
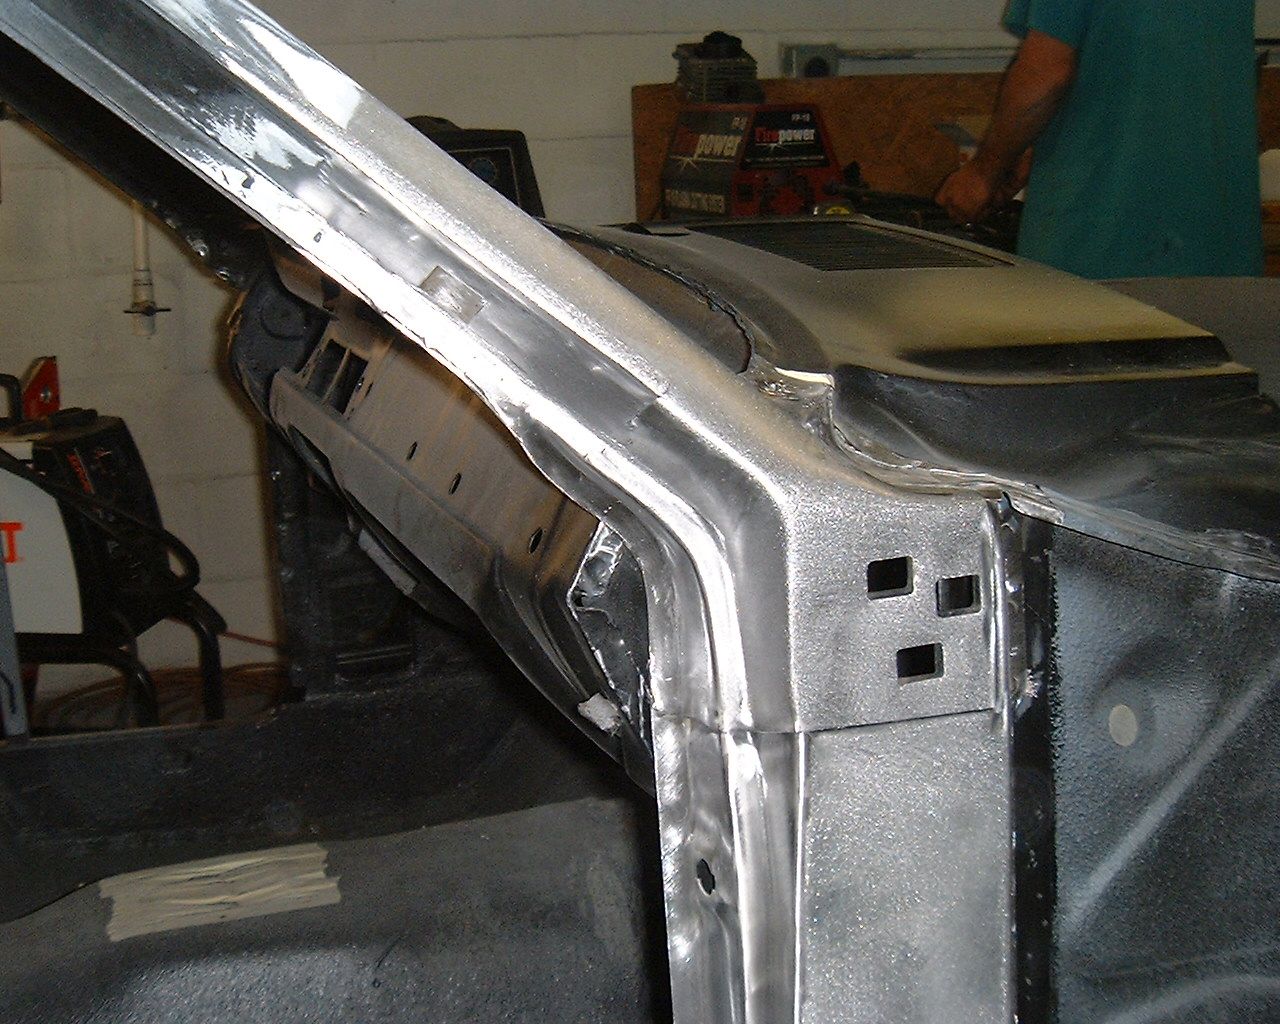
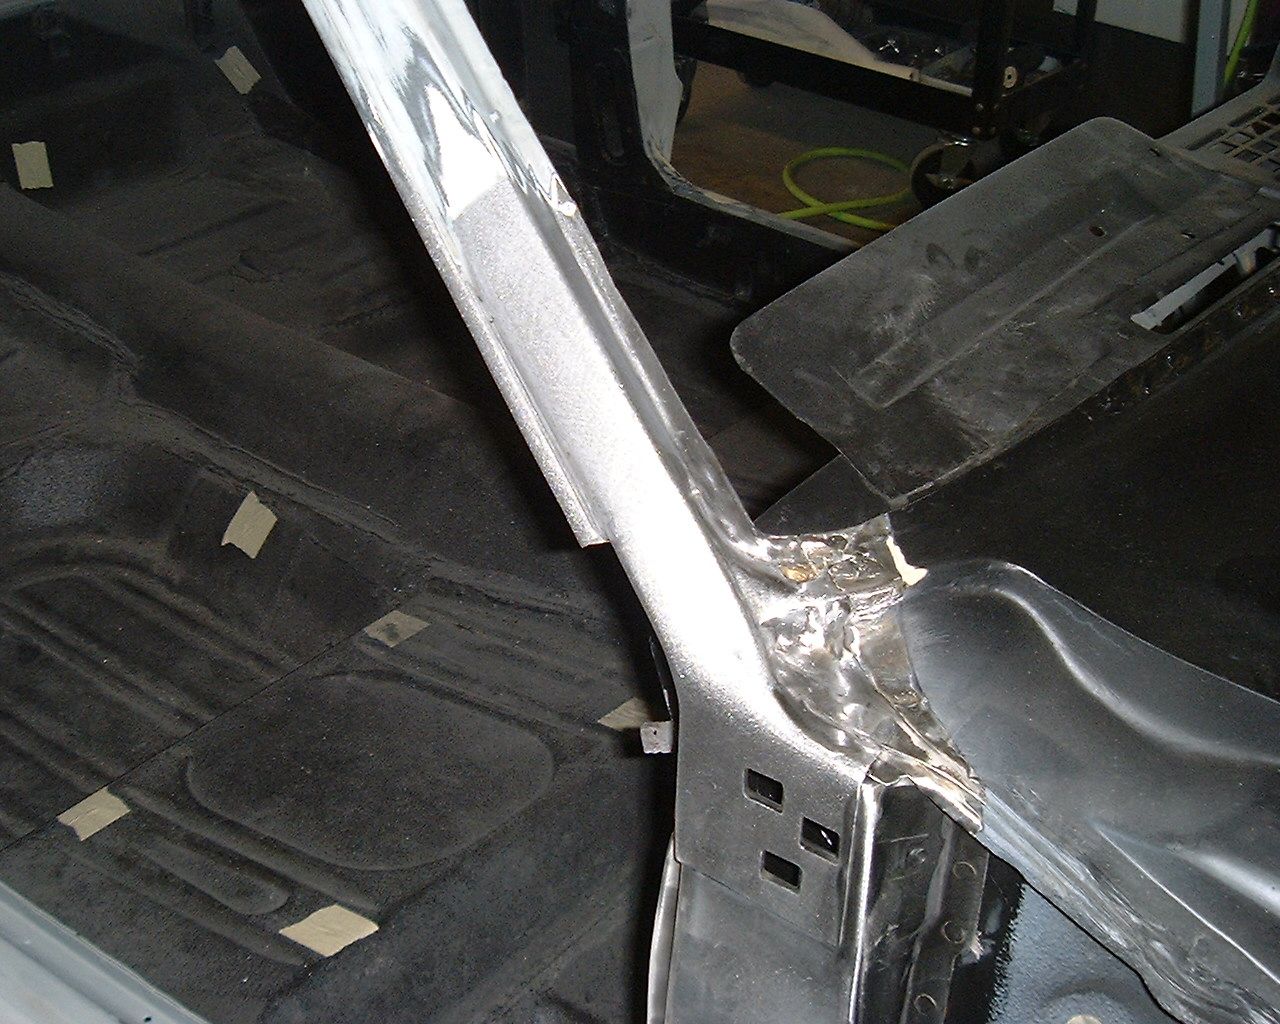
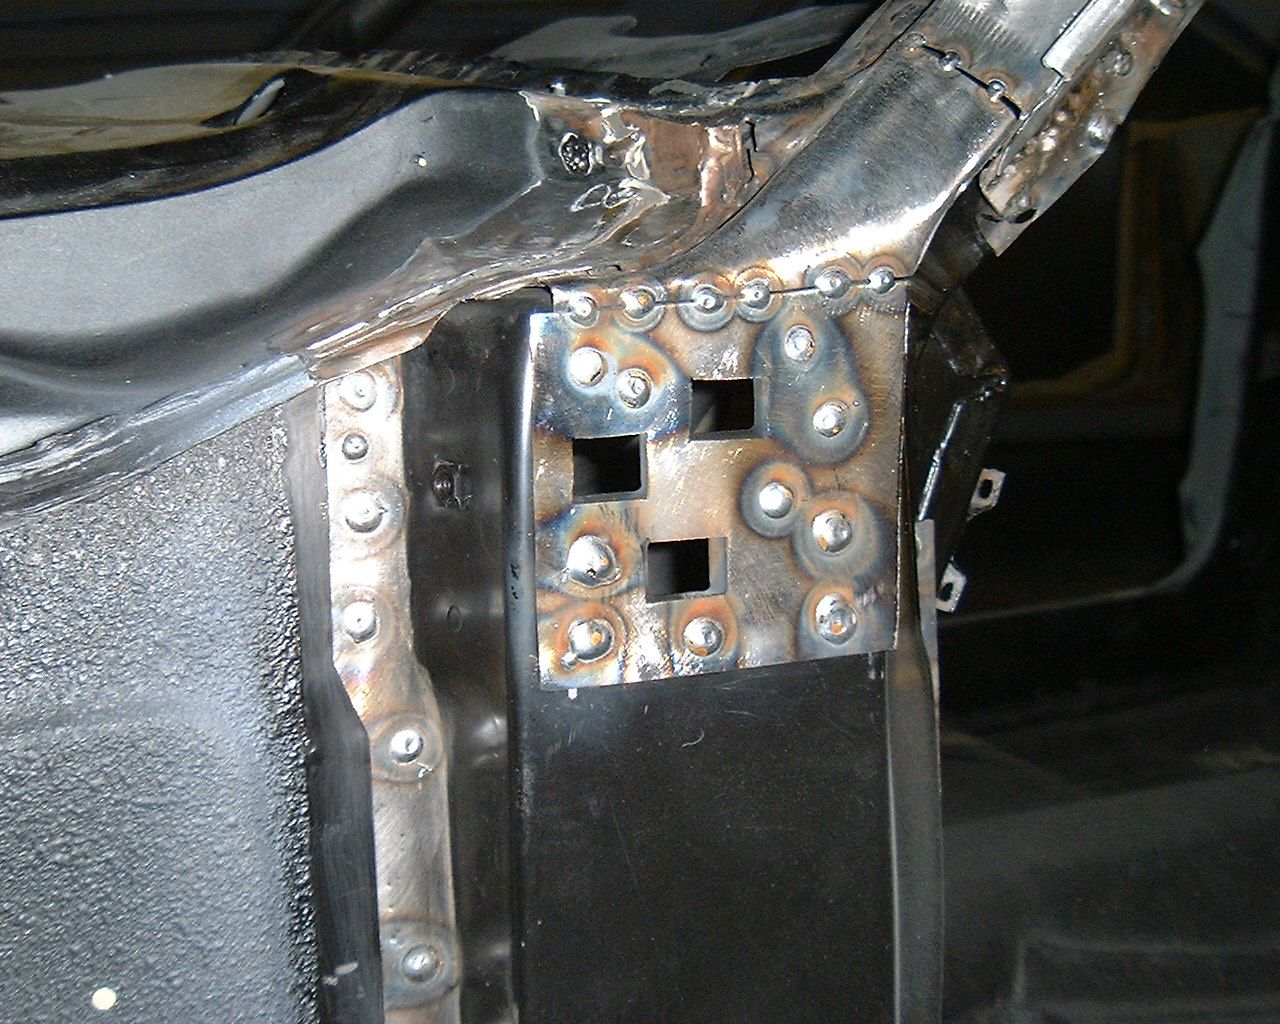
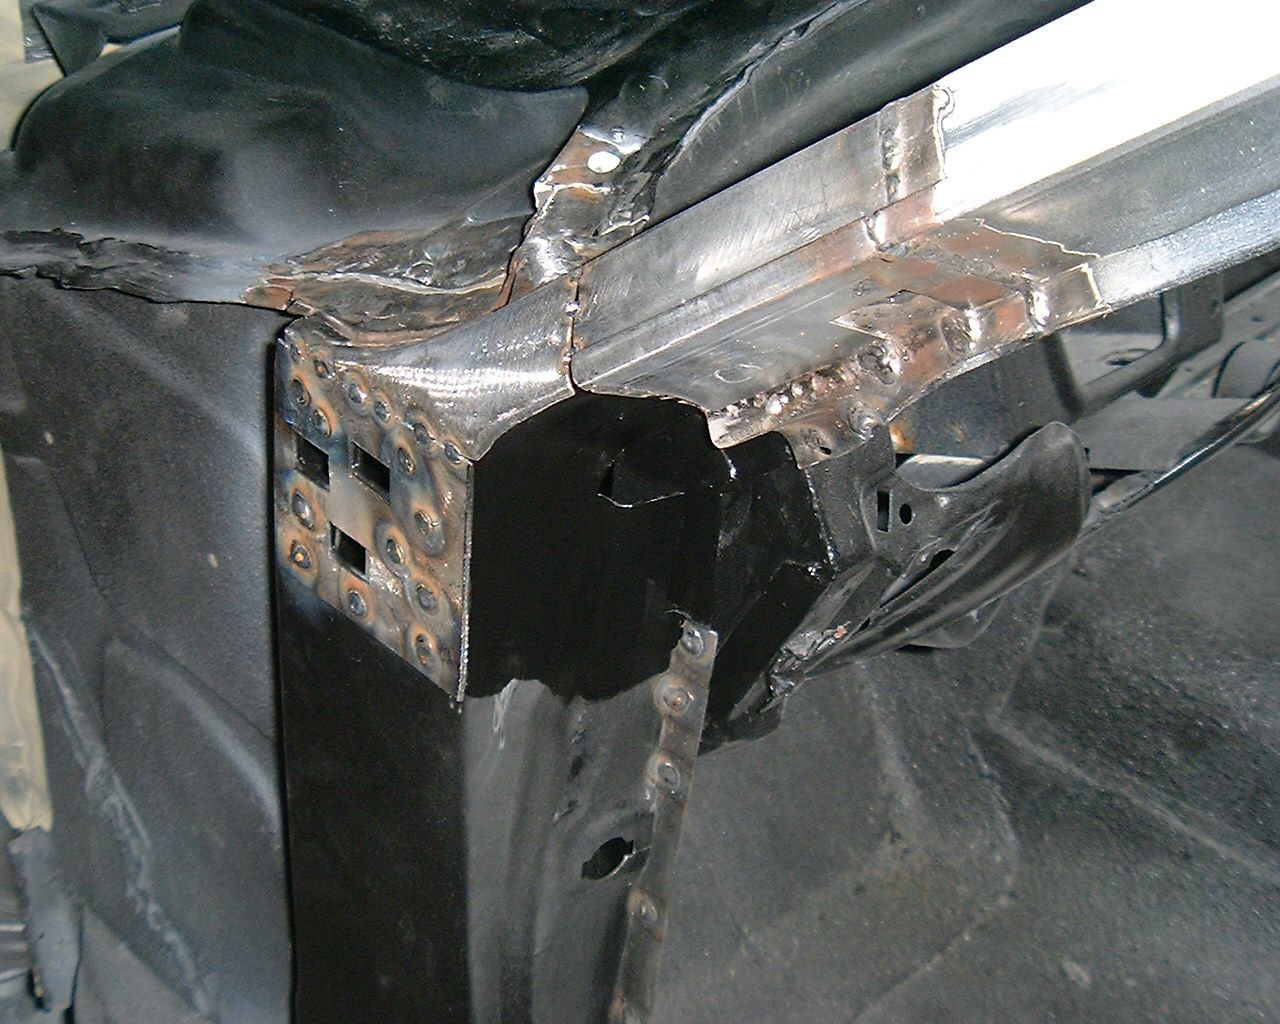
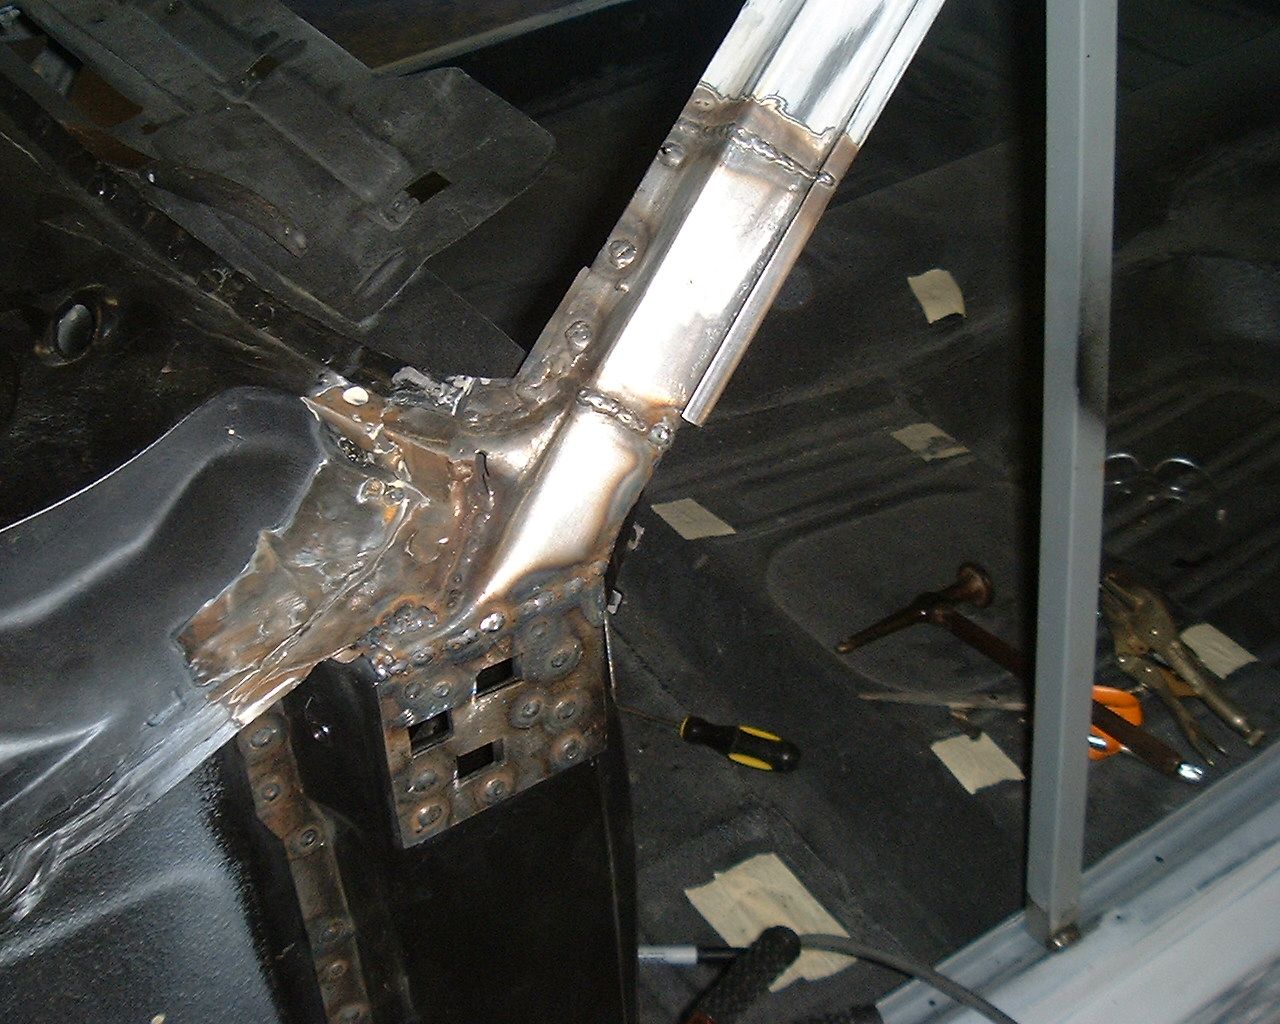
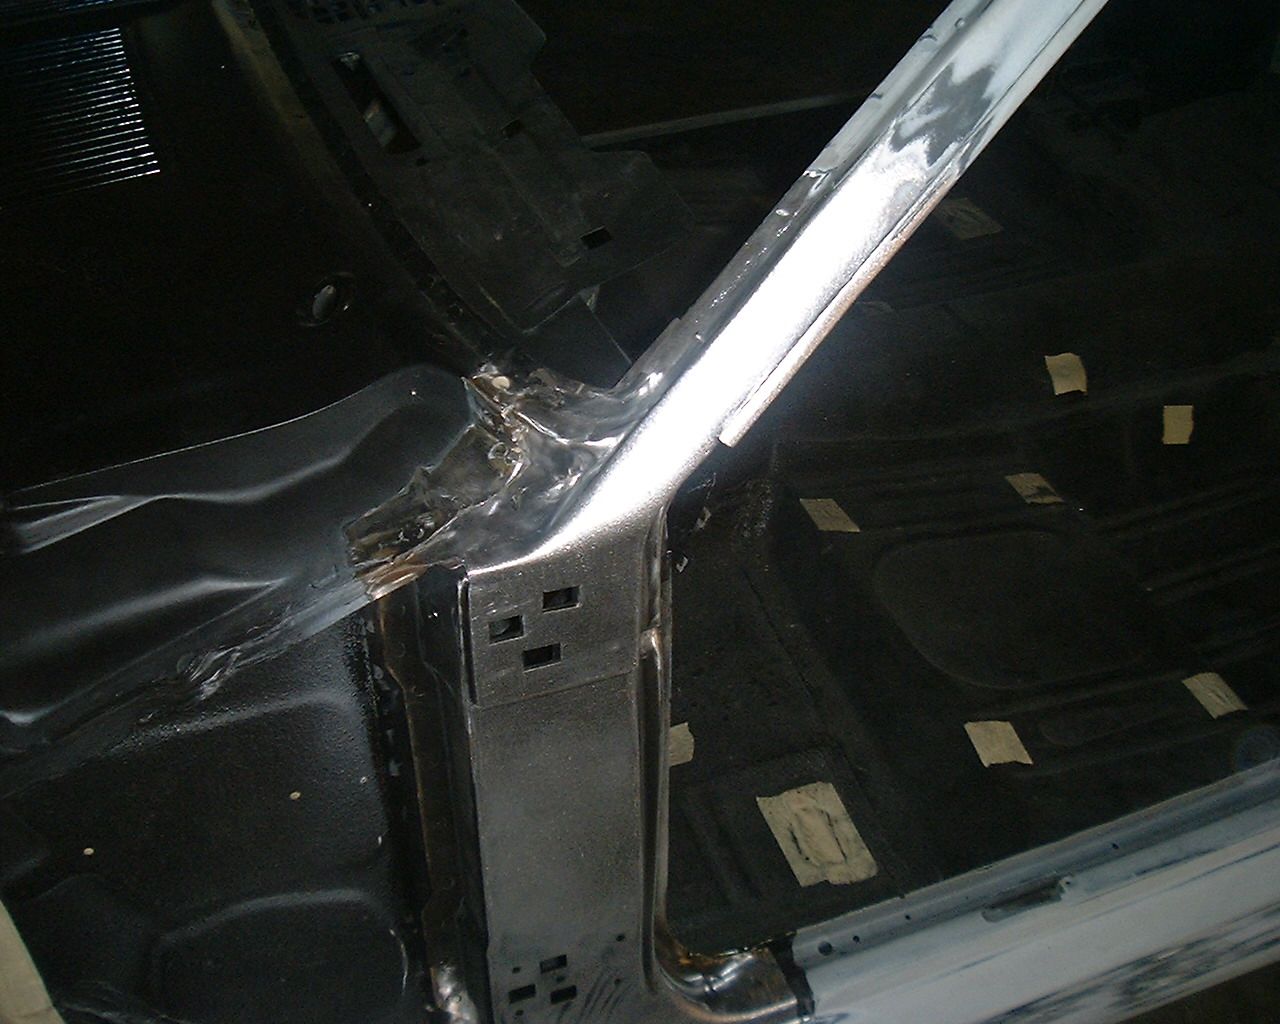
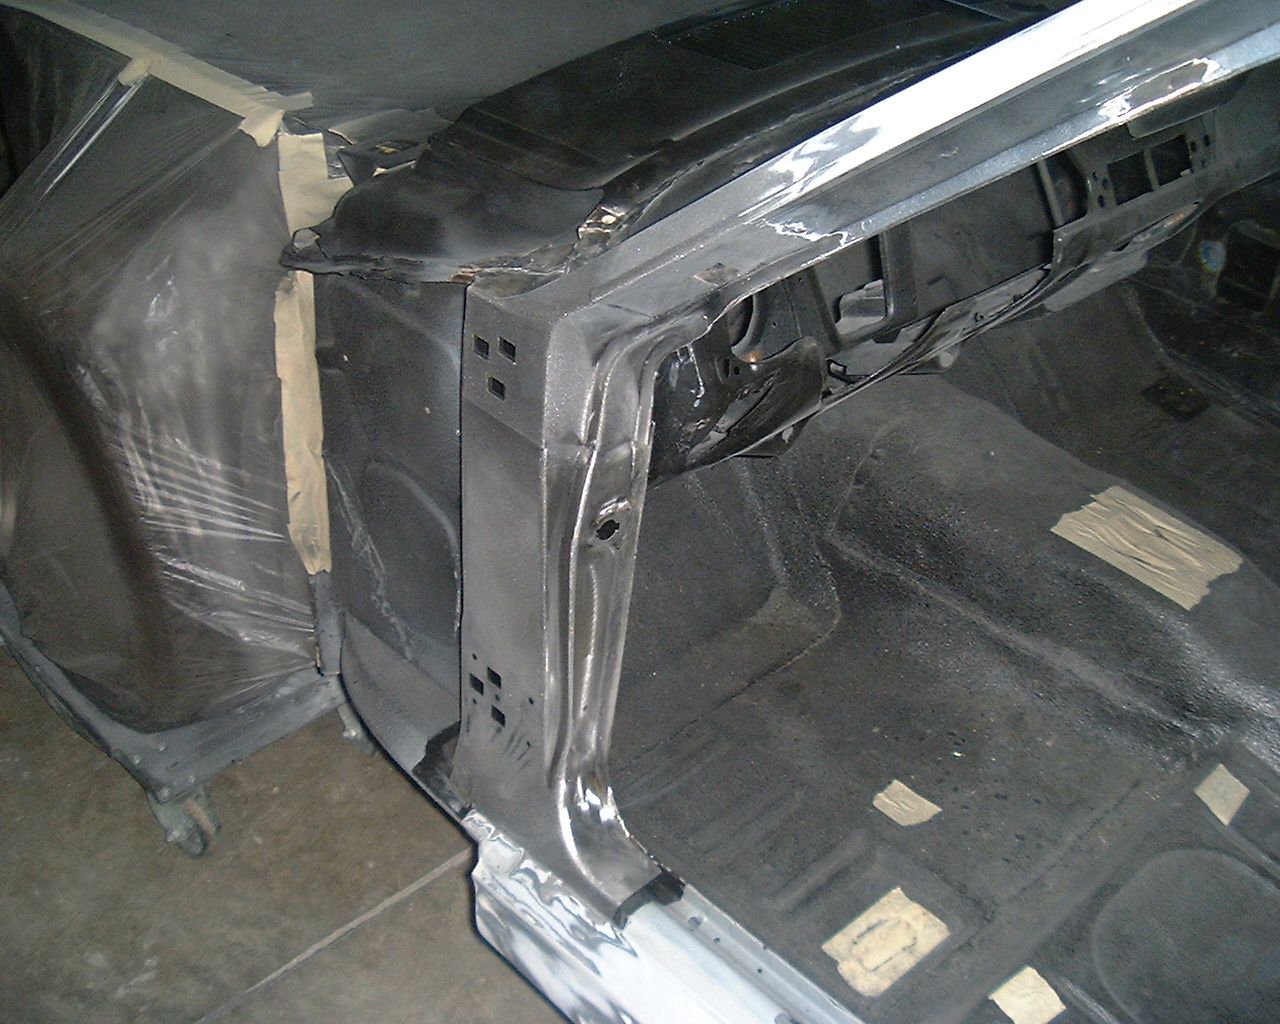
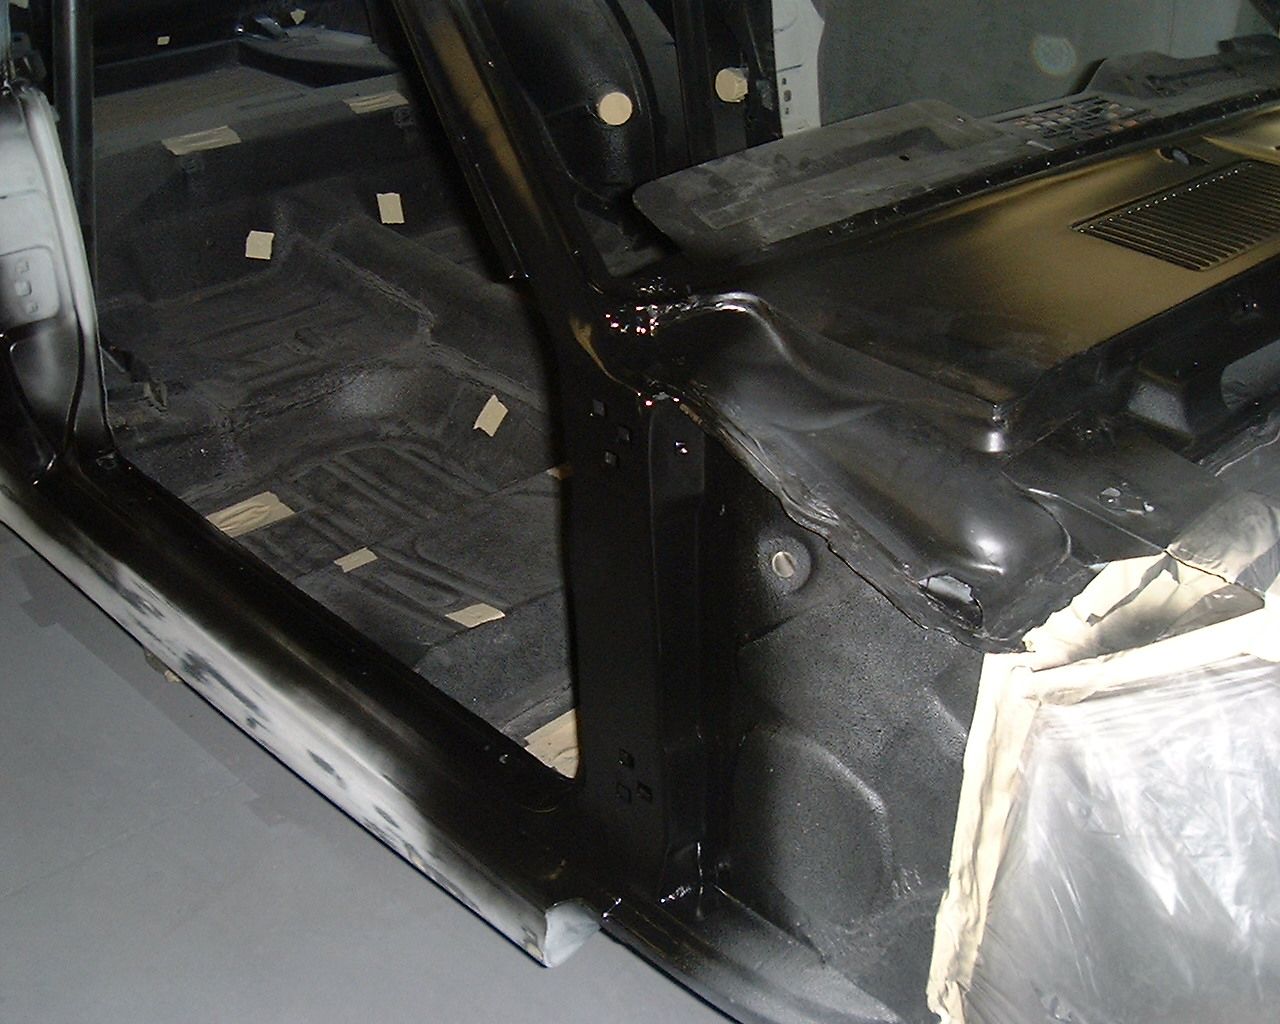
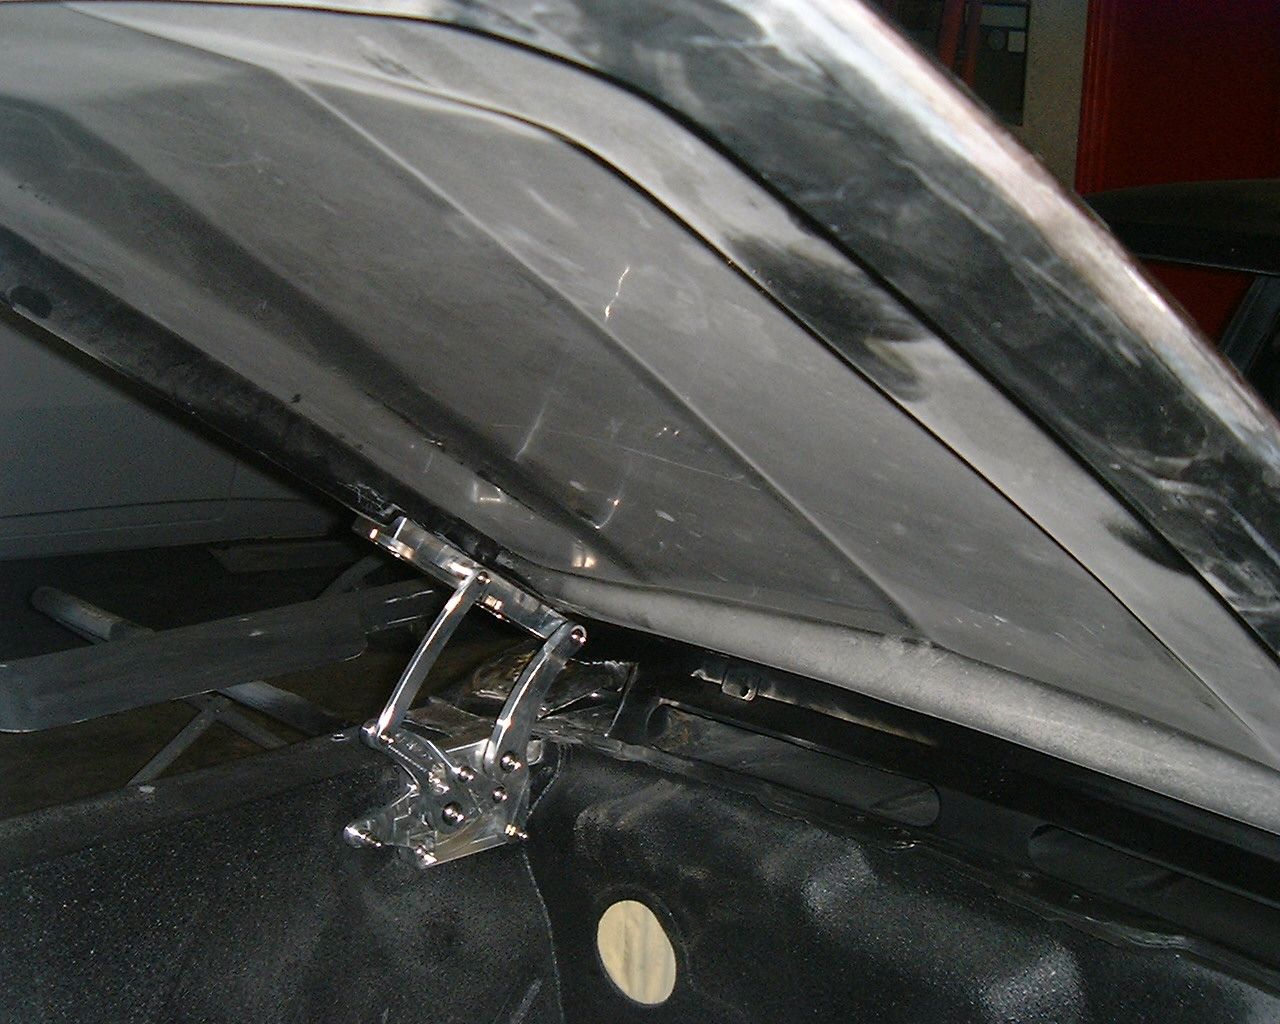
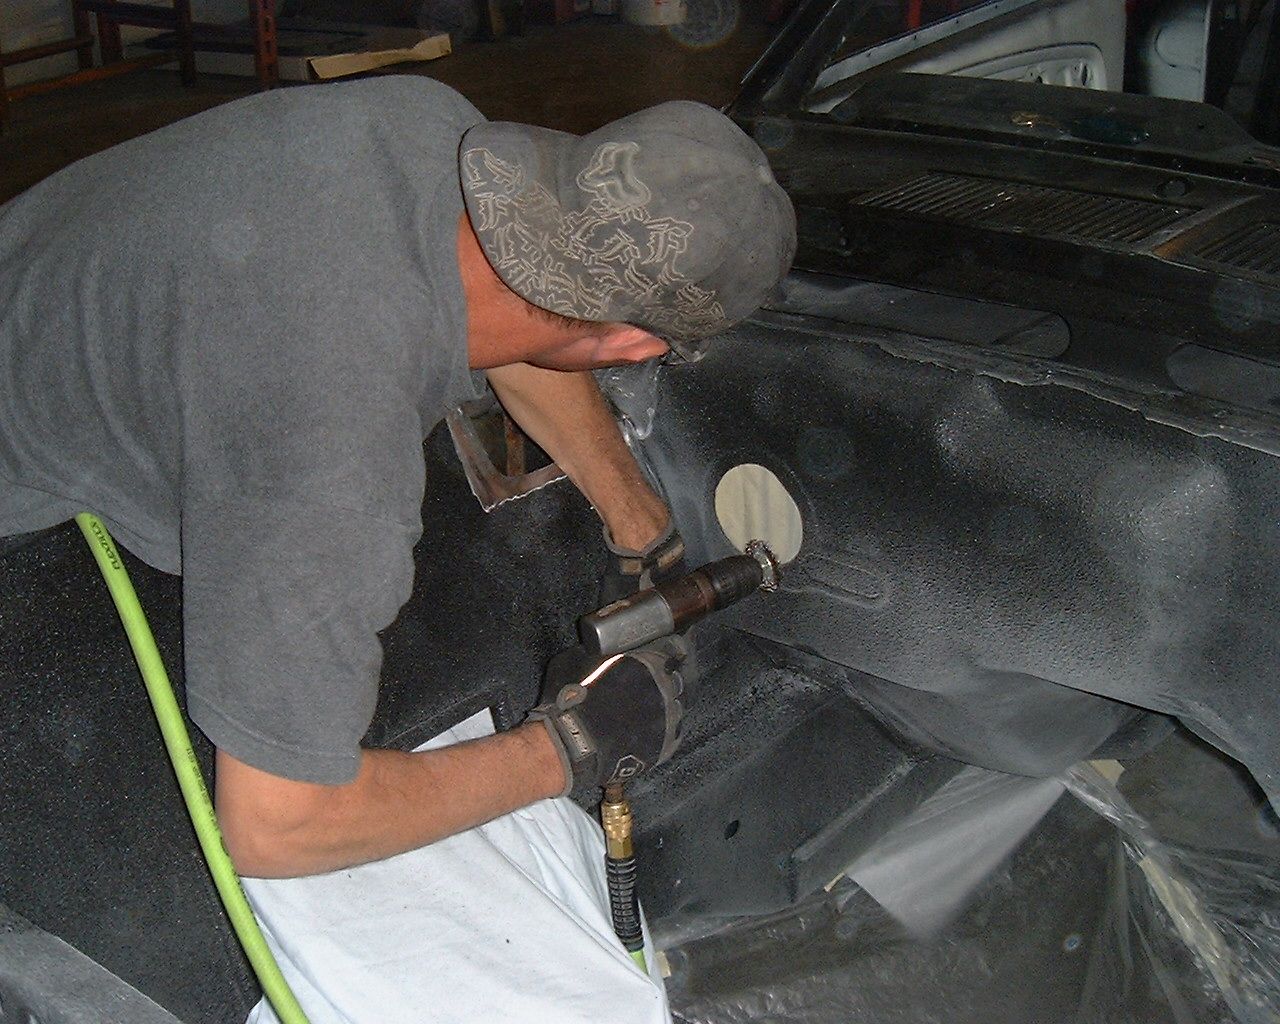
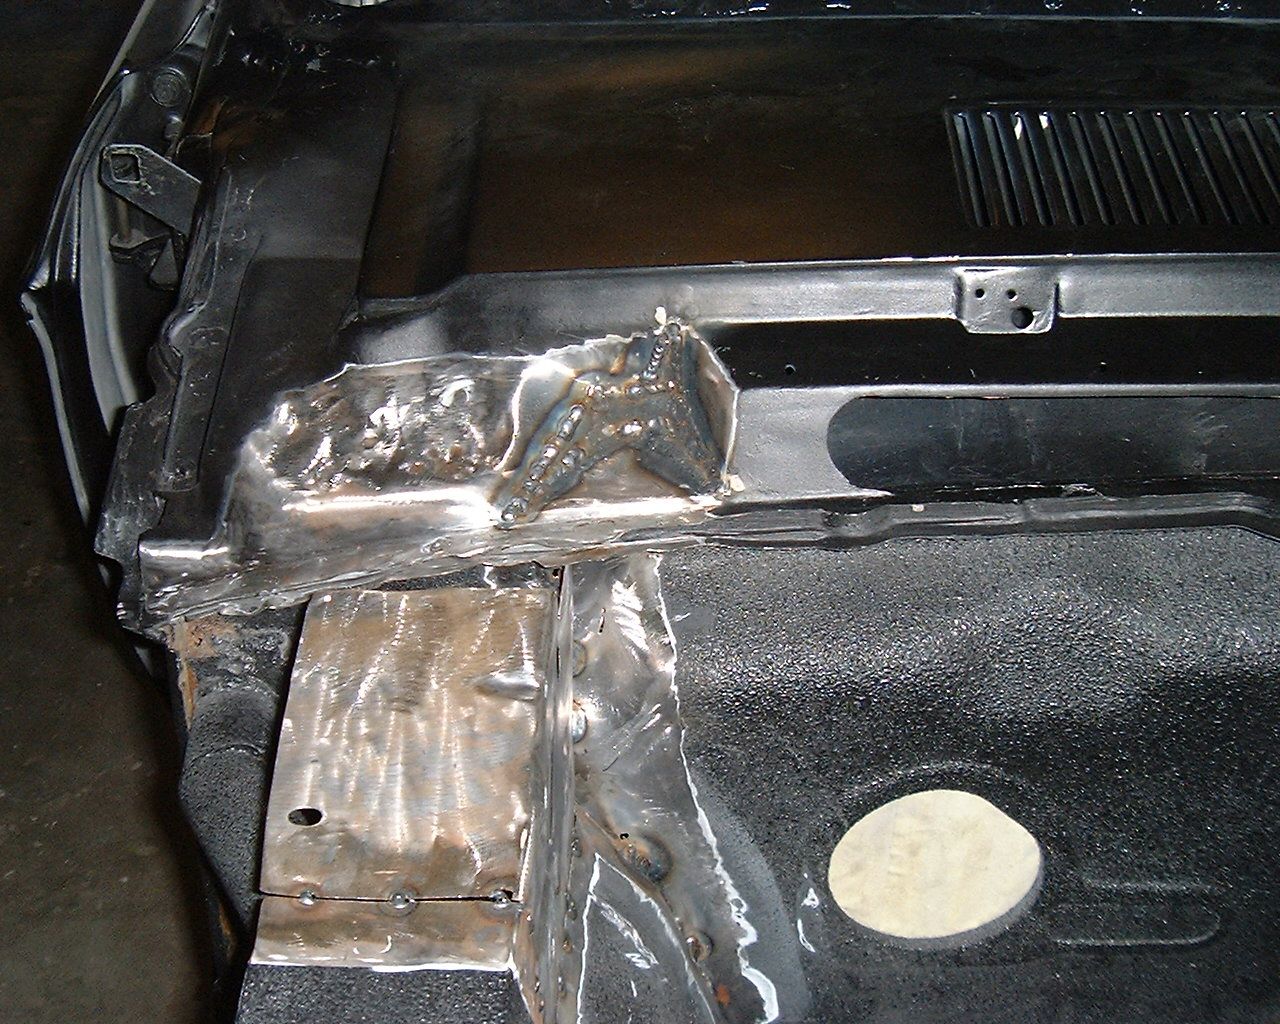
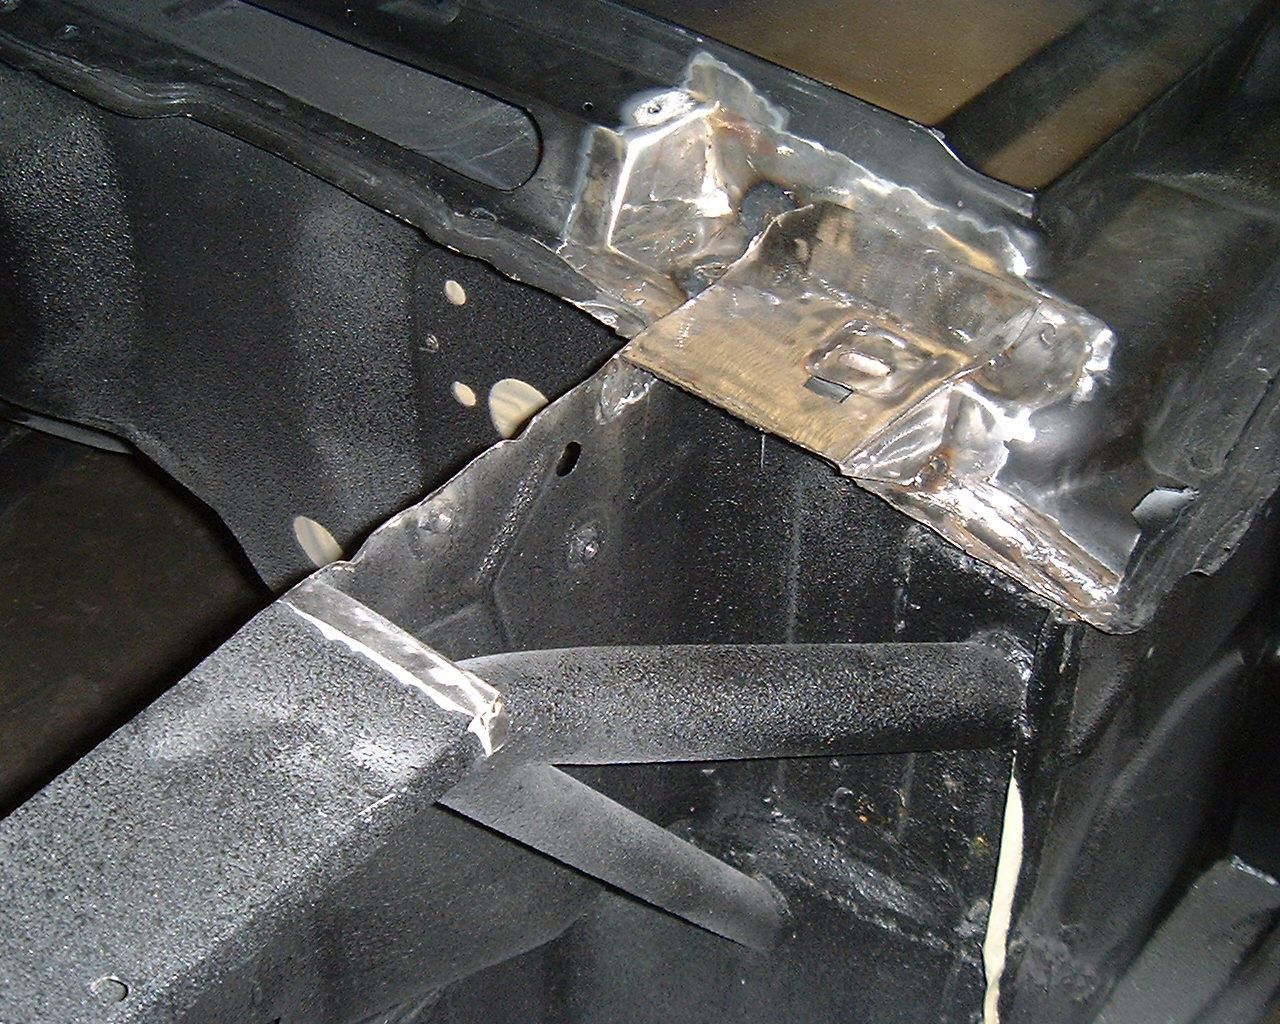
Brian started putting the puzzle back together

185.jpg


186.jpg


187.jpg


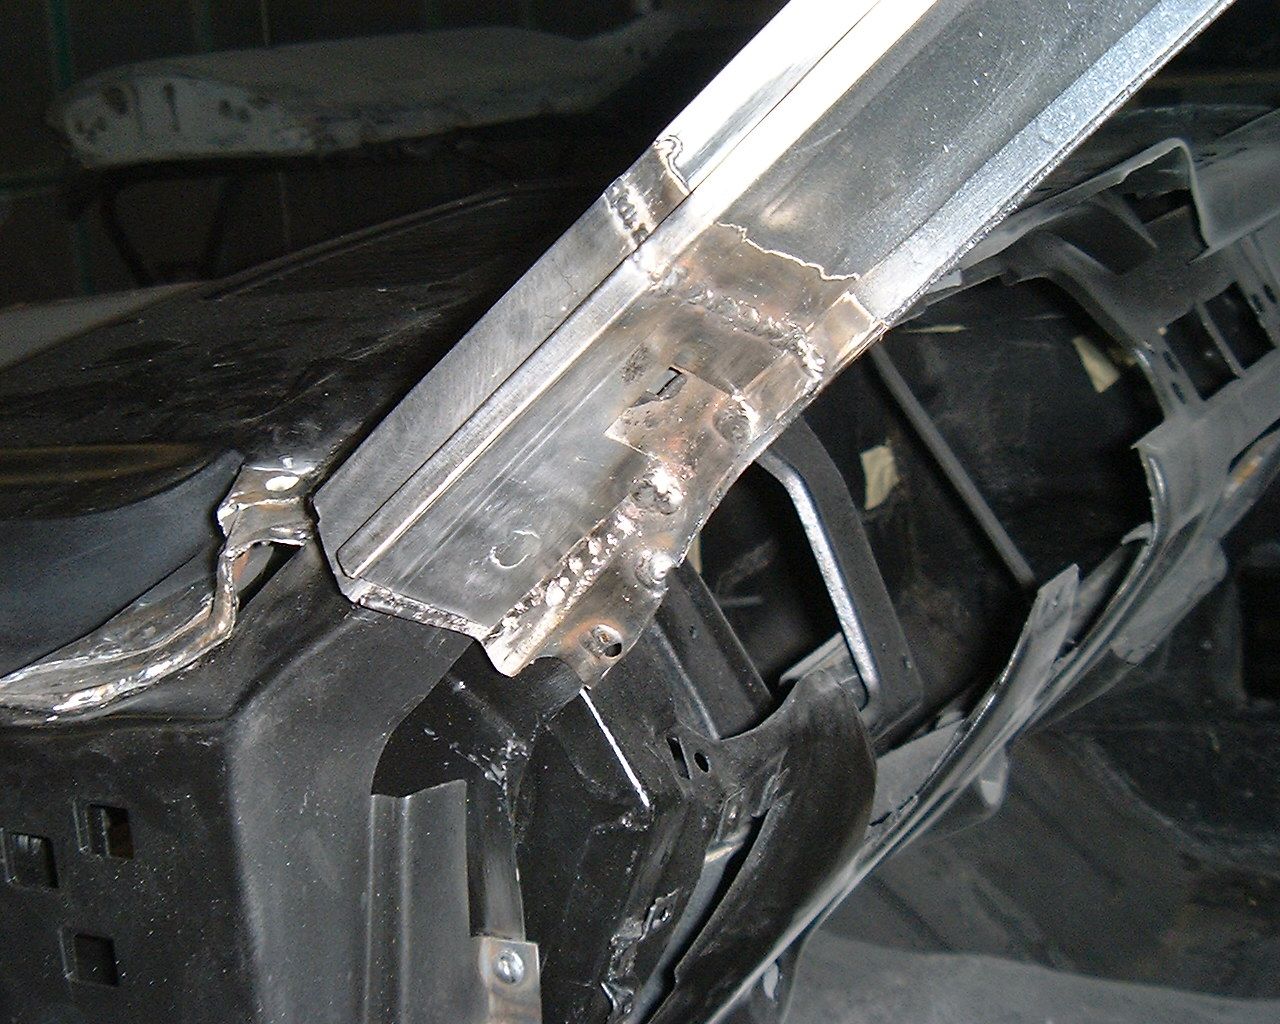
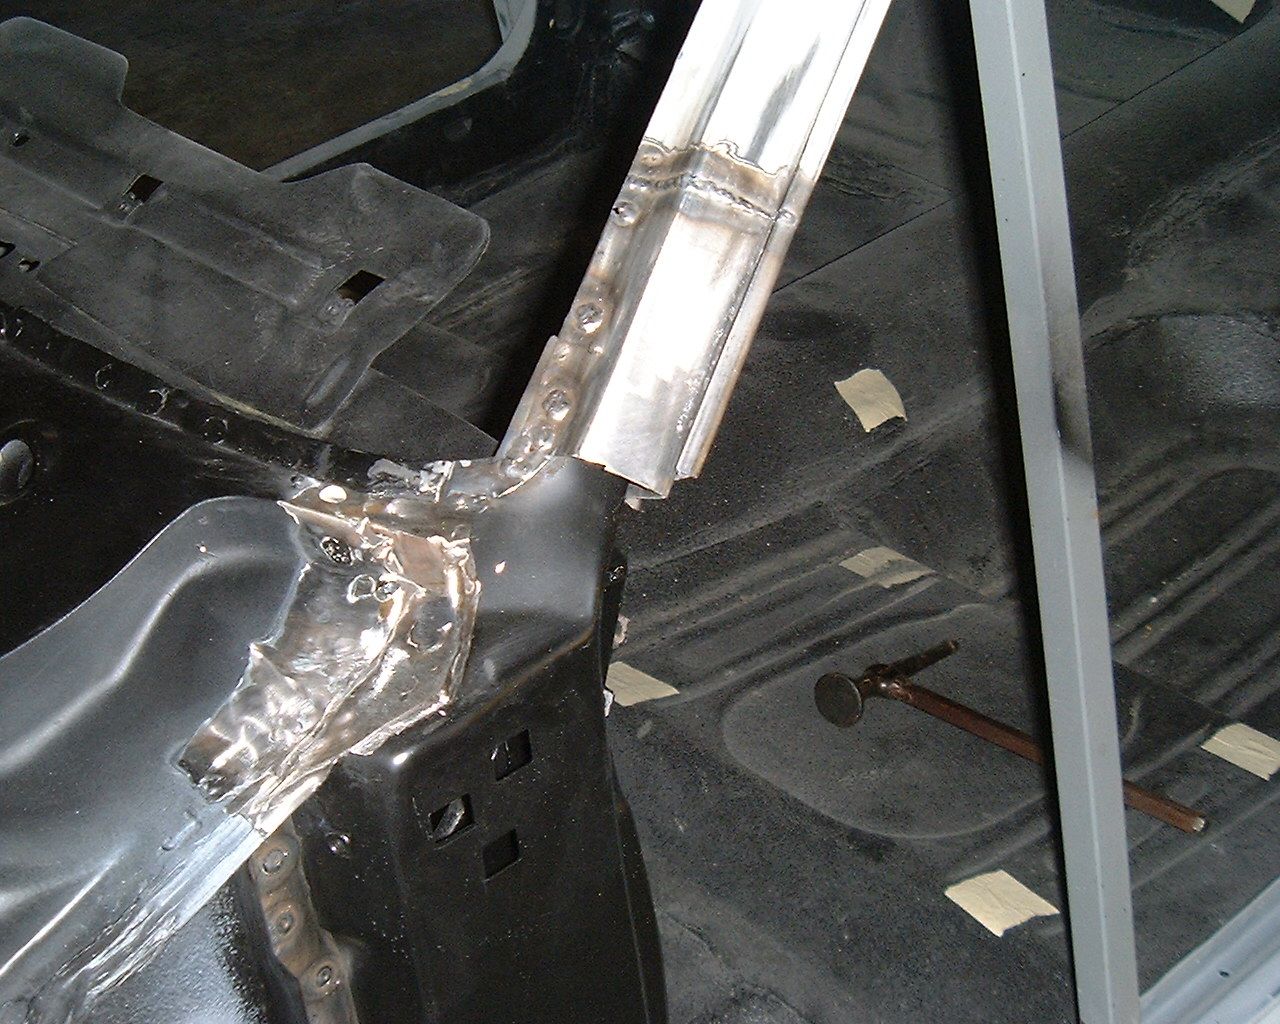
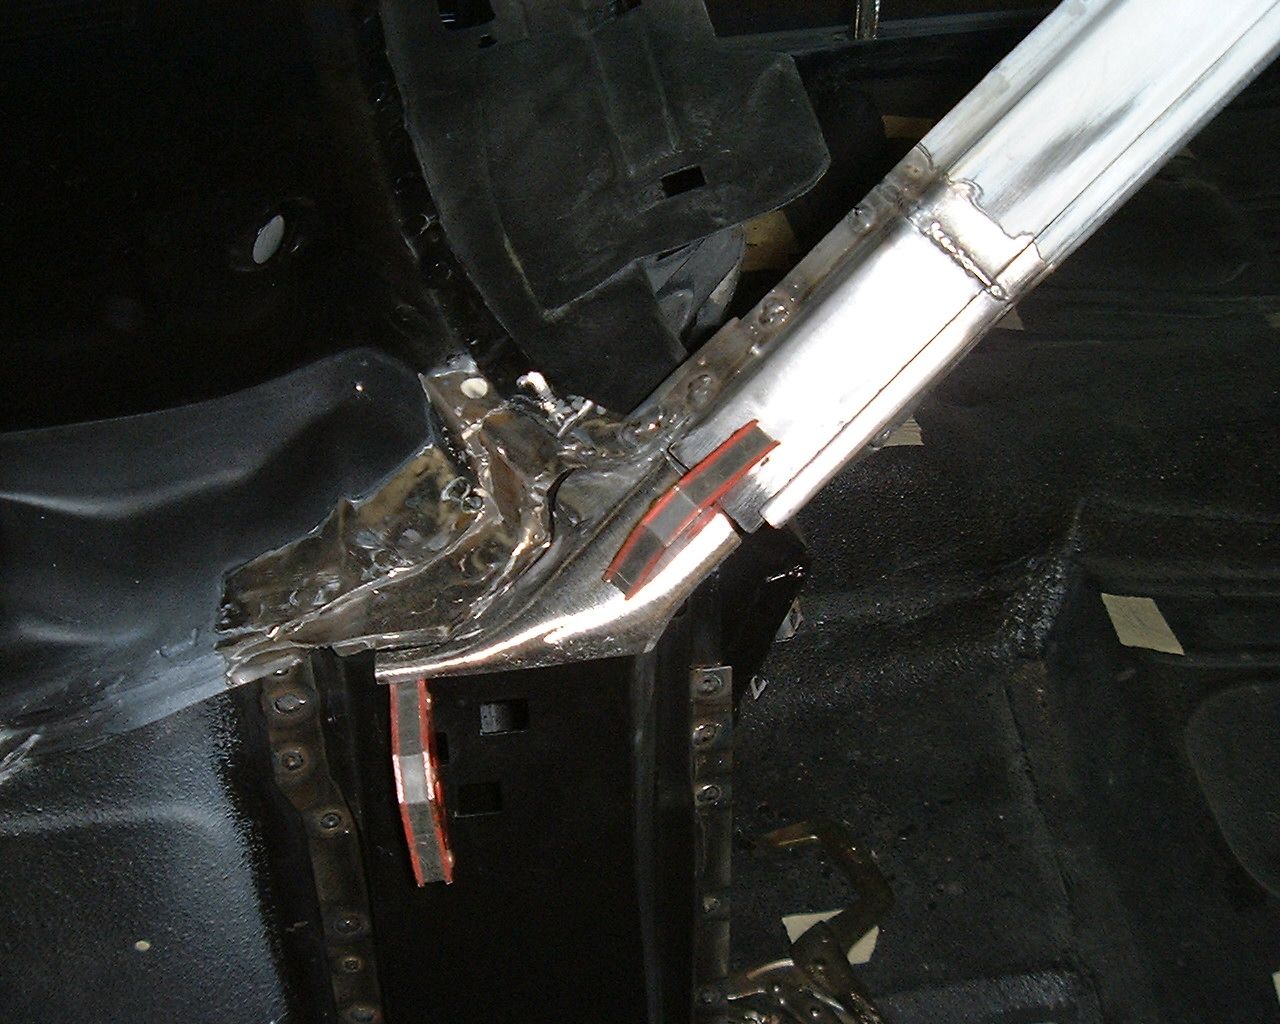
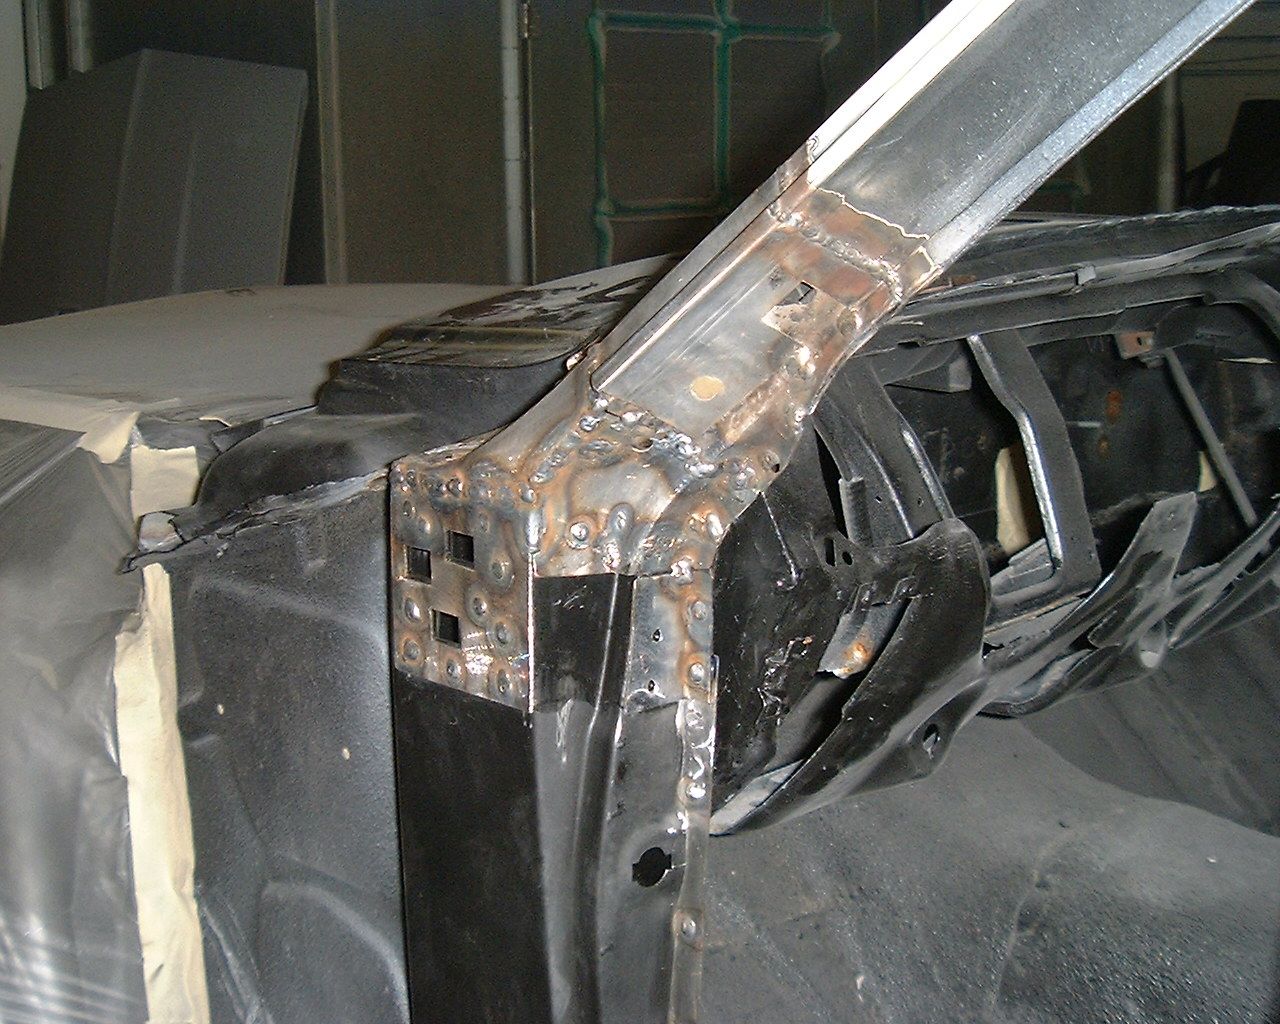
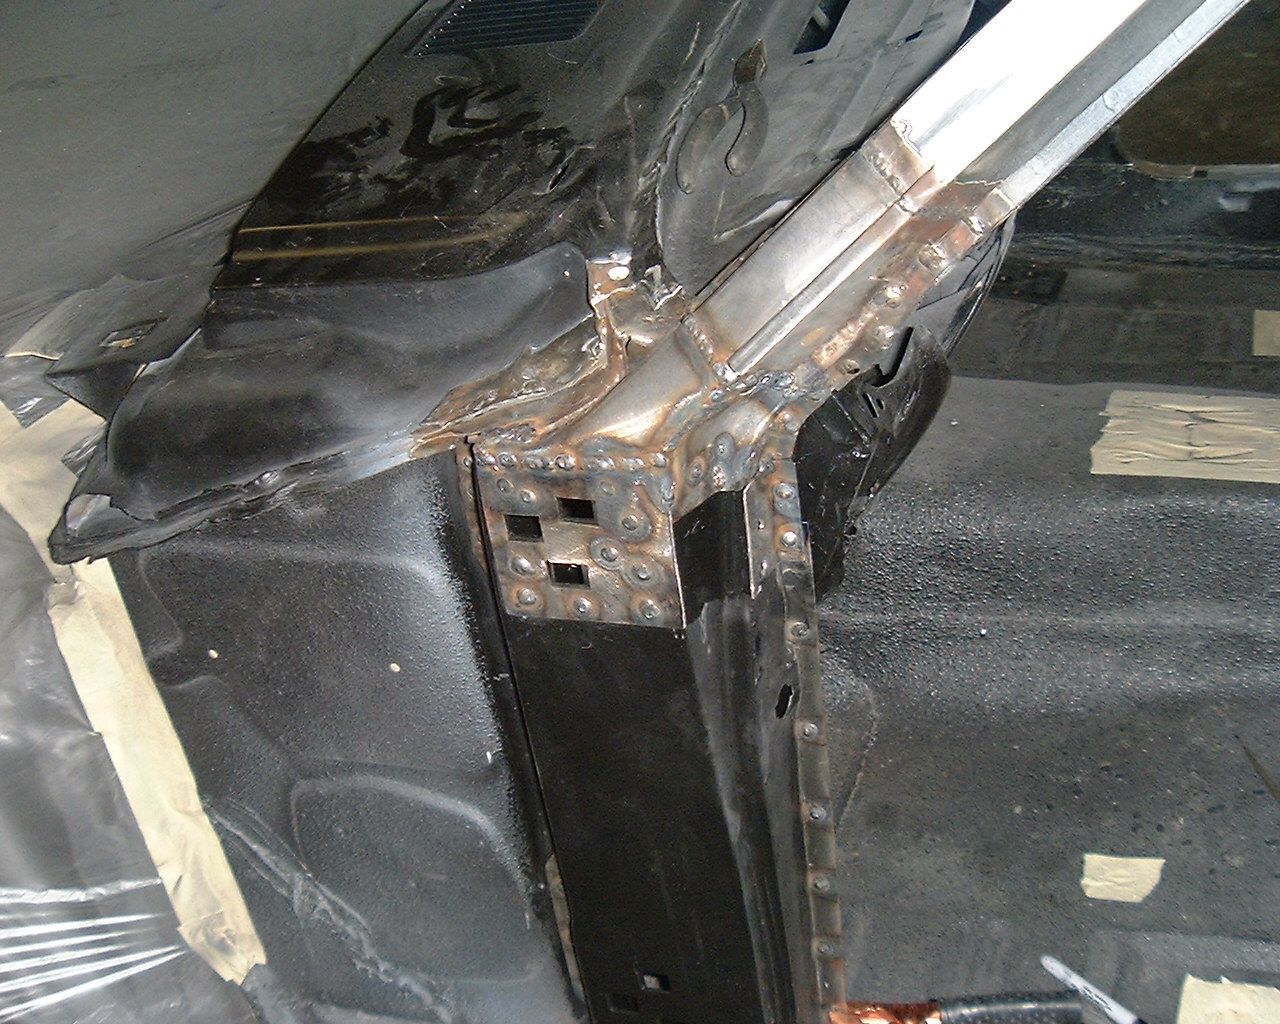
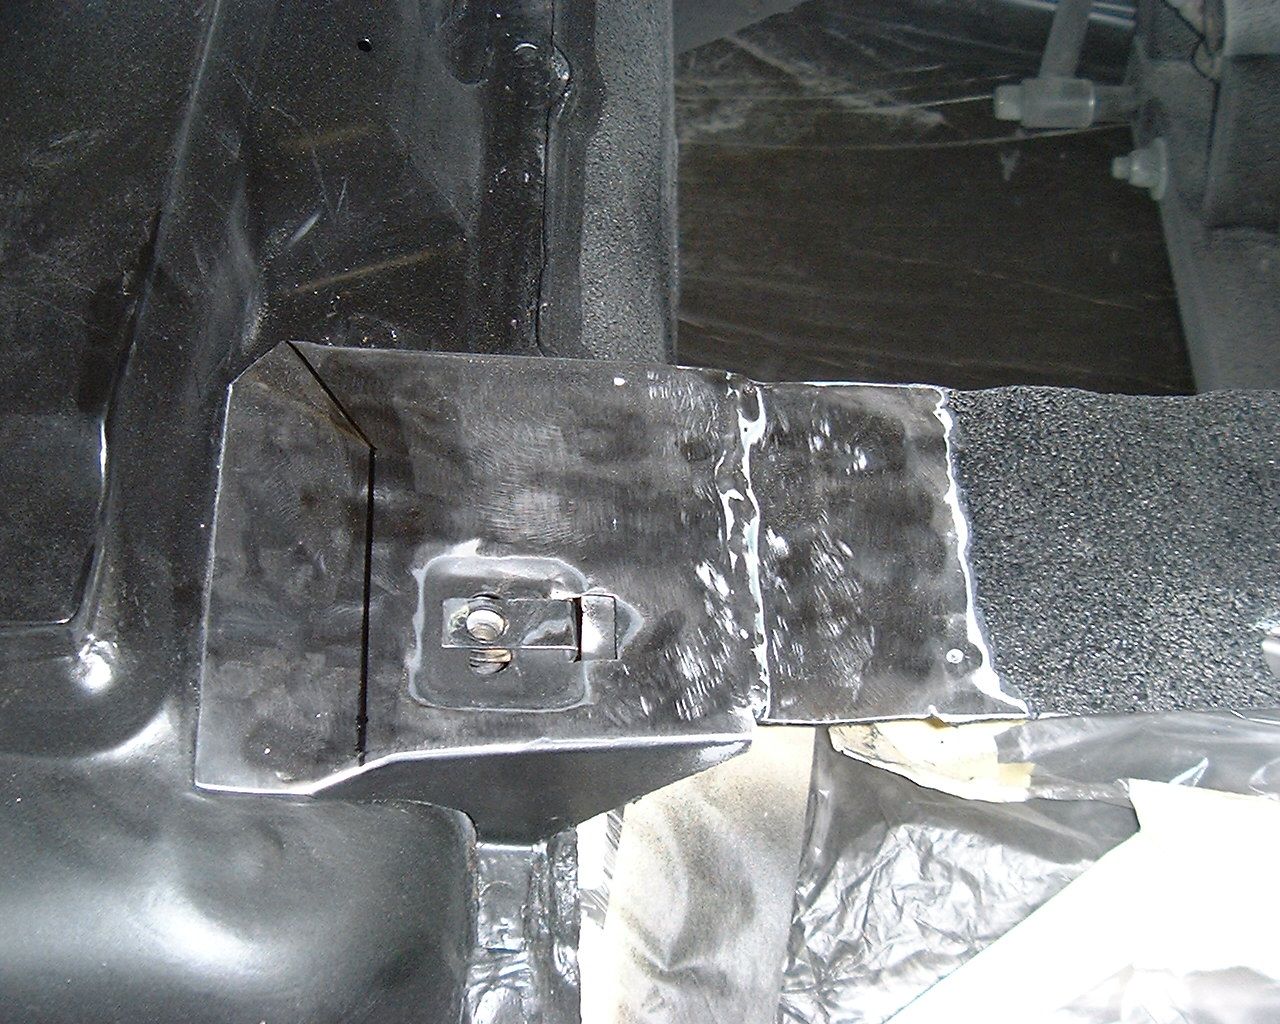
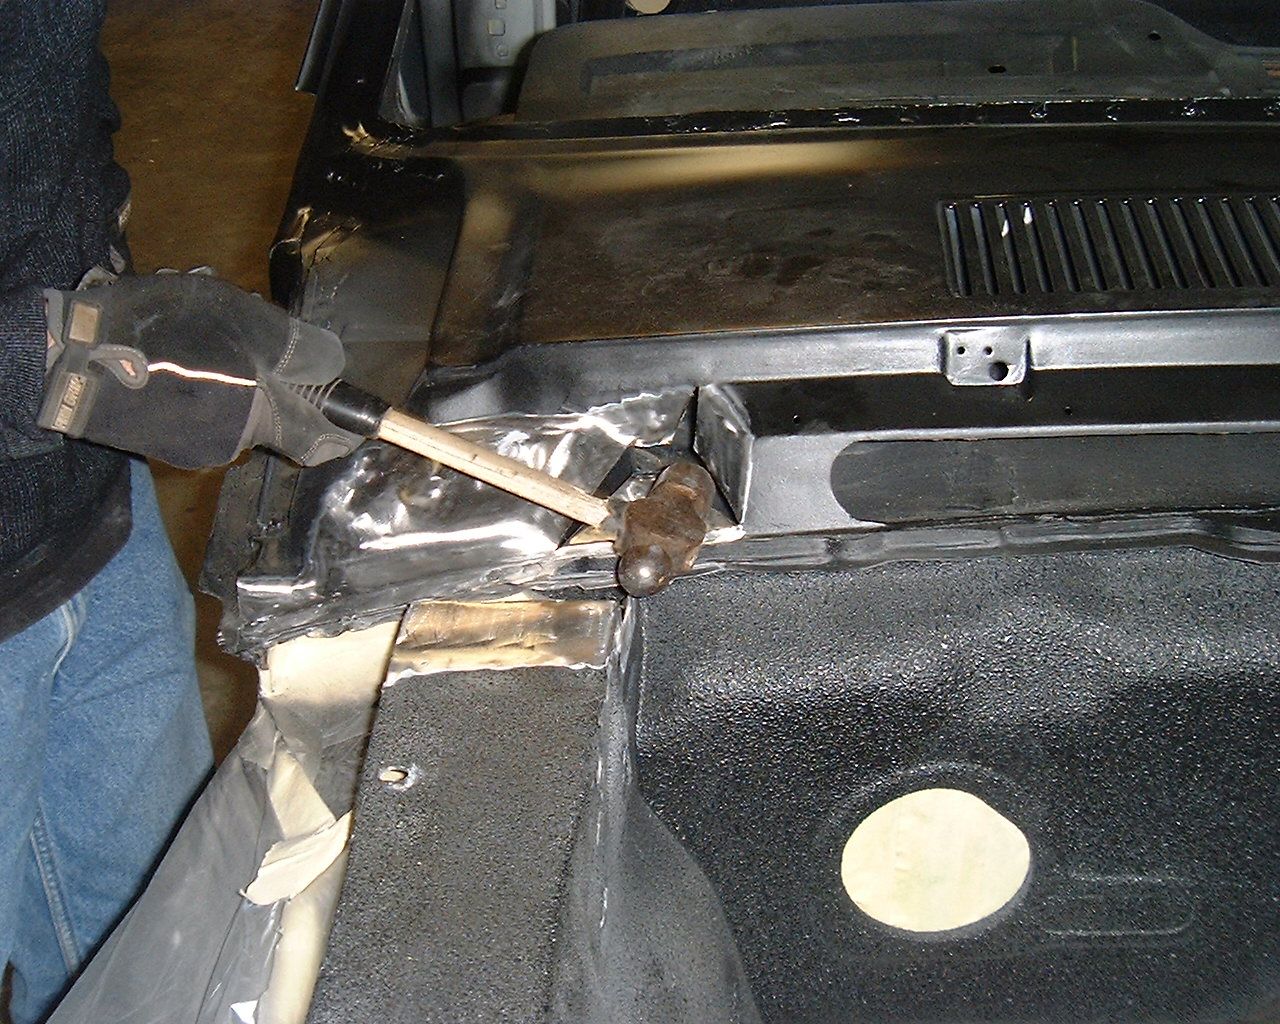
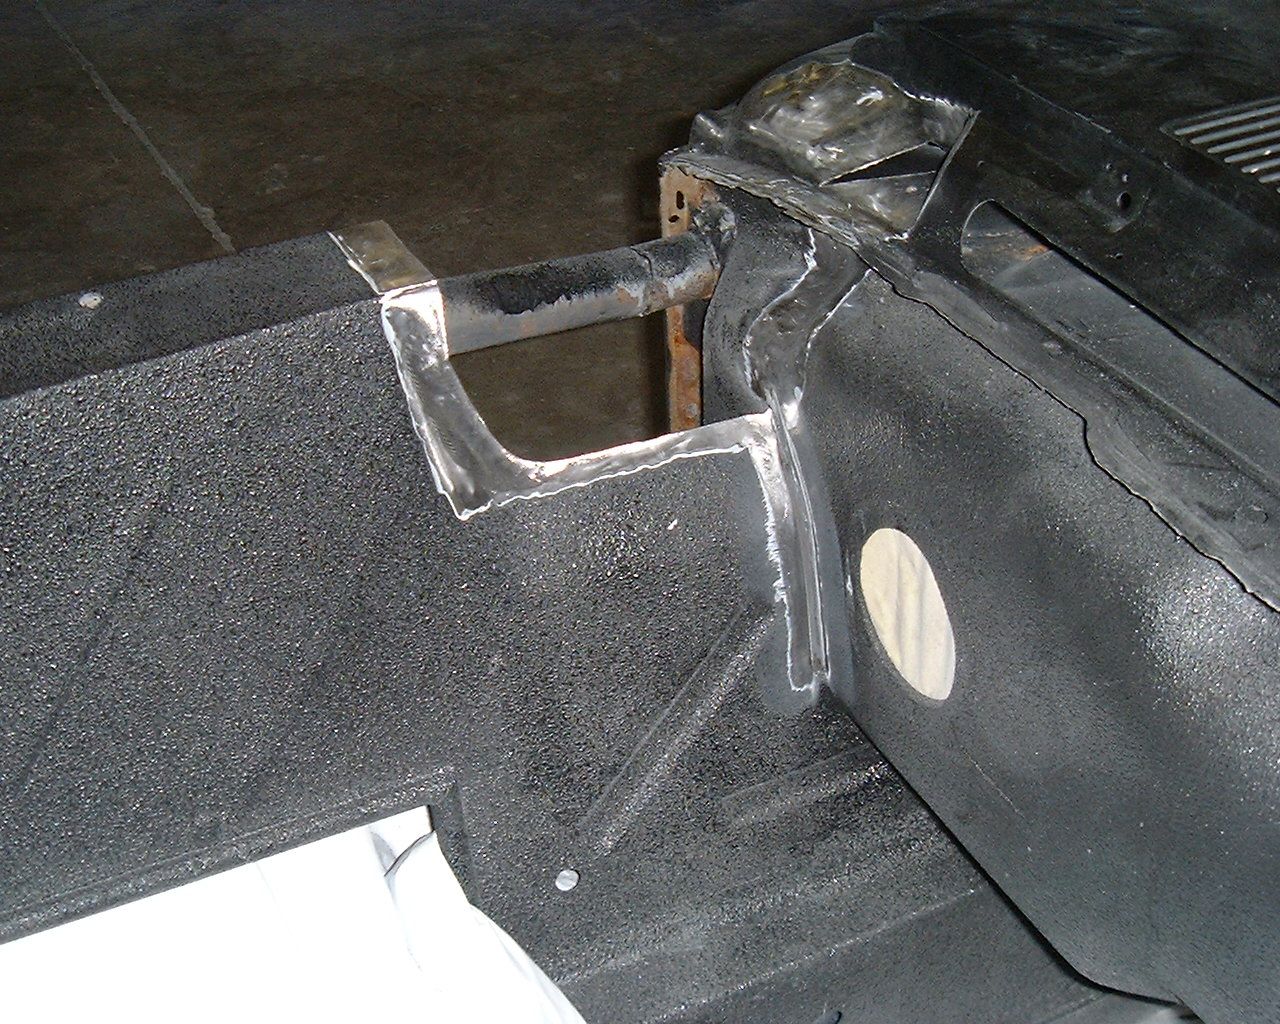
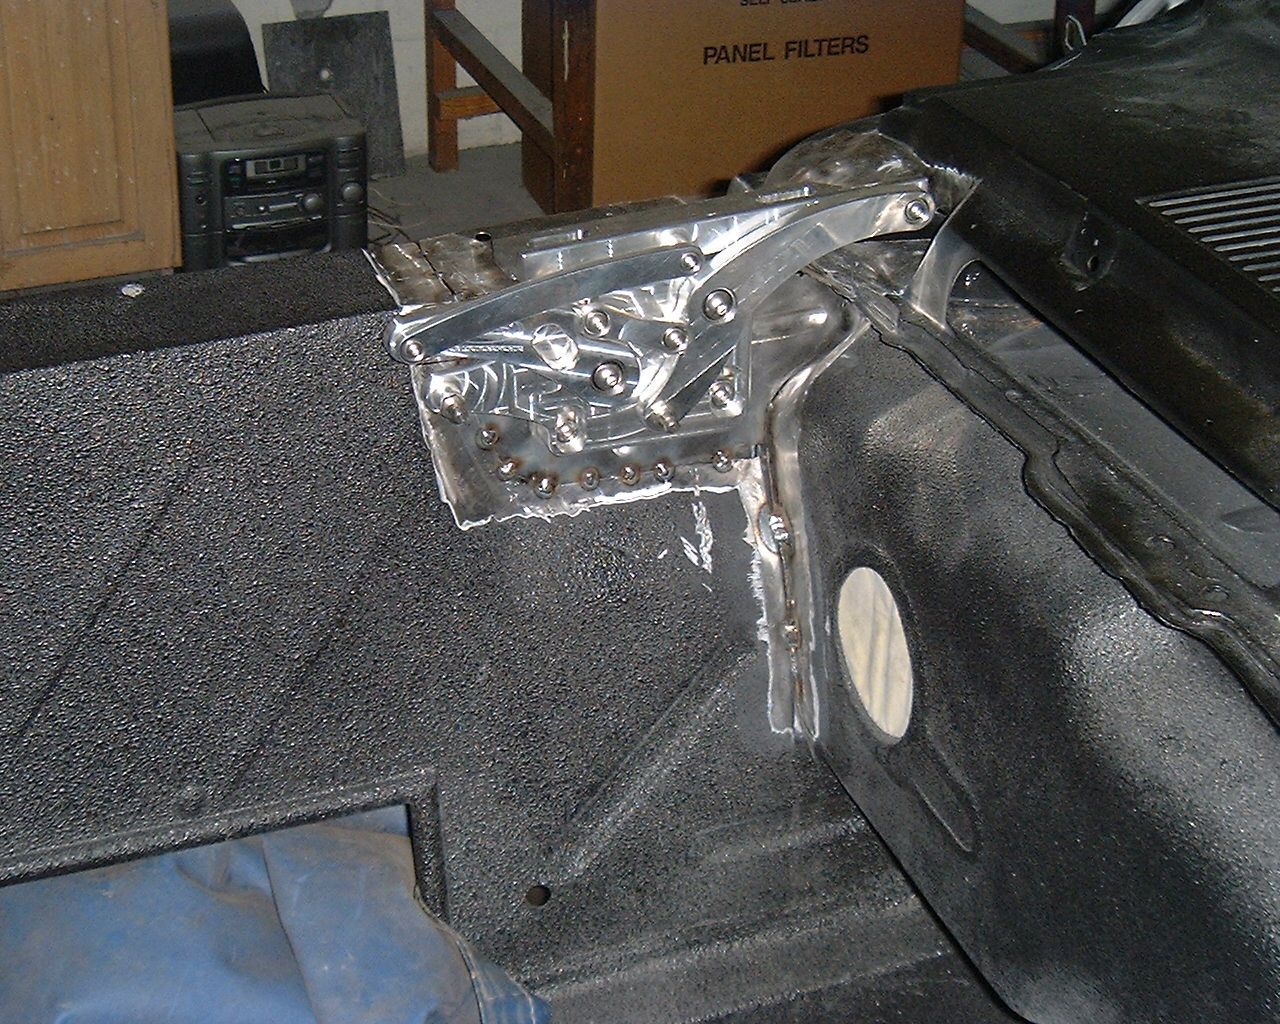
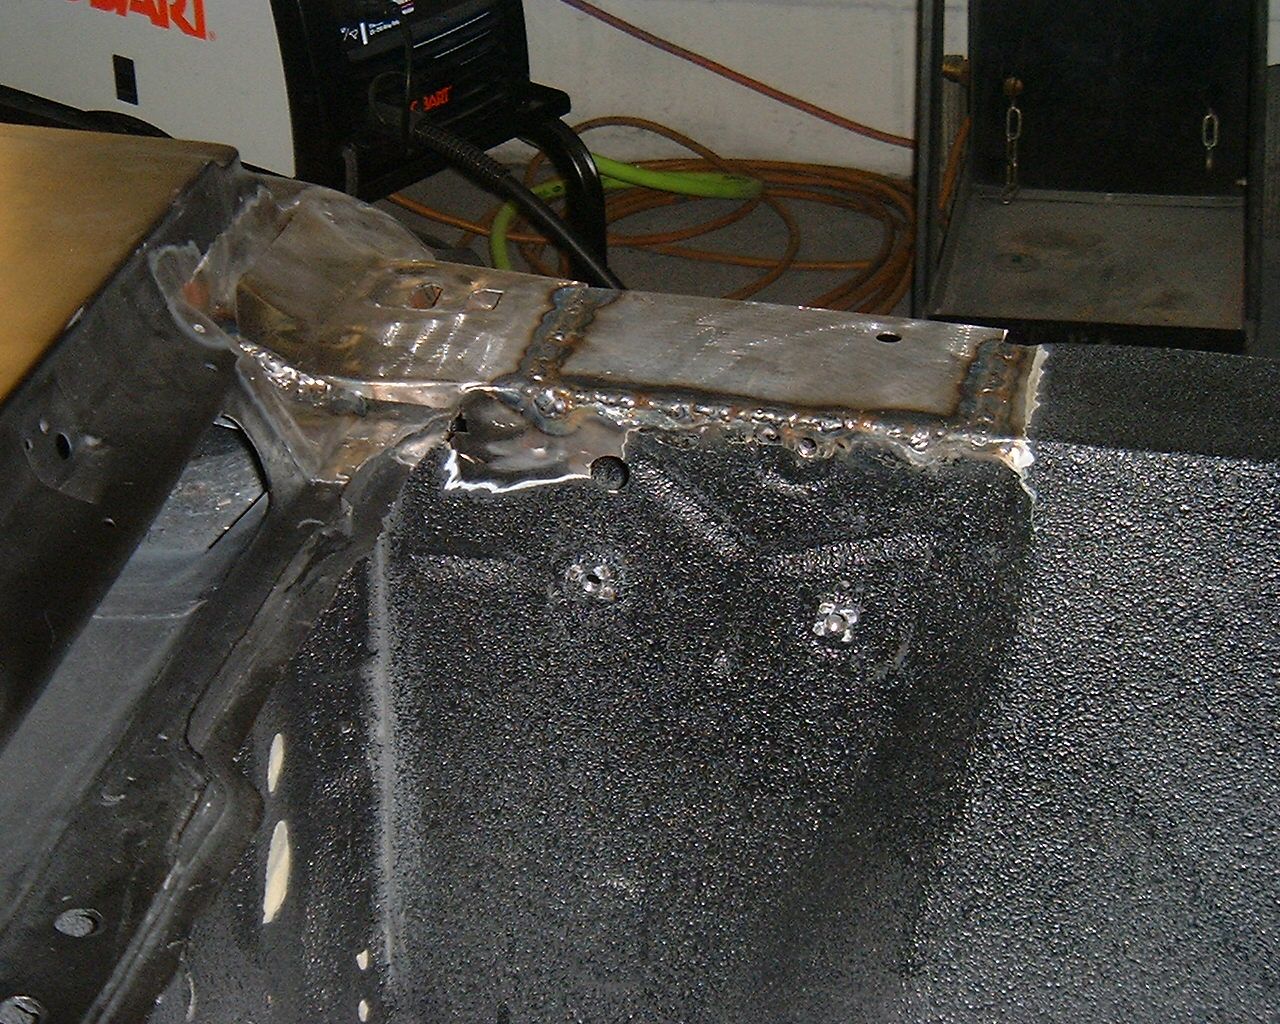
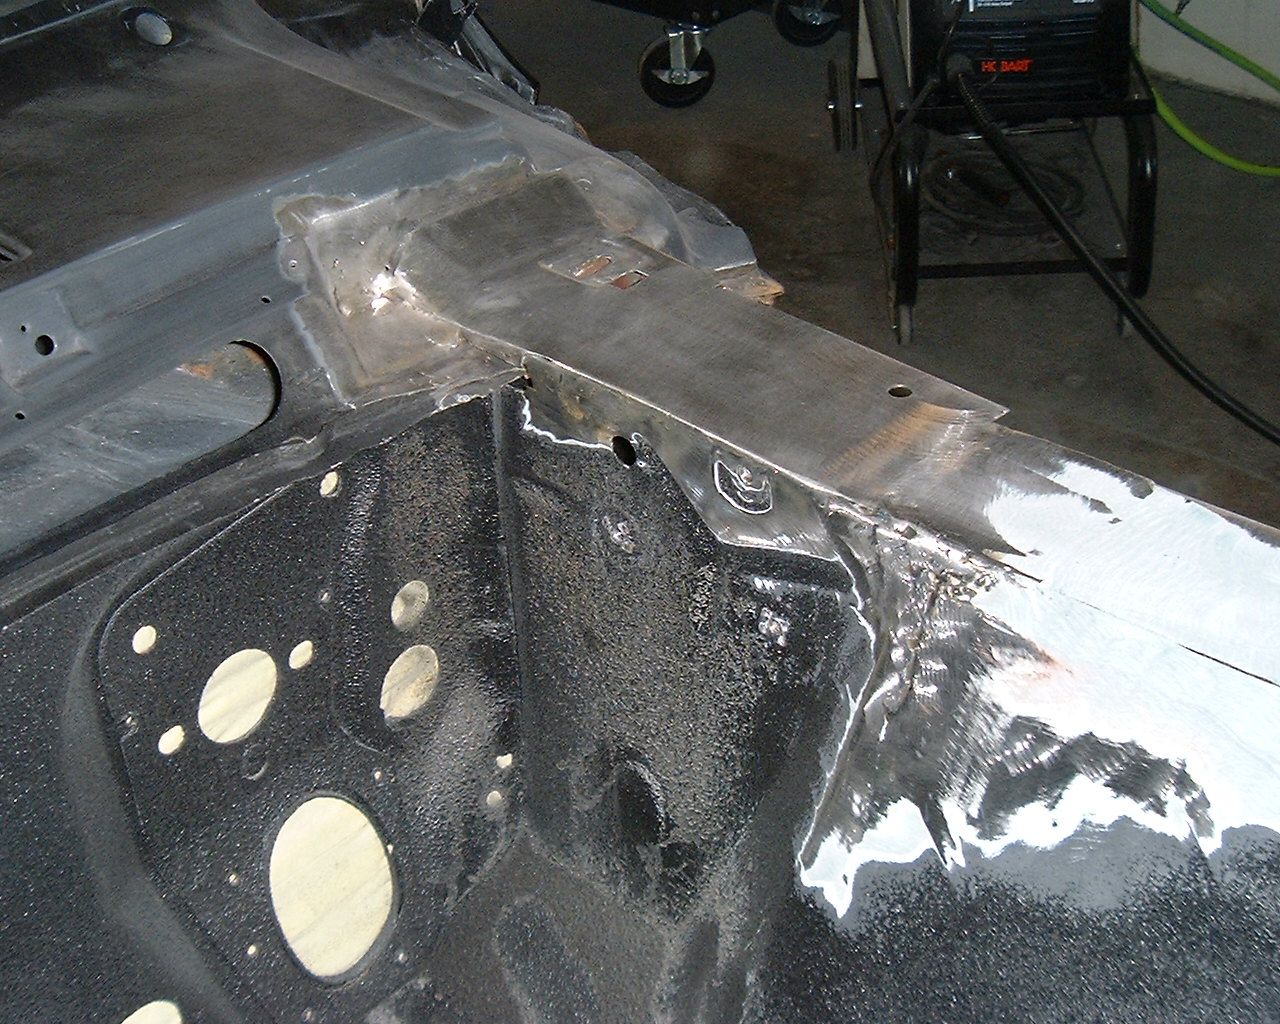
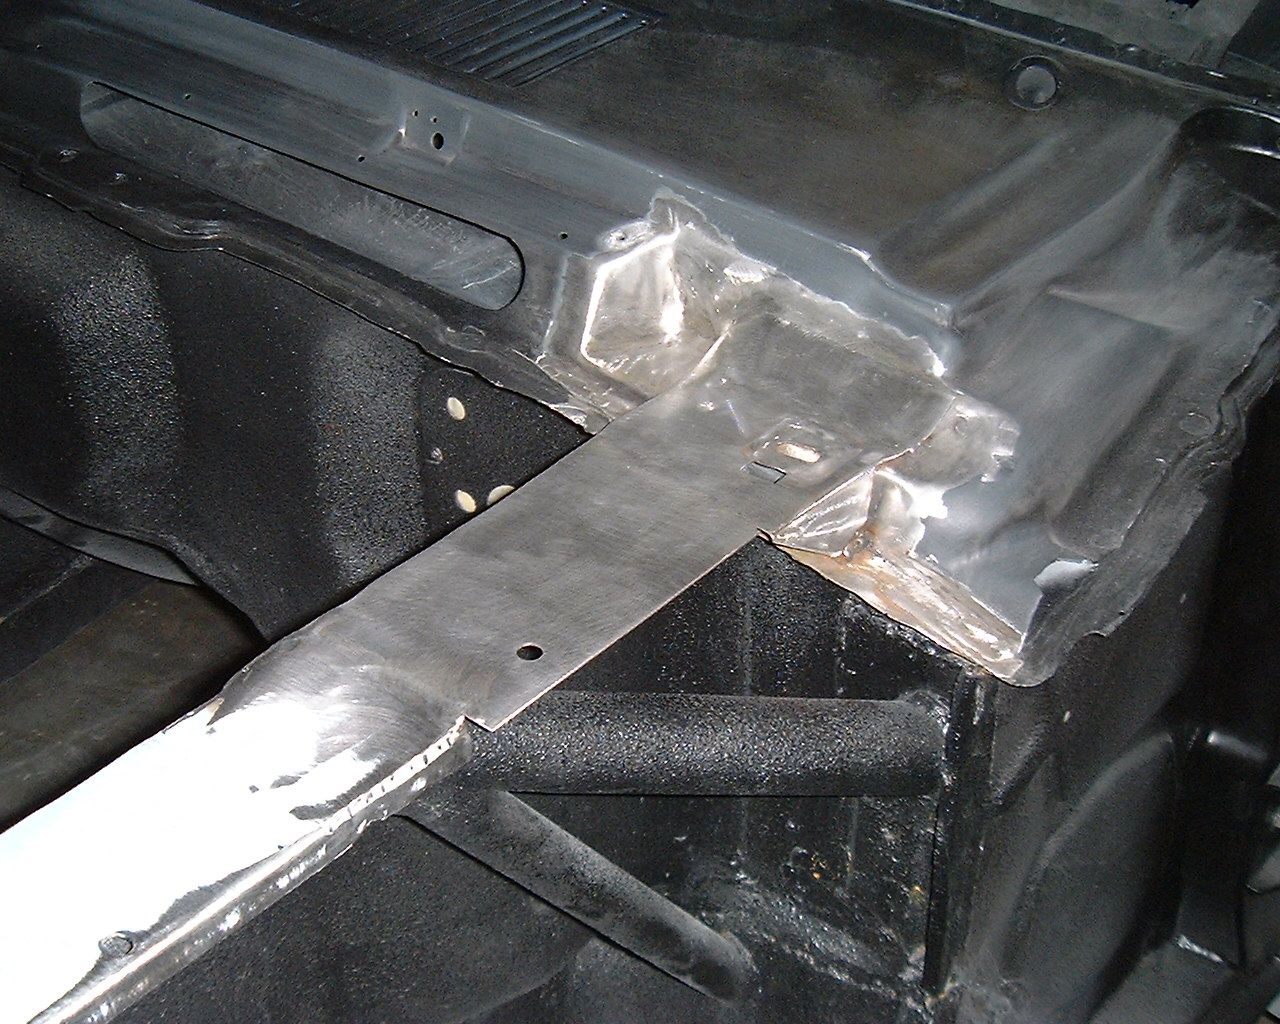
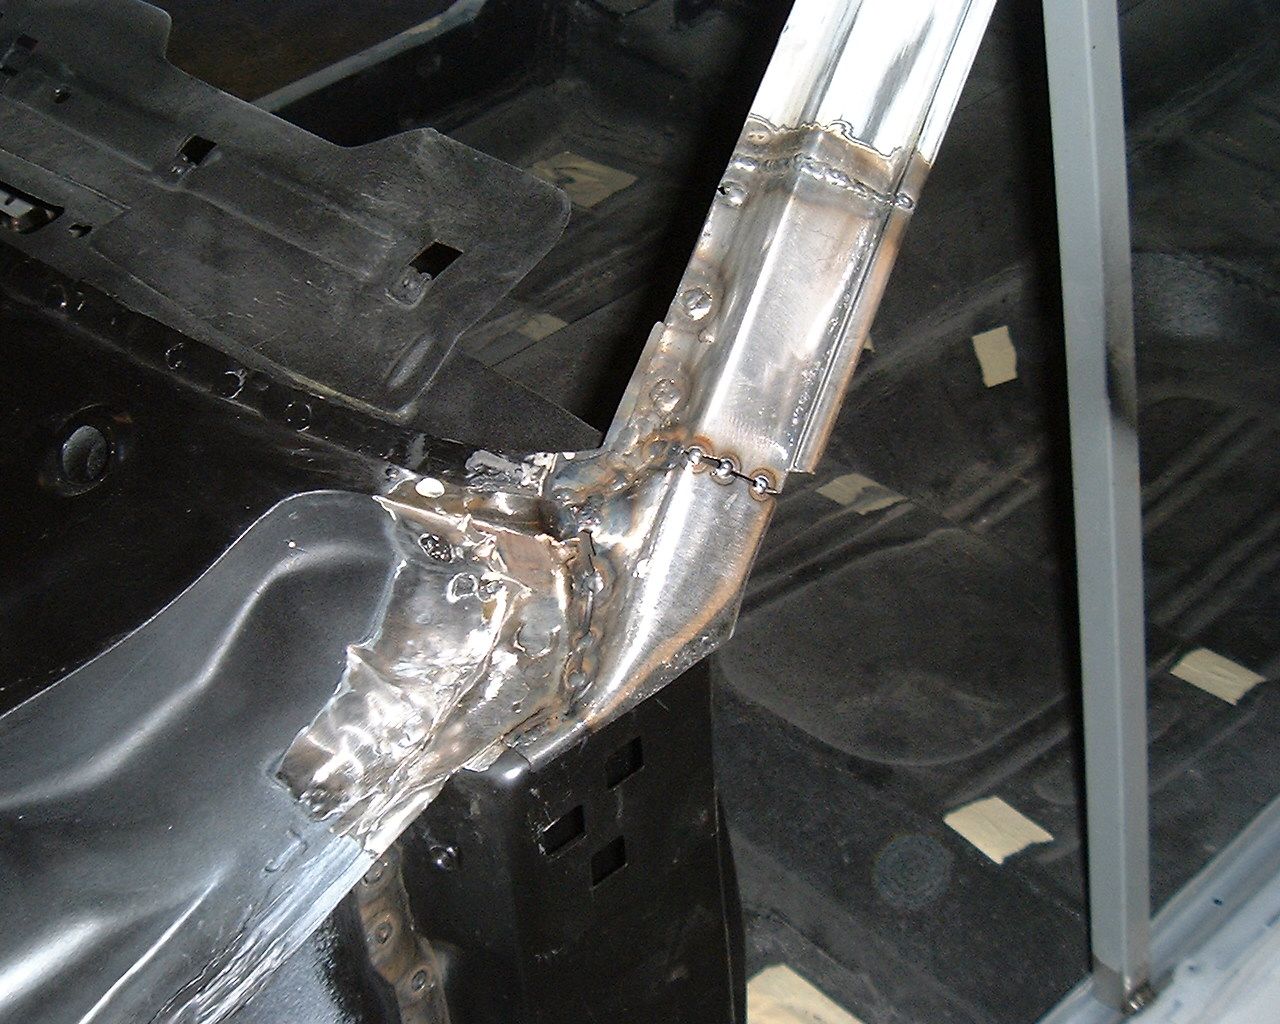
He tacked this in place and than decided he had had enough for one day and will finish on Monday.

188.jpg
 
At least they know their money is being well spent. I bet they wish they had found that themselves, but then again that kind of repair is so easy to get wrong, it's probably best you seasoned pros are handling it!
 
Awesome work as usual guys.. Gosh I just love looking at these threads.. Inspiring is an understatement!!
 
Brian is working on the left pillar which is a lot harder because the outer layer was rusted out and Brian had to make a lot of the pieces and still has to make a few more.

199.jpg


200.jpg


201.jpg


202.jpg


203.jpg
 
All that A pillar rust is probably from a leaky windshield seal. Most people only put sealer on the glass side of the seal when they realise they have a leak.
 
Rusty, very nice work Brian is doing!

2 questions, what does he grind his spot welds with and what was done to get the metal finish in this picture?

206.jpg
 
Amazing work, Brian! You need to sign your name on those pillars - it looks like art to me!

Lauren
 
Senile Old Fart;15863 said:
Rusty, very nice work Brian is doing!

2 questions, what does he grind his spot welds with and what was done to get the metal finish in this picture?


I was wondering the same thing. Is it shot blasted or something?. Nice work, as usual.
 
Those look like DA marks to me. It takes a nice grade of sandpaper to hold up to intense metal sanding like that. I don't know what Rusty uses, but we have in the past used 3M "Green Corps" 40 and 80, but in the 80 we have switched to Norton "Blue Mag." Our regular sandpaper is nice for paint and filler, but dies quick when sanding metal. The funny thing is that the Blue Mag is not all that great for filler, we only use it on bare metal.
 
Senile Old Fart;15863 said:
Rusty, very nice work Brian is doing!

2 questions, what does he grind his spot welds with and what was done to get the metal finish in this picture?

206.jpg

He knocks down the high stuff with thick cut off wheels, than uses a mini grinder with 50 grit followed by a brown scuff pad and than used a DA with 80.
 
crashtech;15869 said:
Those look like DA marks to me. It takes a nice grade of sandpaper to hold up to intense metal sanding like that. I don't know what Rusty uses, but we have in the past used 3M "Green Corps" 40 and 80, but in the 80 we have switched to Norton "Blue Mag." Our regular sandpaper is nice for paint and filler, but dies quick when sanding metal. The funny thing is that the Blue Mag is not all that great for filler, we only use it on bare metal.

I tried the Blue Mag in 40 grit and found the same thing to be true. Didn't seem to strip paint all that well (although it did scratch up nice for stripper) but sure cleans up metal great and lasts way longer than the others I was using. I started saving the protective films because often I could reuse the disc later.

Rusty, I absolute love reading your posts and seeing the work y'all do.
 
Awesome job dressing those welds on the inside corners, as we all know its tough to do that well.
I really like your projects Rusty and the great job with all the pics, but I have to say I have been waiting very patiently for your "rust repair" thread to continue, whats the haps with that?
 
C10chas;15913 said:
Awesome job dressing those welds on the inside corners, as we all know its tough to do that well.
I really like your projects Rusty and the great job with all the pics, but I have to say I have been waiting very patiently for your "rust repair" thread to continue, whats the haps with that?

There is only Brian and I and we had to work on Eleanor, 1967 Shelby, prime a put together a 67 Camaro that the customer wants to get running before we paint. We will get back to the rust repair on the 65 coupe and fastback soon.
 
After test fitting the EMS hinges we found out they don't fit

213.jpg


One problem was the shape of the reproduction fender to cowl extension was made wrong and also the distance between the hinge where the hood bolts was off. Brian cut off the extension

214.jpg


They also hit the cowl

220.jpg


Test fitting the hood we found out it was to low on the right side so the fender apron was modified

229.jpg


235.jpg


236.jpg


245.jpg


The patch in the cowl was welded

257.jpg


Brian corrected the shape of the extension and welded it back on

258.jpg


259.jpg


Welds ground down

260.jpg


We had to do the same thing on the left side except no modification to the fender apron

261.jpg


262.jpg


264.jpg


265.jpg
 
Back
Top